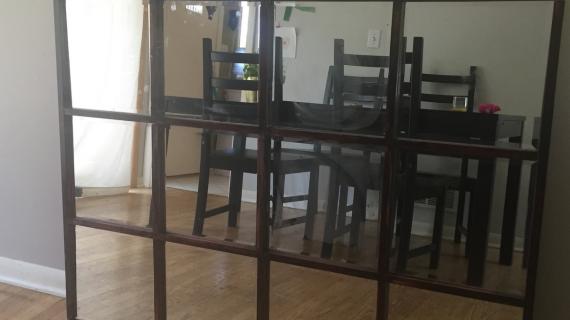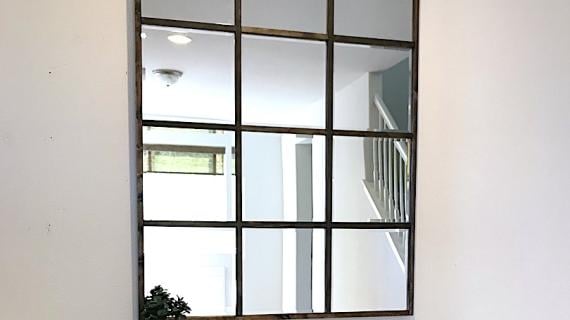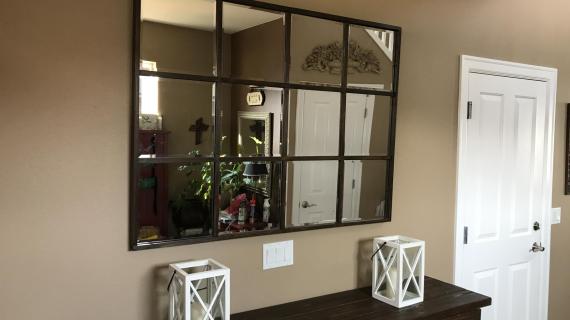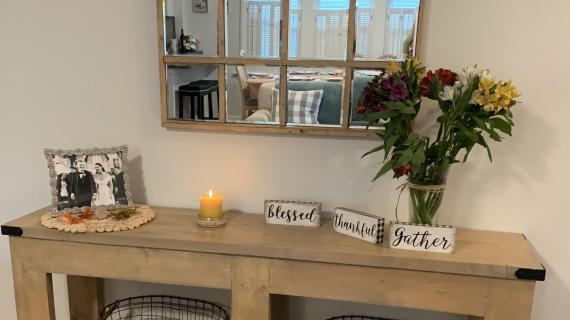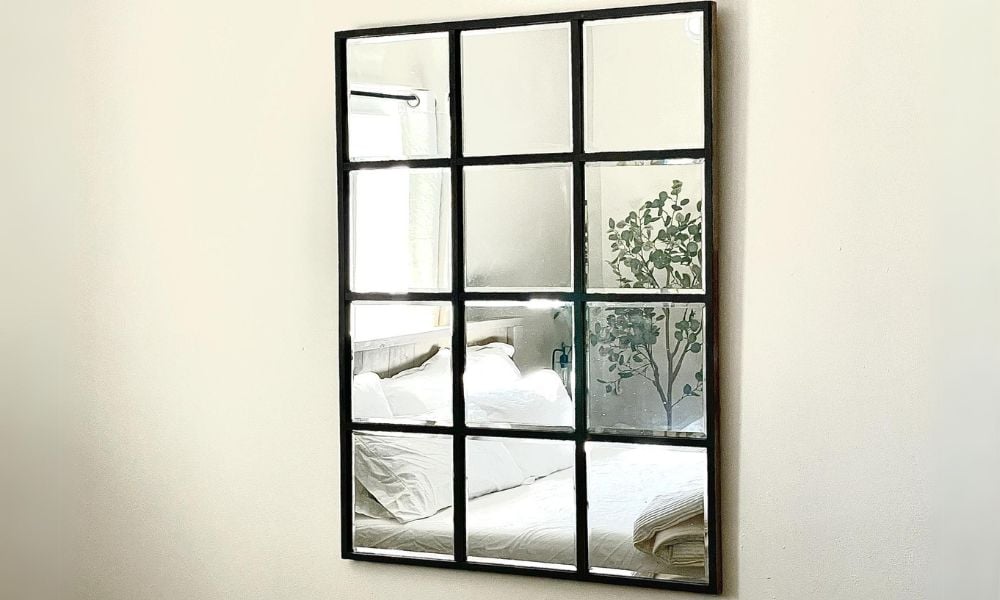
This gorgeous grid mirror will bounce light around a room and almost feel like another window- but feels more like artwork with the grids breaking up the mirror than a giant reflection of the other side of the room.
This project is great in dining rooms, entryways, halls and more!
Save money by DIY -ing this grid mirror! You can build it for a fraction of the cost to buy it.
Free plans by Ana-White.com
Pin For Later!
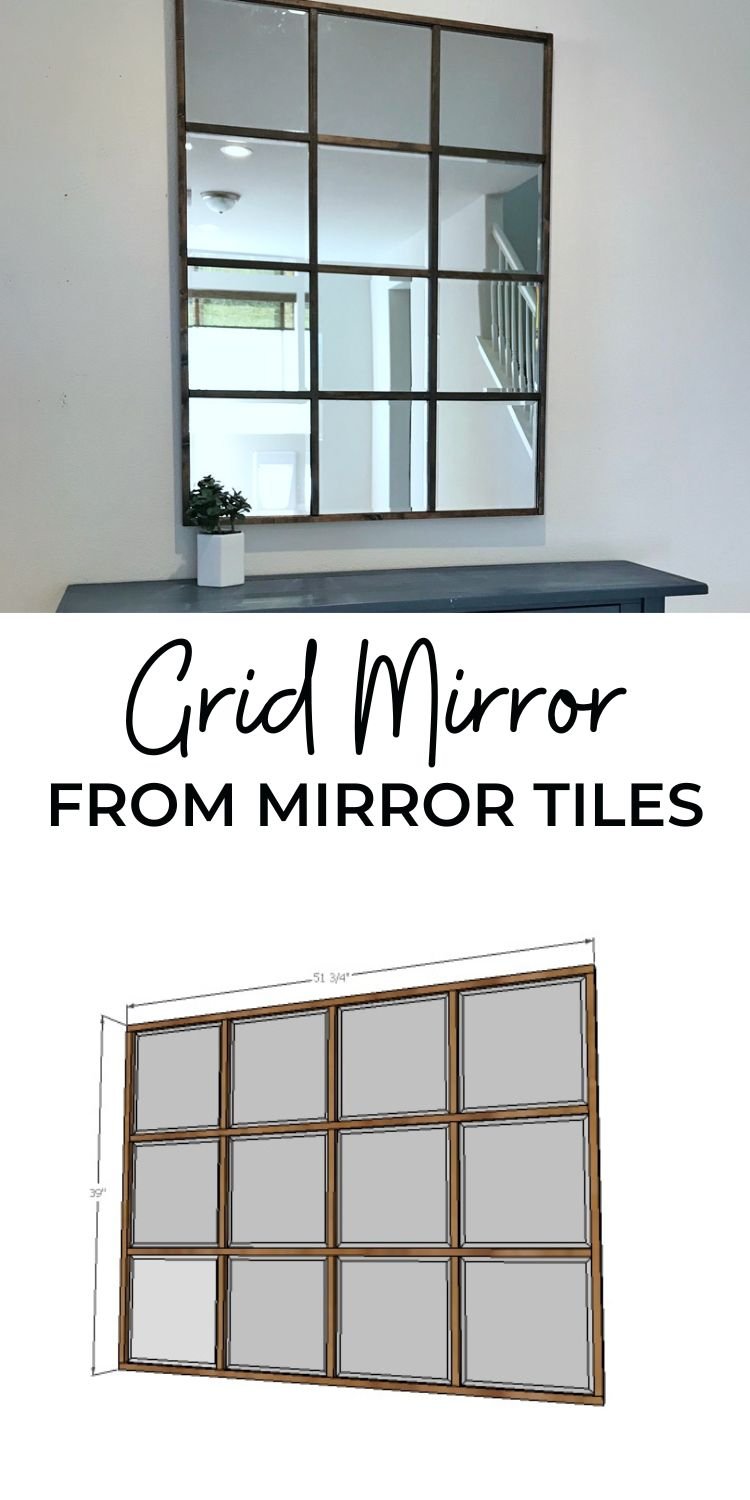
Dimensions
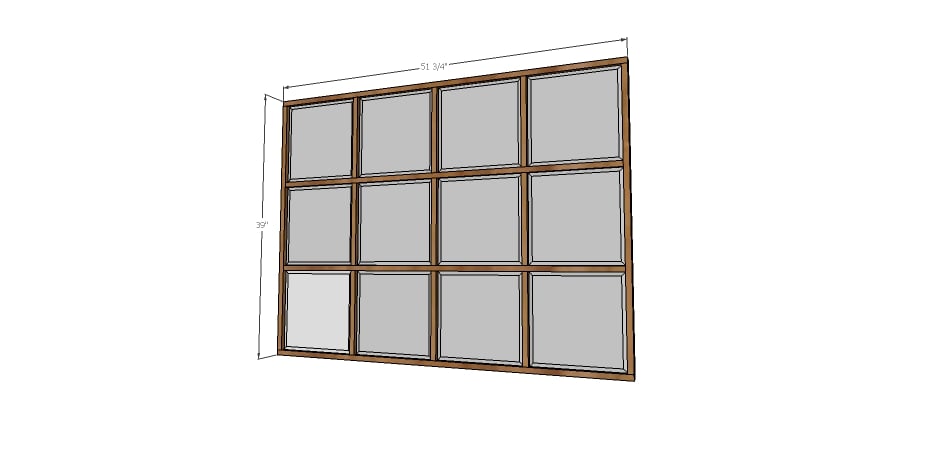
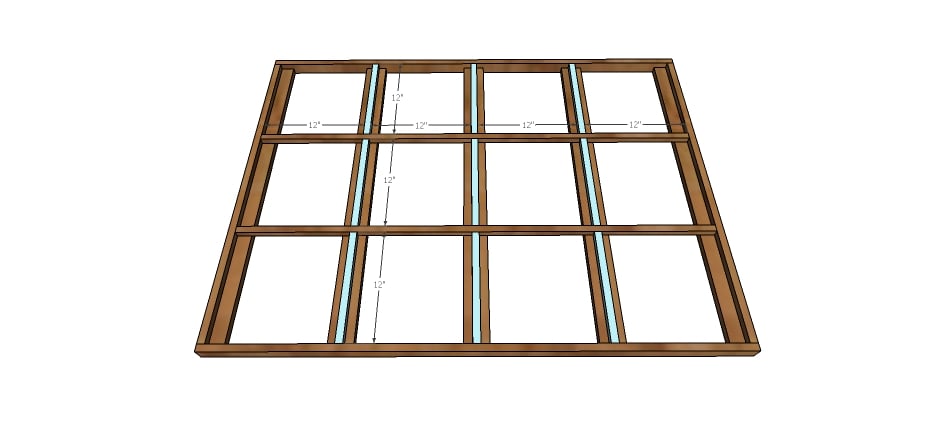
Grid mirror dimensions shown in diagram (about 3x4 feet) can be hung vertically or horizontally
Preparation
Shopping List
- 2 packs 12” x 12” mirror tiles
- 3 – 1x2x8 feet long
- 1 – 1x3x10 feet long (or two 8 feet long)
- 2 – 3/4” x 3/4” x 10 feet long wood moulding
- Mirror Mastic
- Wood Glue
- Heavy duty picture hanging hardware or french cleat system (if hanging)
Cut List
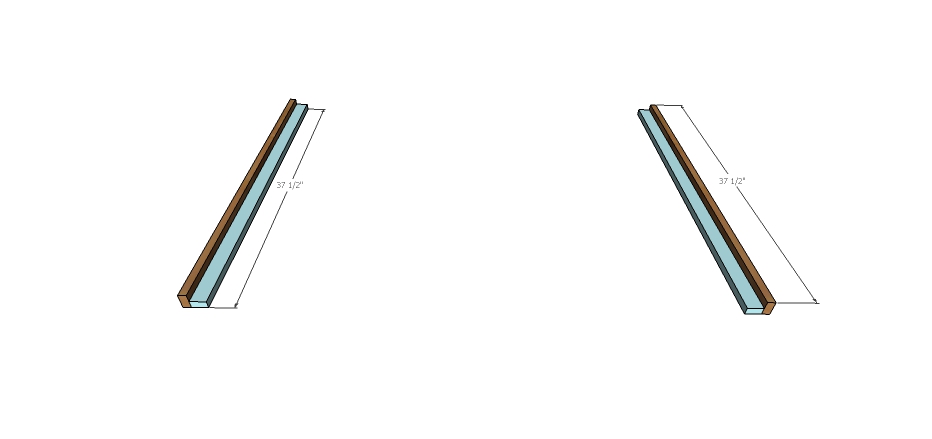
- 4 – 1x2 @ 37-1/2”
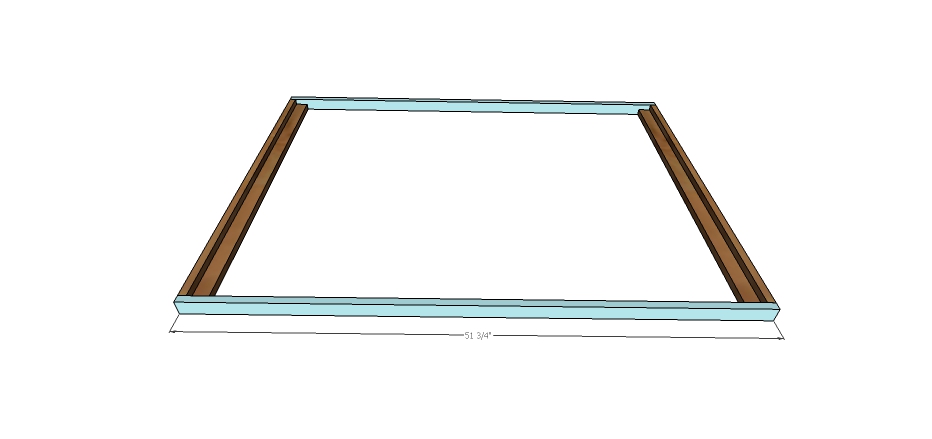
- 2 – 1x2 @ 51-3/4”
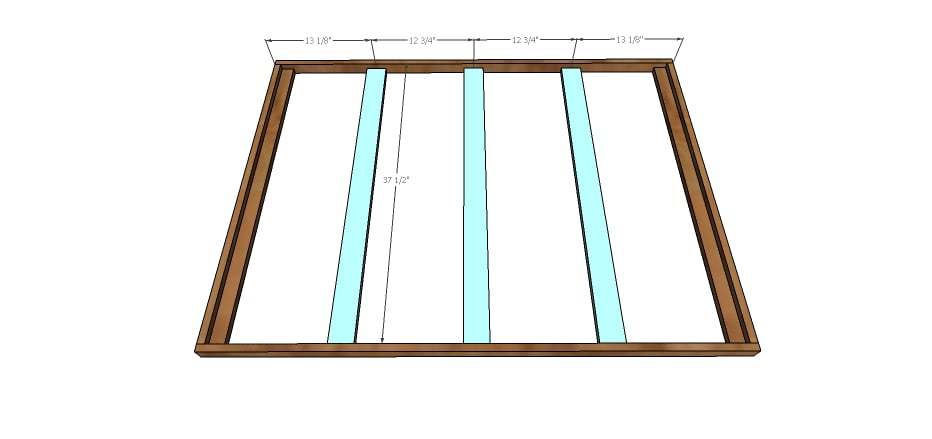
- 3 – 1x3 @ 37-1/2”
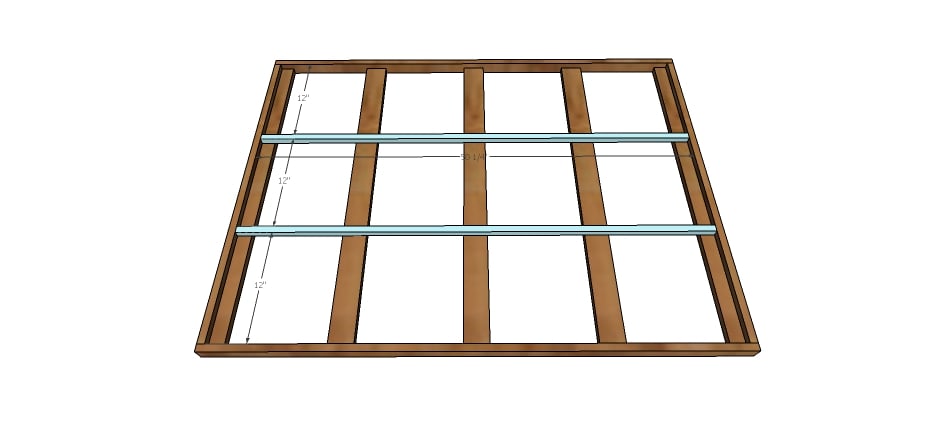
- 2 – 3/4" x 3/4" wood moulding @ 50-1/4”
- 9 – 3/4" x 3/4" wood moulding @ 12” long
Instructions
Step 1
Finishing Instructions
Finish Used
We recommend finishing the frame at this stage. Black spray paint is a quick and effective way of finishing.
Then glue the mirrors inside the openings.
Hang with the picture hanging kit or french cleat.
Then glue the mirrors inside the openings.
Hang with the picture hanging kit or french cleat.
Project Type


