

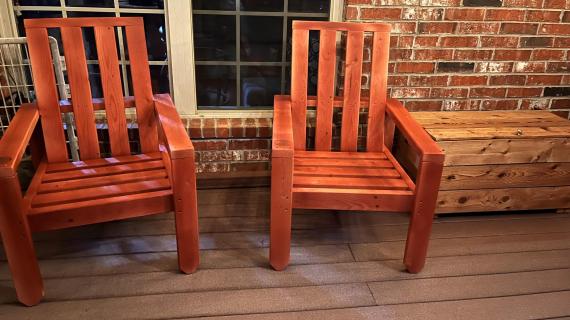
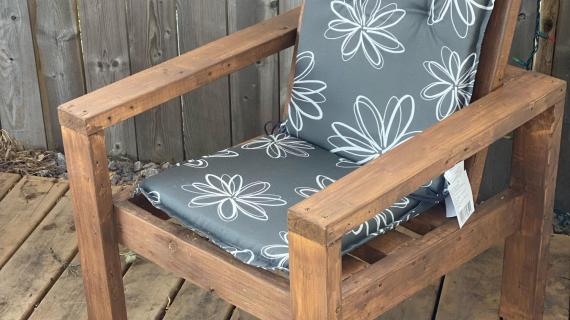
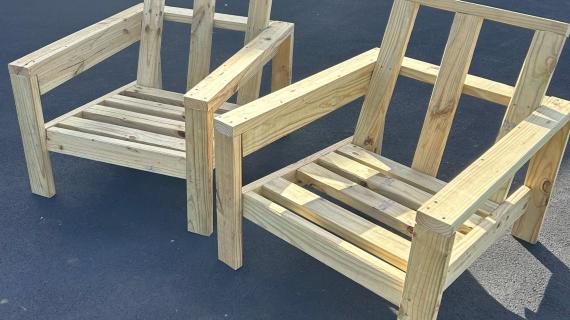
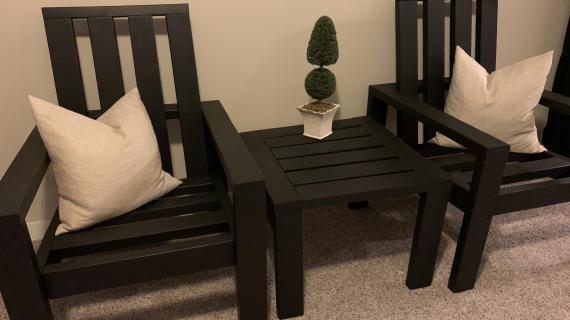
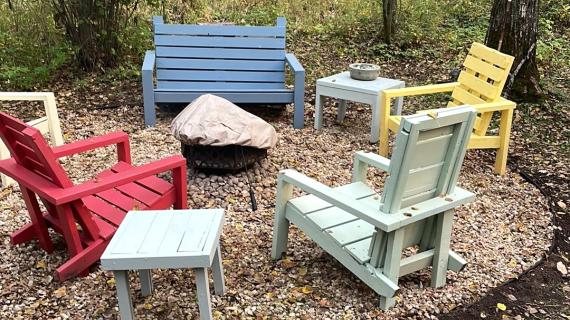
Build your own outdoor chairs using free plans from Ana-White.com - step by step diagrams, shopping and cut lists, and video tutorial.
Related: Essential Outdoor Chair in Deep Seat Cushion Size Plans
Here's Some Tips to Build Better Outdoor Furniture
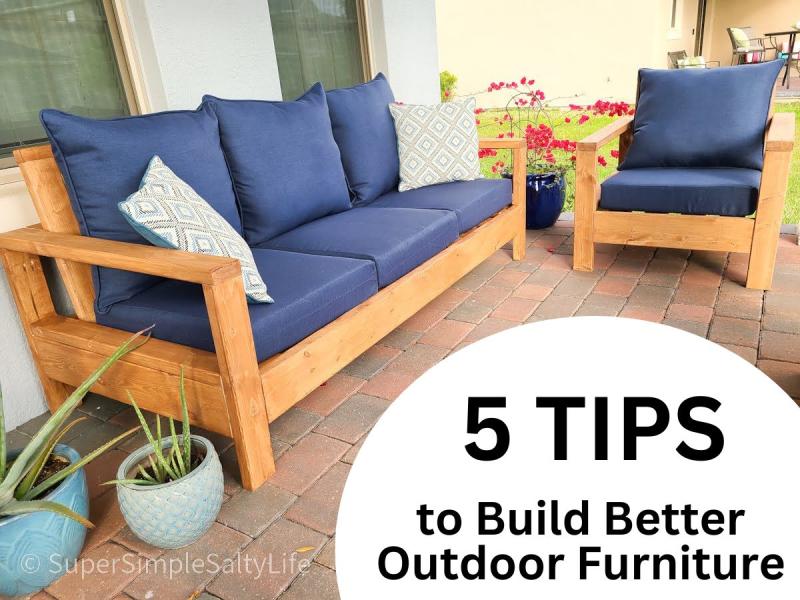
Want to build better outdoor furniture? Over the twenty years I've been building, maintaining, and enjoying my own outdoor furniture, I've learned a few tips that can help build longer lasting furniture.
Pin For Later!

Preparation
- 4 - 2x4 @ 8 feet long
- 1 - 2x2 @ 20" long
- 50 - 2-1/2" to 3" long - self tapping star bit screws for exterior use
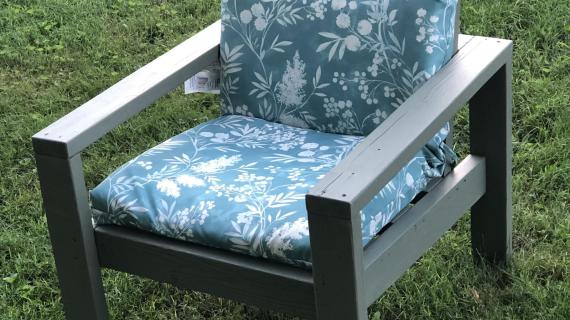
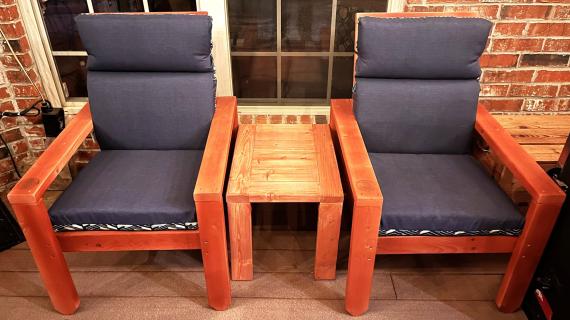
- outdoor appropriate stain
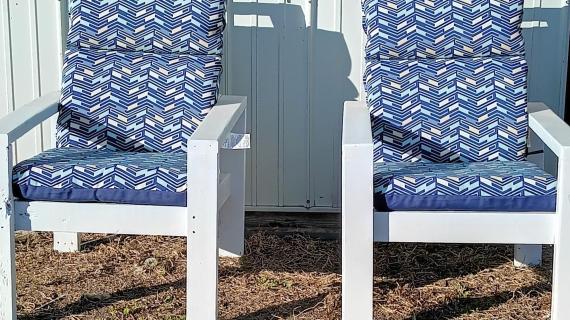
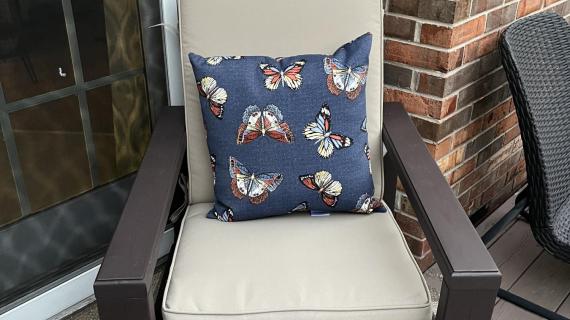
- standard seat cushions (I used these from Lowes)
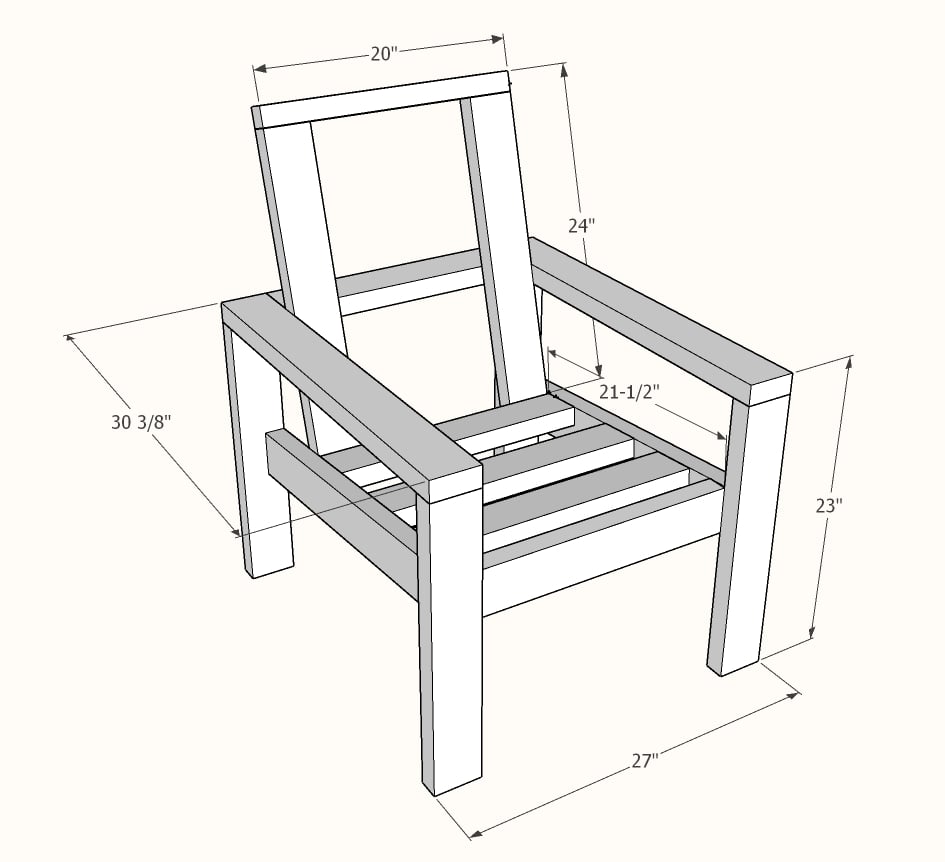
4 - 2x4 @ 21-1/2" - legs
2 - 2x4 @30-3/8" - arm rests
2 - 2x4 @ 27-1/2" both ends cut at 5 degrees off square, long point to short point measurement, ends ARE parallel
5 - 2x4 @ 20" - or width of seat cushions
2 - 2x4 @ 26" - back - can be modified to match the height of seat back cushion
1 - 2x2 @ 20" - back top - matches the width of the seat cushions
Cut the longest boards first to make sure all the pieces fit on your boards.
For the angle cuts, set miter saw to 5 degrees off square, and cut so the ends are parallel, and the measurement is long point to short point.


Instructions
Step 1

Assemble one arm by attaching the armrest to two legs.
Then measure out the placement of the seat stringer and attach to the legs.
Use two screws per each joint.
Step 2

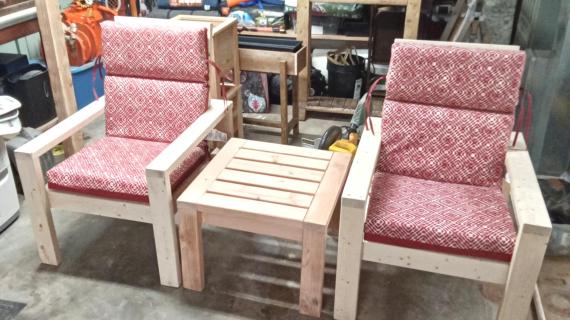
The second arm frame needs to be built identical to the first, but in mirror. The easiest way is to build right on top of the first arm frame, with the seat stringers matched up.
Step 3

Chair front - with the chair sides positioned so the seat stringer high side is down, place some blocking on the work surface and attach one of the 2x4 @ 20" to the seat stringers. Use two screws per joint.
Step 4
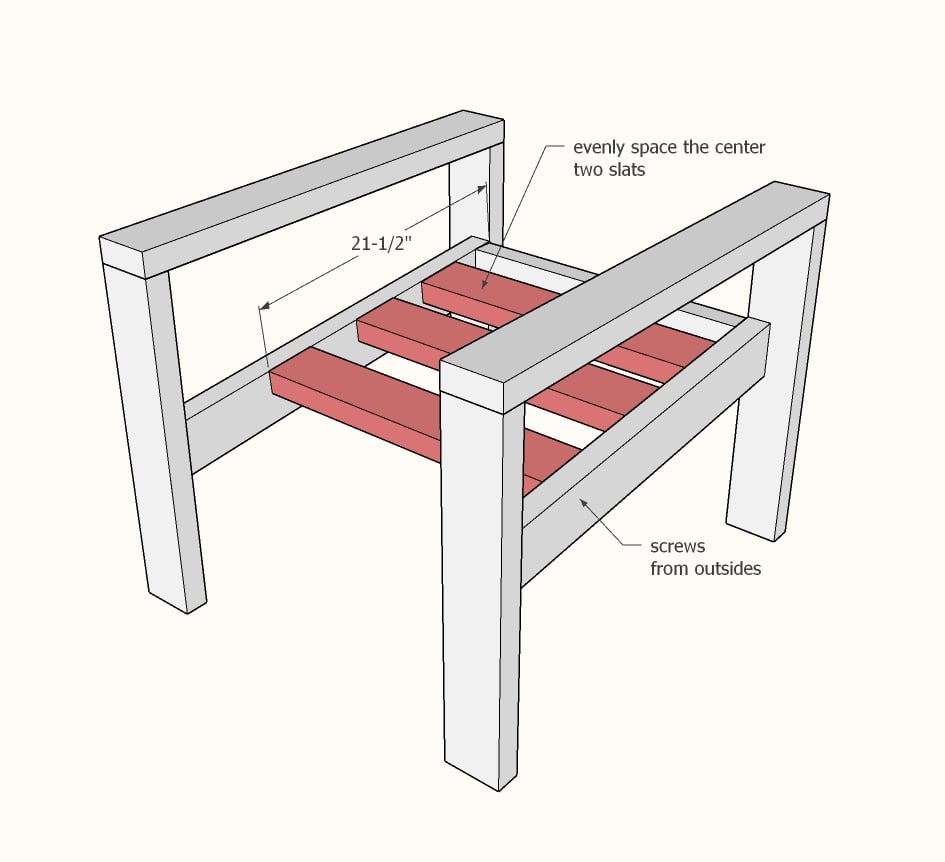
Rotate the chair and add the seat slats.
I recommend adding the back slat first, measured out for your seat cushions - 21-1/2" was good for my cushions even though the cushions are 20" - because I was accounting for the back cushion and the depth created by folding the cushion at the back seam.
Once you have the back slat placed, the two center slats are just placed with even spacing (you can eyeball this).
Two screws per joint.
Step 5

For the back piece, the easiest way to attach is with a Kreg Jig.
Set for 1-1/2" thick materials, and drill two pocket holes on each end. Attach with 2-1/2" long screws (yes you can use the star bit screws, but the Kreg Screws are preferred).
Step 6

If using a different size cushion, place the cushion in the chair frame now, and measure and cut the back supports to fit your cushions. Remember that a 2x2 that is 1-1/2" wide will be added to the top in the next step.
Position the back rest pieces and attach in three points - to the sides, the back rest and the back slats. These back rest pieces add considerable strength to the chair.
Step 7

Add the 2x2 on the top with two screws per joint.
Step 8
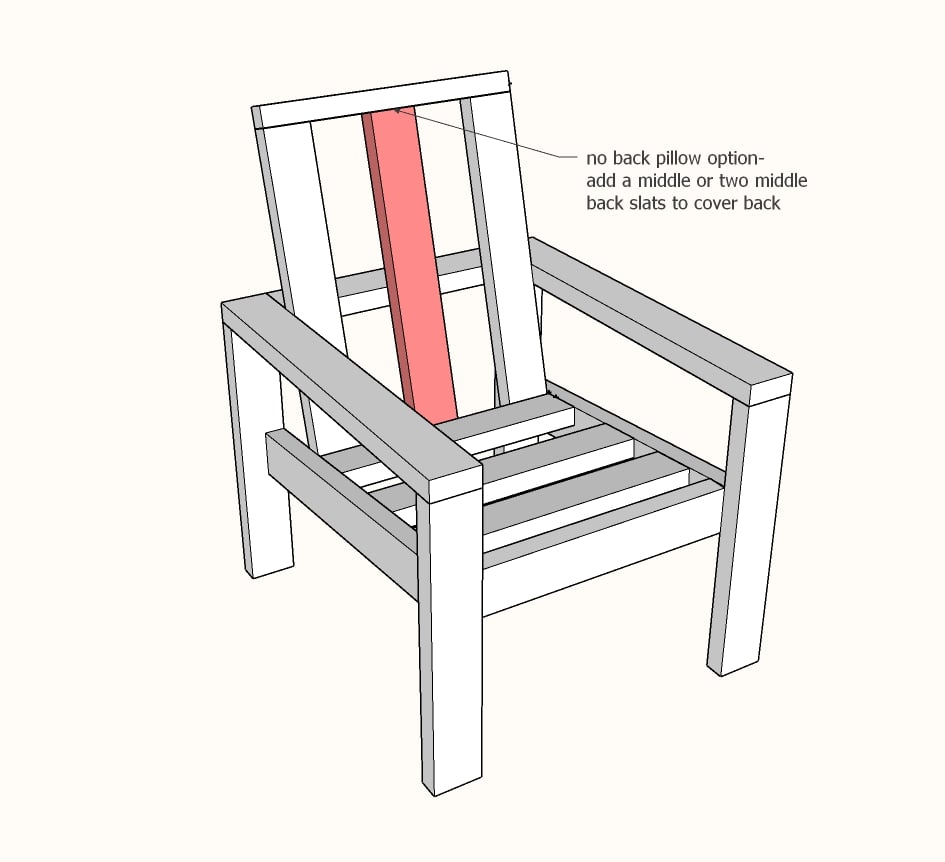
For no back, or back cushions needed extra support, additional back slats can be easily added.


Comments
pattiemelt
Thu, 08/04/2022 - 21:02
Can't tell what's an ad and what's your post!!
WOW!!! With all the ads on your page, it's really hard to tell what's part of the chair information and what's trying to sell you something you don't want - I counted 18 ads for 'Print PDF' alone, and there were at least that many ads for other things. I understand that sponsors pay to keep your website up, but when the ads look like part of your plans, or something necessary to get to your plans, it's time to reconsider.
MFlores
Sun, 09/04/2022 - 11:06
FREE DIY Plans and Videos
I'm not sure what your talking about. I have been on her youtube and website for years and have never had a problem. Maybe you need a better browser. You comment was in no way constructive or helpful to the woodworking community. It sounded like a me me me rant. I'm sorry that free plans and videos for all the woodworking DIY persons out there are such an inconvenience. If I sound defensive. I am. When needed help starting diy projects I relied on Steve Ramsey and was watching Ana White when she was doing a spot on his youtube channel. So I encourage you to be constructive for the benefit to the community and not just whine about some first world problem that can be solved by using a better browser or add blocker. Your comment on a different website or starting helpful woodworker like Ana White could have been very discouraging. Lucky I know she will take your comments in strides and will continue to bring us amazing FREE plans and videos.
MFlores
Sun, 09/04/2022 - 12:42
RED buttons upper right corner for printing or downloading plans
It literally has in the upper right corner of all her projects. The difficulty level then IN RED two buttons one with a picture of a printer (Which means if you want to print it.) and the other with a picture of a document with PDF in the middle (which means you can download the plans into a PDF.) I hope this helps.