Faux Oar or Paddles

The free plans on this website are supported with advertising and affiliate revenue.  When you click some links in this plan, you may be helping us earn a small commission.  Thank you for supporting this website.


Difficulty
Starter Projects
| Print this plan

Make these faux oars or paddles for about $3 total!!!!  Easy DIY project from ANA-WHITE.com
Hi there!!!

Thank you so much for all the love on the dining benches I made for our cabin!

Who commented "bench smench .... those oars?"  I had to chuckle at you because I kinda agree - the oars are where it's at!

Can you believe that after I built the oars - before they were finished - I almost threw them out?  They were not so pretty.  So not pretty that I had decided to scrap them and did not even bother taking a photo of them!

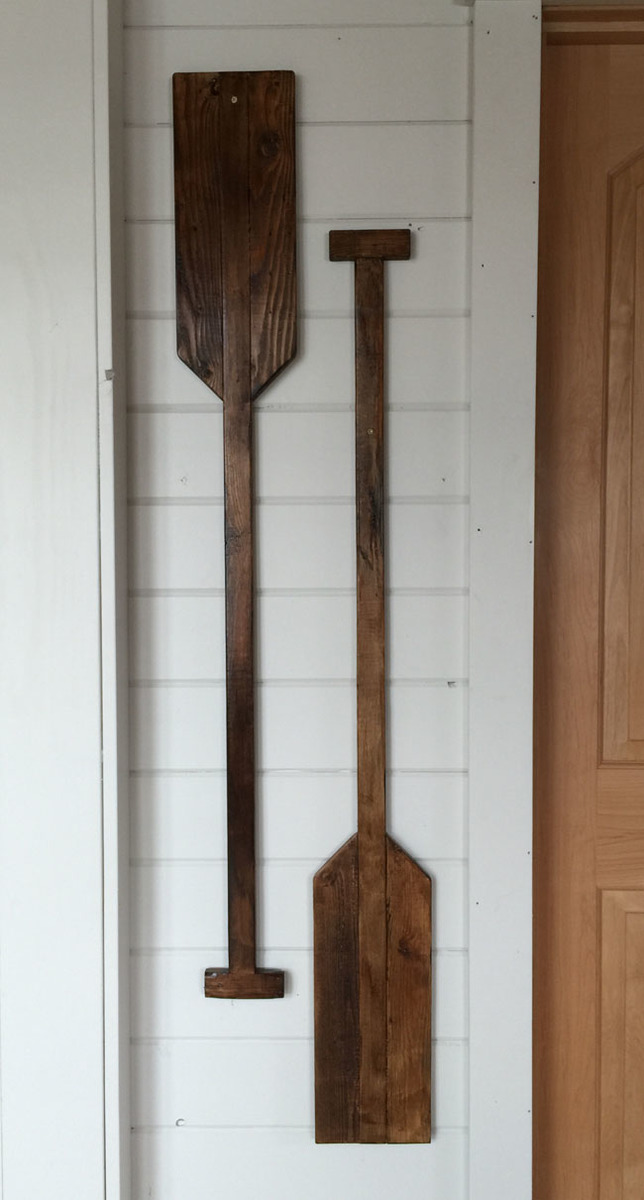
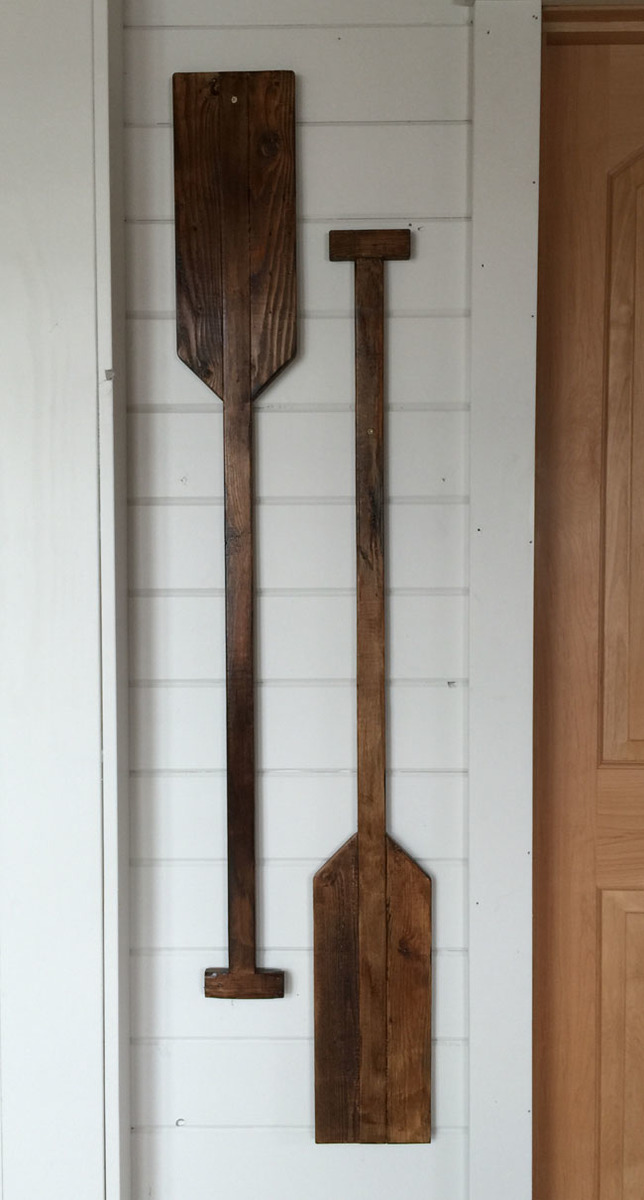
But after I stained them, using the same one step poly and stain I used on the benches,

Varathane Stain + Poly in Early American (can I also mention that this stuff cleans up with soap and water?!?) -

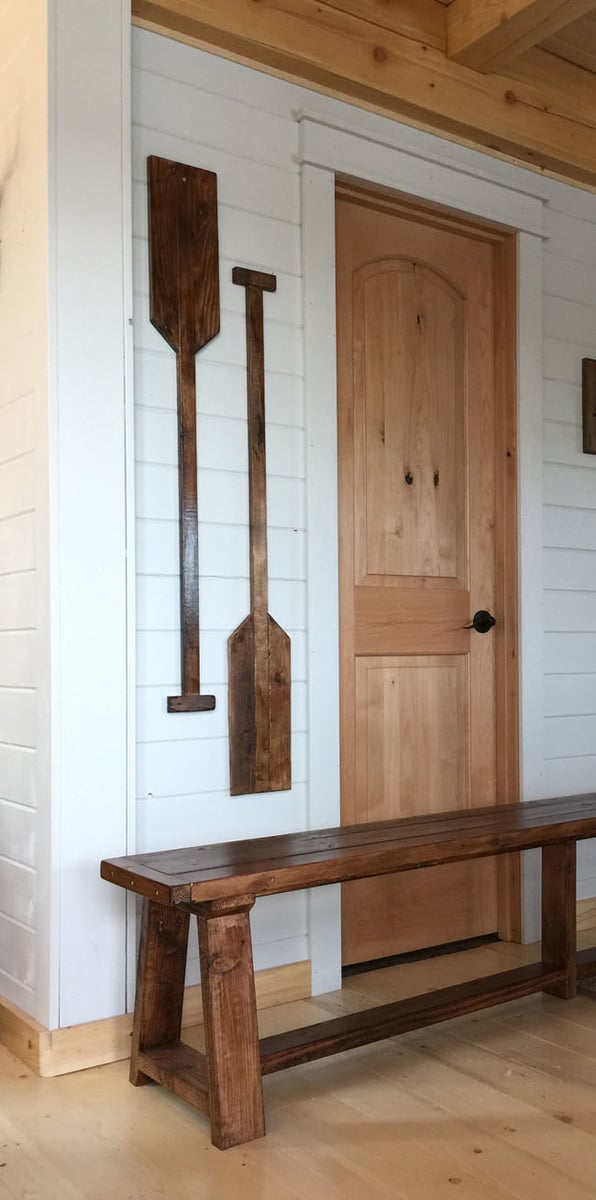
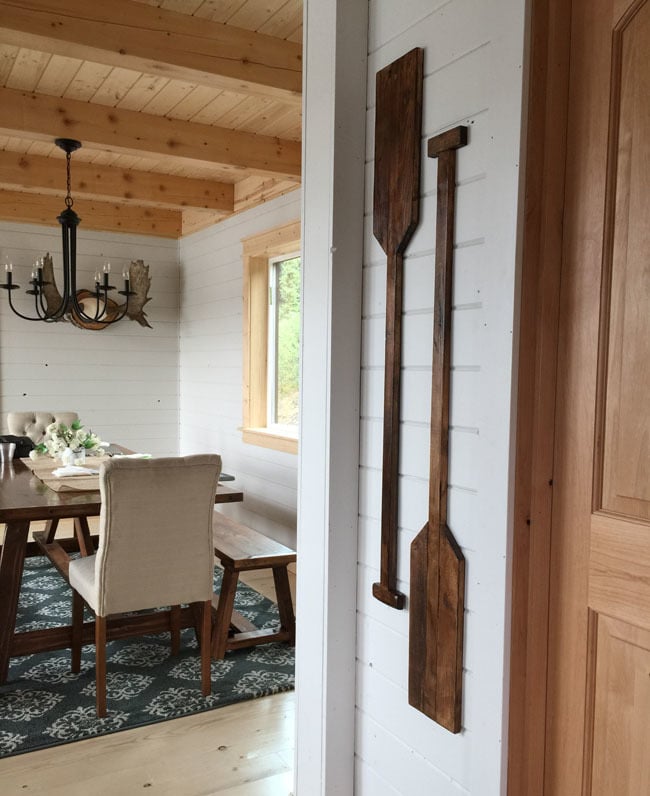
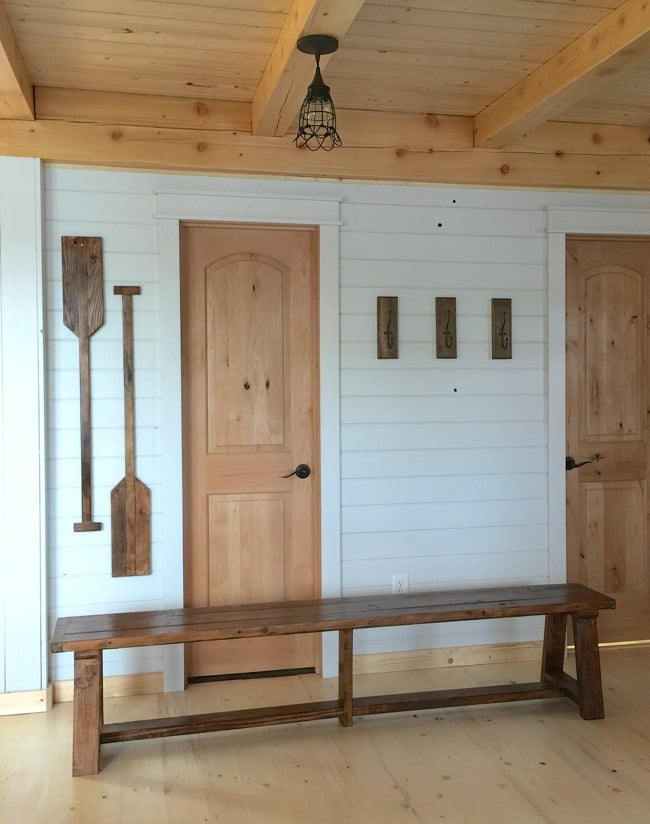
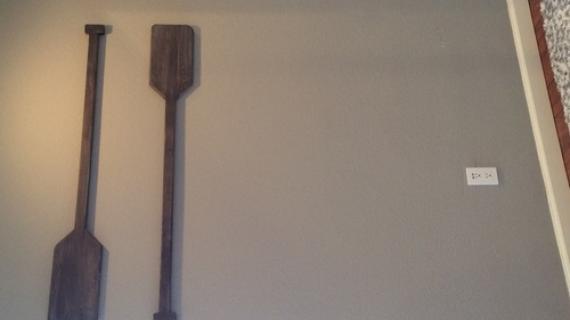
And then I found the perfect space for them, in this little area between the closet door and the corner of the room.  

I LOVE these paddles!  I had wanted to put some faux paddles on the wall, but didn't want something that looked new or too theme-ish - these handmade oars do the trick!

I used exactly one 1x2 (1$1.00) and one 1x3 ($1.50) - counting the little bit of glue and stain you'll need to, this project is so inexpensive too!

Some other ideas are to hang horizontal and add hooks, or even keep vertical and add key hooks.

I'm sharing a quick video here on how I made it -

And of course, the step by step plans are below (click Read More below if this is the homepage).

Always happy to hook you up!

Thanks so much!

XO Ana

Dimensions
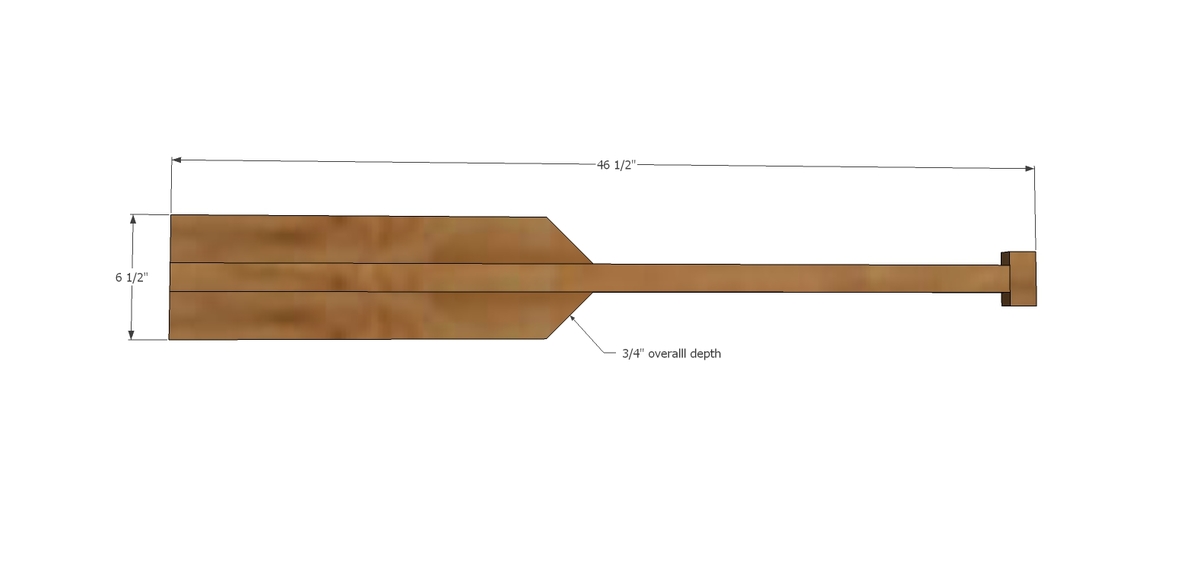
Dimensions shown above

Preparation

Shopping List

For TWO paddles/oars 

1 - 1x2 @ 8 feet long

1- 1x3 @ 8 feet long

I used pine furring strips

Optional: 2" brad nails with nailer

Common Materials
Cut List

2 - 1x2 @ 45"

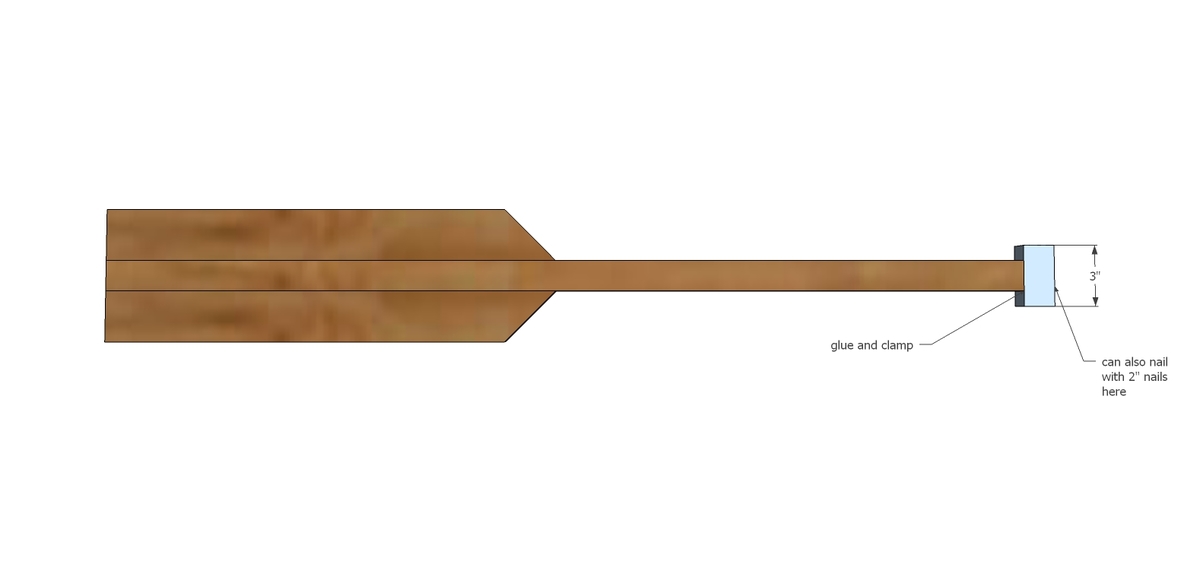
2 - 1x2 @ 3"

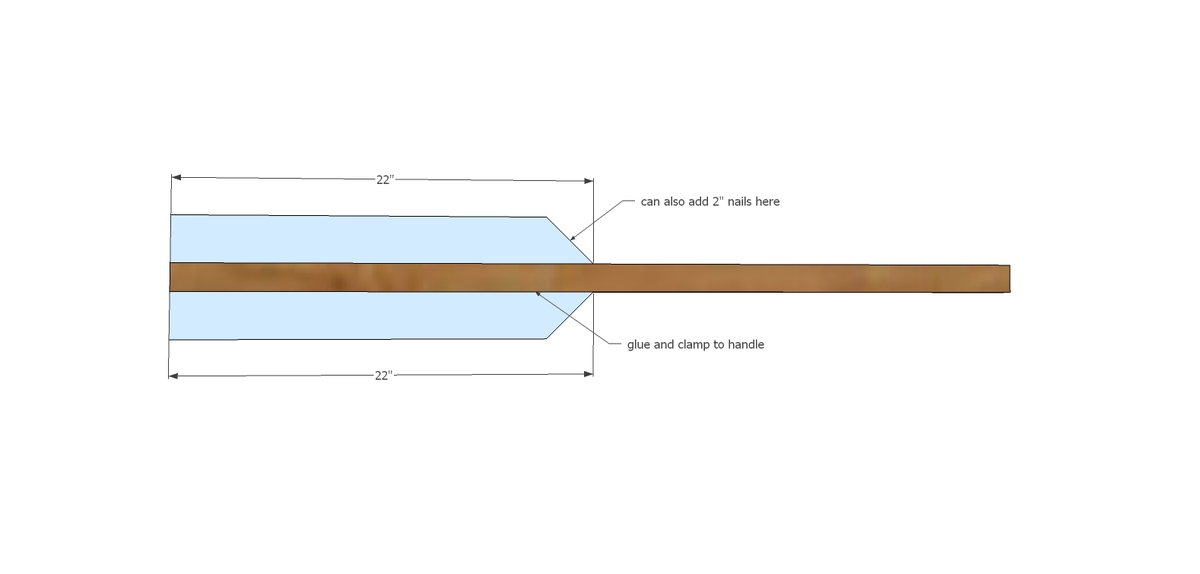
4 - 1x3 @ 22" - longest point measurement, one end cut at 45 degree angle

Tools
Tape Measure
Speed Square
Hammer
Safety Glasses
Hearing Protection
Miter Saw
General Instructions

Please read through the entire plan and all comments before beginning this project. It is also advisable to review the Getting Started Section. Take all necessary precautions to build safely and smartly. Work on a clean level surface, free of imperfections or debris. Always use straight boards. Check for square after each step. Always predrill holes before attaching with screws. Use glue with finish nails for a stronger hold. Wipe excess glue off bare wood for stained projects, as dried glue will not take stain. Be safe, have fun, and ask for help if you need it. Good luck!

Instructions

Step 1

Apply glue liberally to the long edge of the 1x3 pieces.  Clamp securely to center 1x2 and allow to dry.

Step 2

Apply glue to the end of the longer 1x2.  Center smaller 1x2 on end and clamp in place.  2" brad nails can be used to further secure.  Allow to dry.

Finishing Instructions
Preparation Instructions
Fill all holes with wood filler and let dry. Apply additional coats of wood filler as needed. When wood filler is completely dry, sand the project in the direction of the wood grain with 120 grit sandpaper. Vacuum sanded project to remove sanding residue. Remove all sanding residue on work surfaces as well. Wipe project clean with damp cloth.

It is always recommended to apply a test coat on a hidden area or scrap piece to ensure color evenness and adhesion. Use primer or wood conditioner as needed.

Comments