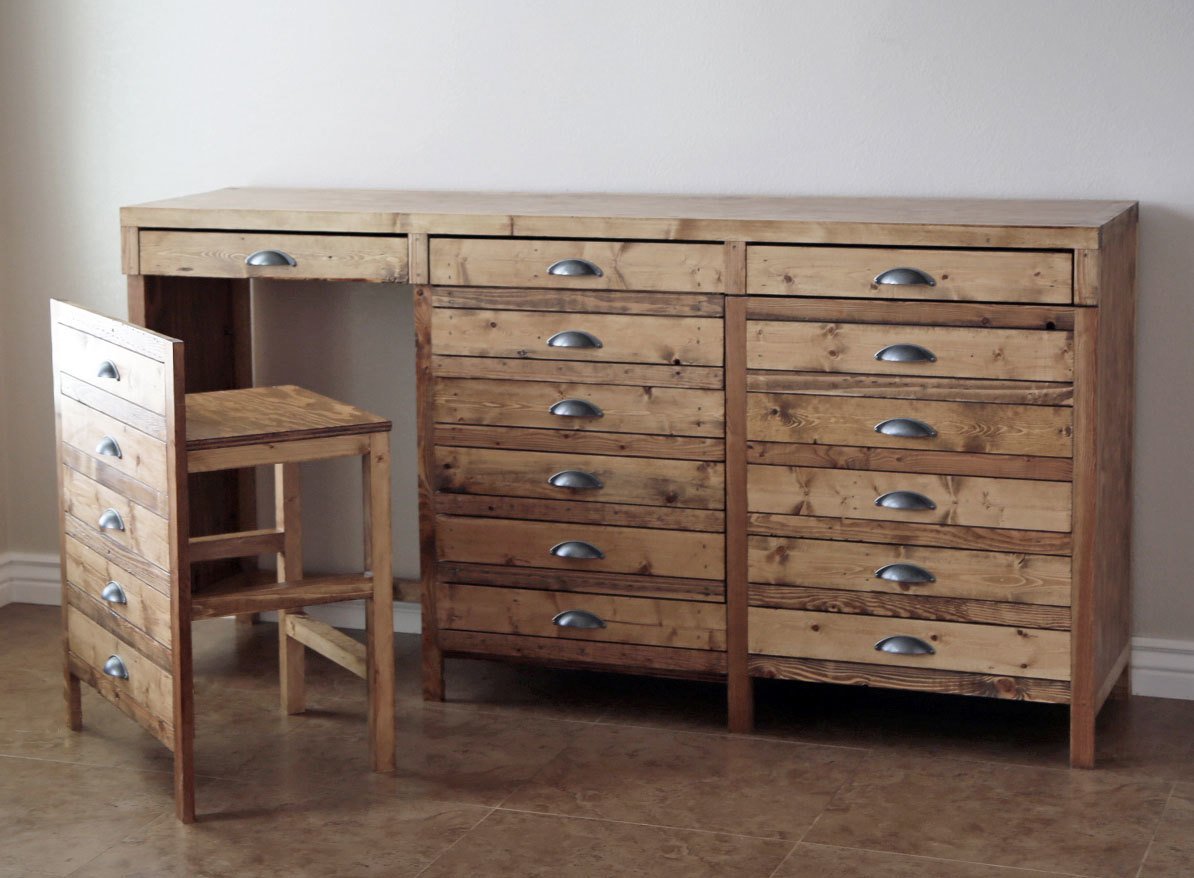
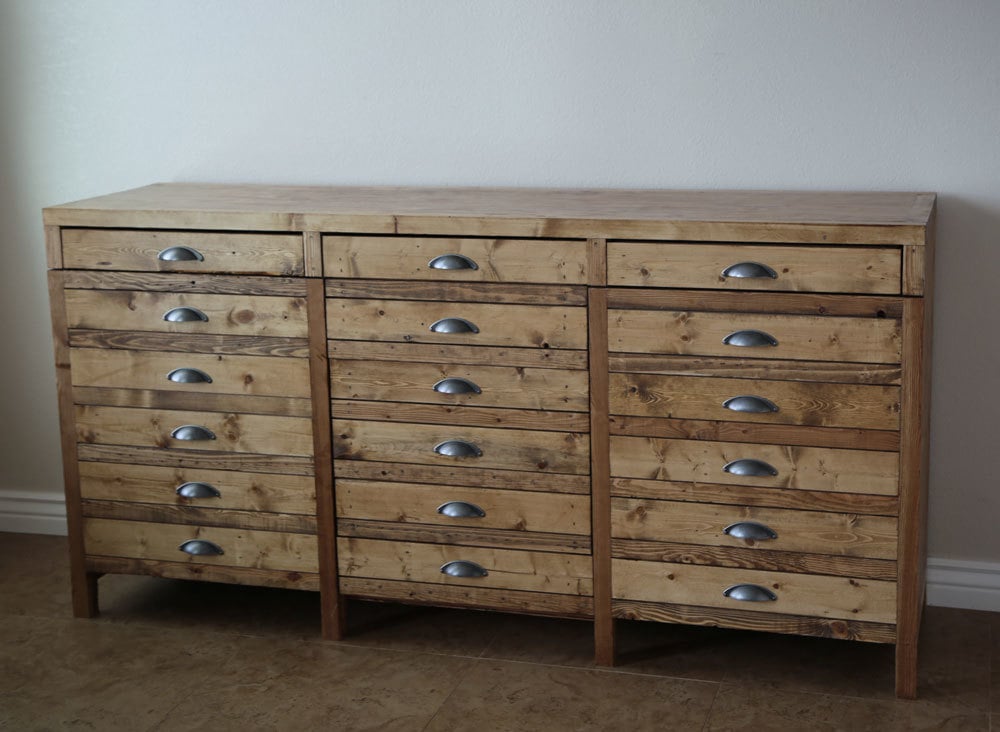
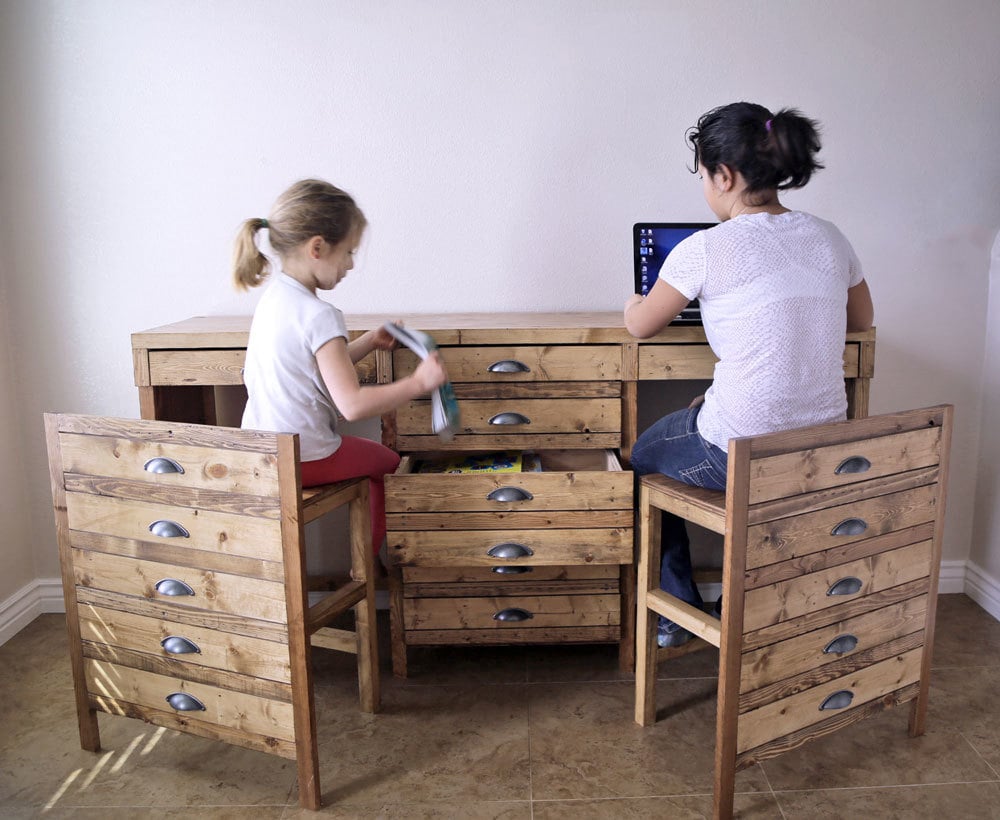
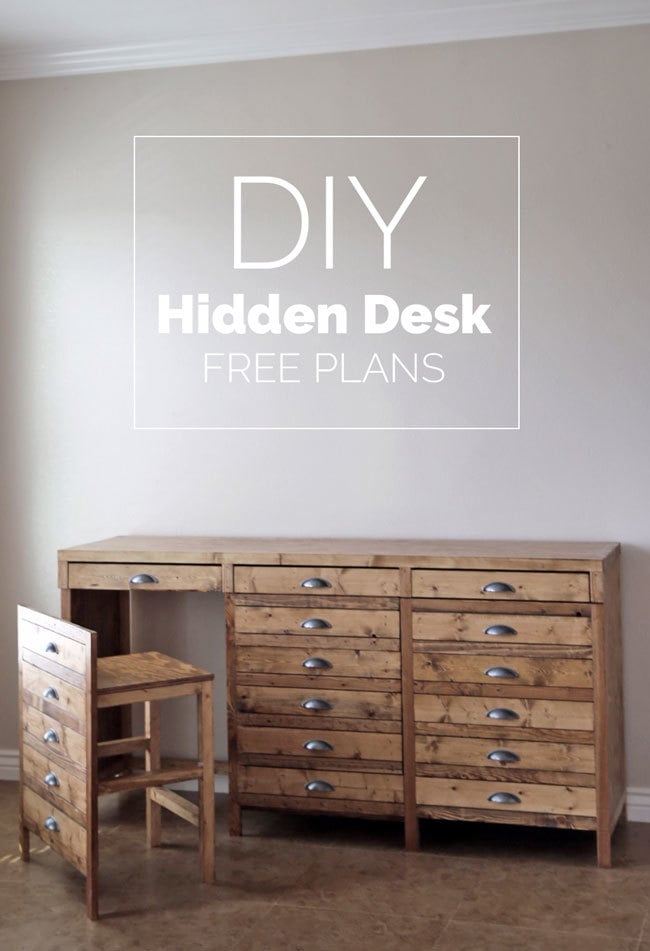
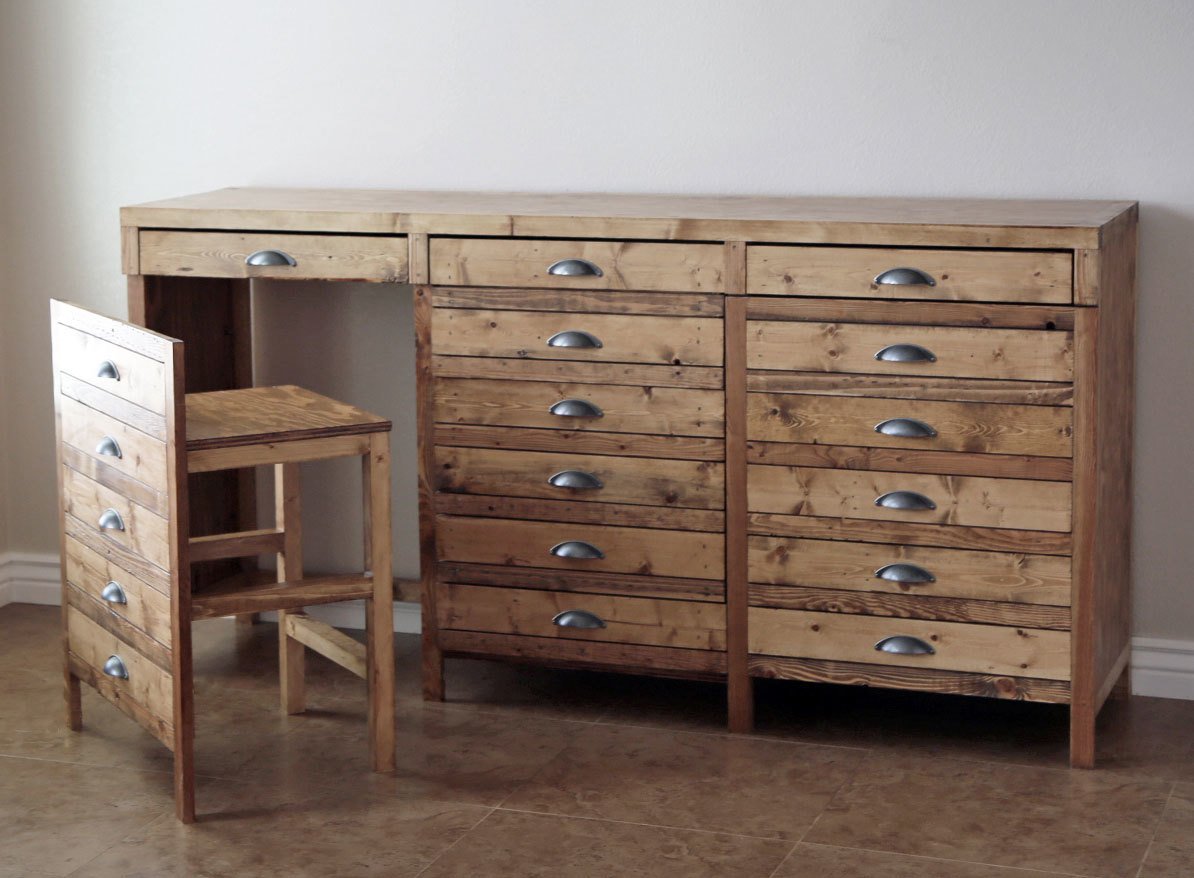
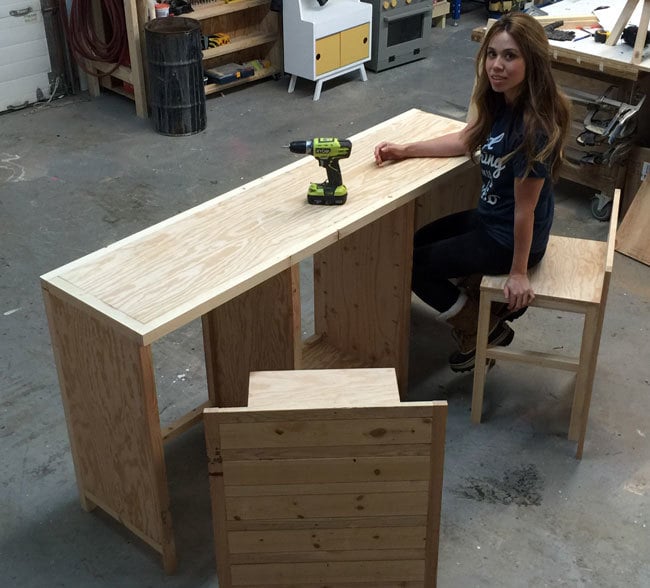
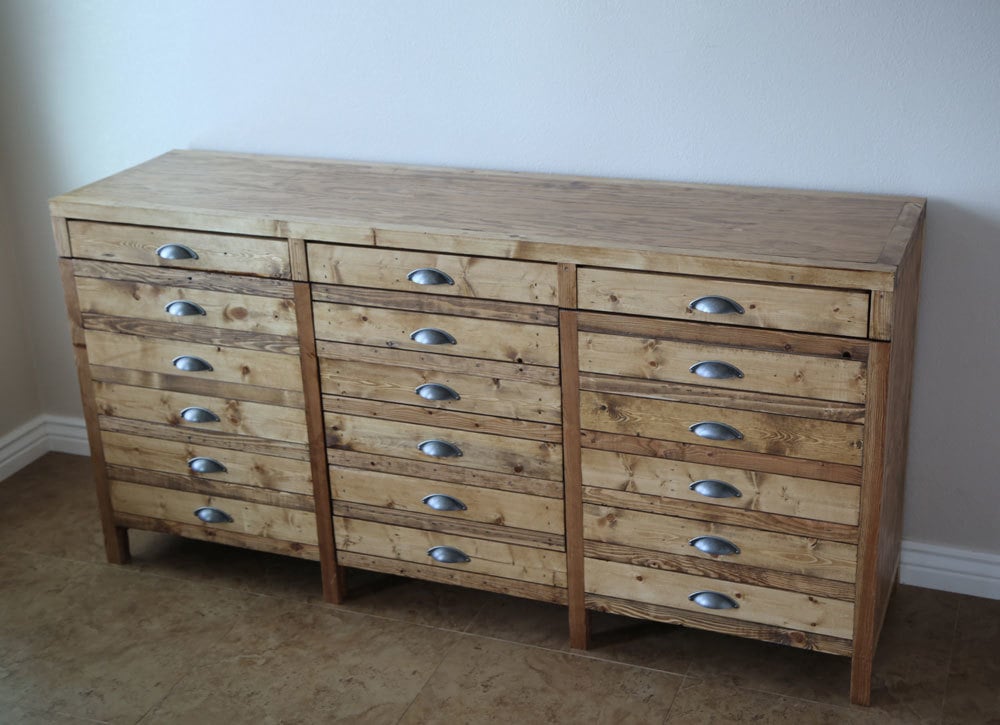
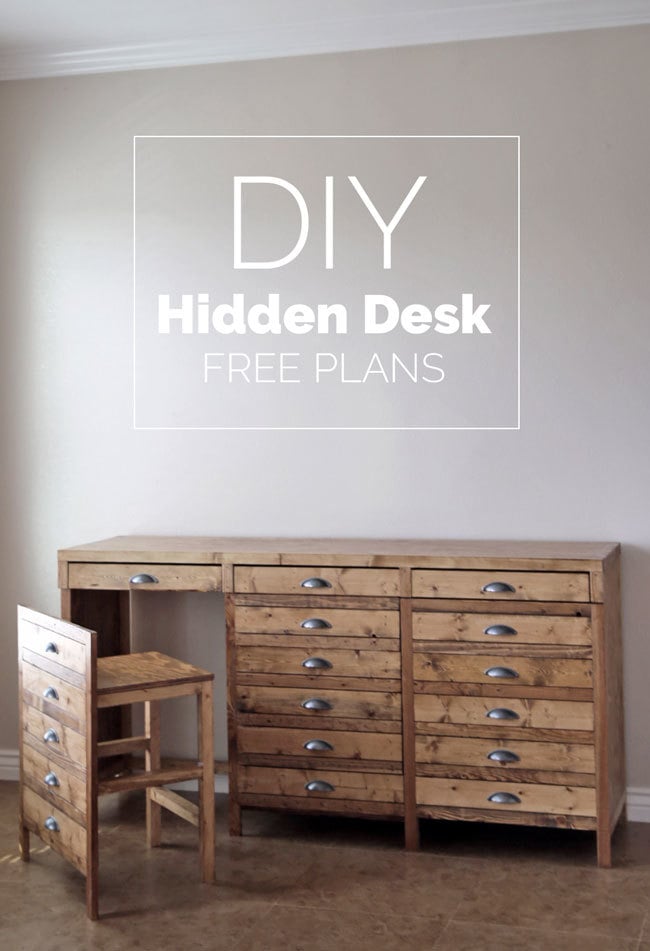
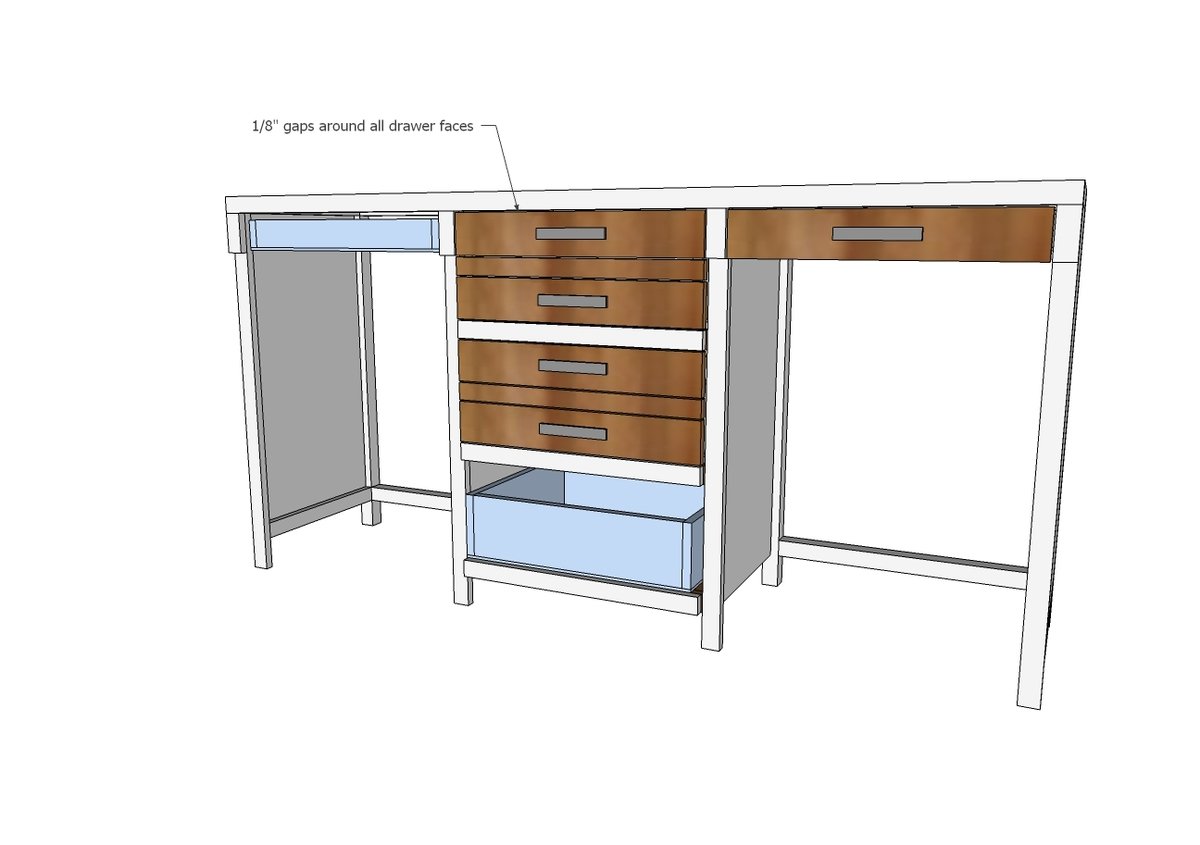
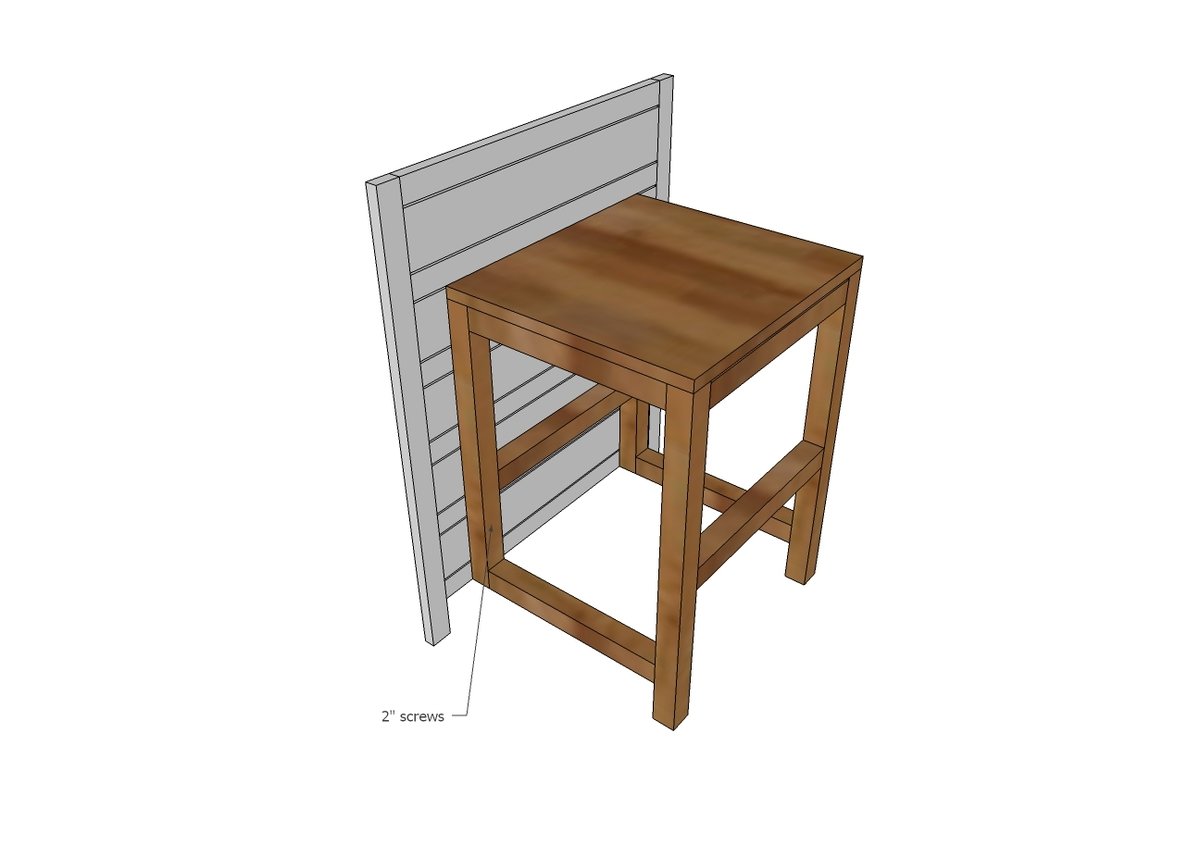
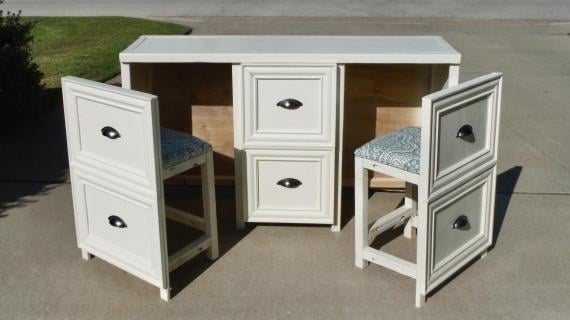
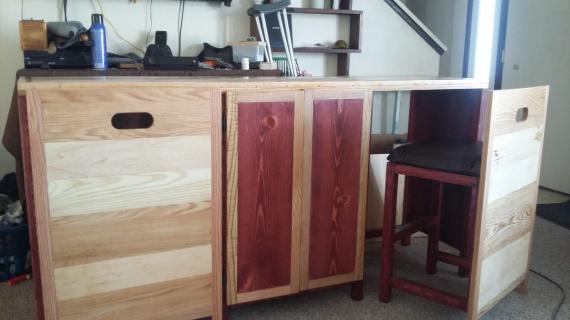
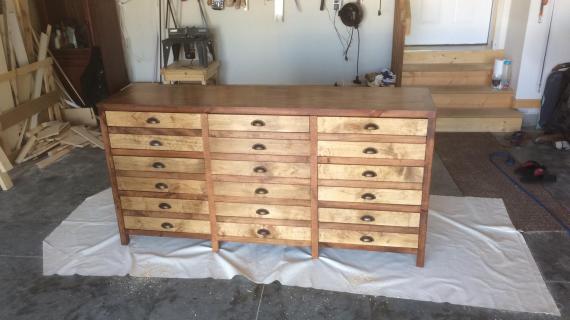
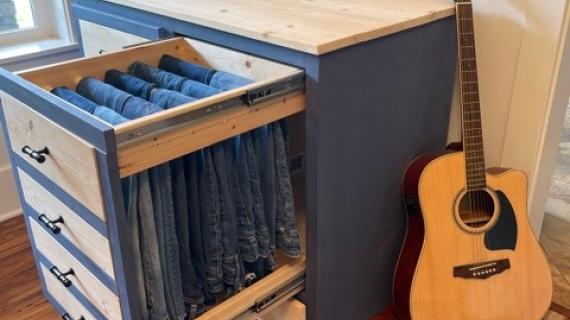
Here's how to create an office or desk system anywhere! The beautiful cabinet is actually a desk with hidden stools!
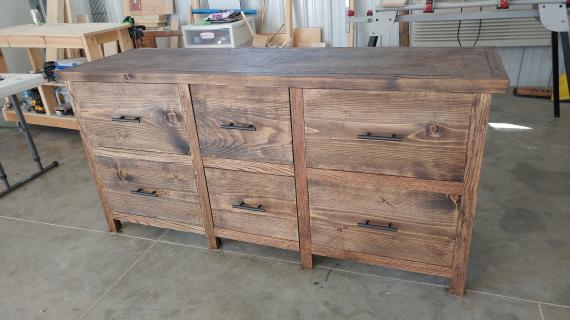
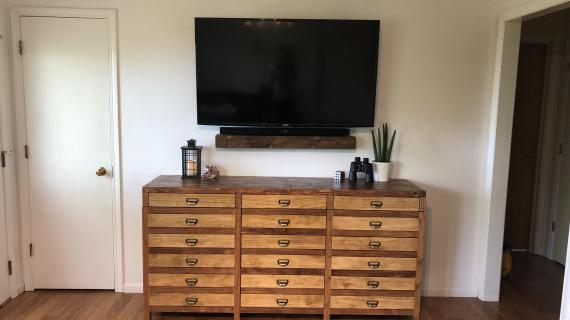
This is a free woodworking plan to build your own console table that converts to a desk system. The free plans include step by step diagrams, shopping and cut list and lots of photos by ana-white.com
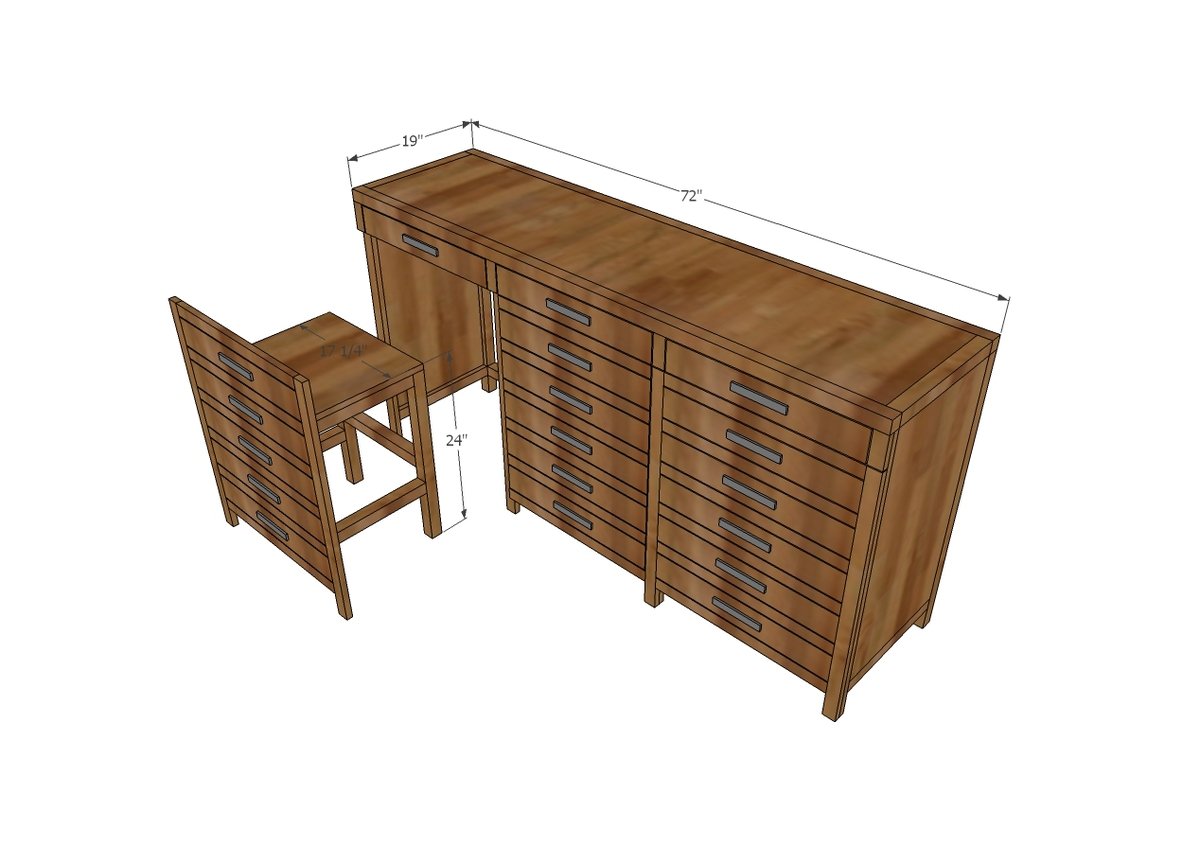
Preparation
- 1 sheet 3/4" plywood ripped into strips 15-3/4" wide x 8 feet long
- 1 sheet of 1/4" plywood for drawer bottoms
- 7 - 2x2 @ 8 feet long
- 7 - 1x2 @ 8 feet long
- 1 - HARDWOOD 1x2 @ 12 feet long
- 2 - 1x3 @ 8 feet long
- 2 - 1x8 @ 8 feet long and
- 1 - 1x8 @ 4 feet long
- 5 - 1x4 @ 8 feet long
- 18 - cup bin pulls (I got mine from D.Lawless)
- 5 - 18" drawer slides (I use Liberty Euro white ones available at Home Depot)
- Also recommend nail on plastic glides for all bottoms to allow stools to slide in easily.
CABINET
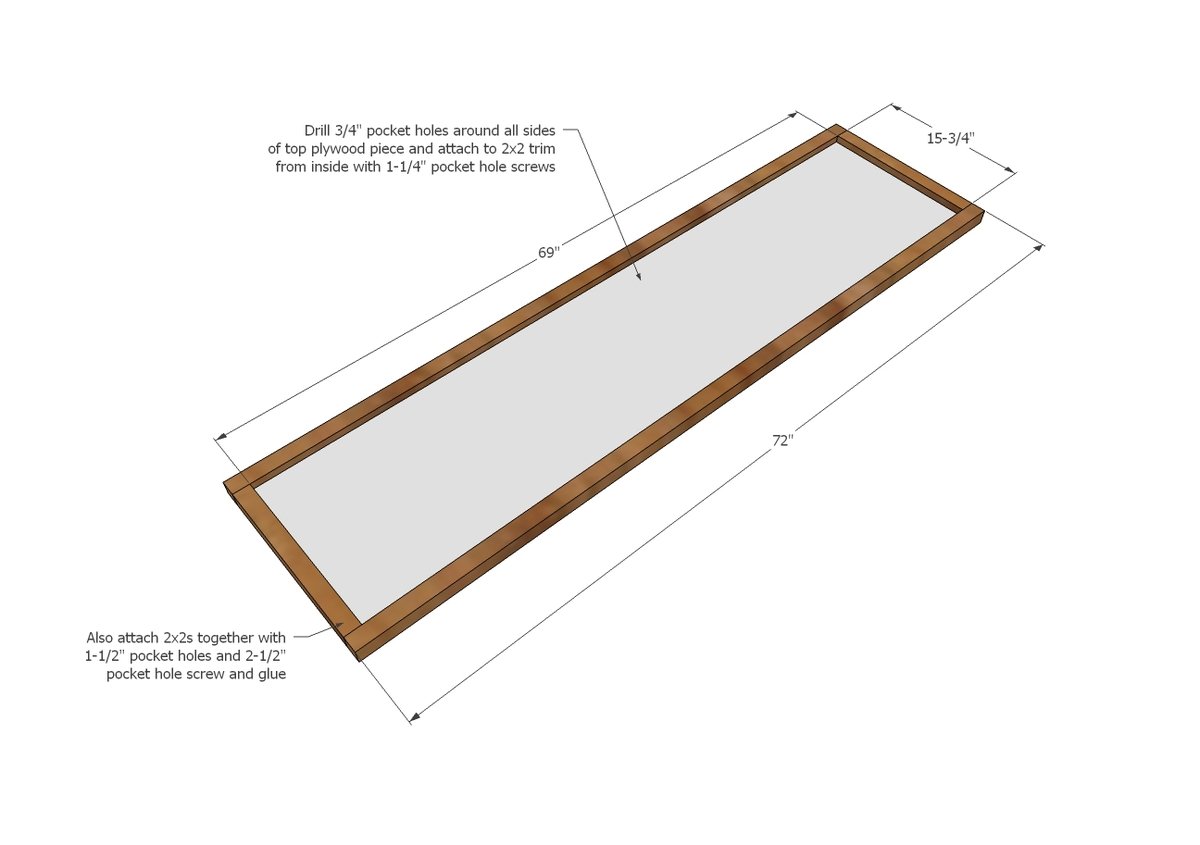
- 1 - 3/4" plywood @ 15-3/4" x 69" (top)
- 4 - 2x2 @ 15-3/4" (end trim)
- 2 - 2x2 @ 72" (top front trim)
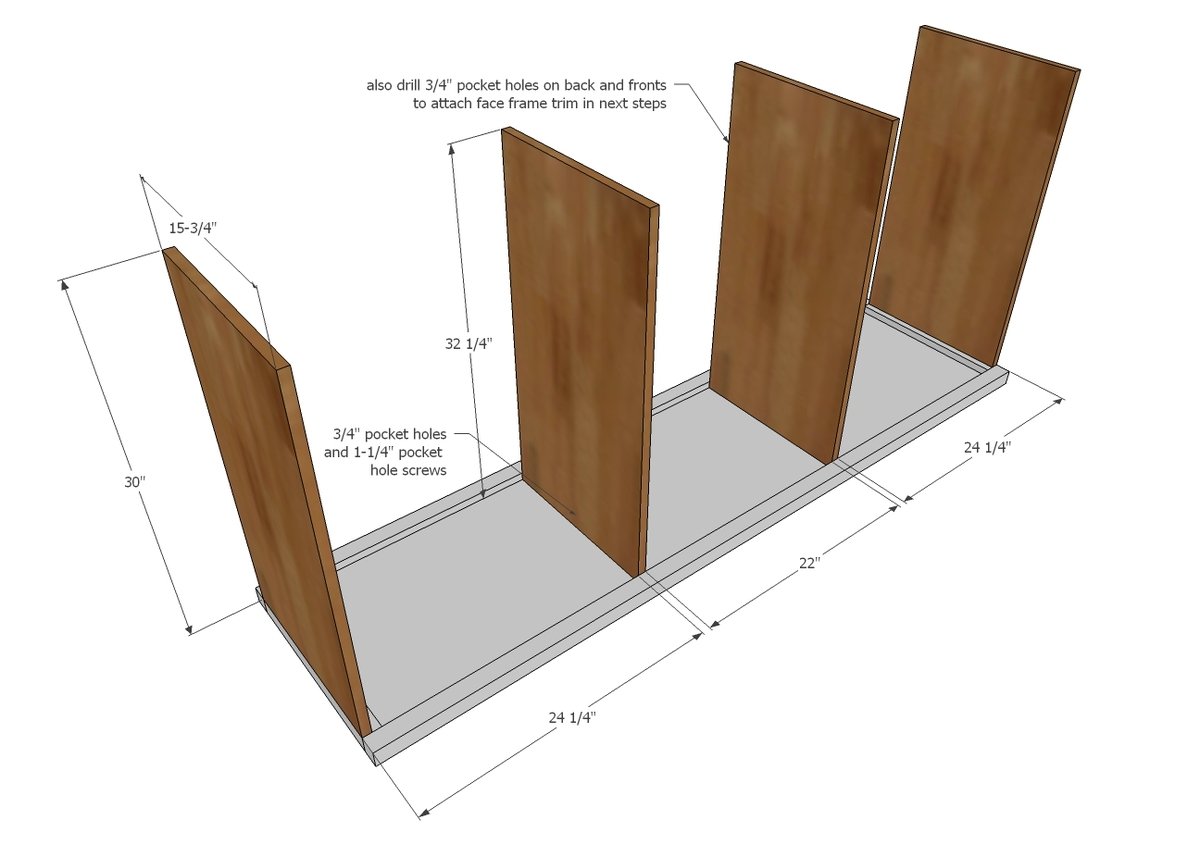
- 2 - 3/4" plywood @ 15-3/4" x 30" (sides)
- 2 - 3/4" plywood @ 15-3/4" x 32-1/4" (dividers)
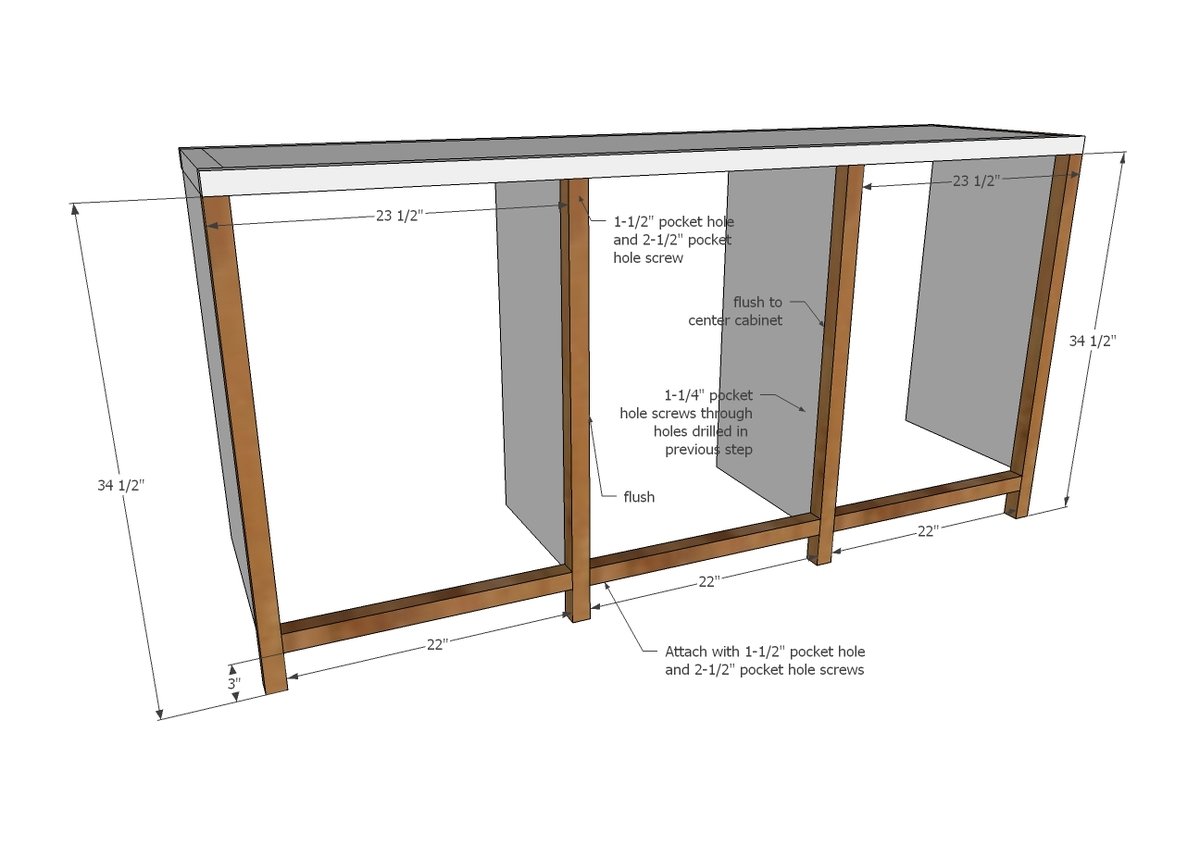
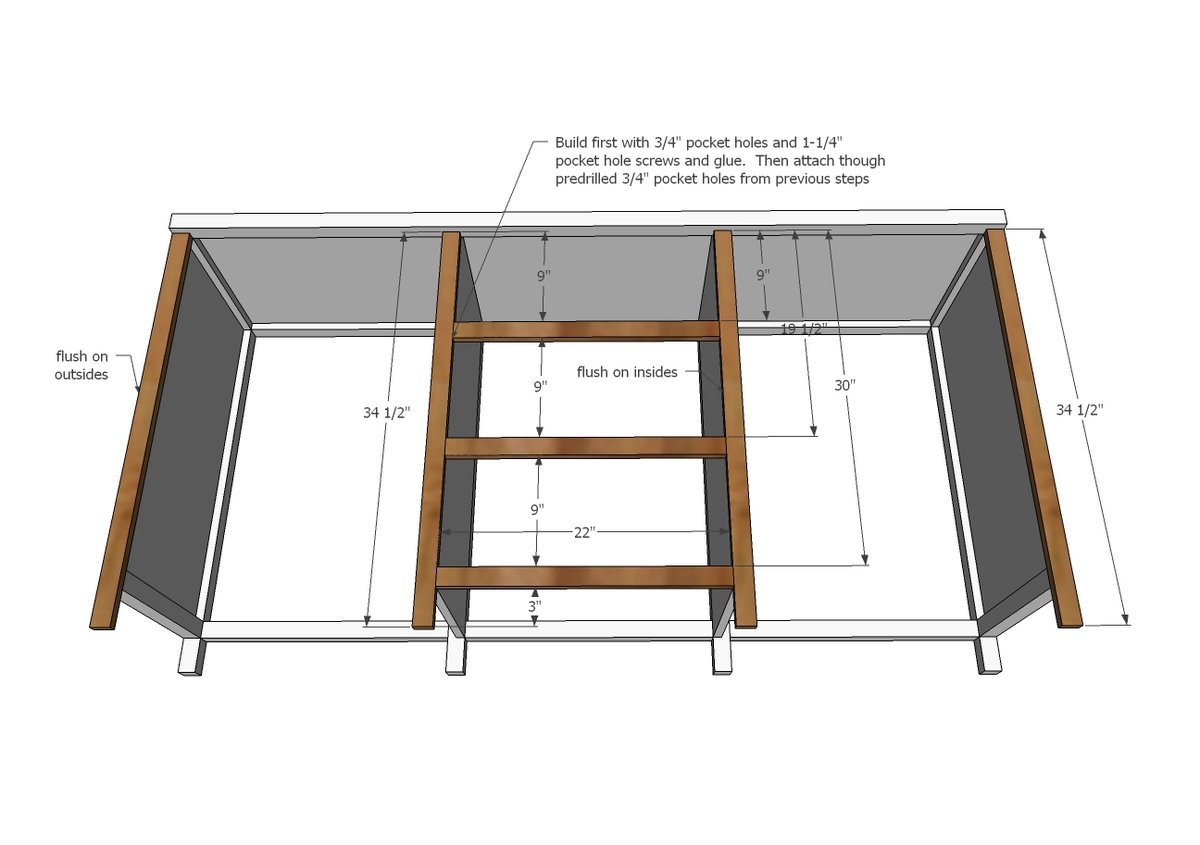
- 4 - 2x2 @ 34-1/2" (back legs)
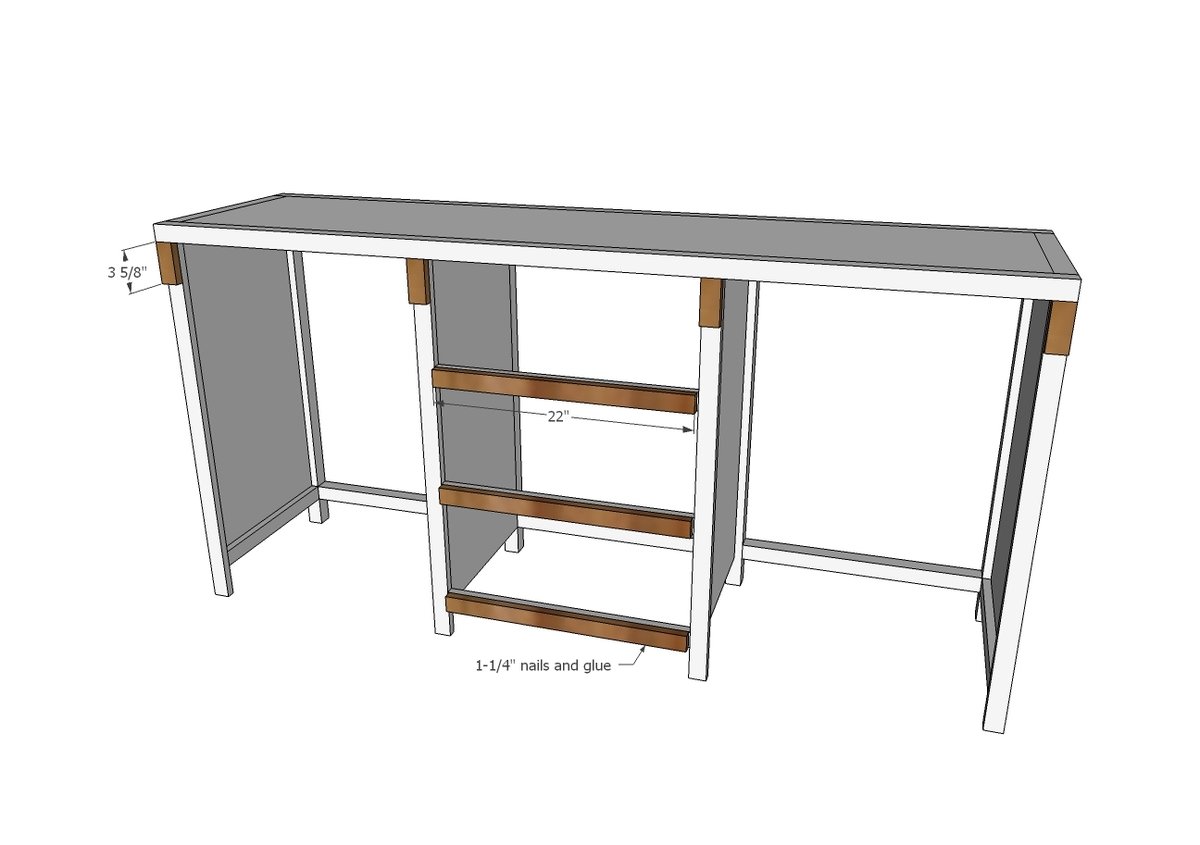
- 3 - 2x2 @ 22" (back supports)
- 4 - 1x2 @ 34-1/2" (front trim)
- 6 - 1x2 @ 22" (front drawer trim)
- 4 - 1x2 @ 3-5/8" (front trim)
DRAWERS
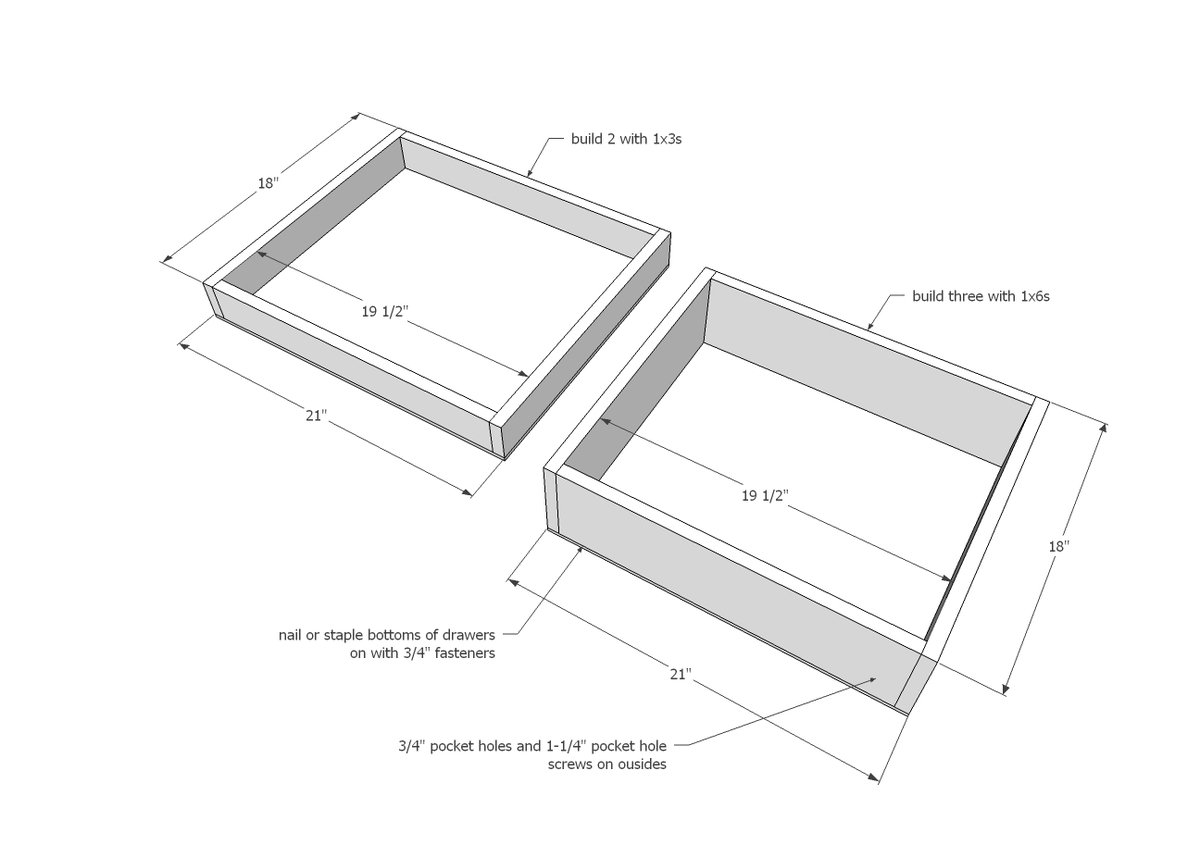
- 4 - 1x3 @ 18"
- 4 - 1x3 @ 19-1/2"
- 6 - 1x8 @ 18"
- 6 - 1x8 @ 19-1/2"
- 5 - 1/4" plywood @ 21" x 18"
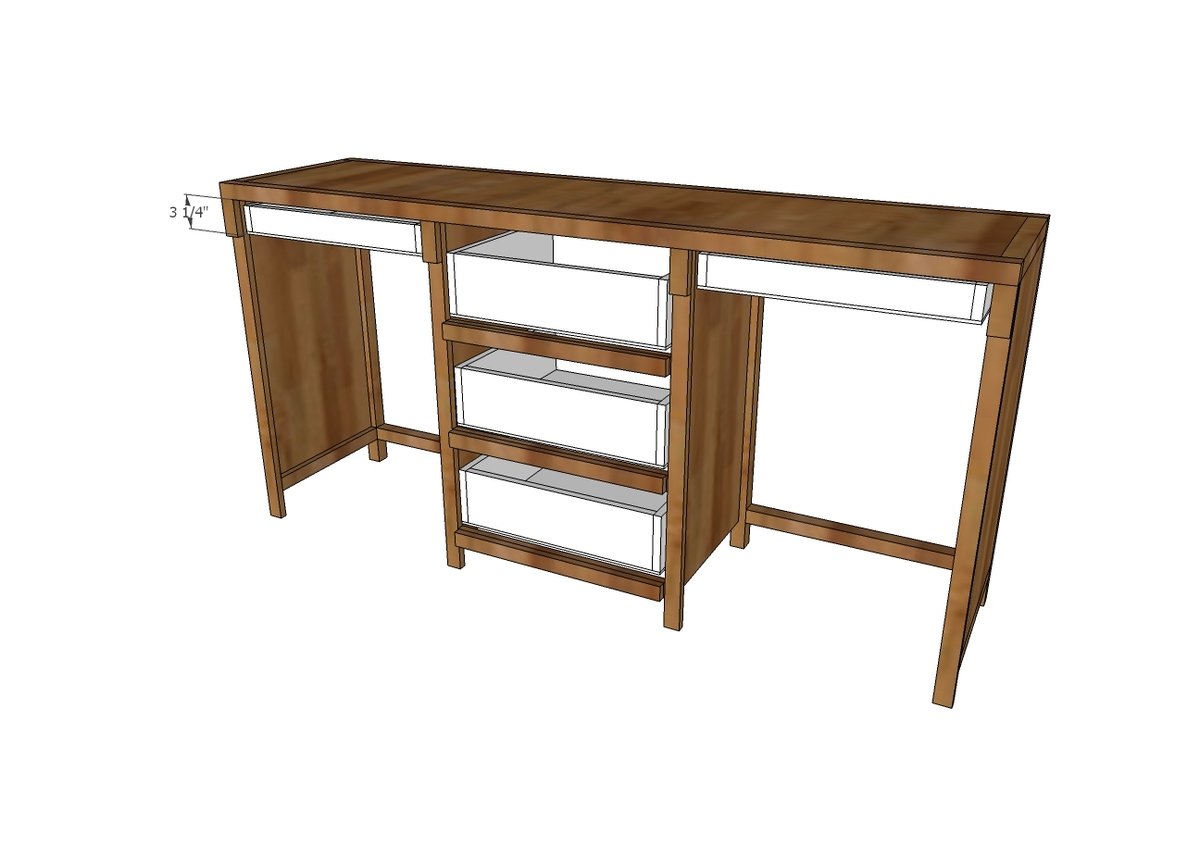
- 8 - 1x4 @ 21-3/4" (drawer faces)
- 3 - 1x2 @ 21-3/4" (drawer faces)
STOOLS
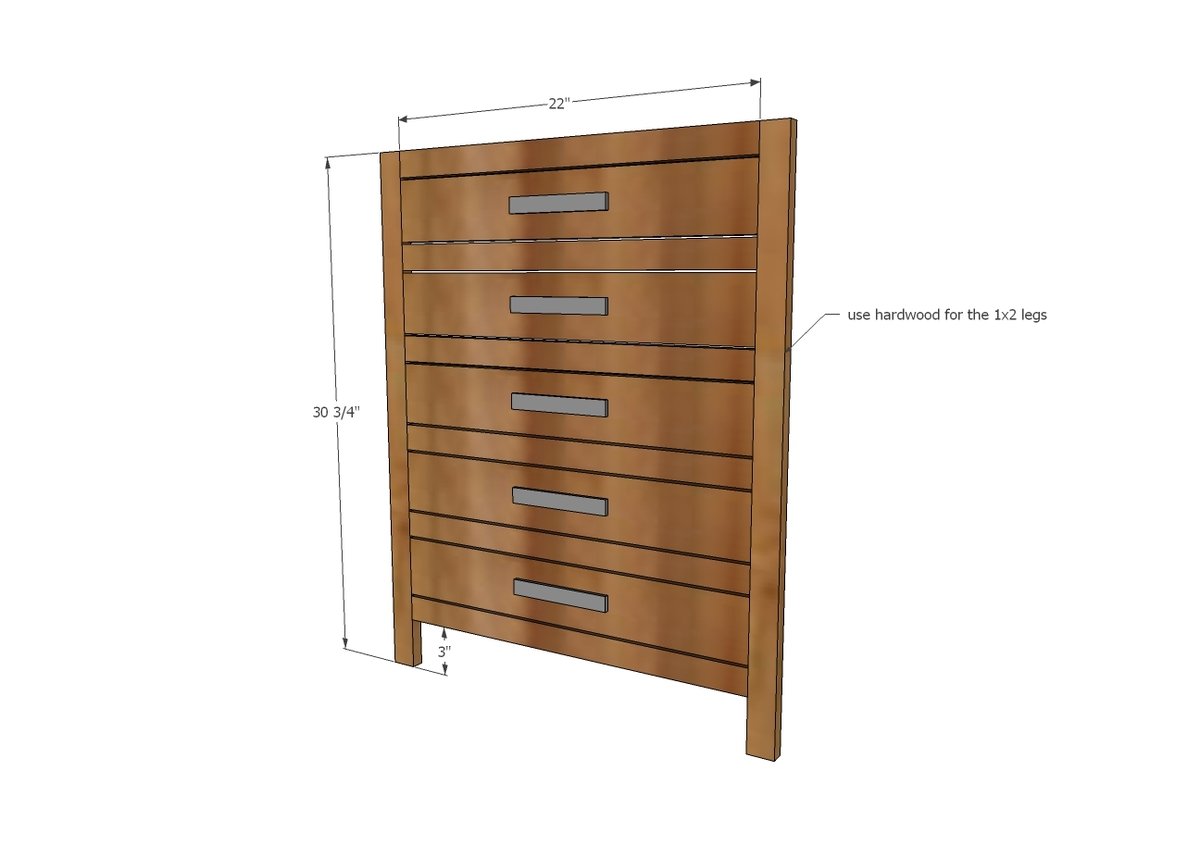
- 4 - 1x2 @ 30-3/4" - USE HARDWOOD (stool legs)
- 12 - 1x2 @ 22"
- 10 - 1x4 @ 22"
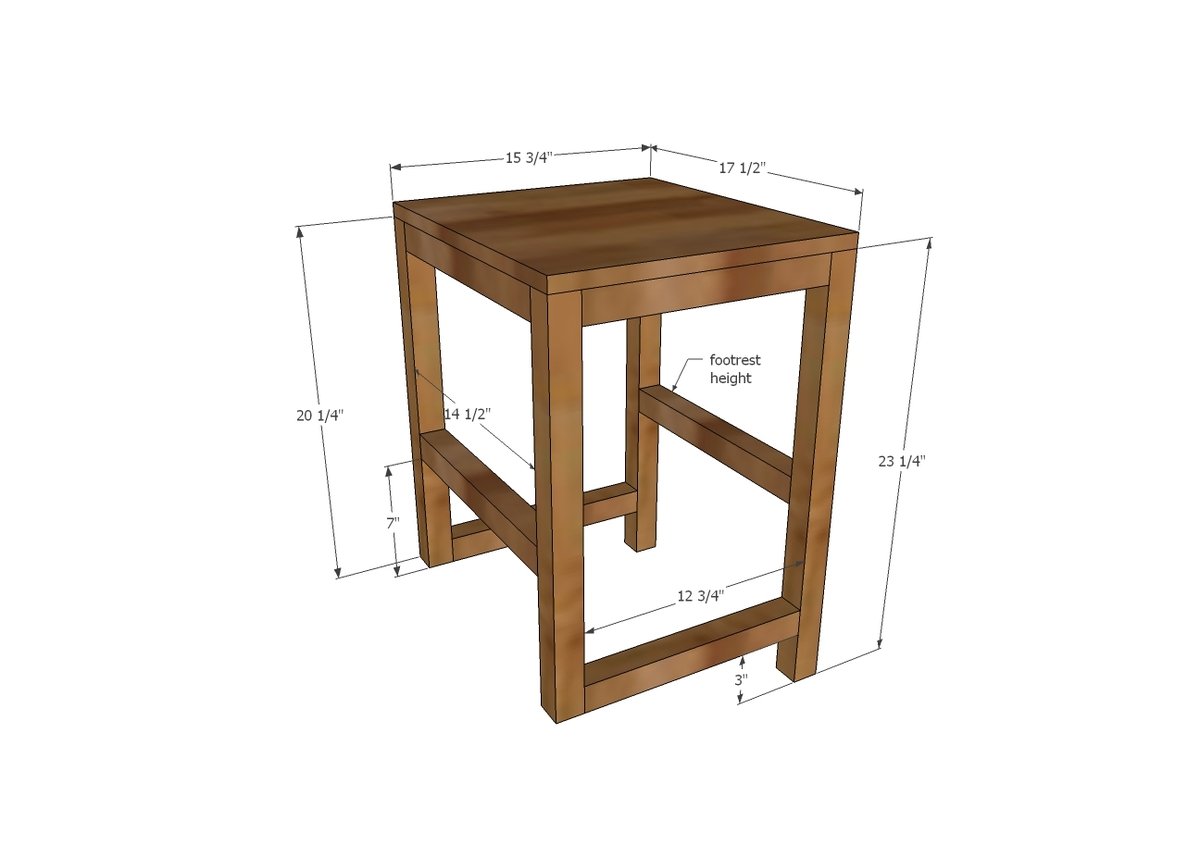
- 2 - 3/4" plywood @ 15-3/4" x 17-1/2"
- 2 - 2x2 @ 20-1/4"
- 2 - 2x2 @ 23-1/4"
- 2 - 2x2 @ 14-1/2"
- 2 - 2x2 @ 12-3/4"
Instructions
Step 1
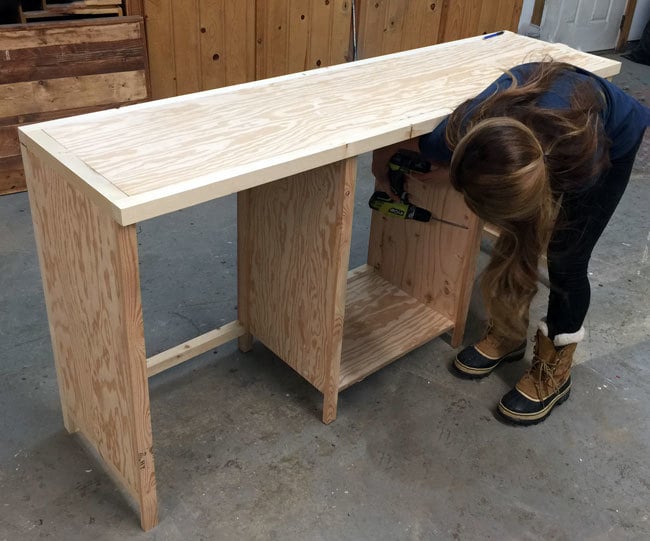
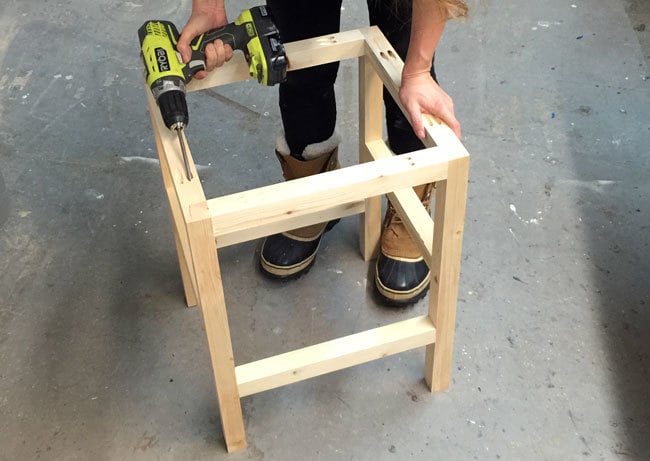
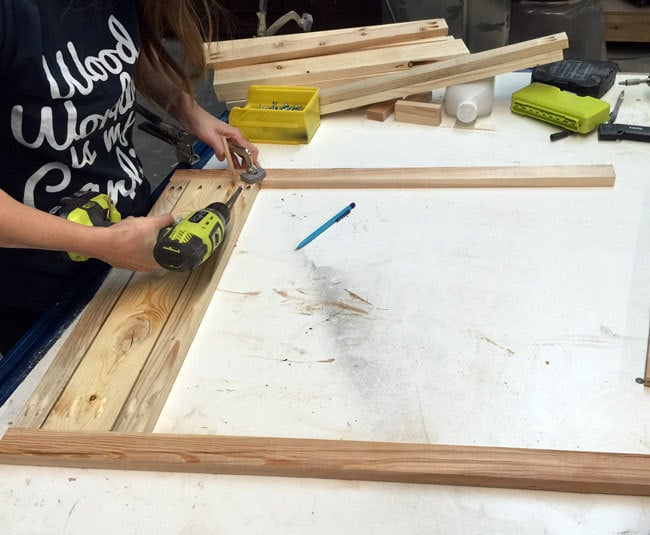
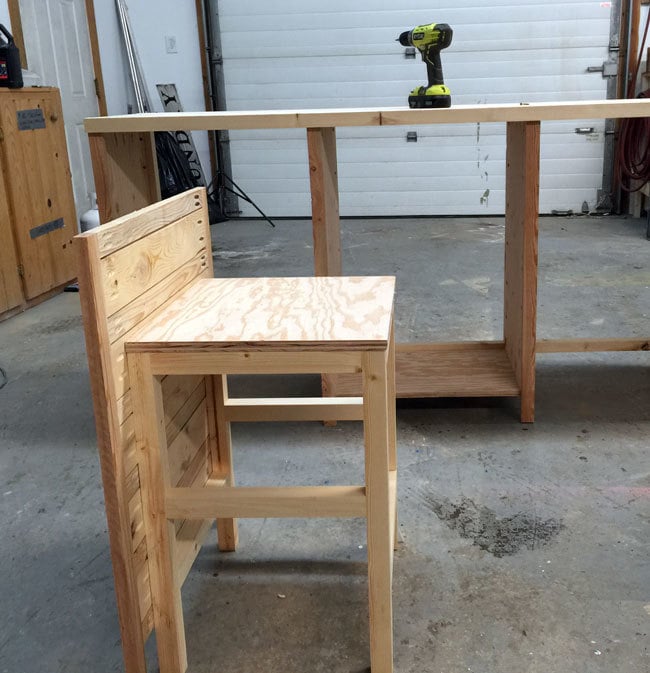
There's alot of different ways to build the cabinet, ultimately I decided building the top first was the way to go just because the top is the most visible and should be prioritized. Drill 3/4" pocket holes around all four sides of the top plywood piece. Drill a 1-1/2" pocket hole on each end of the 2x2 end trim. Then attach 2x2 sides and front/back with 1-1/4" pocket hole screws.
Step 2
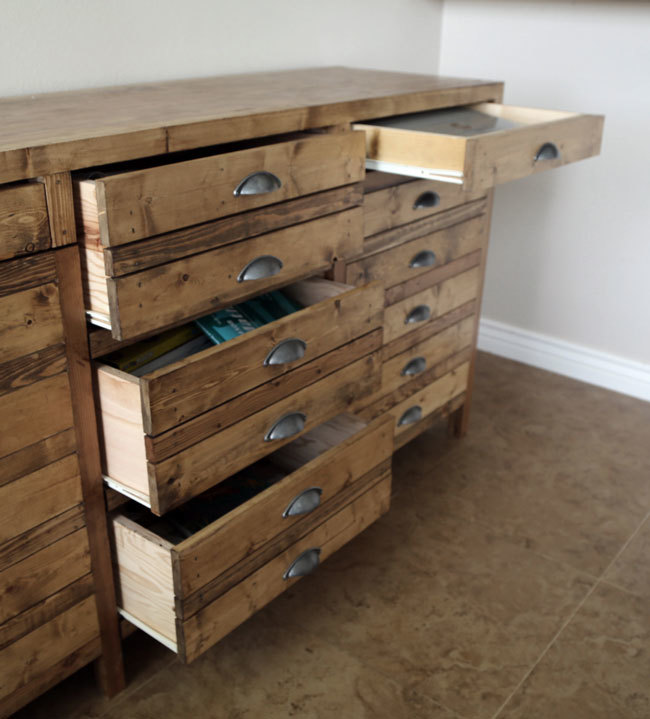
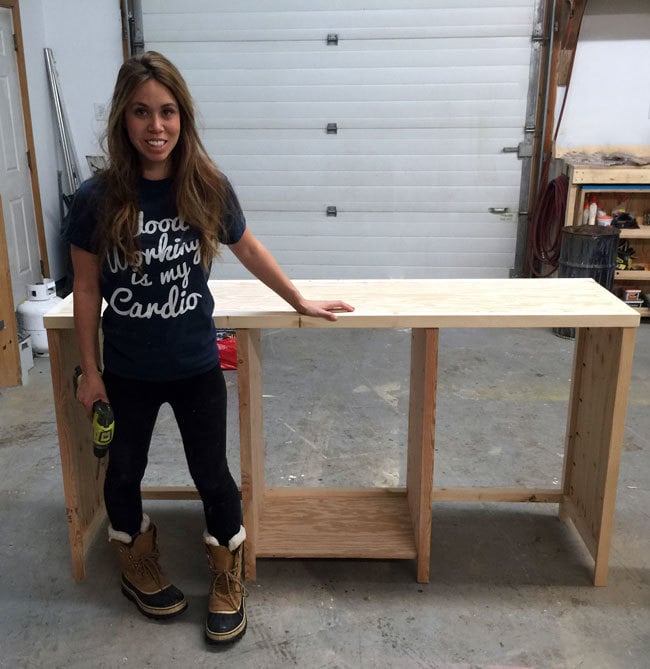
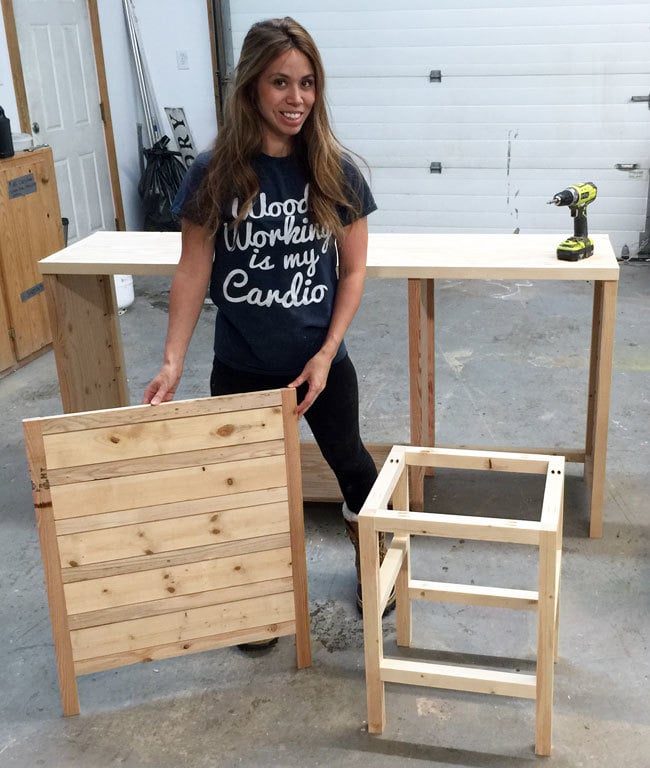
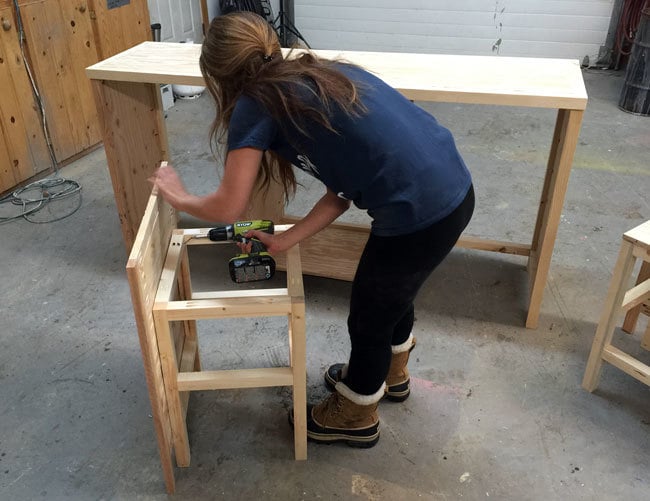
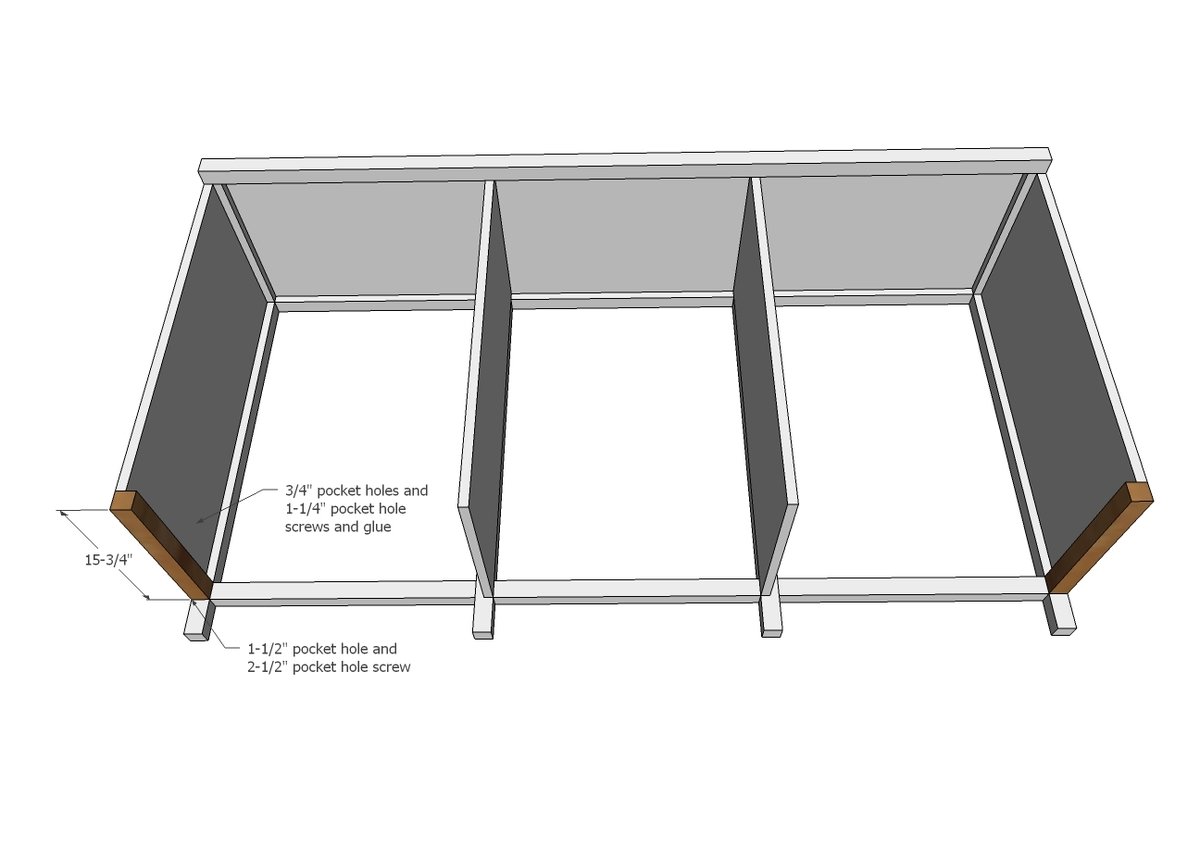
Next the sides and dividers. Drill 3/4" pocket holes along top, front and back edges. Also drill 3/4" pocket holes along bottom edge of sides (not needed on dividers) Assemble with 1-1/4" pocket hole screws and glue, hiding pocket holes on insides. It is very important that these pieces are placed square to the cabinet, to avoid issues with drawers.









Comments
bpierce_arch
Sat, 07/21/2018 - 17:45
full plans
How do i get the rest of the steps for this piece? I only see up to step 12.
BrookR
Tue, 01/15/2019 - 06:37
Plans
As the commenter Above mentioned, many of the steps are missing. I would really like to complete this project, I love it so much! Are the full plans available somewhere else? Thanks again for all your hard work creating these plans for us, Ana.
BrookR
Tue, 01/15/2019 - 06:52
Actually now that I look at
Actually now that I look at it further, maybe this was all the steps needed and the additional steps mentioned in the plans were a mistake?
In reply to Actually now that I look at by BrookR
Ana White
Fri, 01/18/2019 - 16:26
All of the steps are there.
All of the steps are there. The extra steps are just fields for plans that have more steps.
preciousartforms
Mon, 10/26/2020 - 13:49
How do you attach the…
How do you attach the drawers above the stools if the trim is not flush on the inside?