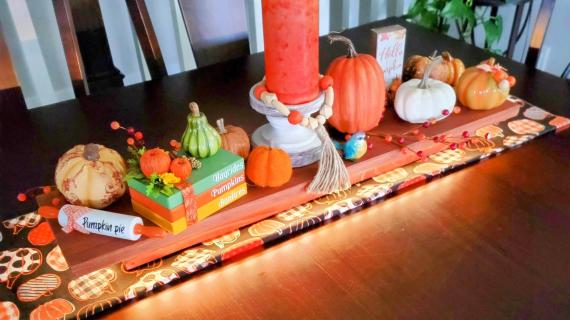
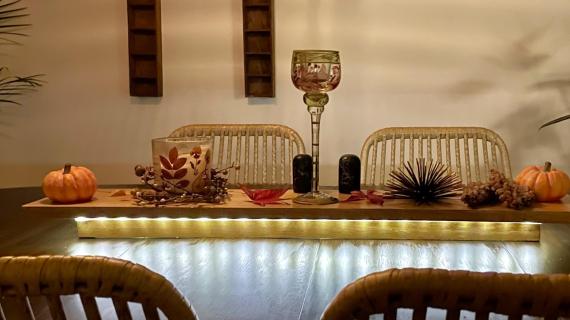
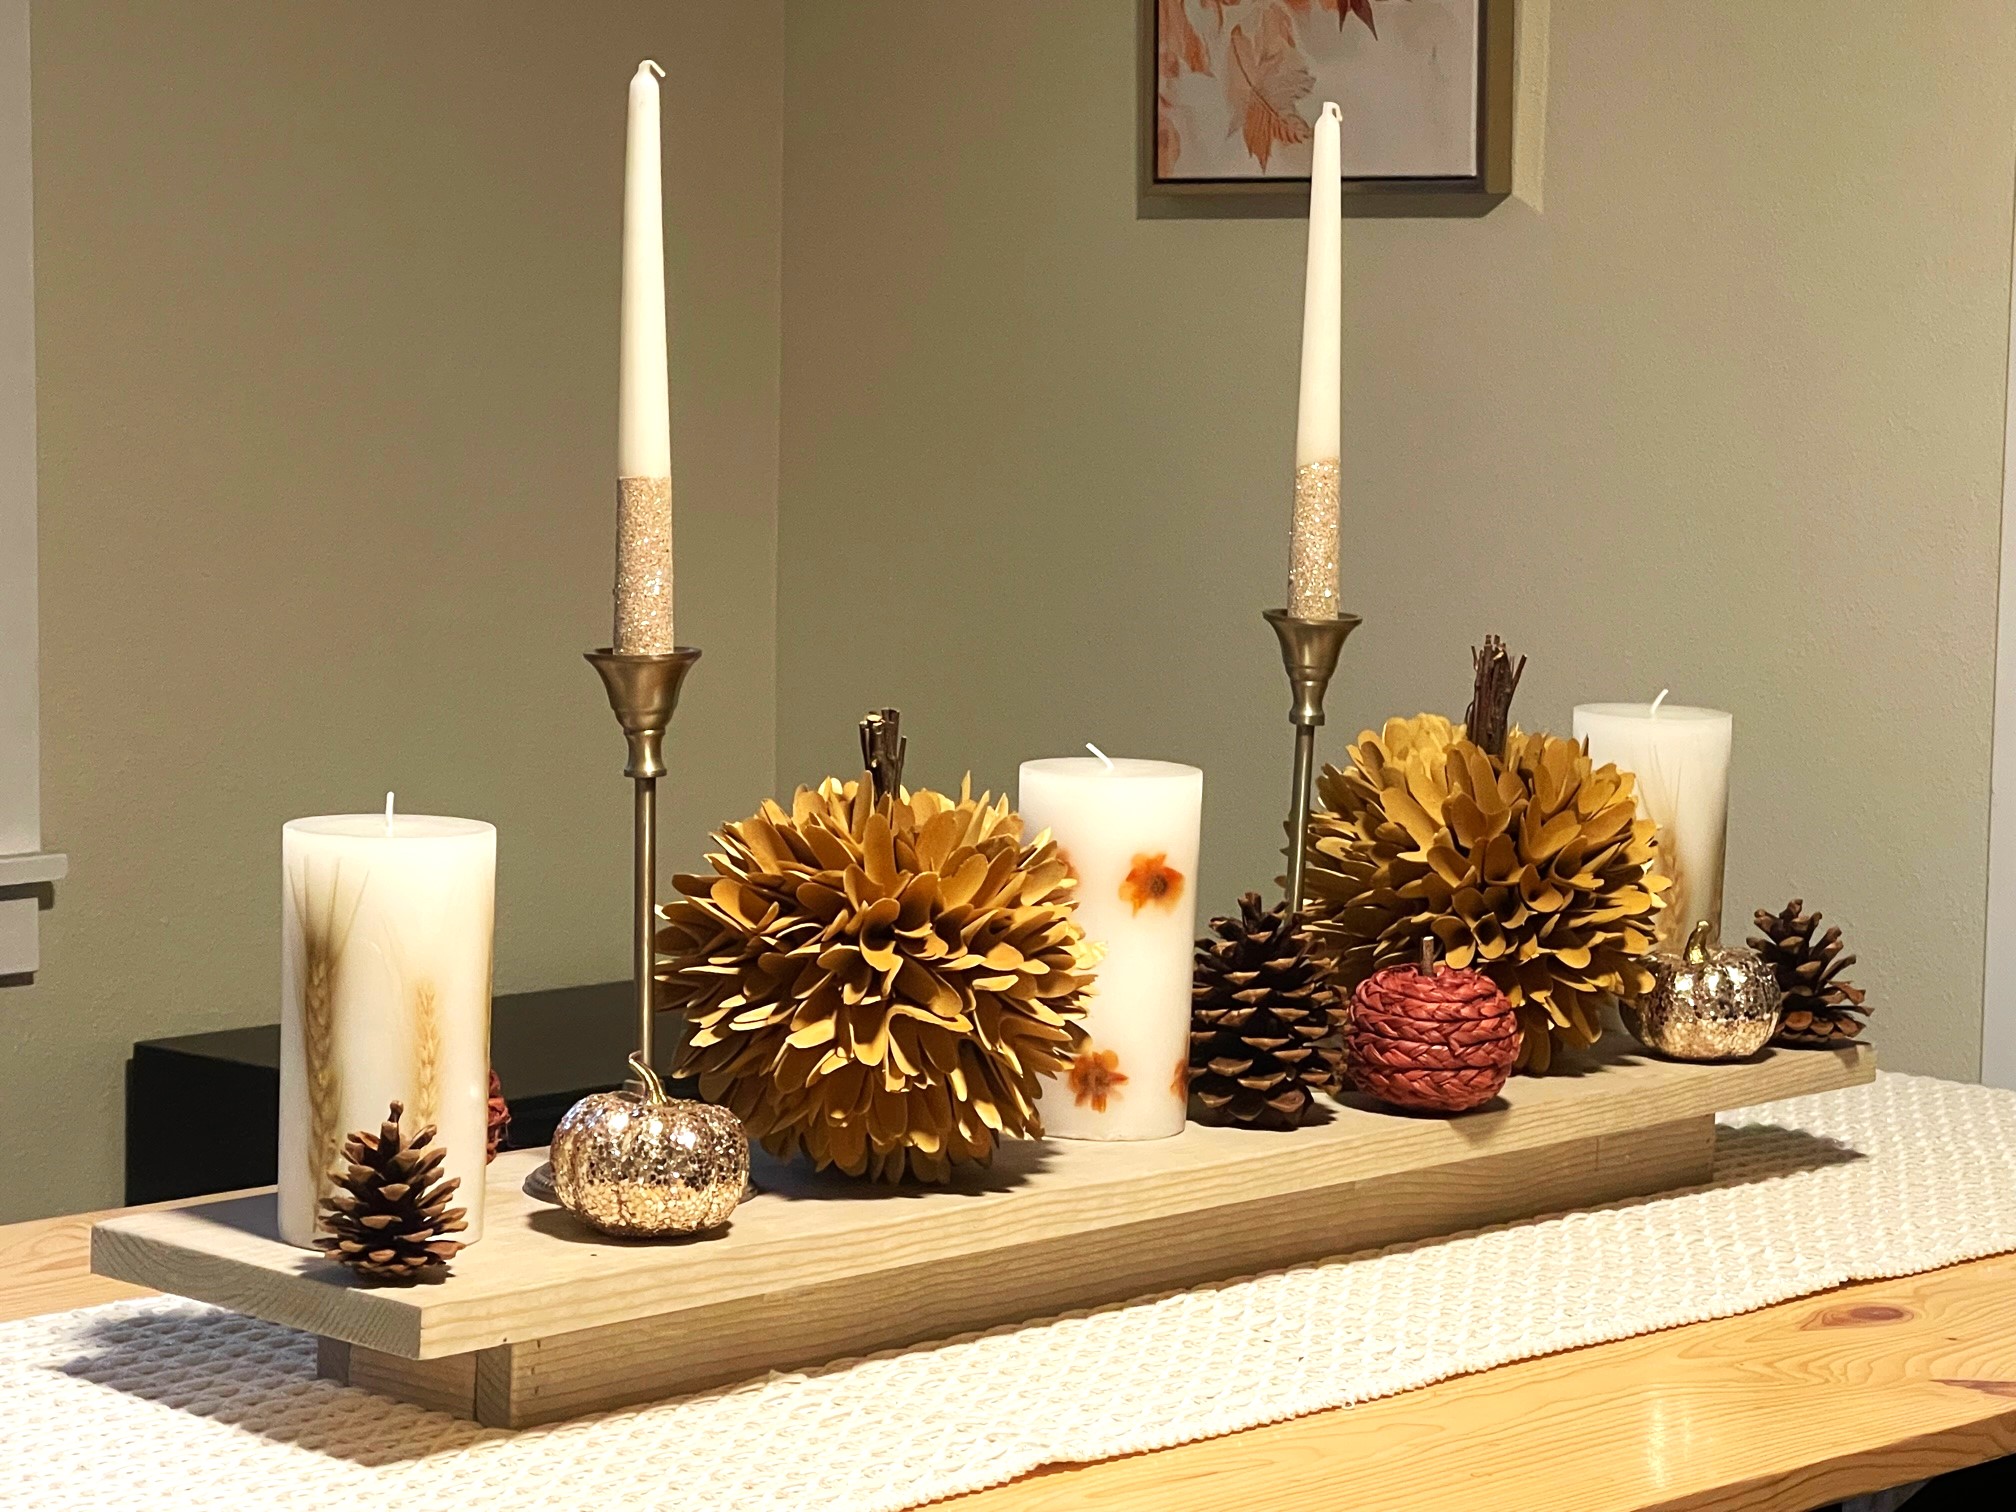
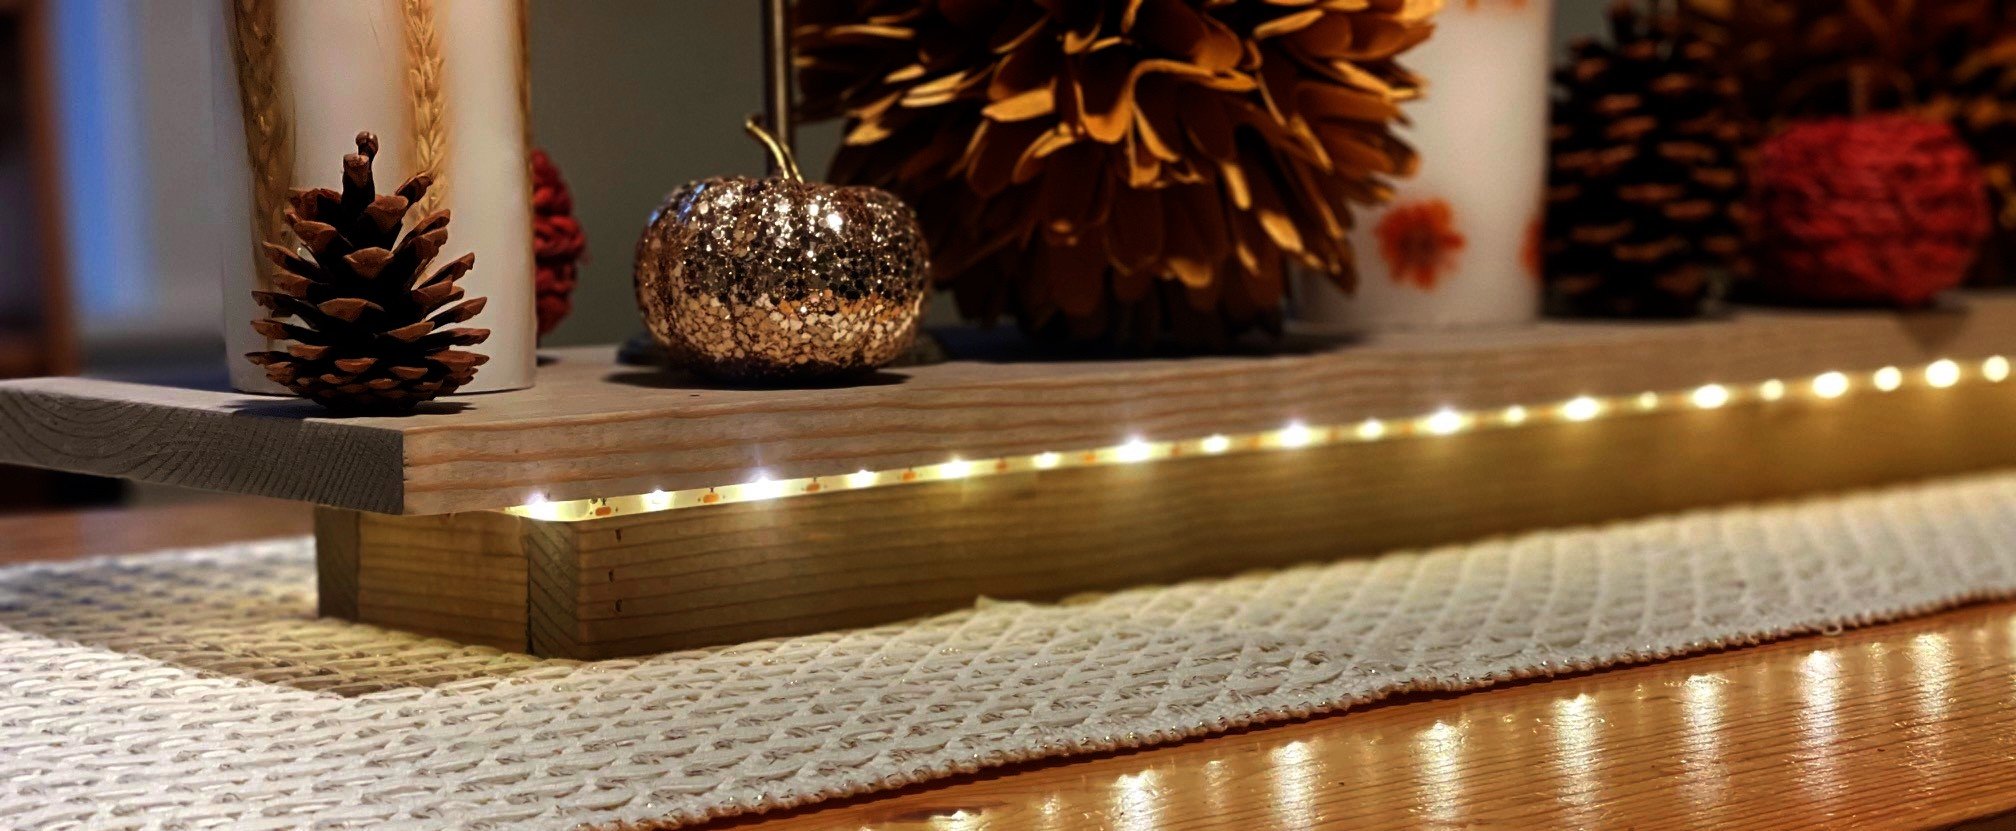
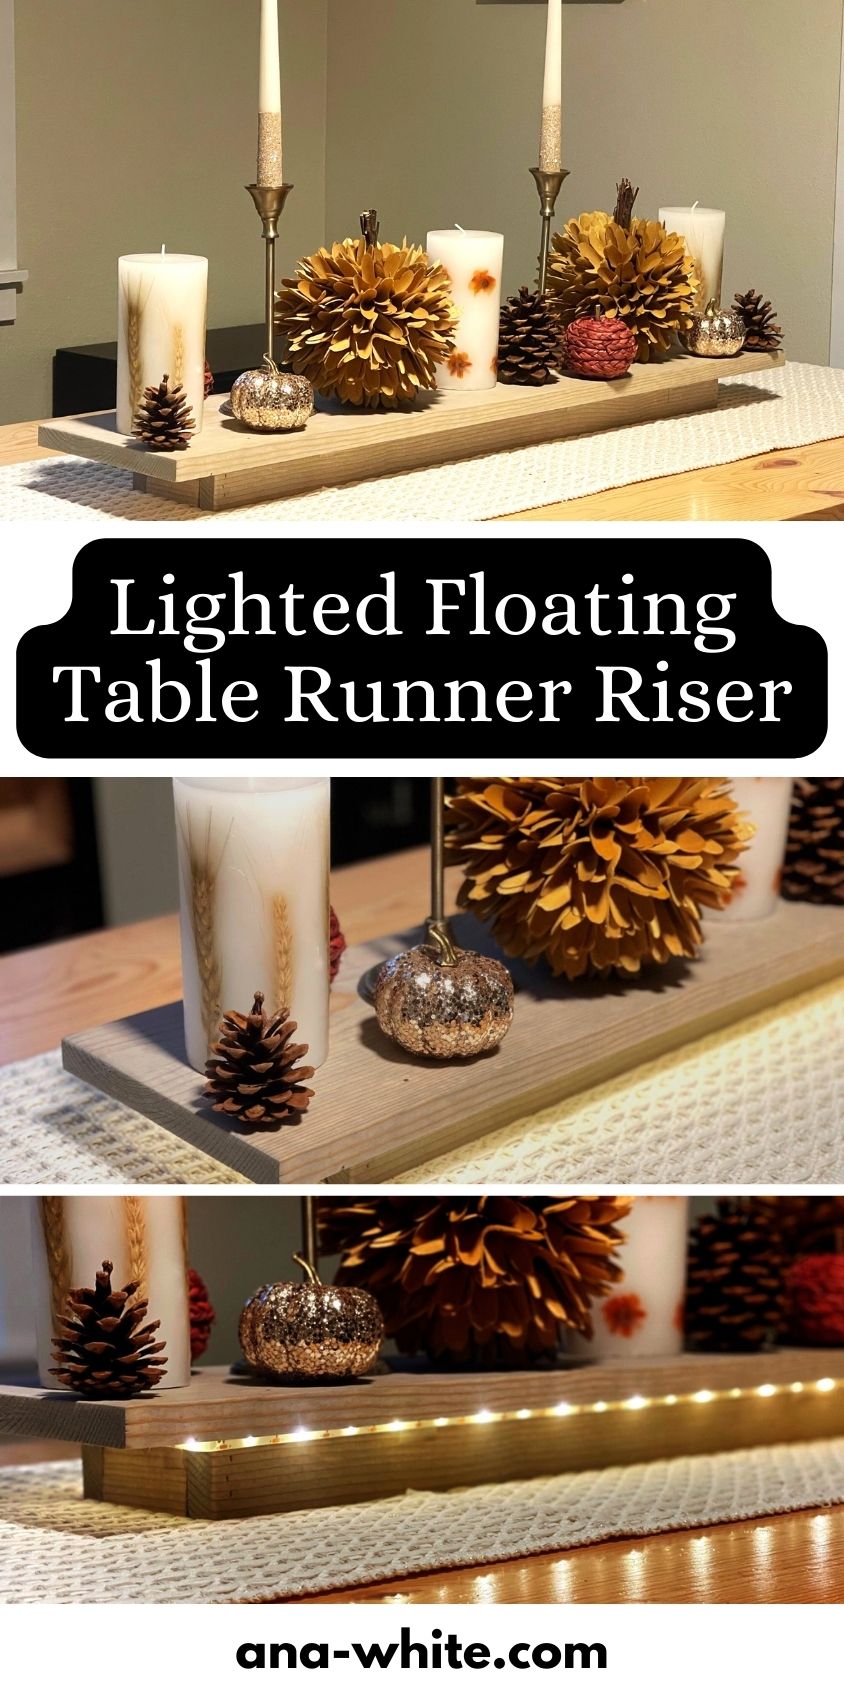
Elevate your dining table with a wood runner riser - this adds a beautiful wood texture to your dining space, separates out your centerpiece decor, AND it's lighted, adding a glimmer of glamour. Free step by step plans from Ana-White.com
Make your own gorgeous wood centerpiece riser, it floats and is lighted to elevate your decor and dishes!
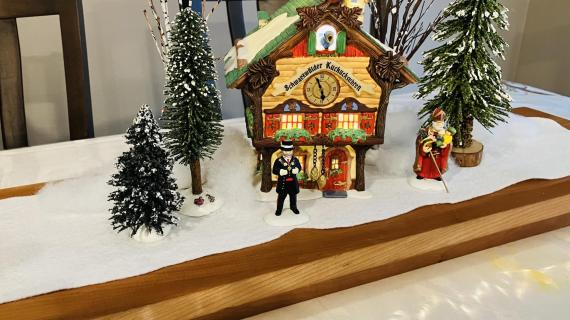
We love this both with decor on top, or your favorite meal on top!
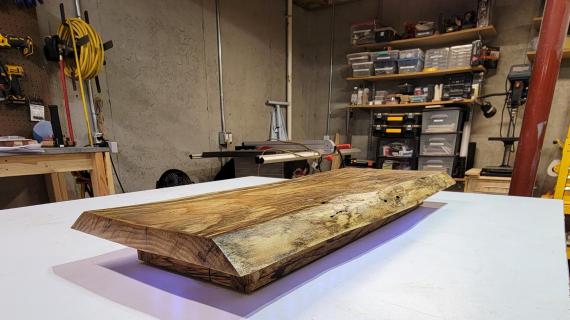
How This Floating Wood Riser Centerpiece is Made
This wood runner centerpiece riser is so easy to make. We used 1x pine whitewood boards and brad nails to whip it together.
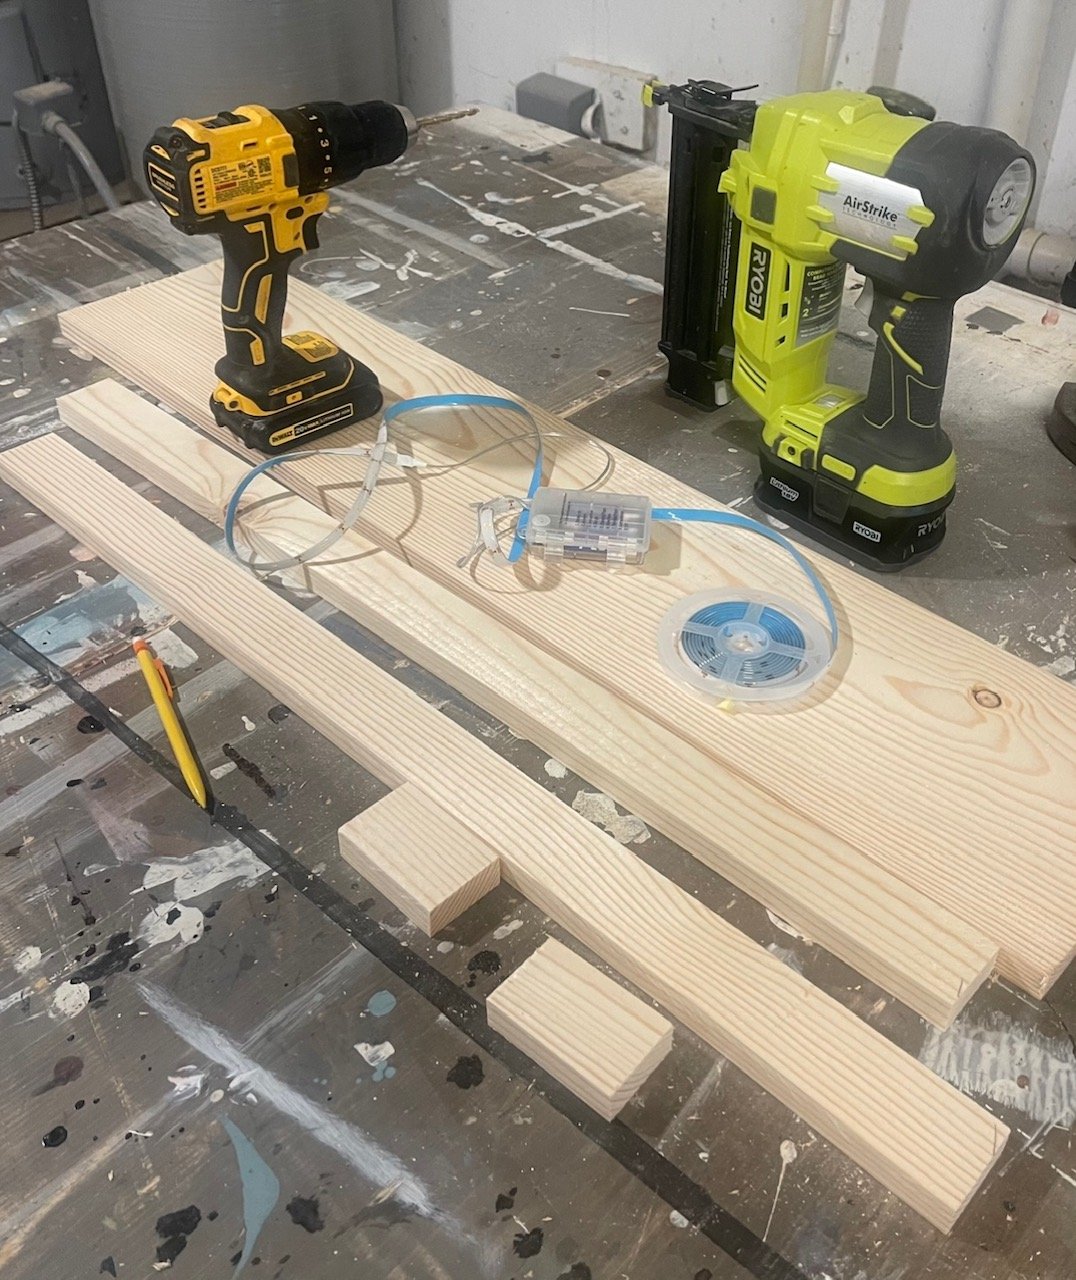
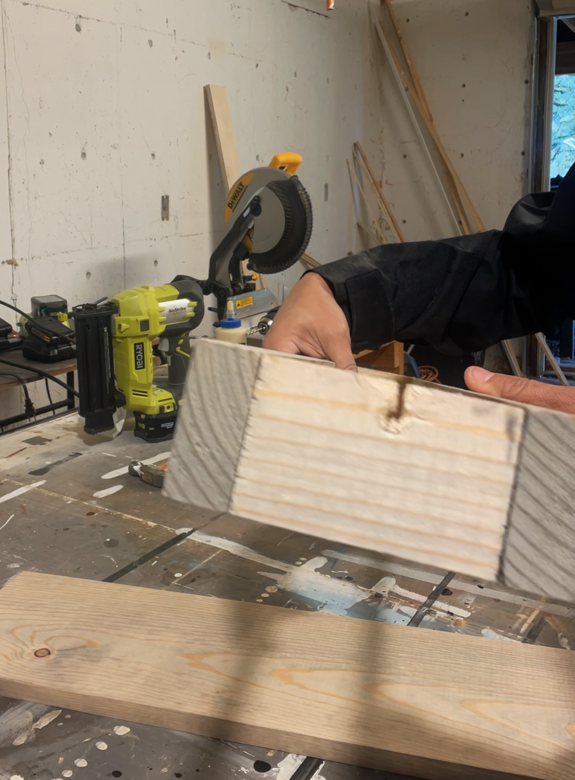
Here's the pieces cut. I used a miter saw to make my cuts, but you could also use a jigsaw or circular saw.
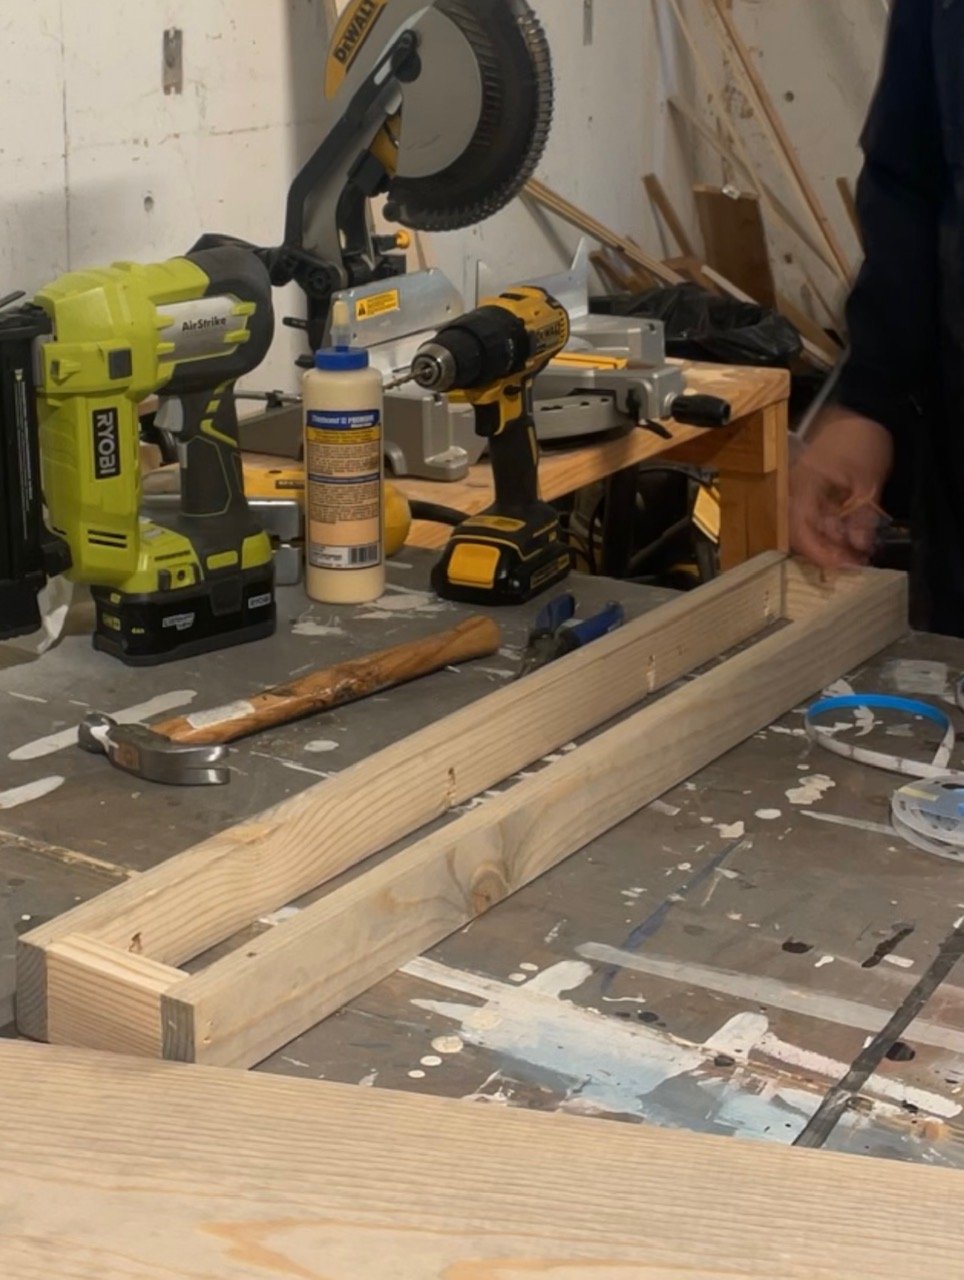
For assembly, I used glue and 1-1/4" brad nails and a brad nailer.
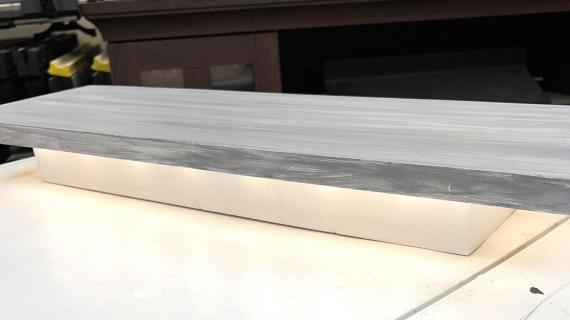
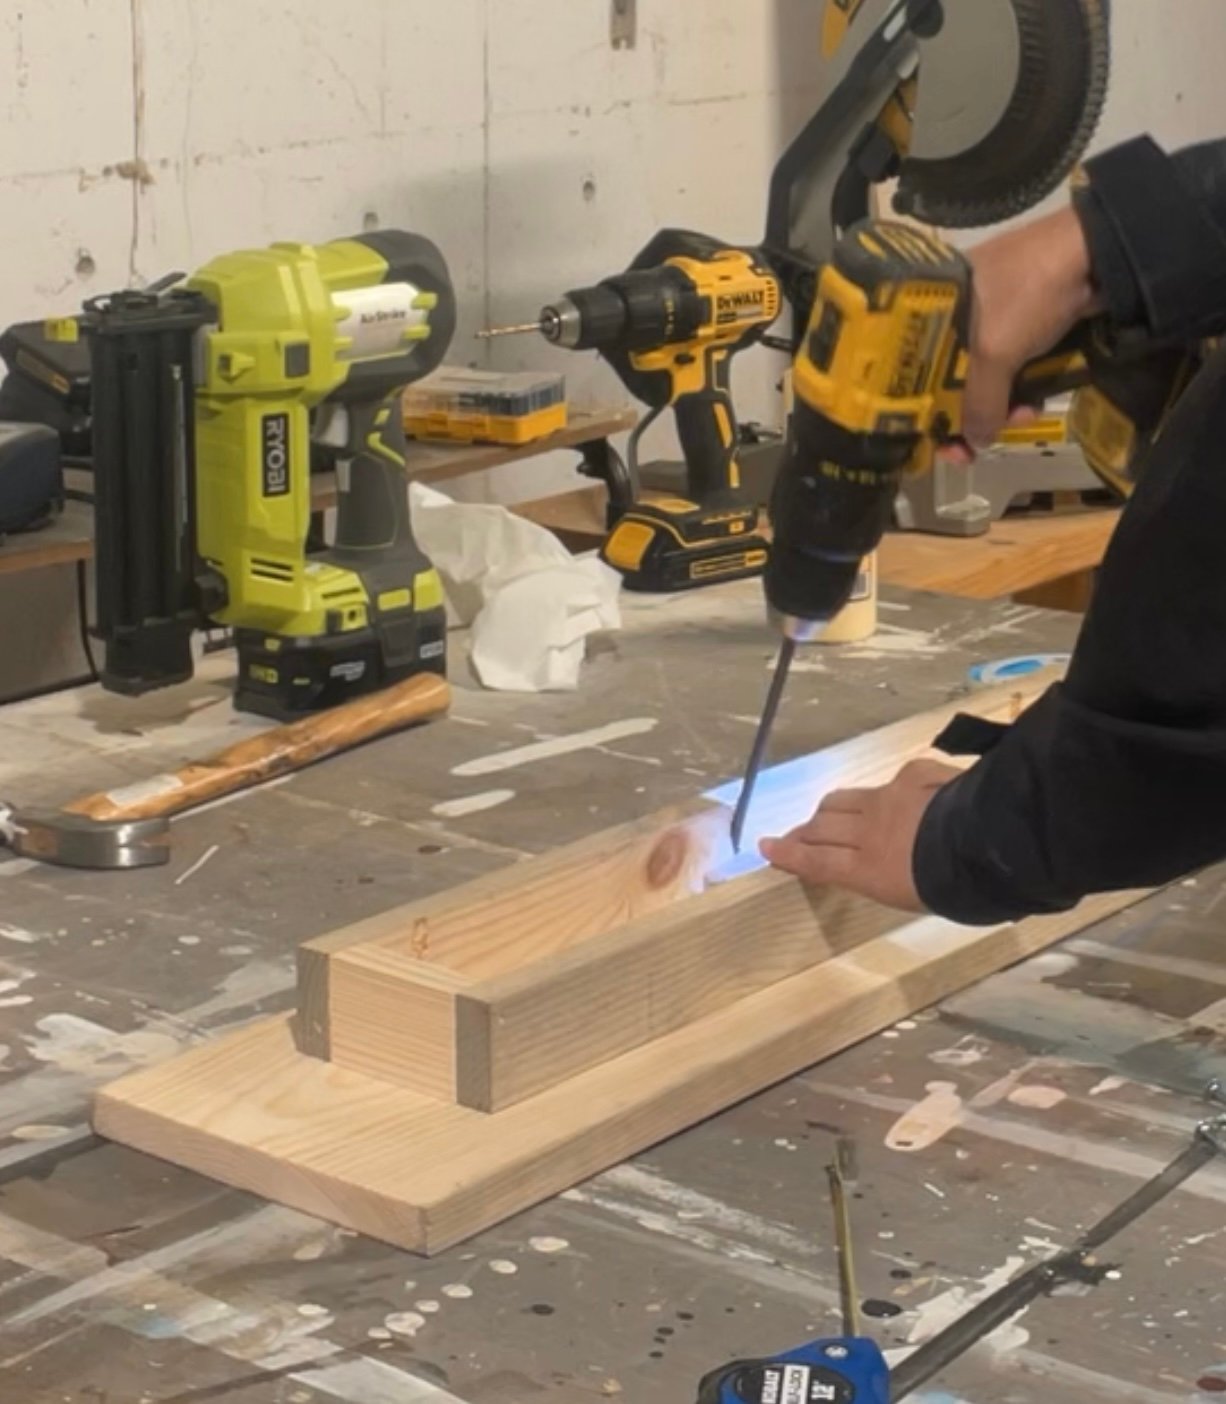
To run the light wire under the top I drilled a pilot hole and then made a cut down with my jig saw to feed it through and tape the light battery compartment on the underside of the top board.
To attach the bottom, I decided to go fancy and used pocket holes on the inside BUT this is totally optional. You can also just nail and glue from the top (I detail out how to do this in the plans below).
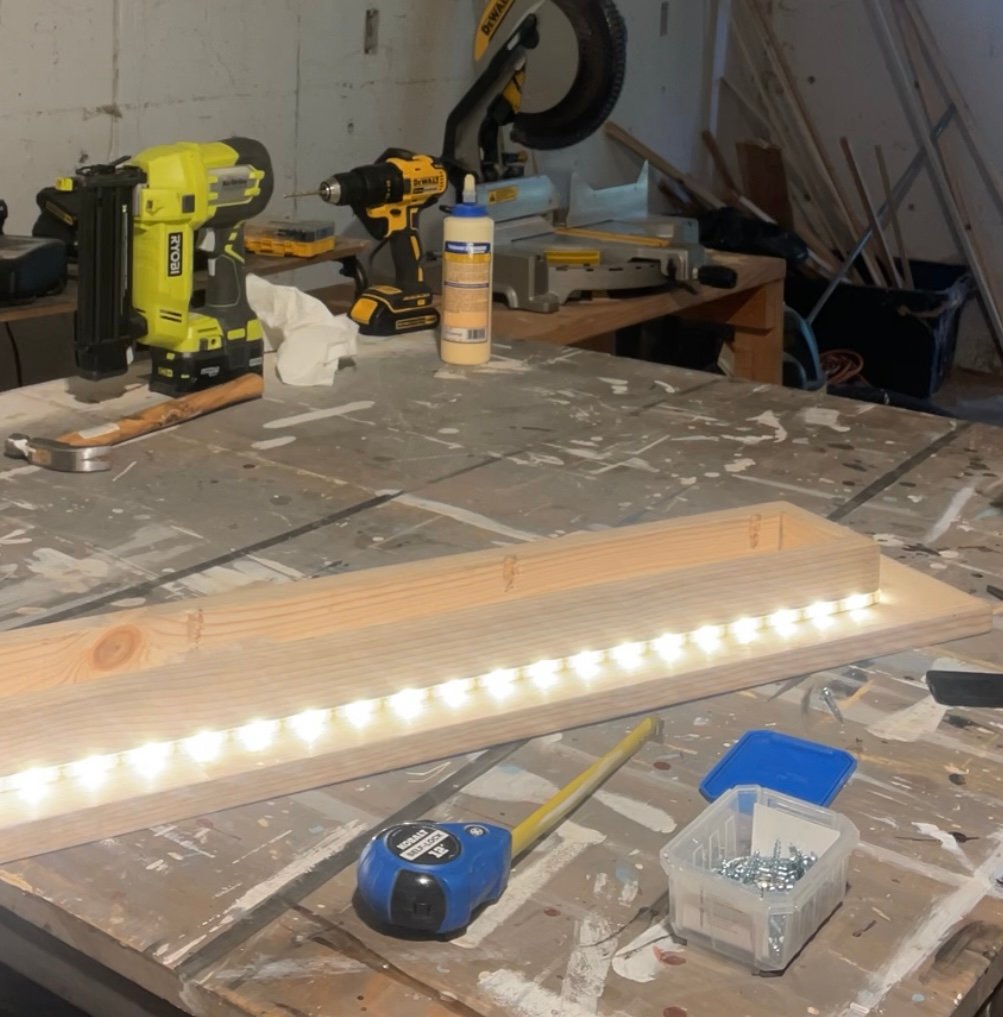
These are the lights I ordered from Amazon. I will say they didn't stick too well with the adhesive back, so I ended up using some clear tape to secure them. It may also work to hot glue them. I liked these because I was able to cut them to the desired length.
Pin For Later!
Preparation
- 1 - 1x2 @ 8 feet long
- 1 - 1x8 @ 3 feet long
- 1-1/4" brad nails
- wood glue
- 2 - 1x2 @ 30"
- 2 - 1x2 @ 2-3/4"
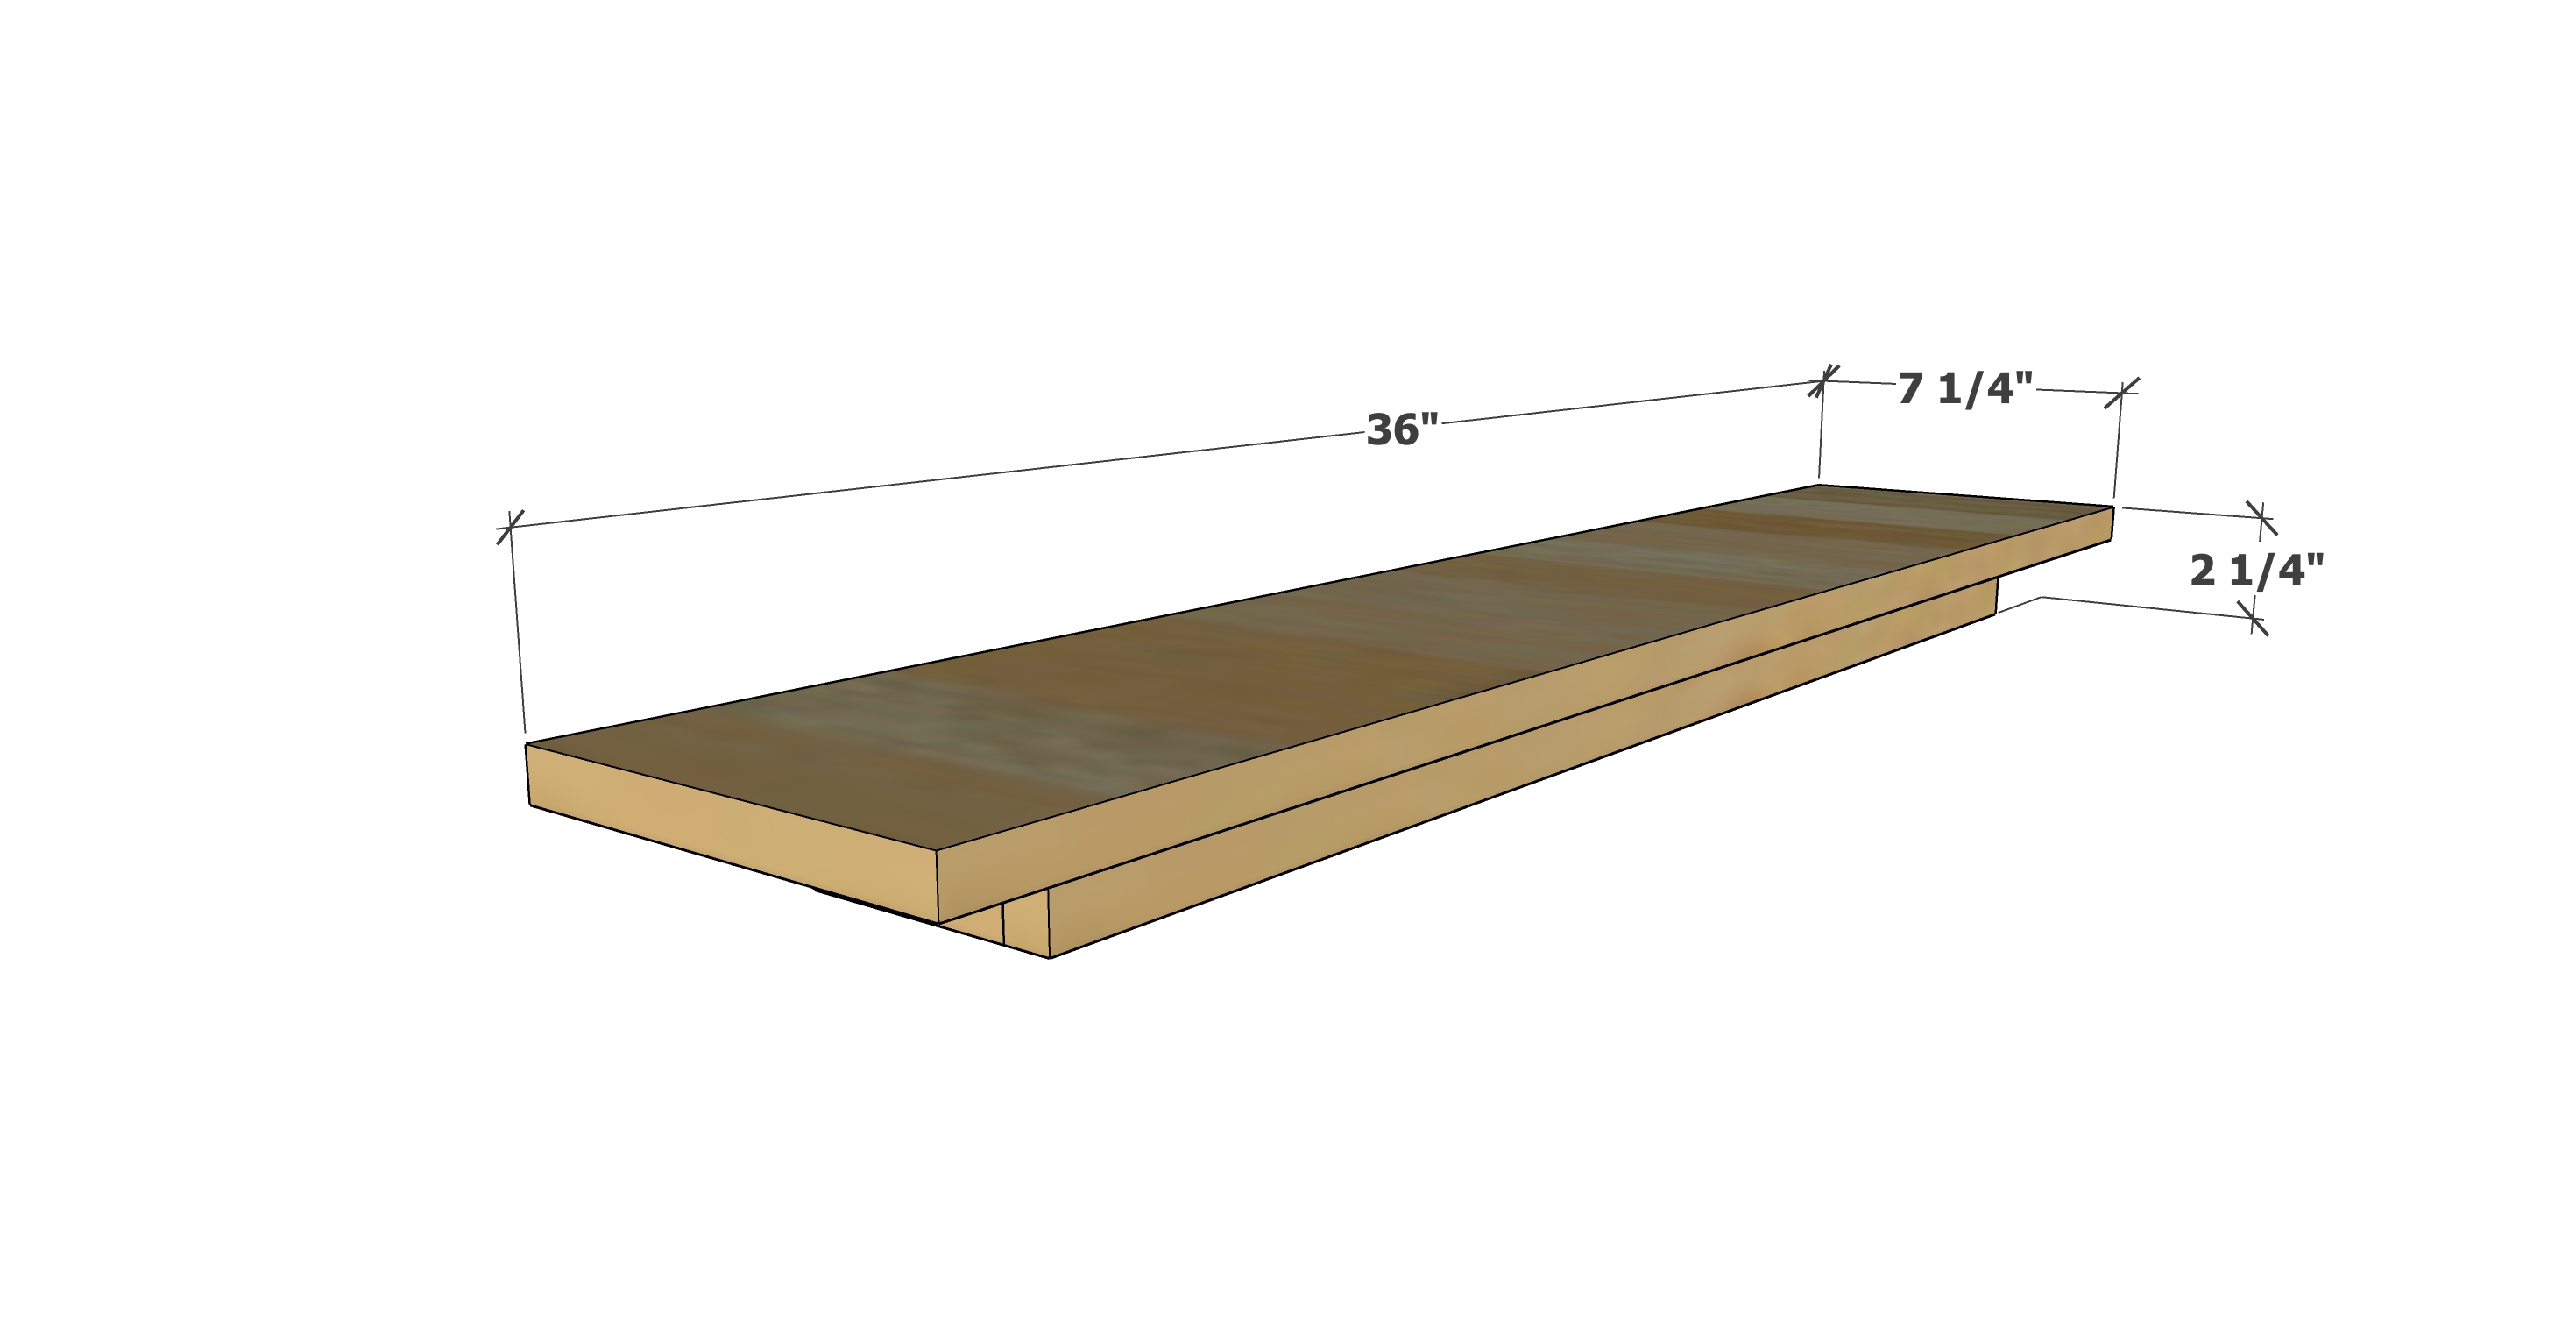
- 1 - 1x8 @ 36"


Instructions
Step 1
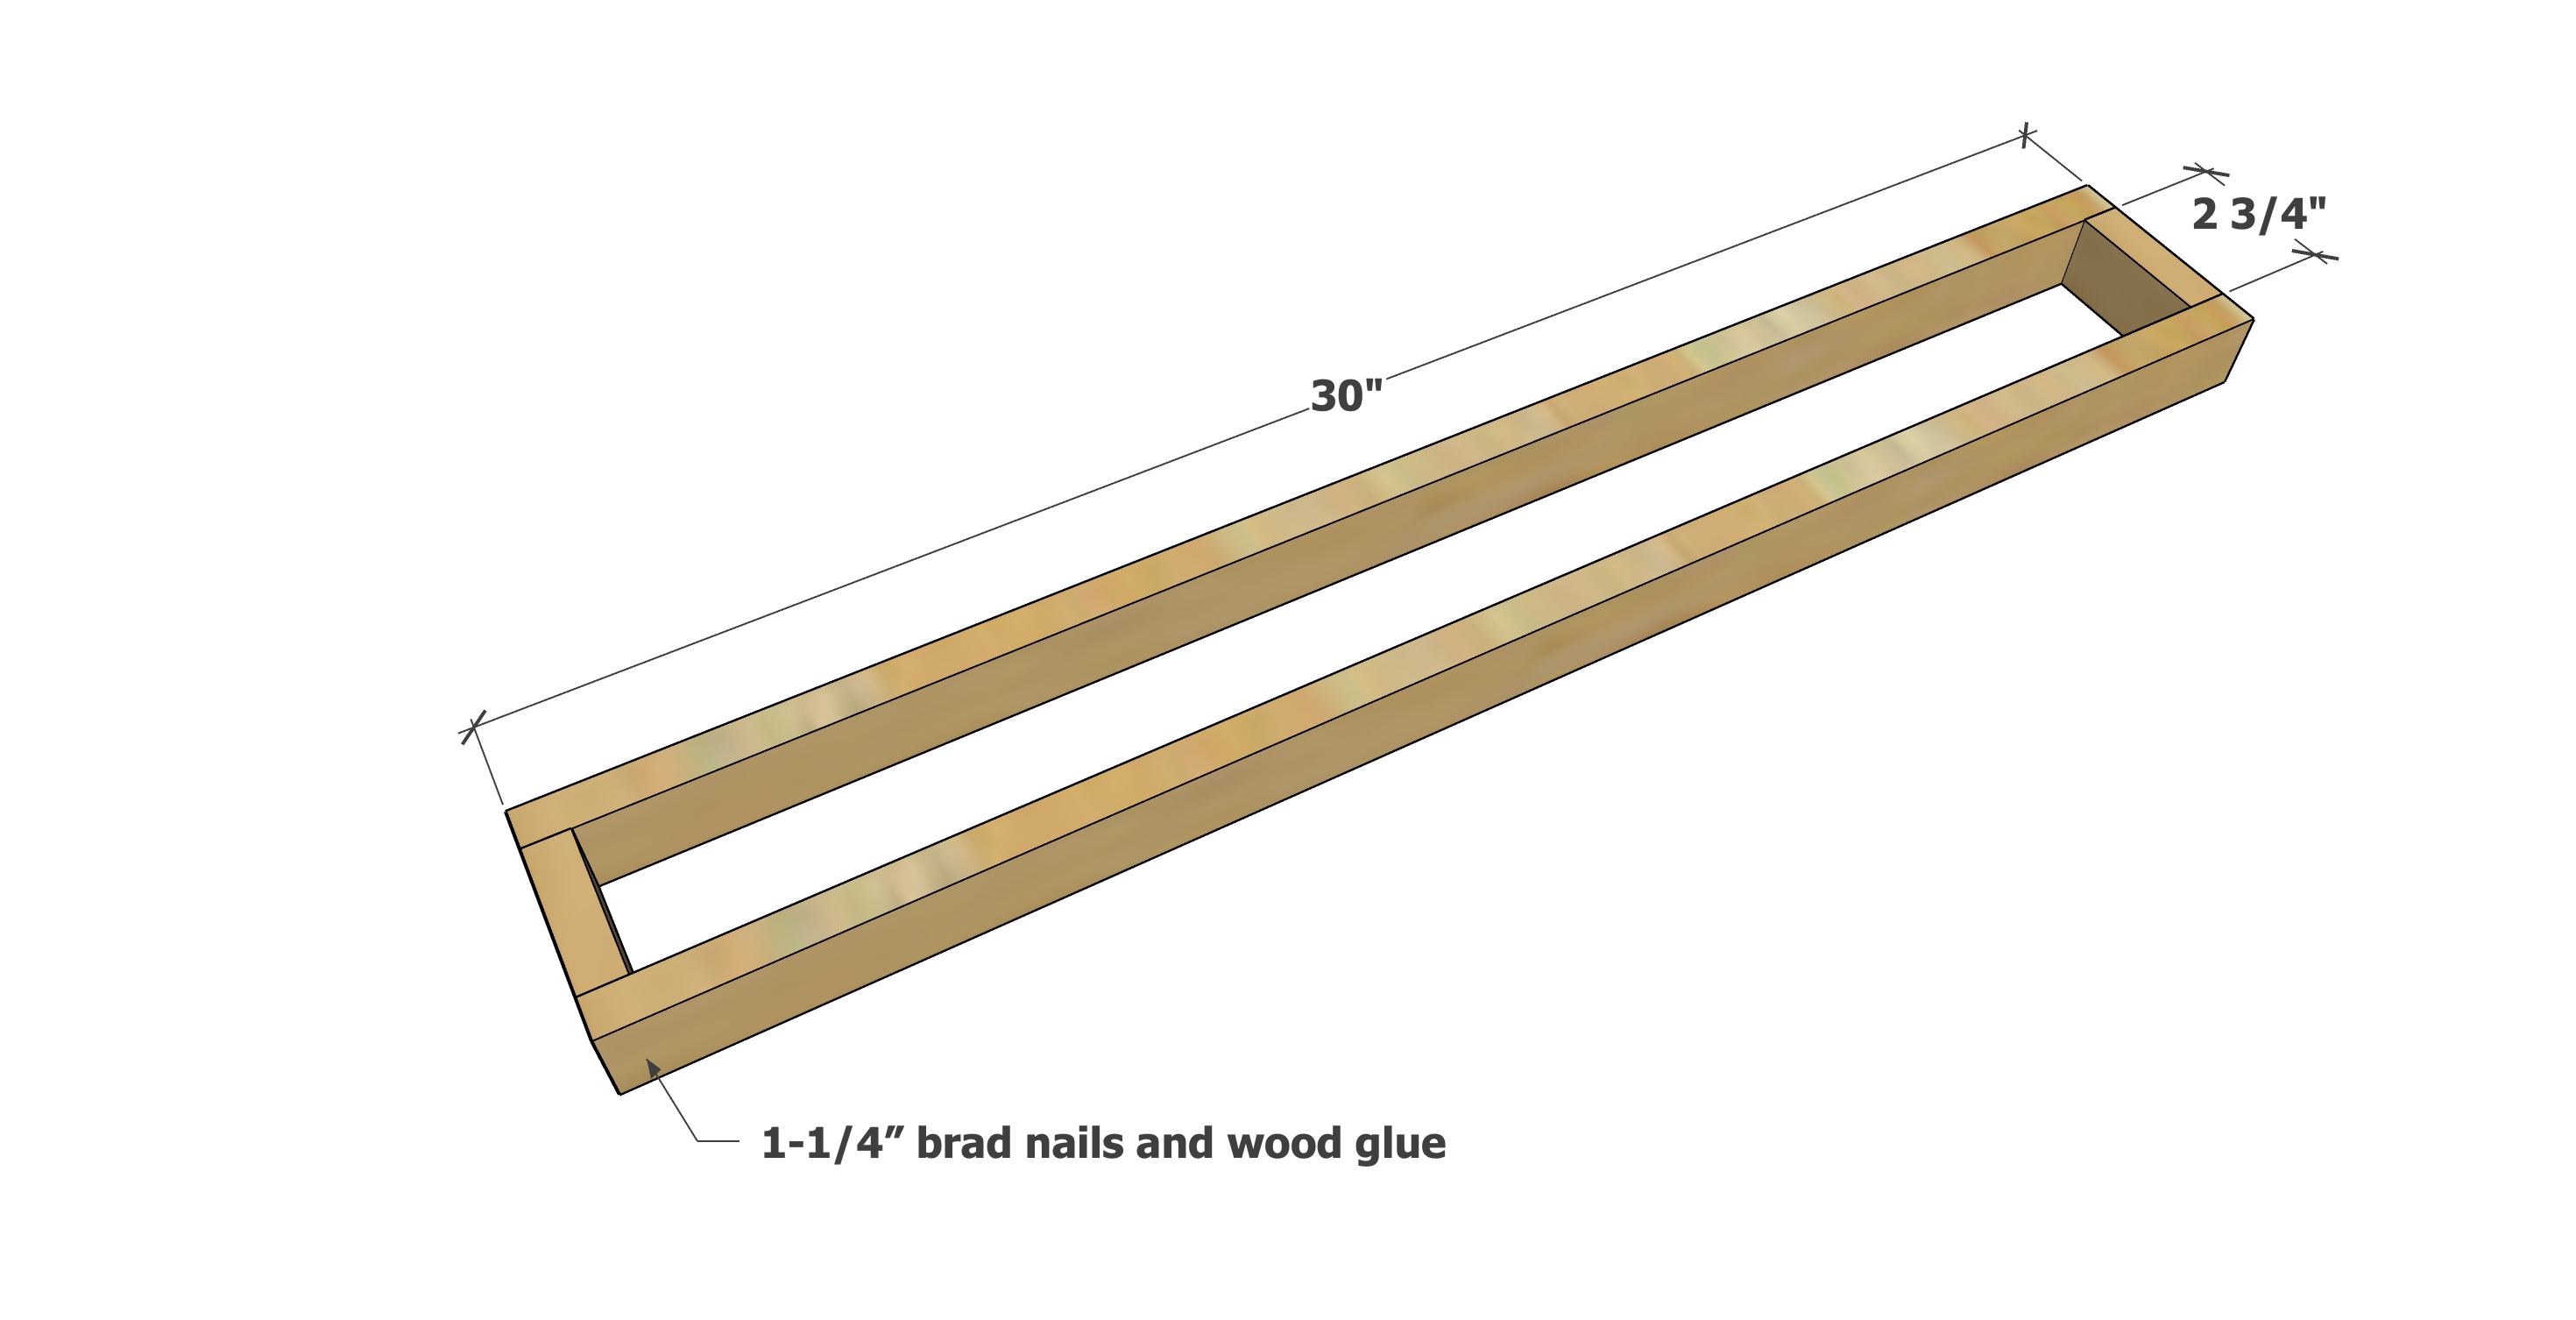
Build the base with 1-1/4" brad nails and wood glue.
Step 2
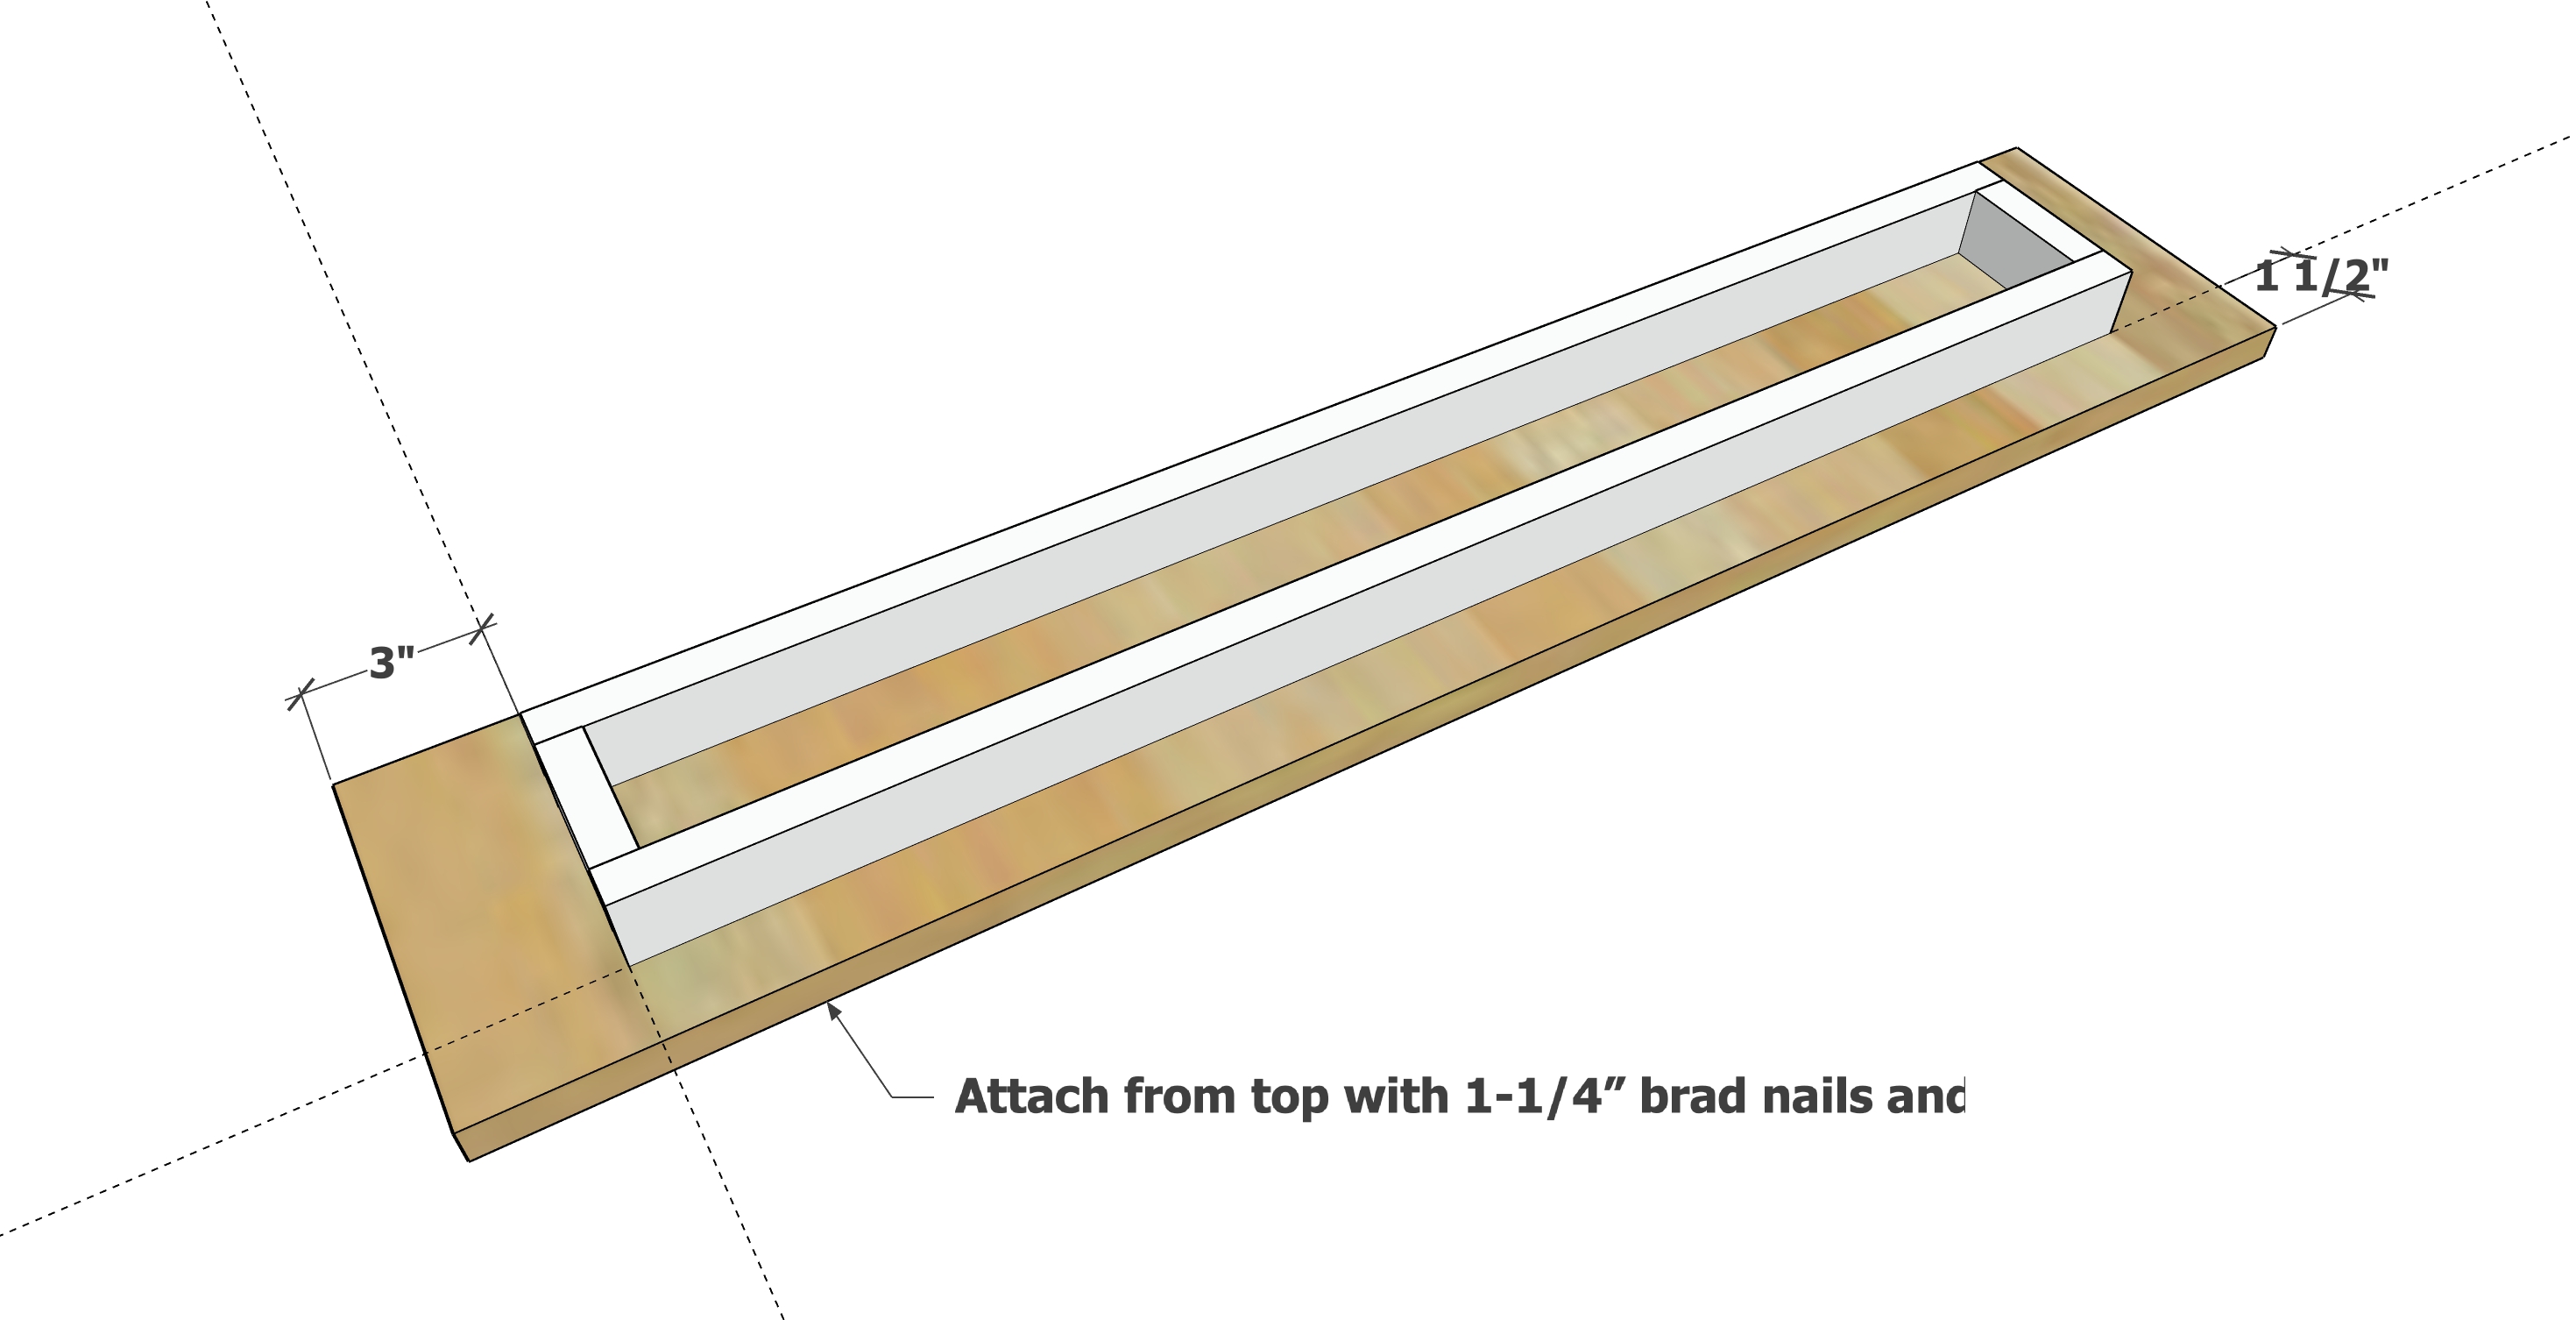
Apply glue to the 1x2 frame and set on underside of the 1x8 and let dry.
Once glue is dry, flip over and attach with 1-1/4" brad nails and wood glue.