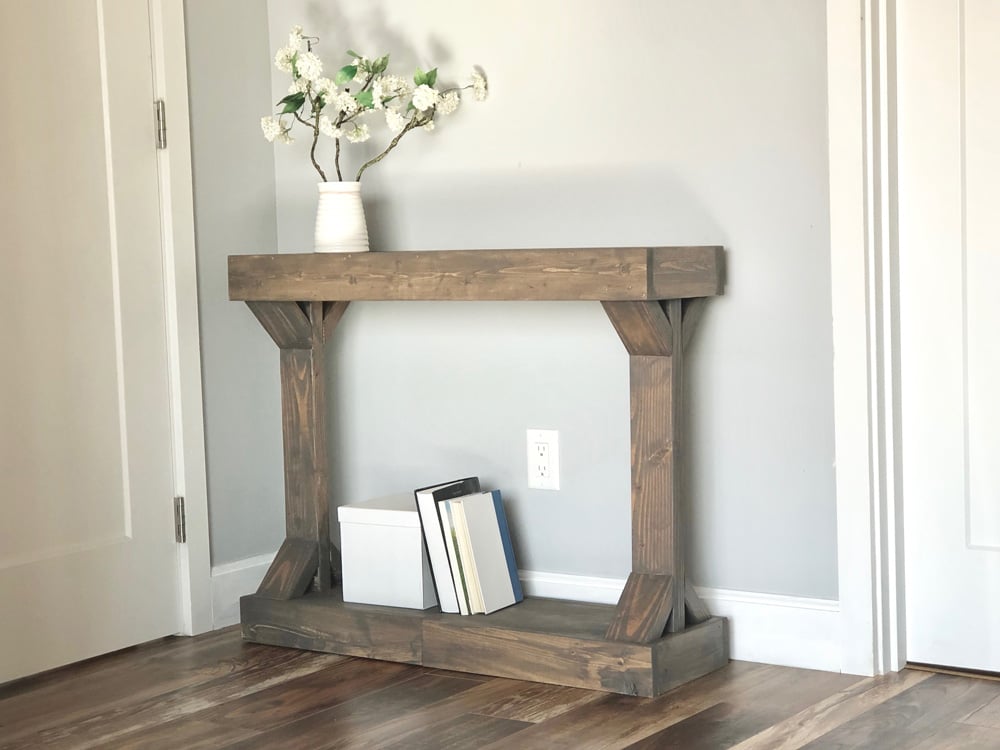
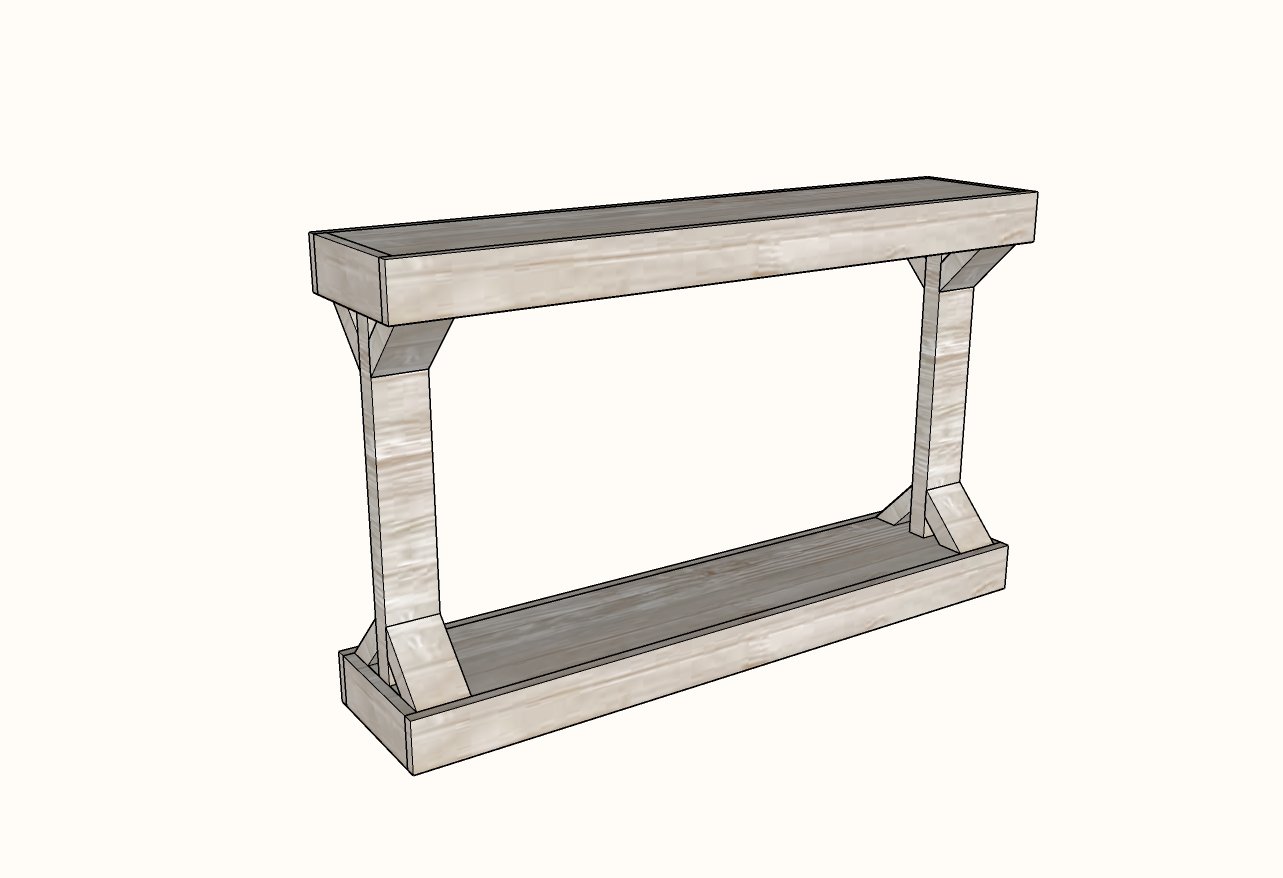
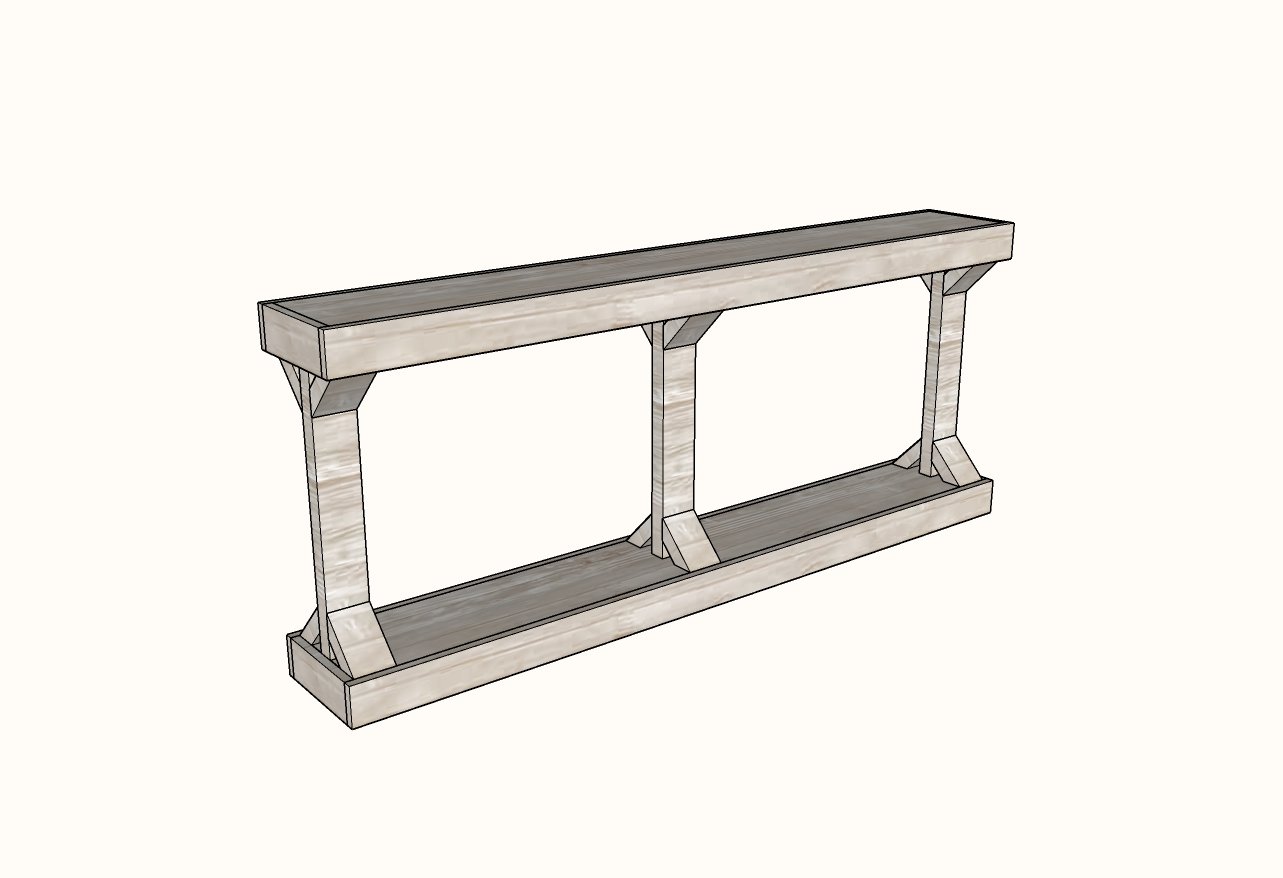
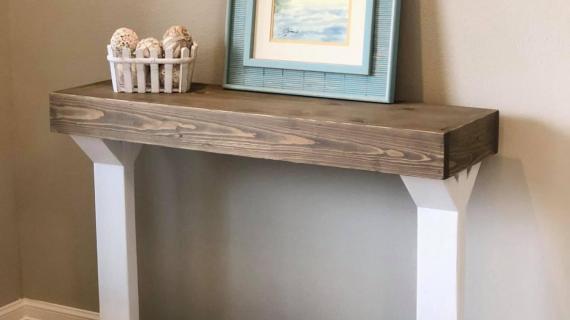
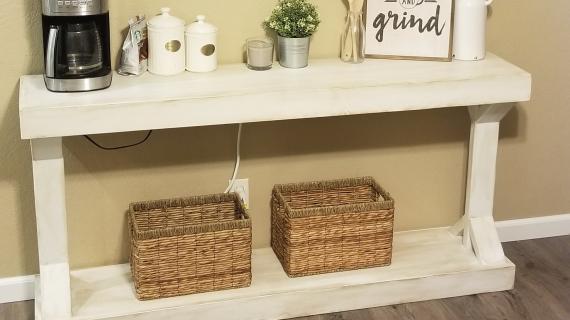
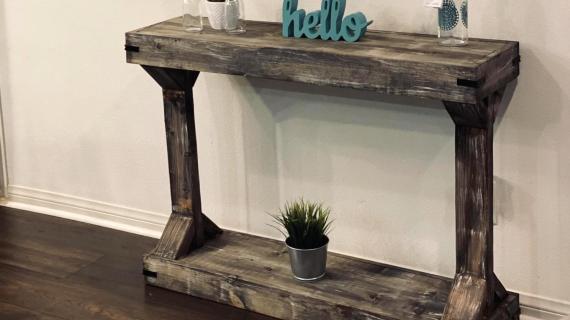
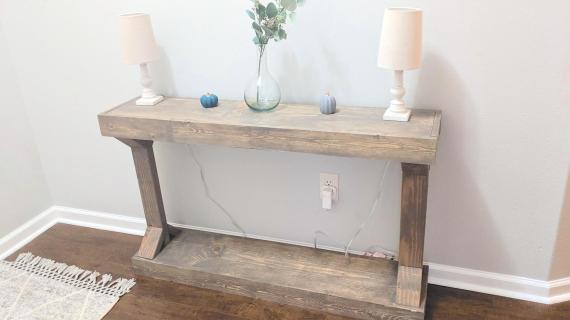
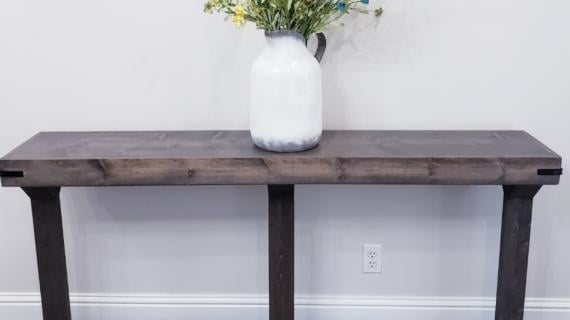
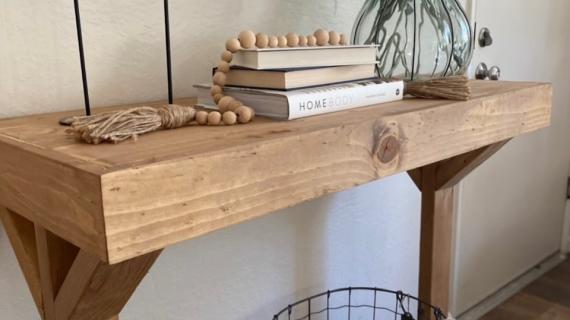
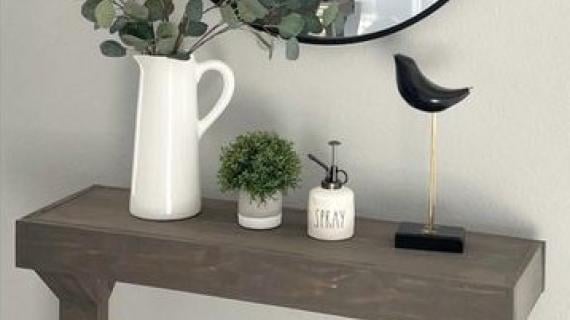
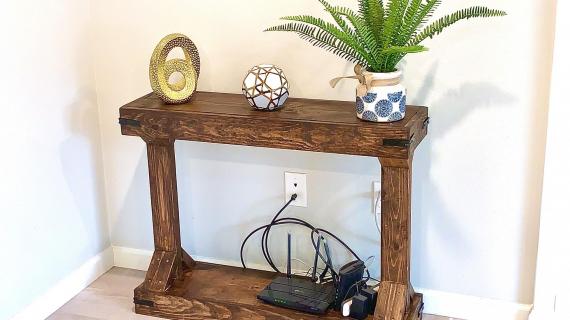
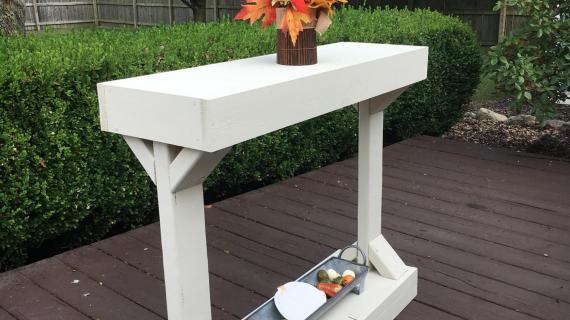
This gorgeous narrow console table fits anywhere! It's simple design works with most styles, and it's easy to build for about $30! Uses all whitewood 1x boards, and nailed together. No plywood, no pocket holes, no screws.
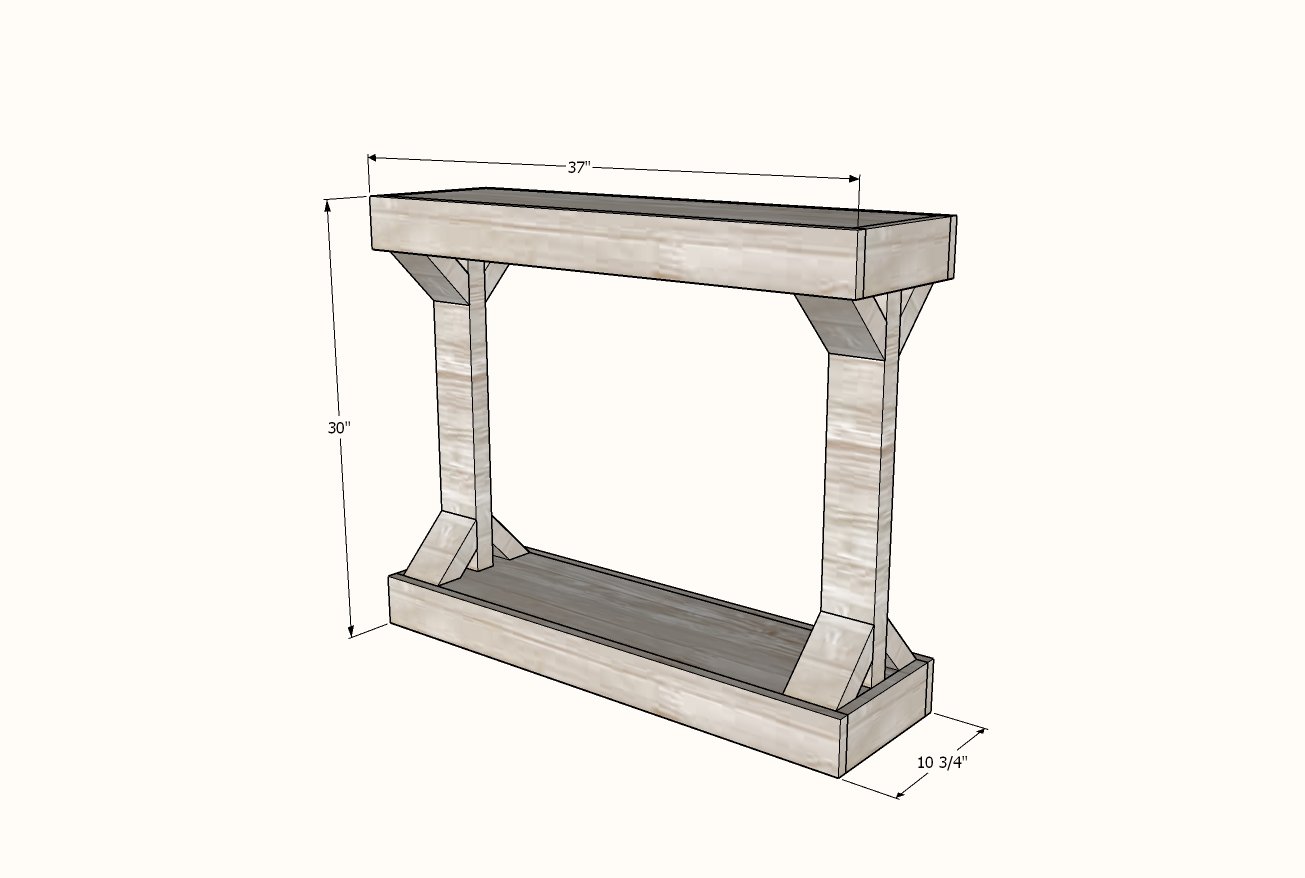
Preparation
- 1 - 2x4 @ 10 feet long
- 2 - 1x4 @ 8 feet long (you'll need to divide the cuts out equally between the two 1x4s to make it work)
- 1 - 1x10 @ 6 feet long
- 1-1/4" and 2" brad nails
- wood glue
- 2 - 2x4 @ 9-1/4" or width of shelf board
- 2 - 2x4 @ 23"
- 8 - 2x4 @ 5-1/2" - long point to long point measurement, both ends cut at 45 degrees, ends NOT parallel
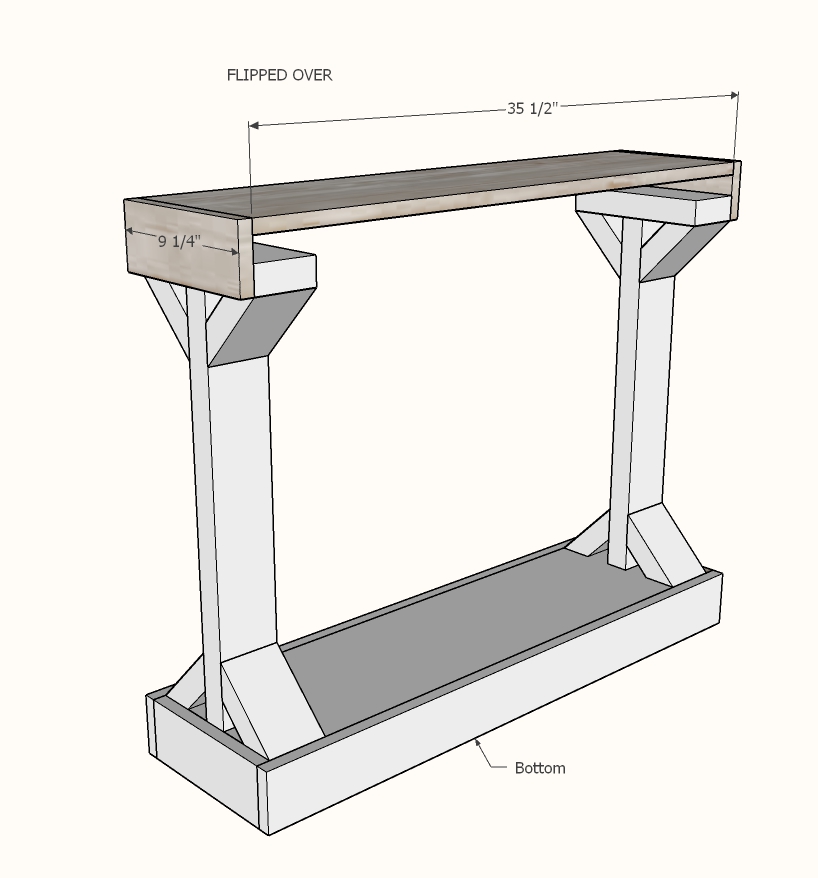
- 2 - 1x10 @ 35-1/2"
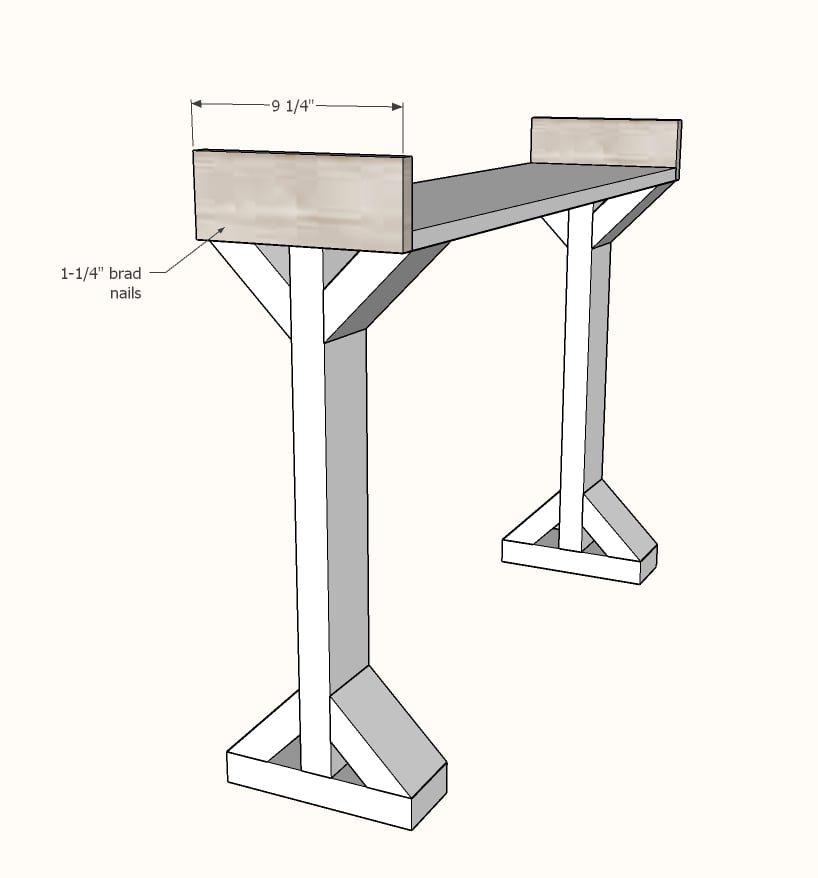
- 4 - 1x4 @ 9-1/4" or width of shelf board (cut two from each 1x4)
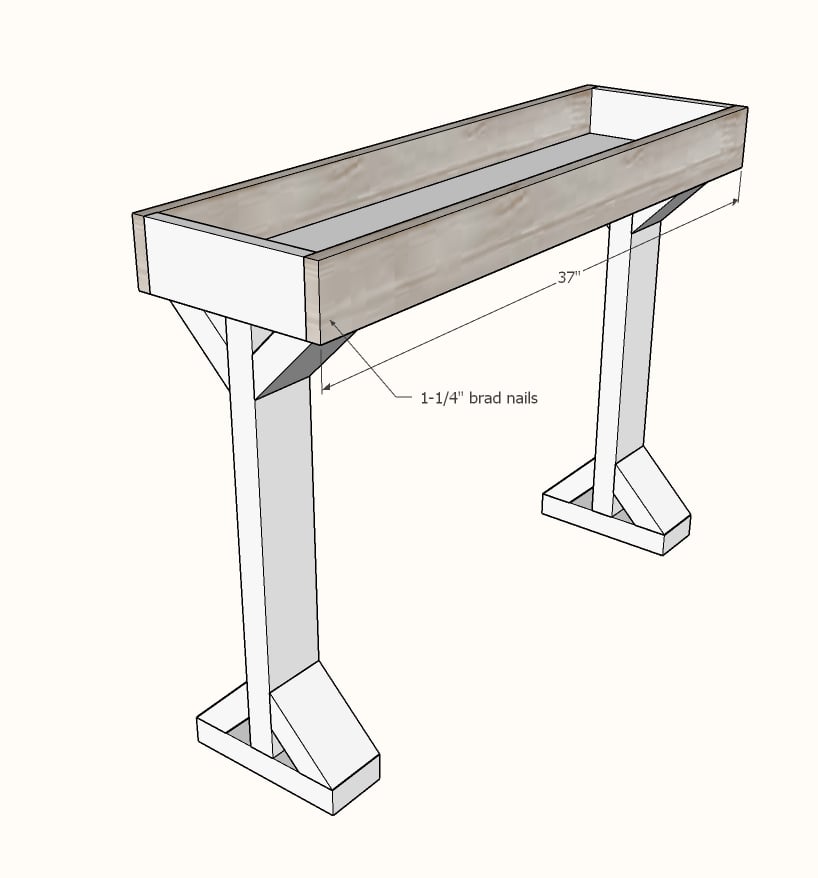
- 4 - 1x4 @ 37" (cut two from each 1x4)
Cut all boards with a compound miter saw.
Instructions
Step 1
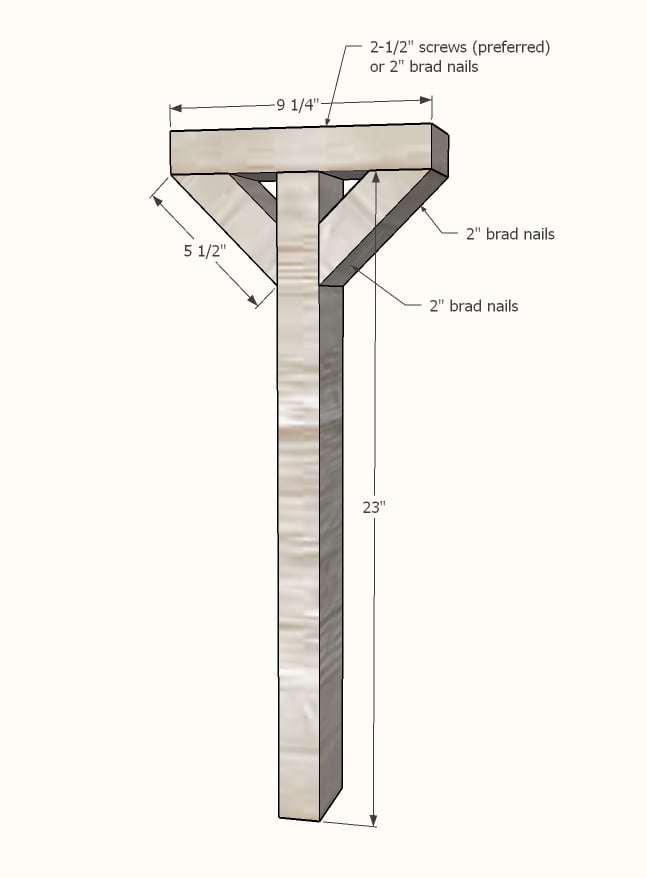
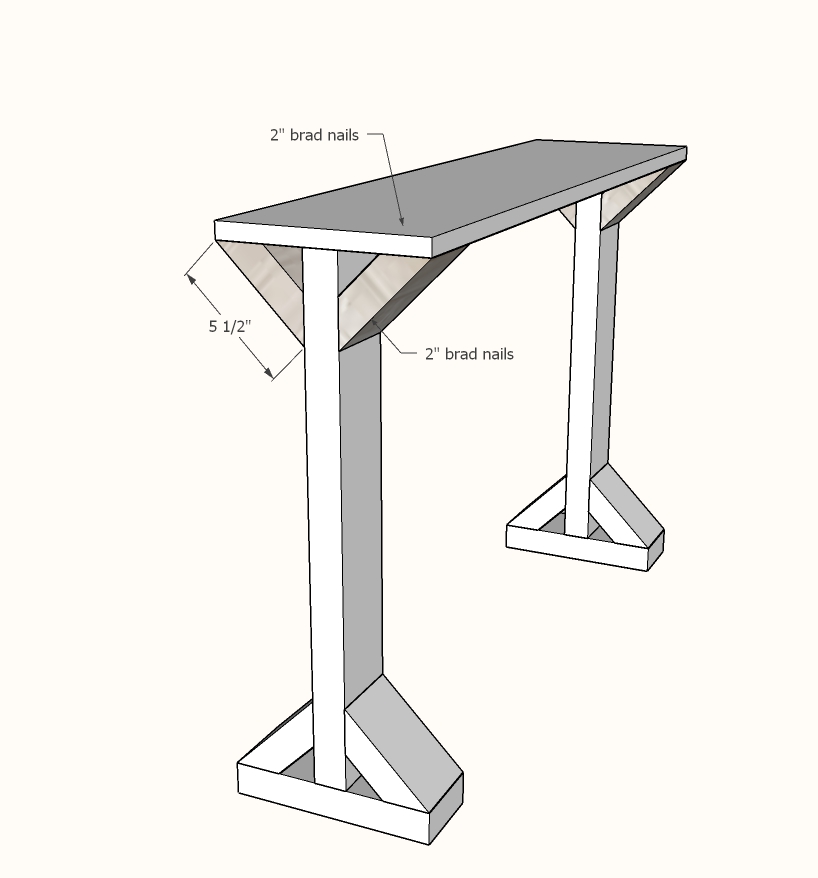
Start by building the top portion of the leg.
Make sure the 45 degree joints meet up perfectly with the leg and the top 2x4 - if the angled piece ends up being a little long or a little short it won't matter. What does matter is they are attached at 45 degrees to the leg.
Use the carpenter's square to make sure the top is at a right angle to the leg.
Use glue with all nailed joints.
Step 3
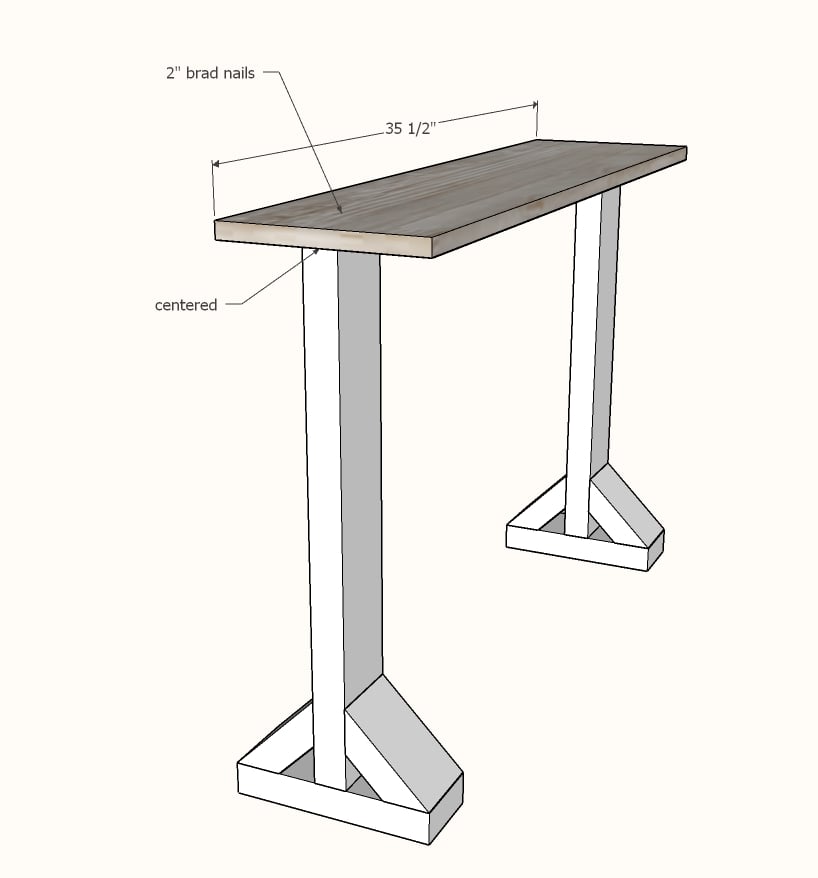
Add the angled supports, making sure the 45 degree joints are perfect (again, if the ends of the angled pieces are too long or too short and don't meet exactly with the edge of the 1x10, this is NOT a big deal).
You can use a level to make sure everything is attached plumb, or a carpenter's square to check that the leg is being attached to the top at a 90 degree angle.
Once the angled supports are attached, it will be difficult to adjust.
Step 4
Step 6
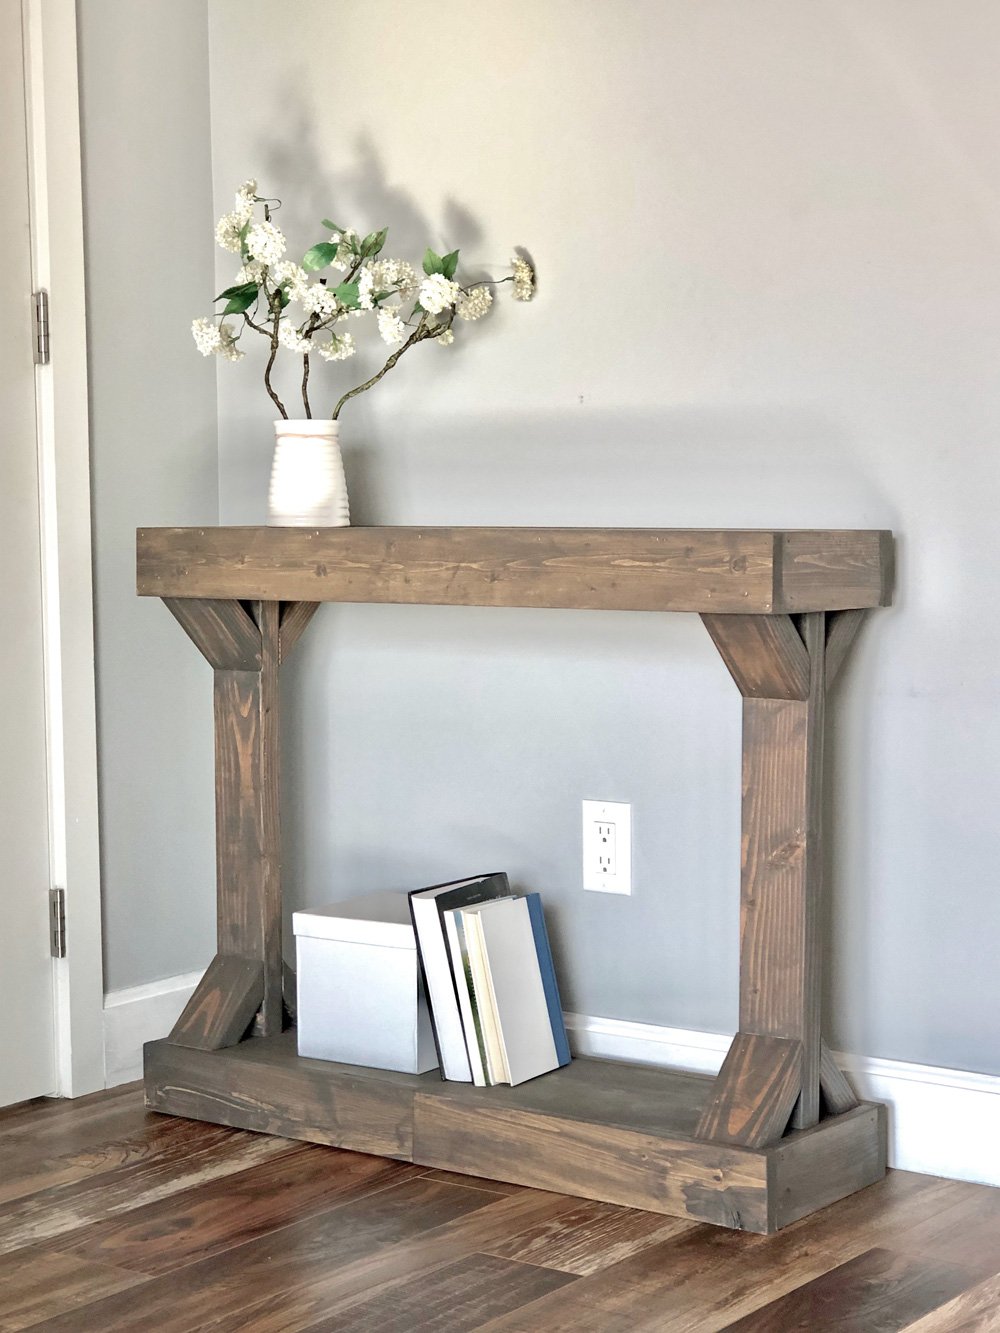
I then vacuumed the project to remove sanding residue.
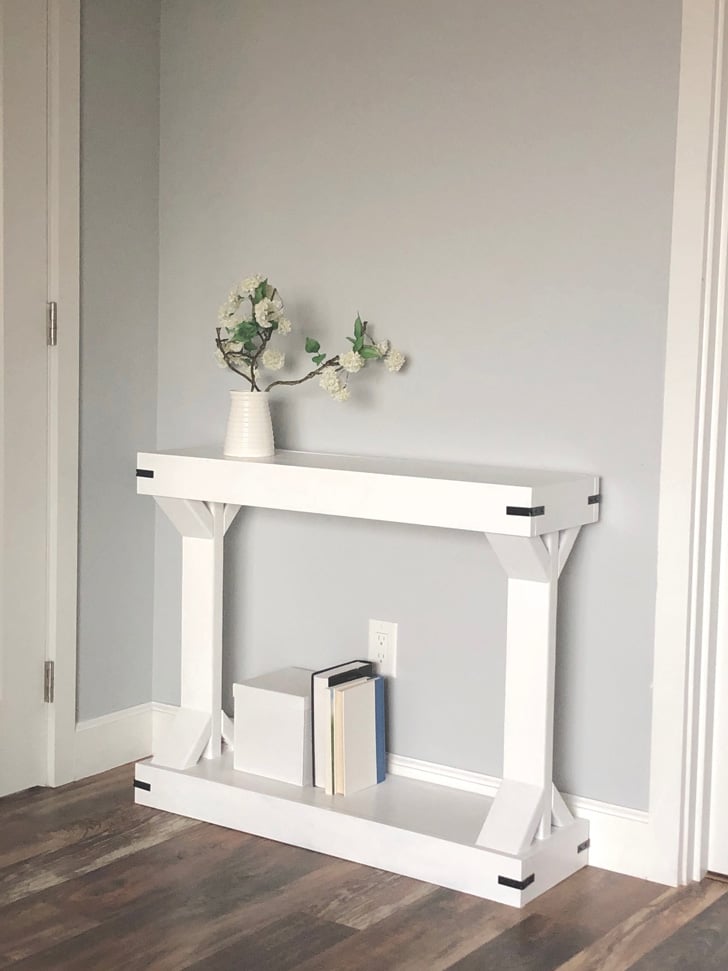
For painted finish, I used Behr Marquee in Satin in off the shelf white. I filled nail holes with wood filler before painting, sanding off excess.









Comments
j5jacjax
Wed, 02/05/2020 - 19:12
Tippy?
Do you think this would work as a end table? Would it tip easily? I would make it shorter, of course.