
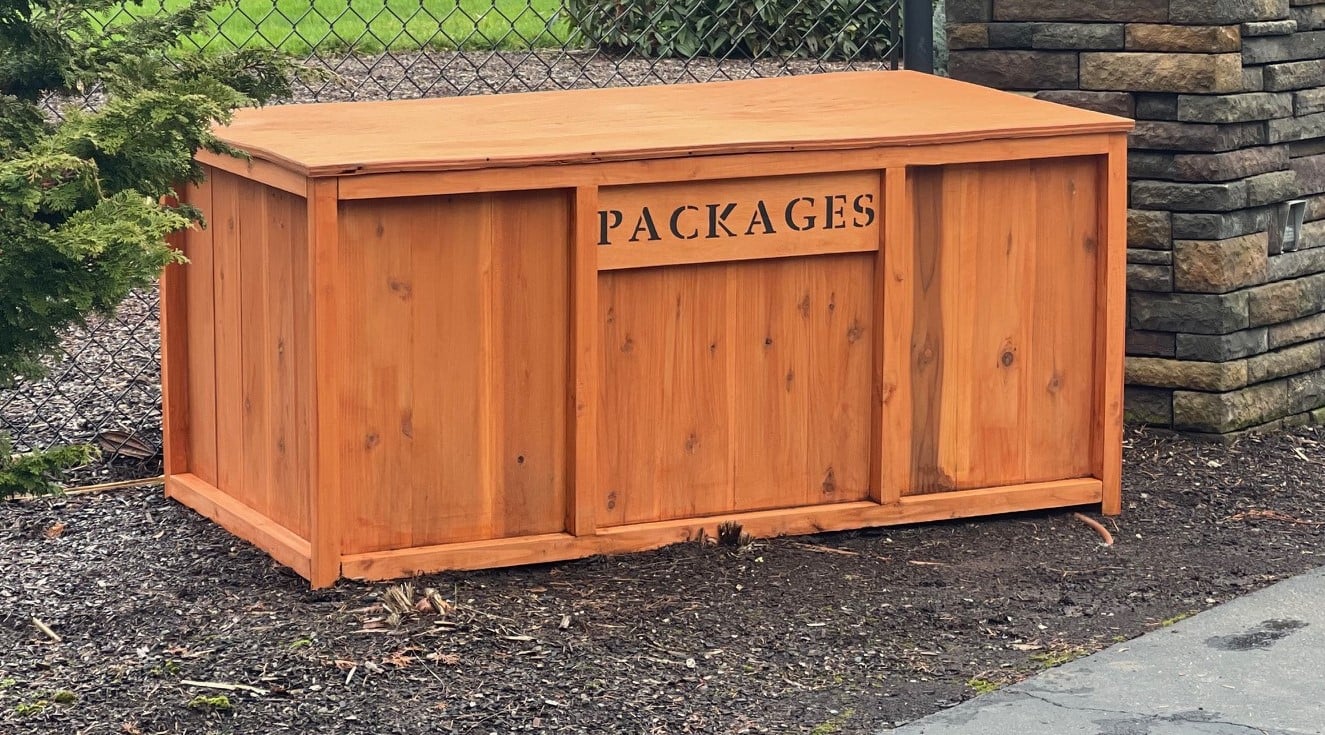

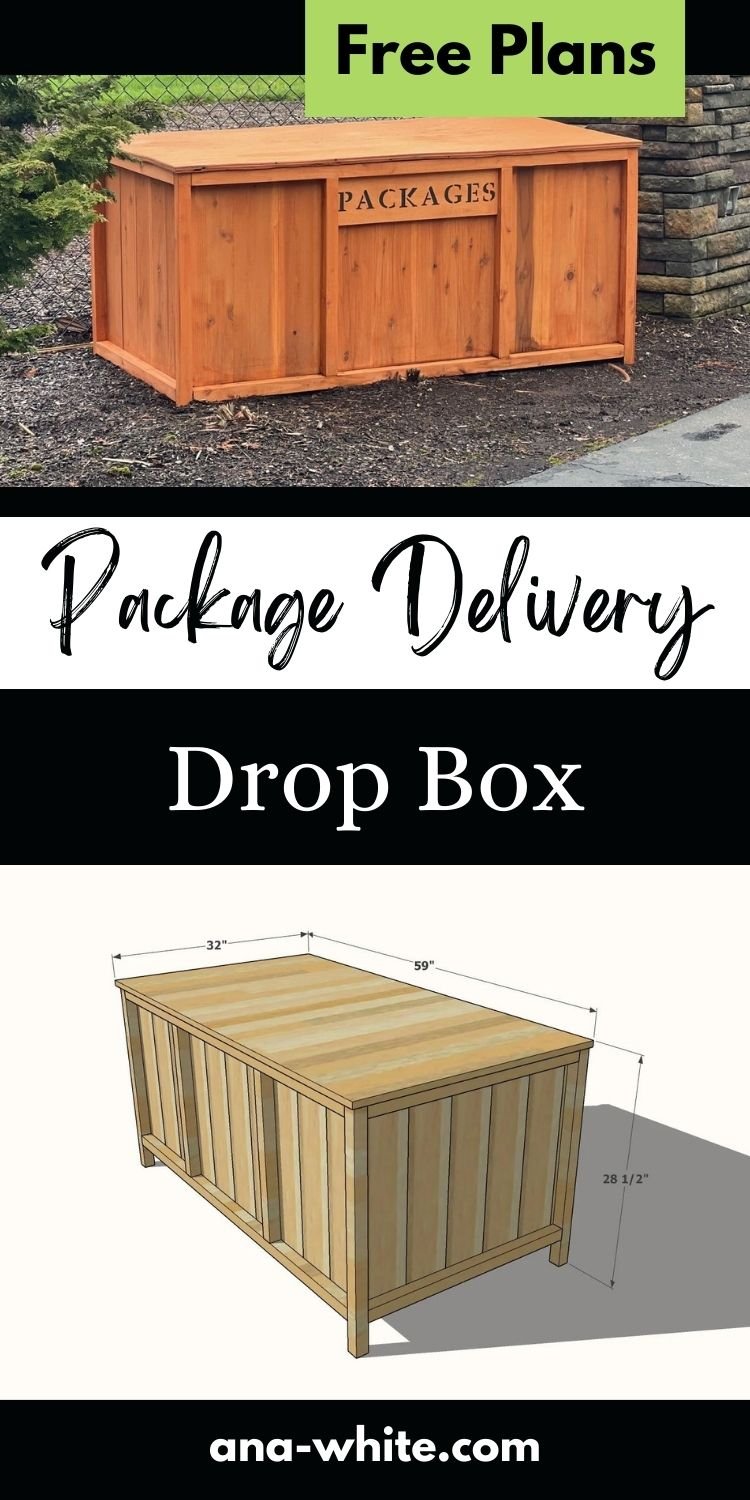
Build your own cedar package delivery drop box with free plans from Ana-White.com
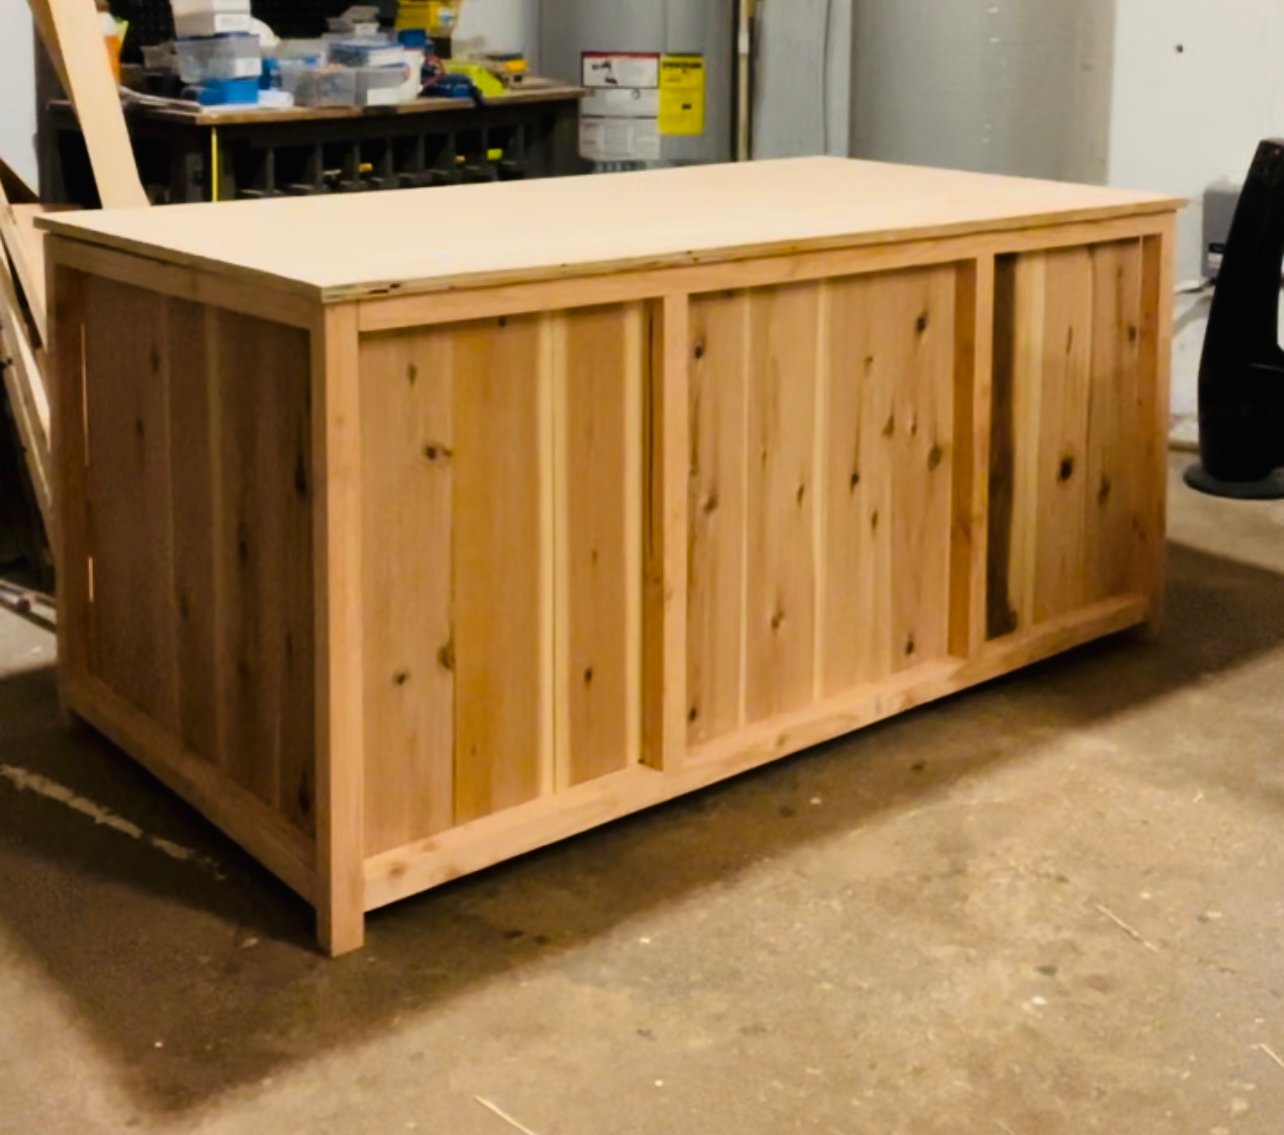
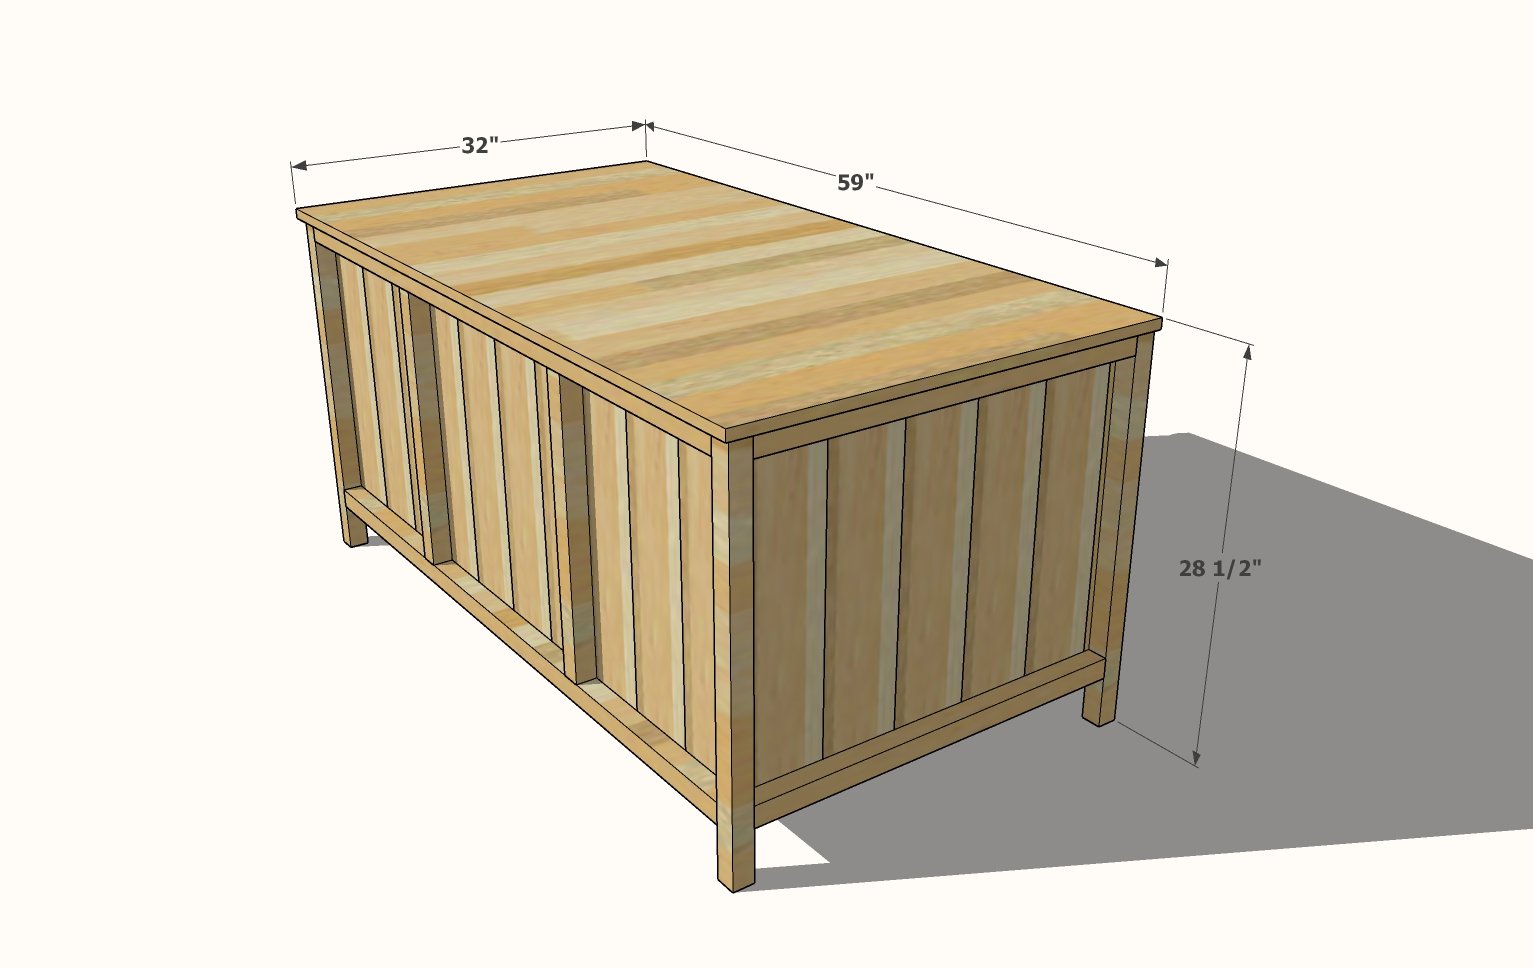
This extra large package delivery drop box keeps packages safe and out of sight. This plan uses cedar fence pickets to keep the cost down, but the project materials reasonably priced.
Free step by step plans with detailed diagrams and shopping and cut list.
Designed and built by Family DIYnamic
How this Project was Built
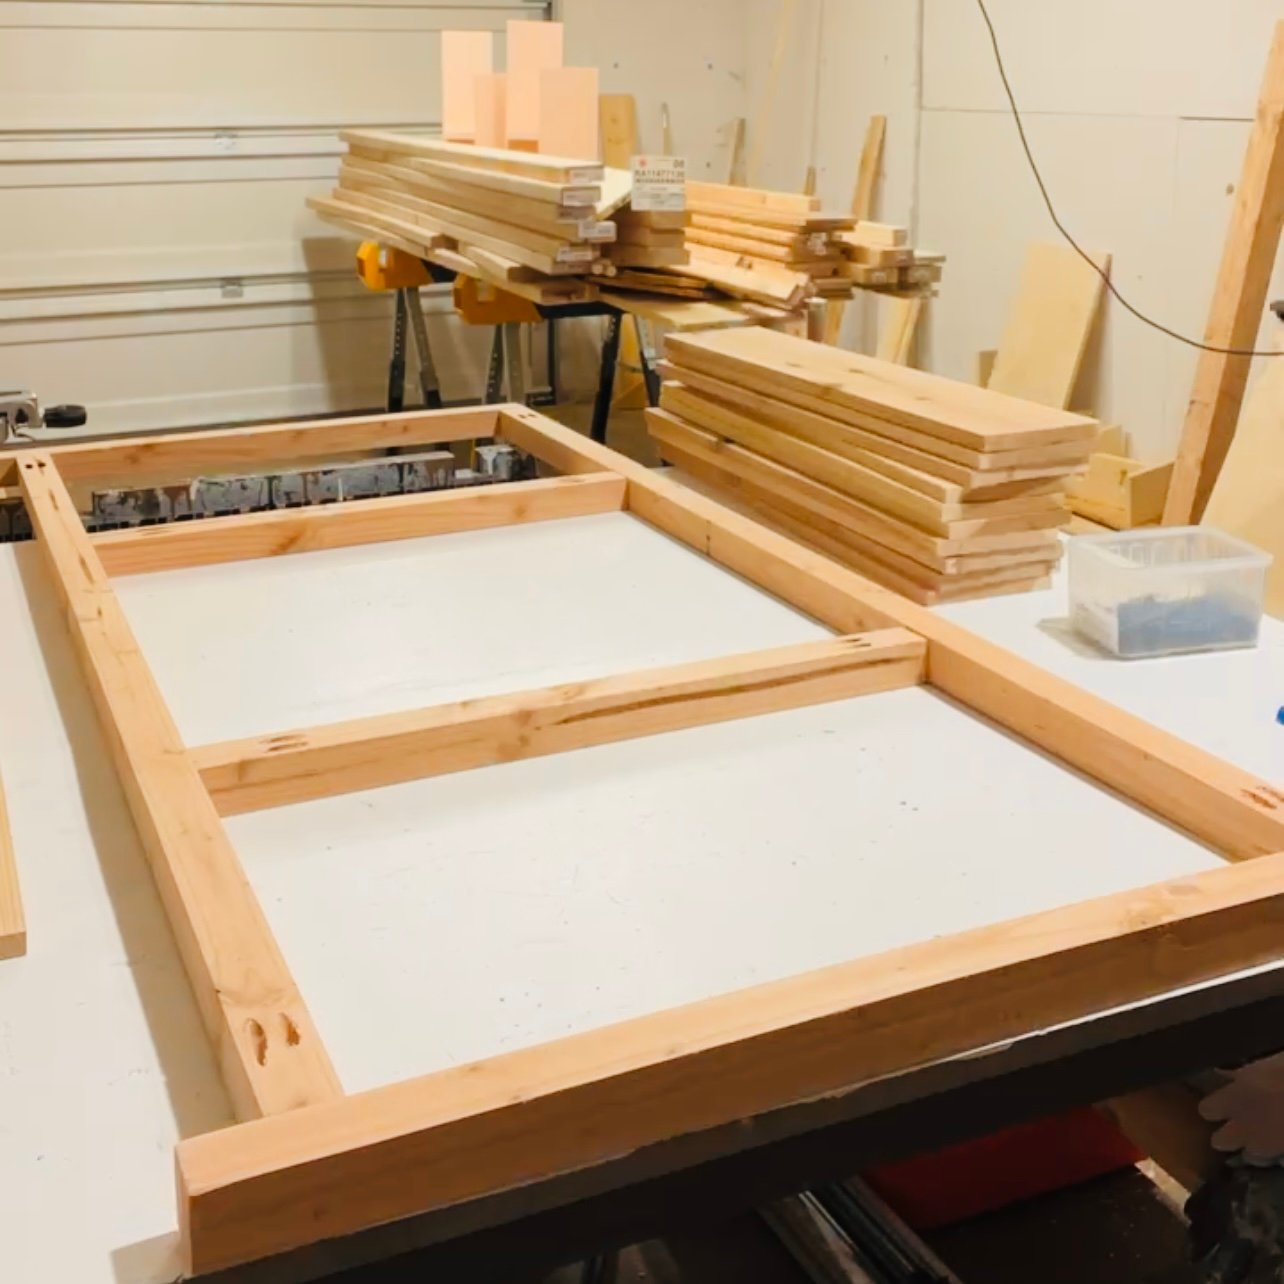
First, two frames are built using 2x2s. Cedar fence pickets are nailed or stapled to the insides of the frames.
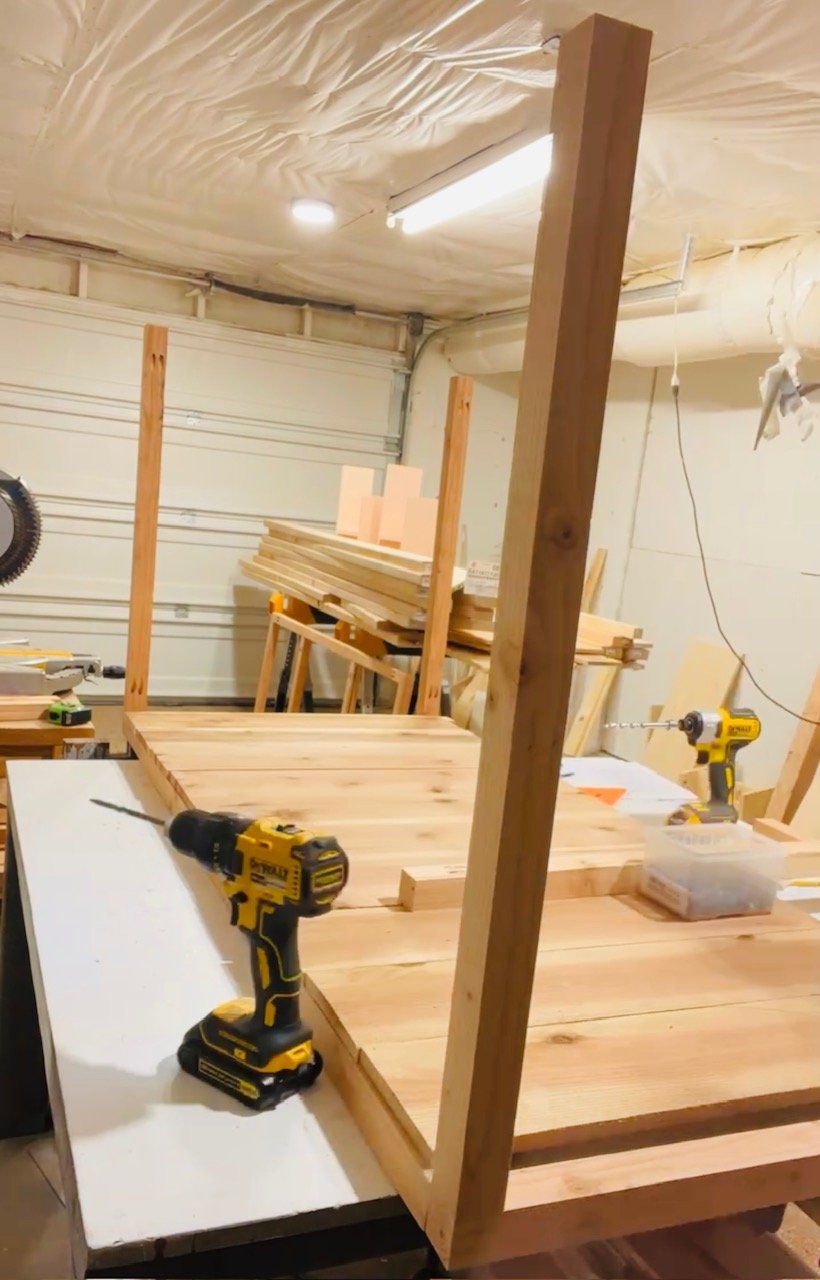
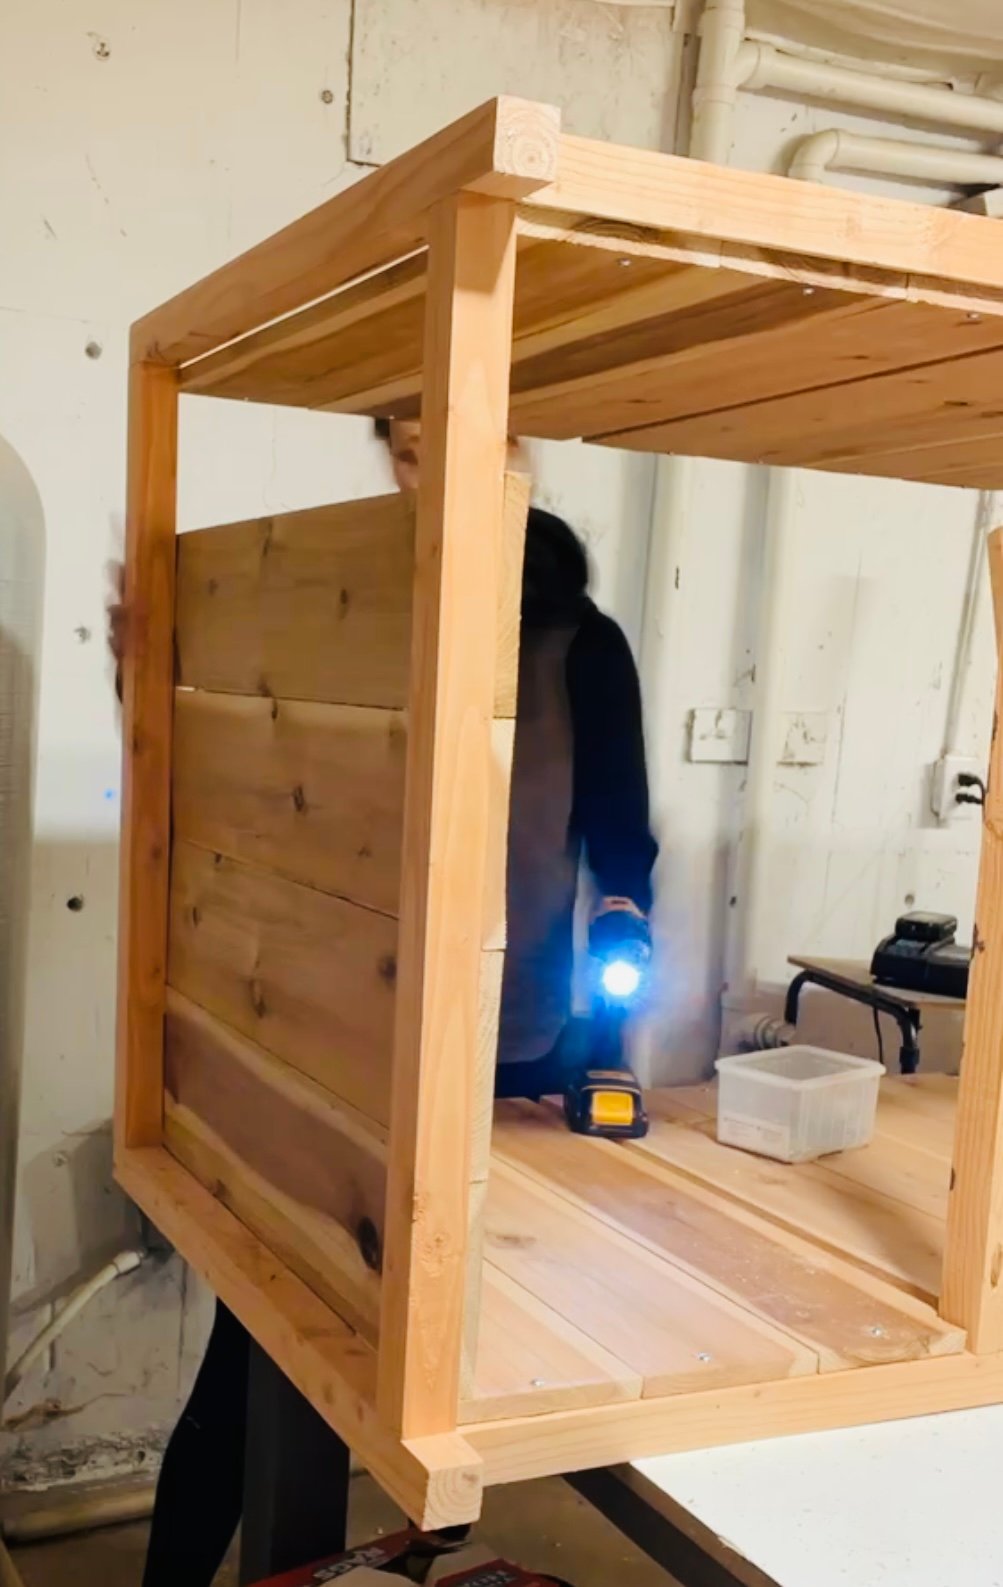
Then 2x2s are added to the frame for the sides, and cedar fence pickets added to the insides of the sides.
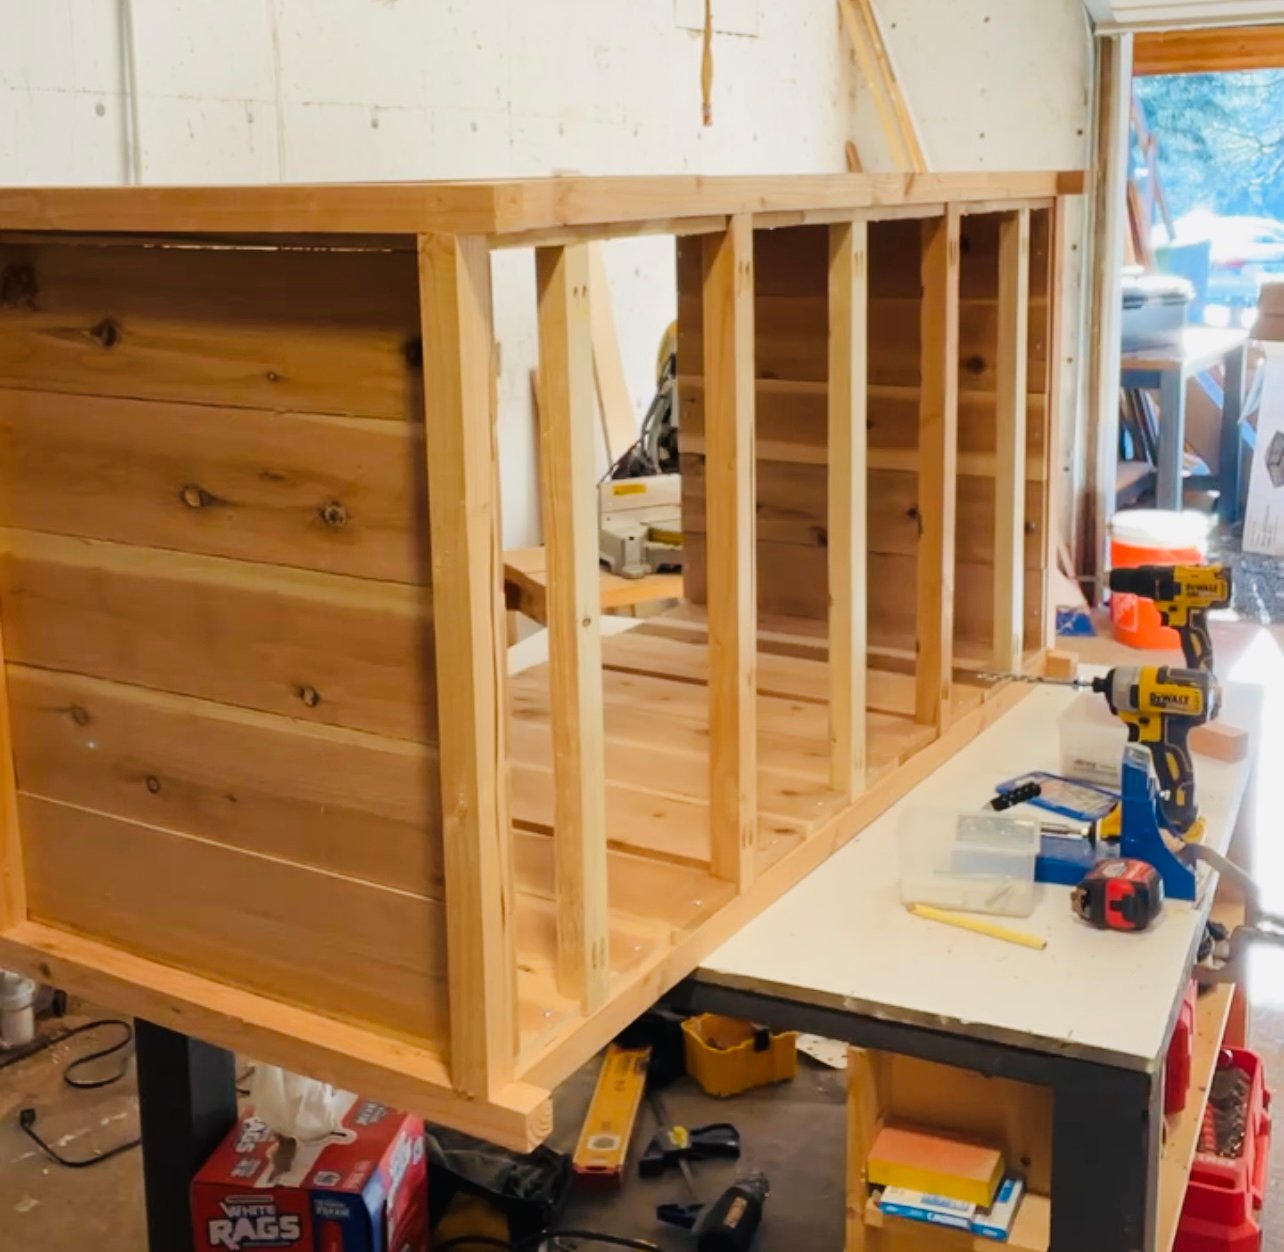
A bottom frame is added.
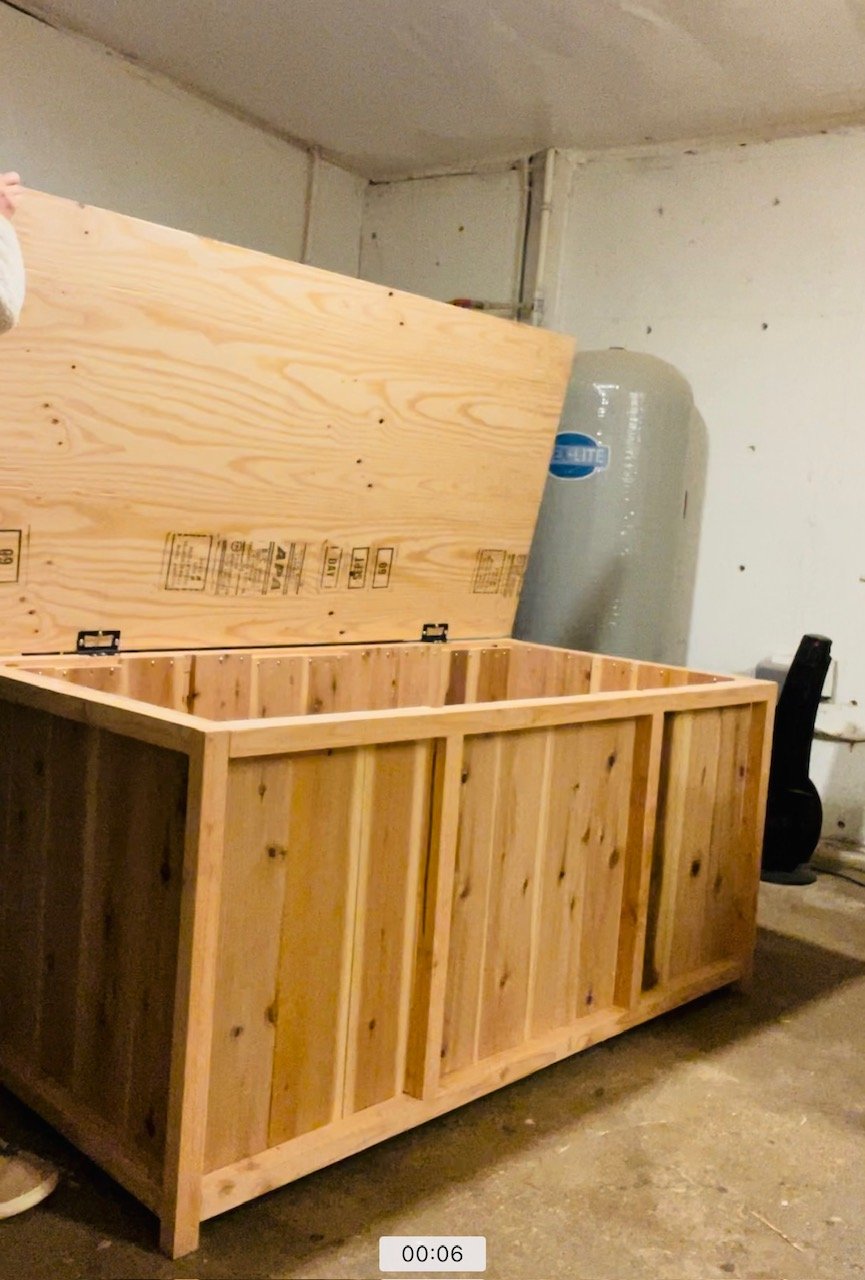
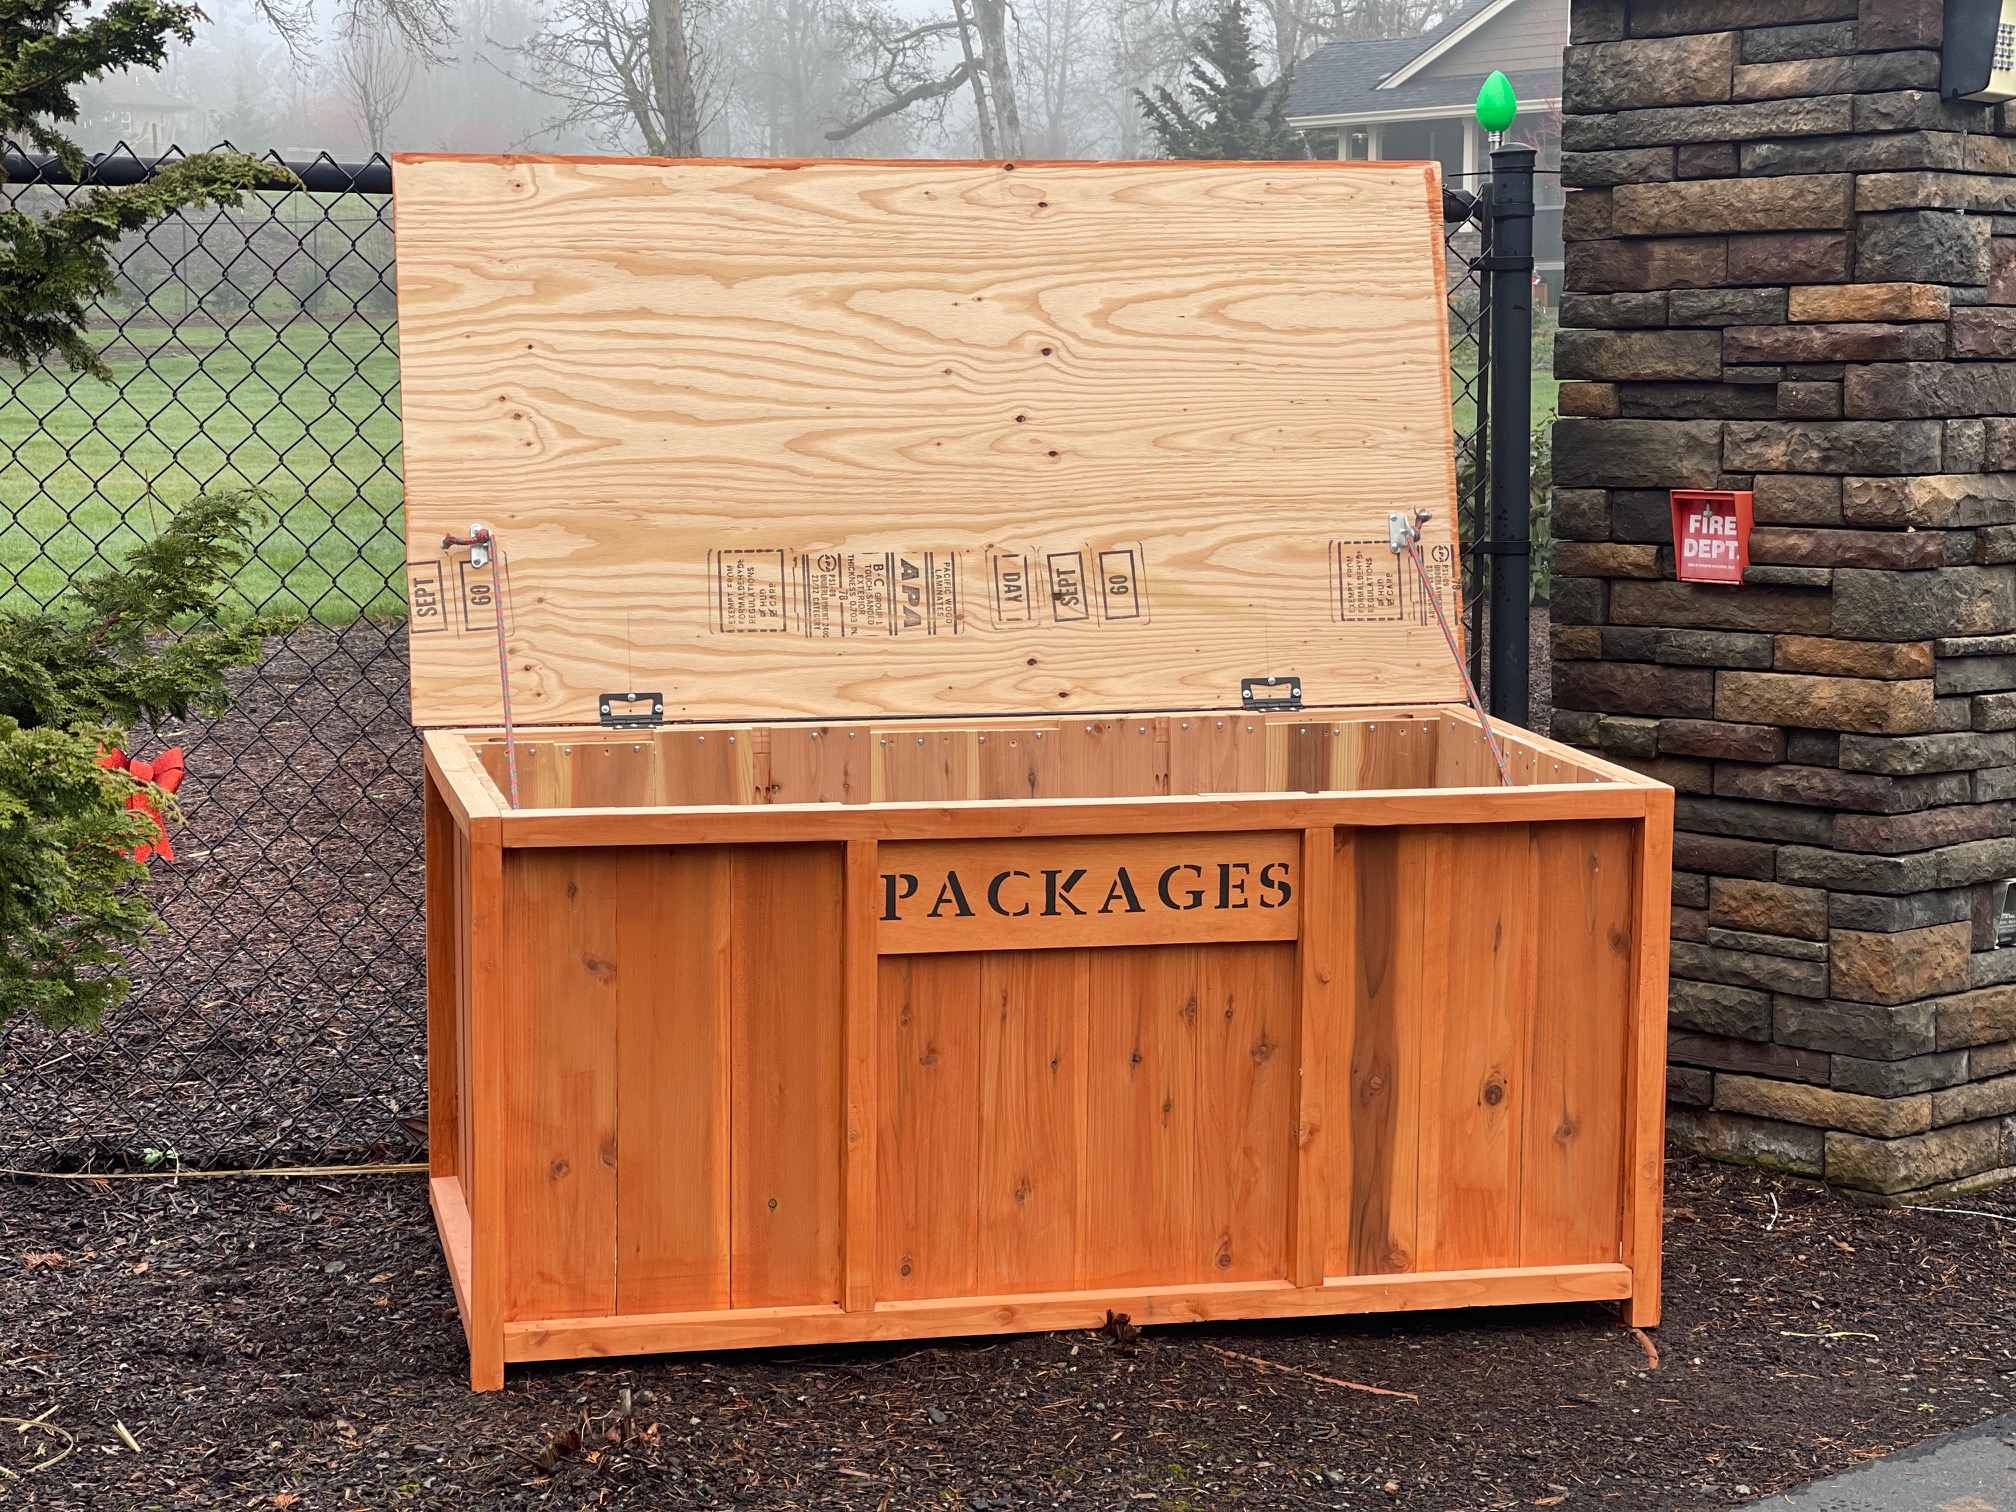
A plywood lid is attached to the top.
Plan Notes
- The hardest part of this project was the plywood top, as it is heavy. It could be split into two pieces to decrease the weight.
- This project is huge! It can be easily sized down though!
- The top can be waterproofed with a sealant or even roofing materials, but this could make it even heavier.
- Cedar fence pickets can be added to the floor of the package drop box if desired.
- If the package box is not in a covered location, place so it slopes to one side to allow for water drainage off the top.
Pin For Later!
Preparation
- 10 - 2x2 @ 8 feet long (douglas fir furring strips)*
- 1 - 3/4" plywood, exterior rated with top treated with waterproofing sealant
- 10 - 72" fence pickets, 5-1/2" wide, NOT dog eared
- 2 - 1x2 @ 8 feet long
- About 75 - 2-1/2" long pocket hole screws
- 2" self tapping wood screws, about 30 (use for building and installing the bottom frame)
- 1-1/4" brad nails or staples
- exterior appropriate wood glue
- exterior heavy duty hinges
*If you are able to source 10' 2x2s this would result in much better use of materials and decrease quantity needed
- 4 - 2x2 @ 27-3/4" - legs
- 4 - 2x2 @ 55" - front/back horizontal frame
- 4 - 2x2 @ 28-1/2" - sides horizontal frames
- 4 - 2x2 @ 21" - front/back trim
- 30 - 5-1/2" wide fence pickets @ 24"
- 2 - 1x2 @ ~54" - inside frame *measure and cut to fit
- 9 - 2x2 @ ~26" - inside frame *measure and cut to fit
- 1 - 3/4" plywood @ 32" x 59" - exterior grade plywood


Instructions
Step 1
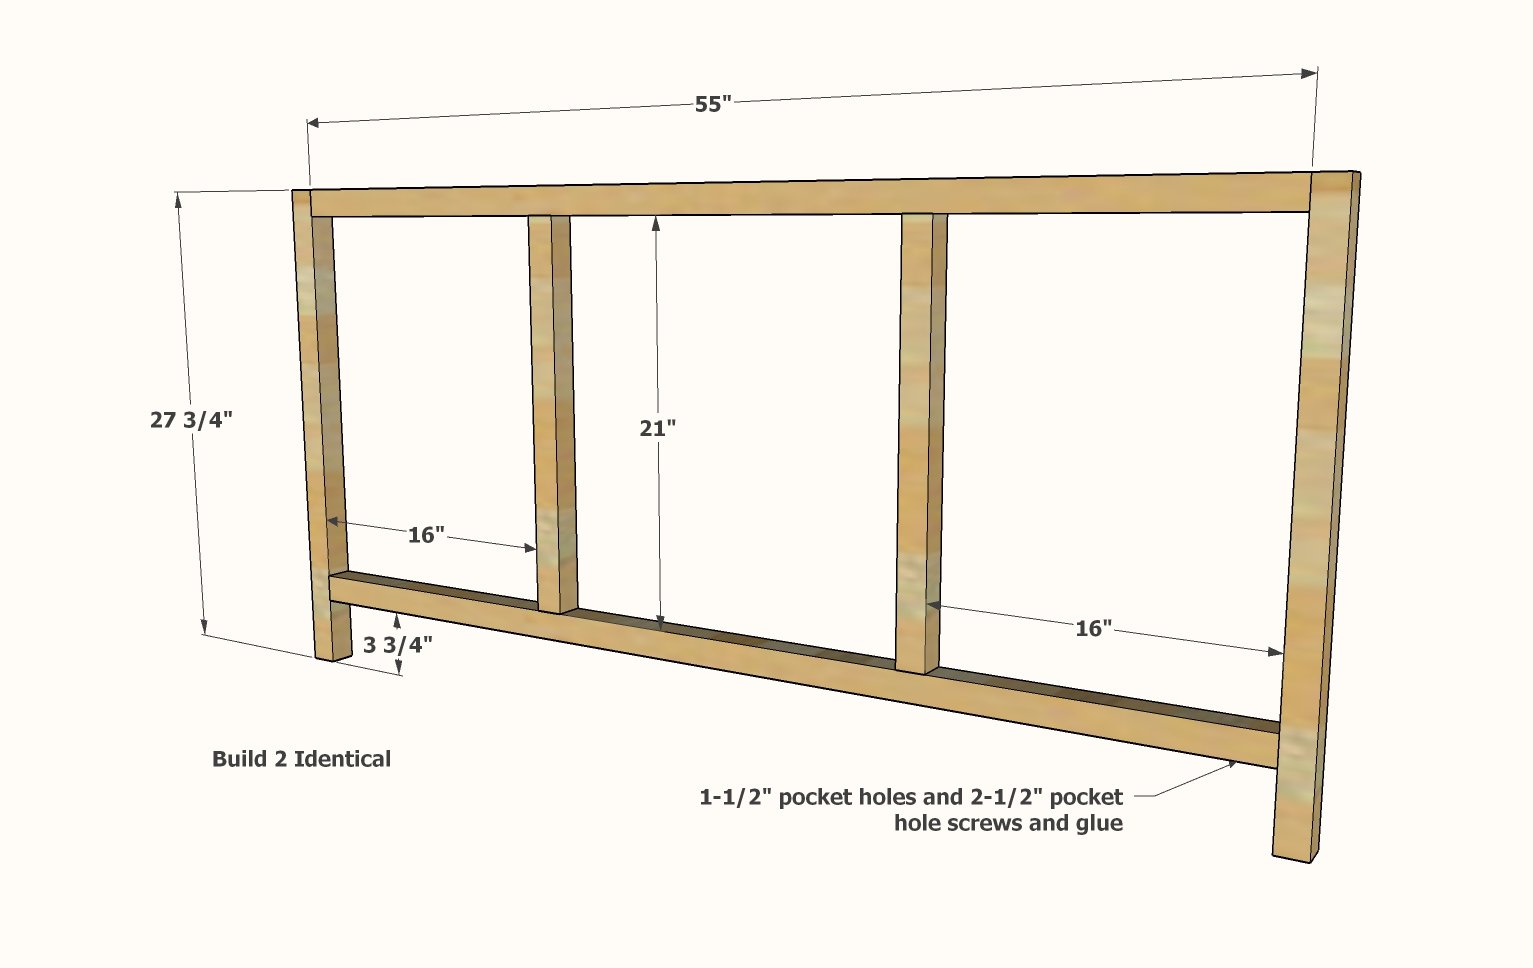
Build two of the frames as shown using 2x2s with 1-1/2" pocket holes and 2-1/2" pocket hole screws, hiding pocket holes to insides or bottoms.
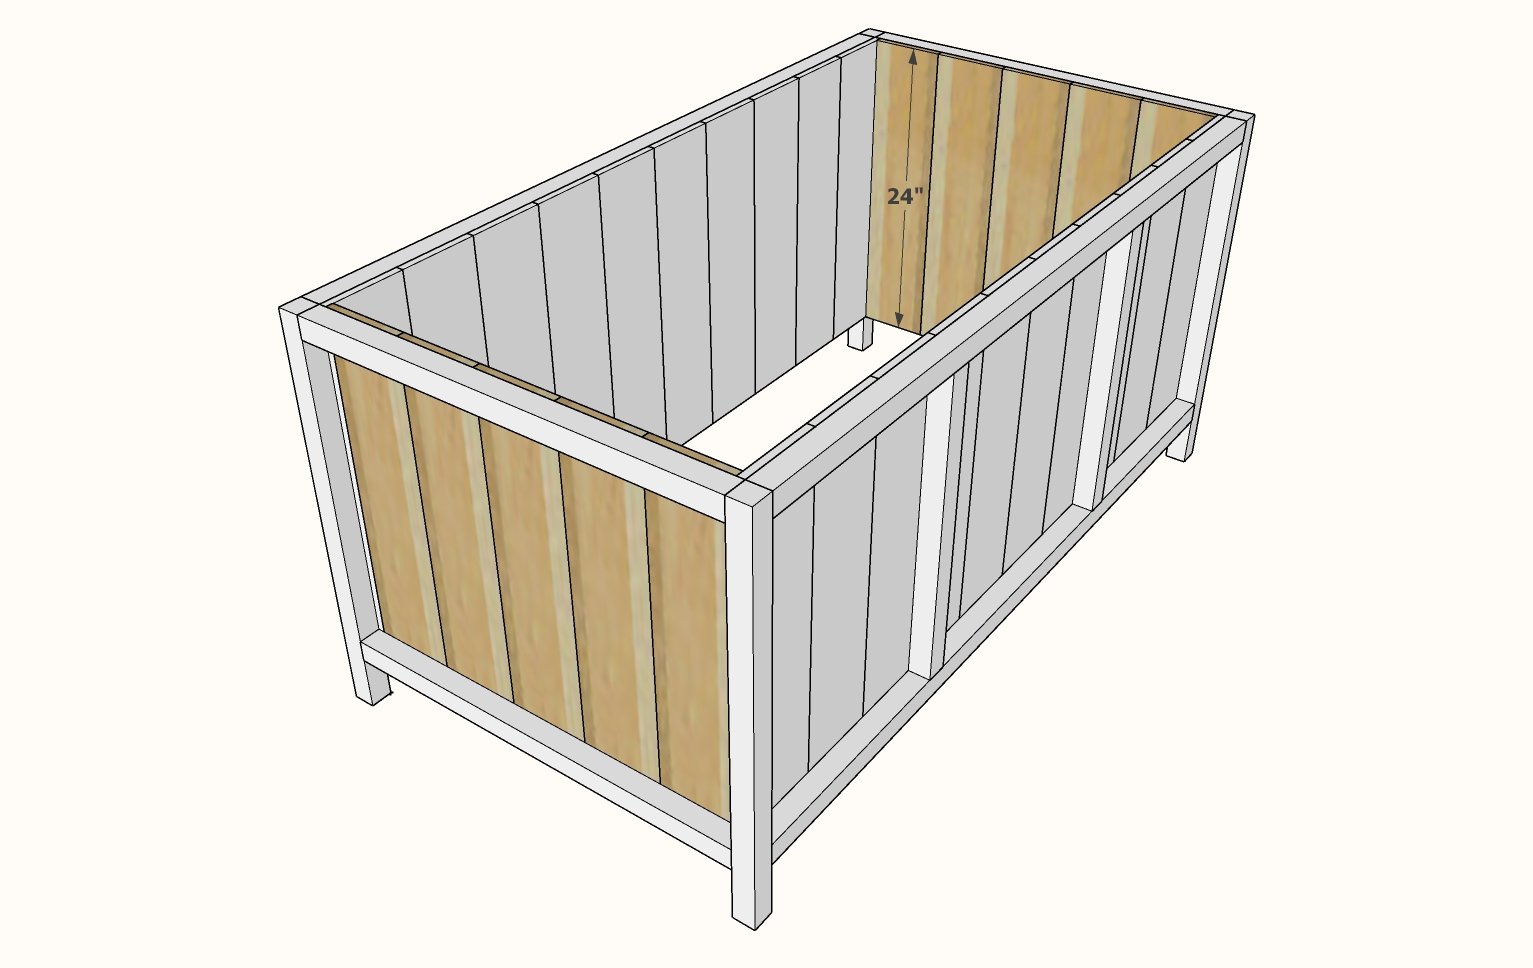
Step 2
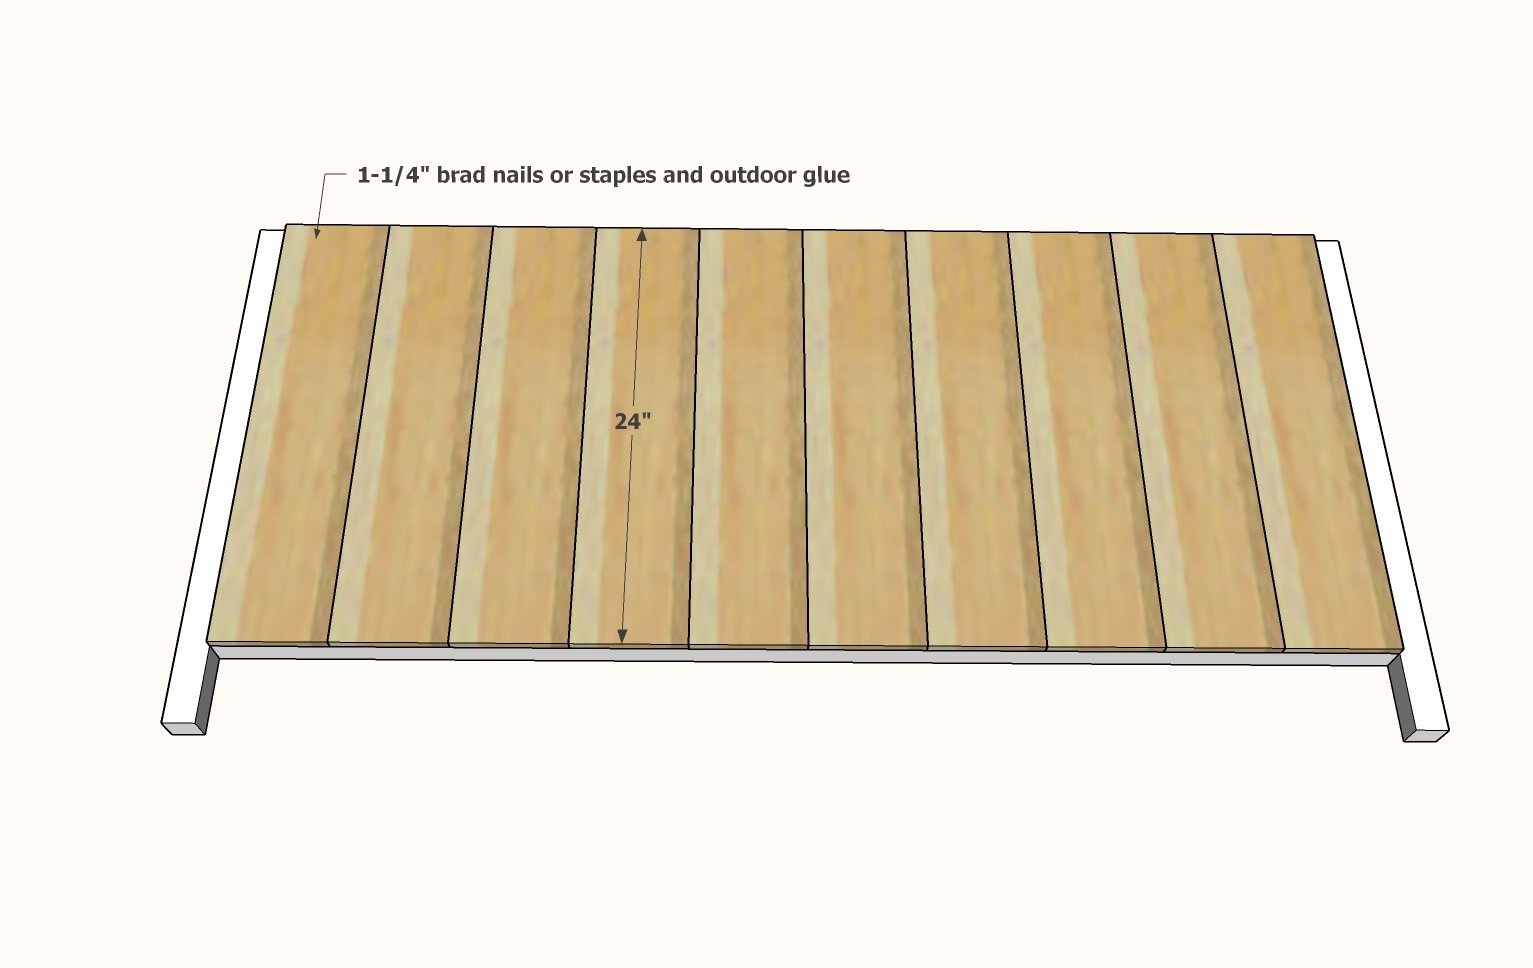
Attach cedar fence pickets to inside as shown, spacing evenly (there may be slight gap in between to allow for expansion), using 1-1/4" brad nails and wood glue.
Do not attach fence pickets over the 2x2 legs.
Step 3
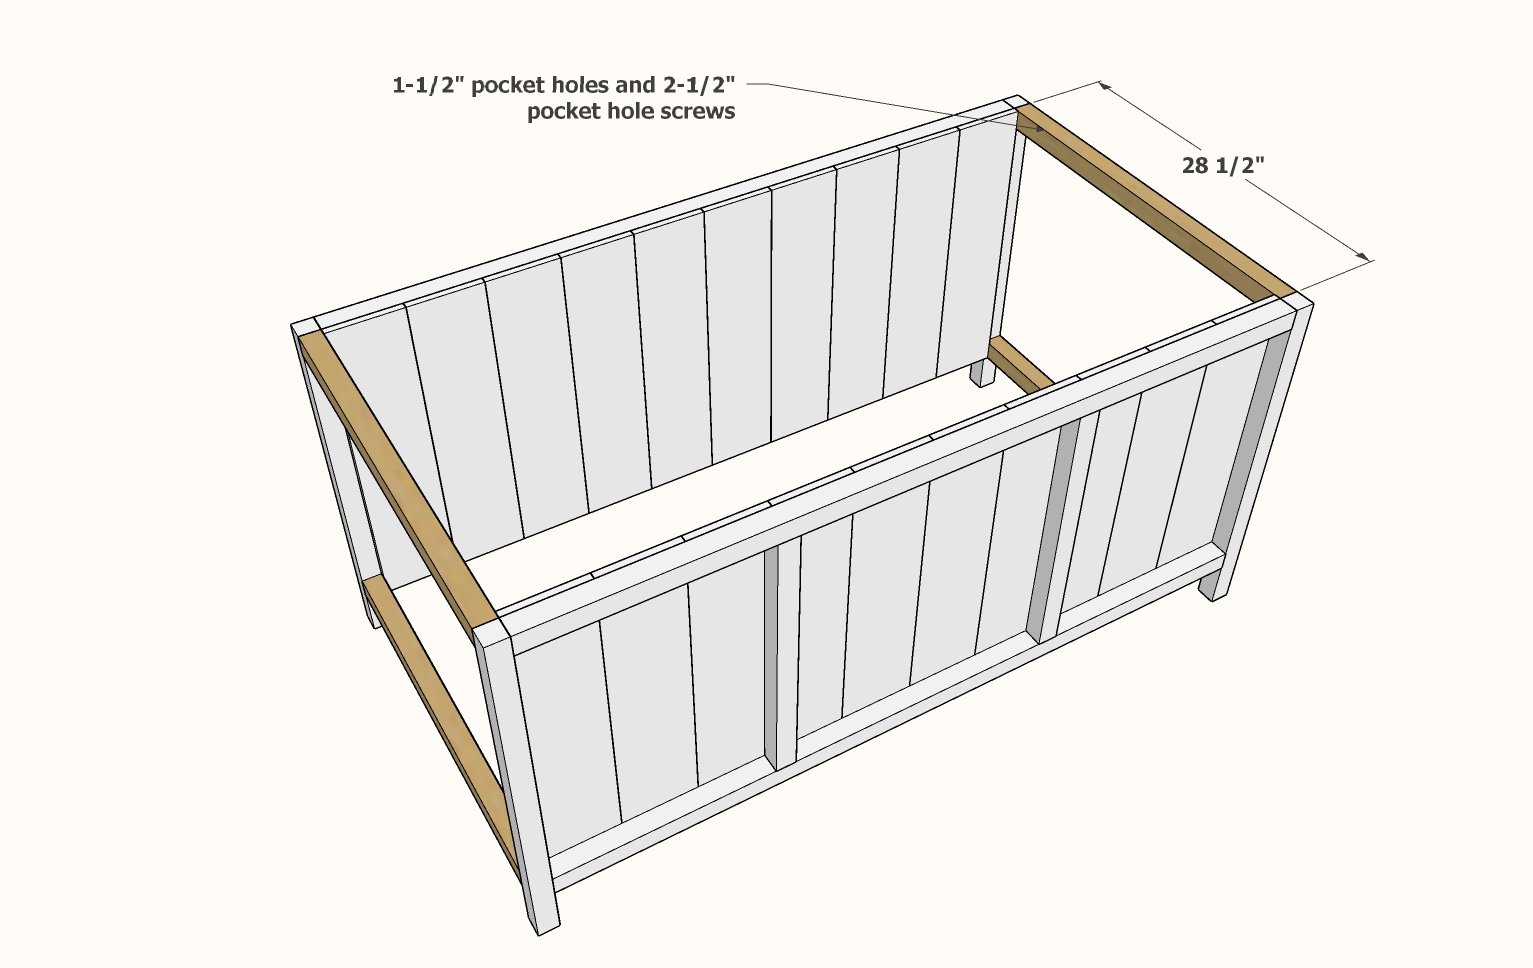
Attach the two panels together with 2x2s on the ends, using 1-1/2" pocket holes and 2-1/2" pocket hole screws, hiding pocket holes to inside.
Step 4
Attach fence pickets to inside of sides with 1-1/4" brad nails and wood glue.
Step 5
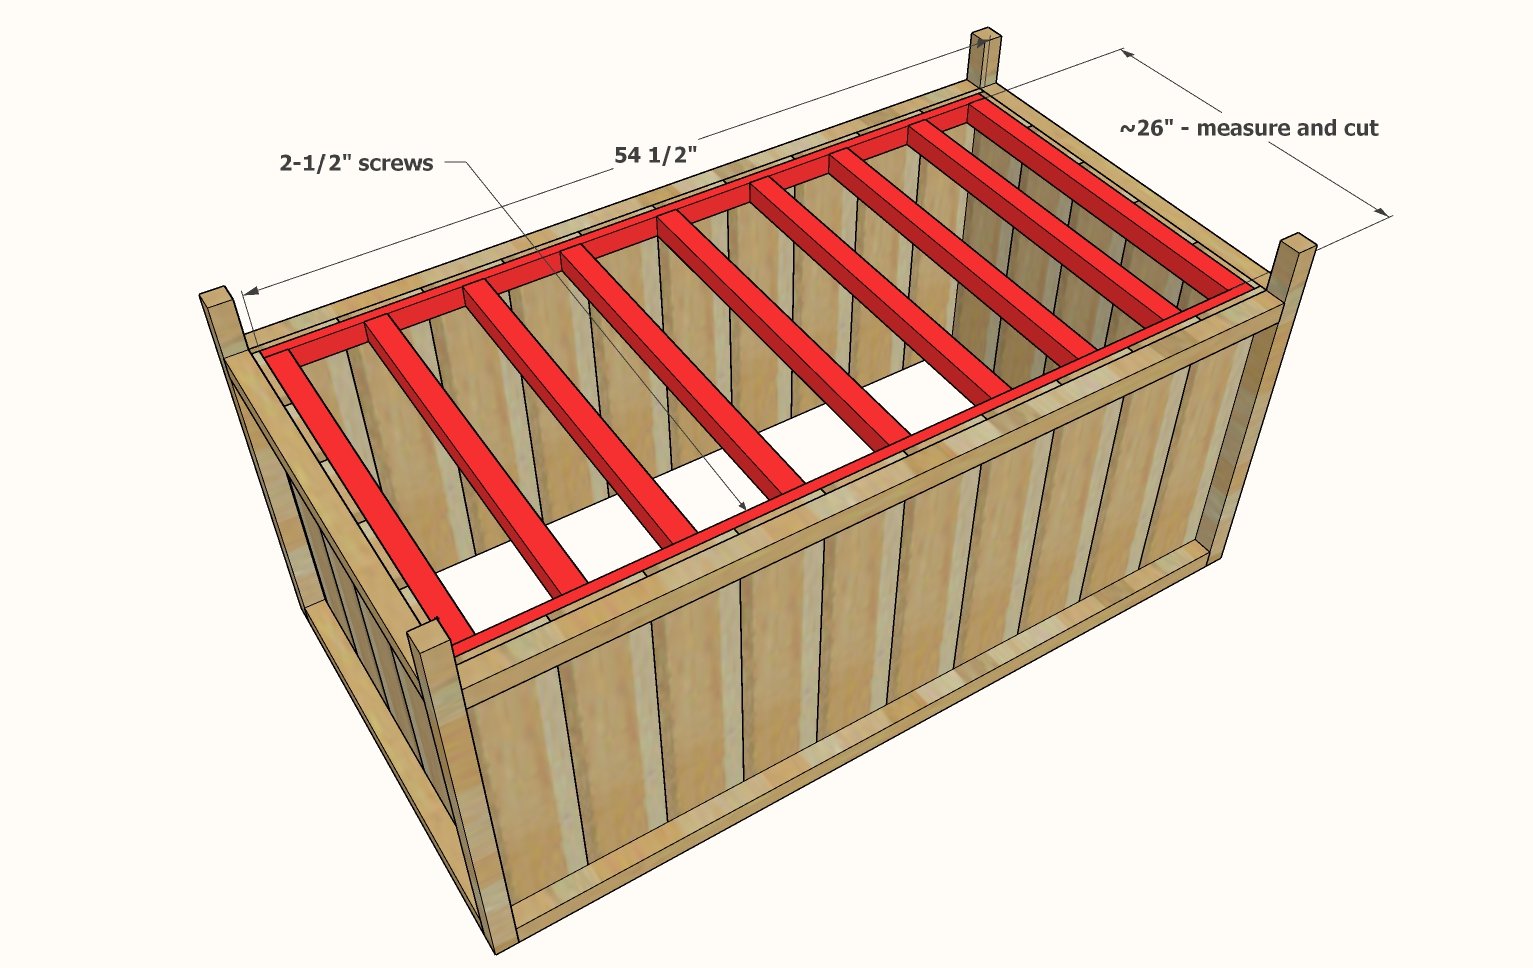
Measure the dimensions of the interior of the box and adjust as needed the bottom frame cuts.
Build the bottom frame with glue and 2" self tapping screws.
Install bottom frame inside the box and attach to all sides with 2" self tapping screws.
Step 6
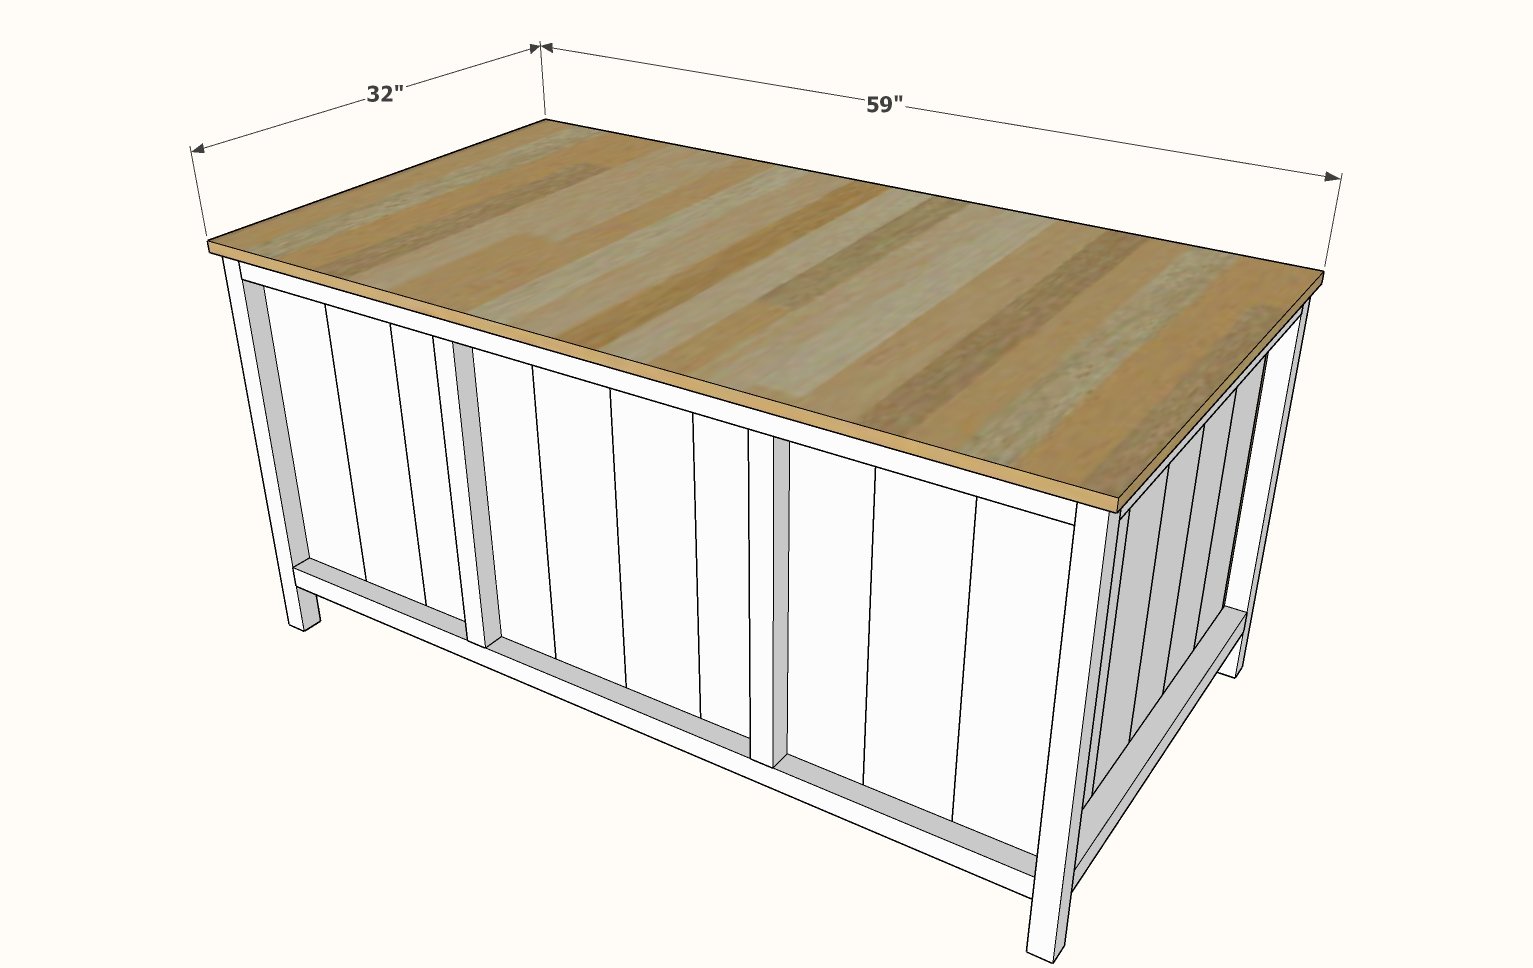
Install top with hinges at back.
For a lighter weight top, the top can be split into two pieces.
