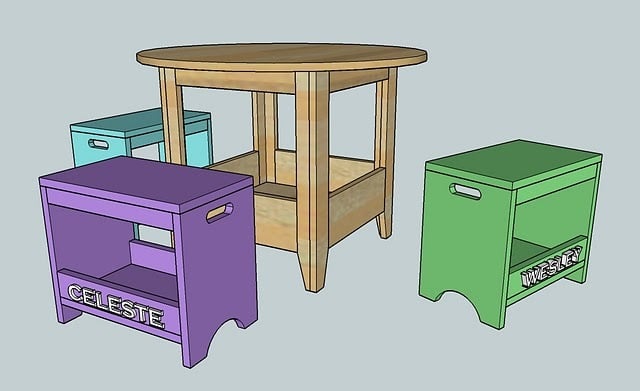
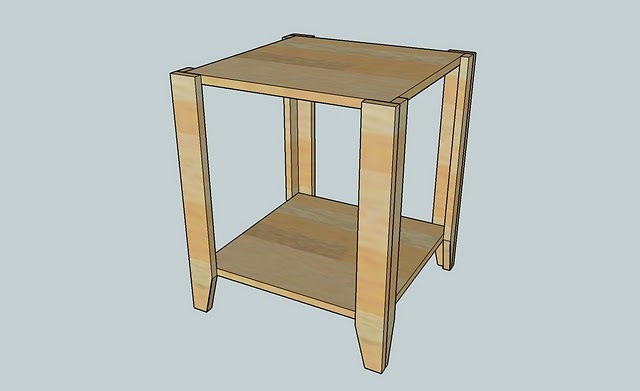
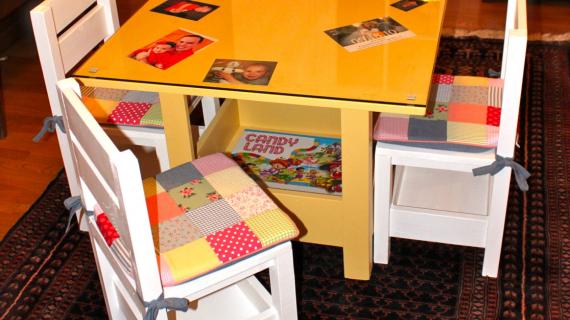
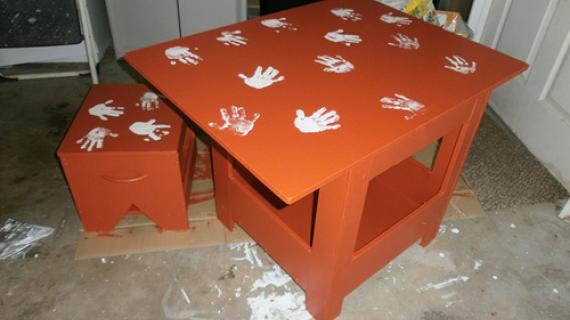
Childrens play table featuring a roomy storage compartment. Kid's will love to play with one of these.
 My sister-in-law saw how cute the table I made for my daughter was (see post here and plans here) and knew her kids would love this style table, just a little larger (to accomodate 3 kids). So I modified the plans to fit a 32" tabletop.
Preparation
Shopping List
18″ x 36″ Project Panel (Available at Lowes or Home Depot)
32″ Wood Tabletop (Available at Lowes or Home Depot)
1 – 1×6 Board
1 – 1×2 Board
2 – 1×3 Boards
Cut List
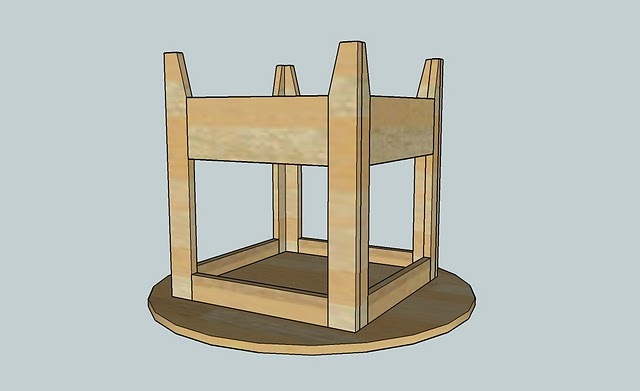
2 – 18″ x 18″ Shelves cut from the project panel
4 – 1×2 @ 22 3/4″ (Sides of Legs)
4 – 1×3 @ 22 3/4″ (Fronts and Backs of Legs)
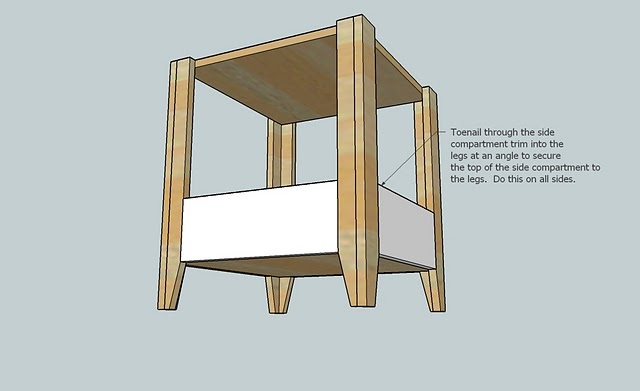
2 – 1×6 @ 15″(Sides of Compatment between the 1×2 side of legs)
2 – 1×6 @ 14 1/2″ (Sides of Compatment between the 1×3 side of legs)
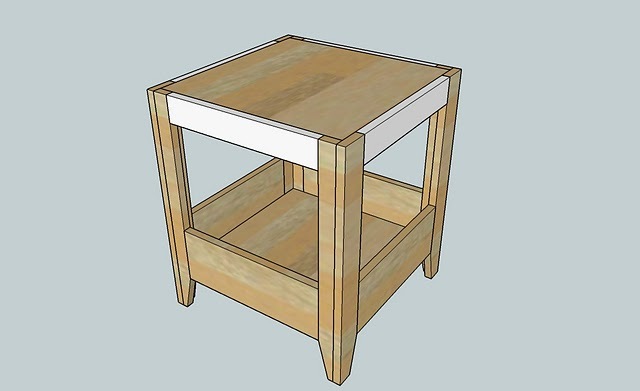
2 – 1×3 @ 15″ (Top trim between the 1×2 sides of legs)
2 – 1×3 @ 14 1/2″ (Top trim between the 1×3 sides of legs)
Instructions
Step 1
Step 3
Step 4
Step 6
Step 8
Fill holes with wood putty and sand and finish as desired.



Comments
Lacey (not verified)
Sun, 01/17/2010 - 08:37
I love this table! I was
I love this table! I was wanting to make the table top a bit bigger though. Do you think the base will hold a 36 round table top just fine as well or would I need to make some adjustments?
Thanks!
jacksmom (not verified)
Wed, 01/20/2010 - 06:40
Ok I have decided to give
Ok I have decided to give this table a shot but do have a question. What type of screws do you suggest if I want to screw the legs on and such, I have a 2 year old and know at some point he is going to end up on top of this table and what it as secure as possible. Thanks for giving me the confidence to give this a try!
Ana White (not verified)
Wed, 01/20/2010 - 08:02
The 36" tabletop should be
The 36" tabletop should be fine. It will be a few inches bigger, and you could choose to make the base a few inches bigger too if you would like.
SCREWS - yes, I would screw this one too! I actually end up nailing and screwing most of my projects - as in screwing the main parts together, and then adding the frame pieces with nails.
You can use 2" wood screws, just make sure you predrill and countersink. If you can afford cabinet screws, you can go that route too.
jacksmom (not verified)
Wed, 01/20/2010 - 11:39
Thanks for the quick reply,
Thanks for the quick reply, off to get the supplies when hubby gets home from work.
Nicole (not verified)
Thu, 01/21/2010 - 13:54
Hi. I just discovered your
Hi. I just discovered your blog and am in LOVE with the idea of building your own furniture. However, I have never built furniture before. I actually have never built anything before. Do I need to have certain tools, special saws? Is this something I can do as a beginner?
Thanks.
Kristy (not verified)
Thu, 12/16/2010 - 15:07
Ana I have been obsessed with
Ana I have been obsessed with blog/website for quite sometime. I LOVE everything you do, THANK YOU for giving us the opportunity to use your plans and make amazing furniture. I have been trying to find the plans for the smaller kid's storage table and I keep coming up with the blog that doesn't exist anymore. Do you still have the plans for the smaller size table, HELP!!!!
thanks again for all you do.
Kristy
Joel Seltmann (not verified)
Sun, 02/06/2011 - 04:30
NOTE FIGURE #5!!!..... To
NOTE FIGURE #5!!!.....
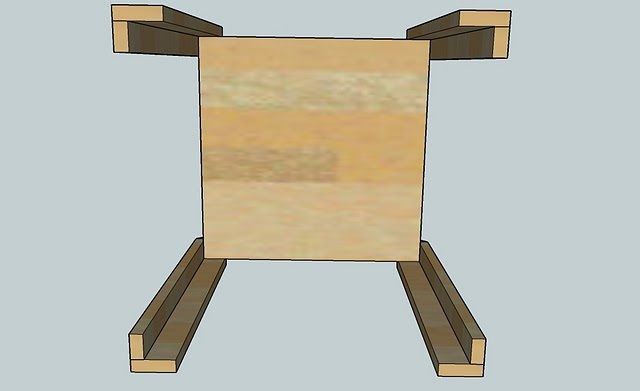
To make it easier to put the WHOLE project together, make the LEG panels individually--invest in a good biscuit jointer/joiner, put the panels together individually--square them up, glue and clamp them. Then after each panel is made, you can glue and air nail the horizontal shelf panels to complete the geometry. By making and squaring the "leg panels" individually, it prevents the geometry from "racking out of square".
Valentina Pard… (not verified)
Wed, 02/16/2011 - 08:04
You are a rockstar! I came
You are a rockstar! I came on this site by chance and am hooked! We are DYIers because my husband is in grad school and his dad was a carpenter but we lack your expertise, so I am SO excited to come upon your blog! Thanks!
Guest (not verified)
Thu, 12/01/2011 - 08:03
Carolina Collector's Table
Hi Ana,
I was wondering if you have plans for the Carolina collector's table by Pottery Barn. I would really like to make this, but am unsure how to go about it. Thanks Ana!
Guest (not verified)
Thu, 12/01/2011 - 08:03
Carolina Collector's Table
Hi Ana,
I was wondering if you have plans for the Carolina collector's table by Pottery Barn. I would really like to make this, but am unsure how to go about it. Thanks Ana!
spiceylg
Tue, 10/02/2012 - 08:14
Suggestions?
We are going to make three of these sets for a local womans/kids shelter. In trying to keep the cost down a bit, I would like an alternate for this table top as the project panels are more than I want to spend. I really didn't research costs, so does anybody know what would be more cost effective? Plywood w/banding? MDF? Dimensional lumber put together with pocket holes? I'm sure it will be abused so it has to hold up. We plan on painting the top with chalkboard paint, too. I appreciate any advice!