Rip Jig for Circular Saw

The free plans on this website are supported with advertising and affiliate revenue.  When you click some links in this plan, you may be helping us earn a small commission.  Thank you for supporting this website.


Ana White plywood rip jig
Difficulty
Starter Projects
| Print this plan

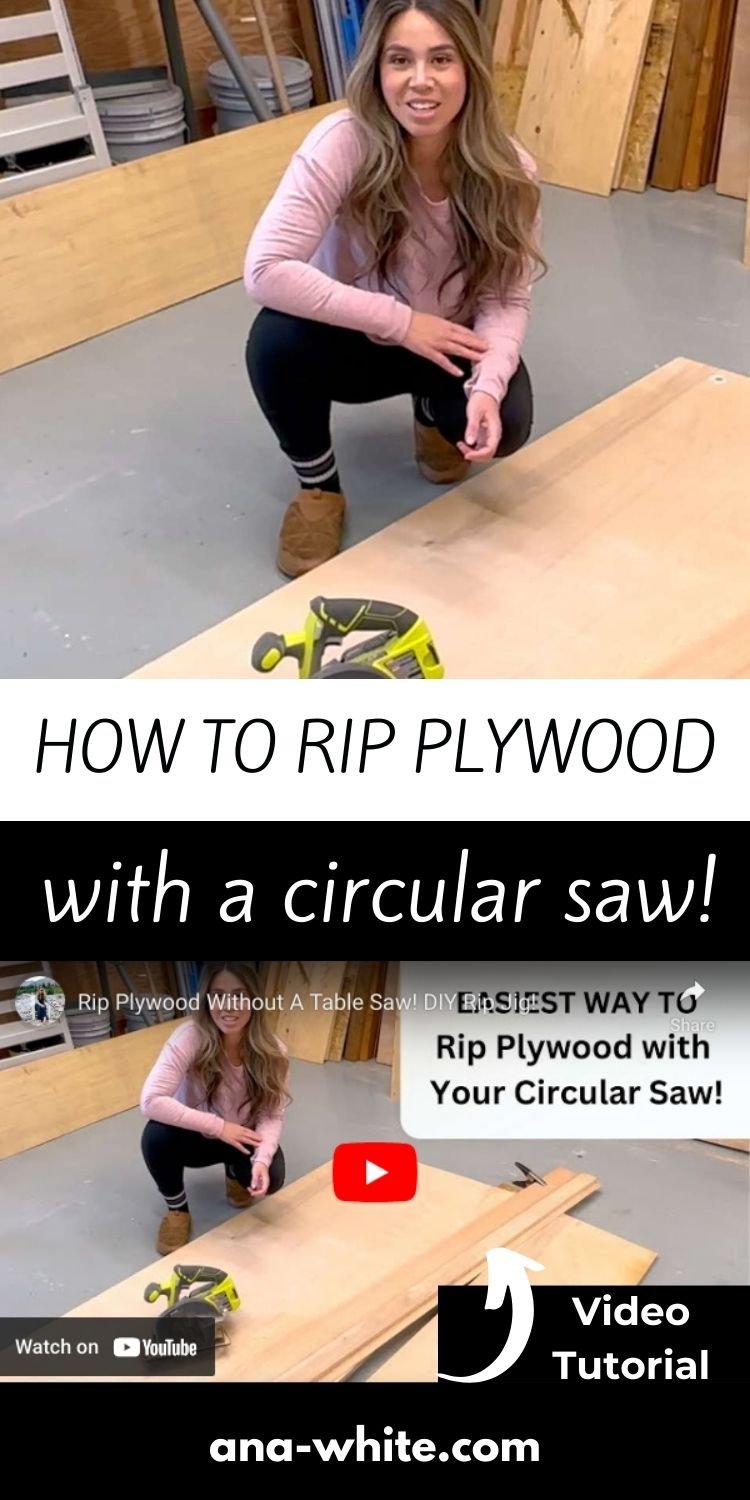
Here's how to rip plywood with a circular saw!  This super easy to make jig will help you make straight rip cuts with your circular saw.  

How to build and use it with video tutorial and step by step plans and diagrams from Ana-White.com

I have a confession.  I own a tablesaw, but I dread ripping plywood.

Why?  Well, part of the problem is I'm short, and wrestling up a sheet of plywood on to the tablesaw deck is very challenging.  Then trying to keep it straight, while pushing the plywood through ... it is a dreaded task.

When a sheet of plywood weights 80 pounds and a saw weighs 2 pounds, what's smarter:  Moving the plywood or moving the saw?

So I came up with a jig that is custom made for my circular saw foot - so now all I have to do is clamp and cut!  It cross cuts and rips with ease!  

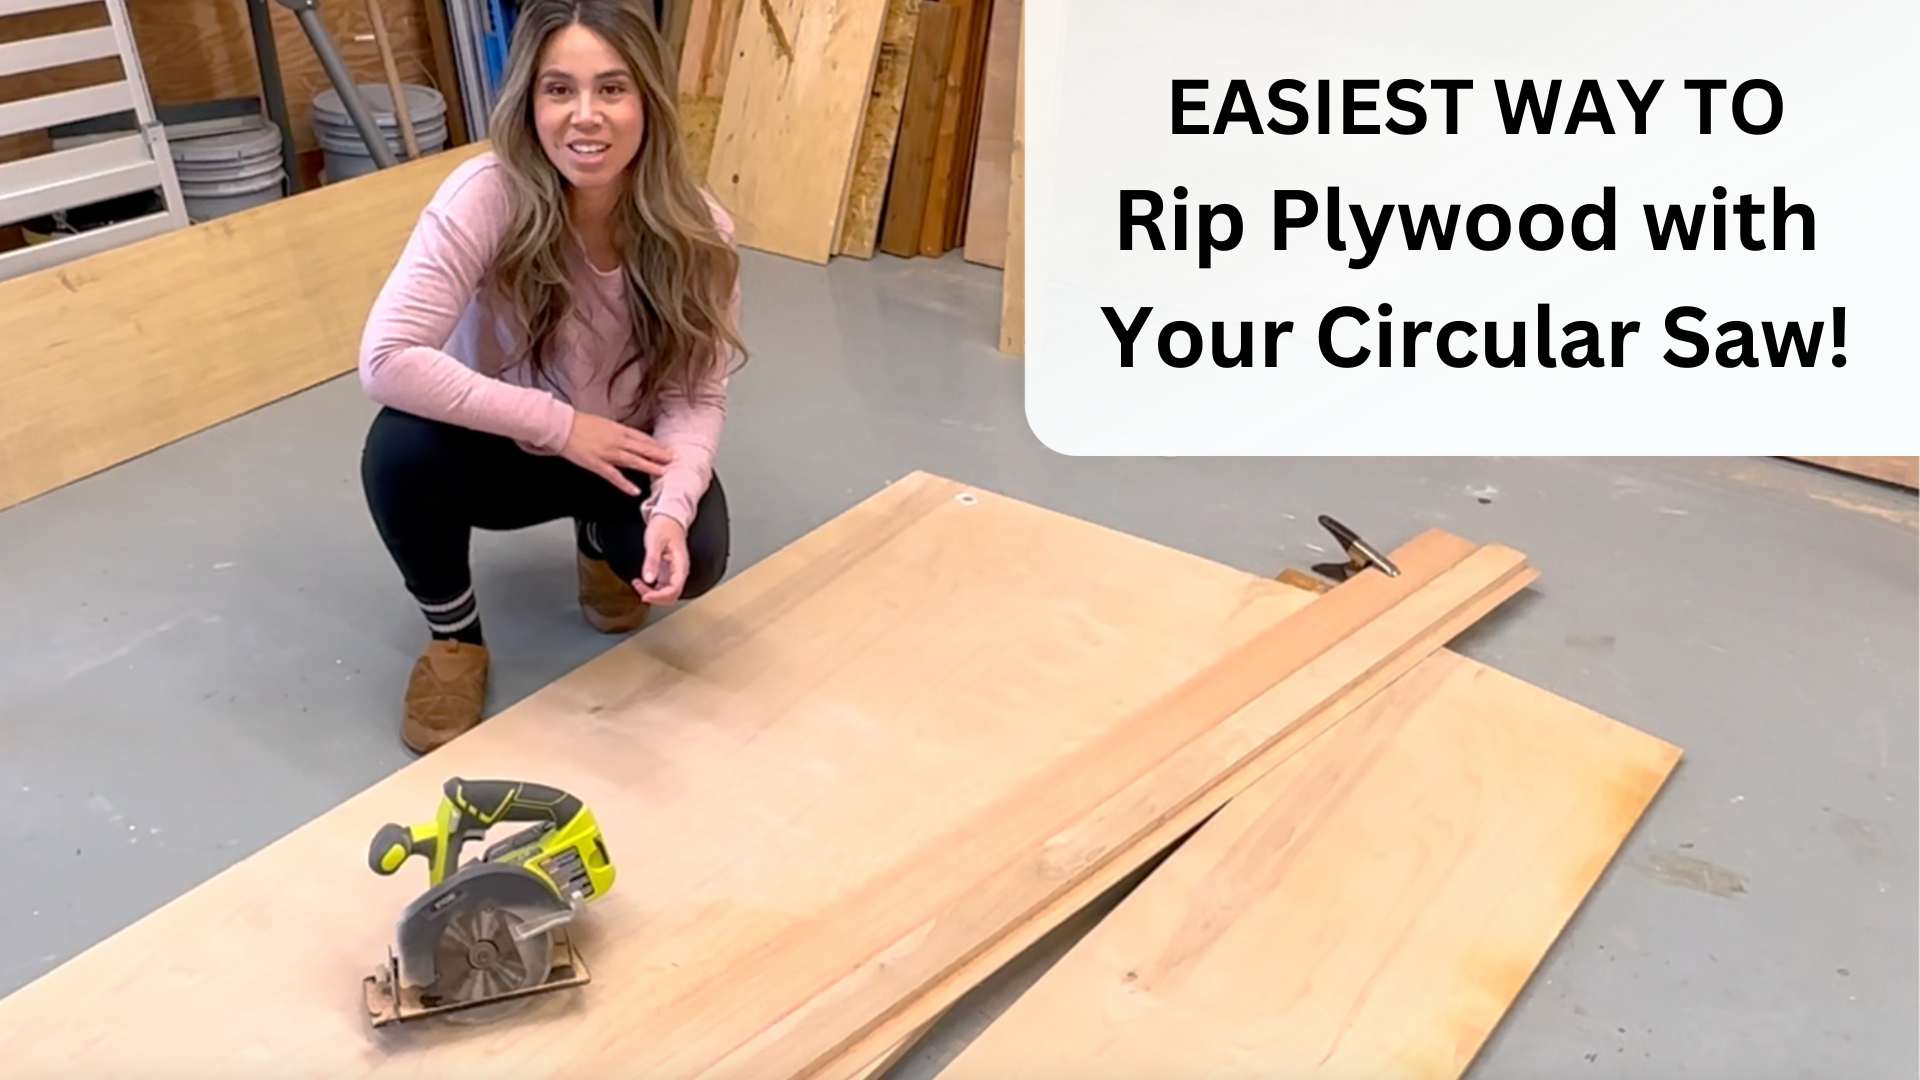
Watch: Video Tutorial of Using My Plywood Rip Jig


How to Make and Use My Plywood Ripping Jig

Pin For Later! 

Rip Jig for Circular Saw

Preparation

Shopping List
  • 1/4" plywood or underlayment, at least 8 feet long x 12" wide 
  • 1x3 board, 8 feet long
  • 3/4" brad nails or stapler
  • wood glue
  • two small clamps
  • Scrap wood or foam pieces for elevating your plywood
Tools
Tape Measure
Pencil
Safety Glasses
Circular Saw
Brad Nailer

Instructions

Step 1

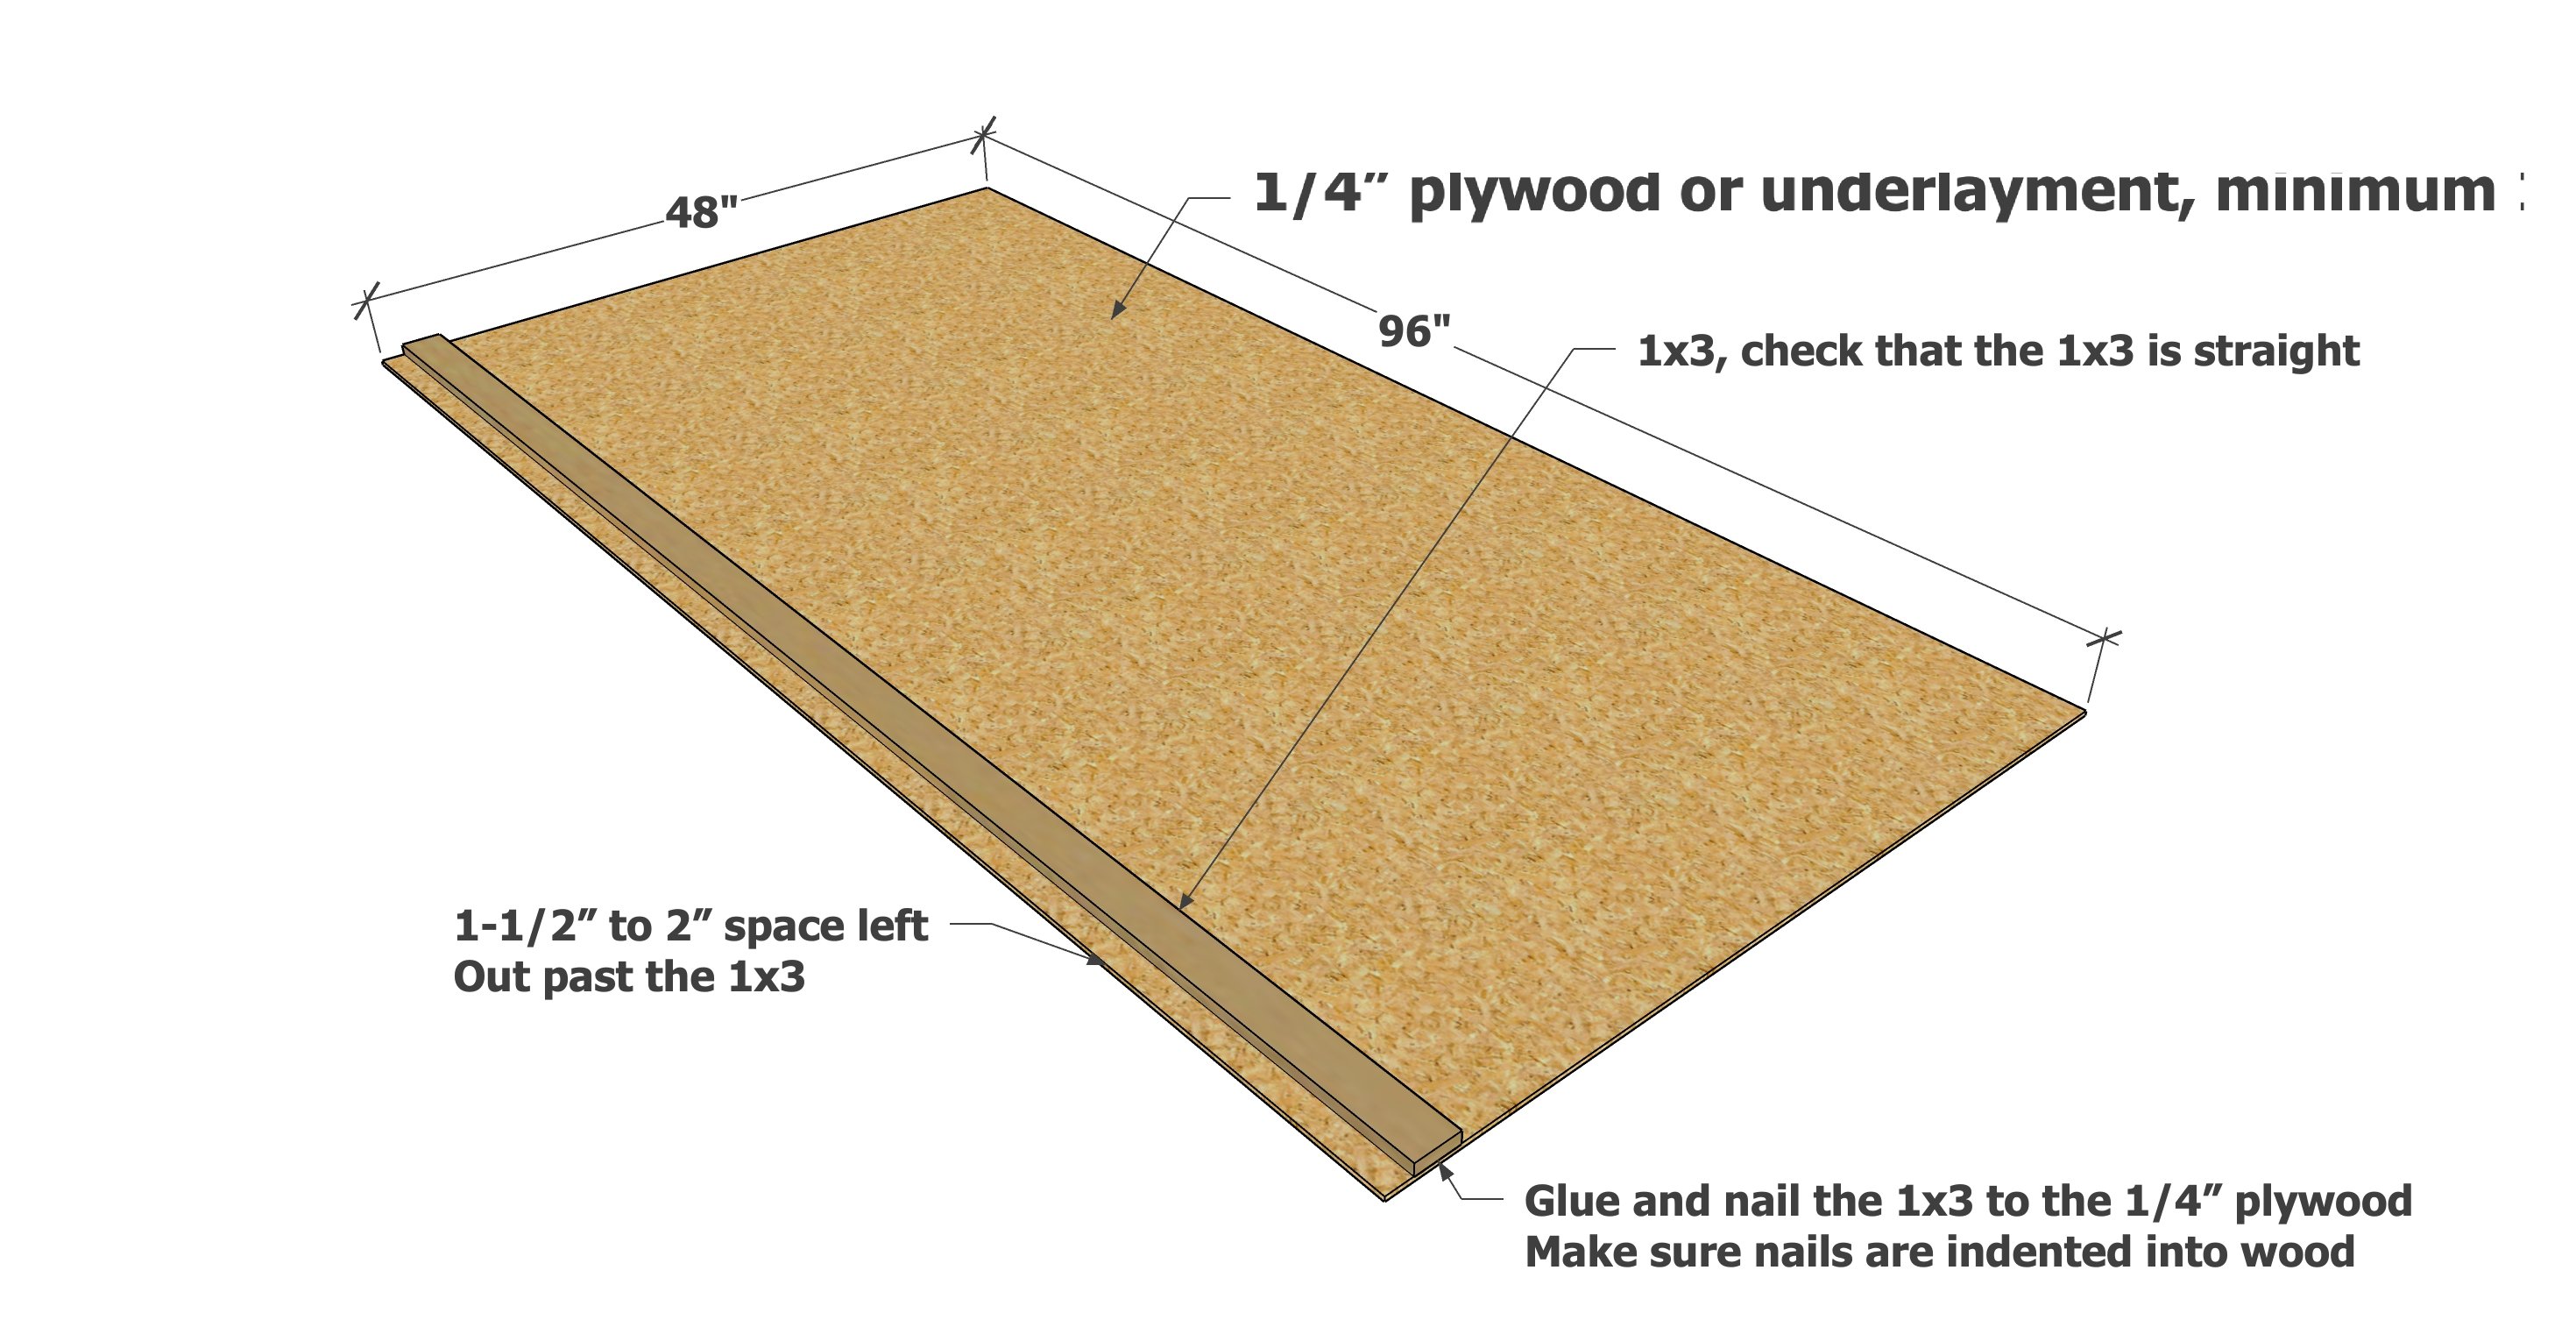
Attach the 1x3 to the 1/4" plywood with the 3/4" fasteners and wood glue.

Step 2

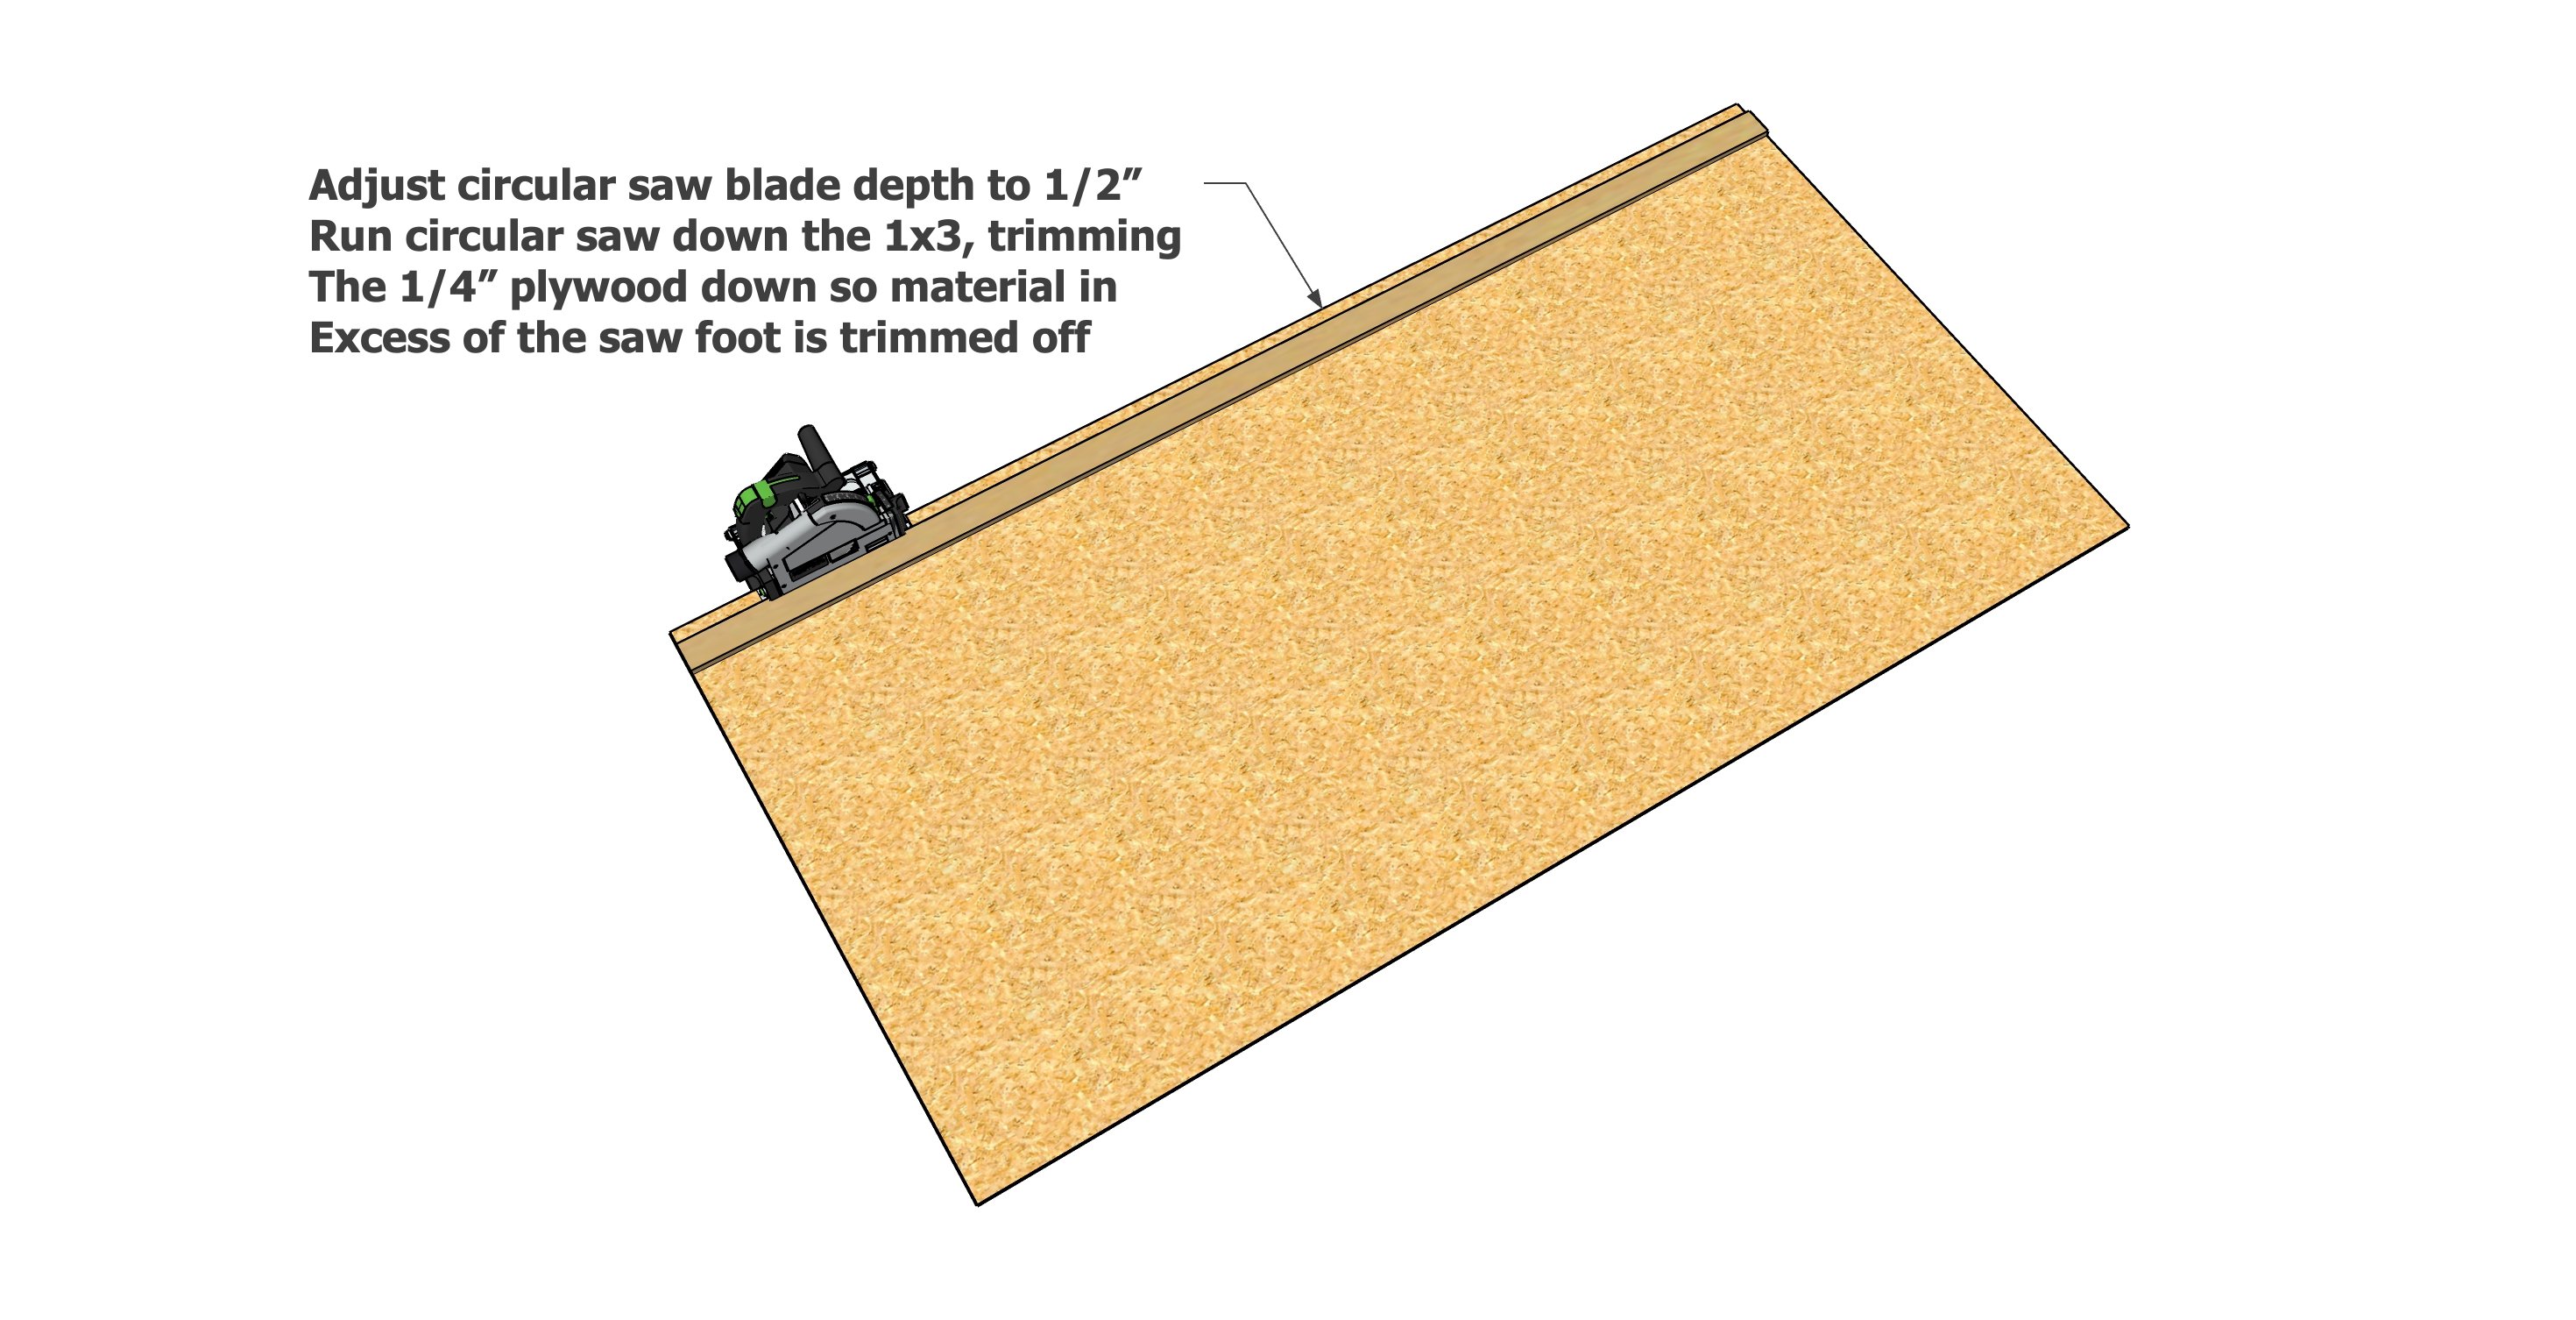
Set the circular saw blade depth to 1/4" past the depth of your plywood.

Elevate the 1/4" thick plywood up on foam or wood blocking, fully supporting the 1/4" plywood so after it is cut, it won't pinch the saw blade.

Run the saw down the 1x3, trimming excess off.

Step 3

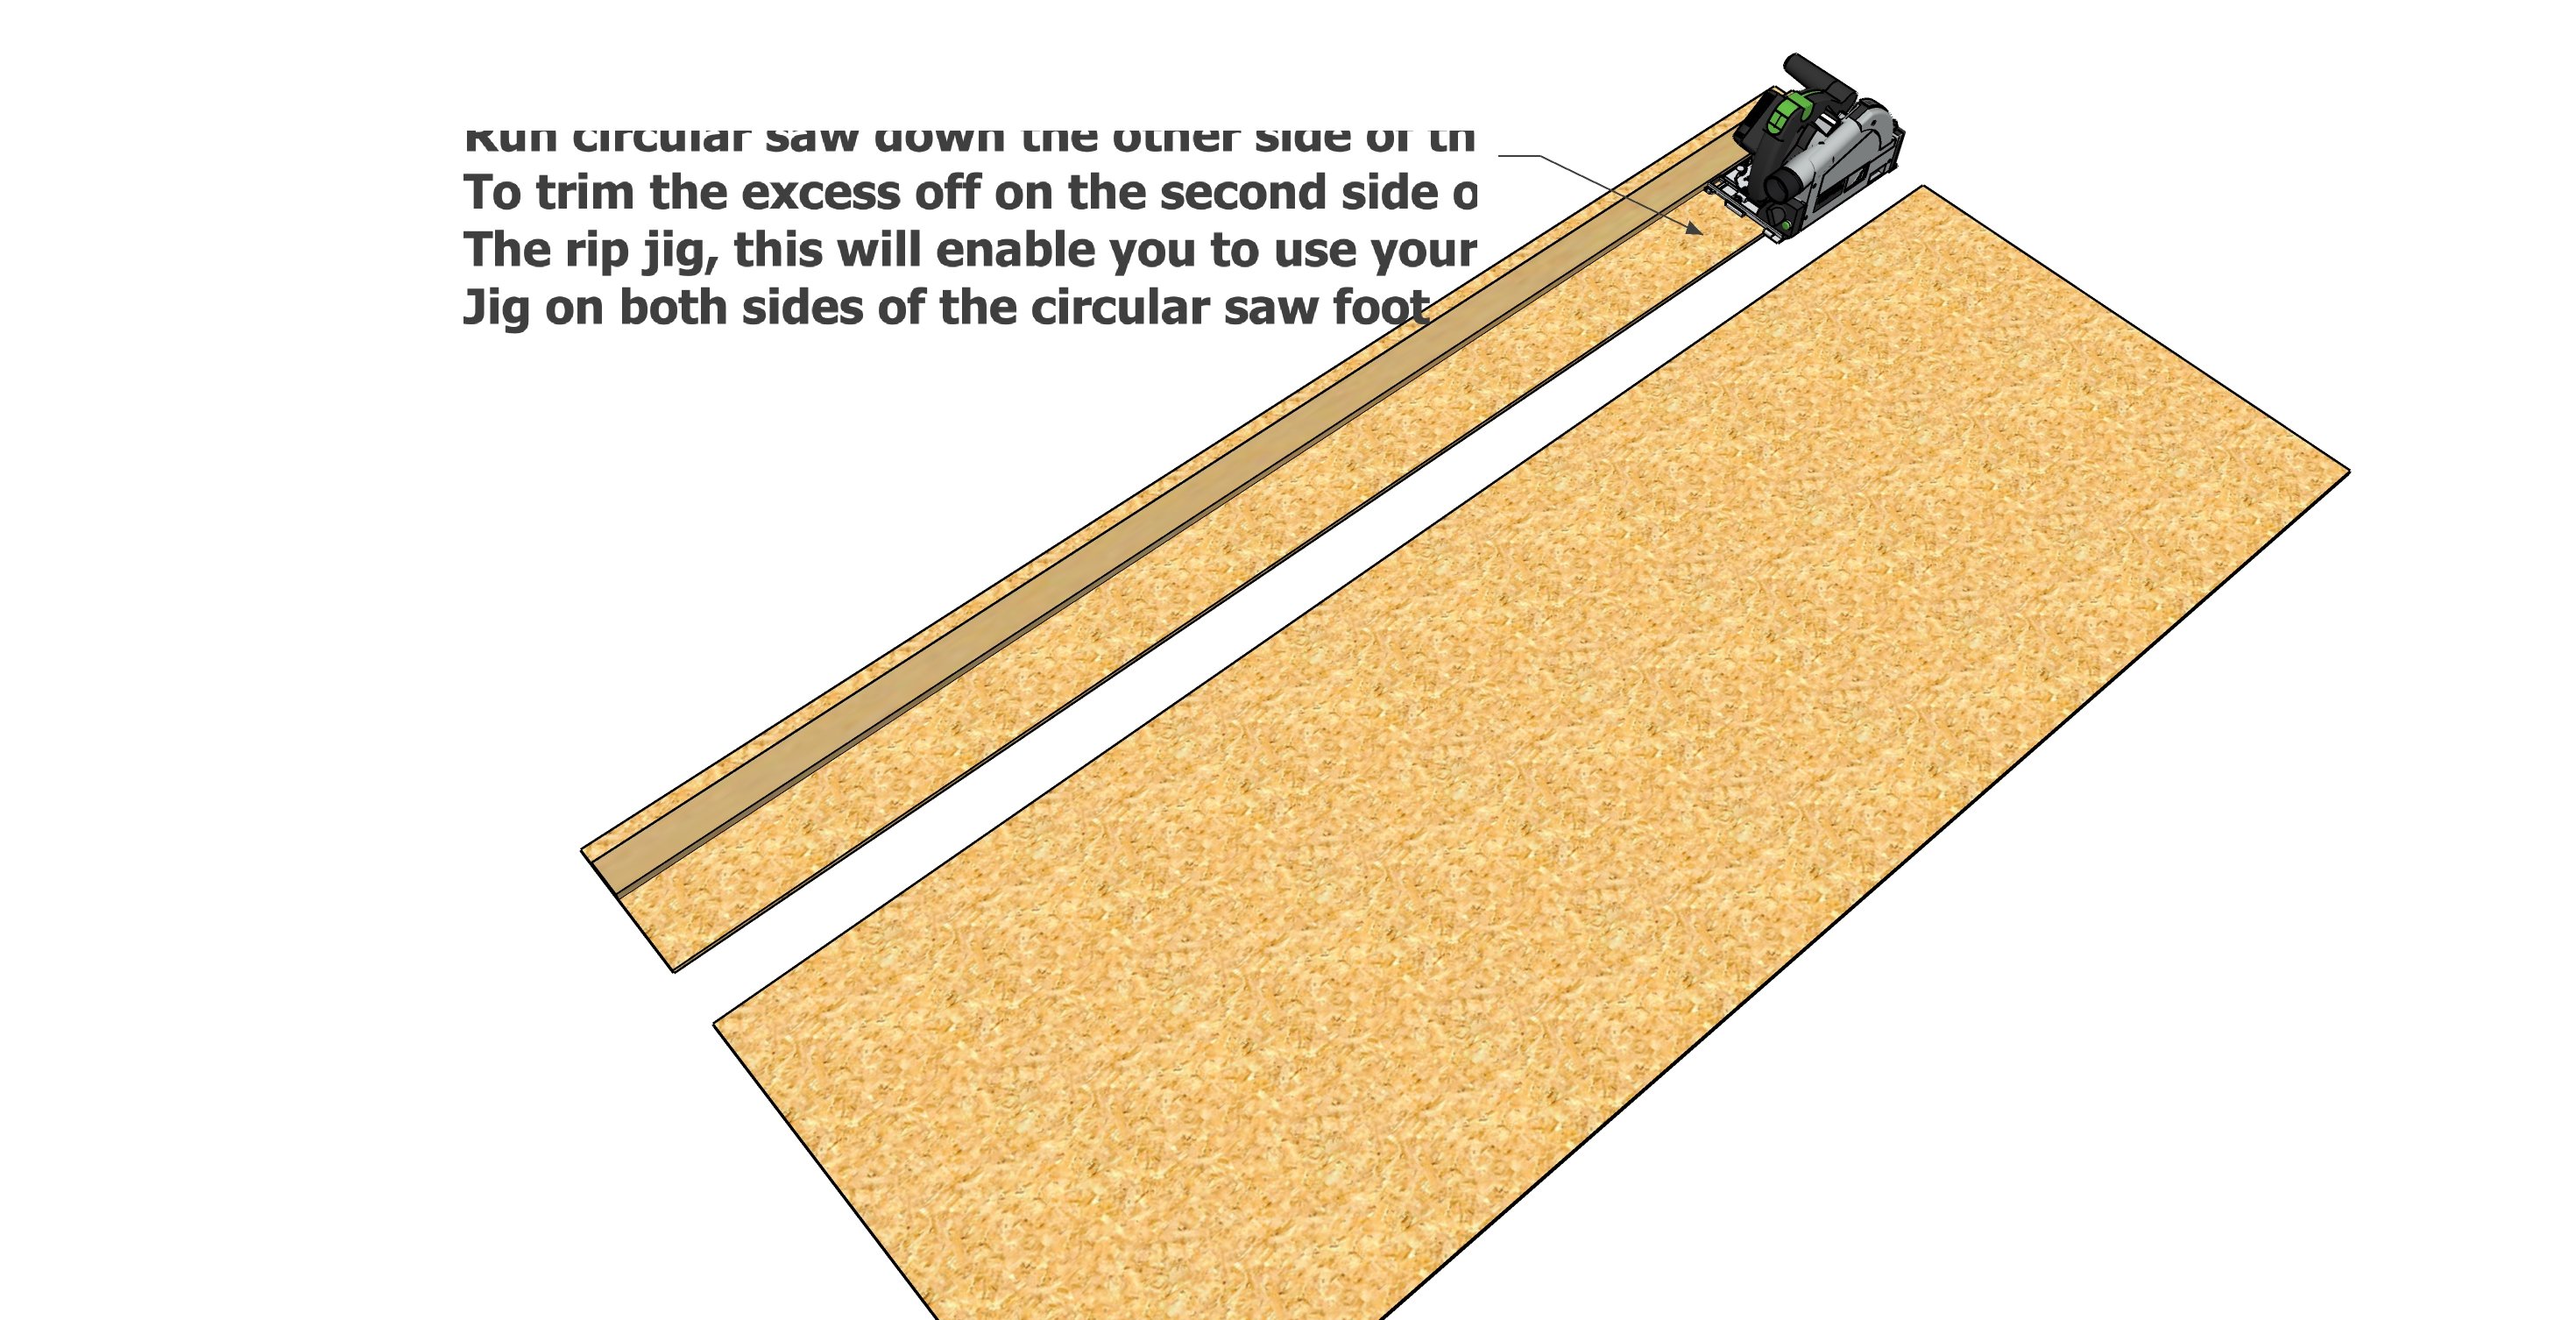
Repeat for the second side of the 1x3, this time cutting so the larger portion of the saw foot is run alongside the 1x3.

Step 4

Using the Jig

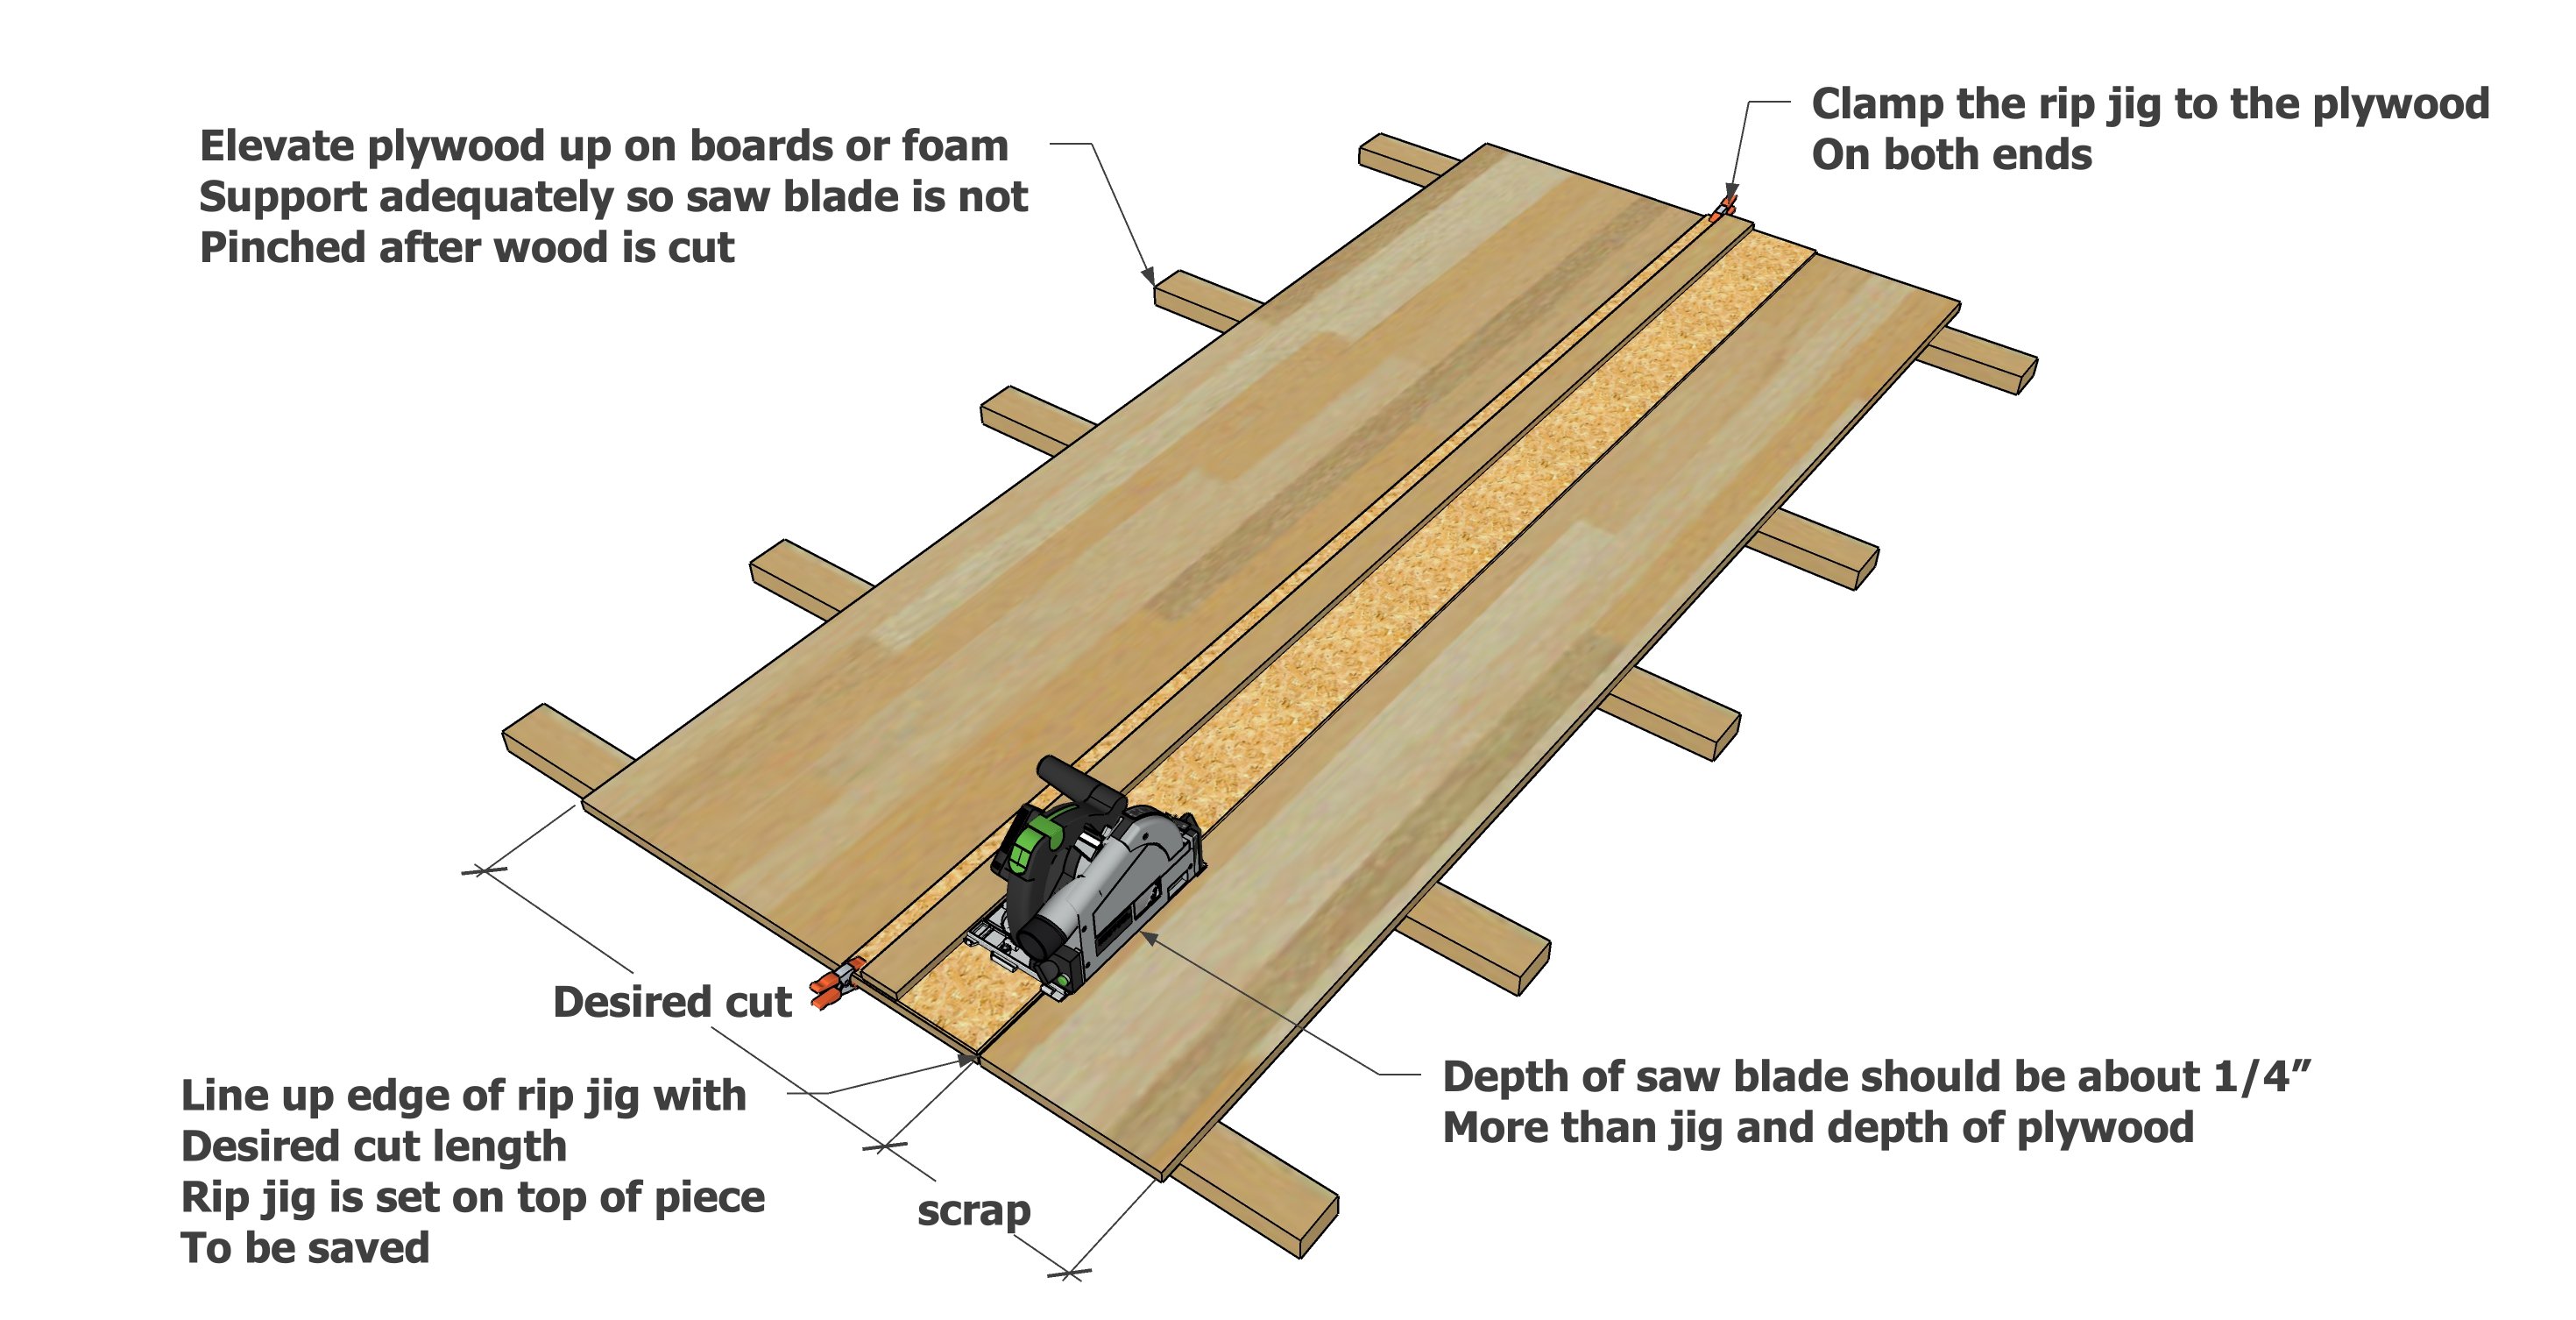
To use the jig, mark your wood desired to be cut on both ends.

Elevate up on scrap wood boards or foam.

Clamp the jig to match the pencil marks, with the jig placed OVER the piece of wood you are keeping.  The saw will run over the scrap piece.

Set the saw blade depth so it's 1/4" past the depth of the material to cut and the jig base thickness.

Run the saw along the 1x3, on top of the jig, holding the saw level as you go.