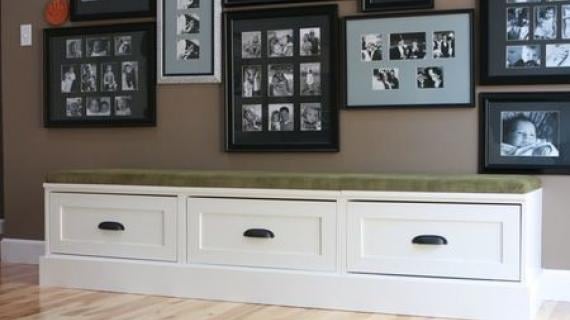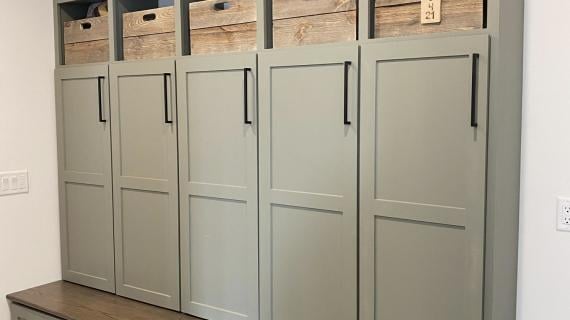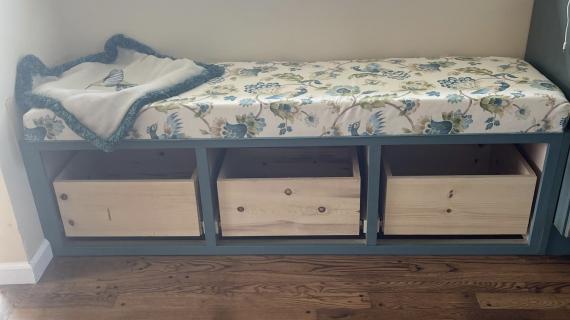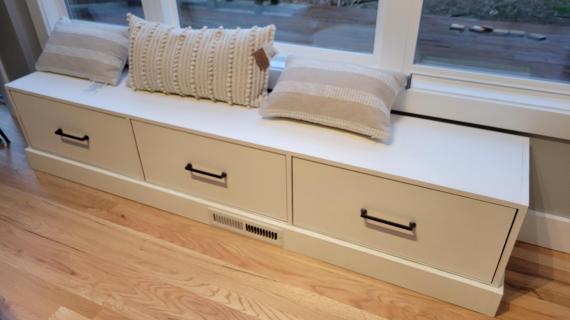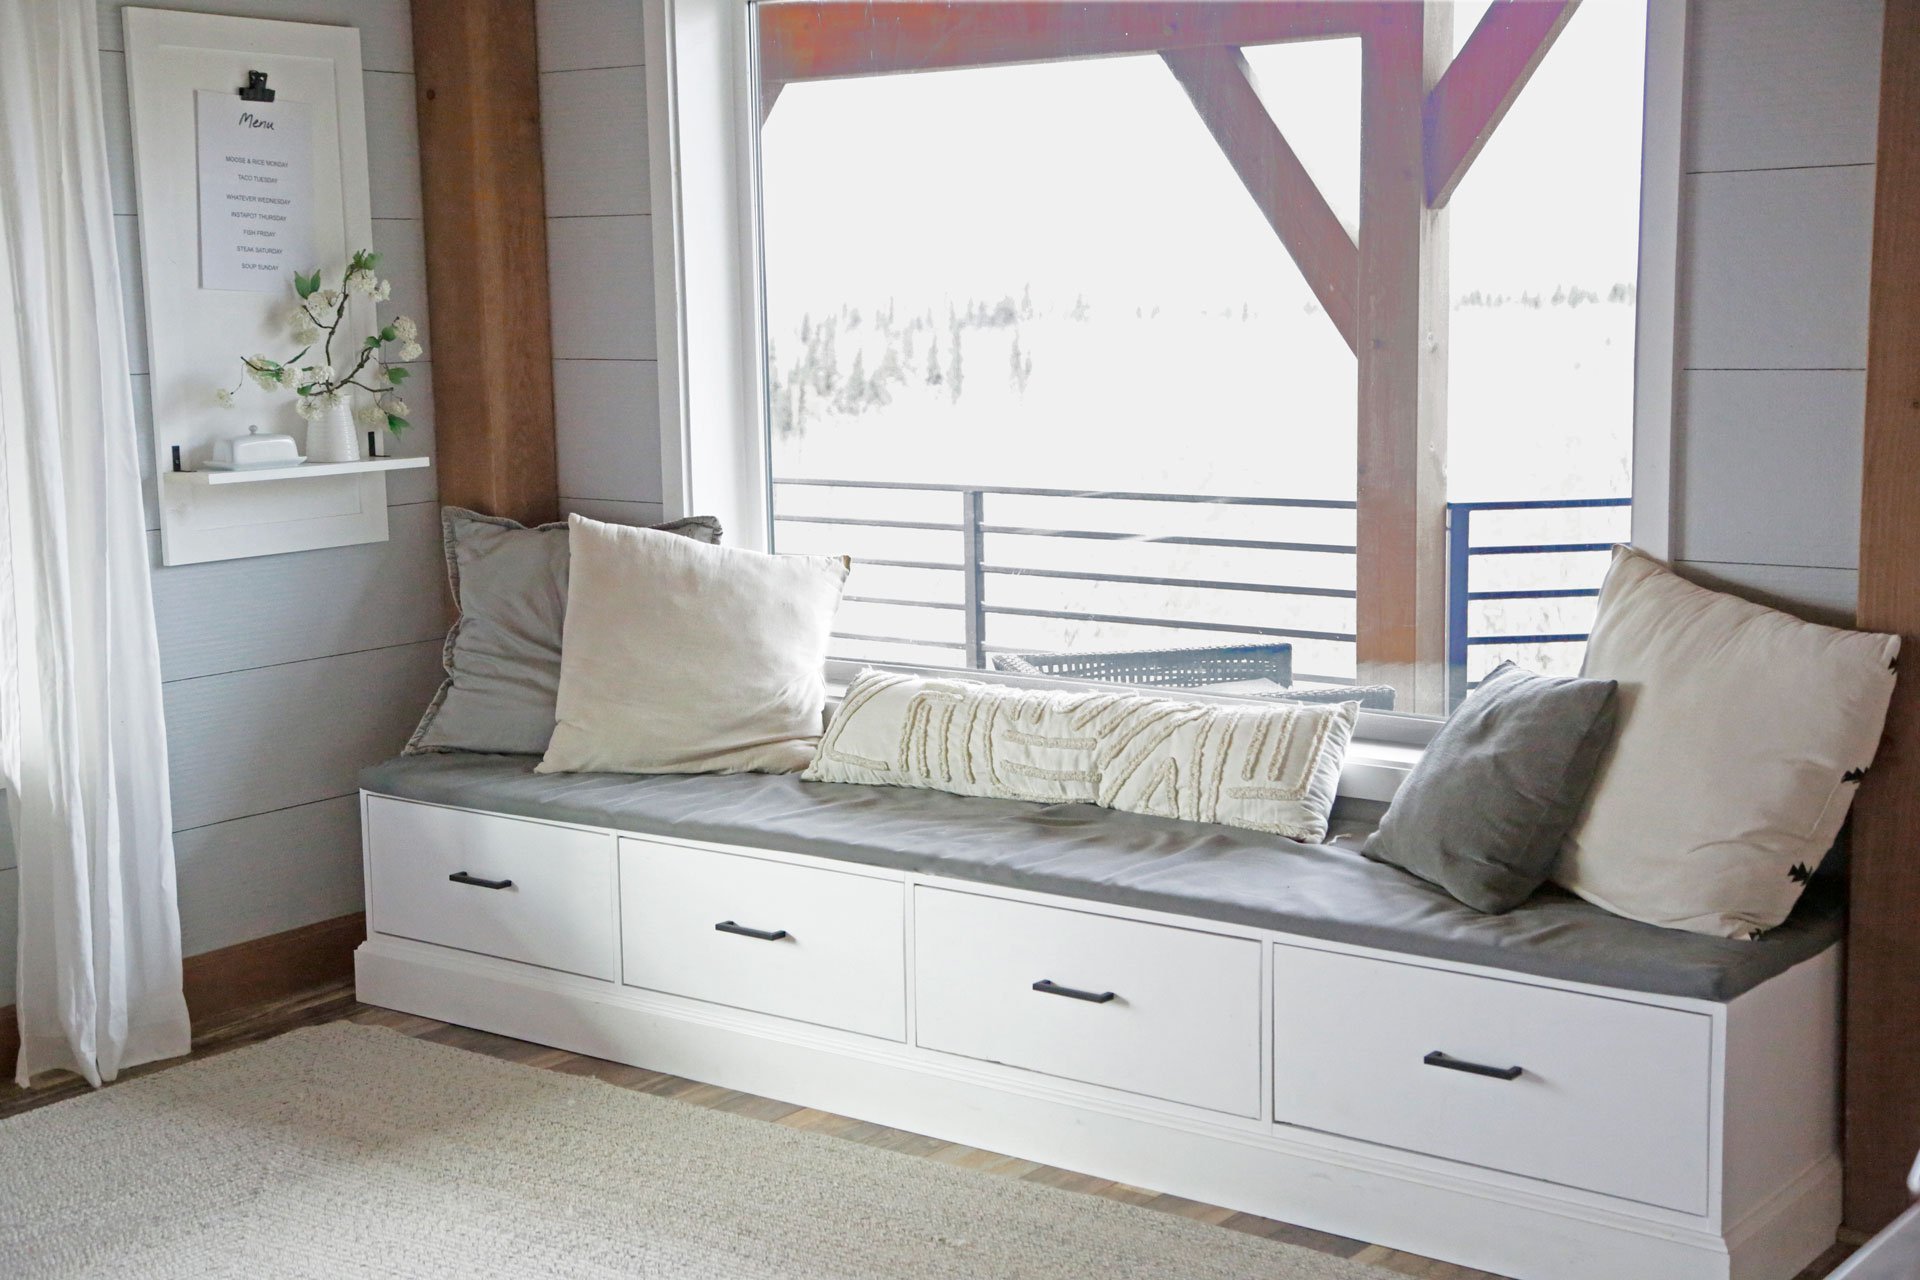
Build your own window seat or mudroom bench with drawers! This is a plywood based plan, that can be topped with your choice of wood on top. This plan is designed to be easy to customize in length.
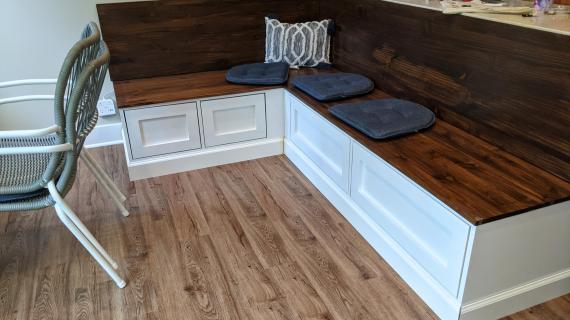
We use this bench in our dining area to support dining table activities - arts and crafts, board games, and one drawer is a laptop drawer. Having this drawer bench in our dining room enables us to use our dining table as an office, to play board games, and for the kids to do arts and craft projects.
Free plans with customizeable configurator from Ana-White.com
RELATED: 2x4 Framed Drawer Bench Free Plans
Pin For Later!
Preparation
- 3/4" plywood carcass using our free configurator, with edge banding on front edges
- 1x2 and 1x3 supports
- 1x8 drawer box
- 1x12 drawer face
- 1/4" plywood drawer bottoms
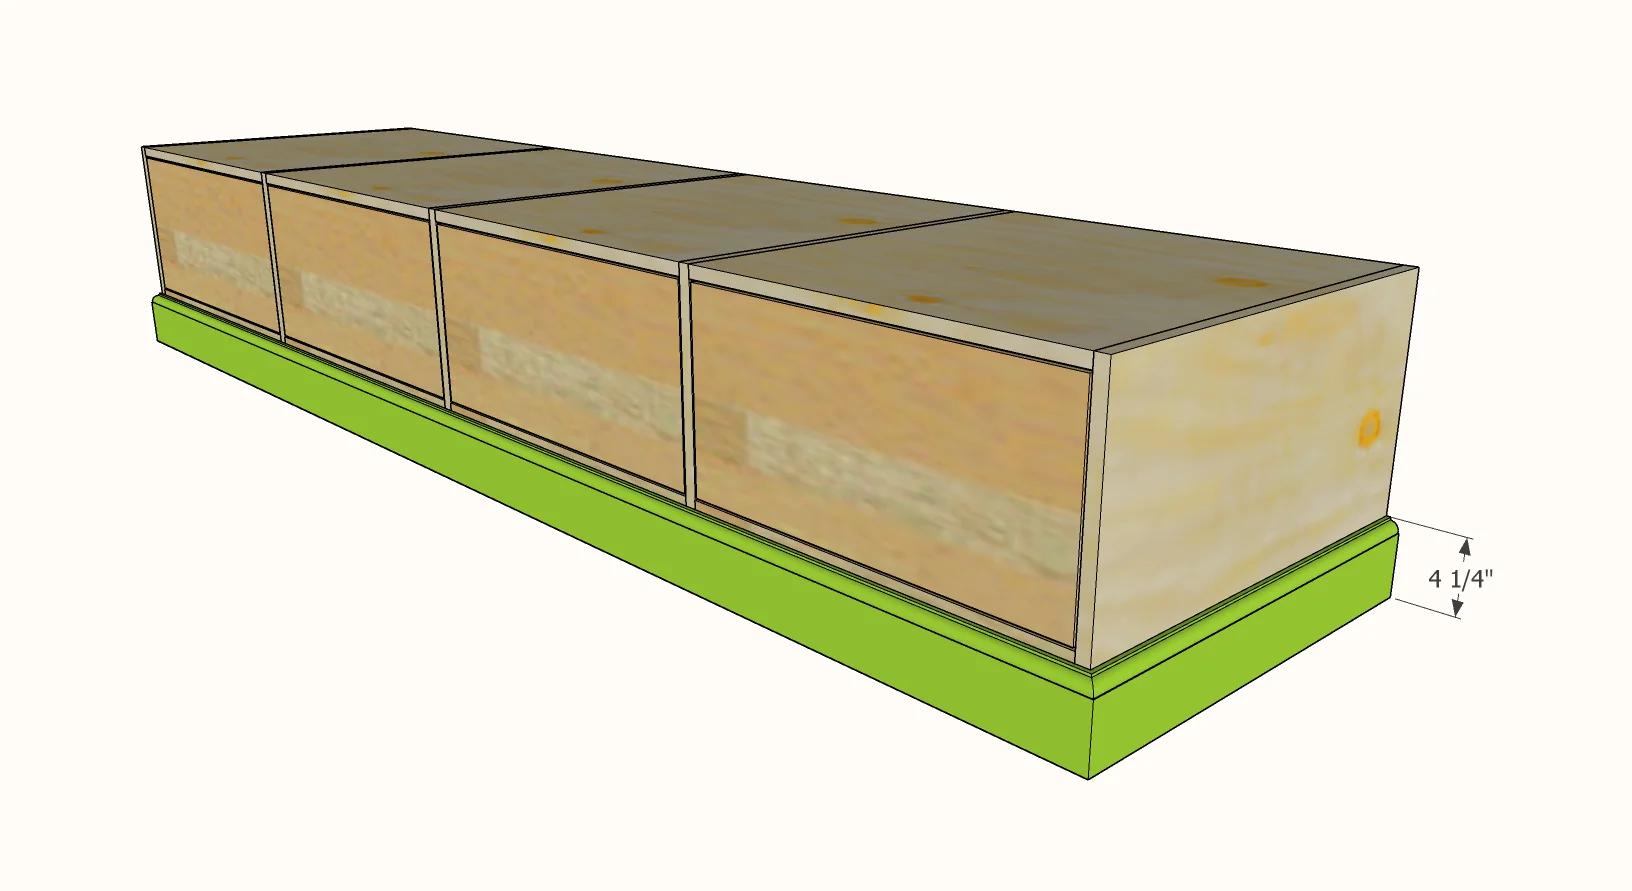
- 4-1/4" baseboard moulding
- 1-1/4" Kreg Screws
- 1" brad nails
- wood glue
- 20" full extension ball bearing drawer slides
Cut list is generated in the custom plan created in step 1
For the 3/4" plywood, rip the plywood first into strips in your desired depth.
Then cross cut to match the cut list created in the custom design app.
For long term durability and more professional results, I recommend using a pocket hole joinery system for wood joints. Here is a video with tips for using a pocket hole jig:
Instructions
Step 1
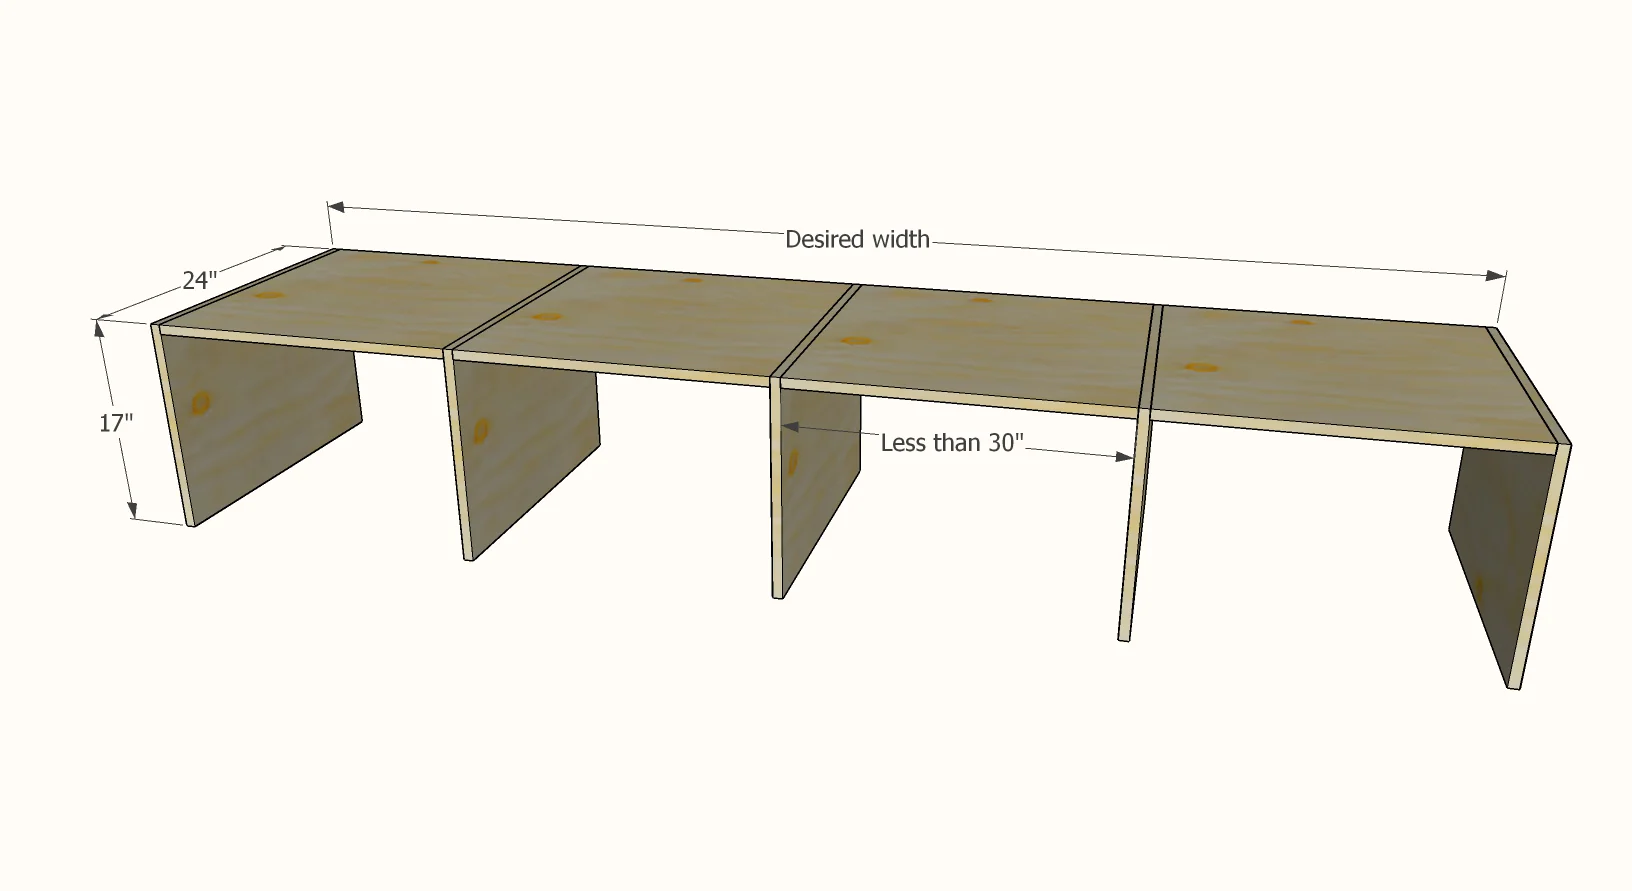
Design and Cut the 3/4" Plywood Carcass
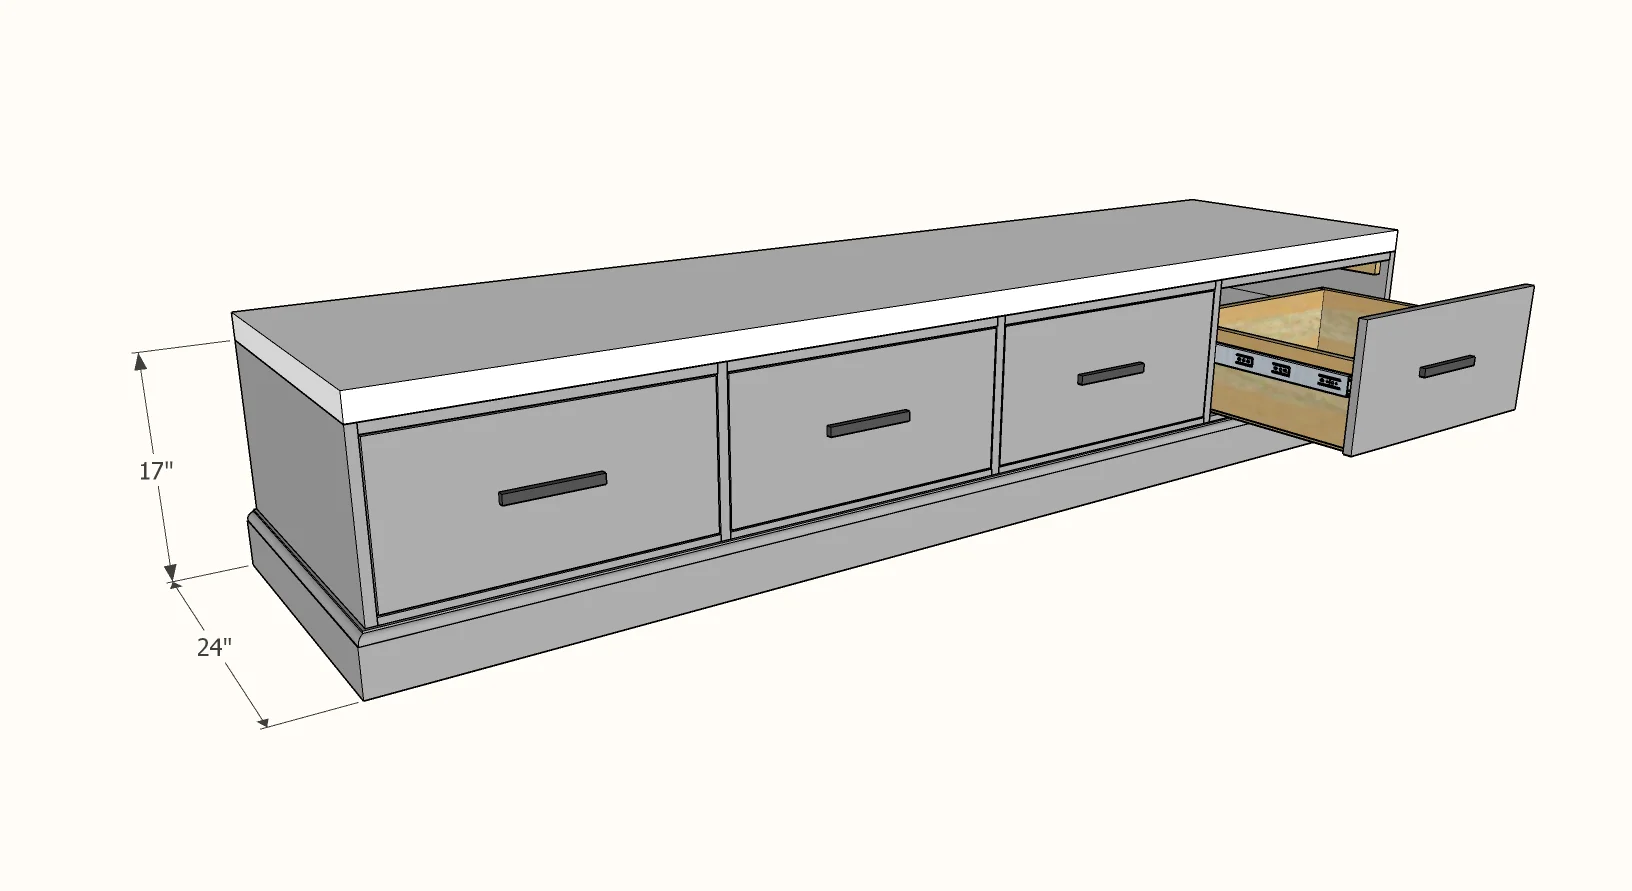
- Width: Any desired width - benches over 10 feet may become cumbersome to build and move, I recommend breaking up into multiple benches
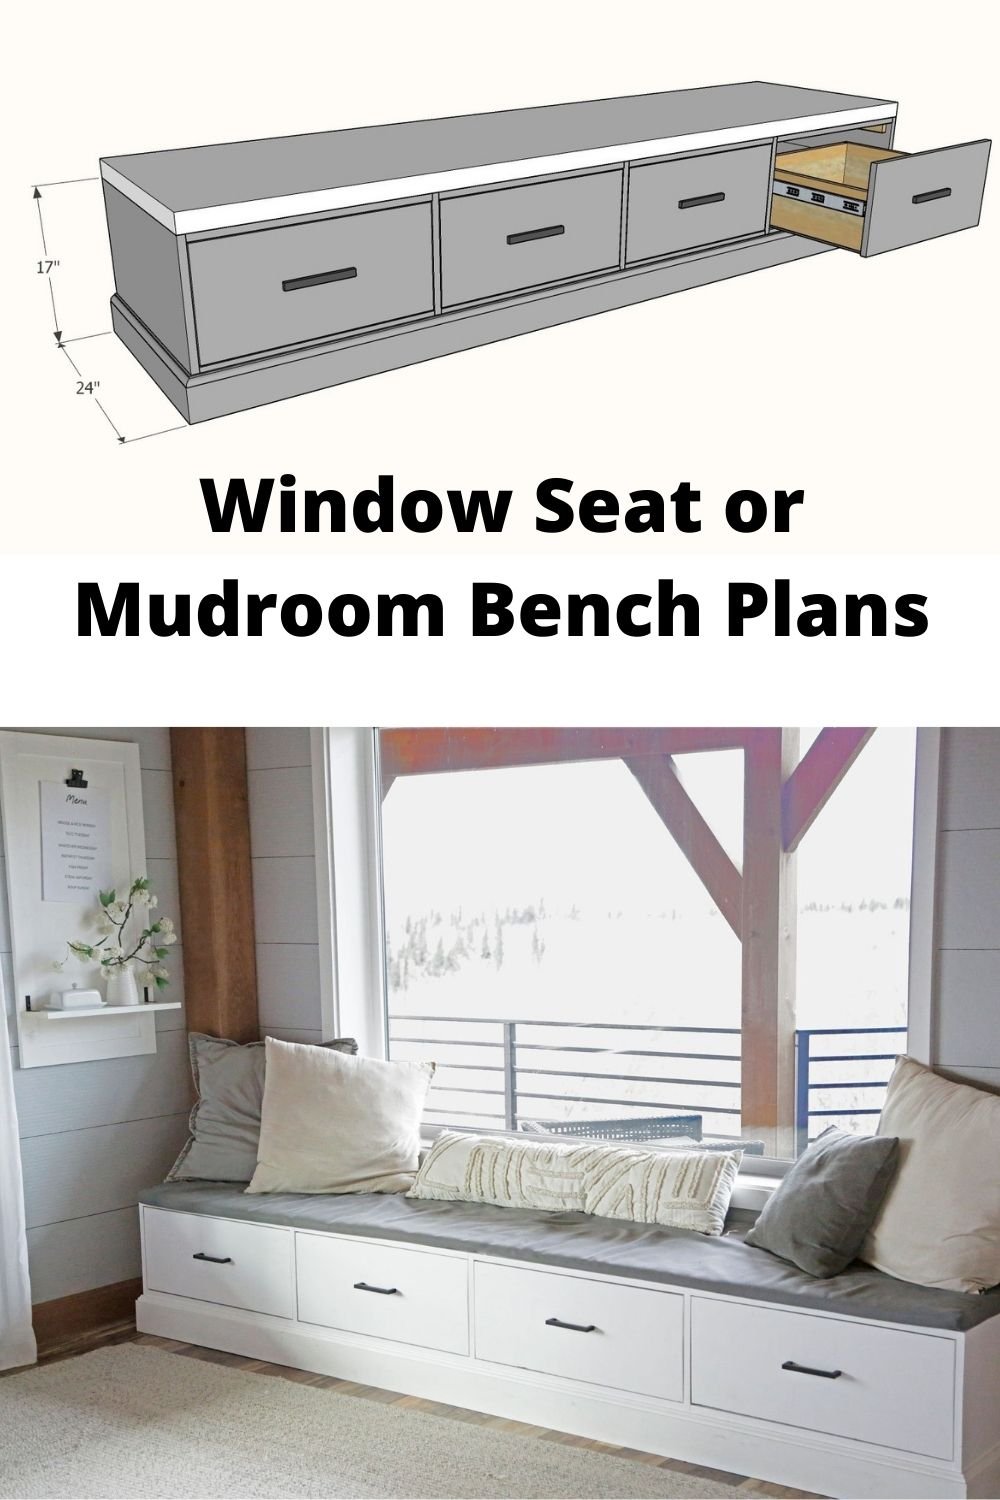
- Height: 17"
- Depth: 24"
- Bays: Bays should be less than 30" wide to prevent sagging when sitting on the bench top
For built-in nook or size critical installs, always size down about 1/2" to allow for discrepancies in the walls and floor. You can always add trim to cover gaps, but a too large bench will be hard to fix.
Edge Banding
Apply edge banding to the front edges of all the plywood pieces.
Step 2
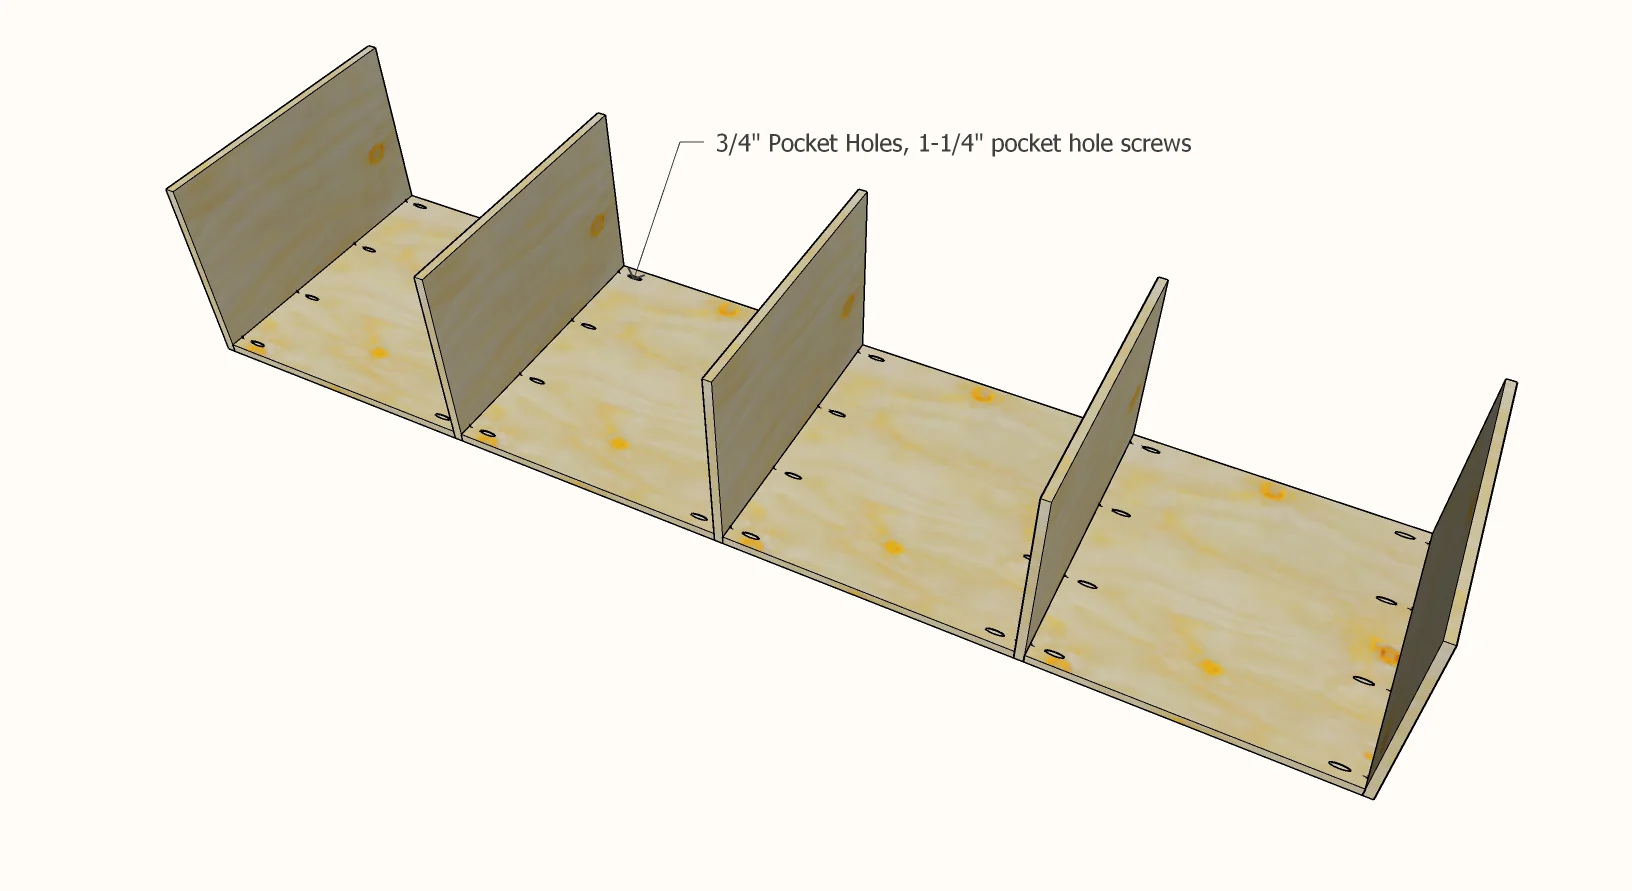
Assembling the Carcass
Window seat is shown upside down in diagram.
I recommend four 3/4" pocket holes on each end of all horizontal top boards into the vertical dividers.
Keep edges with edge banding flush on front side, all edges flush to the top (shown face down in diagram). Attach with 1-1/4" pocket hole screws.
Step 3
Adding 1x Support Framing
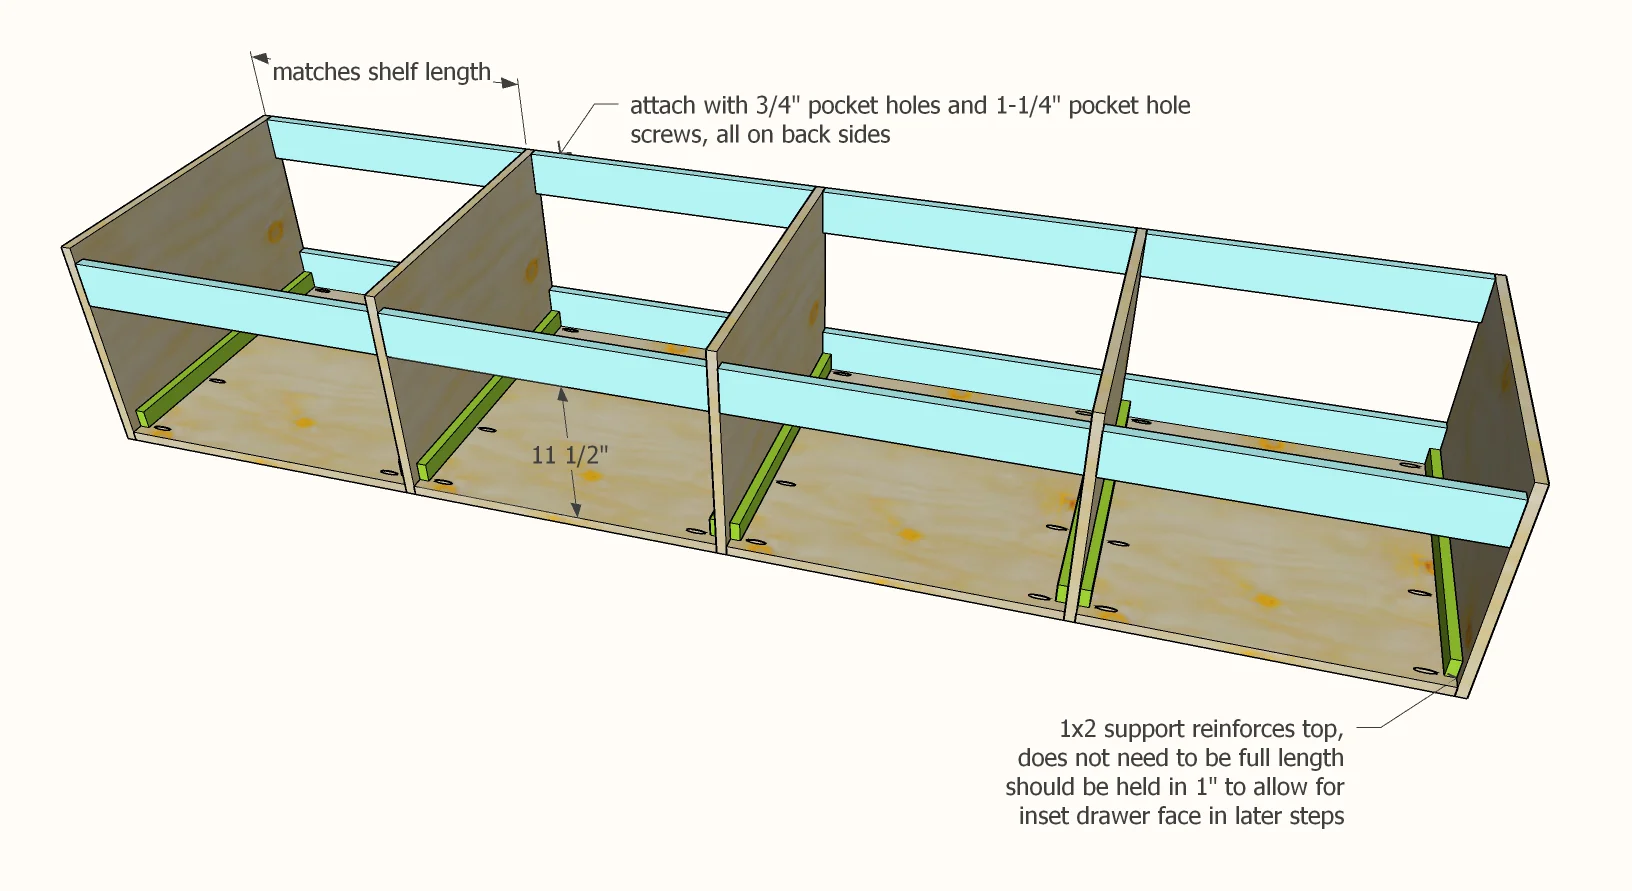
Bay supports help strengthen the project and reduce the amount of plywood needed, thereby reducing cost and weight.
The bay supports highlighted in blue are cut to match the width of your shelves. Attach with two pocket holes per end. The bay support highlighted in green is for further supporting the bench top. Attach with 1-1/4" screws into the dividers with glue, you can use pocket hole screws (but don't need to predrill out a pocket hole).
Step 4
Building and Installing Drawers
These drawers are easy to install and require no math.
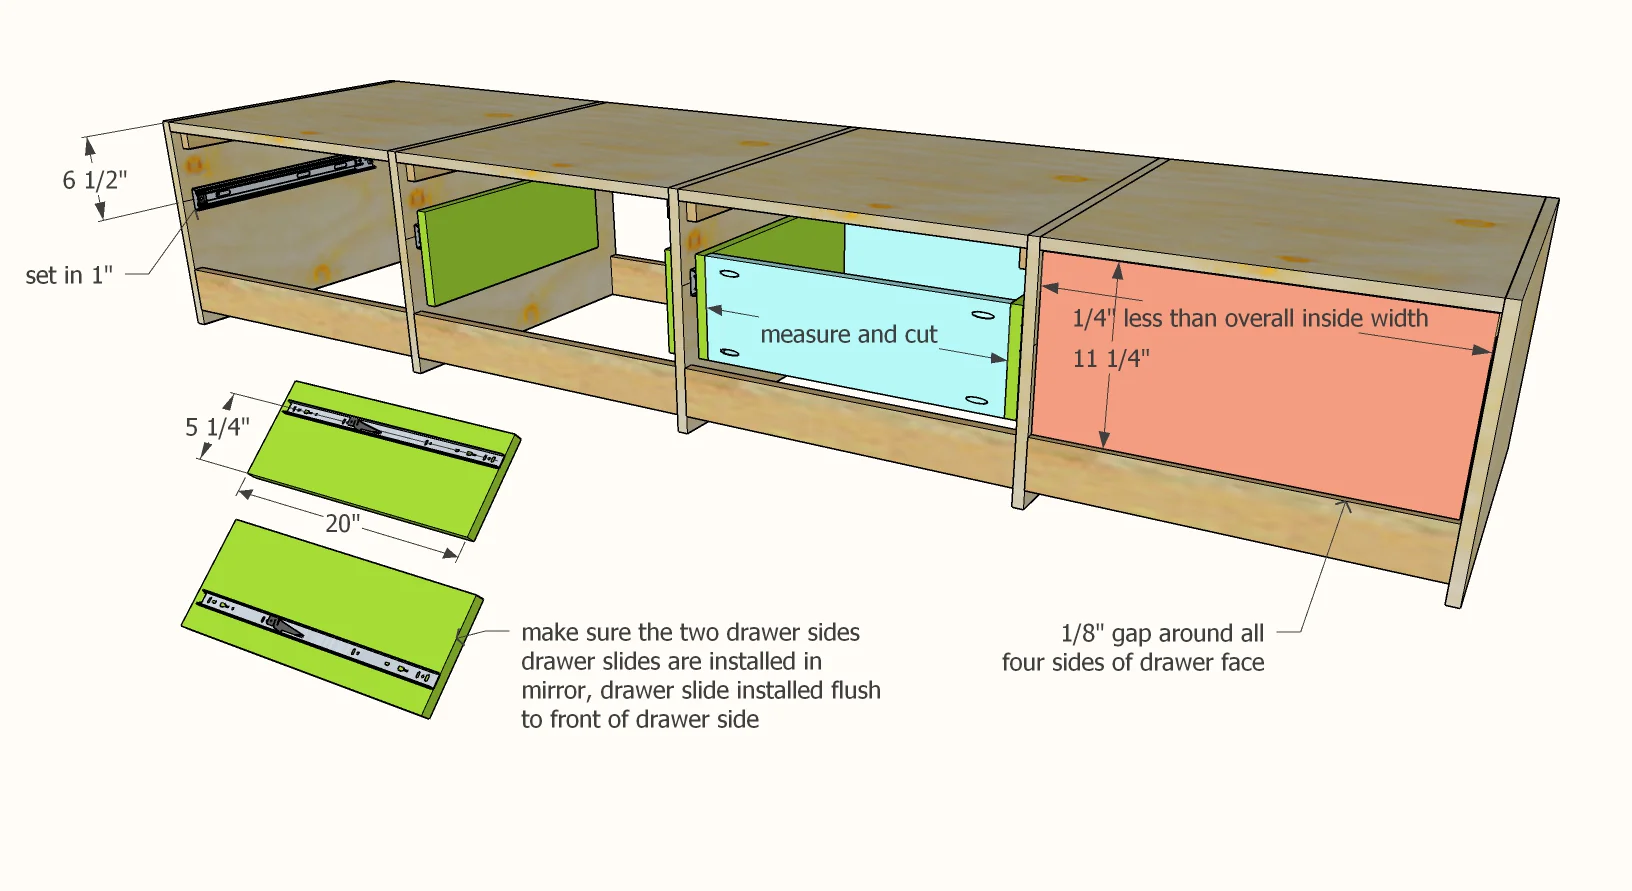
Use 20" full extension drawer slides.
- Inside all the bays, draw a level line 6-1/2" down from the top.
- Install the cabinet members of the drawer slides on the line, with screws started on the line, set in from front edge of cabinet 1" (to allow for the drawer face).
- Cut drawer sides from 1x8s 20" long, two per drawer. Draw lines 5-1/4" from edge on all drawer sides, parallel to bottom of drawer. Install cabinet member of the drawer slide with the line in the center of the screw holes. The two drawer sides need to be installed in mirror.
- Insert drawer sides into the drawer slides installed in the bays. Measure in between and cut the front and back of drawers with 1x8s. Build drawer box with 3/4" pocket holes and 1-1/4" pocket hole screws.
- Make sure the drawer slides perfect. Remove and measure and cut 1/4" plywood to fit on bottom. Attach with 1" nails or staples or screws and glue.
- Cut 1x12 drawer faces 1/4" smaller than opening. Attach to front of drawer with an 1/8" gap around all four sides with nails. Remove drawer and further secure with 1-1/4" screws (yes, you can use pocket holes).
Step 5
Step 6
Optional Top
If you are not using a cushion on top of your bench, you can add a wood top.
Use 3/4" thick wood, commonly referred to as 1x material. Install the bench in it's final location. Then cut the bench top boards to fit, for a custom fit, with no gaps at the back or sides.


