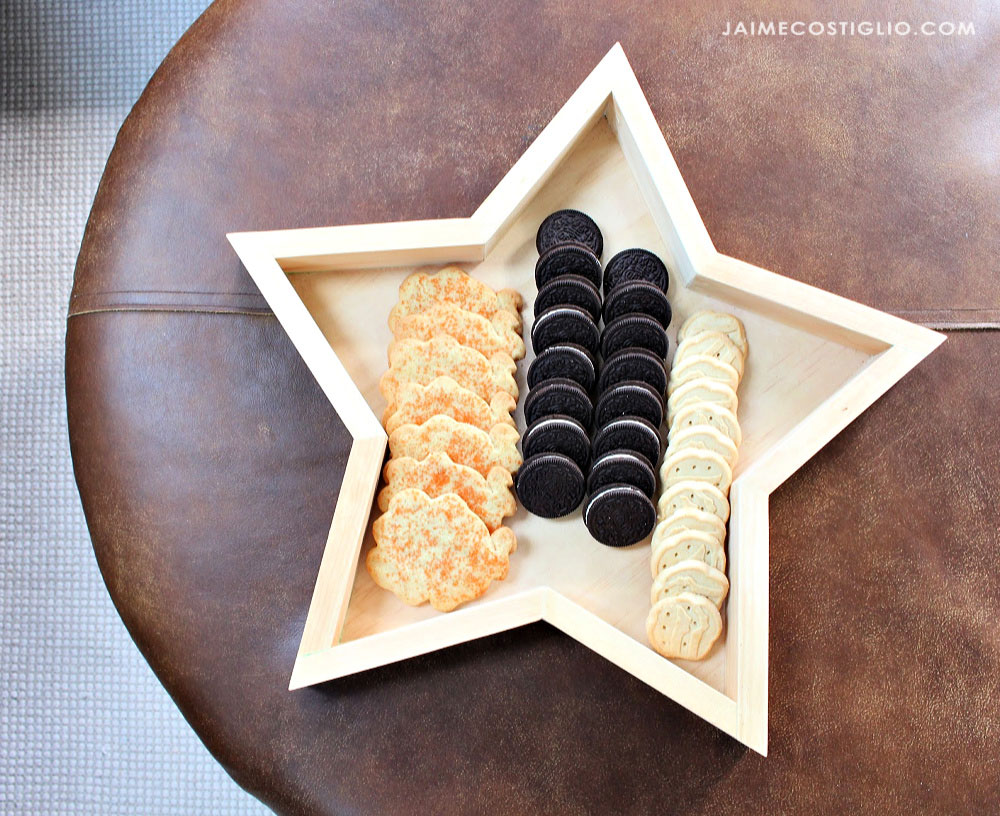
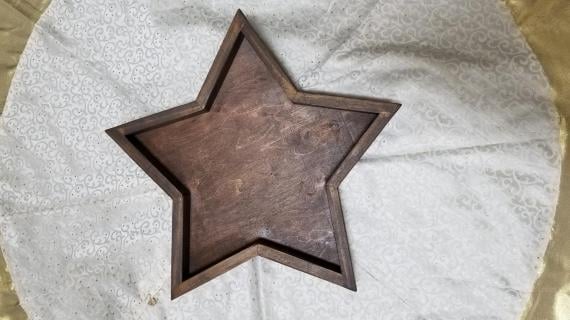
Craft your own wood star serving tray! Fill with treats and bites, and bring as the perfect hostess gift, or display at your next holiday party.
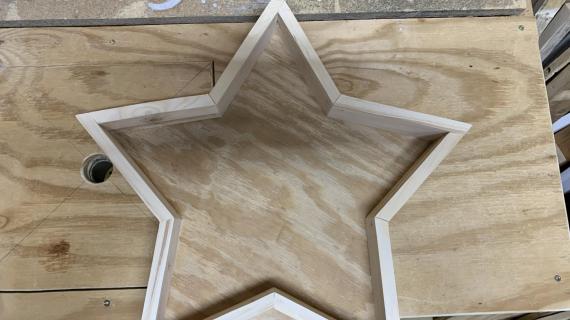
We also love this wood star as wall decor or a photo frame. Free plans from Ana-White.com
Built by Jaime Costiglio for Handbuilt Holiday
Dimensions
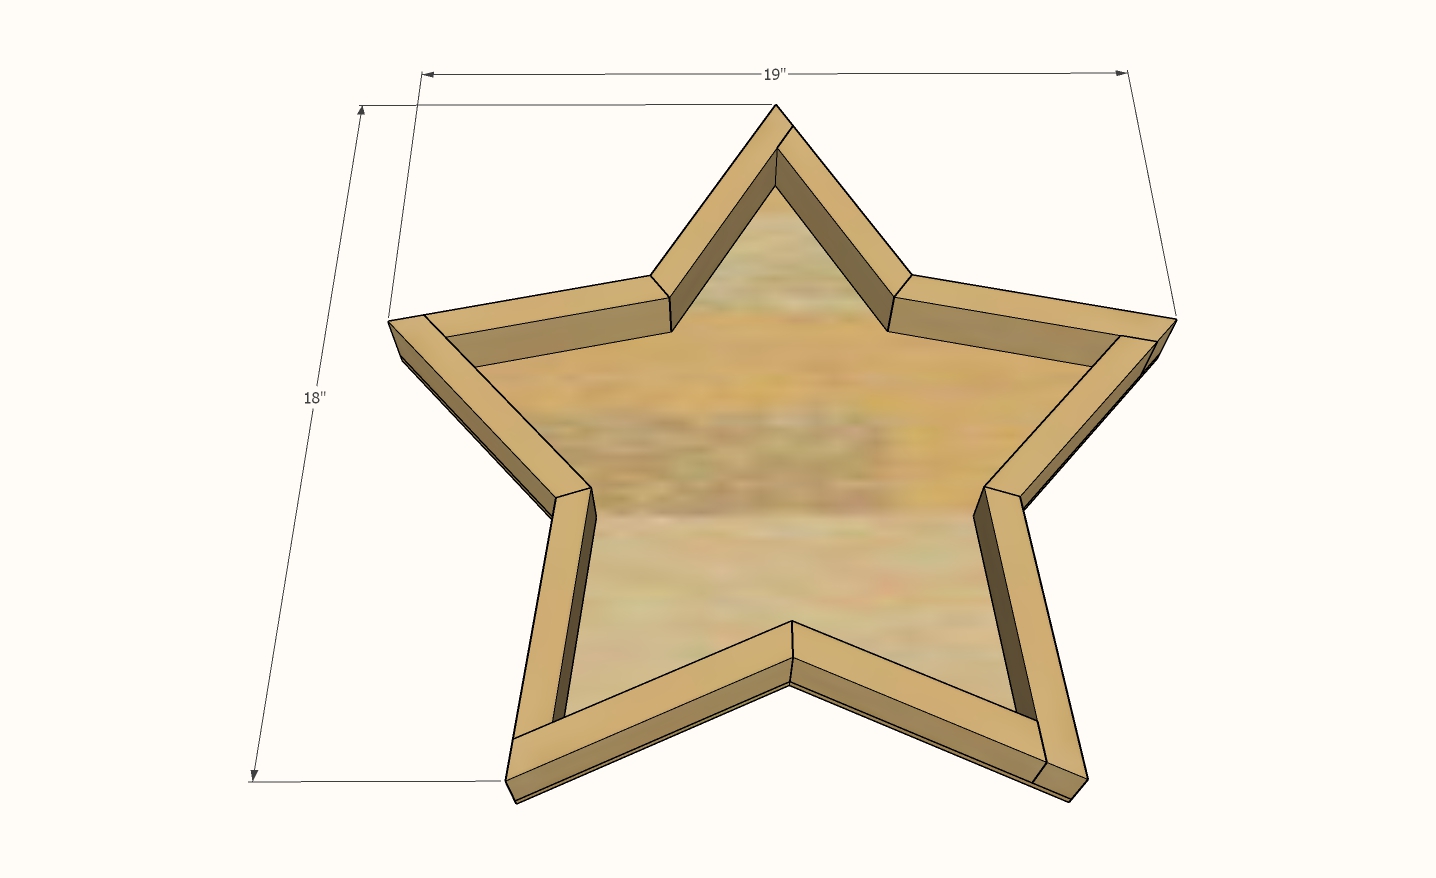
Wood Star Dimensions
Preparation
Shopping List
- 1 - 1x2 @ 6 feet long
- 1 - 1/4" plywood @ 19" x 19"
- 1-1/4" and 3/4" brad nails
Cut List
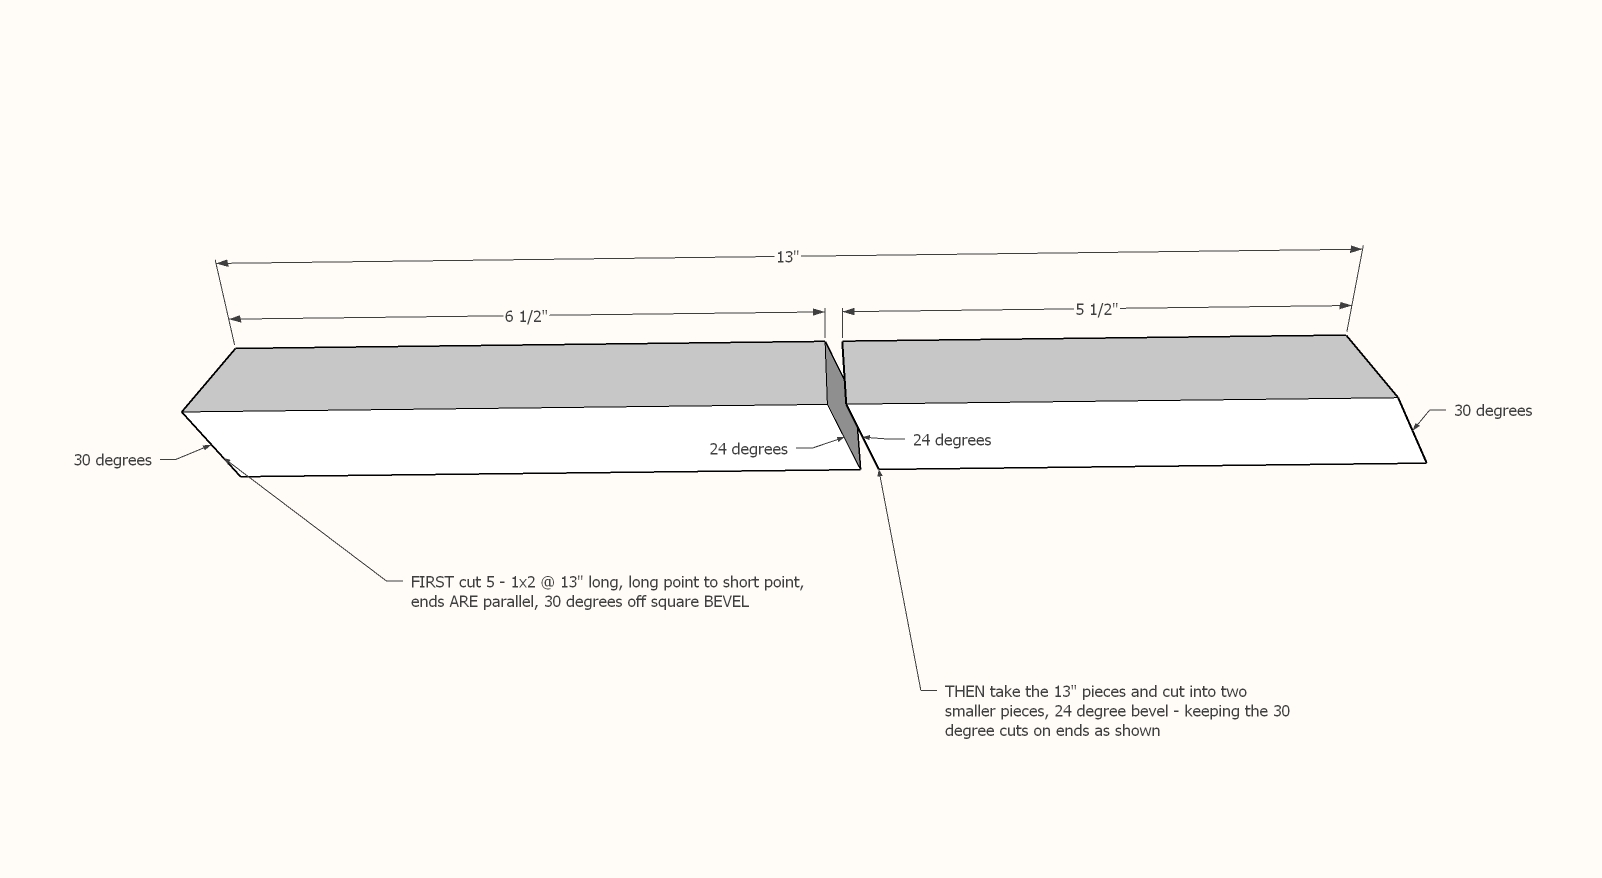
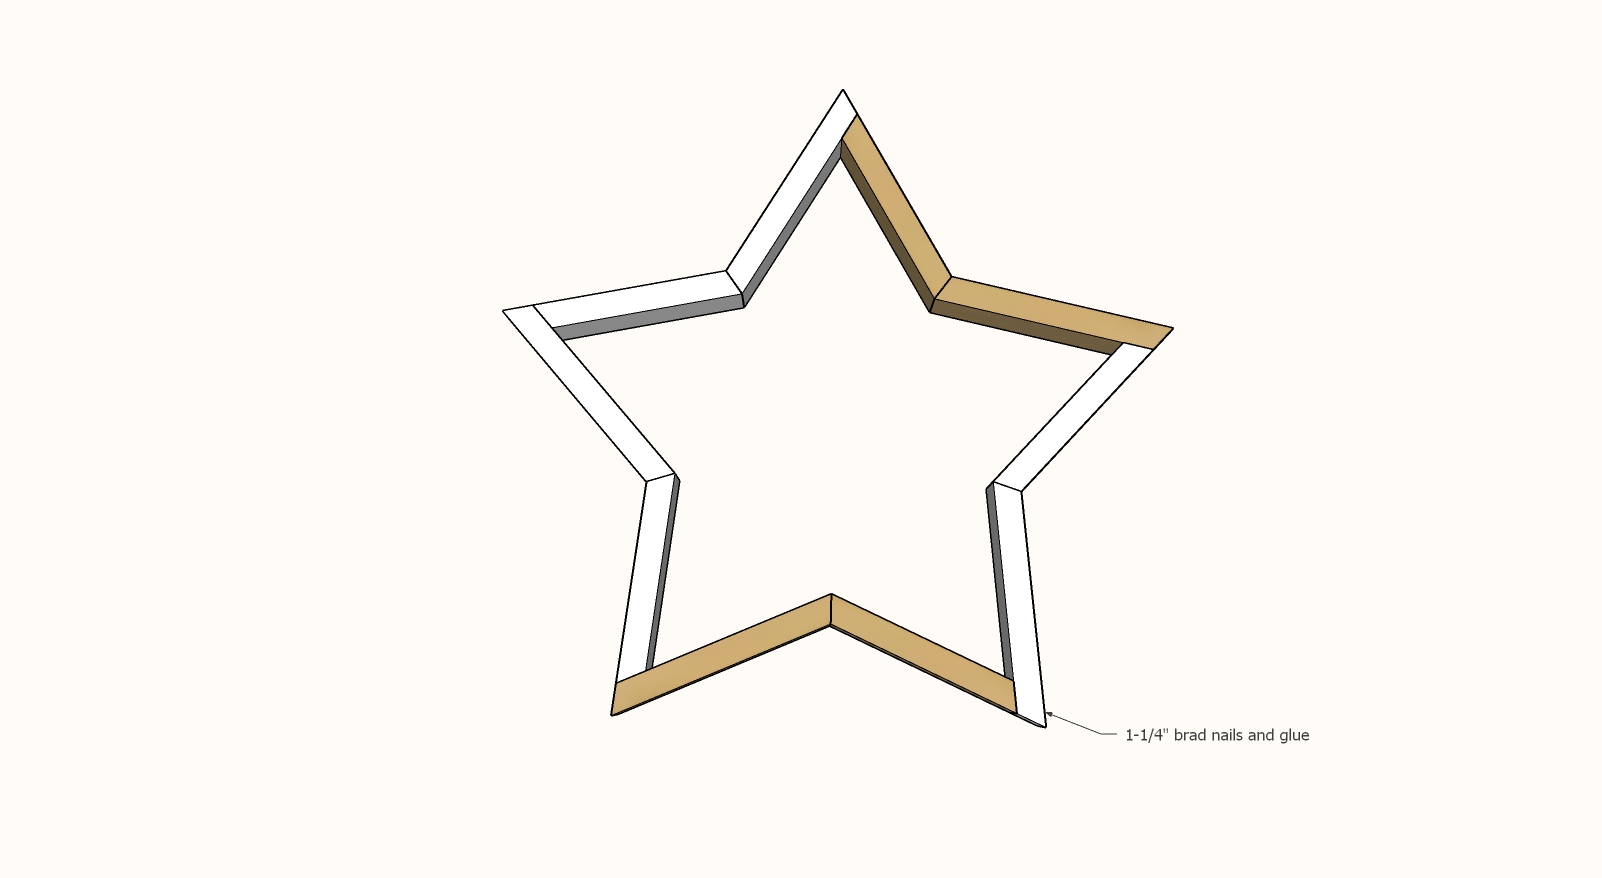
5 - 1x2 @ 13" - both ends cut at 30 degree bevel, ends ARE parallel
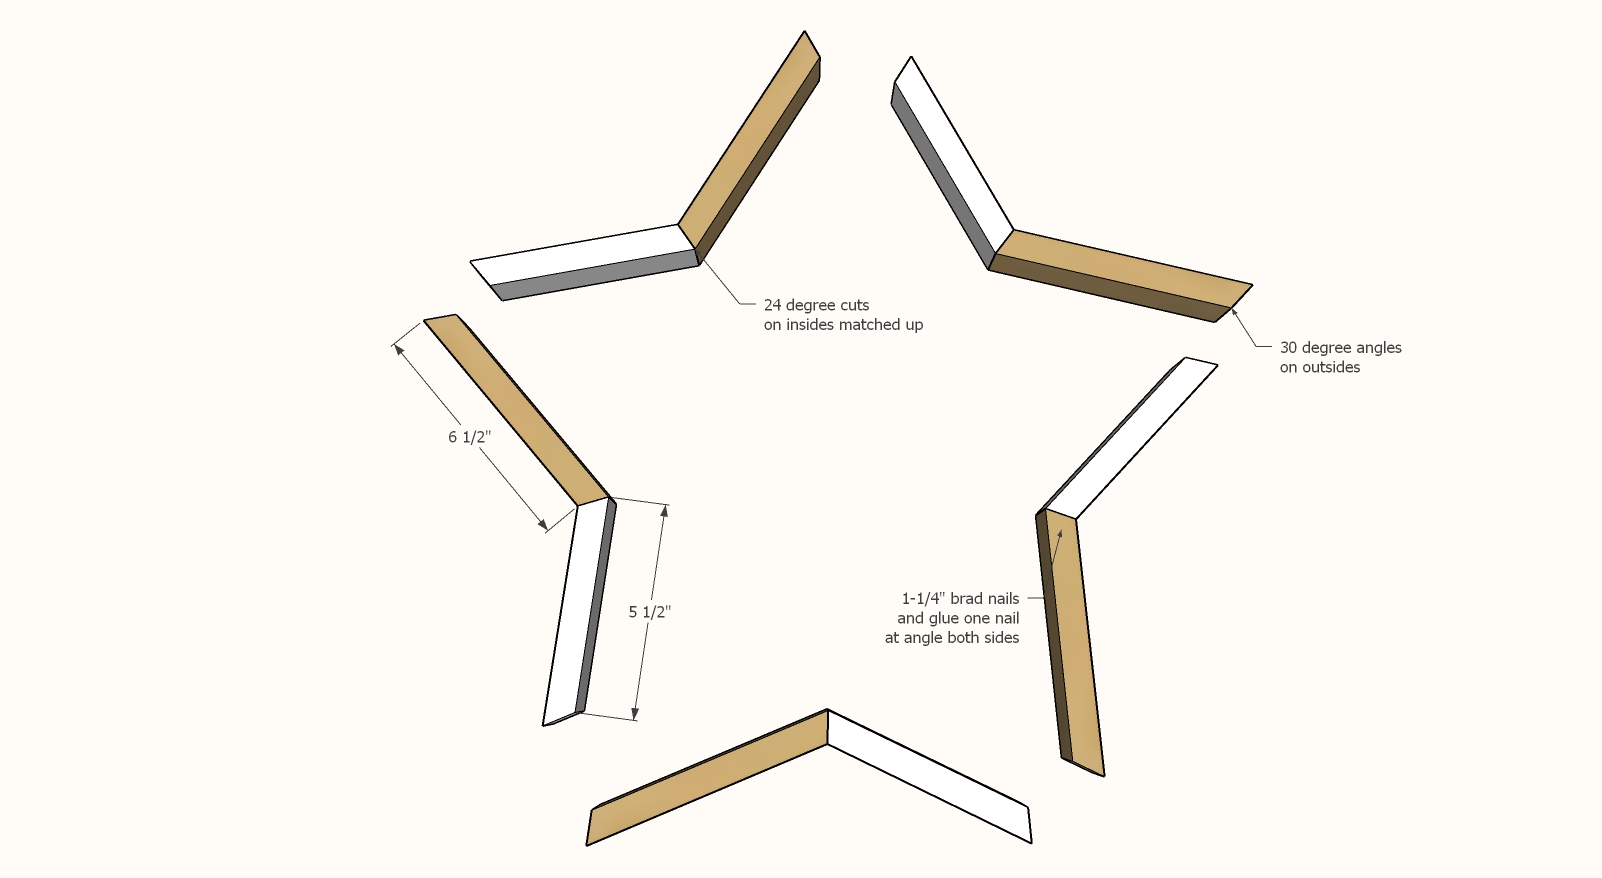
Cut the smaller pieces in step 1 from these boards
The back 1/4" plywood should be traced and cut to fit
Instructions
Step 1
Step 2
Room
Style
Seasonal And Holiday




Comments
JustJ
Wed, 12/04/2019 - 12:22
Dimensions?
It appears some of the dimensions are off.
If you cut the 13" piece at 6.5", that would leave the remaining piece at 6.5" (minus blade width), not 5.5". Should the initial cut be 12"?
Thanks.
SusanStory
Sat, 12/07/2019 - 09:59
The measurements are from…
The measurements are from long to short on the middle bevel cut, so the long side on the short end piece makes up the 1" (minus the blade width). It took me a while to wrap my head around that too, so I marked it up to a beginner's lesson learned...lol.
Ellie'sPop
Fri, 12/03/2021 - 08:55
Dimension question
I have the same question as 2 previous posts, should the overall length of each piece be 12” measured from the long to short. I assume that as long as there is a 1” difference between the two final pieces, the star will come together. Thanks for a great project idea.
eariejohn
Wed, 11/16/2022 - 18:57
Awesome! How difficult would…
Awesome! How difficult would it be to make a smaller one?