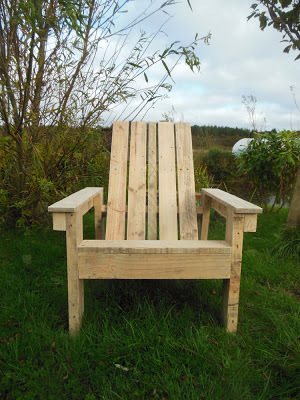
I've wanted to have a go at an Adirondack chair for ages but never had the wood available - I refuse to buy wood for ANY project so I had to wait until some came along. We had heaps of pallets delivered FOC so I dismantled them and had the perfect sized wood for the chair.
Because I used pallet wood there's the odd nail hole etc but each piece was sanded down with various grit strengths until I had the wood as good as it was possible to get it.
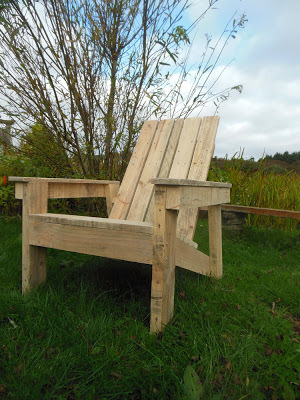
I did have trouble with the plans because some of the dimensions did not fit for the size of wood they stated to use but no one else has said they had any problems so I'm guessing the issue was down to me and not the plans. The main sticking point for me was that I had to use a 2" batten in the centre back because the dimensions given for the stringers did not allow for the right number of 4" wood to be used.
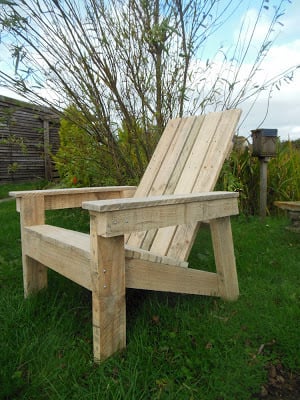
This project was the practice run though and so I will make some more with a few minor adjustments to the dimensions. I would also recommend counter sinking the screws (I pre drilled also which makes for an easier finish) and next time I will give each piece one coat of paint/stain/finish before assembling - these images show my unpainted chair and painting in between all the slats was tedious.