Community Brag Posts

Farmhouse bed

Submitted by jphbgsu on Sun, 09/06/2015 - 19:48

The project went relatively well. Had to readjust in order to fit our king. I used 2x4s and 2x4 joist hangers to support the mattres. 

Built from Plan(s)
Estimated Cost
300.00
Estimated Time Investment
Week Long Project (20 Hours or More)
Finish Used
Rustoleum ebony stain and satin polyurethane.
Recommended Skill Level
Beginner

King Farmhouse Bed

Submitted by jhavinga on Thu, 05/22/2014 - 16:31

Second project ive completed from Ana White, and I am very happy with how this bed turned out! The only thing I would fix would be the finish, I wanted it a bit whiter. not so creamy. Otherwise very quick and easy fun project to do. =)

Estimated Cost
$300
Estimated Time Investment
Day Project (6-9 Hours)
Finish Used
1 coat of a basic latex white paint.
Then I sanded down just so raised grains would become exposed.
1 coat of dark walnut stain (wipe on with cloth)
Done.
Recommended Skill Level
Starter Project

Comments

jhavinga

Thu, 05/22/2014 - 16:34

Thank you for sharing all of these awesome projects. I was always hesitant when it came to wood, but now I cant seem to stop!

jhavinga

Wed, 06/11/2014 - 13:43

(You can do all this before or after your project is put together or not.)
Be sure to do a test piece before hand so you can see exactly what your getting :)

The first step I did once the head board and foot board were put together, was to sand any sharp edges or corners. I liked mine rounded and worn looking. I did not sand anything else.

Second step is to paint 1 even coat of a basic white latex paint.

Third step is to sand away some white paint. because we didnt sand it before hand the grains in the wood will be very bumpy. so the paint on the grains will sand off while the paint lower than the grain will remain. makes sense? hopefully i explained that right!

Fourth step is to now wipe on the stain of your choice. I went with Dark walnut. It stains the paint a bit bringing the white to a gray/brown tone. and stains the wood dark walnut so the grain patterns show up dark.

Let me know if you have any other questions and good luck!

jbogan15

Thu, 01/29/2015 - 07:49

What grit of sand paper did you use to sand off the white paint? and did you sand it by hand? Also, for the dark walnut stain, did you wipe off immediately or leave it on for a bit before wiping? Beautiful bed, I want to achieve this look!

In reply to by jbogan15

jhavinga

Fri, 02/06/2015 - 09:15

Hi jbogan15, thank you!
For sanding I used a palm sander with 120 grit to get the job done a bit quicker, than went over lightly with 220. When staining I actually just dipped a rag in the stain and would wipe the stain on. =)

Good luck!
Justin

kosborn

Fri, 01/27/2017 - 11:05

Love this look! Exactly what I am trying to achieve...A few questions about the side rails. How high did you connect them to the 4x4 posts and exactly how did you connect them? Did you use brackets or screw right into the posts? Thank You!

barkleyl

Thu, 09/05/2019 - 15:07

I have seen several beds from Anna White. I was wondering if the frame require a box spring mattress or not. If not, are the beds lower than what a traditional mattress and box springs are. Thanks ! 

Cottage bedroom bookcase

Submitted by yhaas on Thu, 10/29/2015 - 20:42

I used 1 x 10s to make the bookcase a little shallower, and left the back open. Thanks for the great plan.

Built from Plan(s)
Estimated Cost
$100
Estimated Time Investment
Weekend Project (10-20 Hours)
Finish Used
Varathane diamond finish water-based polyurethane, satin.
Recommended Skill Level
Beginner

Modern Farmhouse Bed

Submitted by Anonymous (not verified) on Sun, 01/15/2023 - 13:37

My husband and I had worked on this bed together, and we are so happy with it! We went with taller side tables that we purchased, and just stained the wood instead of painting it.

Comments

Purple chicken ark w/ retractable wheels

Submitted by Anonymous (not verified) on Sat, 05/07/2016 - 16:59

We worked on this project on and off for a couple weeks.  60 degree angles were the hardest part.  Decided against adding upper coop floor to minimize cleaning.  Coop will only be used seasonally.  End coop is very heavy, so wheels were a must.  Scoured internet and found simple retractable lever design with bolts to adjust wheel height.  Very happy with project, thank you Ana!

Estimated Time Investment
Weekend Project (10-20 Hours)
Recommended Skill Level
Intermediate

Fireplace Mantle with Drawers and Hidden Storage

Modified plans to include game storage drawers, a flip open mantle for DVD player and hidden charging port, and hidden cupboards on both sides for DVD storage. I scoured the Internet for months before drawing this up to fit my space and tackling all on my own! I love it and all of my other Ana White inspired projects!

Casey O.

Seasonal And Holiday

My incredible chicken coop and run!

This was my first attempt at building anything....ever. It was so incredibly fun and I certainly learned a lot. My 8 little chickens are loving their new home and I can't wait to build my next project!

Estimated Time Investment
Week Long Project (20 Hours or More)
Recommended Skill Level
Intermediate

Comments

GreenLaLa

Wed, 06/19/2013 - 11:51

Hello! Could you repost the picture / info on your chicken run? I keep getting "page not available" and I've been trying for days :O) I think I want to build that chicken shed (too big for 3 hens?? It's just so cute!) and a run like that to go with it! Thanks! Have a great day!

Modern Slat Top Outdoor Wood Bench

Submitted by ckaye on Sun, 07/07/2013 - 18:38

We wanted an outdoor bench for our front entrance way, this one is just what we were looking for! Thank you for the plans.

Estimated Time Investment
Day Project (6-9 Hours)
Finish Used
2" x 6" Spruce Black Stain
Recommended Skill Level
Beginner

Comments

beardjulie

Wed, 05/04/2016 - 10:01

I am really a novice. The plans say that the 1x4's should be 18-1/2" high? But the measurement of the vertical legs are 14", and the horizontal piece is 4" high, which adds to 18". It all looks flush in the photo. Could you explain what I am missing? Thank you so much!

In reply to by beardjulie

Rudystawarek

Wed, 05/04/2016 - 11:30

So from what i see in the plans Each 1x4 board is to be cut at 18" and the 2x4 is to be cut at 14-1/2". Cutting the 2x4 at 14-1/2" will insure the 1x4 and 2x4 are fluish for the end product. It doesnt seem to add up given the demensional names of the lumber hahaha however the actual width of a 2x4 (the one the will be going horizontal) is acutally 3-1/2". so then you cut you 2x4 leg piece at 14-1/2" and then lay the horizontal 2x4 on top the total height will be 18" and should be flush with your 1x4 that is cut at 18"

beardjulie

Fri, 05/27/2016 - 14:04

That is too funny! That is a dead give away that I'm new at this! Thanks you!

beardjulie

Fri, 05/27/2016 - 14:04

That is too funny! That is a dead give away that I'm new at this! Thanks you!

DIY Outdoor Sofa, Chairs and Coffee Table

Submitted by Anonymous (not verified) on Thu, 07/27/2023 - 13:22

I decided to build my patio furniture and built a couch, with cushions, coffee table, 2 Adirondack adult chairs and one child’s Adirondack chair. It was so much fun to plan and build all of the furniture and so enjoy going out there on cool days! Thanks to Ana White for all of the plans! This is my 20th Ana White project! On to my next project! Plans were outdoor modern sofa, modern Adirondack chair, kids Adirondack chair, 2x4 outdoor coffee table.

JoAnne

Seasonal And Holiday

Simple Composting Toilet Outhouse

Submitted by Emillie on Thu, 06/18/2020 - 13:36

We built this composting toilet as one of the first things we did on our piece of vacant land. (How can you build anything else without somewhere to go when nature calls?)

An eco-friendly design was important to us, so we used cedar fencing instead of plywood. Otherwise, we followed Ana White's simple outhouse plans. It came out perfectly! It even has a rain barrel for hand washing.

Estimated Cost
800
Estimated Time Investment
Weekend Project (10-20 Hours)
Finish Used
We stained the outside with a semi-transparent stain and varnished the inside with an outdoor varnish.
Recommended Skill Level
Beginner

Outdoor Chairs

Submitted by Anonymous (not verified) on Sat, 07/16/2022 - 17:45

Brightly Painted chairs are popular here. I made two unpainted chairs in an afternoon. I would paint the pieces before putting them together if I made them again. Very comfortable!

Comments

Laundry Basket Dresser

Submitted by angiemicn on Wed, 02/08/2012 - 03:58

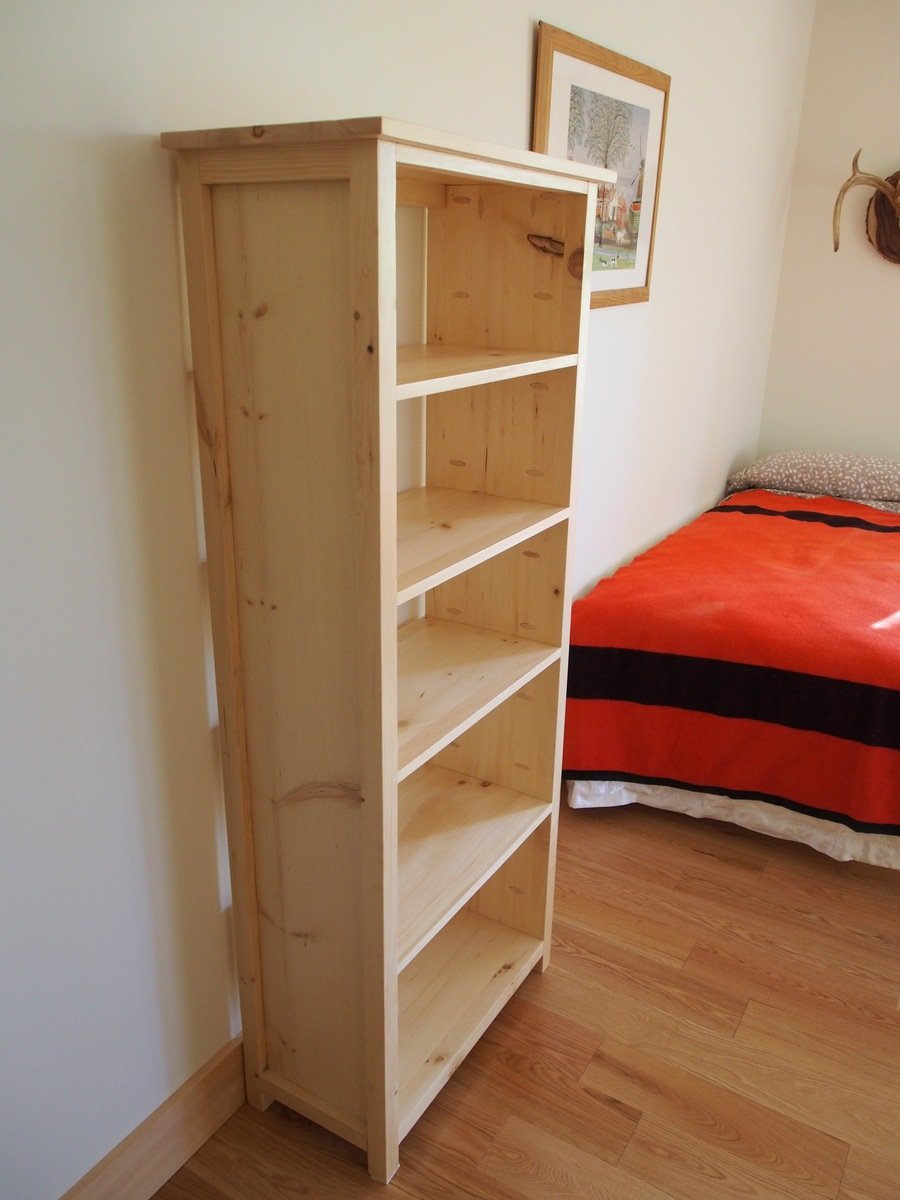
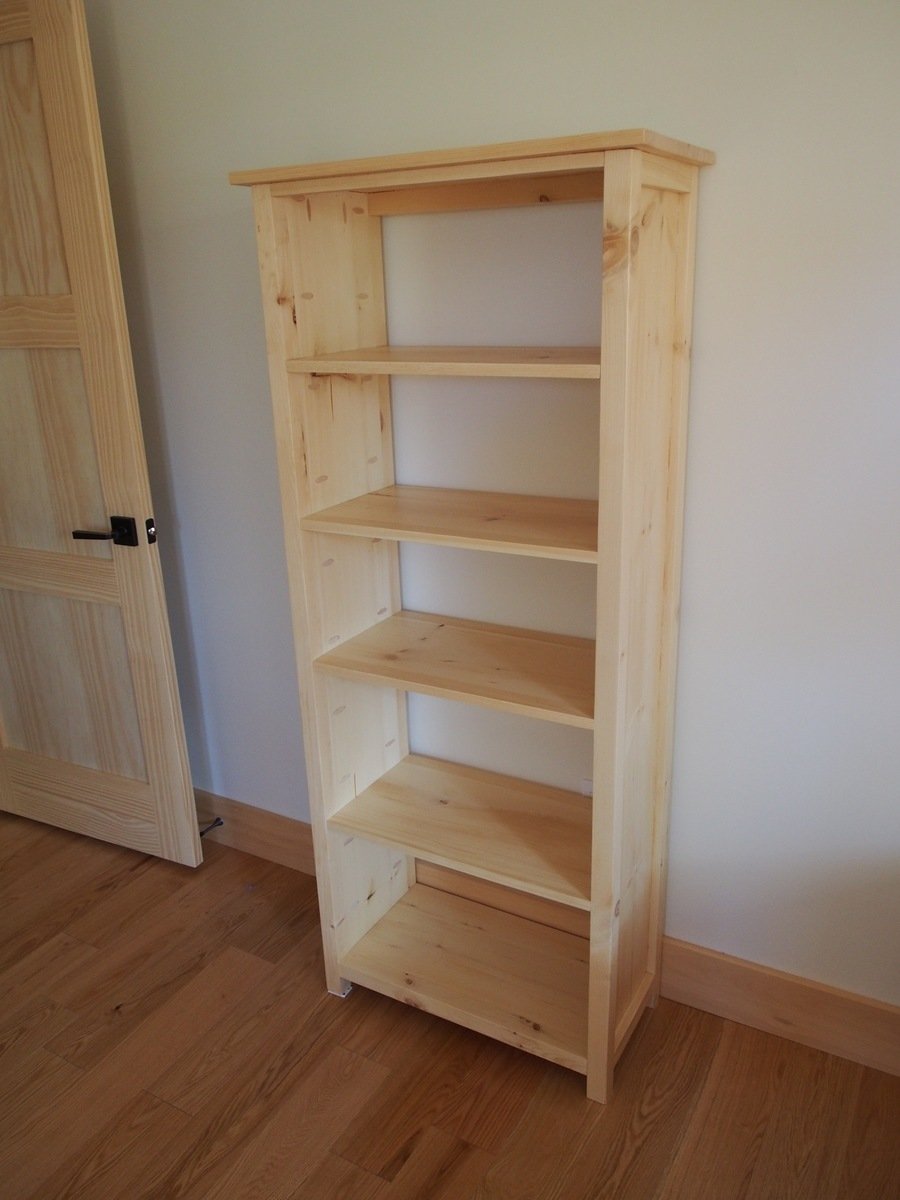
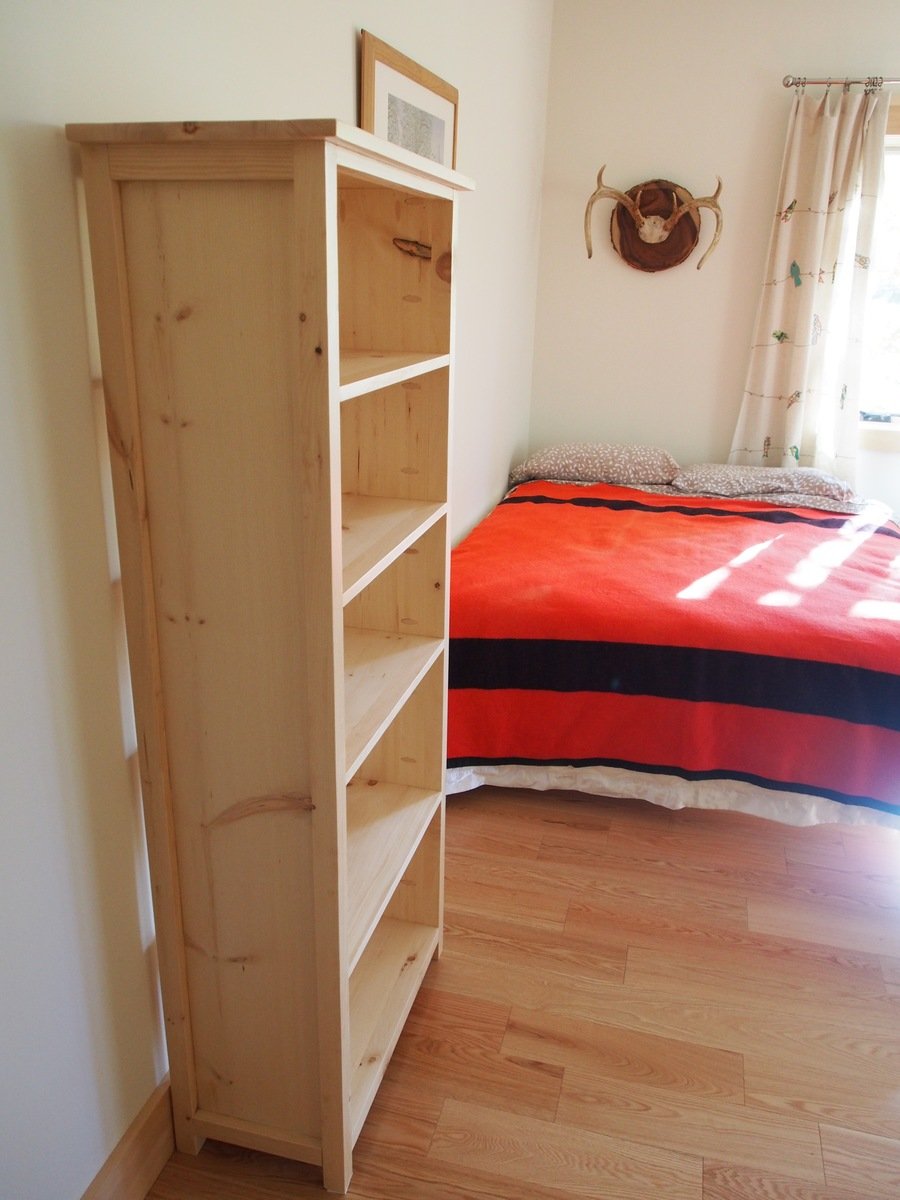
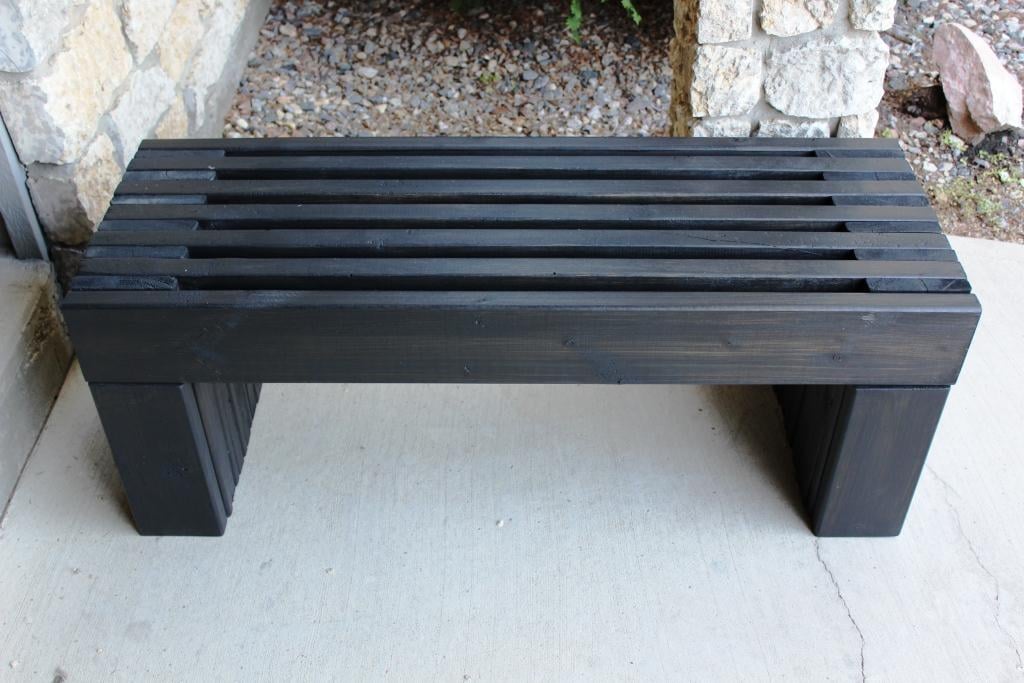
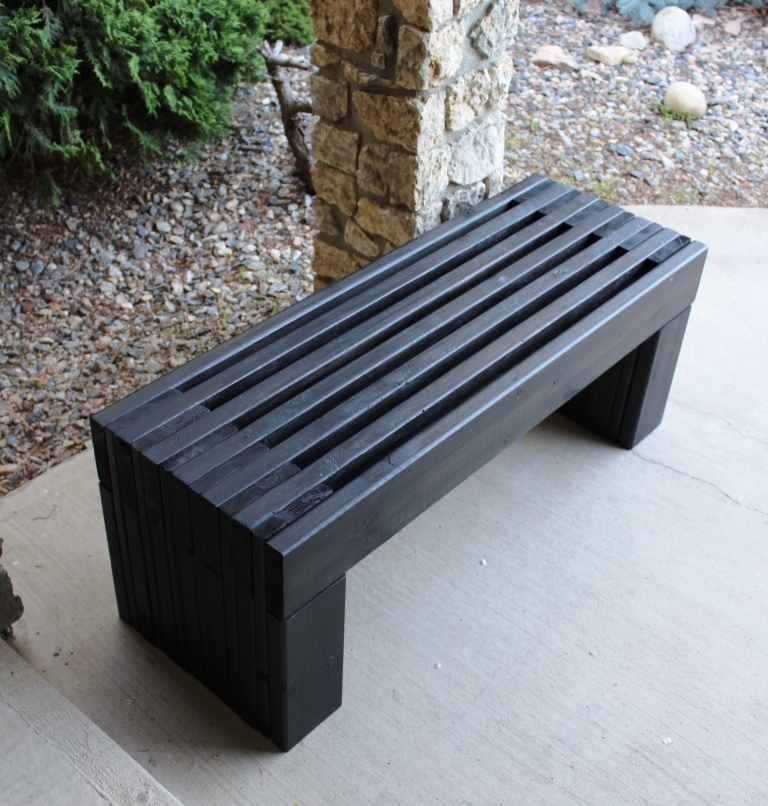
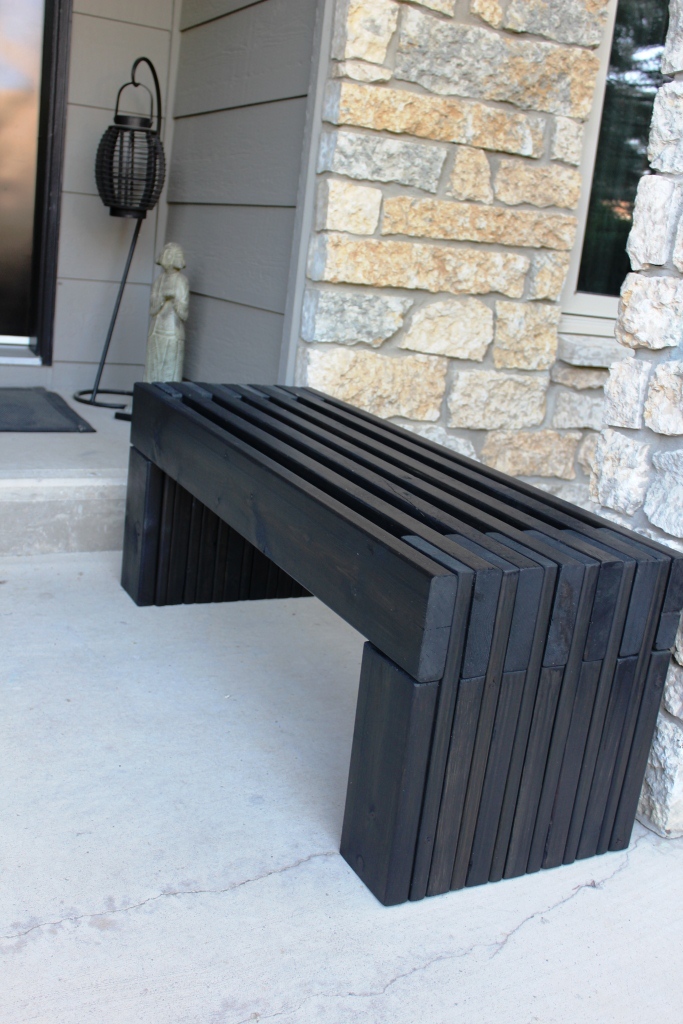
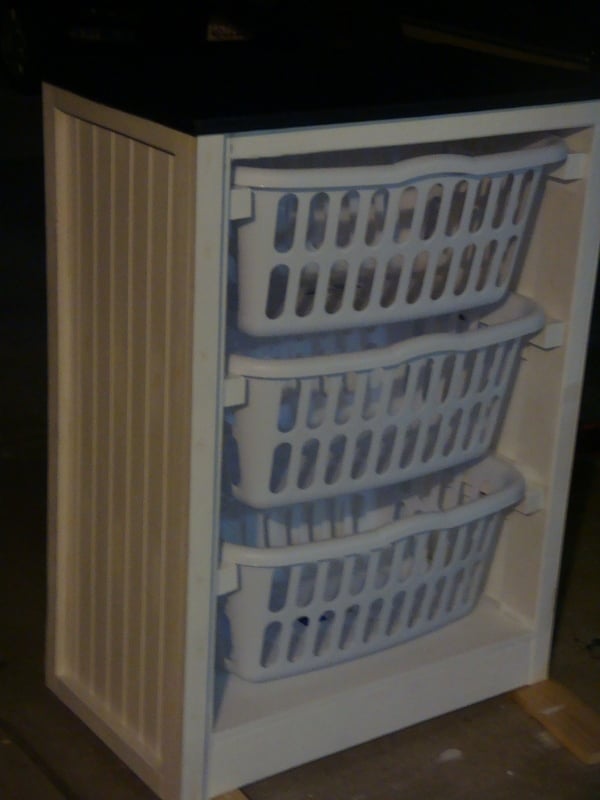
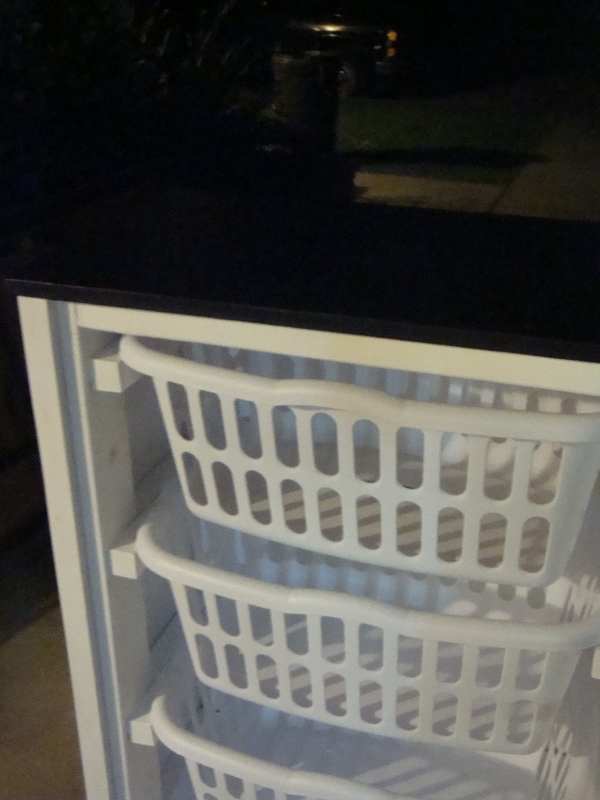
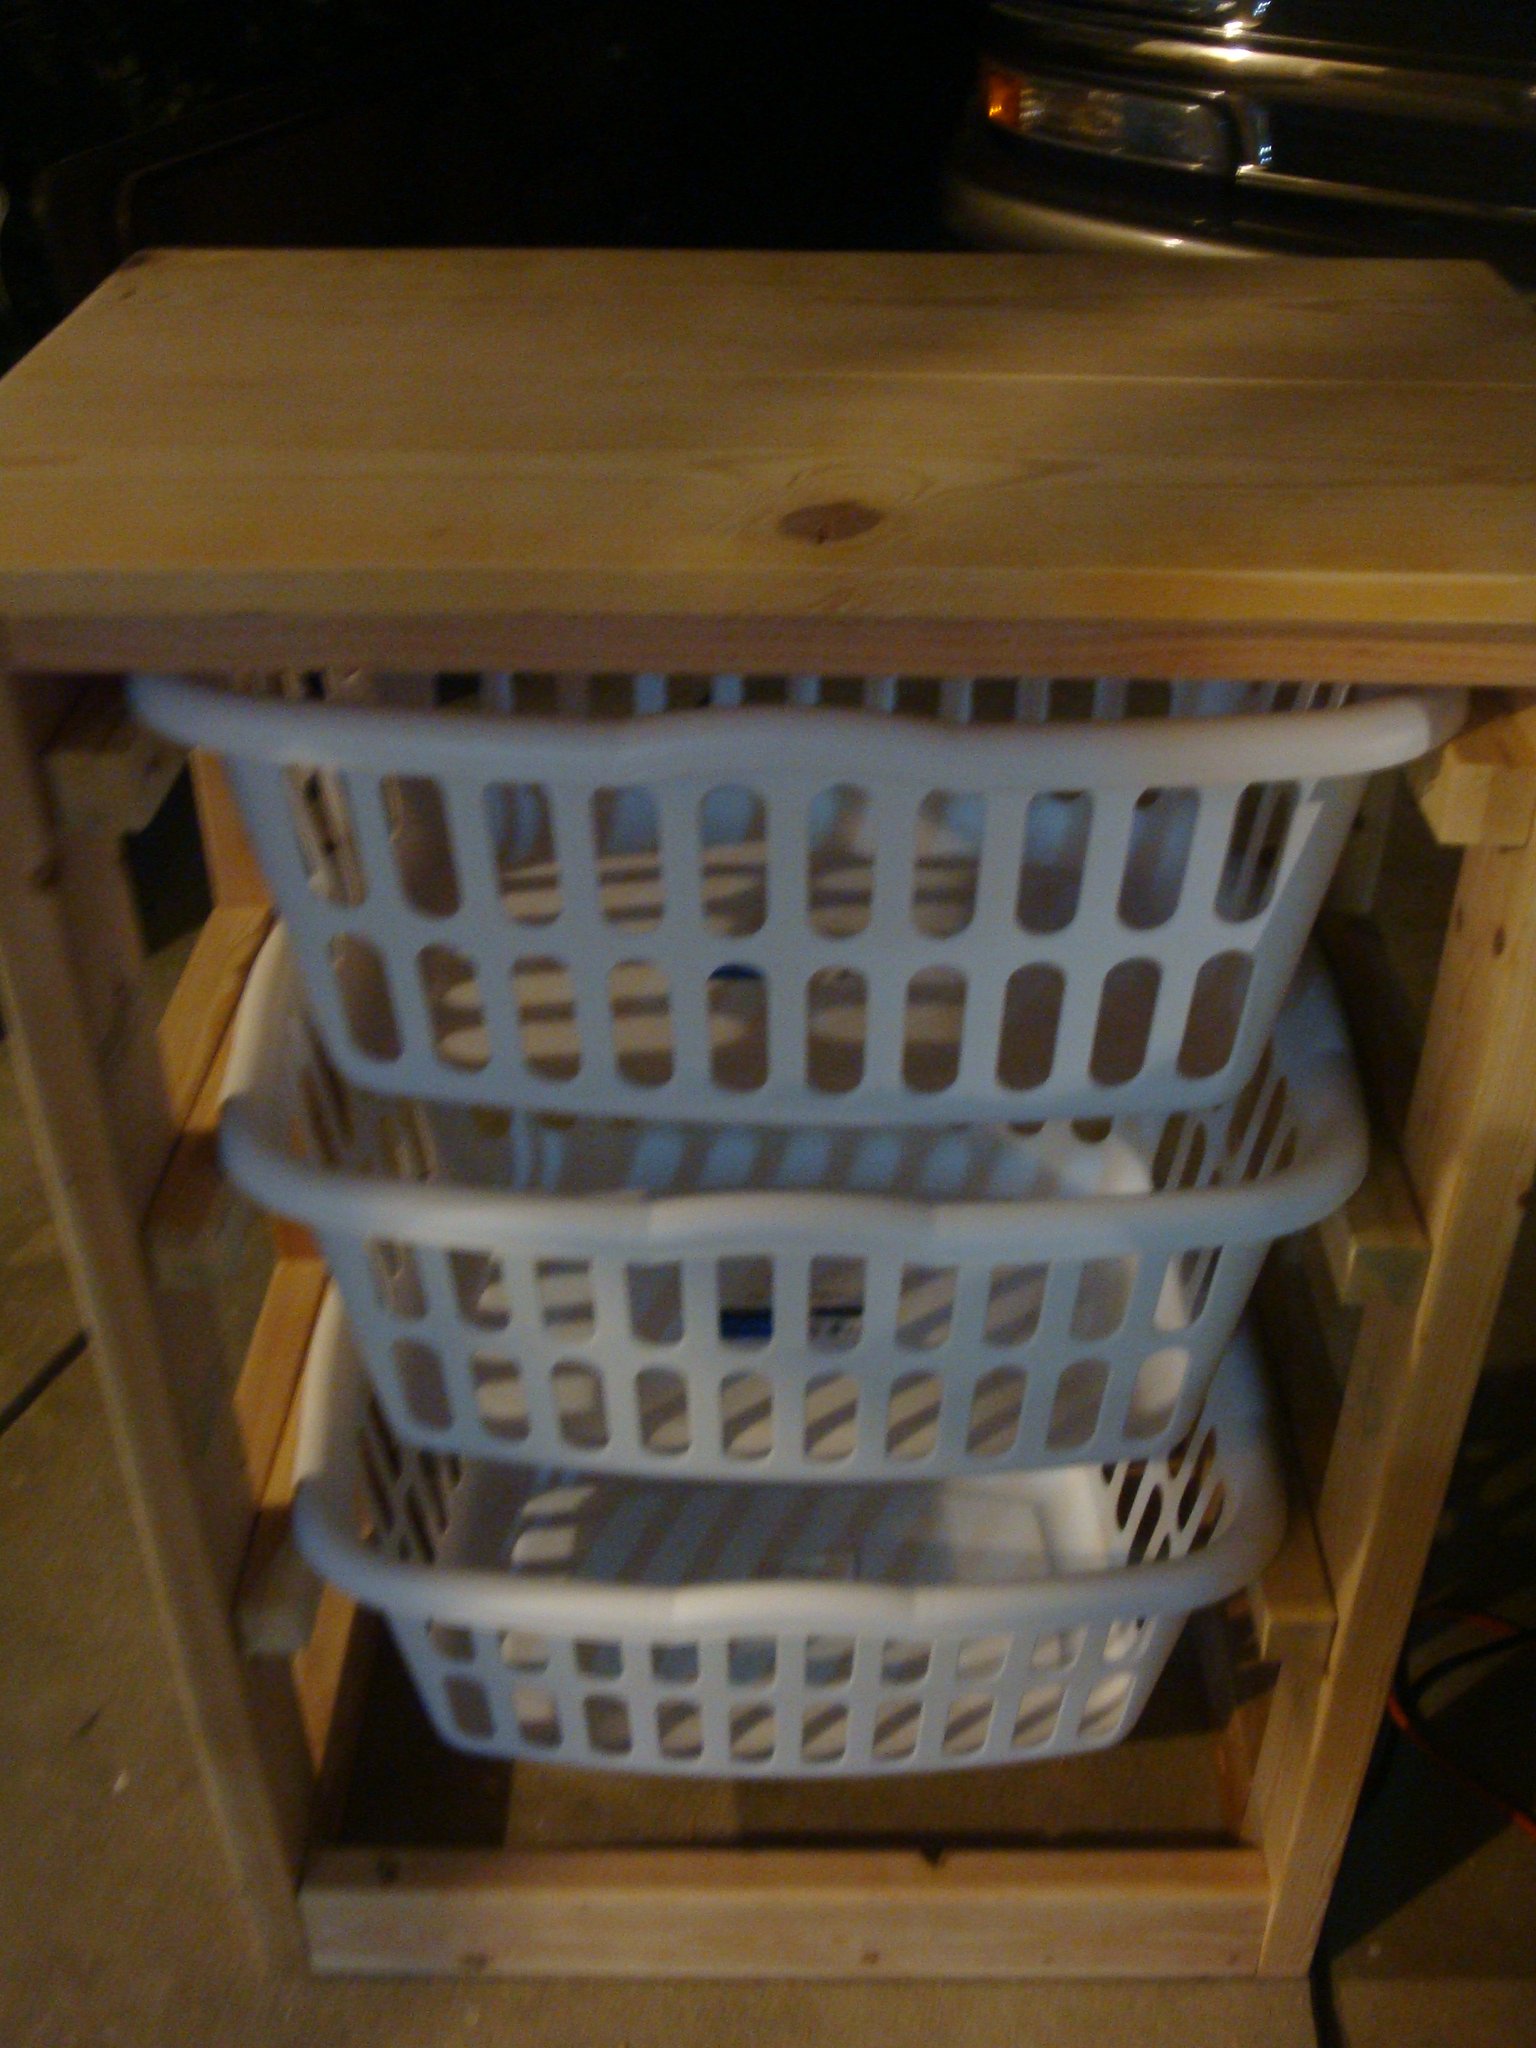
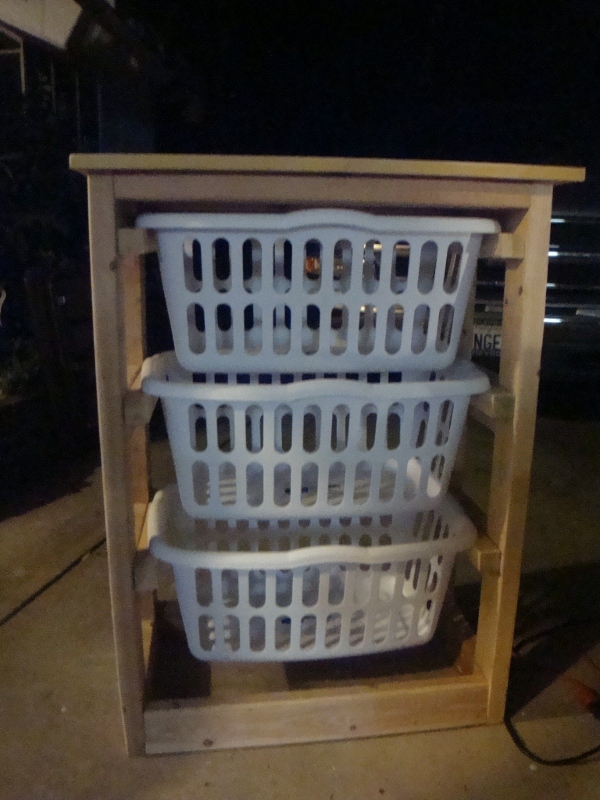
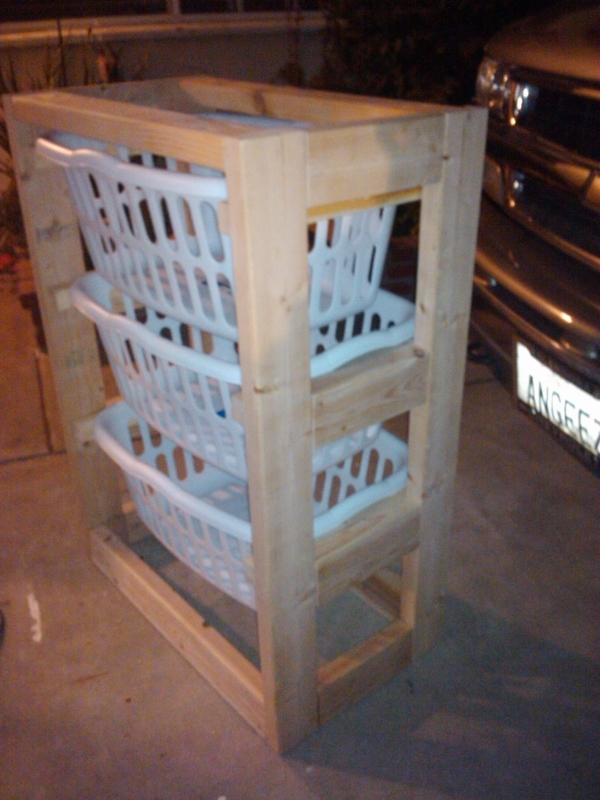
I built this 3 times, the first time, I wanted to beef it up, so I took it apart and decided that I was going to use a frame to make it more sturdy. This was for my 6'4 football playing husband, wanted a place for his sweats, jerseys, etc, so the 2nd one is the white beadboard one in the pic....Then, when I finally did move it into the house, boy I missed it in the garage. I had been using the baskets for my paint brushes, tack clothes, tarps, etc.....So, I built another one, just for me and my sundries. That's the one you see in the pic that is just the frame with baskets. My 180 6 ft tall son actually was caught sitting on top of it, and I'm proud to say, it held, no problem. I love Ana's plans, you can follow to the tee, always a good idea, or add in your own flavor. It's like adding your own spice to the soup. This is one of my favorite pieces to build, used my kreg, and the one that gets the most compliments and requests. For the top, I didn't have a 1x16 on hand, so I kregged together 2 1x8's. Absolutely beautiful.

Built from Plan(s)
Estimated Cost
Beadboard was the biggest expense, 19.00 wood-18.00..38.00 total
Estimated Time Investment
Weekend Project (10-20 Hours)
Finish Used
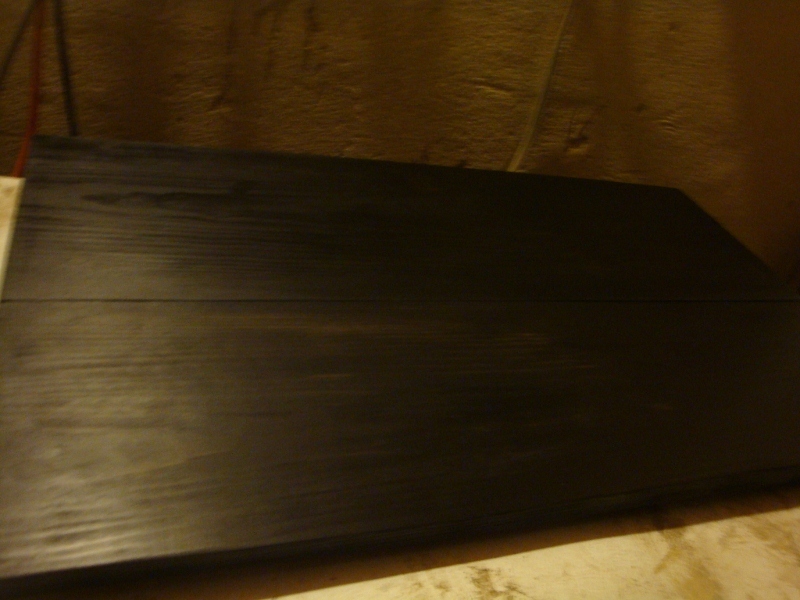
wood body kilz x2, sanded in between, then 2 coats of Behr semi gloss Utra White. Top pine is sanded, then 2 coats of Black Onyx stain, sanded in between then coated 2 coats with Polyurethane.
Recommended Skill Level
Intermediate

Comments

Guest (not verified)

Tue, 02/28/2012 - 13:14

Durability was my one concern with these plans, so I am so glad you shared these modifications! I am a very visual person, so seeing them made with the 2x4 frame has really helped me know how I want to build these. Thank you for sharing.

smjohnsonmk

Fri, 07/17/2015 - 18:21

Long shot since this was posted so long ago but I would love some more details on the supply list for this particulr version of the laundry dresser.  I really like the bead board and frame but am struggling with the dimentions of all of the 2x4's for the frame.  Thanks!

Kid's Playhouse and Slide

Submitted by docfin02 on Mon, 03/28/2011 - 18:56

I LOVE these plans. This was my first project, and although it was a big one to start with, the plans were easy to follow. If I can do it, anyone can. I added the rock wall. My kids and I love it. Total cost for me (including all lumber, nails, paint, slide, etc.) is about $850.

Estimated Cost
$850
Estimated Time Investment
Week Long Project (20 Hours or More)
Finish Used
1 coat primer, 2 coats paint
Recommended Skill Level
Intermediate
Seasonal And Holiday

$235 Weatherly Pergola

This is the first time I've ever taken on a project of this scale. The pergola is 12 x 11, and I was able to get it all done for $235 by having Lowe's price match a lumber yard in the next town over. I skipped out on the fancy base covers because I'll eventually make those pretty with limestone stacking rock - and because the lumber for those alone would cost about $121.
Once the treated lumber seasons, I'll stain it a darker color.

Built from Plan(s)
Estimated Cost
$235
Estimated Time Investment
Weekend Project (10-20 Hours)
Recommended Skill Level
Beginner

Comments

Clubhouse based on Ana's Plan

Submitted by MattSl on Tue, 05/03/2011 - 09:18

I used Ana's plan as a base.

I changed it from 8x8 to 8x12, made the 4x4x8's to 4x4x10' for a higher main platform and swing platform, and added a 12' long monkey bar set to the other side. Also, an 8' climbing wall and a plank walkway to accompany the two slides.

For the clubhouse, I used Hardiplank 4x8 sheets for the siding and an EZ-Framer kit for the structure itself.

The slides I purchased from Lowes, monkey bars from Amazon, and the swing frame braces from Amazon as well. The swing kits I got from ebay.

Estimated Cost
1500
Estimated Time Investment
Week Long Project (20 Hours or More)
Recommended Skill Level
Intermediate
Seasonal And Holiday

Craftsman playhouse - in shades of blue

Submitted by richsea on Sat, 06/11/2022 - 21:58

I’ve been working on building up to this playhouse for a while. Just got the doors on and am pretty pleased with what’s my first project of any size. Built on top of a modified version of the playhouse deck with a to be added (hopefully) swing in front. Color selection by the end customer (who’s 8). Modified to add 12 inches for a 5’ doorway. Thankfully I caught that at the last minute for the kiddo. Still a menace if I forget to duck. But super roomy once inside.

Comments

Seasonal And Holiday

DIY Wood Outdoor Chair with Deep Seat Cushion

Submitted by Anonymous (not verified) on Thu, 08/10/2023 - 12:27

Using just basic tools, I was able to build this super comfy outdoor chair for the fraction of the cost. With a couple of modifications, Ana White's design plan made for a perfect fit for the new deep seat cushions I had found on fb marketplace.
 

Seasonal And Holiday

My Simple Outdoor Lounge Chair with 2x4 modification

I modified this chair with 2x4's as the base and 2x2 for decoration on arms, this is prior to sanding and finishing

Built from Plan(s)
Estimated Cost
$15-$20 dollars, depending on local lumber prices and finishing options.
Estimated Time Investment
An Hour or Two (0-2 Hours)
Finish Used
Unfinished
Recommended Skill Level
Beginner

Comments

RandyW

Sat, 06/13/2020 - 16:33

I always take my sander to the sharp edges and round them off

Sandbox with Seats

I built this sandbox for my kiddo's because we have cats! It was great. Easy to build, great plans for it.

Built from Plan(s)
Estimated Cost
$50 CAD
Estimated Time Investment
Afternoon Project (3-6 Hours)
Finish Used
Minwax 2-in-1 in Natural
Recommended Skill Level
Beginner

Potting Bench for Father's Day

Submitted by GretchenM on Wed, 07/16/2014 - 09:49

I started with the potting bench by Between Naps. I made it longer and taller (for my dad). There is a tool holder along one side and I added a sink, for washing the veggies newly harvested from our garden. We ran the water from our house faucet and will blow out water for winter. All that's left is running a pipe from the drain to leach out across the perimeter of the garden. Most of the lumber was given to me (pressure treated even). And I bought the sink from a junk guy for $50. My dad was so impressed and I think it may be my best present project ever. I can't believe I made that! Oh yeah, the end caps have solar lights, nighttime gardening! Ya never know!

Estimated Cost
175
Estimated Time Investment
Day Project (6-9 Hours)
Finish Used
None. Get this where you want it before screwing shelf and counter boards or putting in sink; it's really heavy.
Recommended Skill Level
Intermediate

Comments

jvos

Thu, 07/17/2014 - 12:05

That is awesome! I want a sink for my garden (and a cooktop for outdoor canning) so I am very jealous. :)

Modern Adirondack Chair, Super Sized

Submitted by Anonymous (not verified) on Fri, 08/21/2020 - 10:39

Am a big fan of Ana's work, and have used several of her plans in prior builds including the more traditional Adirondack chairs. Those stayed with my old house, and I wanted something different for my new house. Really liked her Modern Adirondack design with the floating arm rest. However, plans are like recipes to me--a guideline. I wanted the back boards to run up and down, and I am a bit more robust than the lovely and petite Ms. White, so they would need to be wider after I built the first one at 19 1/2" wide per plan. The next three I made 22" wide and that worked well without throwing off the geometry and angles of the other parts. Since I ran the backboards up and down, I needed some cross beams for stability and to give an attachment point for the middle of the boards. Cut some 2x4s at 15" wide, drilled pocket holes in both ends, and attached in between the back supports with the pockets facing up to be hidden by the back boards. All of the 2x4s were leftover cut-offs from the houses being built in my neighborhood. Since the frames were free, I splurged and went with cedar boards for the backs and bottoms. With the wider frames, I had to use 1x12s ripped down to 10 3/4" to get the right look (about a board's width in between). Needed some color, so I painted the frames Teal Seaglass from Menards. Cedar was stained with a natural deck stain from Sherwin Williams. I experimented with salt paint (mixing unsanded grout with the paint) to give a heavily textured and weathered finish but this was unecessary--the wood was distressed enough and I am a terrible painter. It also toned down the color so I skipped that step and just went with 2 coats of plain paint. It looks like outdoor furniture should up close. As always, am pleased with Ana's plans. Thank you for doing all the hard work!

Estimated Cost
about $200 for all 4 chairs due to cedar and paint
Estimated Time Investment
Weekend Project (10-20 Hours)
Finish Used
Paint - Pittsburgh matte exterior with Dutch Boy coloring Teal Seaglass
Stain - Sherwin Williams Superdeck stain, Natural finish
Recommended Skill Level
Starter Project

Comments

Seasonal And Holiday