Community Brag Posts

4x4 Table w/ "Restoration Hardware" Finish

Submitted by AndyAlva on Fri, 09/06/2019 - 12:57

Loved how rad this table turned out. I wanted a mad beefcake table top -- so I chose 2x12s for a more industrial look. To get perfect seams and a completely flat surace for the table top, I planed each 2x12 multiple times, followed by many sessions in a jointer to get my edges to a beautiful 90 degrees. Once I had the top measured out to the length and width I wanted, I ripped the pieces down closer to a 2x10. Following that, I domino joined the pieces with a crap-ton of glue and clamped it for 2 days. To finish, I created an original 5-step stain process (including white wash) to get a weathered, Restoration Hardware-inspired final look. So stoked on it! (Wifey loves it too, so that's a huge win). 

-Andy 

Built from Plan(s)
Estimated Cost
$150
Estimated Time Investment
Week Long Project (20 Hours or More)
Finish Used
Minwax Stains Used:
- Jacobean
- Classic Grey
- Weathered Oak

Varathane Stain:
- Briarsmoke

White Wash -- 80% Walmart Matte White, 20% Water
Recommended Skill Level
Intermediate

Comments

Book ledges

Submitted by Anonymous (not verified) on Mon, 04/04/2022 - 14:54

I took your plans for the beginner book ledges and modified them for our 90 degree space. I had to learn about mitre and bevel cuts so that was fun.

I also learnt that when the wood is slightly warped it pays to be attentive to the eventual install and how stress will flow through the work.

Built from Plan(s)

Comments

Perfect Bookshelves

Submitted by BreBuskey on Thu, 06/02/2011 - 08:56

We were searching for the perfect bookshelves for our girls' room. We came across these bookshelves and decided to build them ourselves. In the end it worked out perfect! The book are easy enough for our 6 & 3 year old daughters to put away, they look amazing, and it was special building them with my husband as a gift to our daughters. You can find more info on the room and bookshelves on my blog www.brebuskey.blogspot.com

Built from Plan(s)
Estimated Cost
$100.00
Estimated Time Investment
Day Project (6-9 Hours)
Recommended Skill Level
Beginner

Comments

cooler for dads day

My dad made most everything I have ever had in life including the house I live in. So I wanted to make him something this dad's day that he could really use and enjoy. He just built a hang out place in his back yard that I call "his fort" Since he's in his 60's now and a little more mellow, he has a lot of little parties with friends, family, basically anyone who wants to come hang out in his back yard. lol. (He claims to have made the fort a covered stage for my 12 year old and his band. But I know the truth. hehe. it's his fort :) ) So I thought this cooler stand would come in handy. He saw me working on it a few days before fathers day and told me he was afraid I was gonna make his something girly. hehe. He's such a man's man. I love my pops and am soooo happy he likes my gift. Its already in use in the fort. hehe

Built from Plan(s)
Estimated Cost
about $80 for wood, stain, polyspray and hinges and handles. I had the cooler and faucet spout and plastic tubing and screws already
Estimated Time Investment
Afternoon Project (3-6 Hours)
Finish Used
Minwax "weathered oak" 3 coats on the pine 2 on cedar. Sprayed with Vurathane spray polyurathane in a spray can. I love it. The sheen is satin so you can hardly tell its there, no gloss at all.
Recommended Skill Level
Intermediate

Comments

sgilly

Sun, 07/21/2013 - 13:00

Turned out really nice! I'm sure he was very happy with your gift.
PS: I'd love to have a fort like your Dad's. What a cute little place to escape to!

In reply to by sgilly

Melodys socal …

Mon, 07/22/2013 - 20:43

Thank you Sue :) his fort is so awesome. both my sister and I have houses on my dads property. The picture of his fort is from my balcony and I can see my dad in his fort every day. It makes me so happy to see him over there just relaxing (with his cooler hehe) looking around the yard at the trees, creek and all of his hard life's work. Everyone needs a grown up fort in my opinion.

Adirondak Trio

Submitted by ricwit on Mon, 07/27/2015 - 10:09

New to building, but it went together fairly easily. I think next time I'll decrease the width of the foot stool, so I can just step over it and sit in the chair. Give it a try!

Estimated Time Investment
Afternoon Project (3-6 Hours)
Recommended Skill Level
Beginner

DIY Locker

Submitted by Cjmoore27 on Sat, 02/24/2018 - 07:57

Thank you so much for the well explained plans! We had HD do all our 1x12 cuts so it would fit in the car (they were happy to help). We ended up painting it in Polar Bear White Semi-Gloss, and It turned out great! 

Built from Plan(s)
Estimated Cost
$230 (had to buy the kreg jig and paint)
Estimated Time Investment
Weekend Project (10-20 Hours)
Finish Used
Polar Bear White Semi-Gloss Behr Premium Ultra Latex
Recommended Skill Level
Intermediate

Sofa

Submitted by Anonymous (not verified) on Sat, 04/09/2022 - 05:28

Sofa made out of 2x4 & 2x6 painted in a light French gray with sapphire blue cushions. I also made a matching love seat (not pictured). Turned out nice!

Comments

Queen Size Farm Bed

Submitted by msts on Sun, 06/05/2011 - 12:54

This took about 10 hours, including prime and paint. I raised the side rails 3 1/2 inches to dado the posts to accept a 2x4 siderail on the inside of the post, with 1x8 covering it at the center of the post. The siderails are bolted with 4x5/16" bolts, washers and nuts. We chose to leave it more rustic, showing the siderails at the ends and the bolt holes. It is all pine, bought new and along with a 1" forstner bit to recess the bolts, cost $198. It can be repainted at any time. Tools I used were a compound saw for ease of cutting straight cuts, a cordless and corded drill, 1/2" socket and box wrench, easy square and a circular saw for the 1x8's. We painted it with left over paint. Because its pine, we primed with BIN,

Built from Plan(s)
Estimated Cost
$200
Estimated Time Investment
Weekend Project (10-20 Hours)
Finish Used
BIN Primer Sealer, one coat on knots then another full coat.
Benjamin Moore Pearl Luster "
Butter" Finish Coat, two coats.
I sand all wood with an orbital sander prior to assembly. Then I use a block sander after the primer dries and between the first and final coat of paint. I only sand after the primer and paint to knock off anything that might be sticking up off the surface. I don't go crazy.
Recommended Skill Level
Intermediate

Comments

marlaandwilliam

Sun, 06/05/2011 - 18:27

Looks great! What did you use for the panels in the headboard and footboard? it almost looks like beadboard ?

Mark Shortt (not verified)

Sun, 06/05/2011 - 20:23

It is 1x5 bead board (pine). Some places call it match board. It is v-groove, tongue and groove and has a smooth (flat) side and a two inch flat, bead, two inch flat side. The plans called for a 61" wide panel but I made it 58" with the dadoed posts (1 1/2 inch each cut).
If you want to do the panel using the T&G bead board, make sure to lay your 1x4's out the distance of what ever height you want your panels and center the first piece of T&G bead board on both the top and bottom panel. Then you work your way out fitting the T&G and screwing in each piece. When you come to the two end pieces, they are going to ned to be ripped but by starting at center, they will be even at the end when ripped.
Another tip is when screwing the panel, you will want to get at least halfway into the 3 1/2" post. measure the distance you want to cut on the drill bit and put a piece of tape on the bit. Then drill until you get to the tape.

Side Table

Submitted by NickZed on Tue, 07/23/2013 - 04:33

I spent a few hours on a Saturday cutting the wood for this project and drilling the holes and putting it all together. It's a very sturdy side table....

I made two small errors -
1) When I bought the 285mm * 17mm pine for the centre piece of the top I neglected to check whether the board was dead flat - it wasn't and was bowed slighty, however, after the top has been attached to the base it's not noticeable.
2) The other error was my shelf - it wasn't quite long enough....I think that I made this error because my legs may have had a slightly different size to the wood/lumber from the USA (where the plans are from).

All in all, I'm very happy with the table. It looks great and is super sturdy.

Built from Plan(s)
Estimated Time Investment
Afternoon Project (3-6 Hours)
Finish Used
Top finished with:
1) One coat of Minwax Pre-Stain Wood Conditioner - applied with a rag and left to dry for about an hour, then,
2) I applied Minwax Wood Finish Stain - Dark Walnut colour. I left the stain to soak for about 4-5 minutes and then wiped the excess off the table top.
3) Finally, three coats of Minwax Water Based Wipe on Poly - Clear Gloss. I sanded this gently with 240 grit sand paper between coats.

Base:
1) I primed the base with a Taubmans white primer, then
2) I applied three coats of a Dulux low sheen acrylic paint.
3) As per the table top, three coats of Minwax wipe on Poly were applied.

Note: I primed and painted the base of the side table and then conditioned and stained the top. After both of these were done I screwed the table top with 50mm 8G self tapping wood screws to the base. I then applied the three coats of wipe on Poly mentioned above.

The wipe on poly rocks!!! No smell what so ever....

The cutting, drilling of the pocket holes and putting the tab;le together was reasonably quick - 1 to 2 hours, however, it's the painting, sanding, staining and applying the poly that takes the bulk of the time with this project.

The table is 42inches long in Ana's plans - I shortened mine to 37 inches to suit my room better.
Recommended Skill Level
Beginner

Pantry shelves adapated from Garage Shelves

Submitted by Anonymous (not verified) on Sun, 04/17/2022 - 06:07

Thanks for the plans, adapted it to new pine standers but was able to obtain beautiful cherry tree panels from a defunct wood worker in the next village over. Planed those and used those to make a slightly more 'posh' version of your basic model. The supports on the wall you see are from the previous formica shelves. I left them in case the cherry starts rounding down.

Comments

Simplest Armoire as Kitchen Pantry

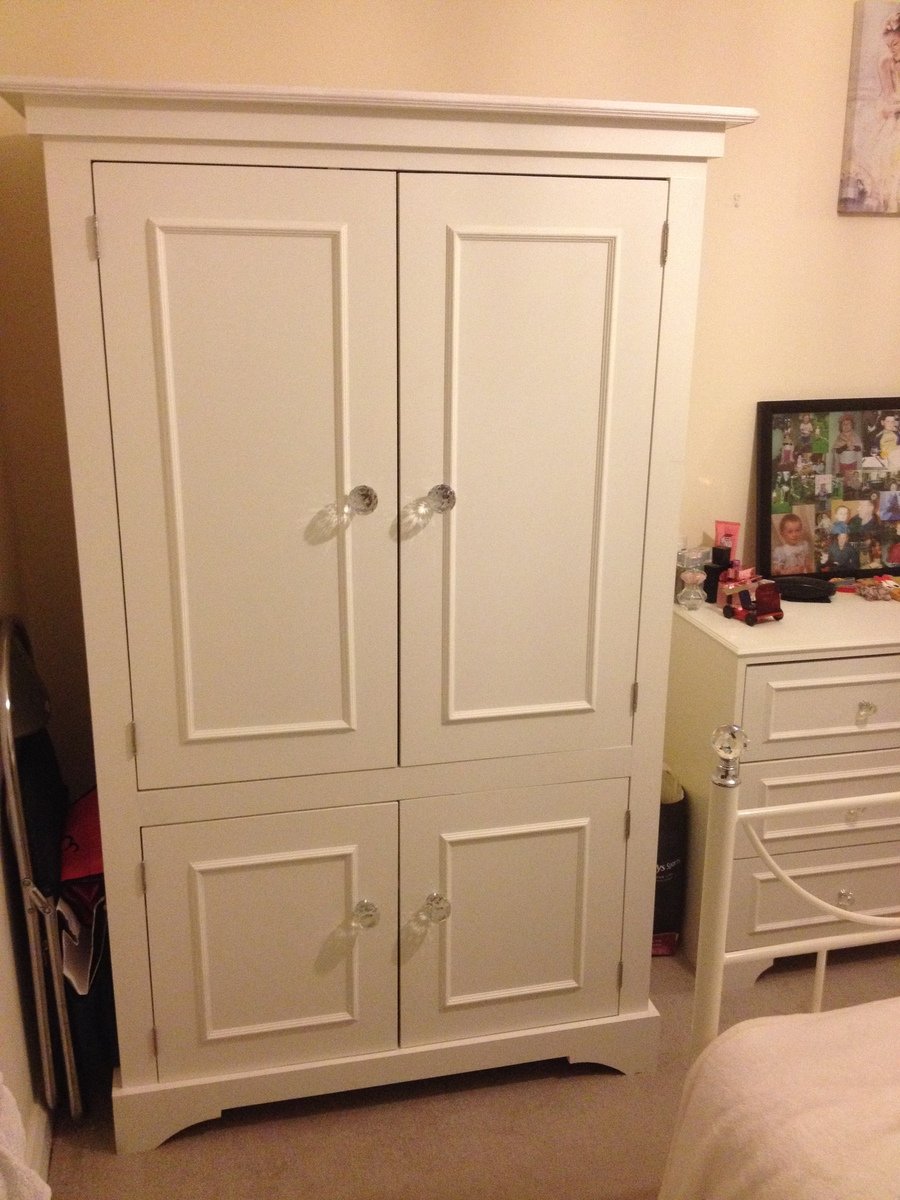
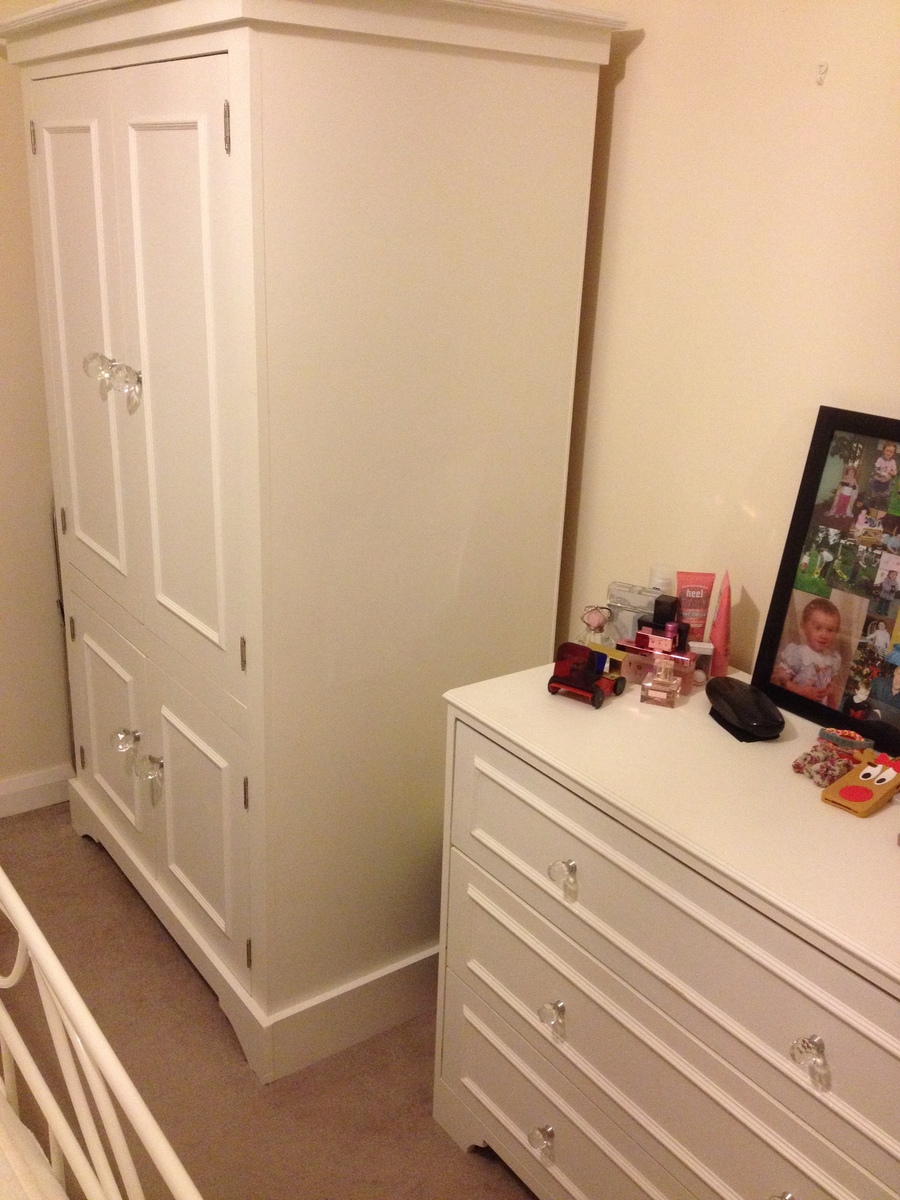
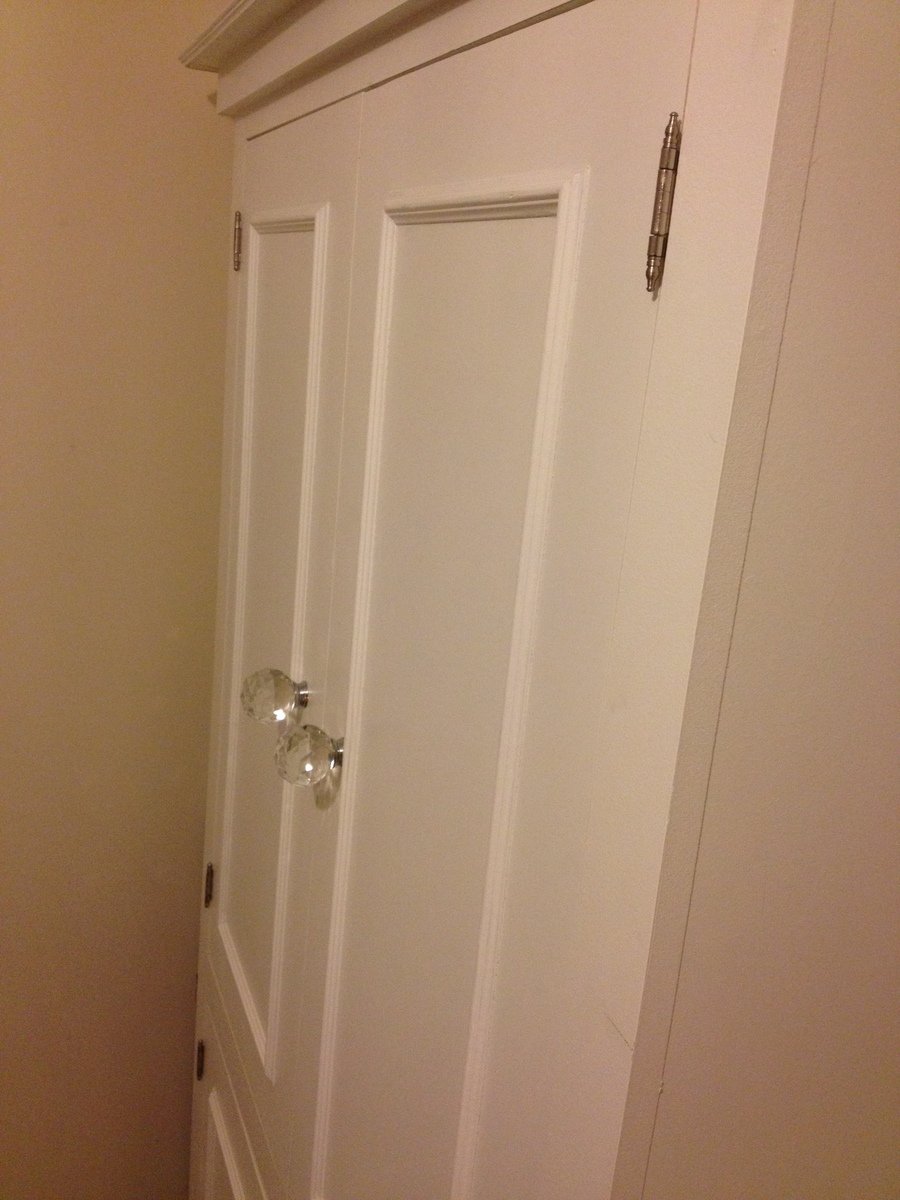
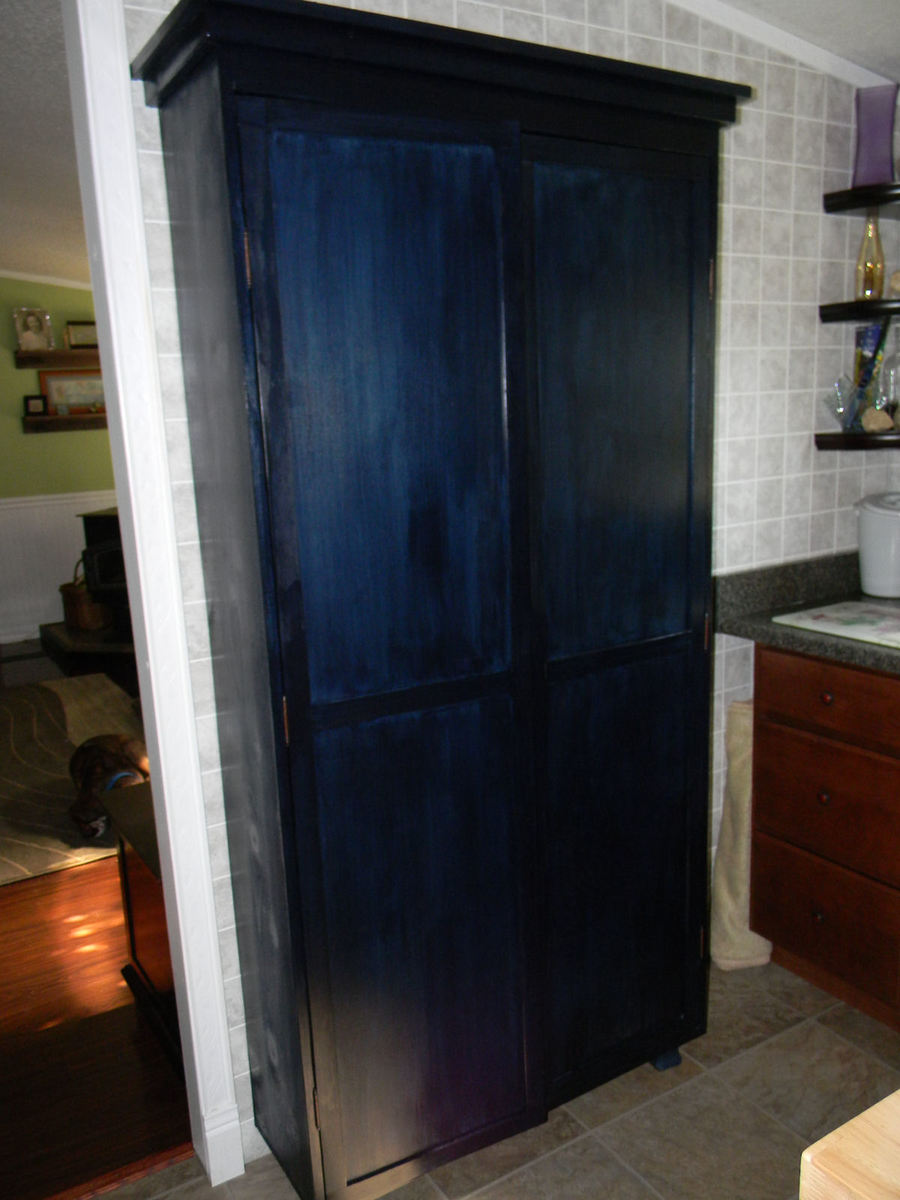
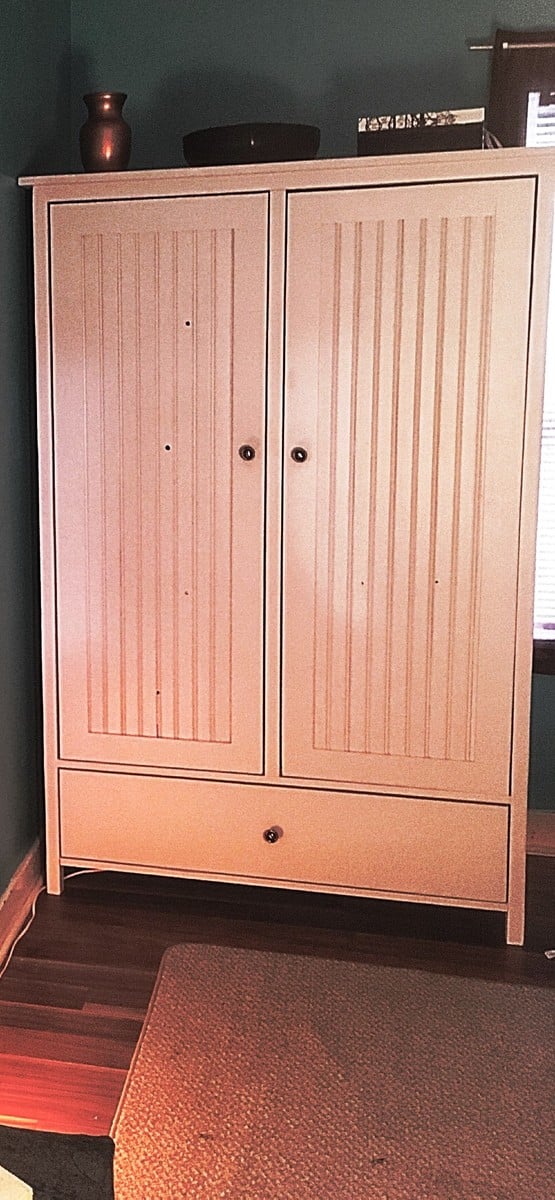
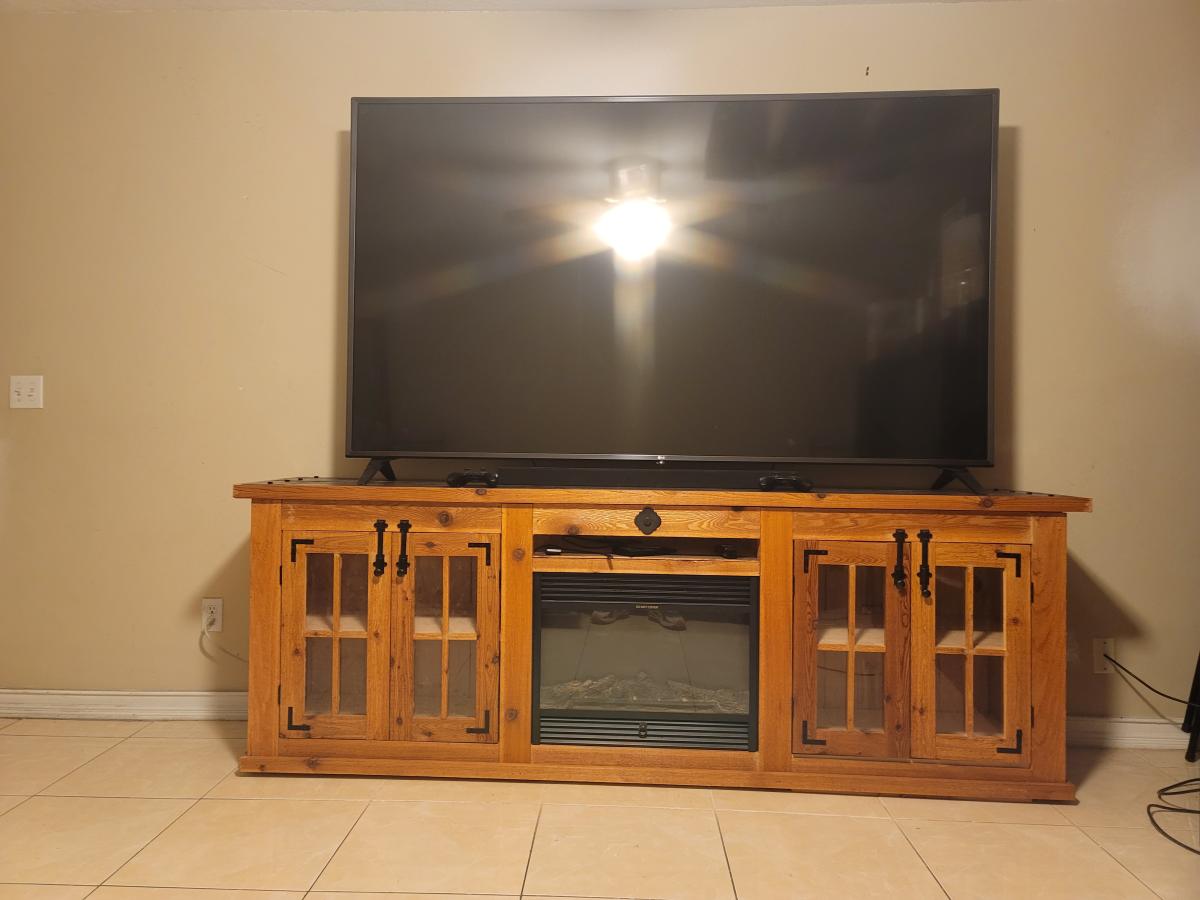
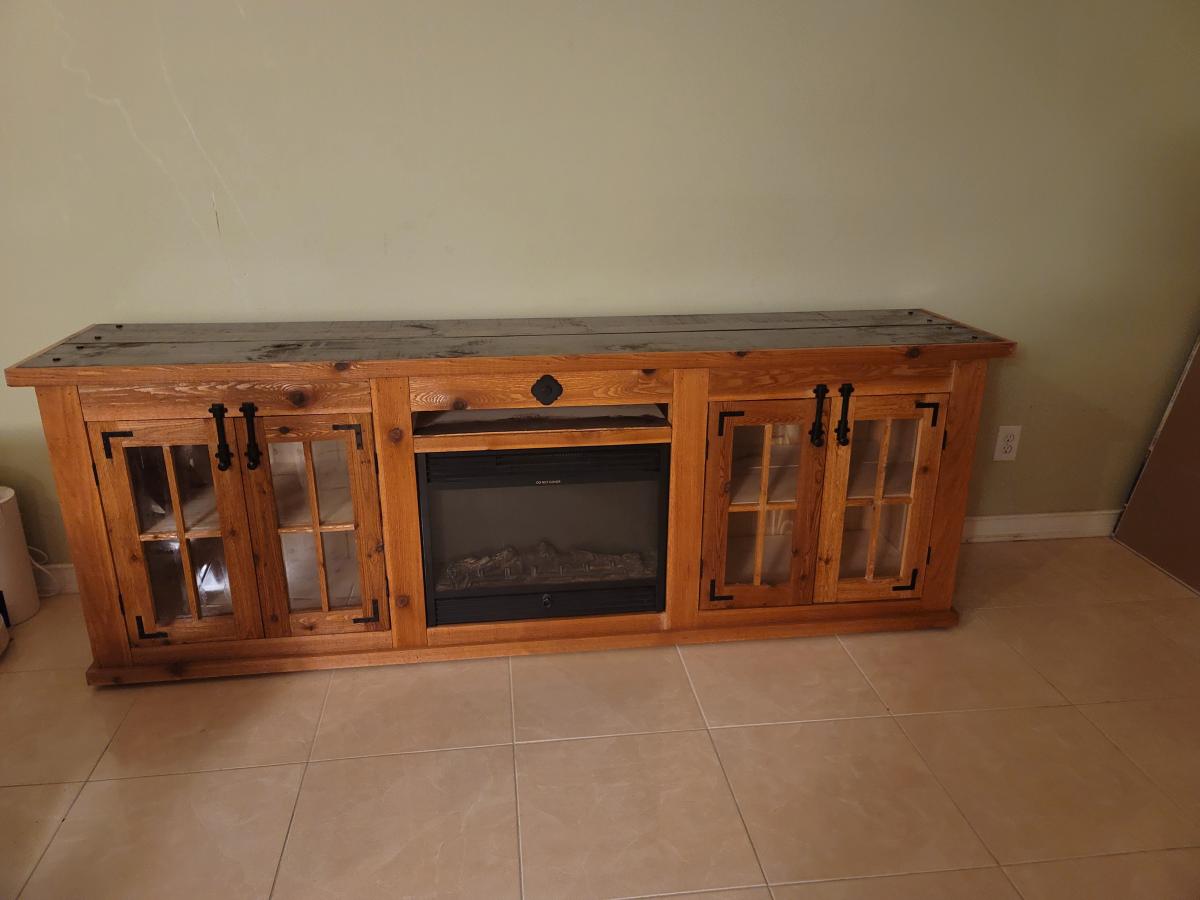
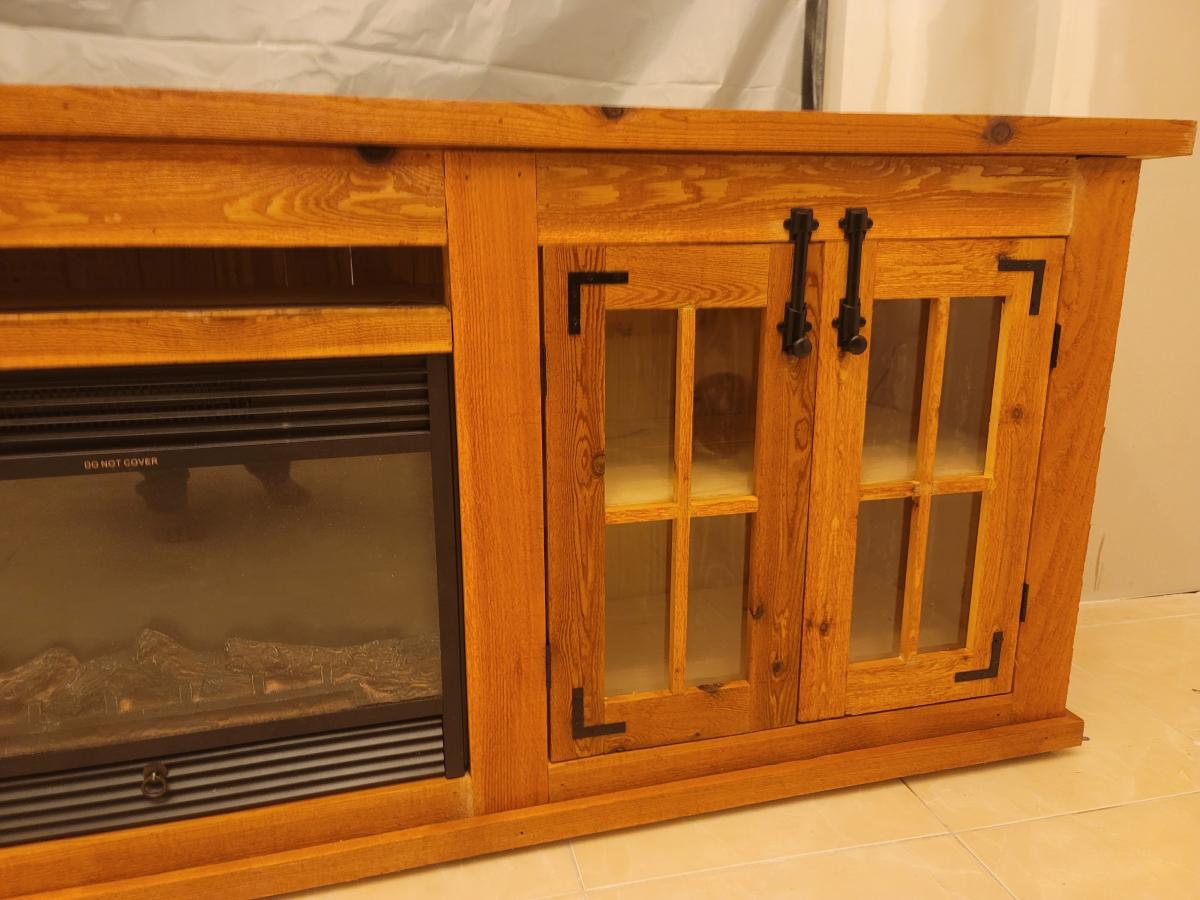
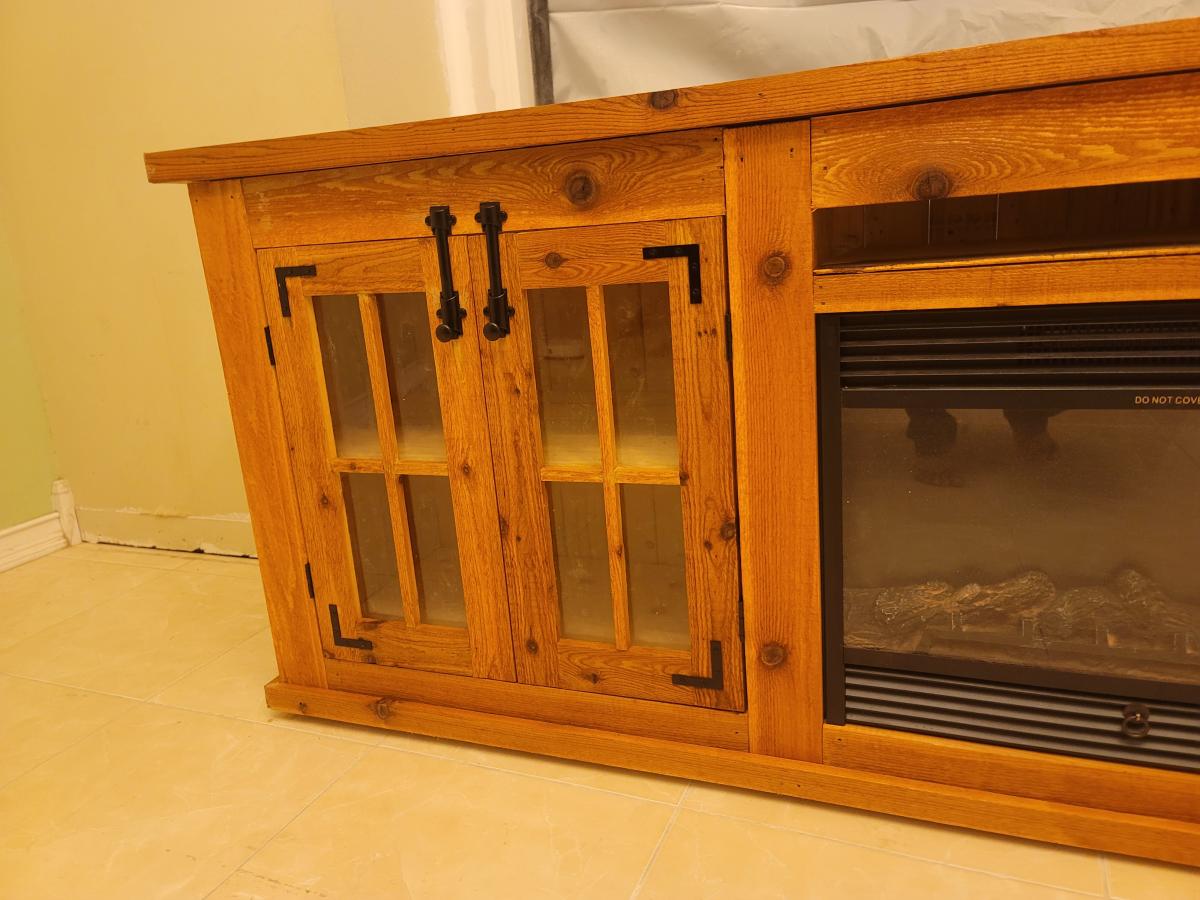
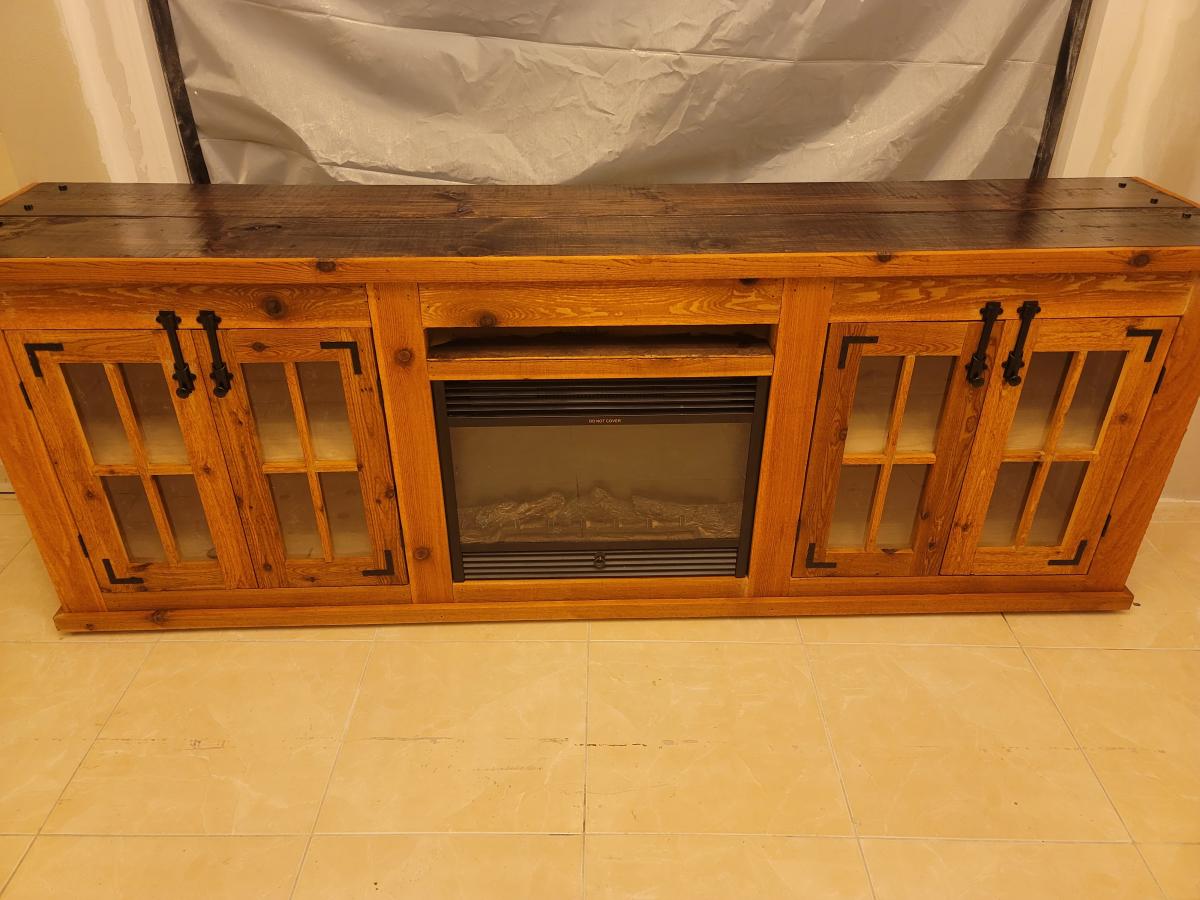
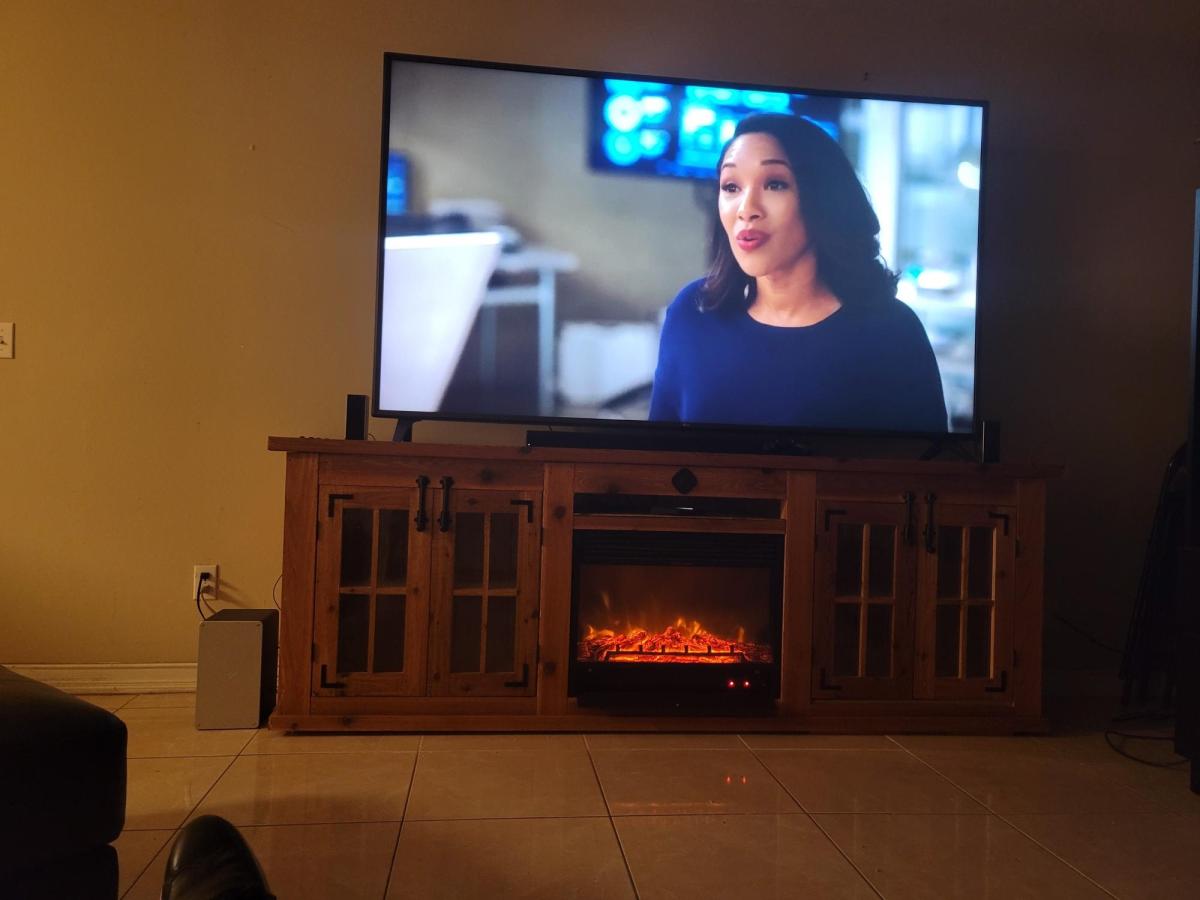
I ABSOLUTELY LOVE THIS CABINET! It's the perfect finishing touch to our kitchen remodel. We are still waiting on the finishing touch; a hand-polished Hoosier style latch for the doors. We found them at House of Antique Hardware. I will say that this cabinet required "non-mortising" hinges, ones that don't require you to dig out anything in the wood and that don't bulge up together in the space behind the door. These were nearly impossible to find in our town in a small enough size, even with the two big box stores and smaller hardware shops. We had to order them online HardwareSource. These were cheap at this source and we even ordered two styles in case we didn't like one of them. A local shop could order them for us @ 6 hinges for 48$!! The ones we found online came to $17 with shipping.

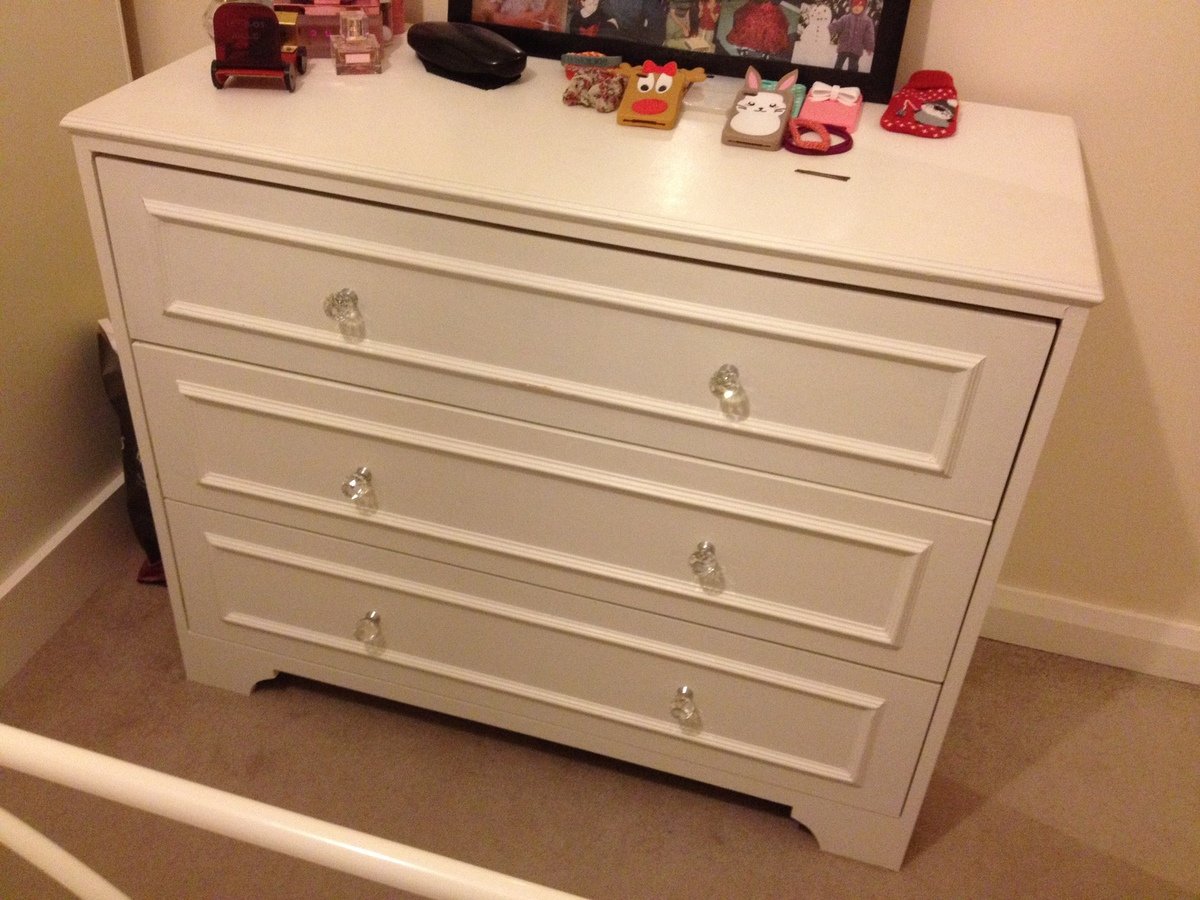
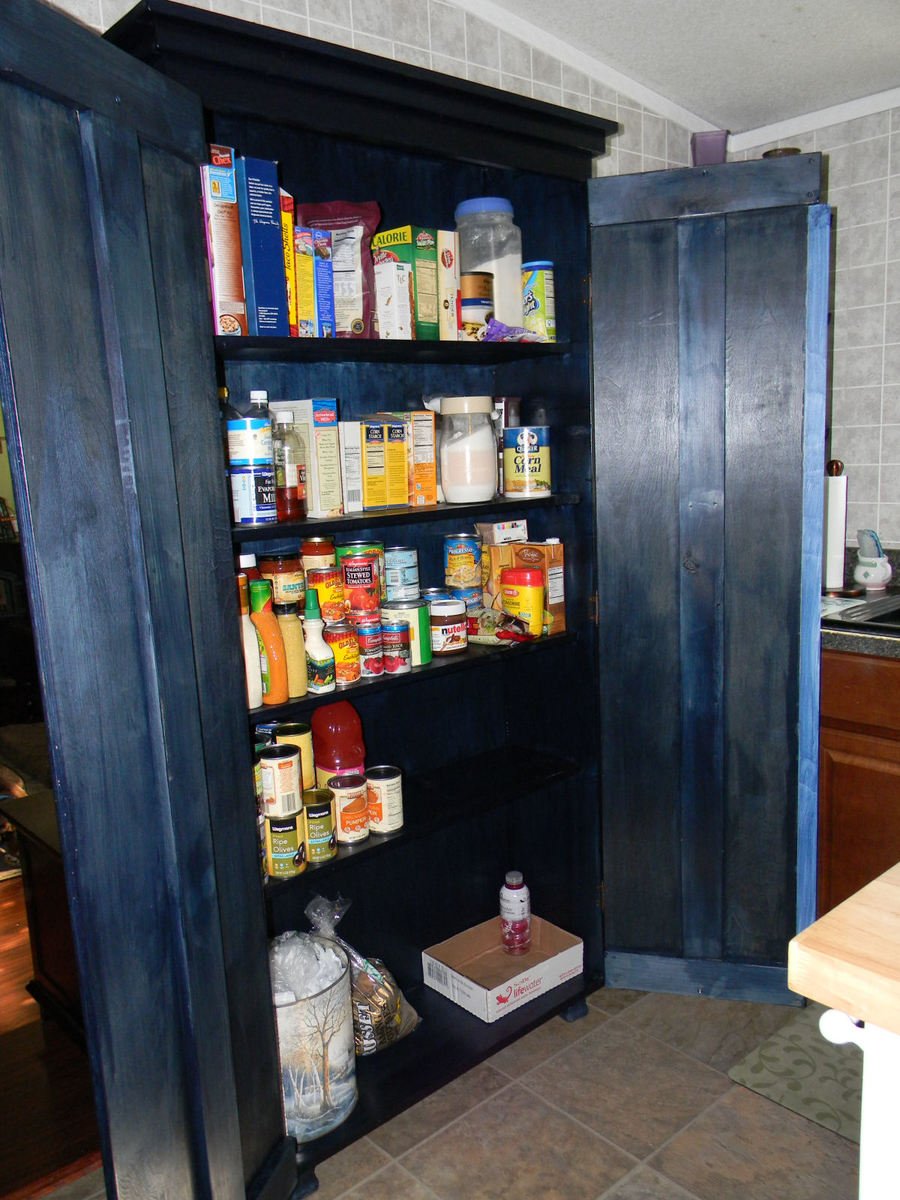
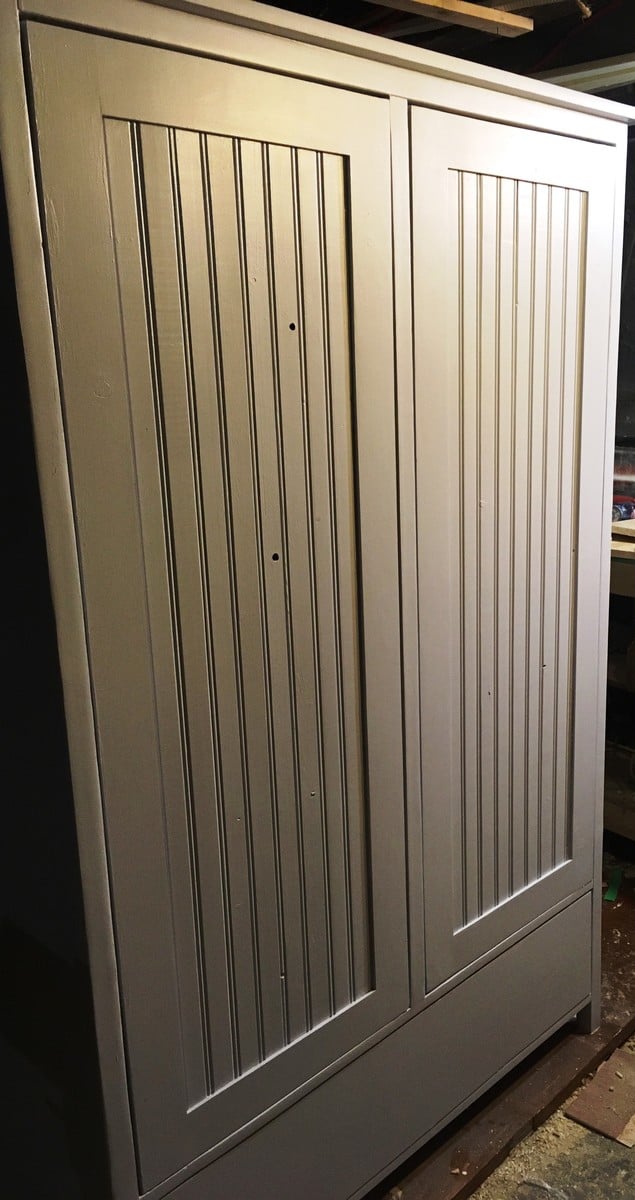
We modified our cabinet a bit because we wanted it to have feet that were different than the original plan. I have a thing about cabinetry that I can't see under! So, we just made the cabinet flat bottomed instead of having the bottom shelf sit higher and the facade on the bottom front. We also added I-frames to the interior of the doors because we have high humidity where we are and we thought it might help keep the doors keep their shape over time.

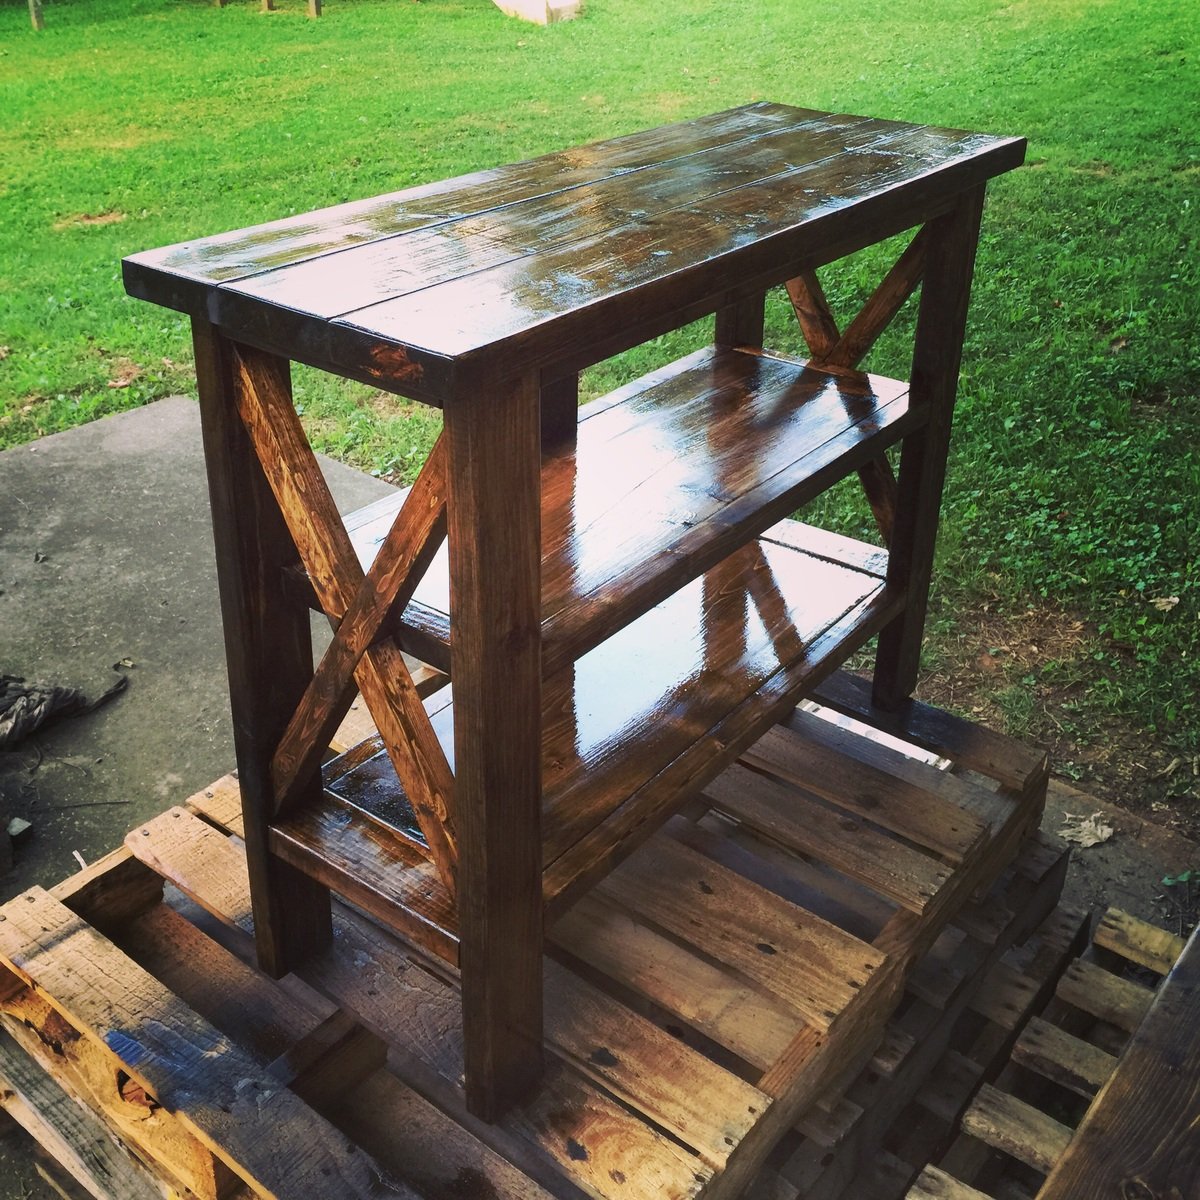
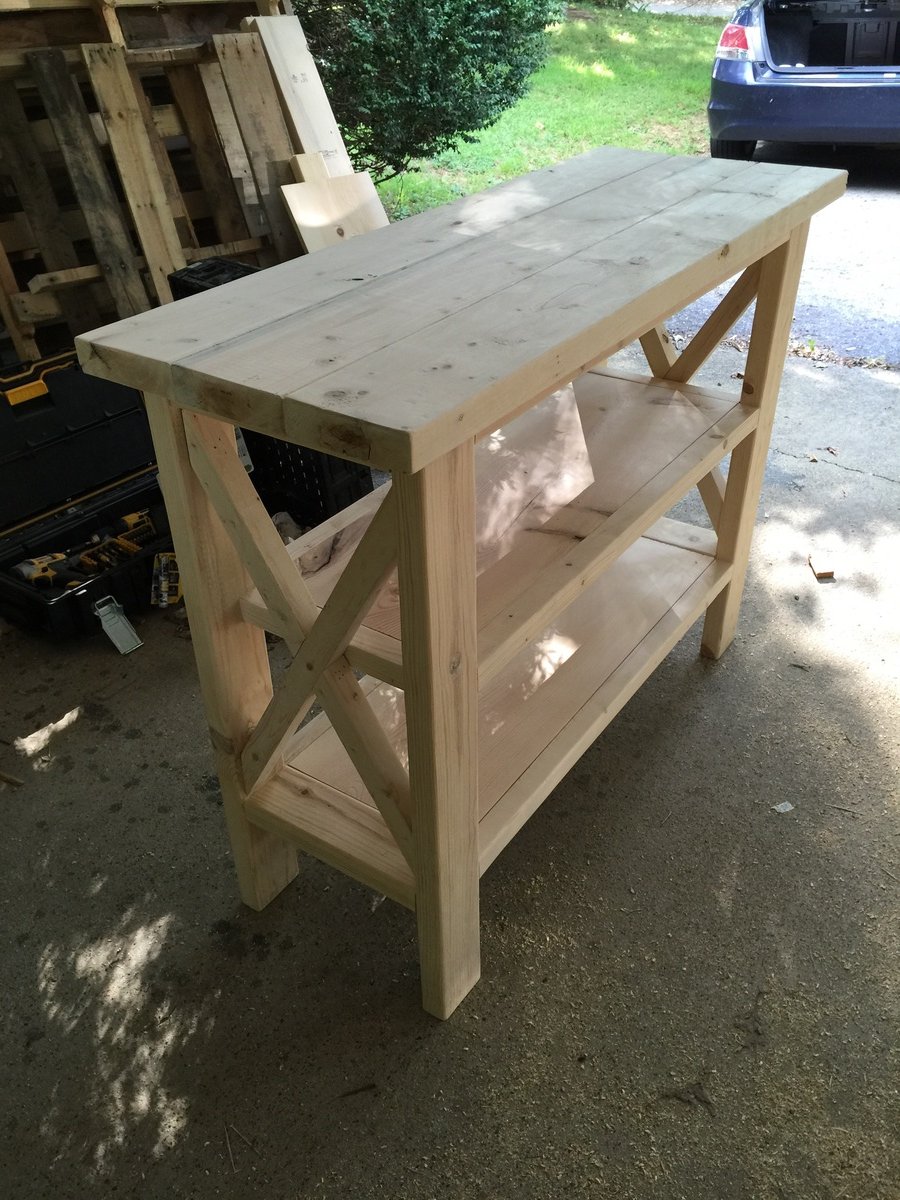
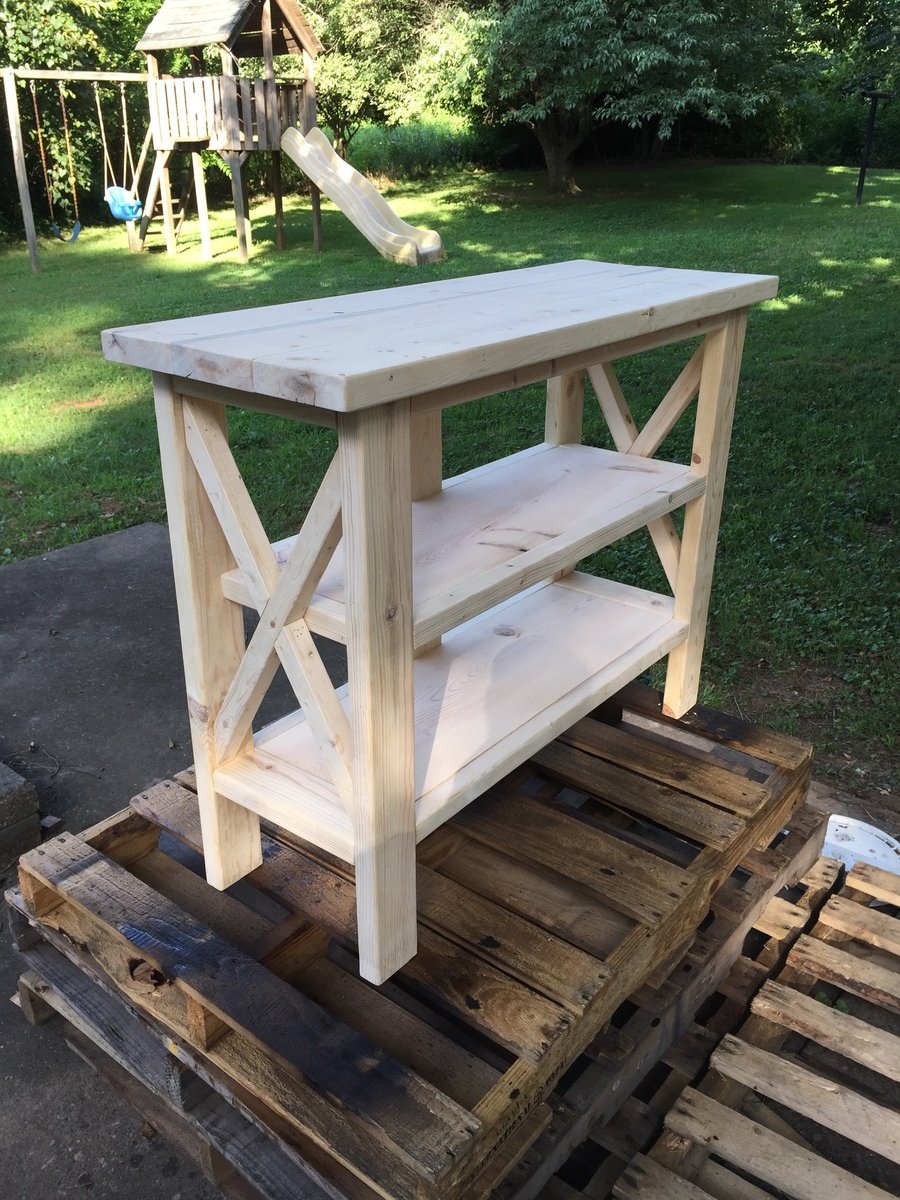
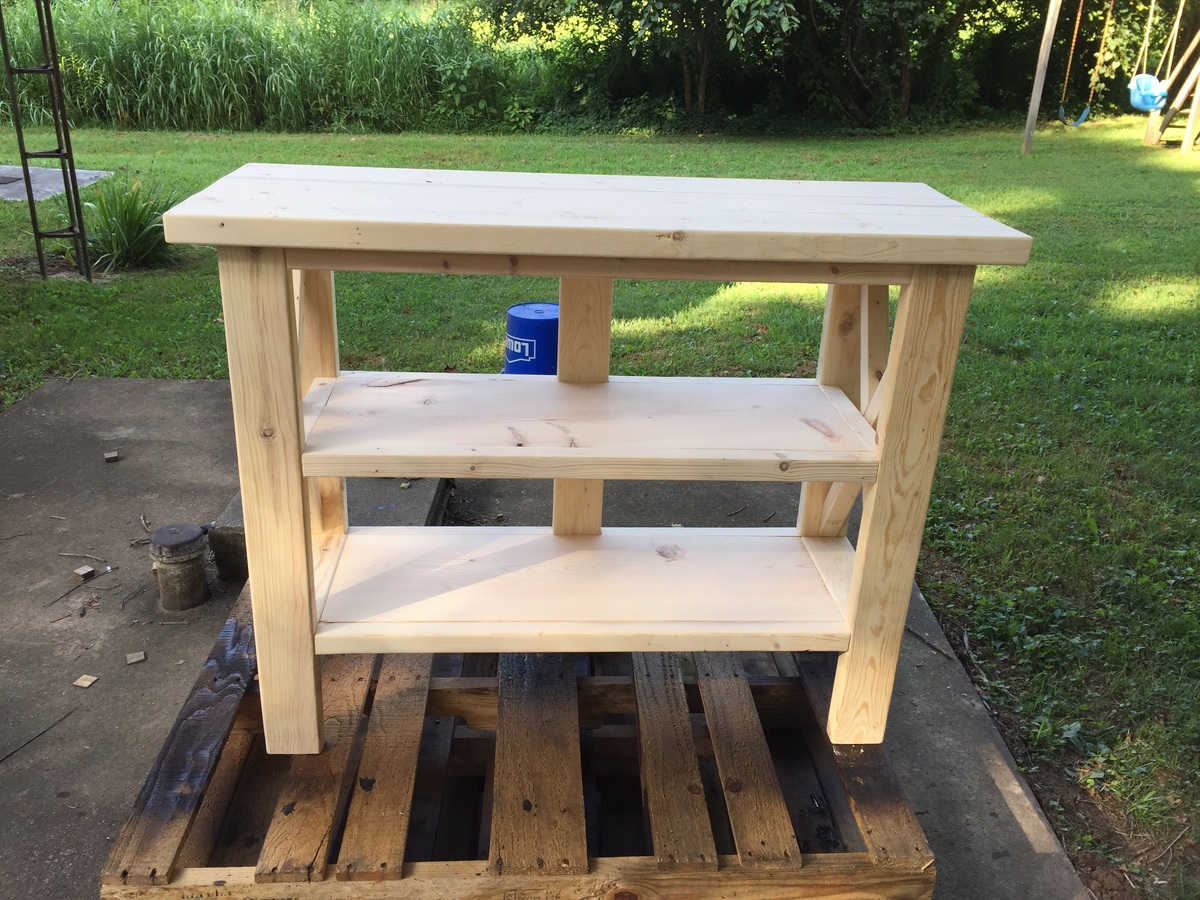
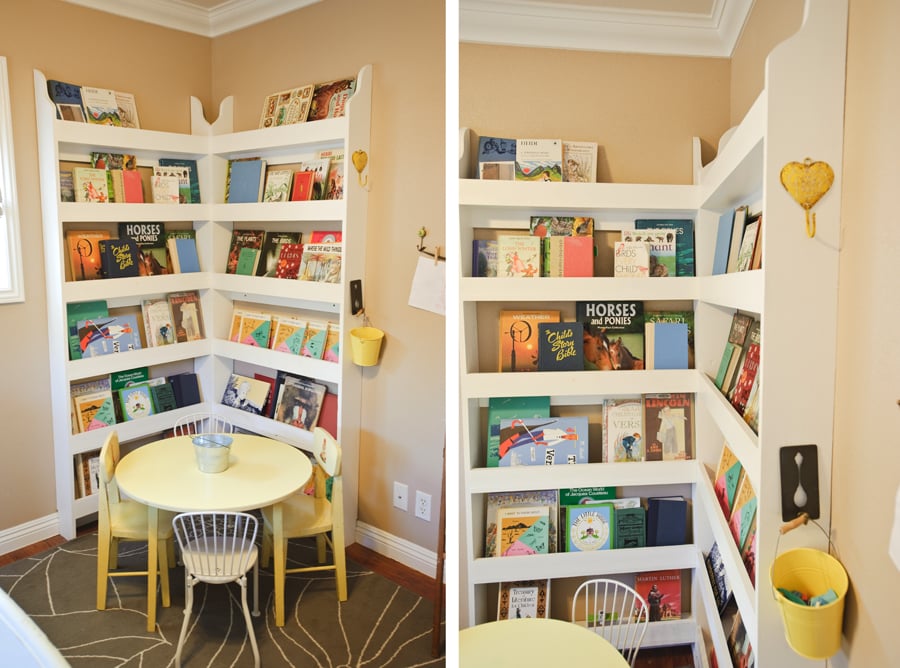
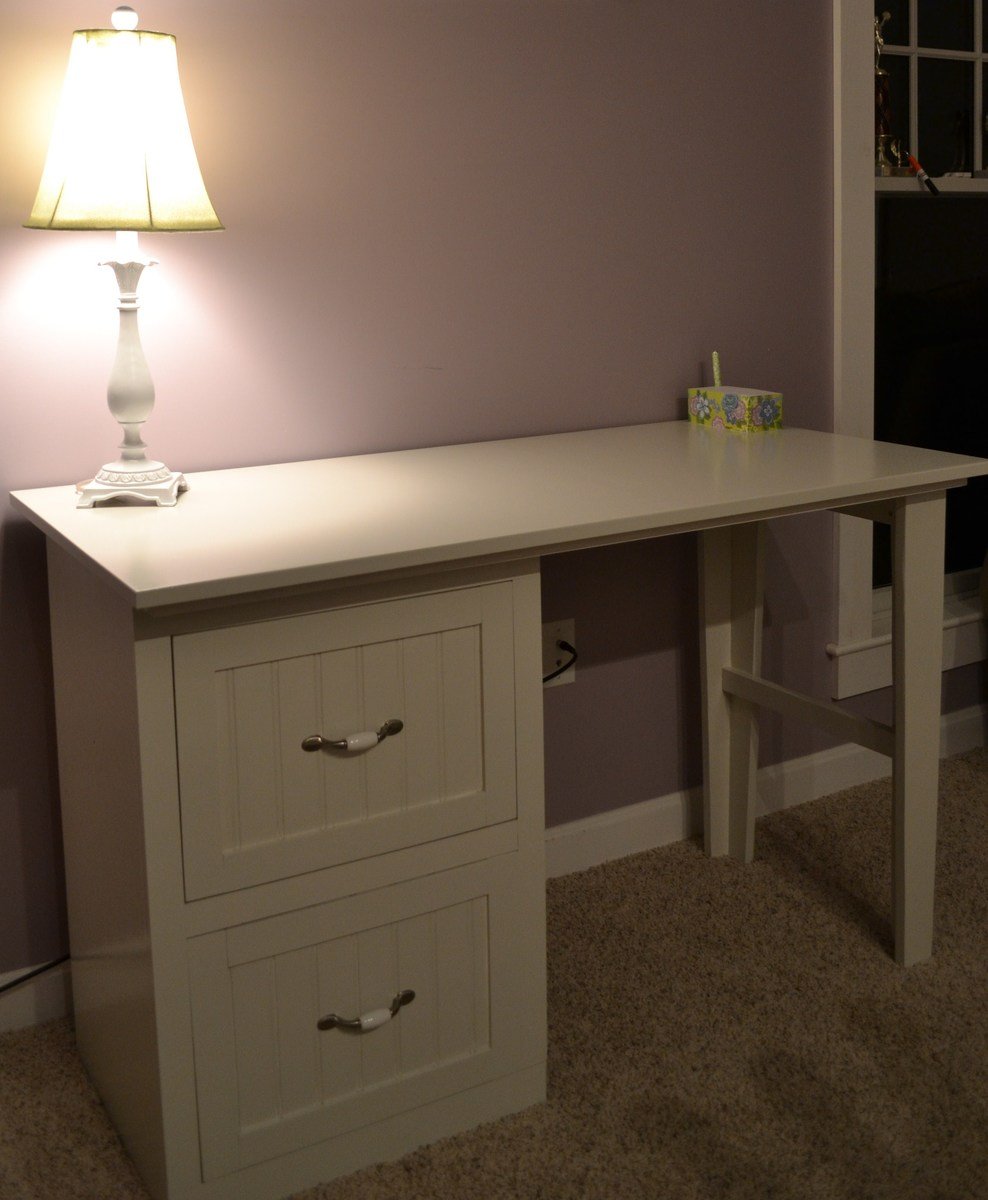
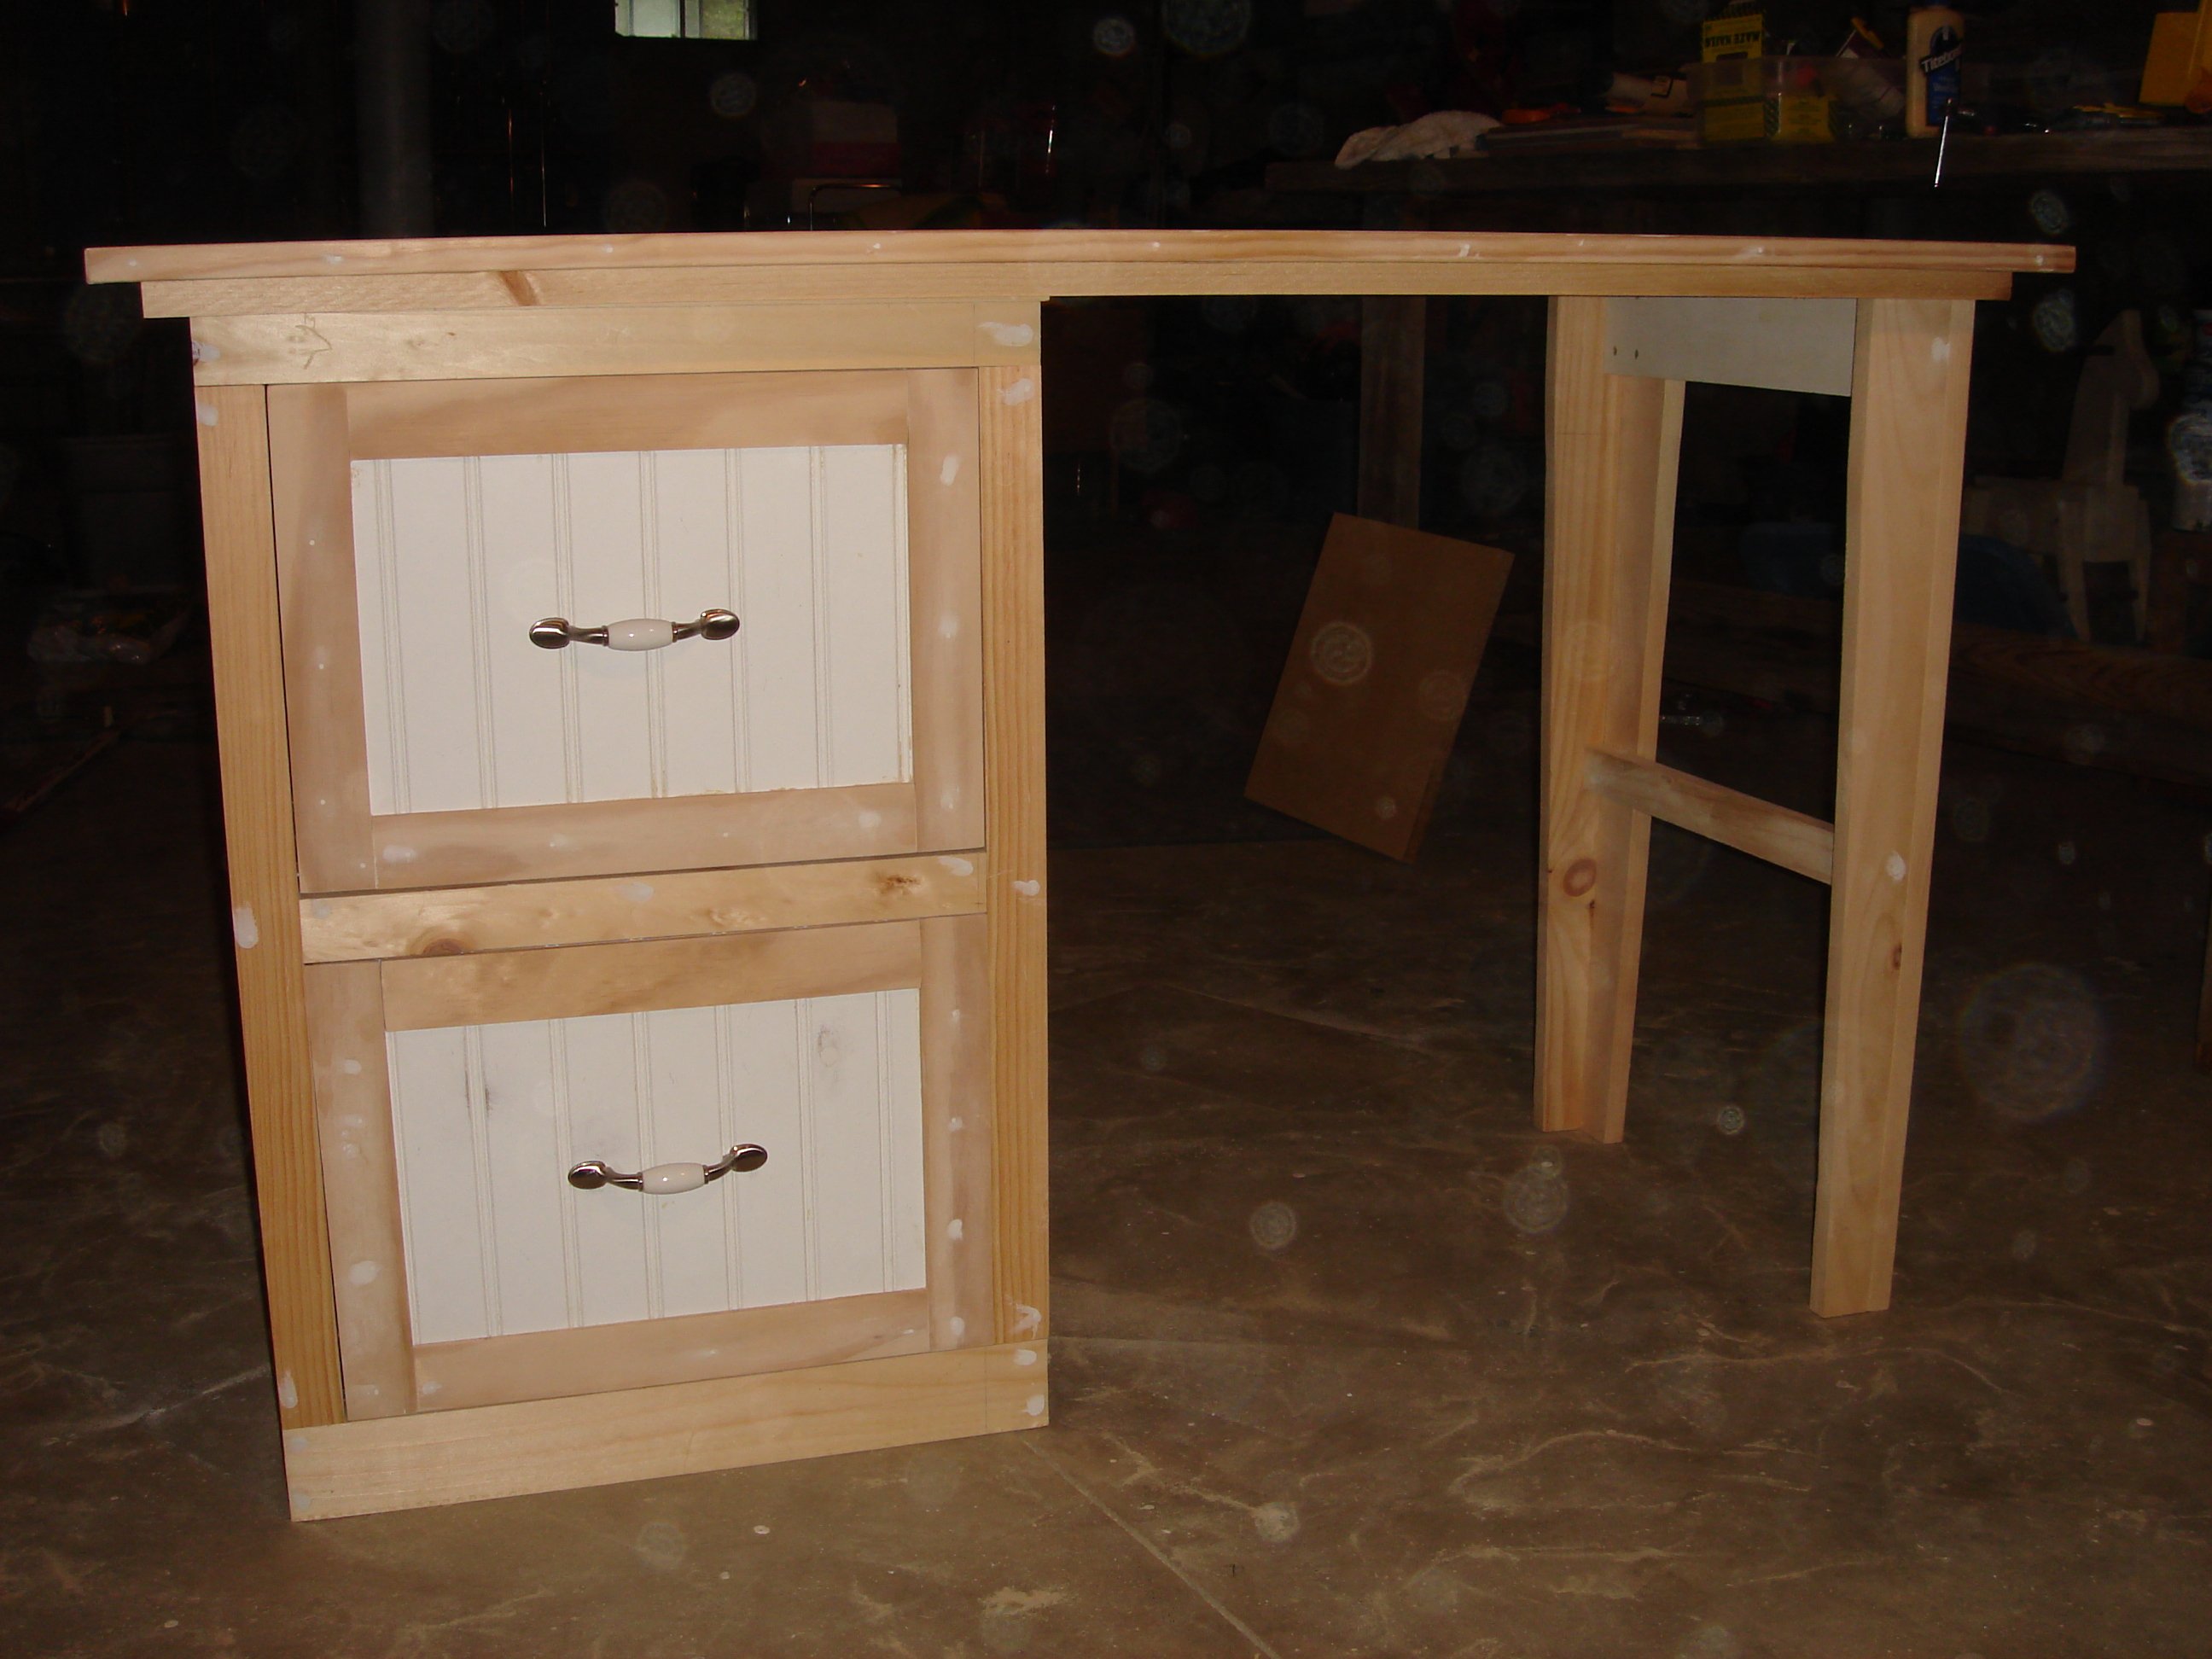
After building just the bookshelf part, we kept looking at it like we couldn't believe we built it. It's really beautiful. We do a lot of remodeling, demolition, and rebuilding in our home, but have always been intimidated by building furniture until finding this site.

My husband was so jazzed by our newfound furniture building skills that he built the planter/trellis for his mother last weekend for her birthday right after we finished this project. Pictures of that will be forthcoming as soon as we plant the rosebush in it. Thank you Ana White!!!!

Built from Plan(s)
Estimated Time Investment
Weekend Project (10-20 Hours)
Finish Used
A beautiful Minwax Waterbase Midnight Blue. Washed right off the brush and my hands and looks SOOO beautiful on this cabinet. It took two coats to look the way I wanted and I had to buy two quarts, but have about half a quart left.
Recommended Skill Level
Beginner

Comments

JES

Thu, 06/09/2011 - 03:35

This is lovely. The finish, shape and modifications you made are just wonderful. Congrats on a teriffic job! :)

Nicole S (not verified)

Wed, 06/29/2011 - 10:19

We are moving into a home that doesn't have alot of storage so I'm looking into building this. But depends on the cost. About how much would you estimate that this armoire pantry cost to build? PS- I love the look and color of yours! Awesome job!

In reply to by Nicole S (not verified)

mmhmakeover

Thu, 12/29/2011 - 20:14

Wow. Sorry I just realized your question was here! I would say we spent about 120$ on wood and finish products.

It was much less than buying the perfect piece of furniture somewhere else. For us, this piece, in this finish was THE perfect piece of furniture. I still love just looking at it in our space.

mmhmakeover

Tue, 07/12/2011 - 03:55

We used birch plywood for the back and the doors so it was a bit pricier because we wanted something that was already a smooth finish without much sanding. I would say all together with the stain and the Hoosier latch we ordered for it the cost totaled almost $150. The wood cost was about $90, plus we purchased feet, stain, hinges, and a latch.

We LOVE this pantry in our kitchen and although it took a week to build this and have it ready for use, it was worth it to take our time and put care into building something we love. It was our first project and it has inspired us to build a ton of stuff in just a few weeks since.

Good luck!

Bathroom Organizer

Submitted by Jake on Thu, 07/25/2013 - 07:31

I think it is human nature that in the bathroom nothing is ever returned to its proper place in the cabinet or drawers. Everything has a place on the counter. Well it looks kind of messy so I decided to try to organize just a bit. I figured that if a person is OK with laying something on the counter they might actually put it in a designated slot if their arm movement was the same as before.

So I just came up with a simple box that is 22" long and 7" wide and it contains 12 cubby holes or slots of varing sizes. Two have holes in their tops to put toothbrushes and razors. By the way since I live in a 60+ year old home that has never been updated the original toothbrush holder will no longer hold modern toothbrushes.

The picture can give you some idea of how it is supposed to work.

I took 1x4s from the scrap pile and re-sawed them using a band saw to produce a number of fairly thin (about 5/16" ) thickness boards. Then through trial and error plus a lot of measuring of toiletry items I came up with the final product. The size of the box and the internal cubby holes and slots are really just a guess in hopes it is functional. It is held together with Tightbond II glue and some copper nails in strategic locations.

Estimated Cost
I just used what I had in the scrap pile so give the cost at $2
Estimated Time Investment
Afternoon Project (3-6 Hours)
Finish Used
Stain covered by antiquing oil.
Recommended Skill Level
Beginner

Outdoor Suite

Submitted by klB1953 on Wed, 08/05/2015 - 05:27

Outdoor Suite based on $40 backyard chair.

Finish Used
None yet but to be oiled after weathering in
Recommended Skill Level
Beginner

Wardrobe

Submitted by MERCMAN on Mon, 03/05/2018 - 08:44

Made from Mirroed Door Wardrobe Plans. Built from pine shelf boards at a cost of approx $7.00 per board. Light grey cabinet paint, primed with Bins primer as it also seals the knots. Used a kreg jig and glue to attach boards to each other to get then wide enough. No ply-wood was used. 

Estimated Time Investment
Week Long Project (20 Hours or More)
Finish Used
Bins Primer and Cabinet paint.
Recommended Skill Level
Intermediate

Inspired by Ana's barn TV stand

Submitted by Anonymous (not verified) on Thu, 04/21/2022 - 13:14

I made this TV stand from a combination of your DIY Farmhouse TV Console and another one I saw online ( Farmhouse Media Cabinet By Shades of Blue Interiors) with a little bit of my creativity. Thank you for everything you do for the community. God bless you and your family.

Comments

Modular office small desktop/Narrow file drawer base unit

Submitted by gmamurphy on Sun, 06/12/2011 - 14:00

Combined the modular office small desktop with the Narrow file drawer base unit to suit my needs/space requirements. Used the legs from the narrow farmhouse table because I just loved them! Added beadboard for the drawer faces because it matches the rest of our house.

Estimated Time Investment
Week Long Project (20 Hours or More)
Finish Used
painters touch and minwax polycrylic
Recommended Skill Level
Intermediate

Comments

bundaboy

Mon, 04/28/2014 - 22:18

I am about to start on a very similar 4 draw version of this, do you have any more information? In particular I was wondering how the drawer slides were fitted - are the side or bottom fitting? Cheers and well done!

Classic Grey Fancy X Dining Room Table

Submitted by collins814 on Sat, 07/27/2013 - 19:56

I recently made the end table and console table from the "Rustic X" collection and those were my very first wood projects that I have EVER done. I think I am addicted now! I have had NO experience in working miter saws, kreg jigs and barely drills before this. If I can do it, anyone can do it :)

My husband and I made this table over a weekend and I am very excited about how it turned out. I was inspired by the color and size (and chairs!) of Sawgrasshomegirl "weathered grey fancy x farmhouse table with extensions" and I used the classic minwax stain. Thank you so much to Anna White and Sawgrasshomegirl for their plans, ideas, and inspiration!

Built from Plan(s)
Estimated Cost
$100
Estimated Time Investment
Weekend Project (10-20 Hours)
Finish Used
Minwax Pre-stain, Minwax Classic Grey and Minwax Polycrylic Protective Finish
Recommended Skill Level
Beginner

Comments

camkin02

Mon, 08/12/2013 - 20:40

Those chairs are beautiful(table also) where did you find them.

collins814

Tue, 08/13/2013 - 05:37

The chairs are from Pier 1 (Kubu hand-woven dining chair). They have a hint of grey in them too which I love!

Glider

Submitted by Seansg5 on Sun, 08/09/2015 - 20:24

The bench was easy to build with great instructions. I had Home Depot make my cuts for this first project and then I went and bought a miter saw and other power tools for future ones. So much fun. 

Built from Plan(s)
Estimated Cost
$100
Estimated Time Investment
Afternoon Project (3-6 Hours)
Recommended Skill Level
Beginner

Comments

Cross35

Mon, 03/14/2016 - 08:35

Great work.  DId you do anything different to the swing itself?  How did you build the frame.  I'm looking to do this exact thing for my patio.  I don't have anywhere to hang the swing.


Thanks for sharing any info.

mbarland

Sat, 06/13/2020 - 16:54

Made the chair and then built the glider frame for it just eyeballing the picture. I can't figure out how to upload a photo of my design, but can try to describe it.

I made mine with a 4x4 on the base of each leg, but a 2x4 would work as well, it was just what I had on hand. The base board on each leg I made 48". From there I put two 48" vertical boards. The vertical boards were centered and from the front edge of the first board to the back edge of the second board. Two 16" boards were then used at the top and bottom of the vertical boards to hold them in place. Cap it off with a 30" board on top of the verticals. This is where you'll attach your eye bolts. I put both eye bolts 3 1/2" back from the front (a scrap of 2x4 works well as a guide). To join the two legs, I used two 52" boards on top of the base 4X4 of the verticals (one in front of the legs and one behind).