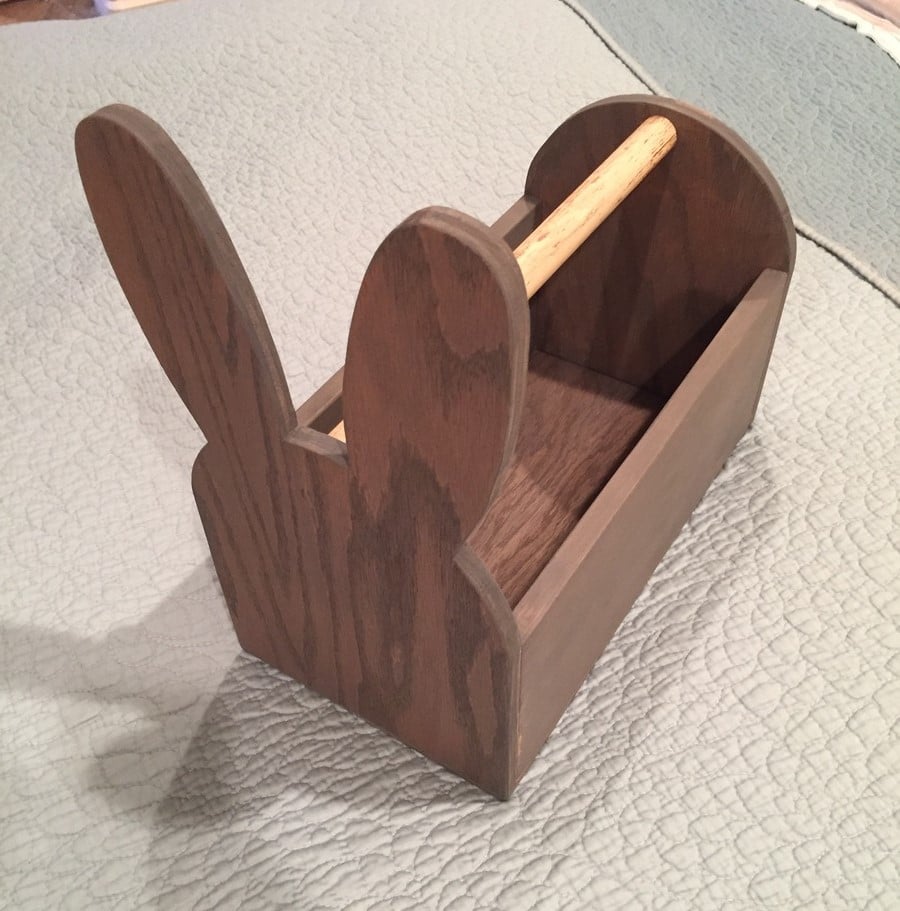
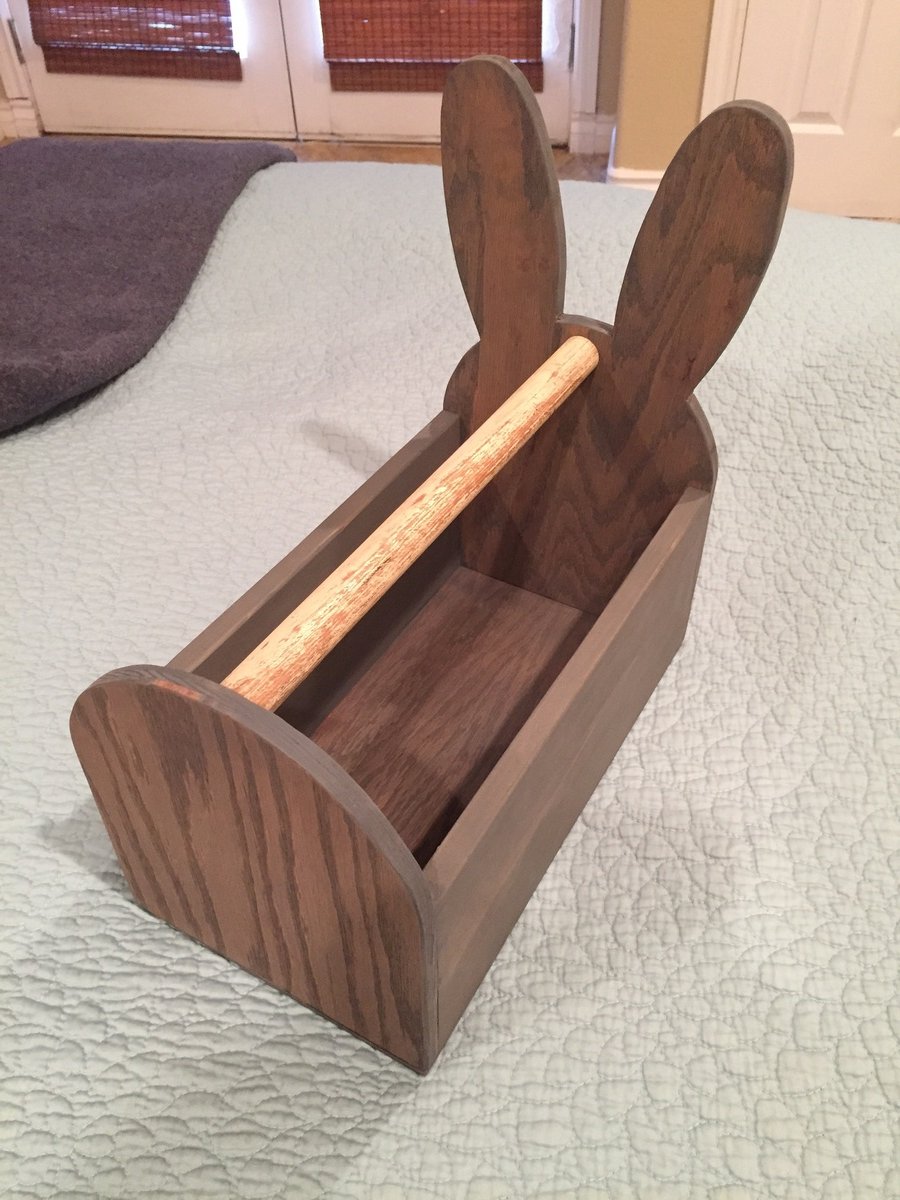
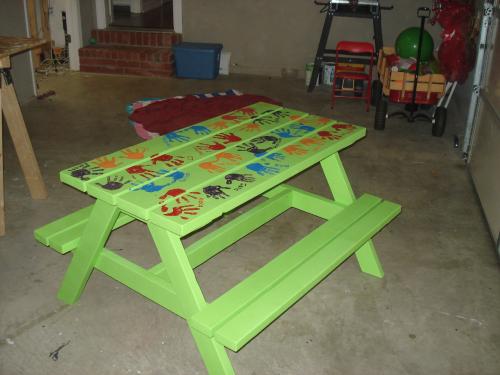
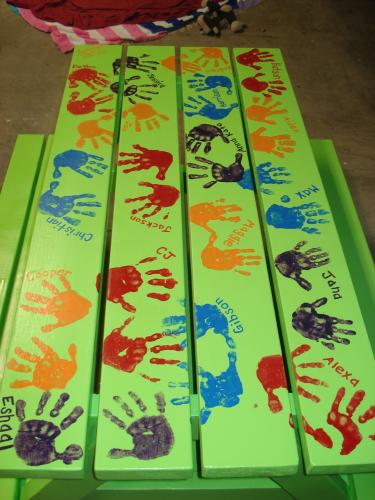
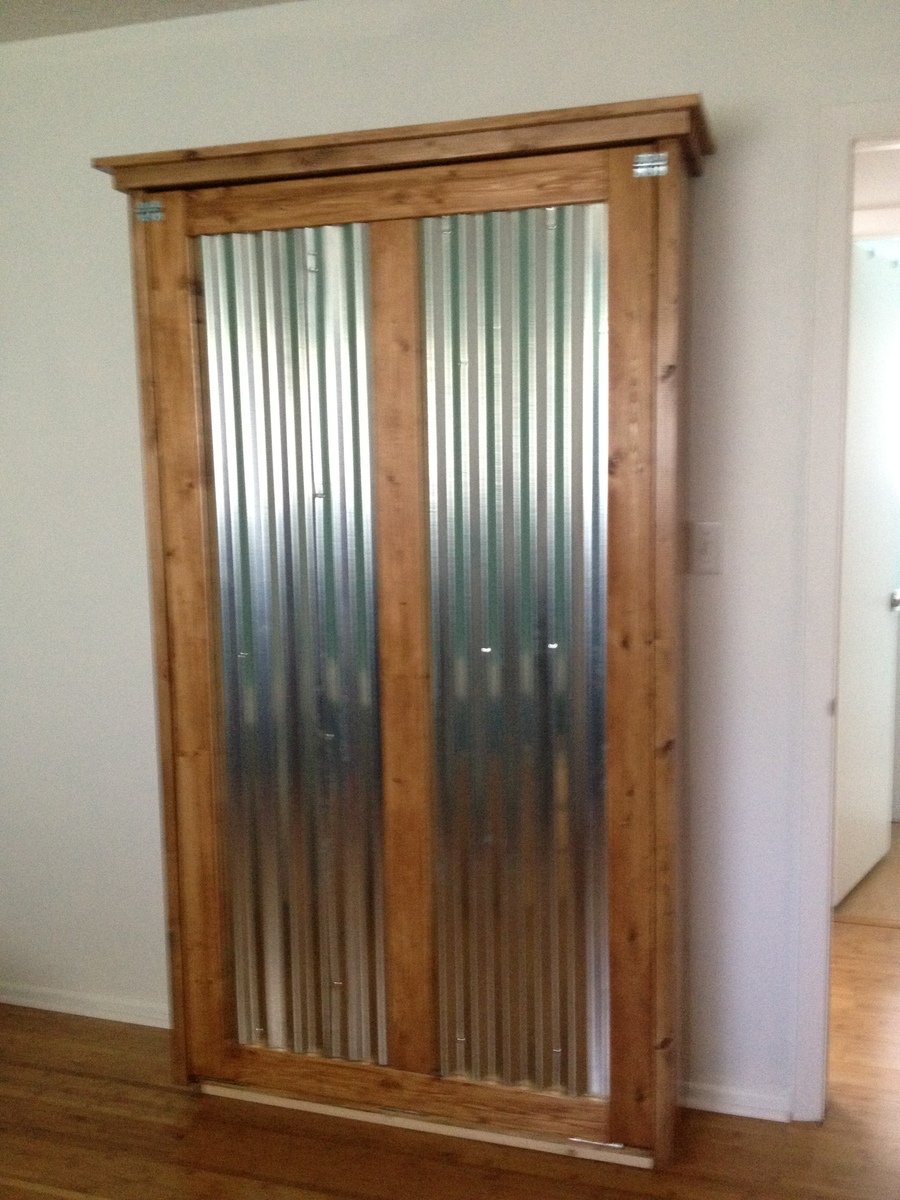
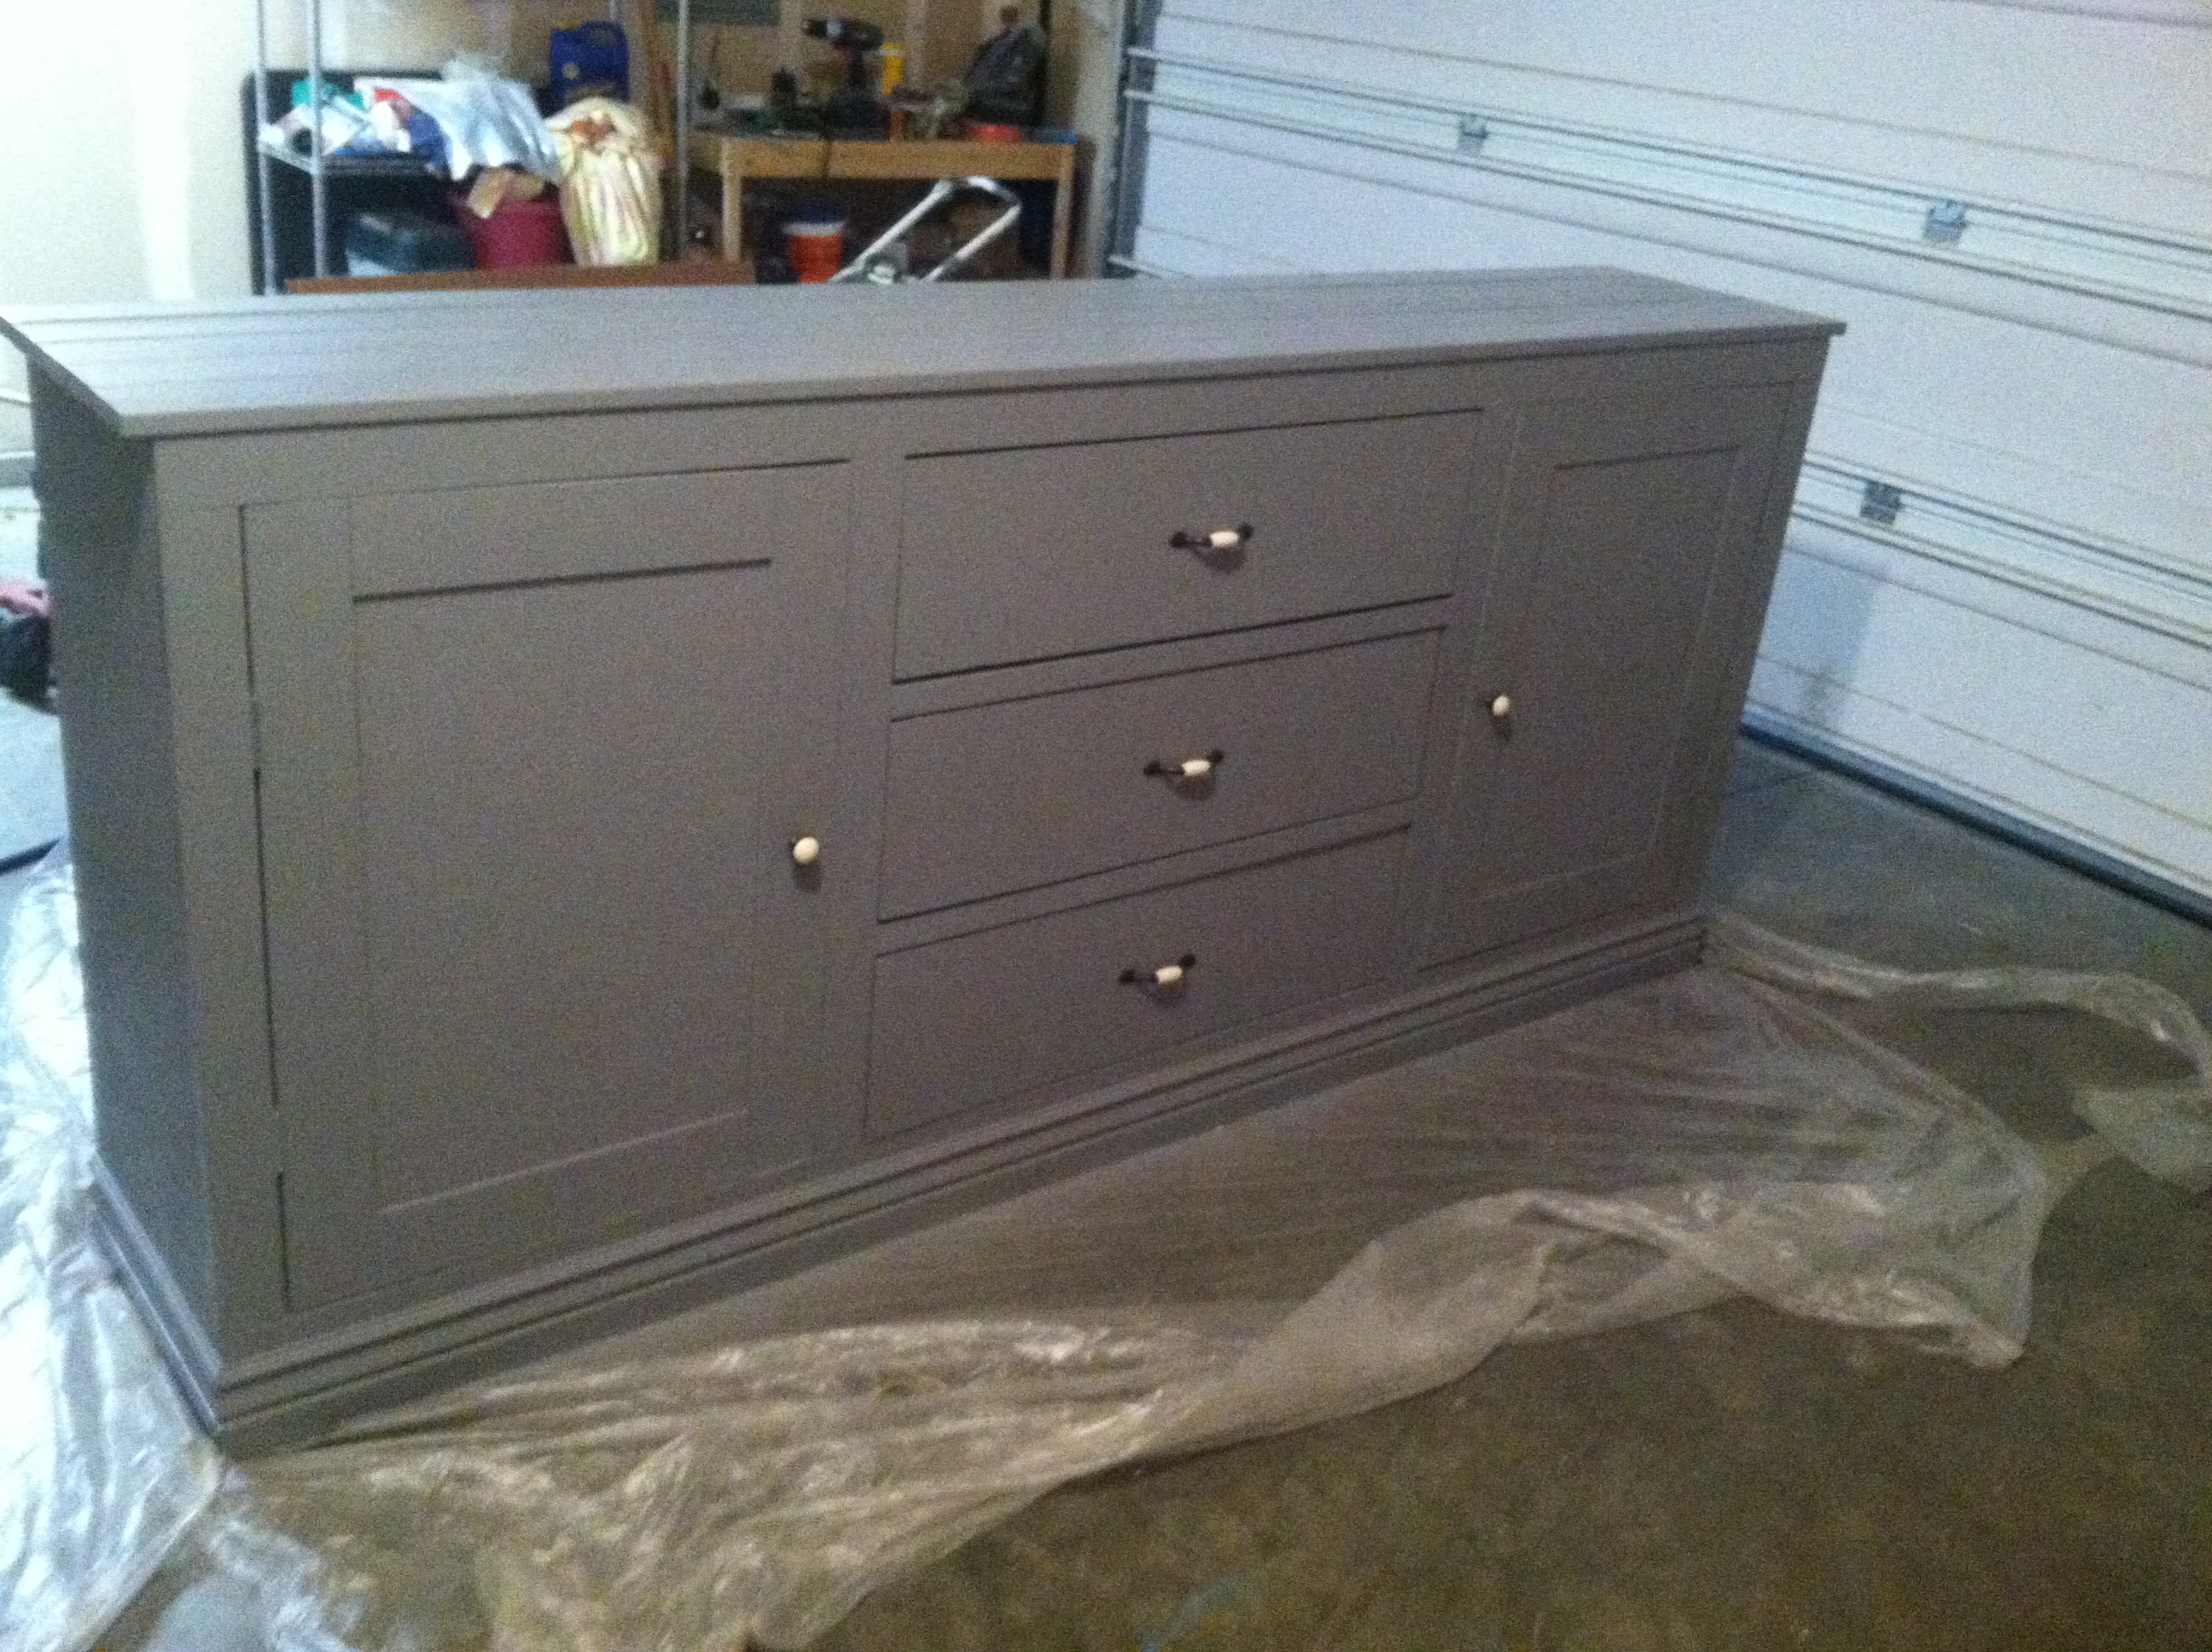
built by Grandpa
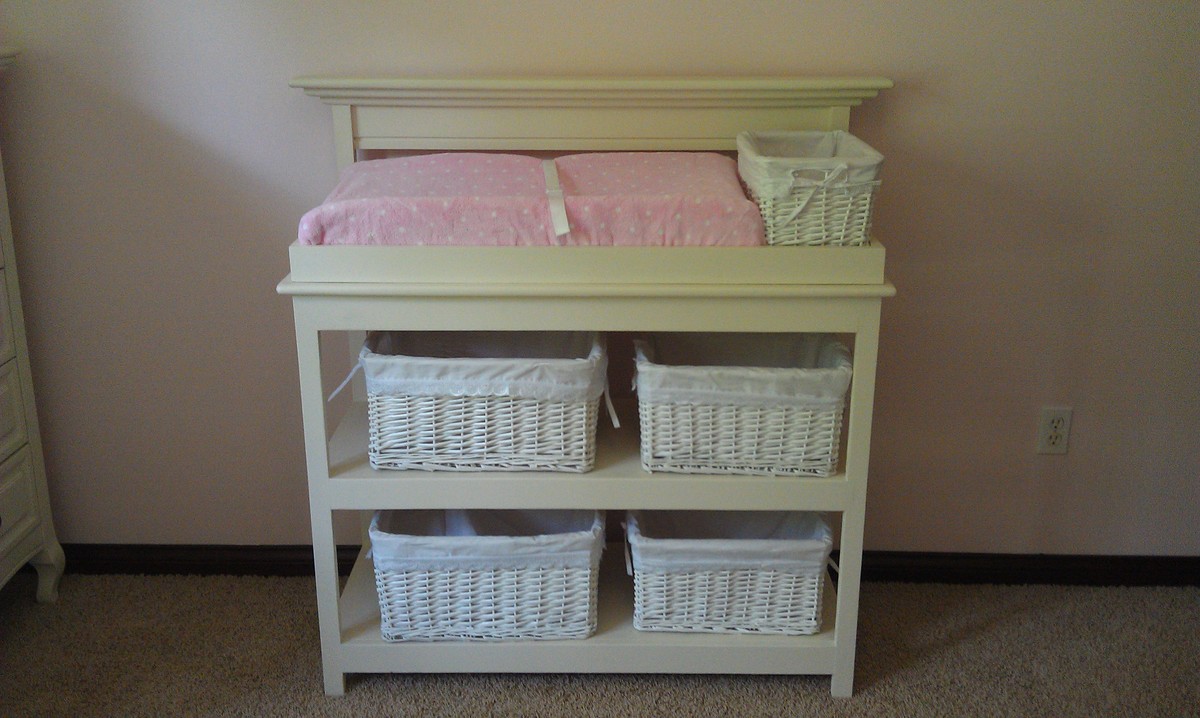
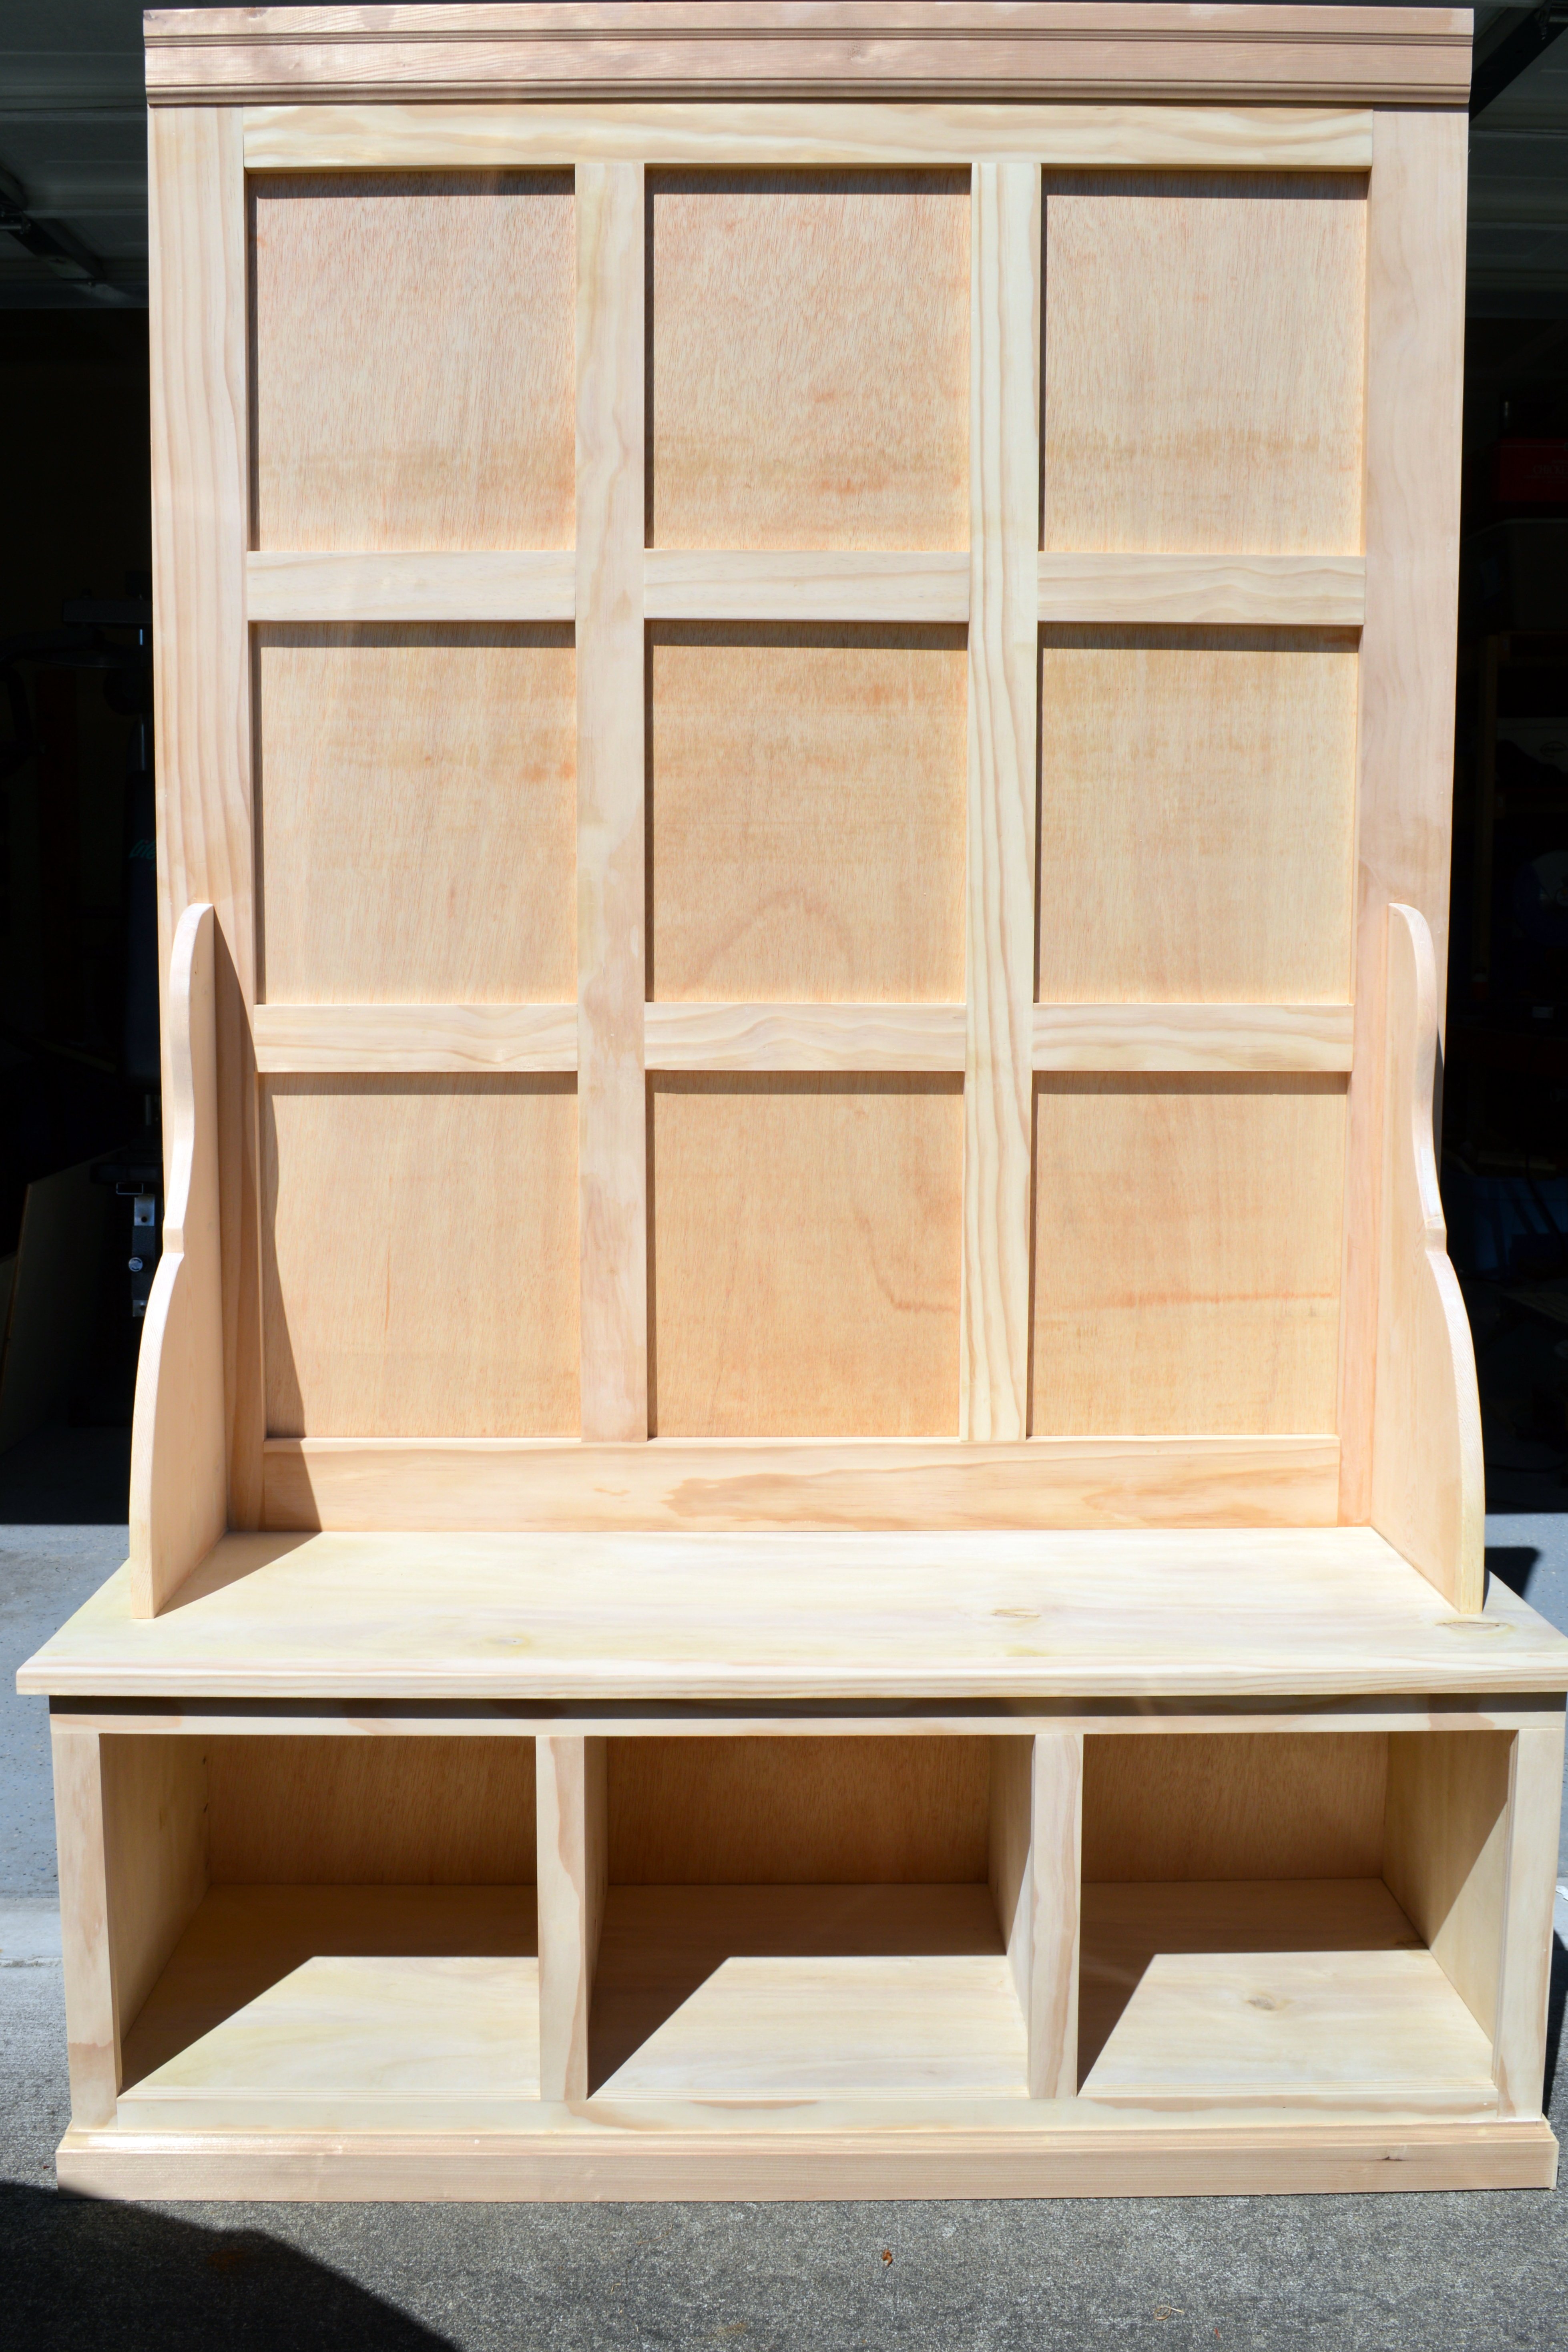
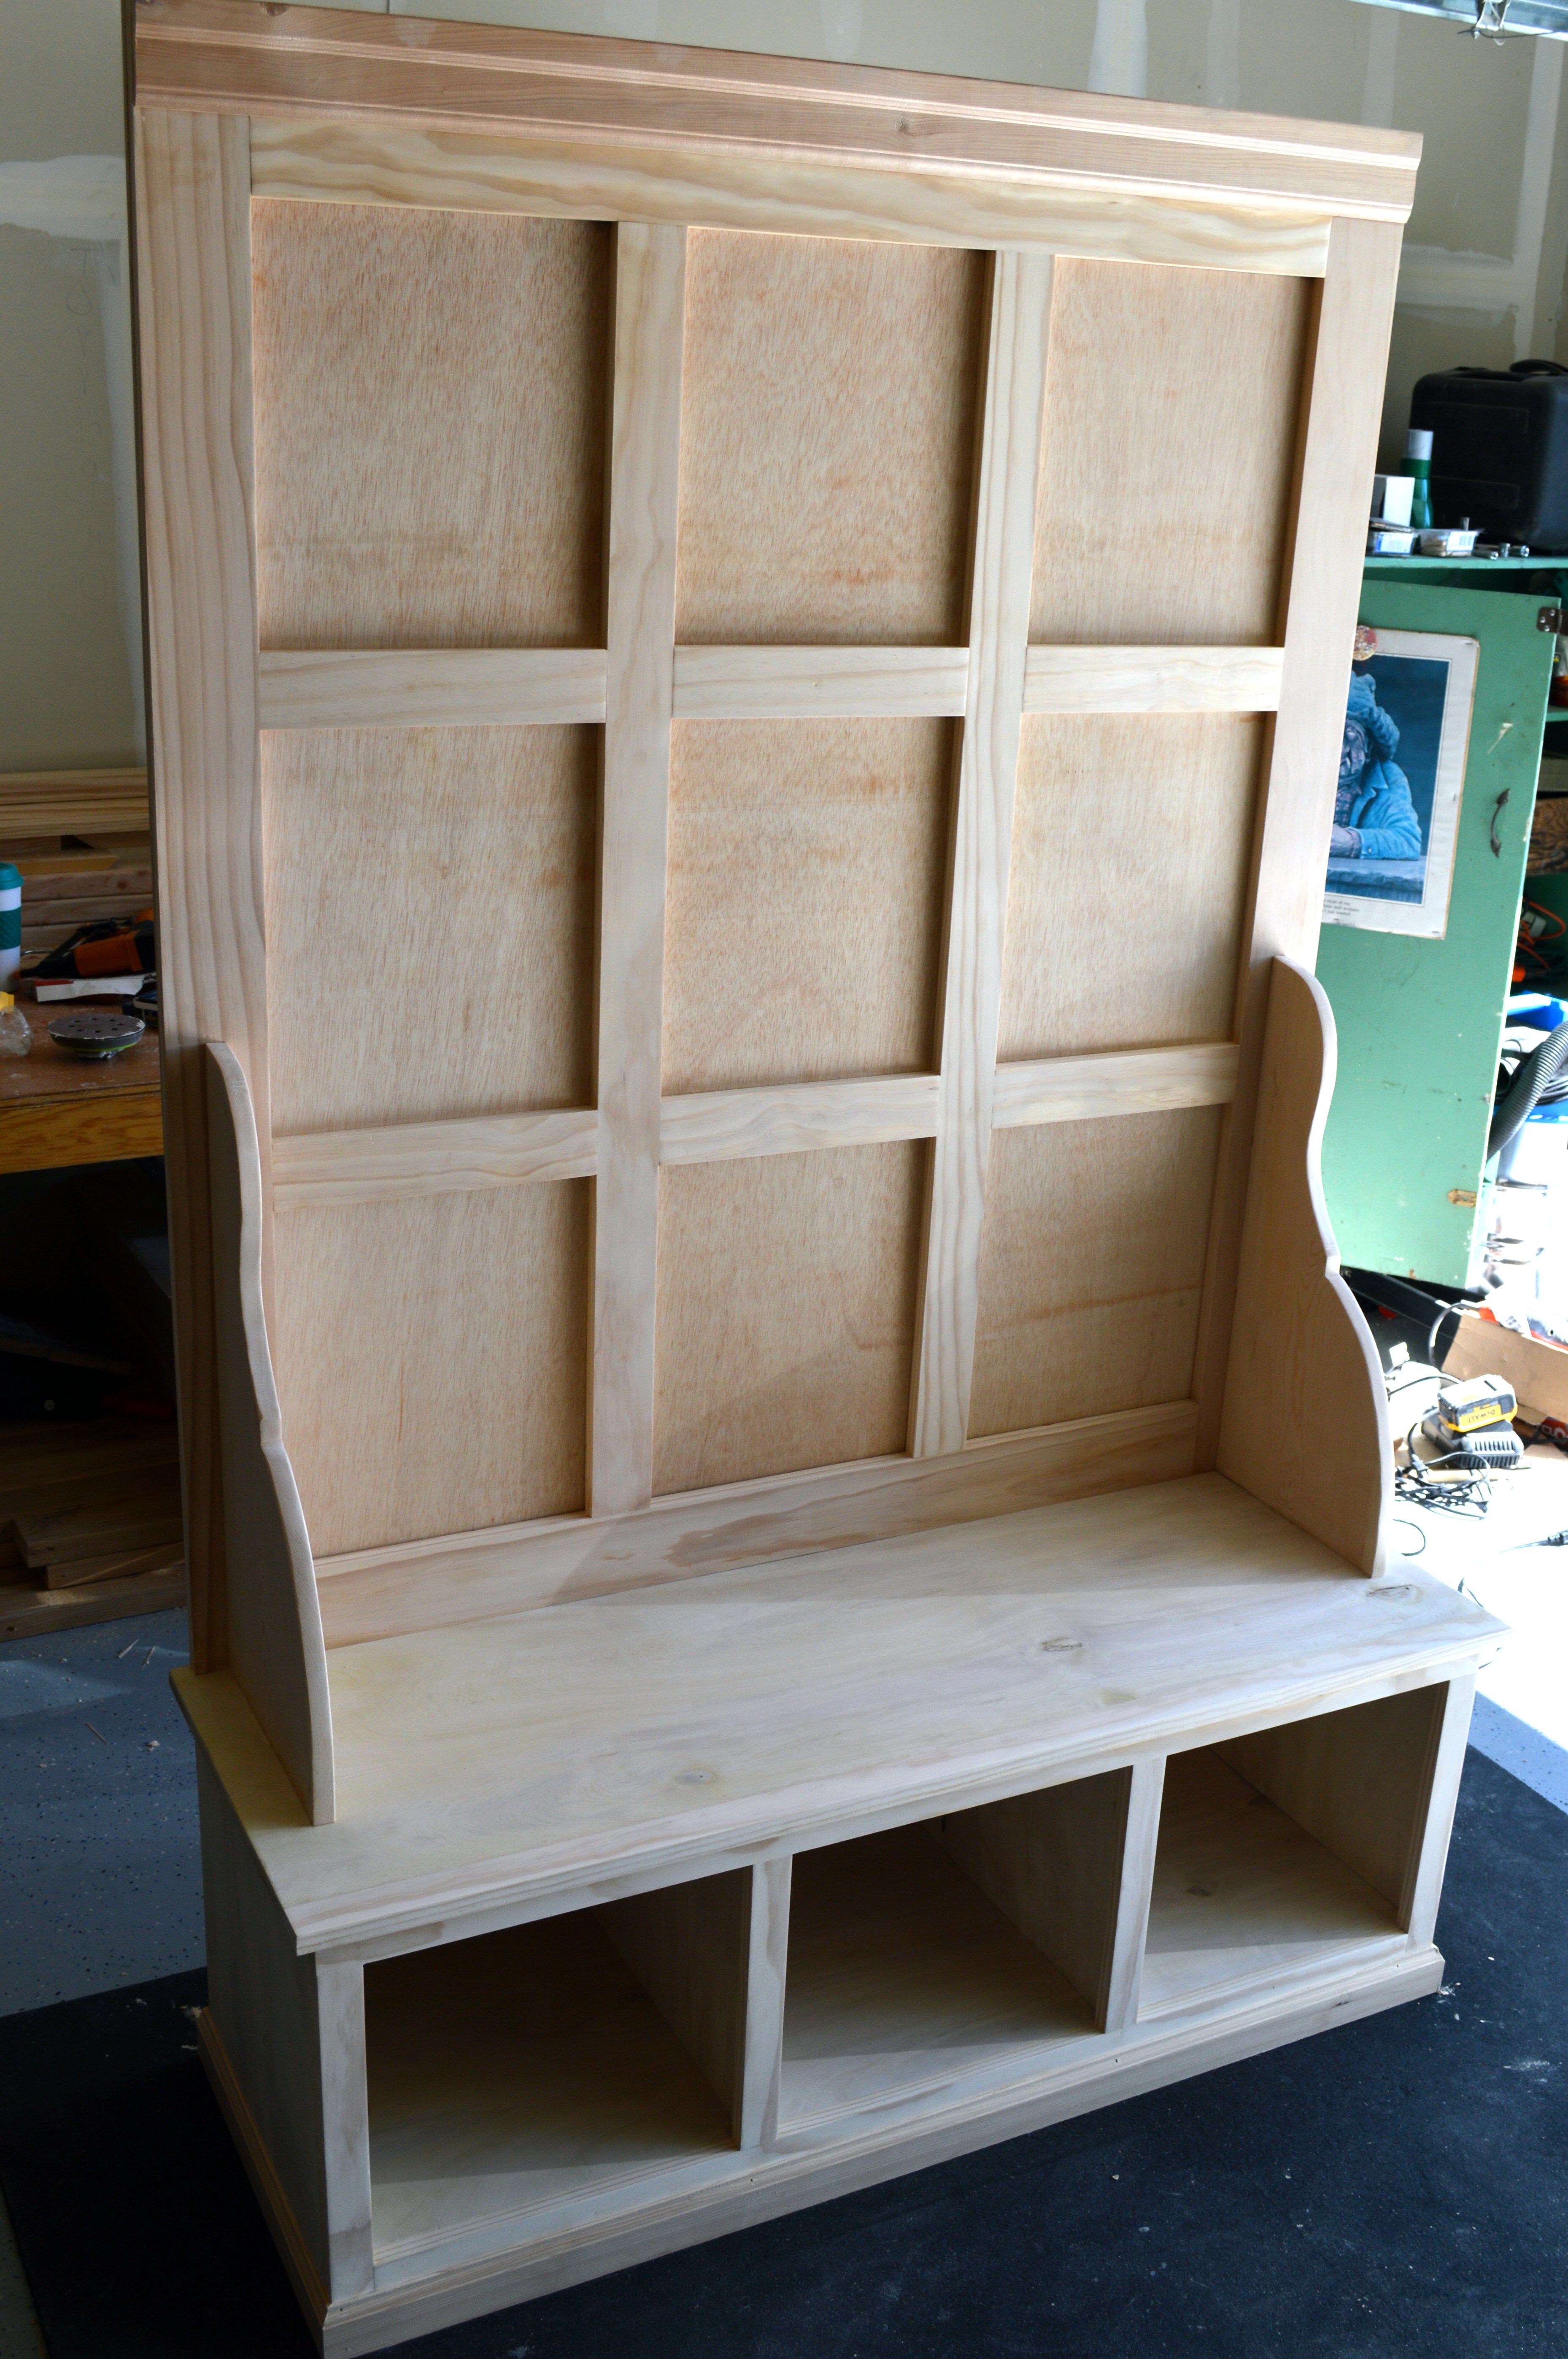
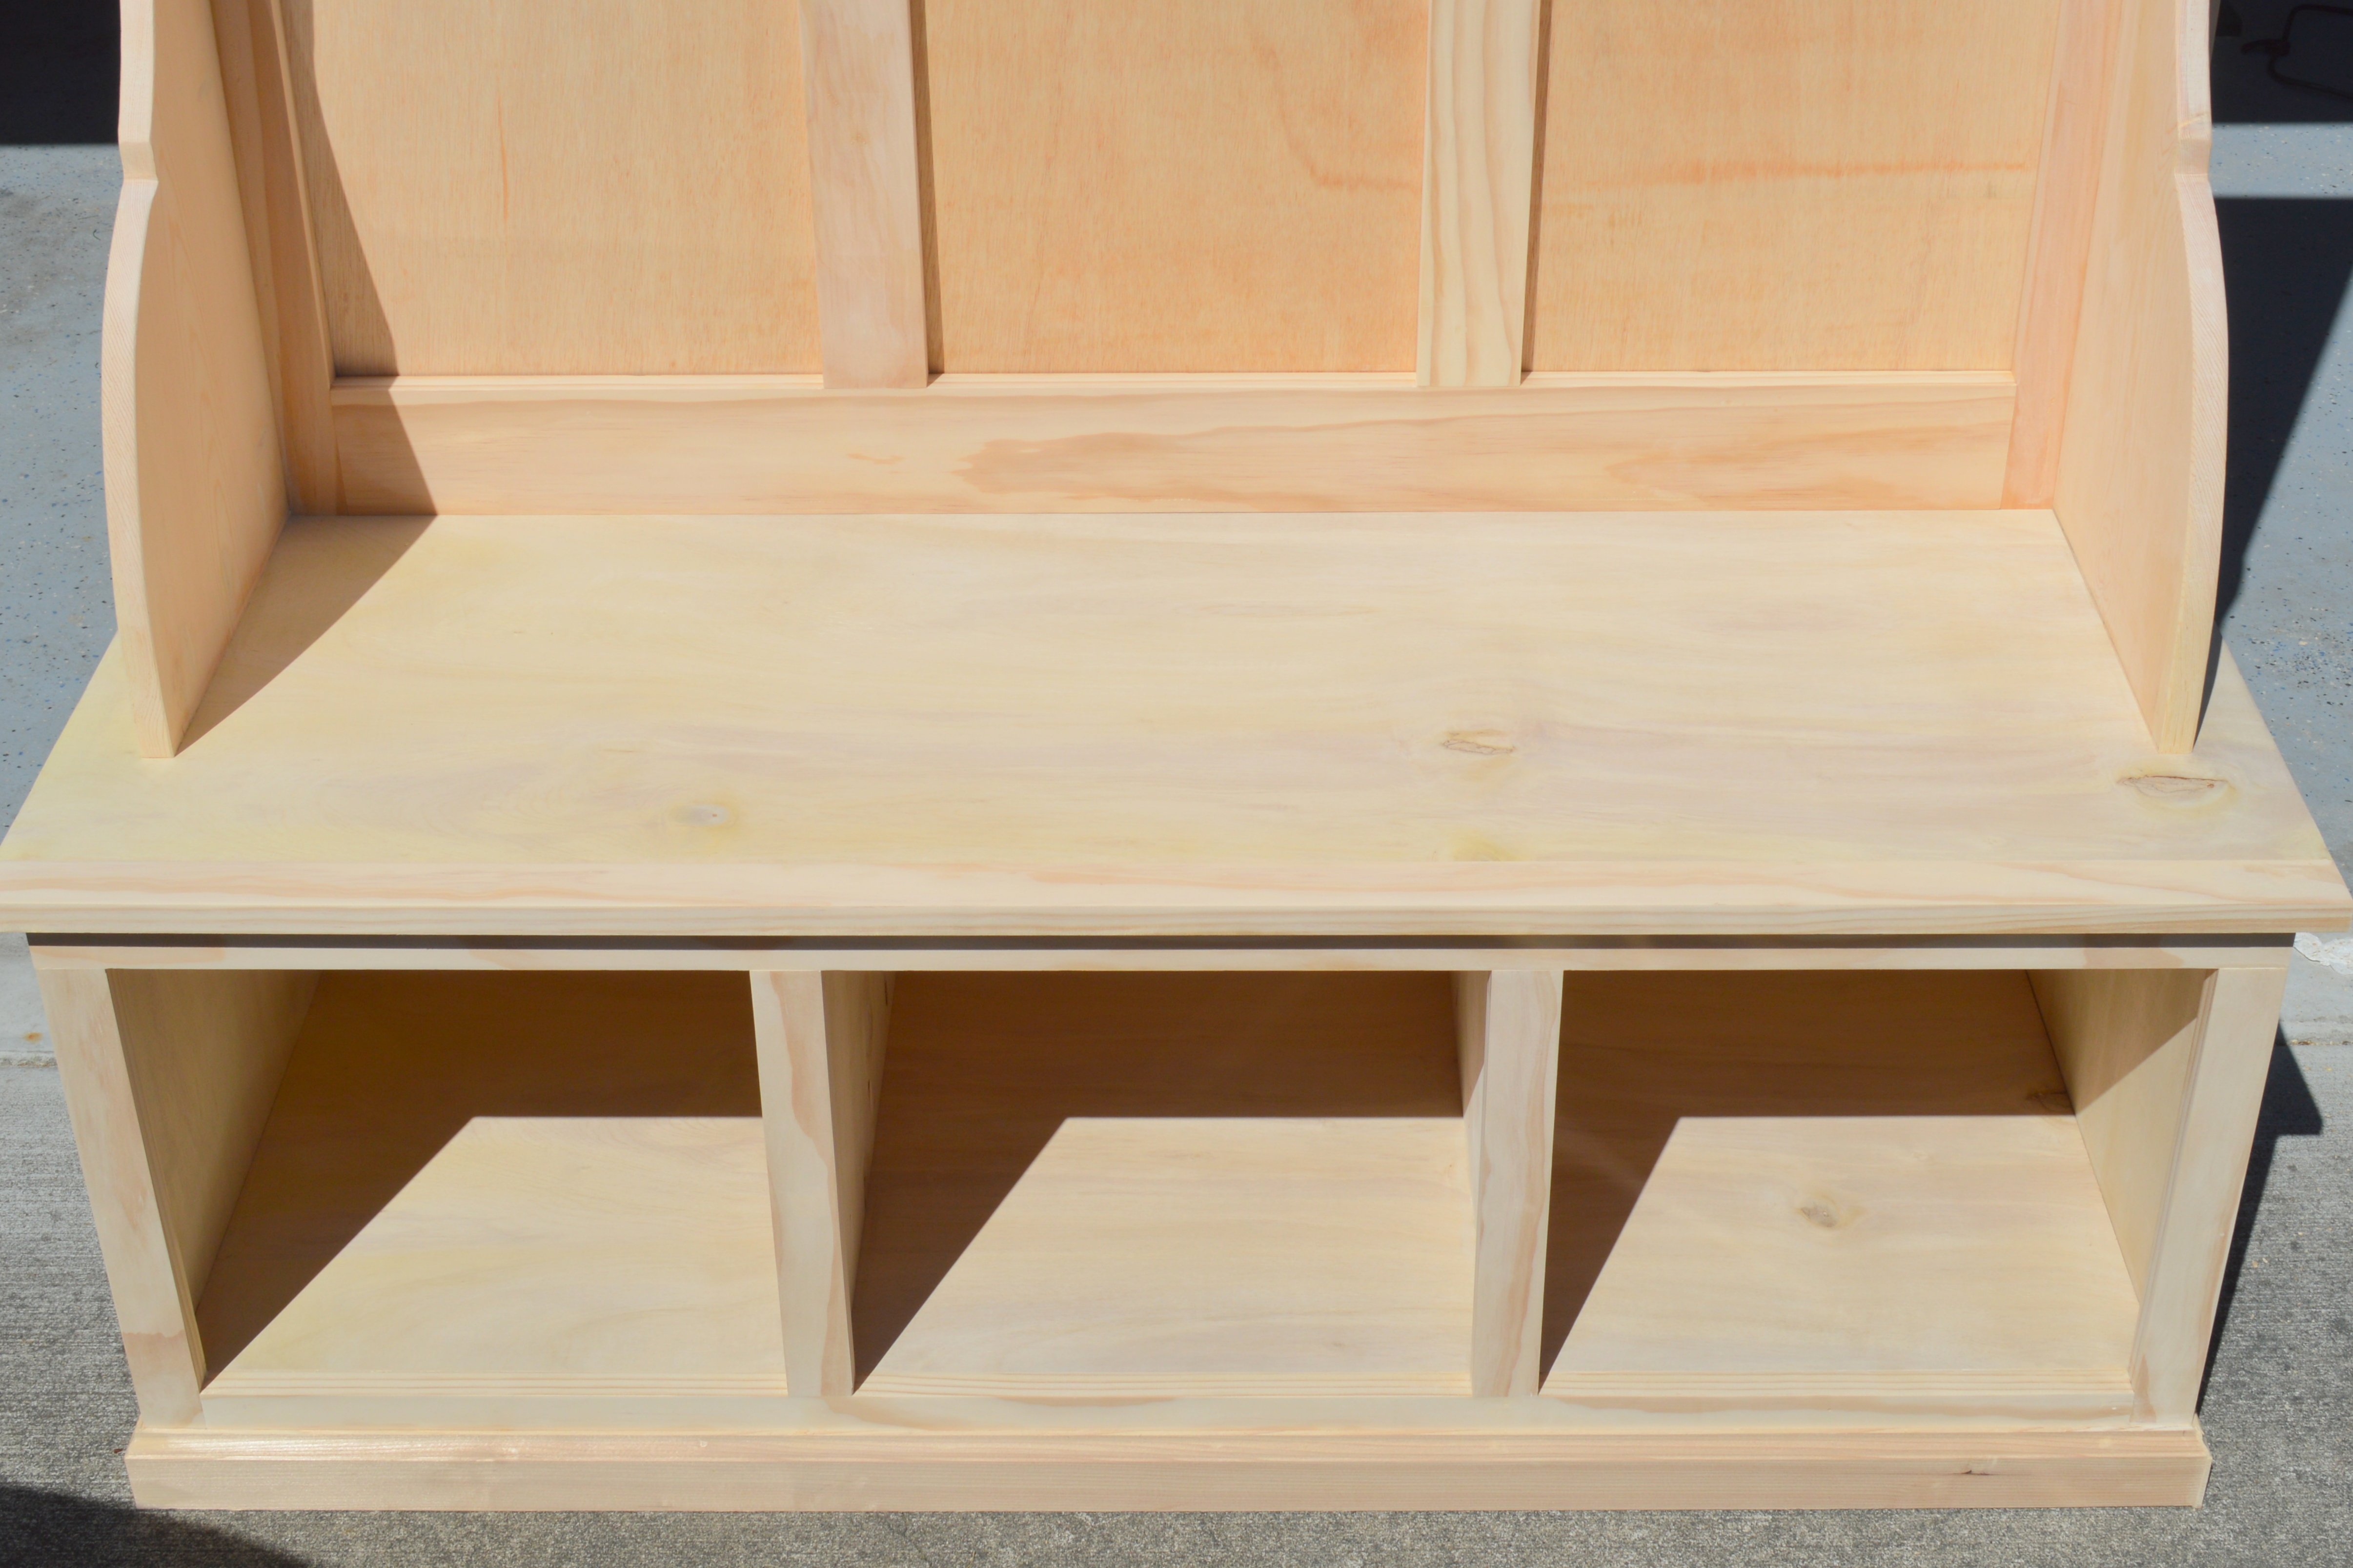
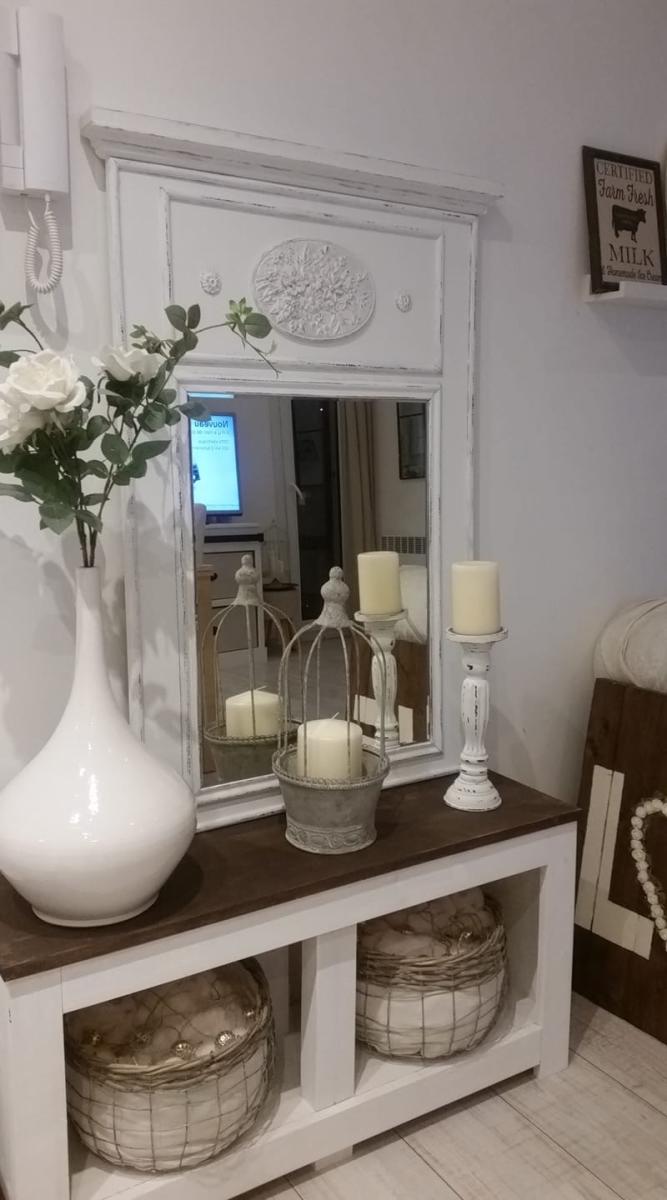
Grandpa modified the simple changing table to match the rest of our nursery furniture.
1/2" oak ply, cedar fence post, 1/4 inch oak ply
First brag! I had a little time to play in the garage and decided to join the scrap wood bandwagon. The wife loves the bunny box and now the mother-in-law NEEDS one. Back to the garage I go...
I’ve been enjoying making the modern Adirondack chairs, only with reclaimed wood seats and backs. Finally made a love seat version.
For my son's 4th birthday party, we were doing it at our house and needed outdoor seating, so I took on the task of building 3 Toddler picnic tables and 1 smaller one. Building them was not that big of a deal, but painting all 4 took some time! After the party, we sent 1 to my parents, 1 to in-laws & 1 to my bro/sis-in-law, so only ended up with 1 left over. FYI-the picture on the plan is one of mine, thanks Ana!
Sat, 04/04/2020 - 15:43
I’ve build many picnic tables according to your plans, they all love them.
I'm turning my messy sewing room into an organized craft/guest room, so I made a murphy bed to conserve space. I used corrugated tin on the the face of the bed so that I can use it as a magnet board while not in use as a bed.
Fri, 05/17/2013 - 09:54
The estimated cost is $100, but the hardware linked from the original plan was over $300. Do you have an alternate method of mounting this?
Fri, 05/17/2013 - 11:23
I think that link was a suggestion if you want an assisted lift/lowering system, and that hardware is part of what makes regular Murphy beds so expensive. I just used door hinges--3 for $8. It's not that heavy to lift and lower the bed, in my opinion.
Fri, 05/17/2013 - 11:40
Thank you for your reply! If I make this project, I think I'll try the door hinges. It won't be frequently used (a few times a year) and I'm pretty sure we can handle the minimal weight for those few occasions.
P.S. I really like the styling with the wood and corrugated metal, it looks sharp!
Fri, 06/28/2013 - 20:02
thanks for sharing the murphy bed. have been looking for a space solution for my daughter's bedroom. the corrugated tin look sharp in this project--my daughter would like the corrugatged tin as well--except for hot pink stain on the cabinet.
anyone know where to get hot pink stain?
Sun, 09/08/2013 - 20:58
Does anyone have any suggestions on how to bring it up off the floor some?
Wed, 02/10/2016 - 04:24
Paint tin with dry erase or chalkboard on one side for daily notes?
This is my first DIY project ever. No plans.
I adapted the plans somewhat. The headboard is made from Pucte, a trpical hardwood with frame of Cedro, a Mahogany. The seats of the stools are also Cedro and legs of Caoba, another Mahogany. I live in Yucatan so these woods are available. The Pucte was repurposed old salvage free
This was the first good-sized project I built by myself. I finished it more than 4 months ago and it still makes me smile every time I look at it. :-) A simple, functional and BEAUTIFUL shelf that will work anywhere and for anyone! I was so impatient for it to be finished I didn't put poly or any clear coat on it and I'm still in love!
Built three Adirondack Chair, got the dimensions from Ana's Adirondack Chair and modify dimensions for the smaller chair for my daughter. Used ceder and pine. Cost about CDN 40 per chair. Specially I would like to thanks Ana giving information about simple but beautiful furniture designs.
Here is a pic of kitchen cabinets I built using Ana's plans.
Tue, 04/07/2015 - 11:40
If you lived near me, I would hire you. If you can do this, your funk tire buying days are over ! Awesome job!
Mon, 05/04/2015 - 12:00
Thank you, this was my first Kitchen remodel. I am not sure if I want to do this for hire. I may just build the cabinets but not sure if I want to install anymore.
Mon, 05/04/2015 - 12:03
I still have to install the back splash and flooring. Going with a knotty pine flooring. I will distress it and I am going to install vintage Common Rose Head nails at the butt joints of the flooring.
I made this project for a friend. It was very important to get straight boards for the back in order to make everything square. Let me know if you have any questions!
We made this Chicken Coop this summer , with lots of help. We doubled the coop and the chicken run is 8x8 . We used the base of a previous clubhouse!! Thanks so much for the plans
Mon, 10/04/2021 - 16:40
Beautiful, love the finish, thank you for sharing!
Tools Used:
Jigsaw, Hammer & Sander.
FIRST Project! Made this for my brother who works out at home and uses his bed as bench when he lifts weights. tsktsk. It took me 2 days, on and off to finish this. :))
Thanks Ana for the plan. I learned a lot and I can't wait to try and build your other plans. :)
I made this from the kitchen island plans, but added a countertop. It's really sturdy and cost about $65 in materials. I love it.
I basically just followed the plans on this site. it is really a pretty simple build but it helps to have a second person and it is very time consuming.
We built this coop from an existing playhouse and used Ana's plans to build the run! So easy and turned out perfectly!
Sliding door to my laundry room with etched, stained glass window
During Covid, we had hybrid classes going on. As a teacher of Stagecraft Technology, we had no sets to create, no large flats or walls to build, so I took your Adirondack chair design and had each student build one using any type of repurposed or up cycled wood. It was a great success, and many of the teachers and staff members started placing orders. The students worked their fingers to the bone, got lots of tool experience, and in the end were proud of their creations, many that we donated to charities, families, etc. Thank You for such a great design.
Wed, 10/06/2021 - 20:15
That is so inspiring, great work and thank you so much for sharing!