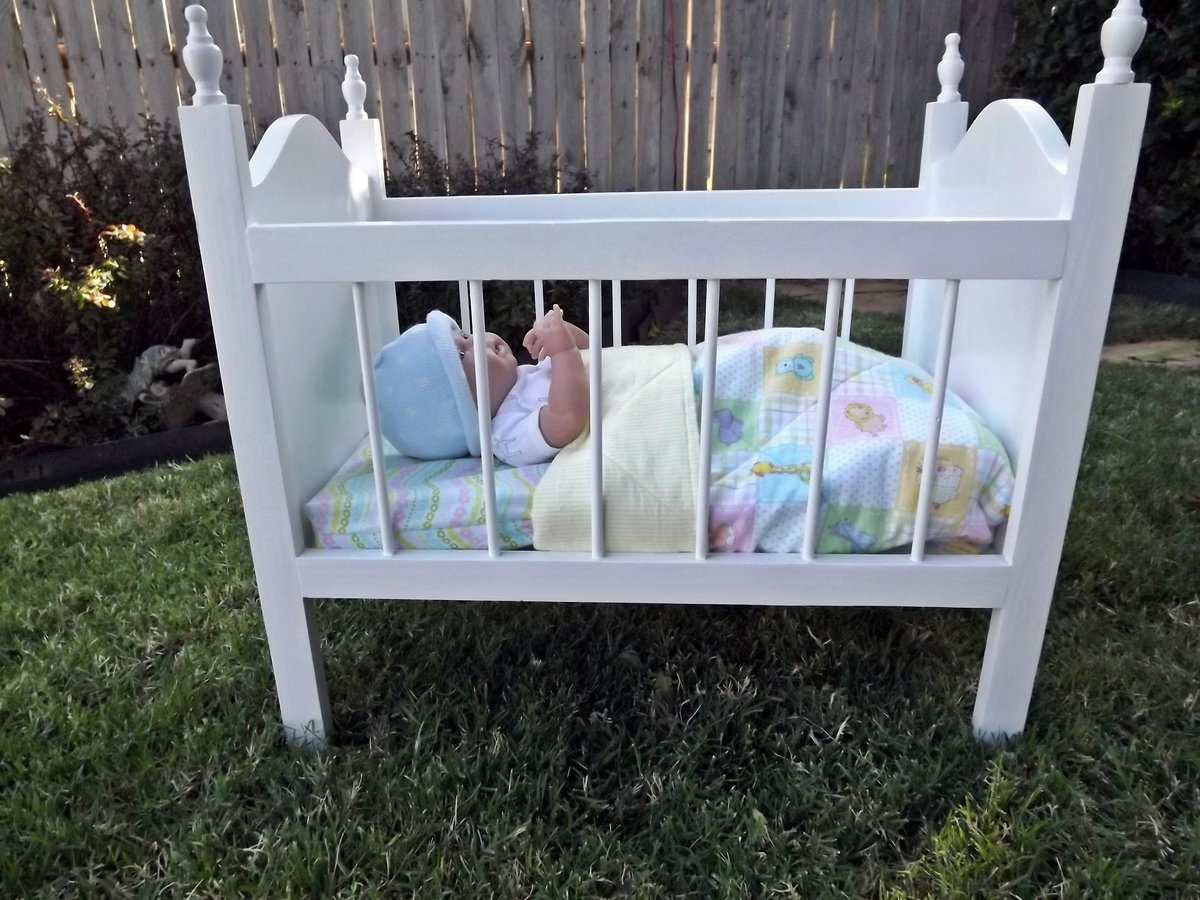
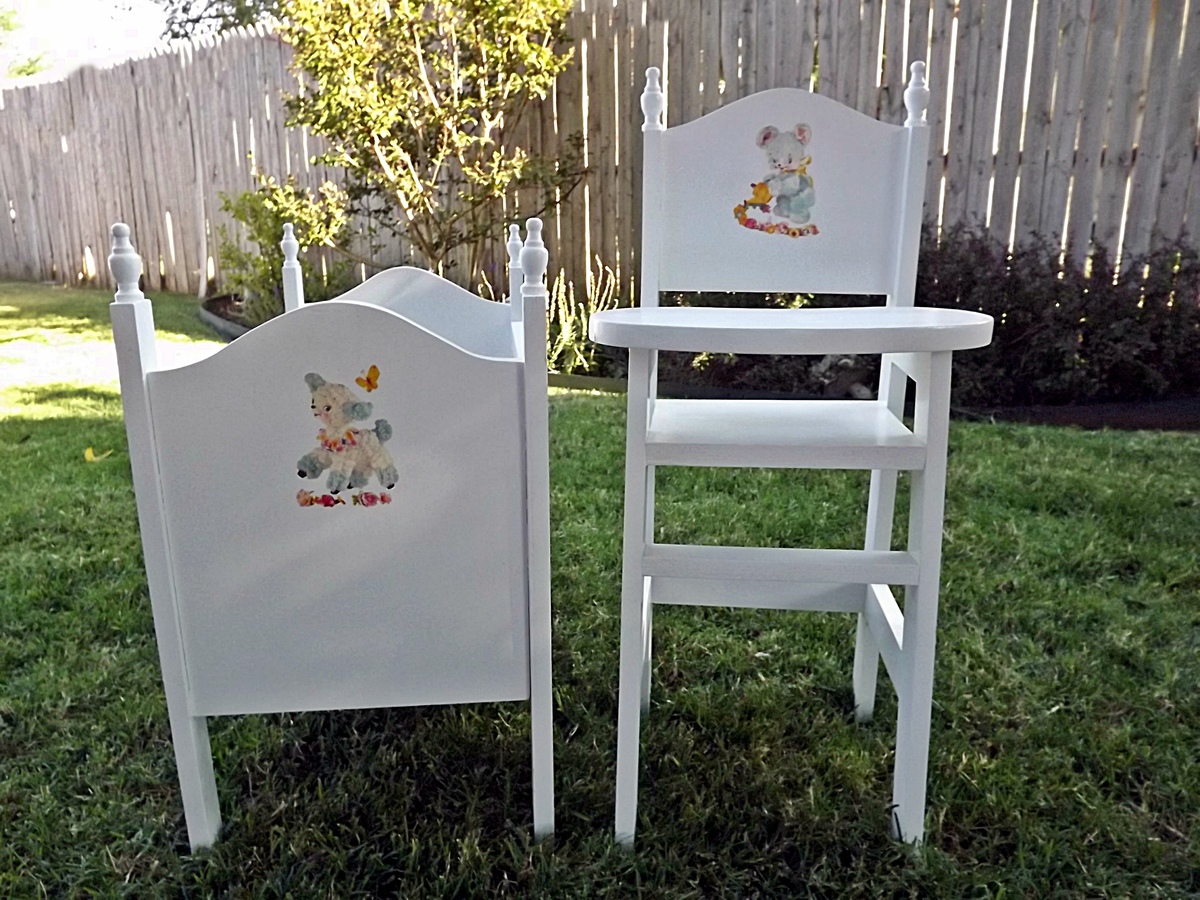
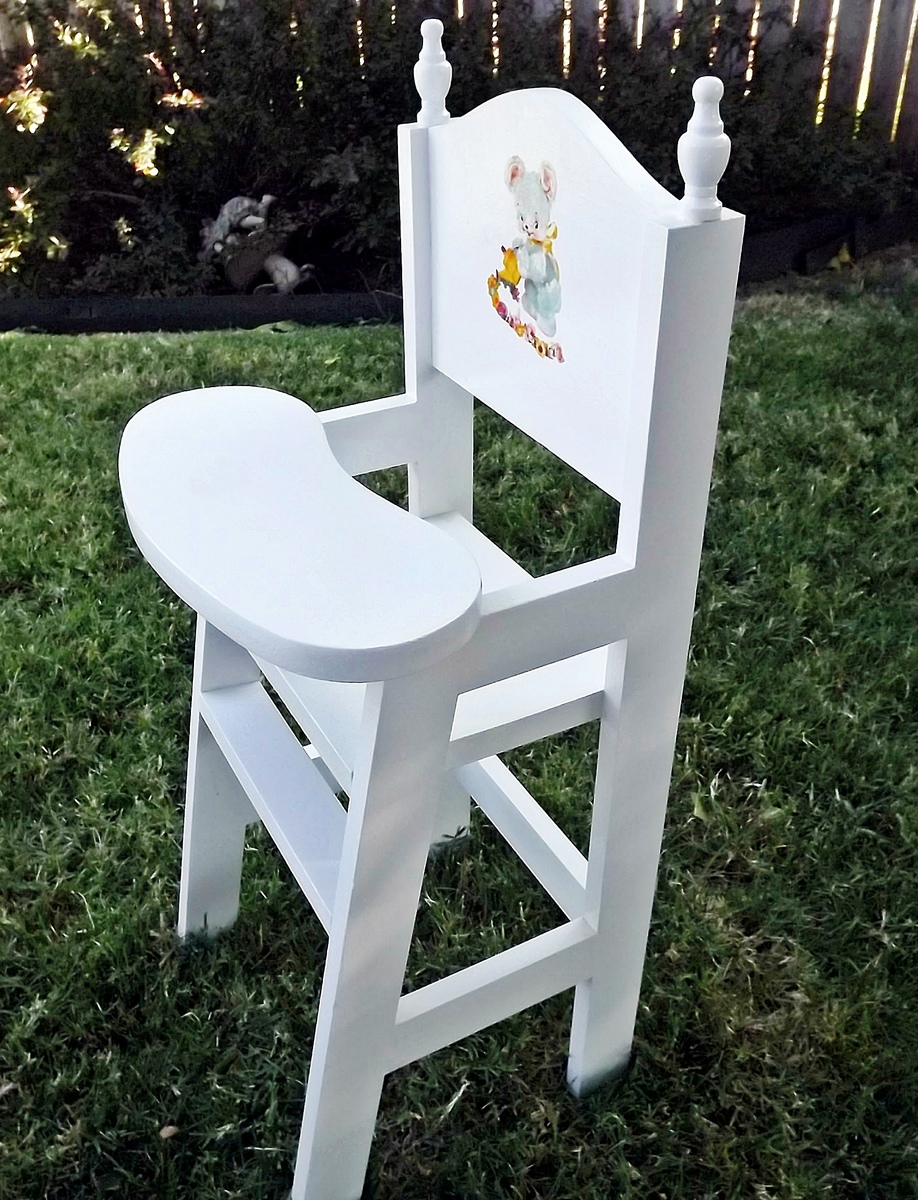
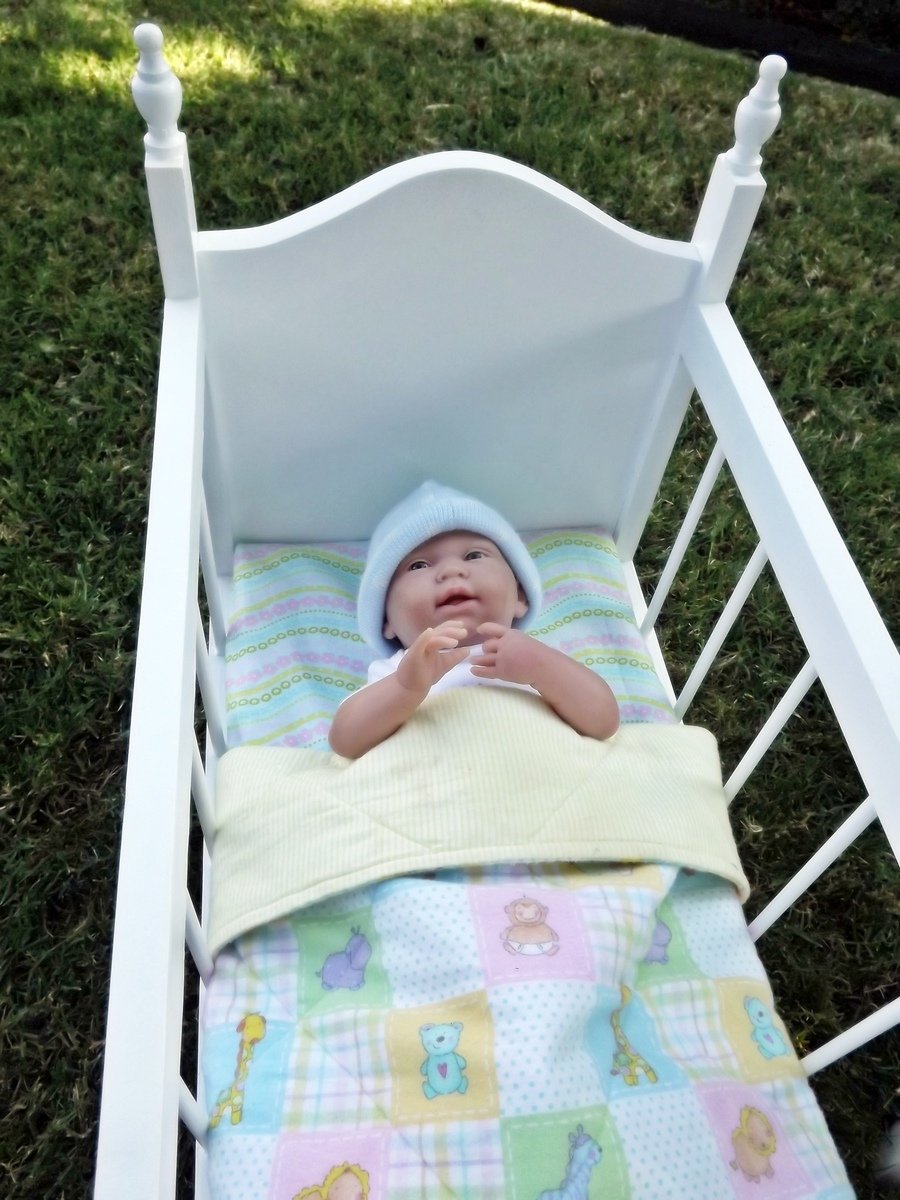
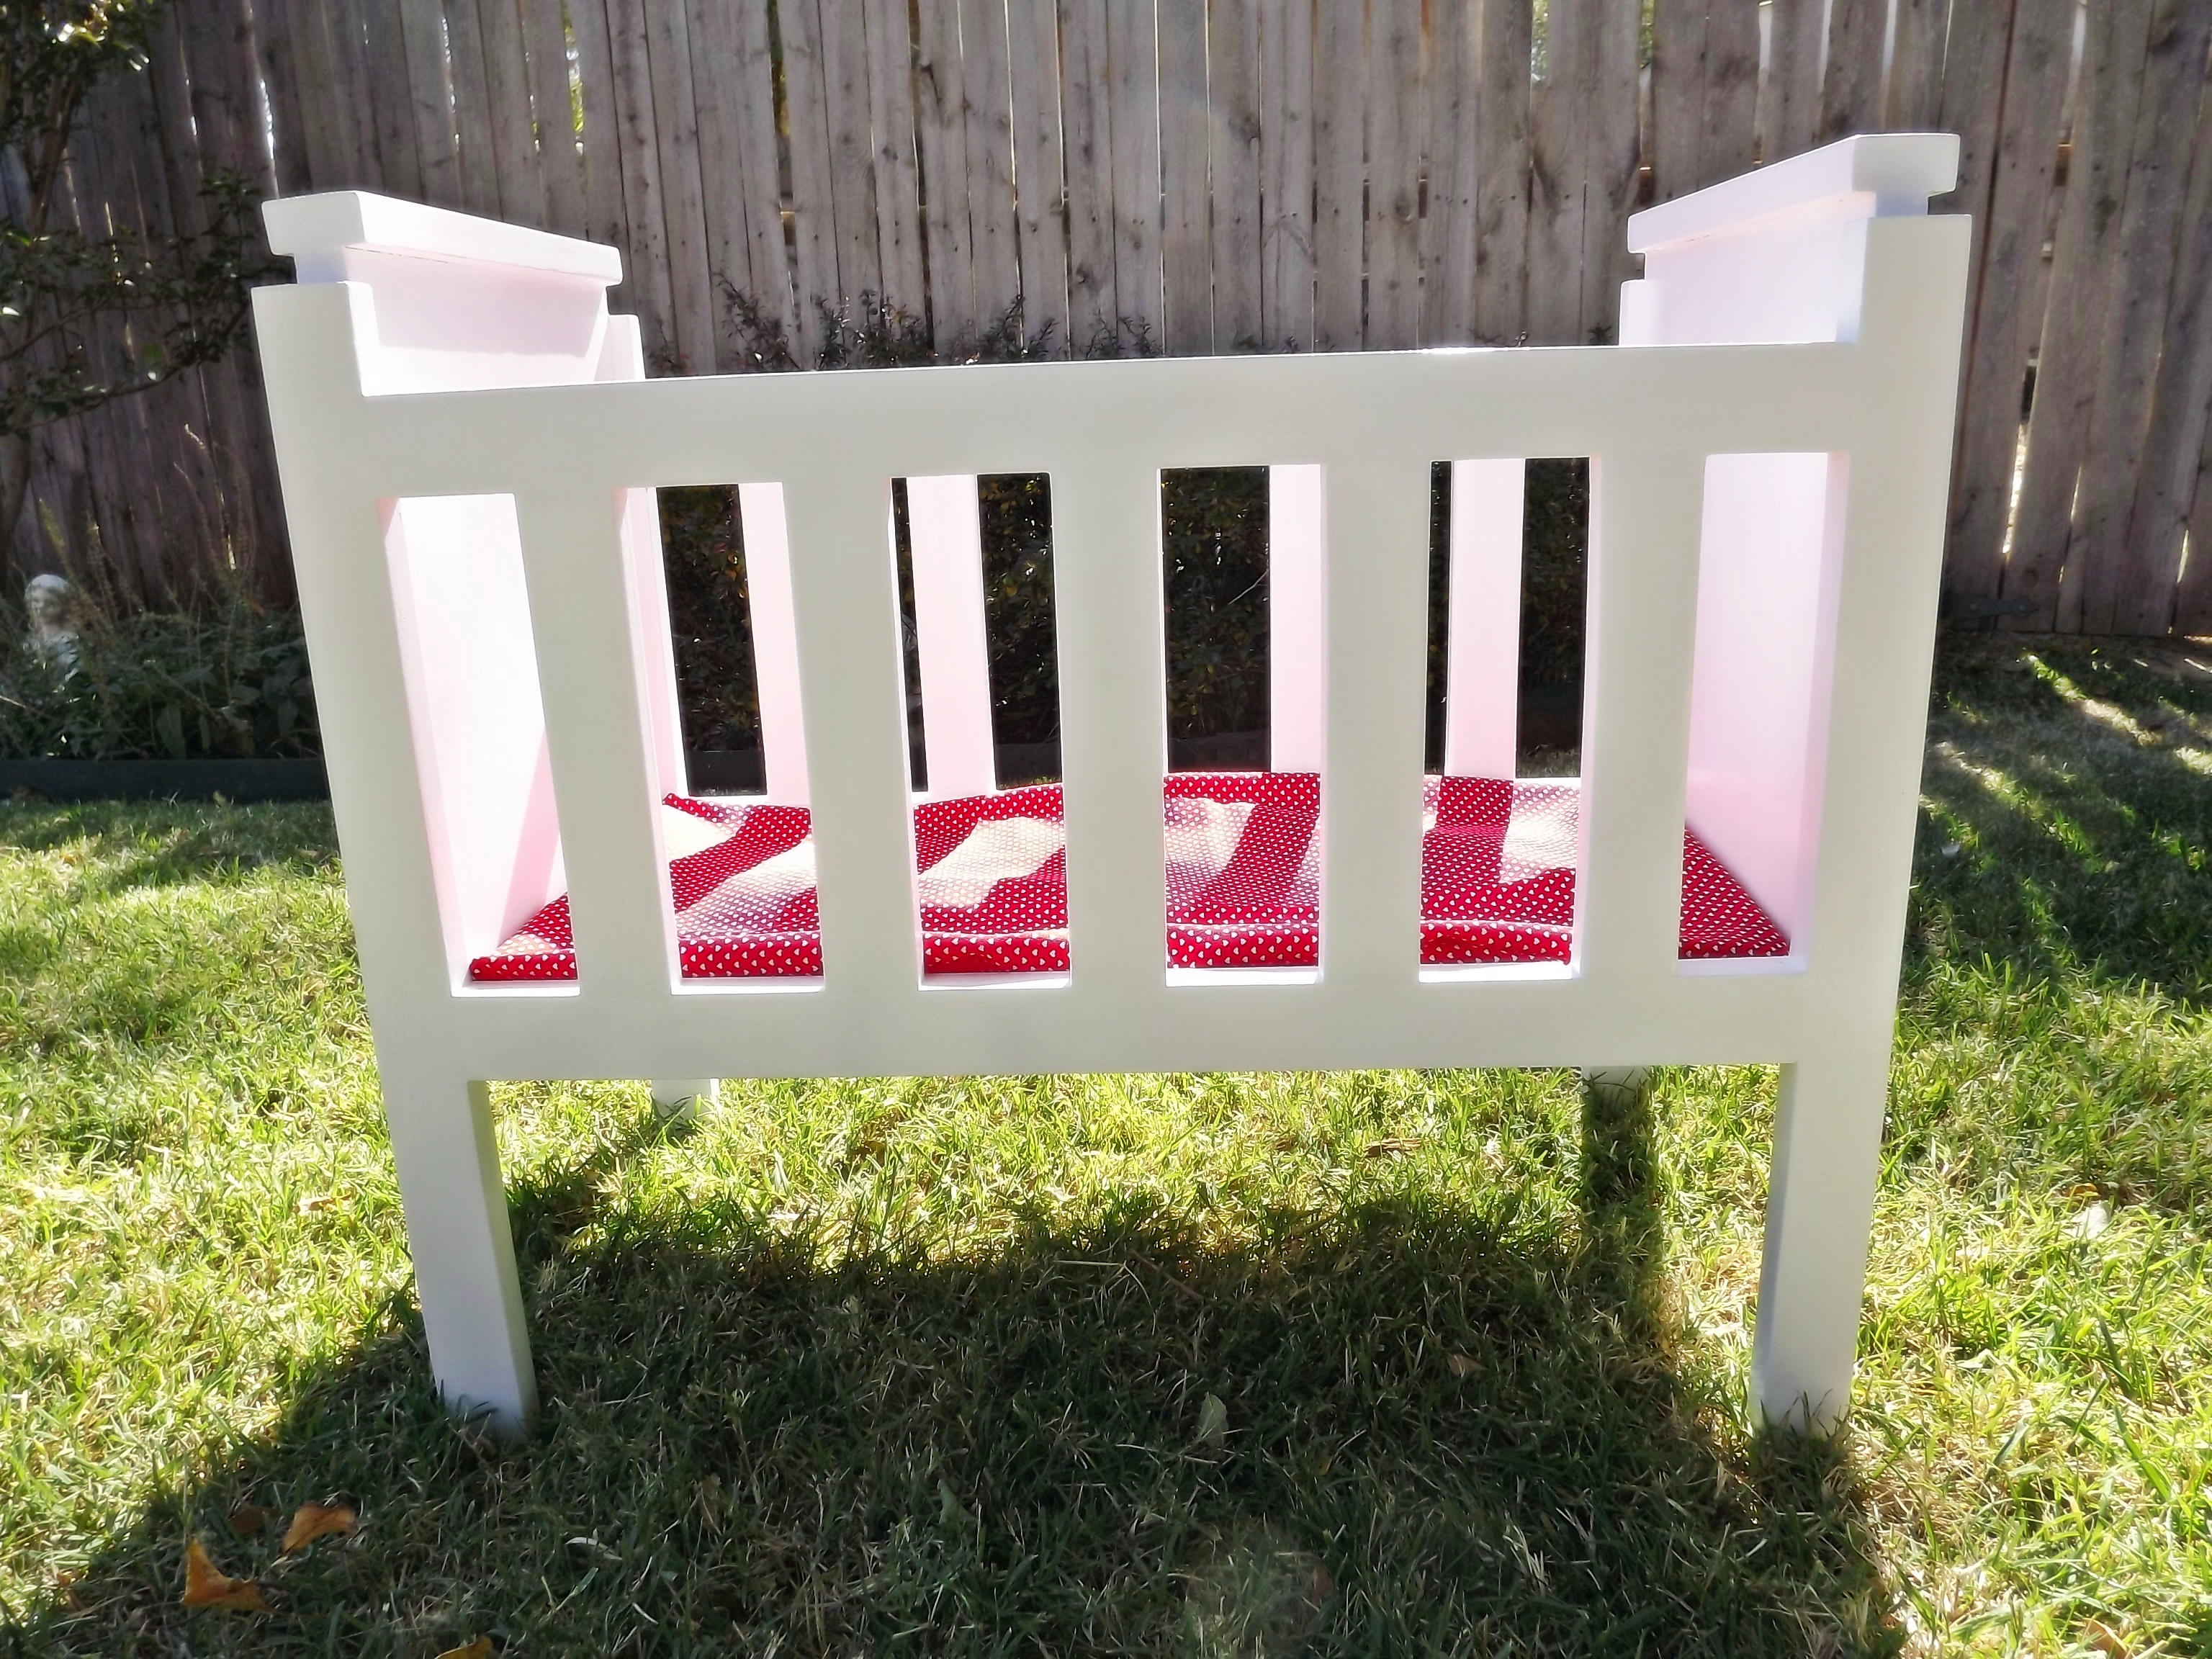
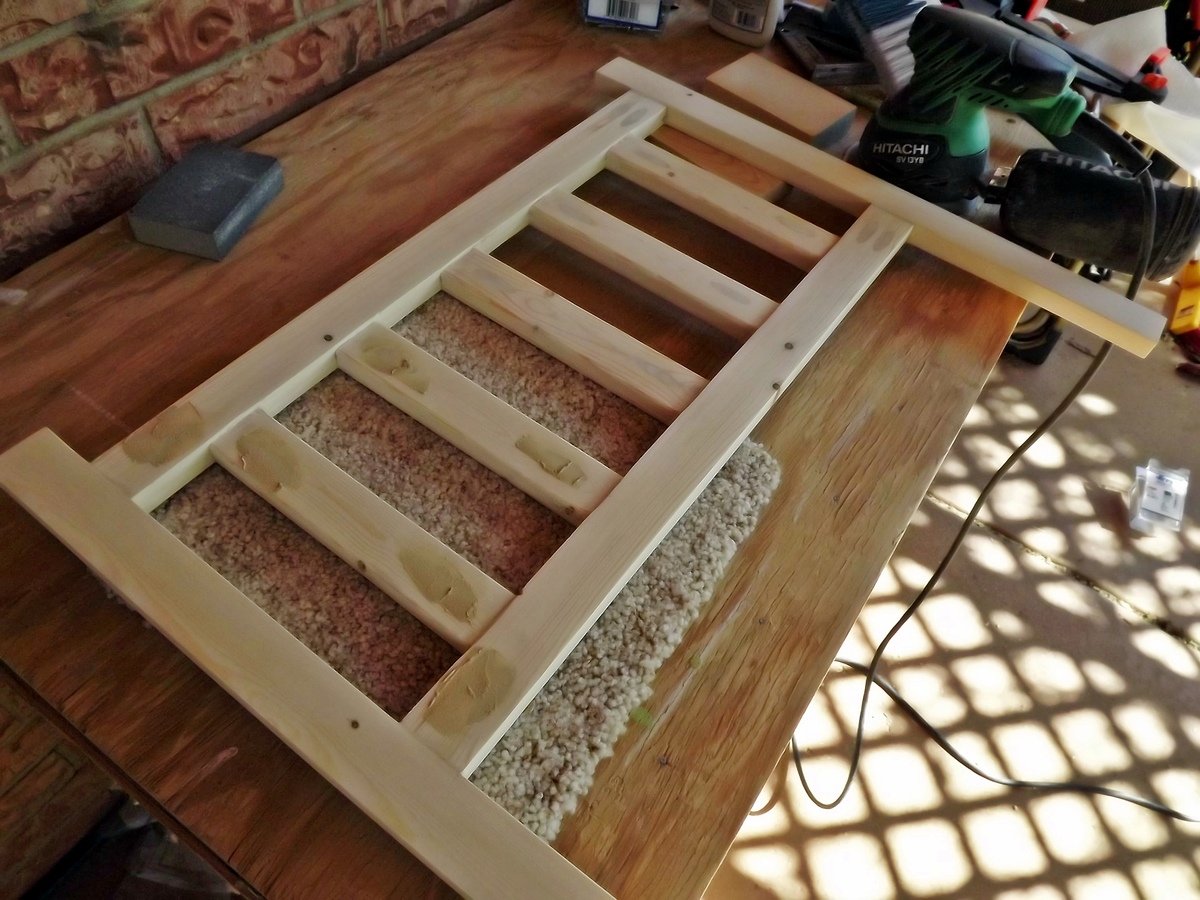
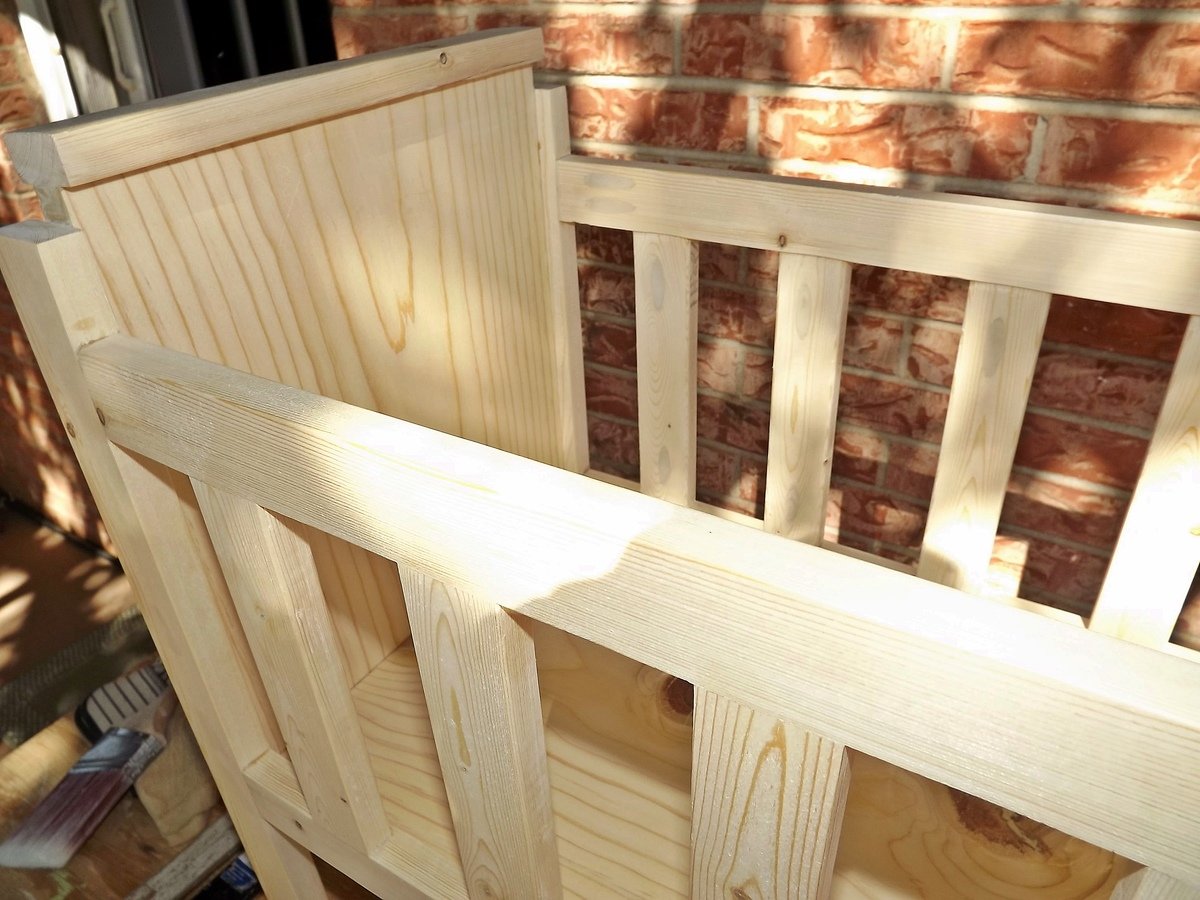
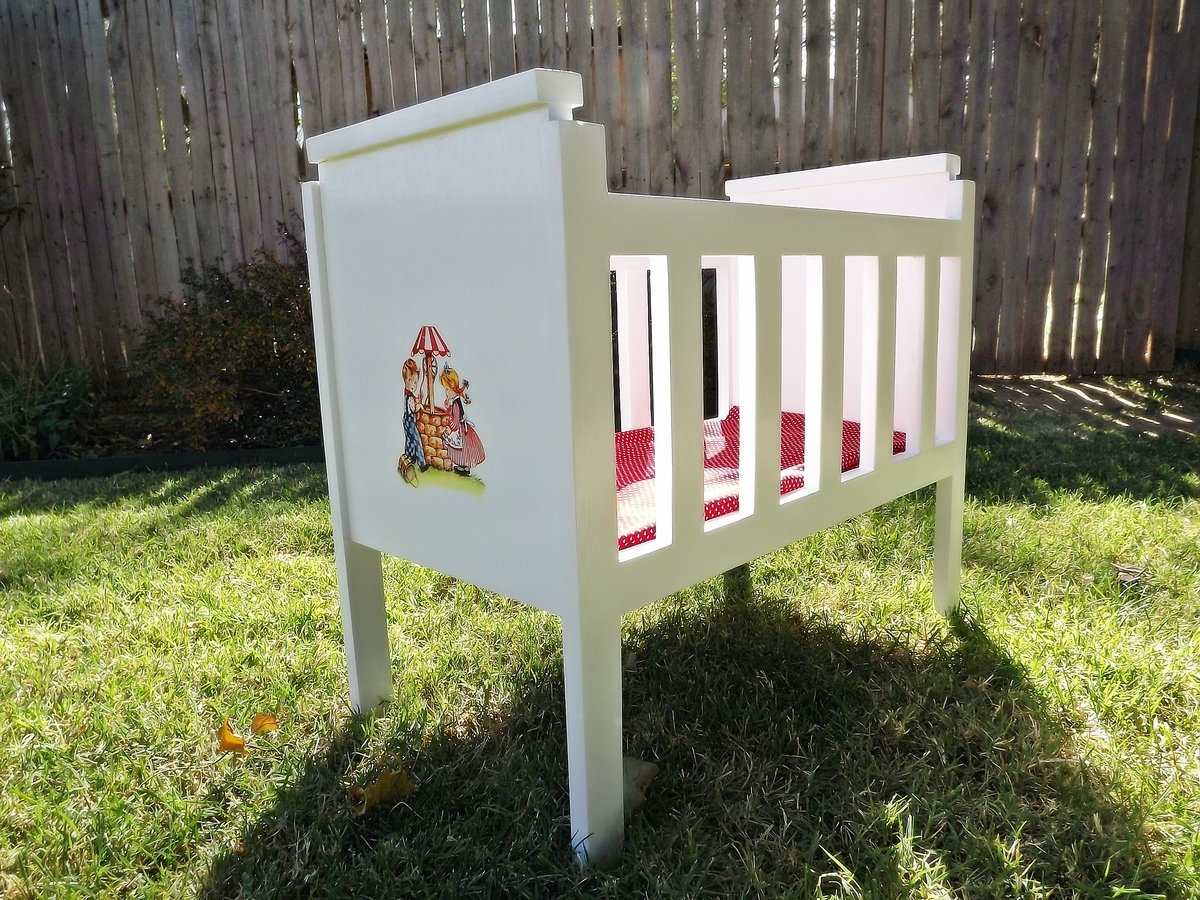
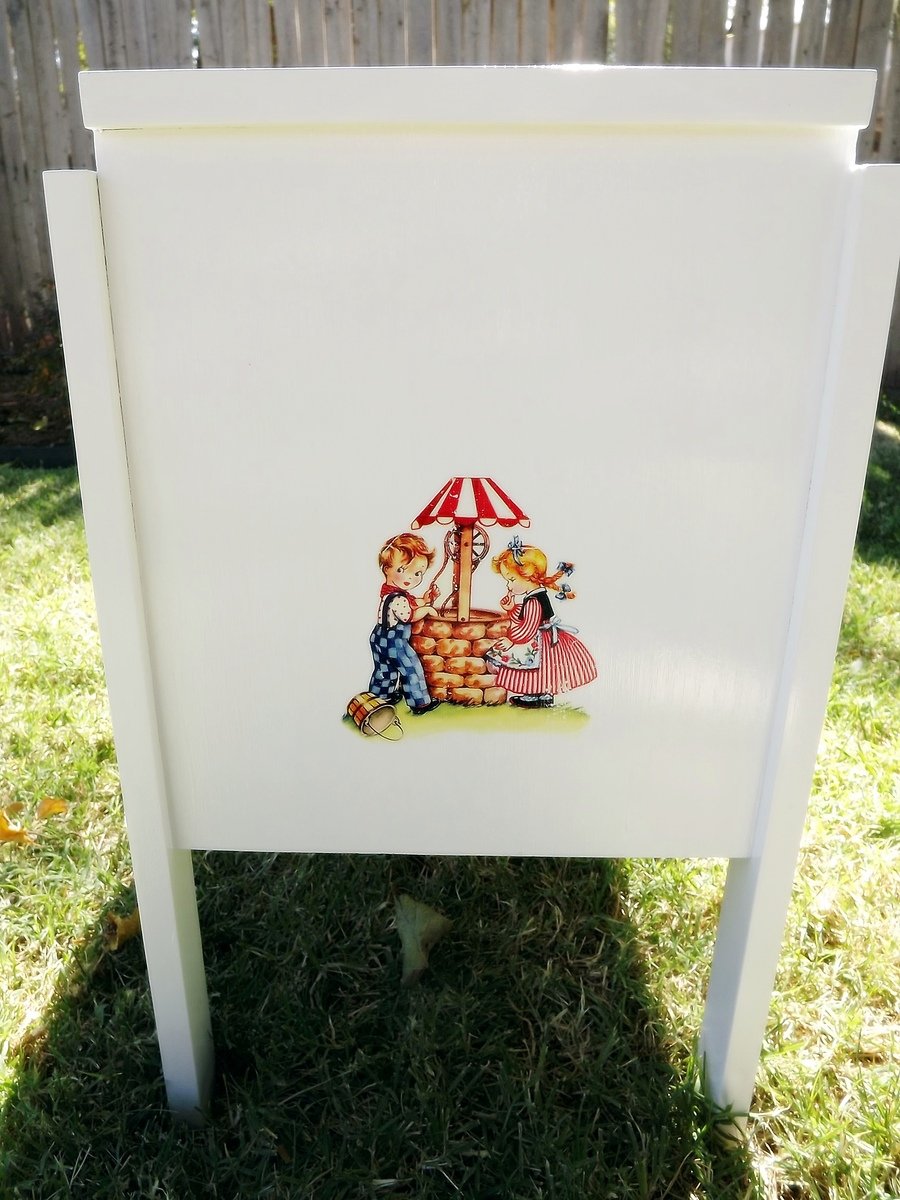
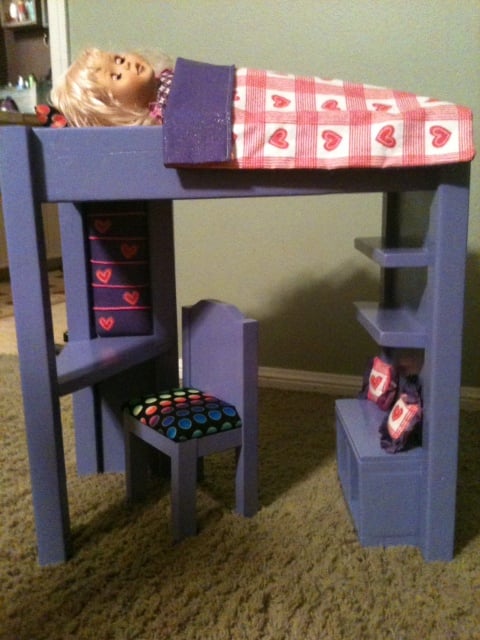
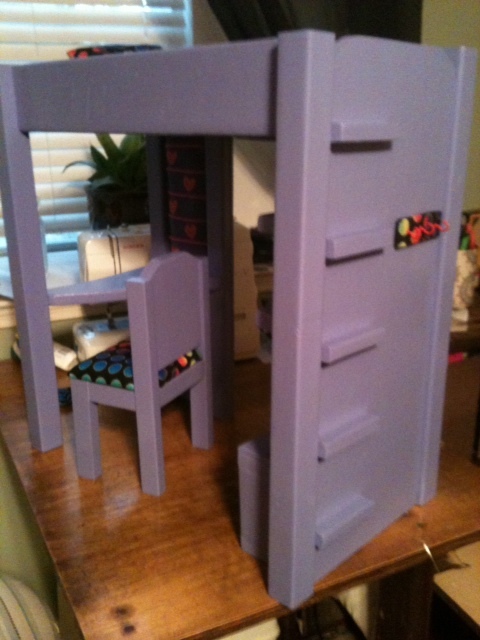
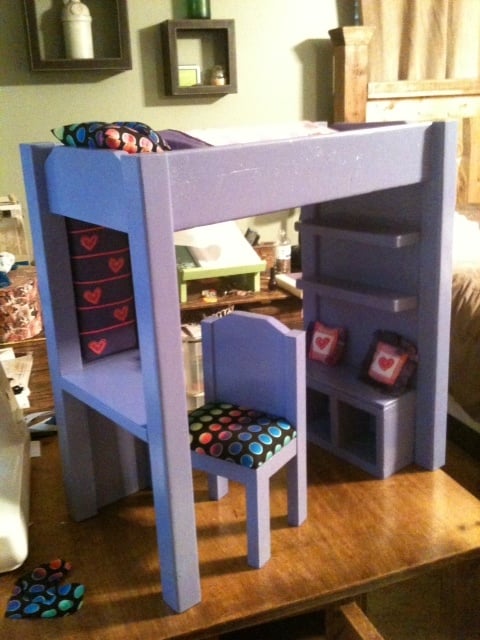
Community Brag Posts

Fancy Doll Bed

Submitted by Linda7 on Fri, 10/12/2012 - 14:04

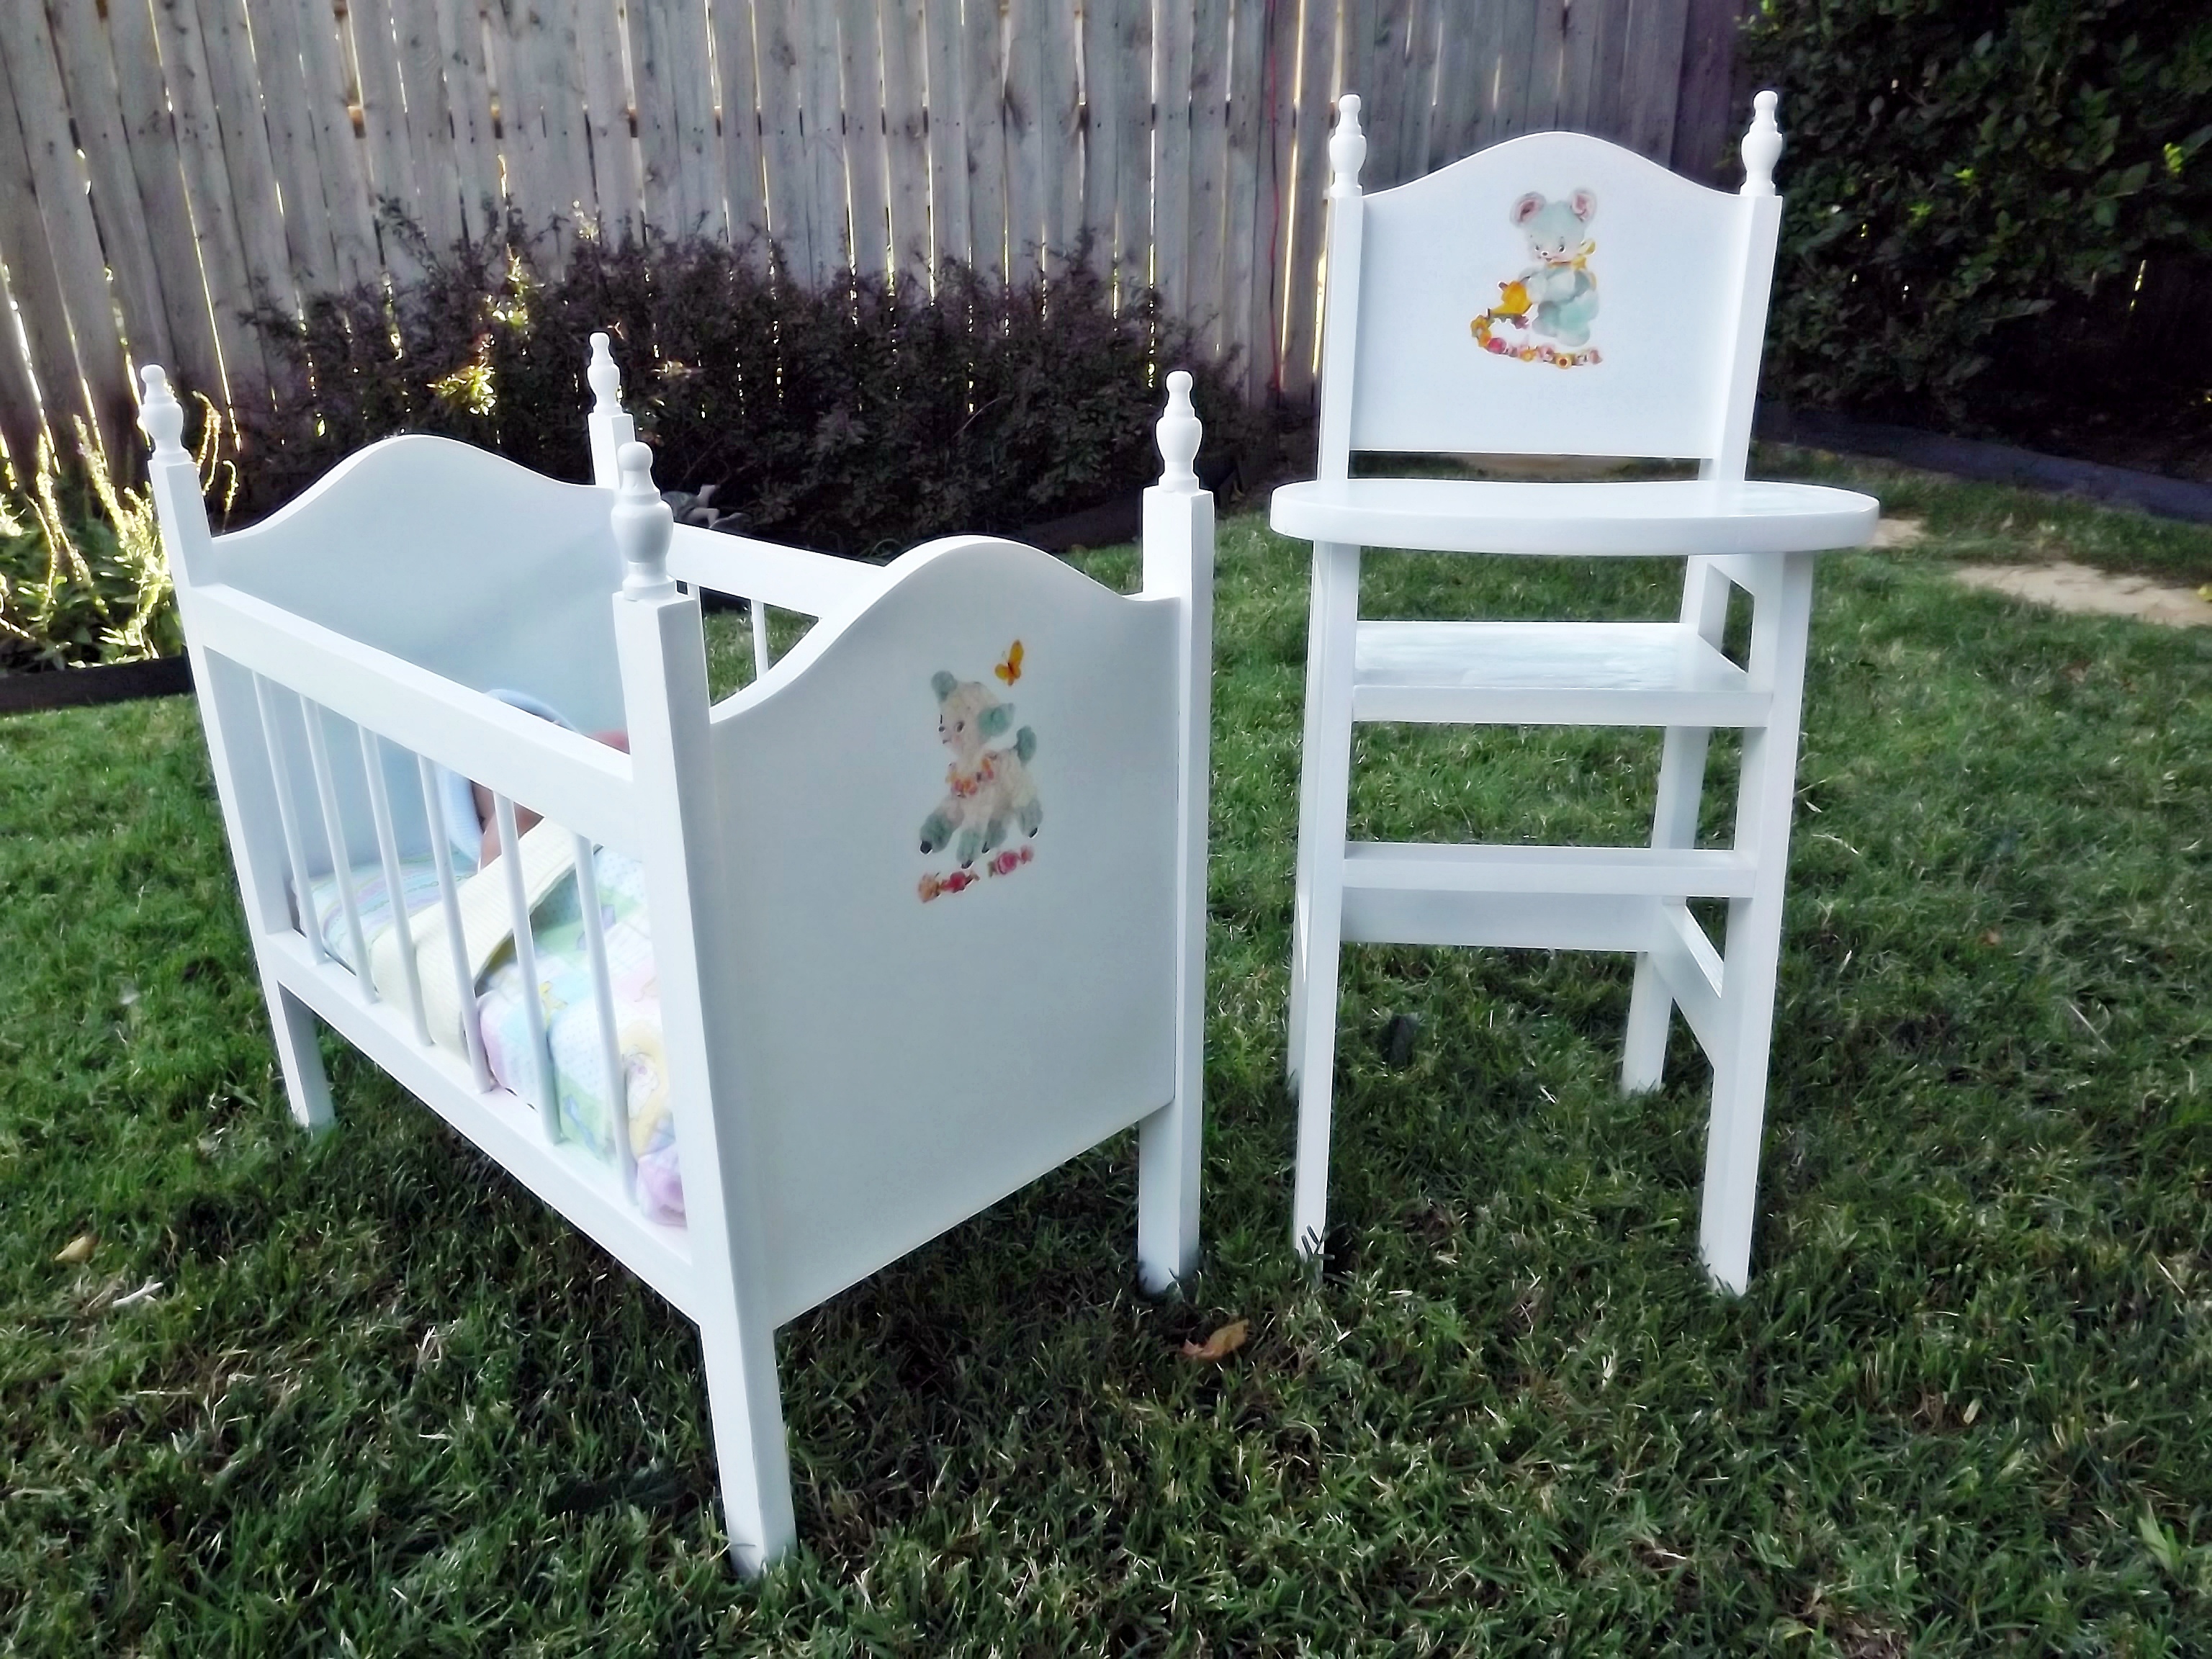
I made this set for my granddaughter using the Fancy Doll Crib plans. On this build I enlarged the size of the Fancy doll crib to be closer to the Olivia crib. For anyone interested: ends-13 5/8”; bottom-21¾”; side rails 21”; legs-20”; 12- 3/8” dowels @ 8¼”. I thought the scale of the finials from Lowe’s were too large, so I found some I liked better at Hobby Lobby: 3 pcs per pack @ $1.47, item #165274. Since I got 6 altogether, I put two on the high chair. Love the look. I also changed the shape of the curve of the ends and replicated that on the highchair back. The shape of the highchair tray is also curved and slightly cantilevered over the side ends; the tray is 4¾” x 13” to allow for the curve, cut from a 6” wide length of scrap. The vintage lamb theme that I used with my great-nieces is carried out with this set, too. I found the water-slip decals at www.decalcottage.com.

Built from Plan(s)
Estimated Cost
Not including the bedding, between $20-25
Estimated Time Investment
Day Project (6-9 Hours)
Finish Used
I primed using Kilz, then I used left-over Olympia bright white interior paint which I sprayed on. I mistakenly used a water-based brush-on acrylic urethane which yellowed. So I will sand and repaint the one piece.
Recommended Skill Level
Beginner

Comments

tracysmith

Sat, 10/13/2012 - 18:53

This looks great! I wouldnt have immediately thought of finials on these... fantastic look!!

Dresser

The hubby and I love doing projects together! I drew up what kind of dresser I would like and we built it together. It was a fun project after his deployment to Afghanistan.

Estimated Cost
$150-$200
Estimated Time Investment
Week Long Project (20 Hours or More)
Finish Used
A mix of CeCe Caldwell paints, stains and glazes.
Recommended Skill Level
Intermediate

Comments

booksnotbombs

Tue, 08/05/2014 - 08:15

This is absolutely beautiful! Both the build and the finish are impressive. I would love to build something similar. You should post your plans as a new plan on Ana White's website! :)

Made with my dad!!!

Submitted by Anonymous (not verified) on Thu, 11/17/2016 - 19:56

My dad was a lot more particular with this than a farmhouse table is intended to be. Lol

Built from Plan(s)
Estimated Time Investment
Week Long Project (20 Hours or More)
Finish Used
Minwax water based stain, cut in half with water, and polyurethane.
Recommended Skill Level
Intermediate

Rustic Reclaimed & Scrap Wood End Table

Submitted by AnnieO on Sat, 10/20/2012 - 09:22

I needed an end table that was a little bigger than the average end table - I had a space to fill in a corner between a couch and chair and was tired of the blank space being used as a dumping ground for...things my kids didn't want to put away or throw away. :) So I pulled ideas from a couple projects here and came up this. The cost was free since I just used the leftover wood from other projects we'd done and paint we already had lying around.

Estimated Cost
Free to Me
Estimated Time Investment
Afternoon Project (3-6 Hours)
Finish Used
Paint & Clear Poly - The paint for the top was a watered down brown. I used that instead of stain for 3 reasons - 1. So I could get the right shade of brown - I couldn't find a stain color I really liked, 2. I didn't want to wait for the stain to soak in anyway and set, 3. I wanted to be able to easily change it if I didn't the colors. The bottom part of the table is a bright green with a brown (the same as the top) wash over it.
Recommended Skill Level
Beginner

Dark Walnut Finish Classic Coffee Table

Submitted by Ryan8720 on Wed, 08/06/2014 - 22:08

This is my variation of the Rustic X Coffee Table. I was going for a more classic to modern look and I prefer dark stain. This was my first furniture building project and I'm very happy with the results.

I changed the top to be three 2x8's (1.5" x 7.25") and the bottom shelf is five 2x4's (1.5" x 3.5") and adjusted lengths accordingly. I also shortened the legs to 14" so it's a good height for use as a foot rest from the couch.

I was originally going to change the X's on the ends to 3 vertical 2x2's, but we have our first baby on the way and the way the spacing worked out was asking for a head to get stuck. So I decided to leave it open.

The table top and the bottom shelf were biscuit joined instead of doing tons of pocket holes. I recommend that if you have access to a biscuit/plate joiner (I borrowed a friend's) . The rest of the frame was done using pocket holes from the Kreg jig.

I recommend buying Kreg Jig R3 instead of the Mini. You get way more for your money. I also recommend using the Kreg pocket hole screws, some of which come with the R3 kit. They make driving much easier and you don't have to worry about stripping the square heads.

Built from Plan(s)
Estimated Cost
$50 - $75
Estimated Time Investment
Week Long Project (20 Hours or More)
Finish Used
2 coats of Minwax Dark Walnut stain, 3 coats Minwax fast drying polyurethane
Recommended Skill Level
Beginner

Farmhouse table and chairs

Submitted by Anonymous (not verified) on Mon, 11/21/2016 - 09:52

Seven foot farmhouse table with weathered grey stain. Instead of using the pocket hole method we screwed the boards together and put stainable wood filler over the screw holes. The chairs were made from ana white plans as well.

Estimated Cost
$120.00
Estimated Time Investment
Weekend Project (10-20 Hours)
Finish Used
Minwax classic grey stain, let sit for 20 min then wipe off with clean towel.
Recommended Skill Level
Intermediate

4x4 Truss Beam Table

Submitted by Anonymous (not verified) on Sun, 08/09/2020 - 19:11

We are in love with our new table! It was definitely a labor of love and being so large we had to transport it in pieces but it was very worth it.

Built from Plan(s)
Estimated Cost
$200
Estimated Time Investment
Weekend Project (10-20 Hours)
Finish Used
Minwax Jacobean
Recommended Skill Level
Intermediate

Side street bunk bed

This was a great first project. My son was outgrowing his toddler bed and needed something new, and he wanted a bunk bed.

The bed is made exactly per the instructions for the Side Street Bunk Bed (http://ana-white.com/2012/03/plans/side-street-bunk-beds). The headboard and footboard are very heavy- get some help carrying them in the house. It has a coat of primer and 3 coats of black and red.

Assembly took about a day and a half, and the painting took another 2 days for the 3 coats. I didn't sand this down at all- and gives it a "rugged" look. The 3 coats of paint help to soften the feel so no worry of splinters. I have the ladder built, but just not installed yet.

Built from Plan(s)
Estimated Time Investment
Weekend Project (10-20 Hours)
Finish Used
Valspar 2000 black; Valspare ultimate red
Recommended Skill Level
Beginner

Thanks for the awesome plan Ana my sister in law loves this table set I built for her

Submitted by The Gray's on Thu, 11/24/2016 - 16:48

I built this farmhouse table and benchs from Ana's plan and my sister in law fell in love the moment I delivered it to her home. Plans were straight foward and easy to fallow. Thanks Ana!!

Estimated Cost
$400
Estimated Time Investment
Week Long Project (20 Hours or More)
Finish Used
Minwax Cherry and clear coat. 4 coats of stain and 3 of clear.
Recommended Skill Level
Intermediate

Simple and Elegant Side Tablel

Submitted by Jake on Wed, 10/24/2012 - 12:58

This small but elegant side table was made based upon a plan from The Design Confidential. A friend of mine gave me a lot of 3/4" solid oak flooring that her deceased husband (11 years ago) had stored in a shed. It is beautiful. So I made this little table using the wood for the top. I made the top by putting Tightbond III glue in the flooring grooves and then clamping the pieces together. Then after the glue dried I used my flooring saw to rip the tongues and grooves so I have one solid piece of flooring/top. I also did not glue the top to the base but just used pocket hole screws from the underside to hold it on the base. The reason was in case the top or base became damaged it would be easily removable for repair.

Estimated Cost
Wood free so screws and glue maybe $5
Estimated Time Investment
Afternoon Project (3-6 Hours)
Finish Used
For the top I used two coats of Minwax Golden Oak. The base of the table is three coats of Rustoleum Satin White Enamel.
Recommended Skill Level
Intermediate

Farm table.

Submitted by Anonymous (not verified) on Mon, 11/28/2016 - 18:06

Only change I made was I used 4x4s instead of 2x4s. 

Estimated Cost
$180.00.
Estimated Time Investment
Weekend Project (10-20 Hours)
Finish Used
Minwax Jacobean. Boiled linseed oil.
Recommended Skill Level
Beginner

Fancy Doll Crib, Modified

Submitted by Linda7 on Mon, 10/29/2012 - 12:46

This doll crib is for another grandniece who loves both her baby boy and girl dolls, hence the Jack and Jill decal. This bed is modified from the Fancy Doll Crib plans using 1 x 2 for the side rails instead of dowels, and also a flat top. It is also larger than the plans: 21" long and 20" legs. My sister found a vintage J & J fabric piece which we plan to use as the mattress cover.

I said this is a day project but it takes me several days in between other activities, and I am very slow and methodical. (I also make sure to fill in all of the pocket holes with wood filler, usually two "coats" to get them perfectly level with the surrounding wood. After painting, it's very hard to tell where the fasteners are unless you know where to look.) It would take most people much less time than I. This is my 5th doll bed, and I have at least one more to go.

Built from Plan(s)
Estimated Cost
Around $25.00 including the paint
Estimated Time Investment
Day Project (6-9 Hours)
Finish Used
Valspar glossy white spray paint over Kilz primer; protected the decal with several thin coats of Modge Podge.
Recommended Skill Level
Beginner

Farmhouse Table

Submitted by Jmgraves on Sun, 08/17/2014 - 08:55

I followed the plans pretty closely. As you can see, I added an extra 2X4 inside the uprights. This gave me room to mortise the 2X4s that run under the table top. Very sturdy and useful. The third pic shows when we used this table for a birthday party. Matched up exactly with our dining room table! It only took one extra 2x4 to make the alterations.

Built from Plan(s)
Estimated Cost
$107
Estimated Time Investment
Afternoon Project (3-6 Hours)
Finish Used
Natural
Recommended Skill Level
Beginner

Fall Farmhouse Bench

Submitted by MillerMade on Fri, 12/02/2016 - 13:03

My wife has been asking me for quite some time to build her a bench for the front porch. I finally found some time to make one. I looked at a lot of different benches on Pinterest, YouTube and other websites and I presented the options to her, and she liked this design the best. She only had one request and that was for the top to match the front door and the frame to be white. I have a step-by-step video of how I made the Farmhouse Bench (Click Here) to see the video.

Estimated Cost
$20
Estimated Time Investment
Afternoon Project (3-6 Hours)
Finish Used
Varithane - Walnut Stain and Poly with White paint for the legs
Recommended Skill Level
Beginner

Loft bed for american girl or 18" doll

My niece wanted the purple AG loft bed for her doll. Since, the one online is $225 and back ordered until December...I came up with this one for free! I used scrap wood and fabric that I had left over from other projects. The bed has a built in desk top, shelves, cubbies, ladder, bulletin board, and coat hooks. It took me a couple of hours to build the bed and the chair and about an hour to sew the comforter and pillows. The painting took a little longer because I was out of purple spray paint! grrrrrrr!

Estimated Time Investment
Afternoon Project (3-6 Hours)
Finish Used
Kilz primer first and then, I mixed a dark purple gloss with some white to get the lavender colored paint.
Recommended Skill Level
Beginner

Comments

spiceylg

Fri, 11/02/2012 - 18:49

This is amazing! What a great idea and build! You must share the plans....please?

spiceylg

Fri, 11/02/2012 - 18:49

This is amazing! What a great idea and build! You must share the plans....please?

Handy Man (not verified)

Thu, 11/08/2012 - 17:50

Do you have a time frame when you plan to post your plans? My daughter wants one of these for Christmas and was going to get started trying to reverse engineer based on photos. Then decided to check internet and found this! Would love to get plans do not care if scanned pieces of paper. Thank you!

Pottery Barn knock off table, benchwright collection

This is the third time I built this table. Everyone who has it loves it because it is the "perfect size". This last build was someone not as rustic, so I opted a premade round table top. This probably added $15 to the project but saved at least an hour.

Built from Plan(s)
Estimated Cost
$28
Estimated Time Investment
Afternoon Project (3-6 Hours)
Finish Used
General finishes mixed, nail holes puttied, painted with general finishes paints and general finishes sealer
Recommended Skill Level
Intermediate

Plant stand

Submitted by Anonymous (not verified) on Tue, 12/06/2016 - 17:01

I really liked the sleek design of the concrete topped patio table. I needed a plant stand for an epic boston fern on my front porch, so I modified this design to use 1x2 cedar and topped the stand with a piece of travertine tile. I like the way it turned out. It's winter here, so no front porch photo, only a sad photo in our kitchen which we are in the process of remodelling.

Estimated Time Investment
Afternoon Project (3-6 Hours)
Finish Used
minwax stain red mahogany
Recommended Skill Level
Starter Project

Rustic Kitchen Island

Submitted by meggeh on Wed, 08/19/2020 - 17:19

5 8’ 2x4s were not enough. I could not figure out how to get the needed cuts from 5 boards. We had to go back and get more (a 3 hour round trip) which didn’t help with keeping costs down.

I’ve wanted this built for a looong time and finally roped my husband into building it for me. We used cedar. 2x8s weren’t available so we substituted for 2x6s. We have 6 of those boards across the top, making a few inches of overhang on either side. I liked it just as it was so I didn’t trim the ends of the shelf boards.

The top is stained with pure tung oil for waterproofing. The frame and shelves are painted with milk paint stain. 2 coats of this left it pink until a light coat of tung oil brought out the nice darker colour. Waiting for the tung oil to dry killed me because I wanted to be able to use it right away.

Estimated Cost
About $340 CAD in lumber
Estimated Time Investment
An Hour or Two (0-2 Hours)
Finish Used
Tung oil & milk paint stain
Recommended Skill Level
Beginner

Entryway Cubby from Book

Submitted by DMax2010 on Sun, 11/04/2012 - 15:34

I have been wanting to build an entryway cubby for some time now and was excited to see these plans in the book! (Awesome job, by the way!). I modified the plans to fit my entryway space and also used all wood left over from other projects. I added the wood top too. Now I just have to figure out how to hang it!

I'm actually in the process of finishing the Apothecary media console so I used this project to test out the finish I was thinking about using.

Paint: Behr Premium Plus in Beluga, Flat finish
Wood stain: Minwax Dark Walnut, 2-3 coats (I did pre-condition the wood before staining)
Poly: Rustoleum Ultimate Soft Touch Matte

I love the Rustoleum soft touch poly-it dries so beautifully.
I did glaze the edges, too.

I'm planning to build the bench next and finally my entryway will be organized (hard with a 2 1/2 year old!)

Estimated Cost
Nothing, I used left over wood from other projects
Estimated Time Investment
Day Project (6-9 Hours)
Finish Used
Paint: Behr in Beluga, flat
Stain: Minwax Dark Walnut
Poly: Rustoleum Soft Touch Ultimate in Matte
Used a glaze over the edges
Recommended Skill Level
Beginner

Pie safe, jelly cabinet

Submitted by ambro on Fri, 08/22/2014 - 10:36

This is the result of my interpretation on Patrick's Jelly Cubbard. Unless the cut

list has been updated there are some corrections that need to made. The rails

at 11" are too short. I adjusted for this by making them 14" and my rails run the

entire length of the door tops. If you prefer to have interior rails then the stiles

must be changed. The easiest fix for me was the rails. It took me around 9

hours to complete however my shop was already set up for this project. Each

station was ready for all of the cuts and my pocket hole jig was already set. I

spent minimal time sanding as I wanted to have a bit of a rustic look and I

wanted the stain to have sharp contrasts in the color over different sections of

the woodgrain. I used knotted pine for for the 1x12's and knotless for the front

and shelves. I used beadboard paneling for the back and the panels on the

doors attached with 1" screws. The hinges were purchased right off the shelf

from instock items in a big box store as were the pulls that are a close match

in color. I added magnets at the bottom to keep the doors closed. I also added

a piece of simple molding around the top.

I will be doing another one of these to which I will add punched tin panels to

the front doors. I really enjoyed this project and other than the cut list causing a

minor hiccup everything was spot on.

Built from Plan(s)
Estimated Cost
150
Estimated Time Investment
Day Project (6-9 Hours)
Finish Used
minwax gunstock 231
Recommended Skill Level
Beginner