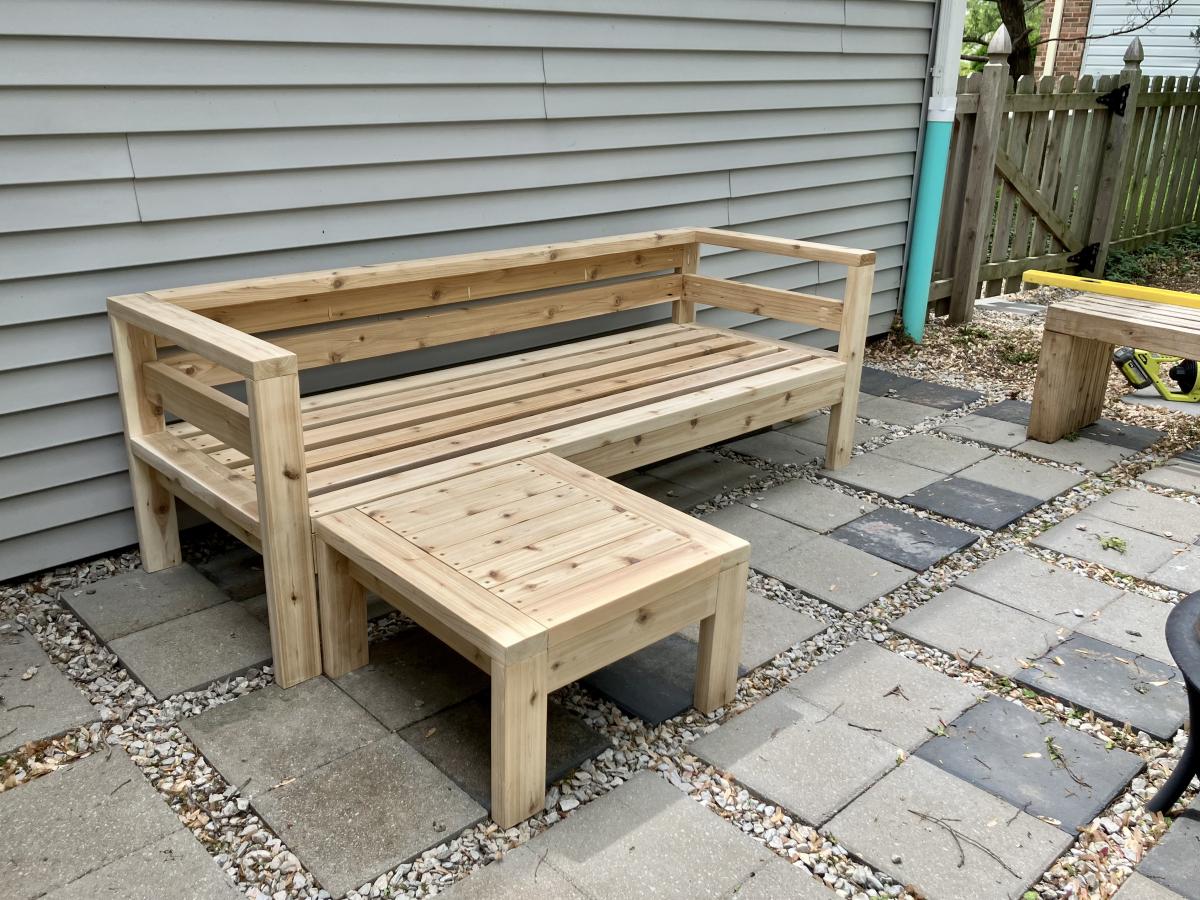
2x4 outdoor cedar couch with ottoman
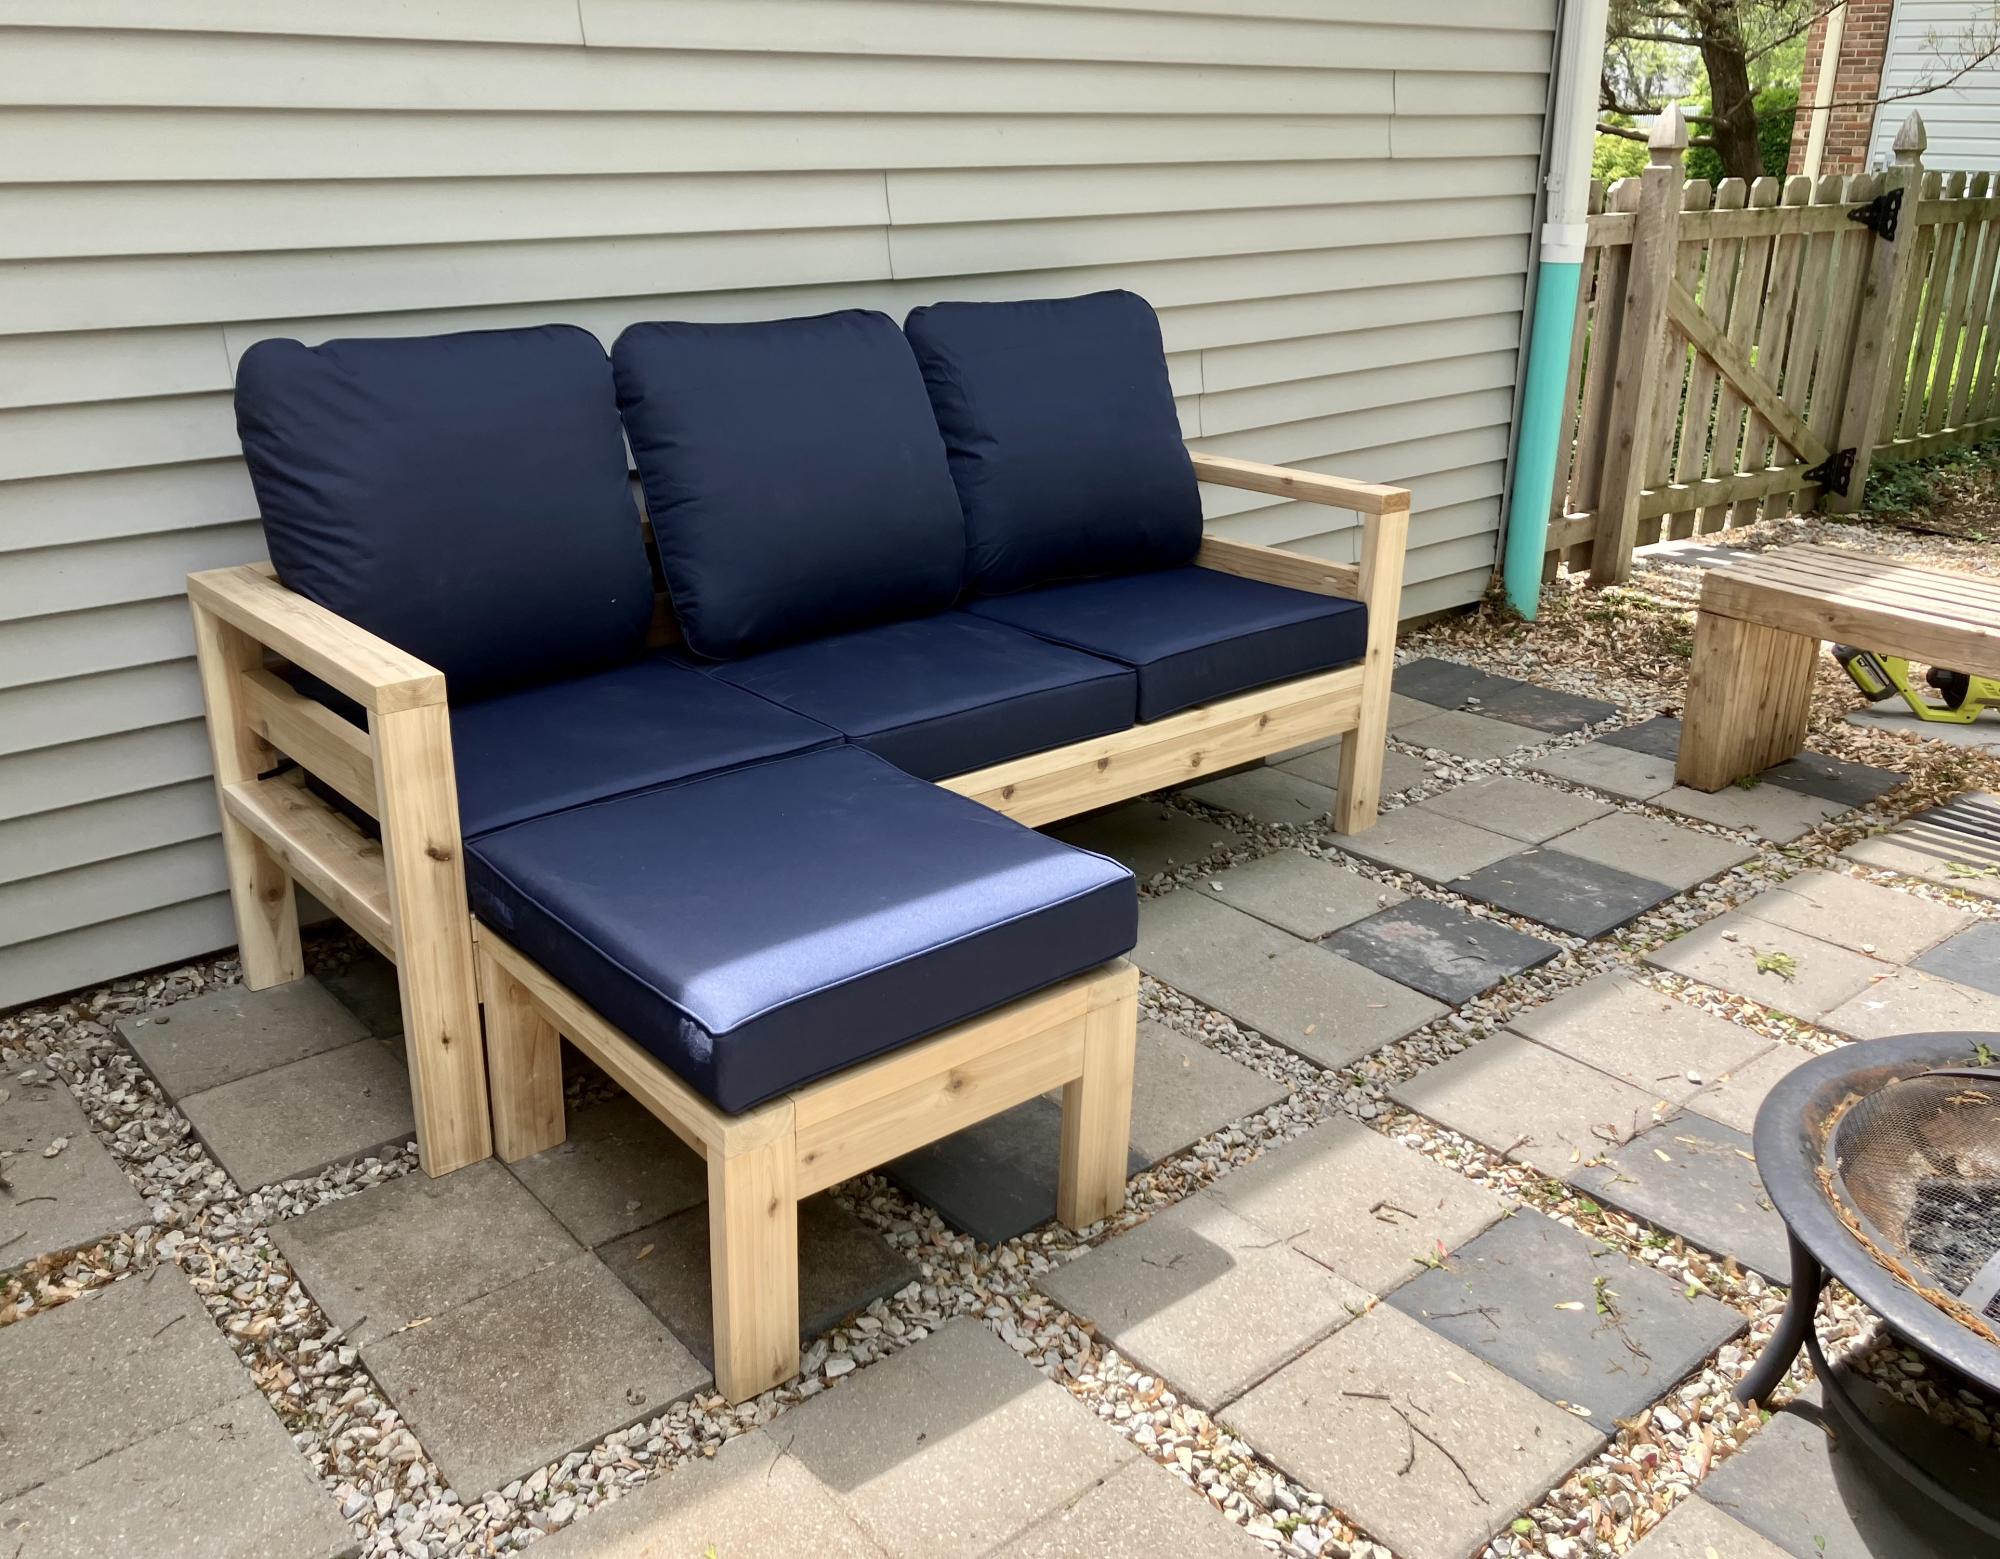
I used pocket holes to hide the screws. I made an ottoman out of the outdoor coffee table plans to my dimensions that can be used as a coffee table when we need it.

Built from Plan(s)
I used pocket holes to hide the screws. I made an ottoman out of the outdoor coffee table plans to my dimensions that can be used as a coffee table when we need it.
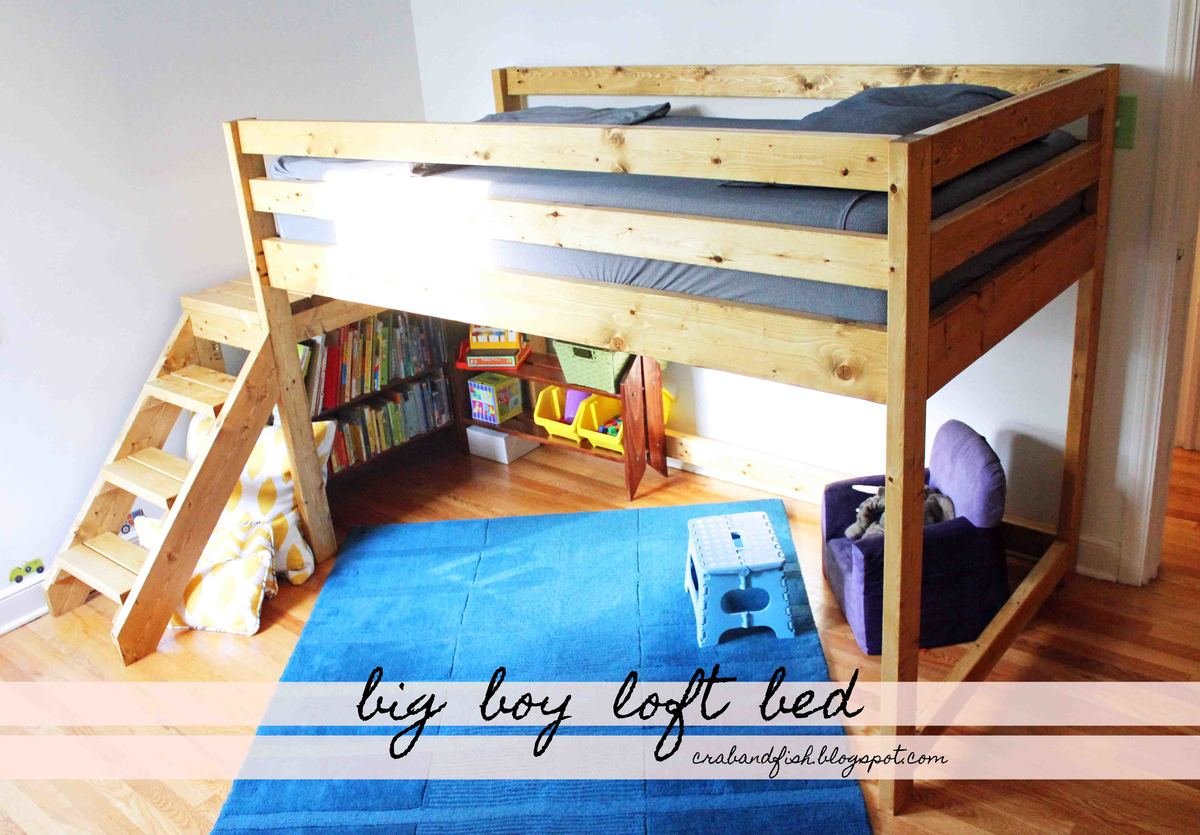
You can see the final project here: http://crabandfish.blogspot.com/2012/10/lil-archers-bed-its-done-its-do…
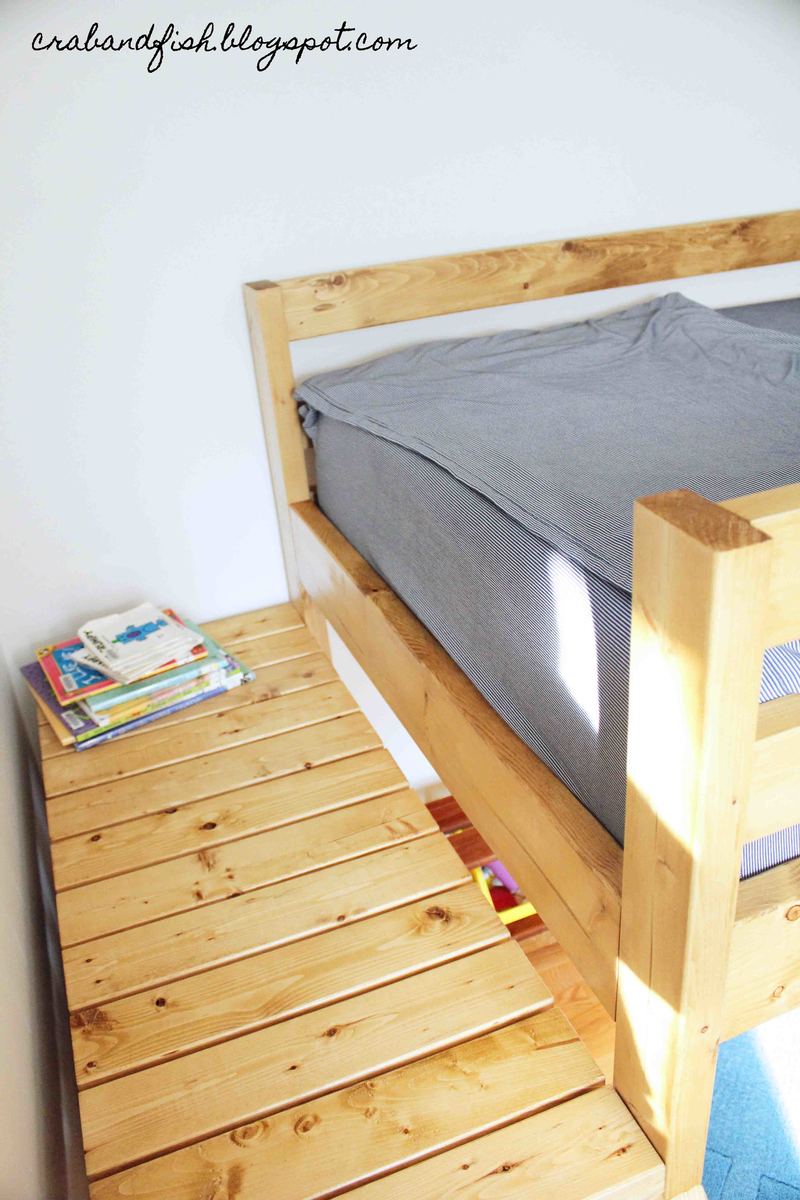
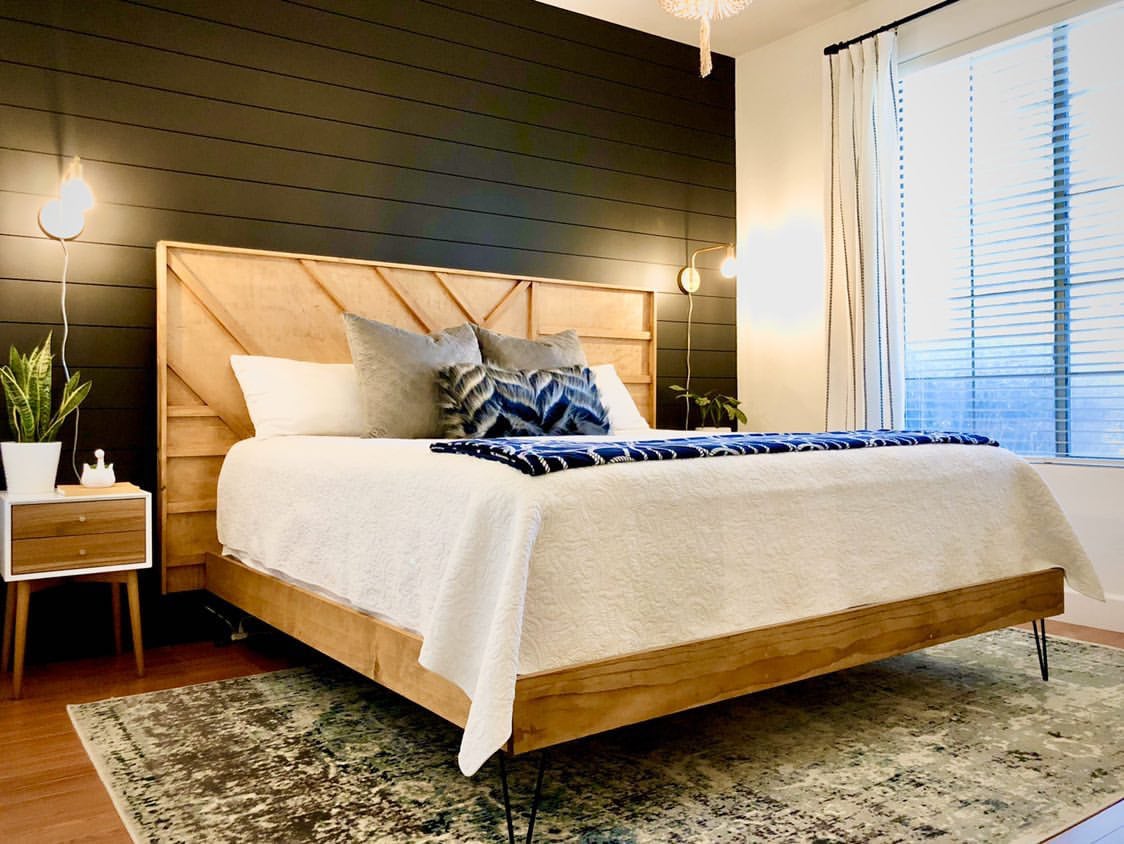
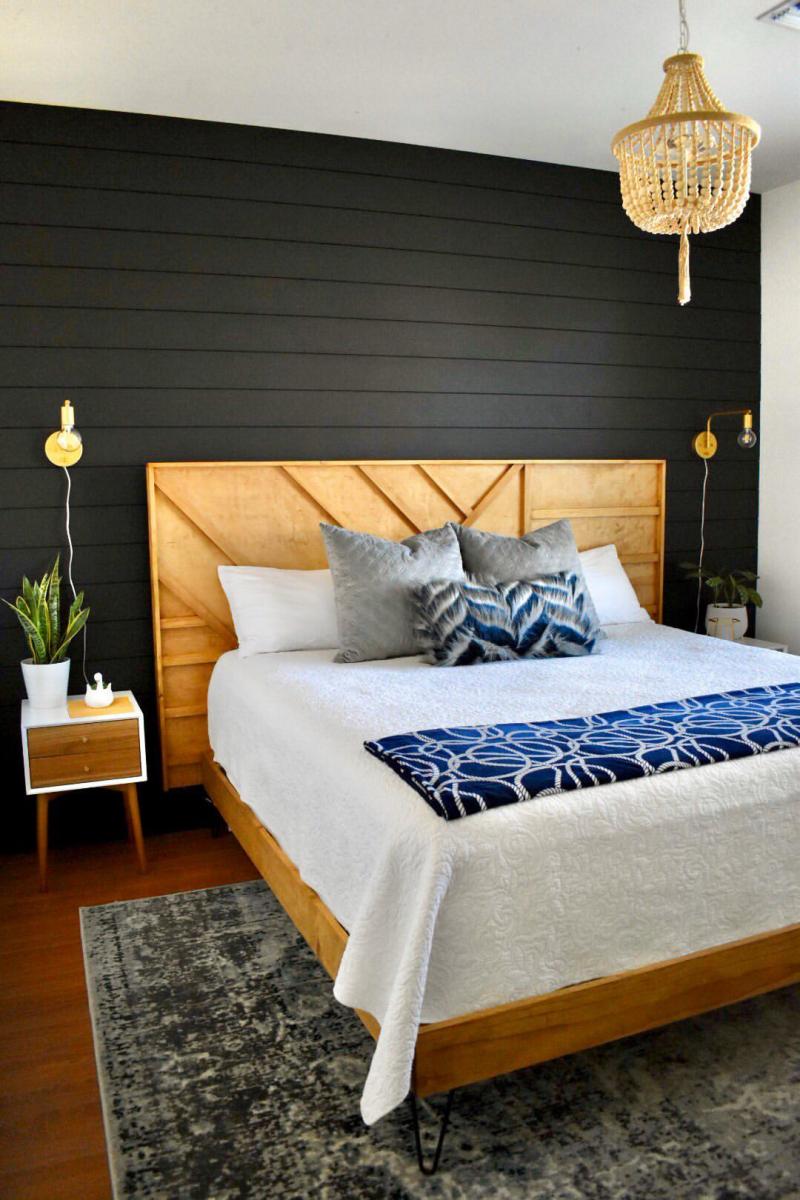
It was time for our son to move to a big-boy bed! We looked at tons of plans, but none were quite what I wanted. In the end, fish modified plans for Ana White's Camp Loft Bed with Stair. We wanted to make it a bit shorter because we only have 8' ceilings and there is a ceiling fan in the room. We spent about $80 for the lumber and invested in a kreg jig as well. The bed is stained with Minwax Golden Oak. We bought a 10" deep twin-sized foam mattress for the bed - if you are adding a coil mattress and boxspring, the bedside rails would definitely need to be higher.
Our son LOVES it! He is almost three and is easily able to navigate the stairs, which I don't believe will become too "baby-ish" as he grows older. If they do, the steps can easily be removed from the frame without losing structural integrity.
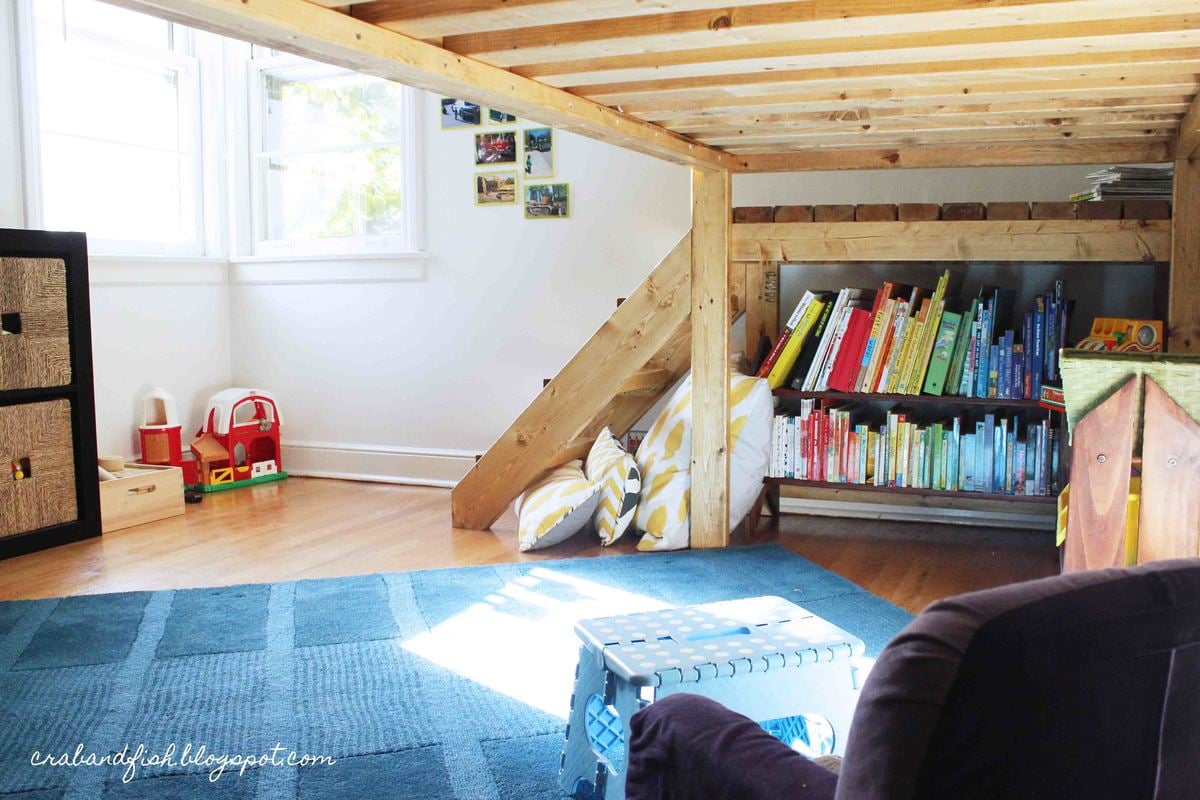
The underbed area has a great "cool" factor - we hang blankets to create forts, and it has become a place our son gravitates to for reading, playing, anything!


Sat, 01/03/2015 - 11:41
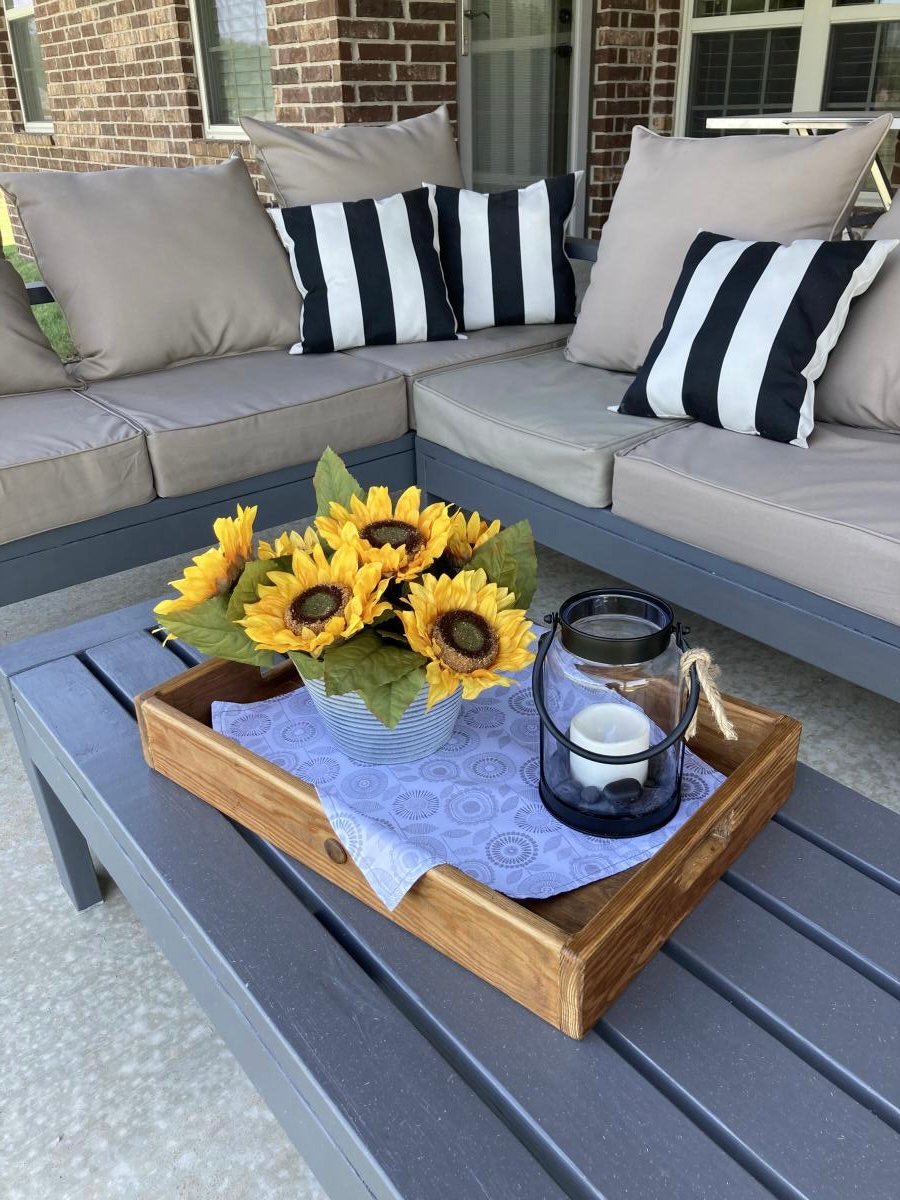
I wanted sturdy seating for my patio. Ana White had the perfect plans for my L shaped seating and coffee table. It was simple to put together and we love it!
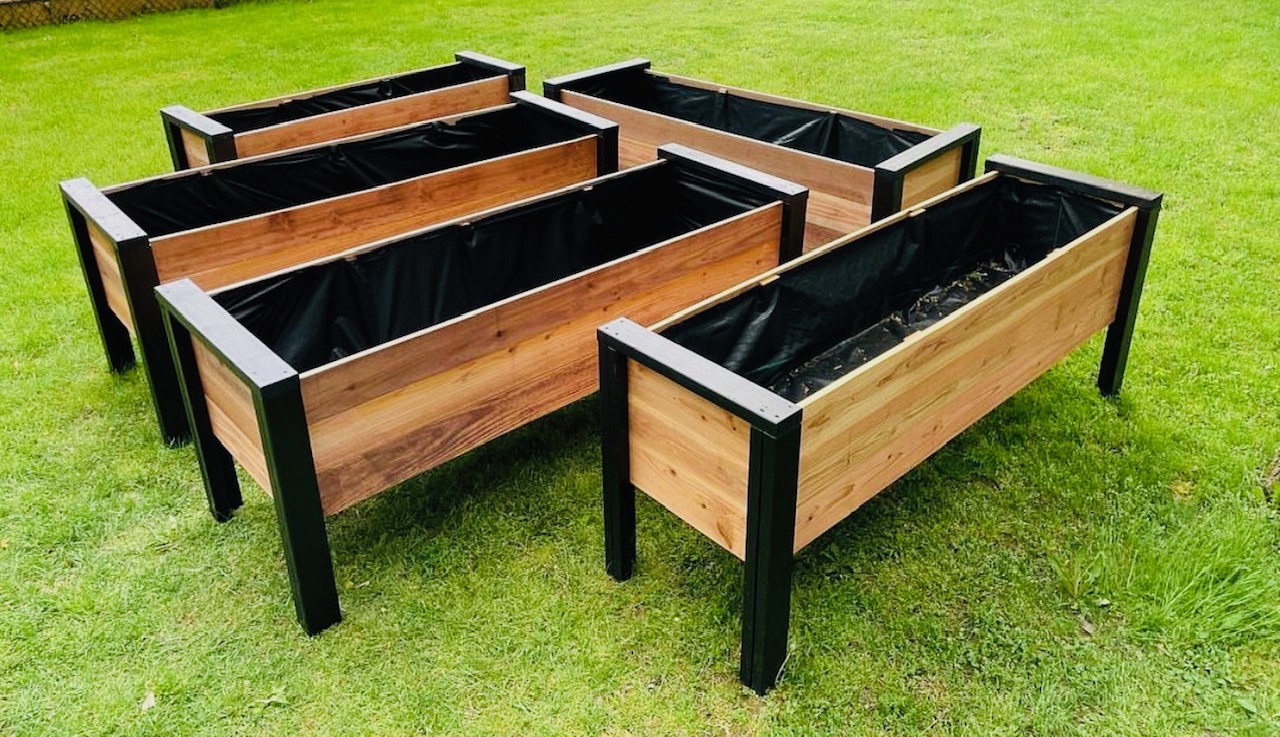
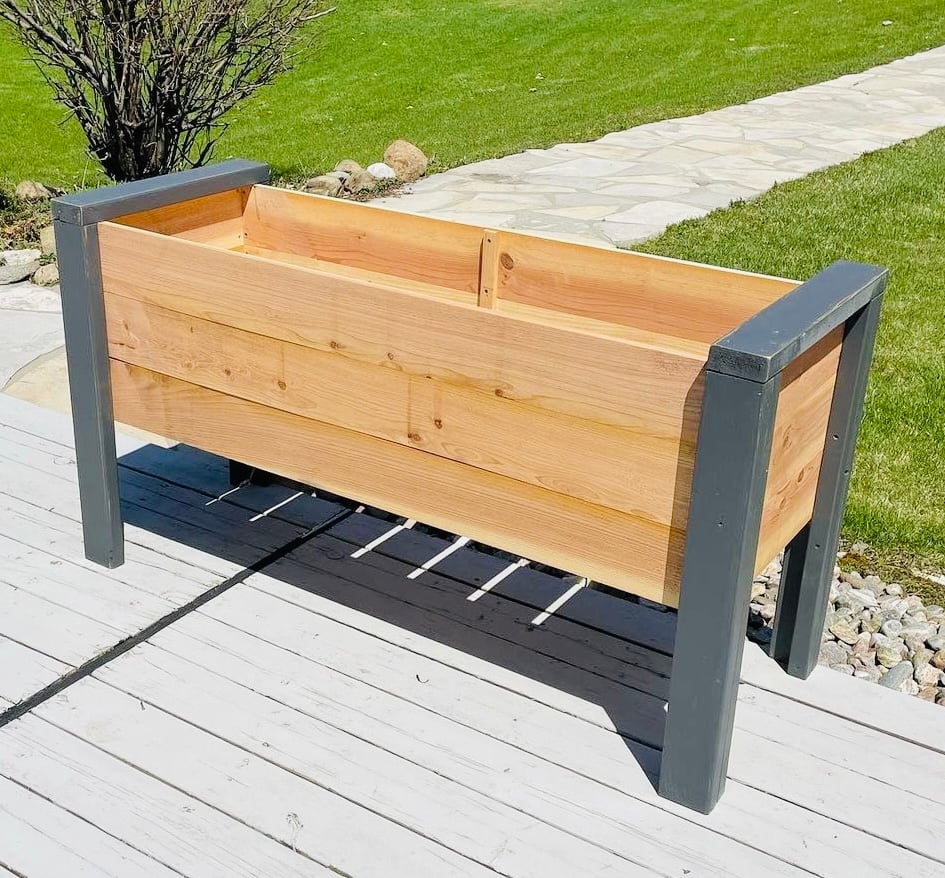
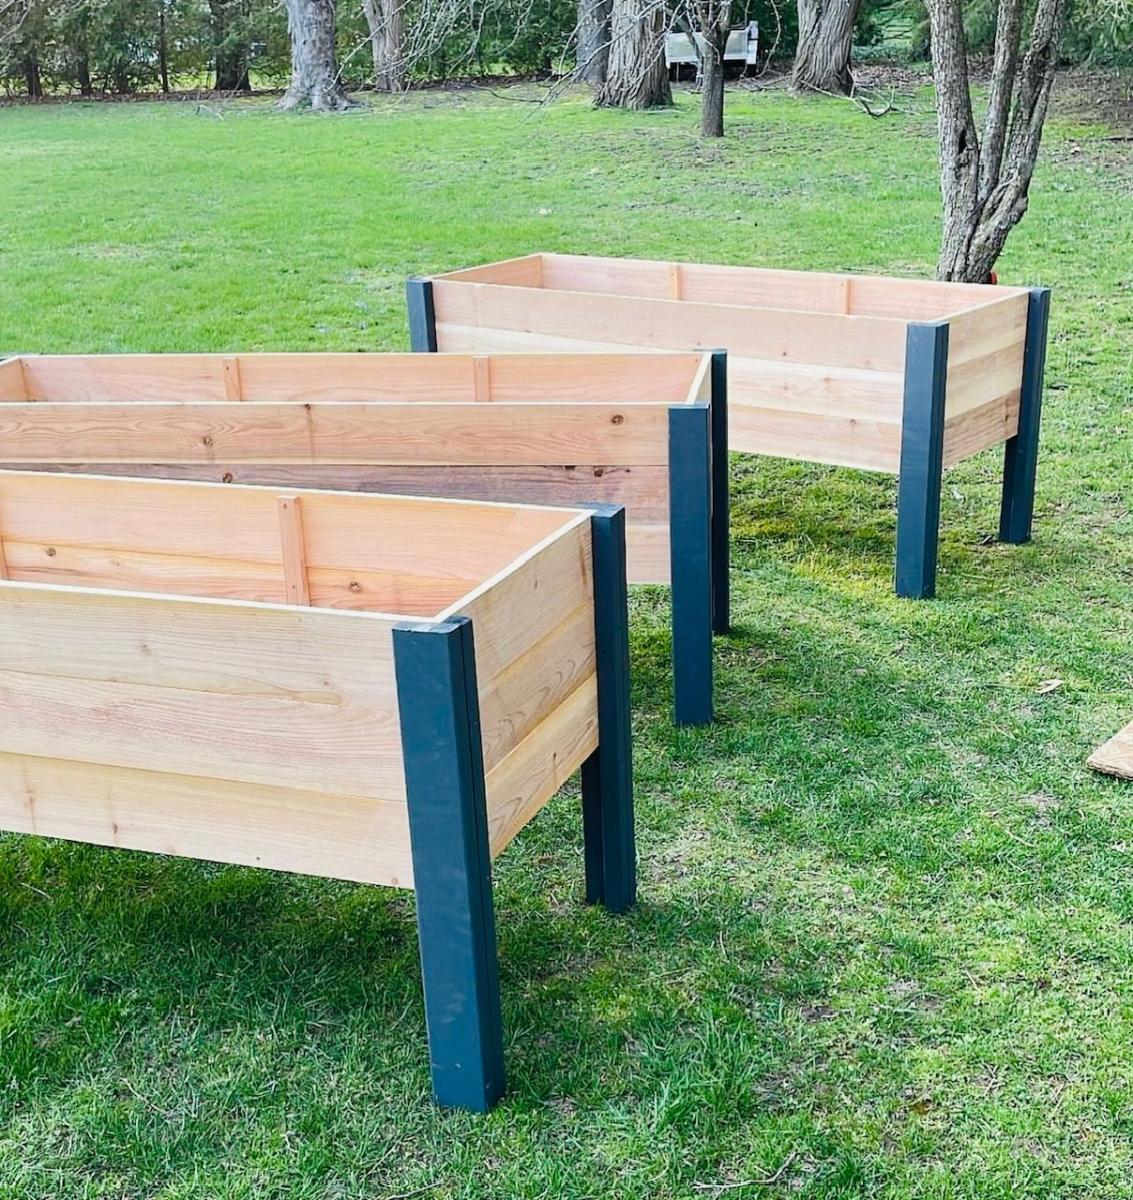
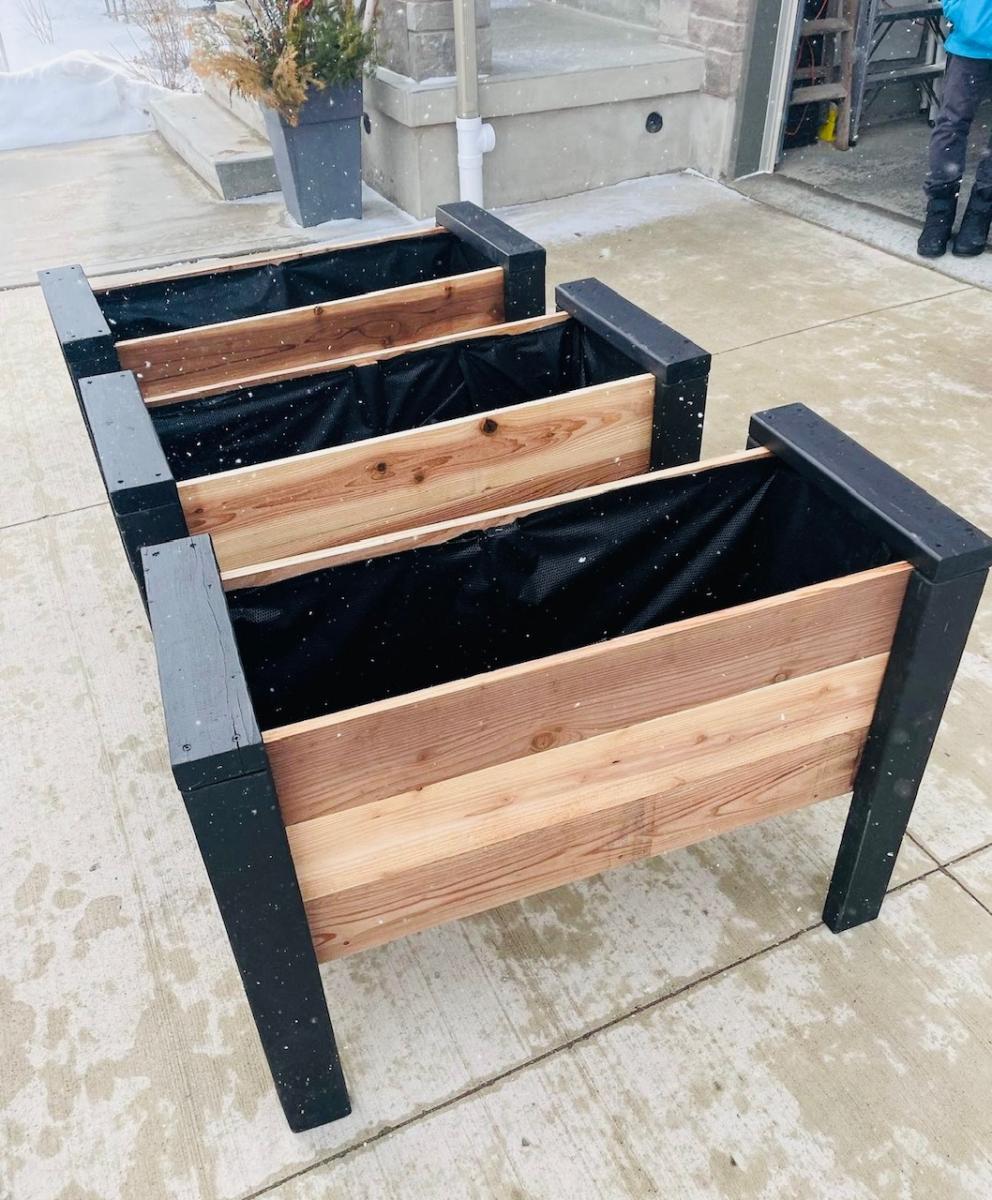
Planters build by Urban Wood Solutions

Fri, 03/31/2023 - 04:23
These are incredible. They look a little deeper, and would be good for vegetables. How deep are they?
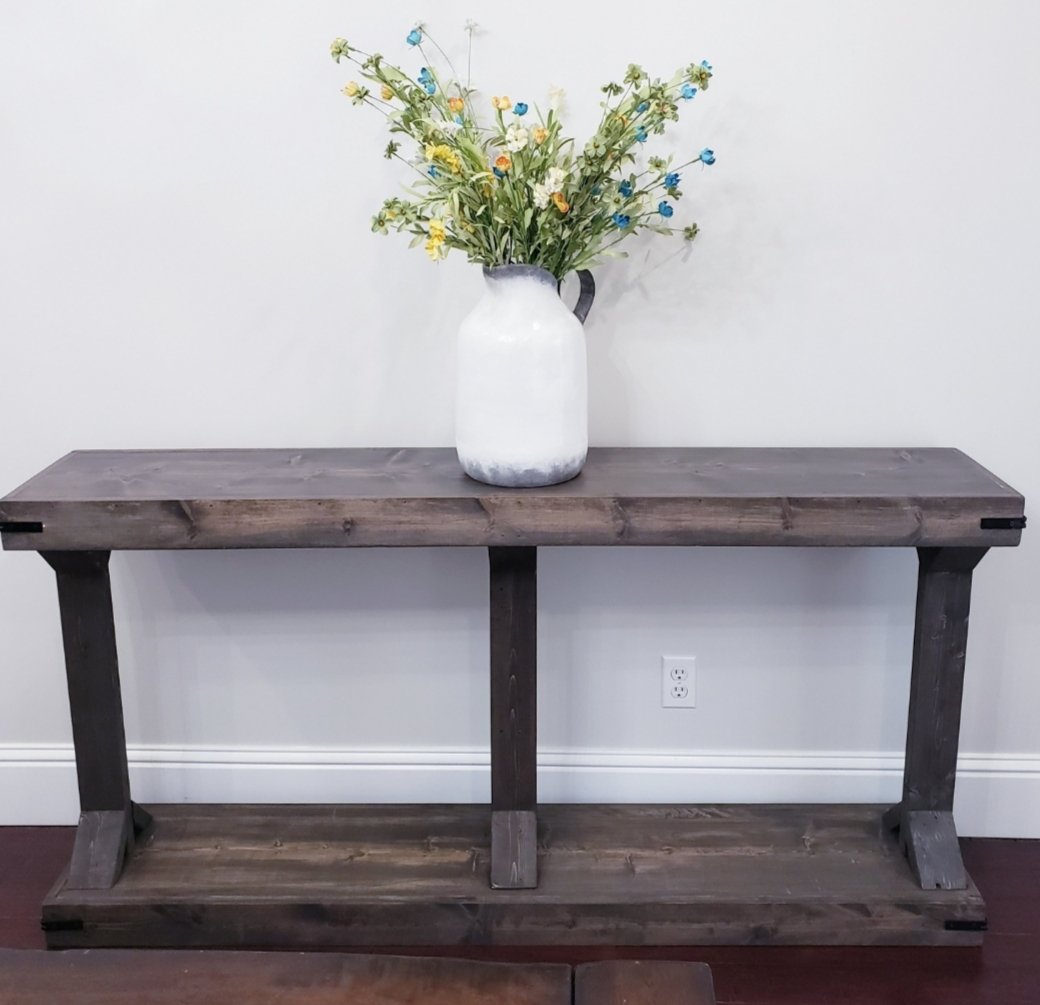
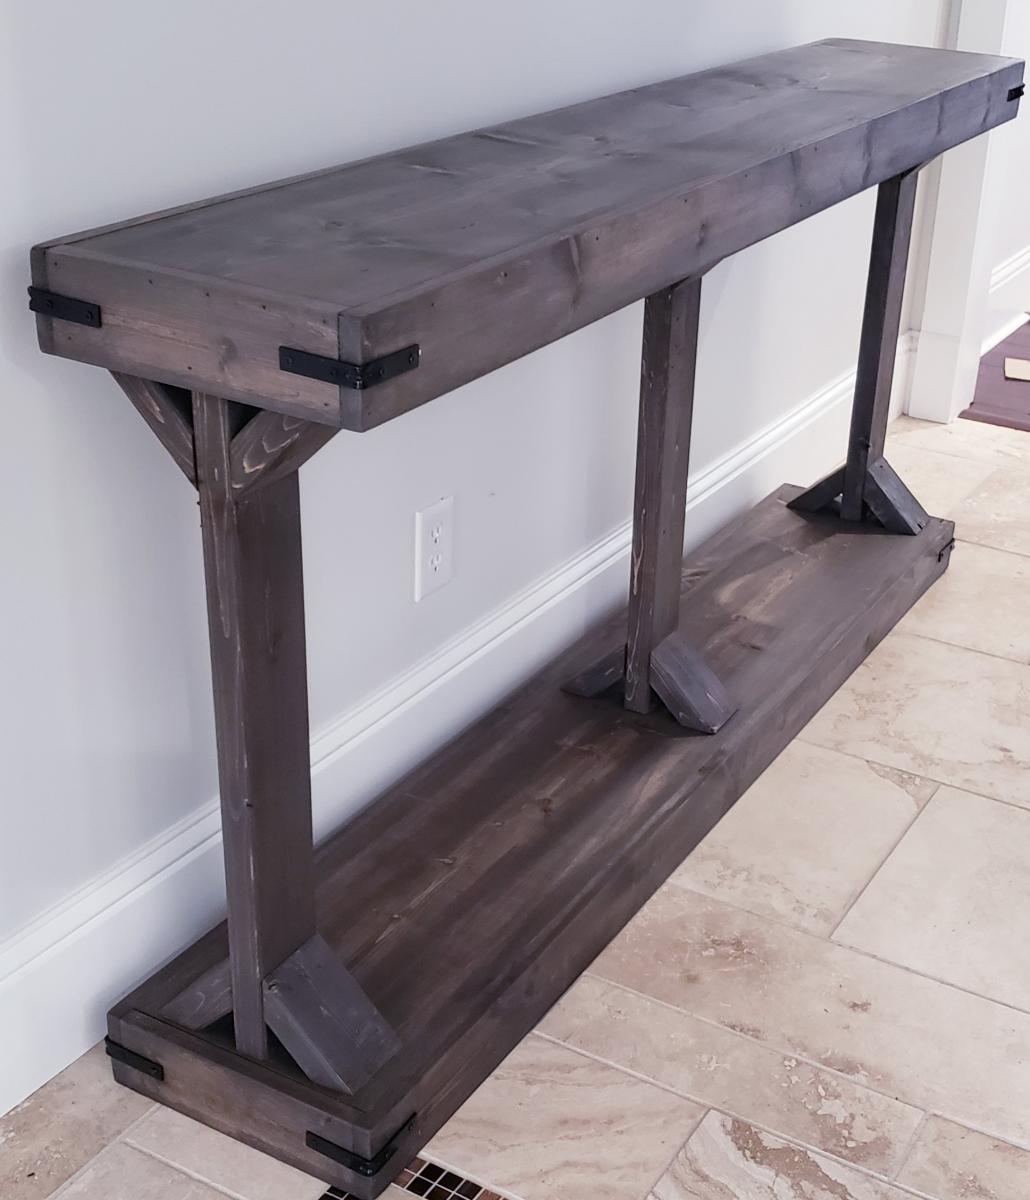
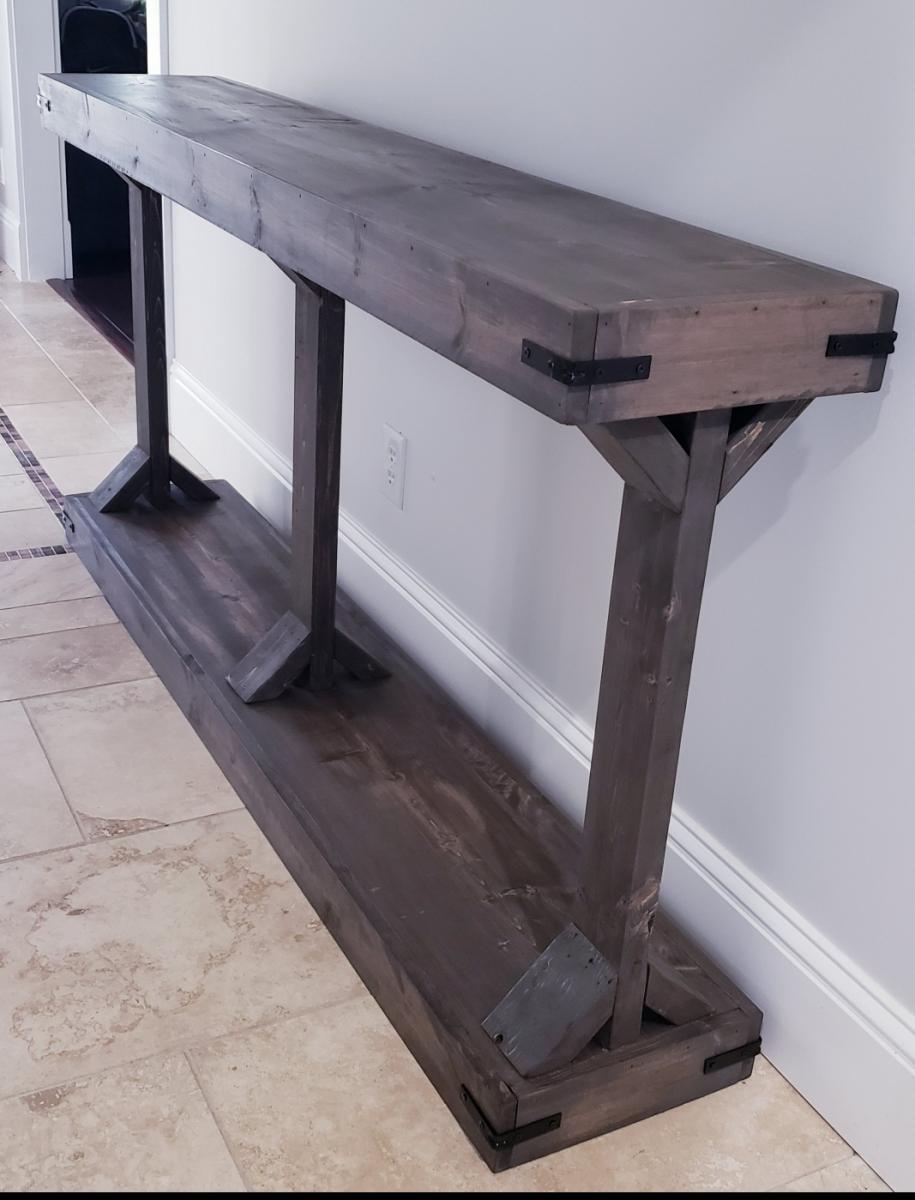
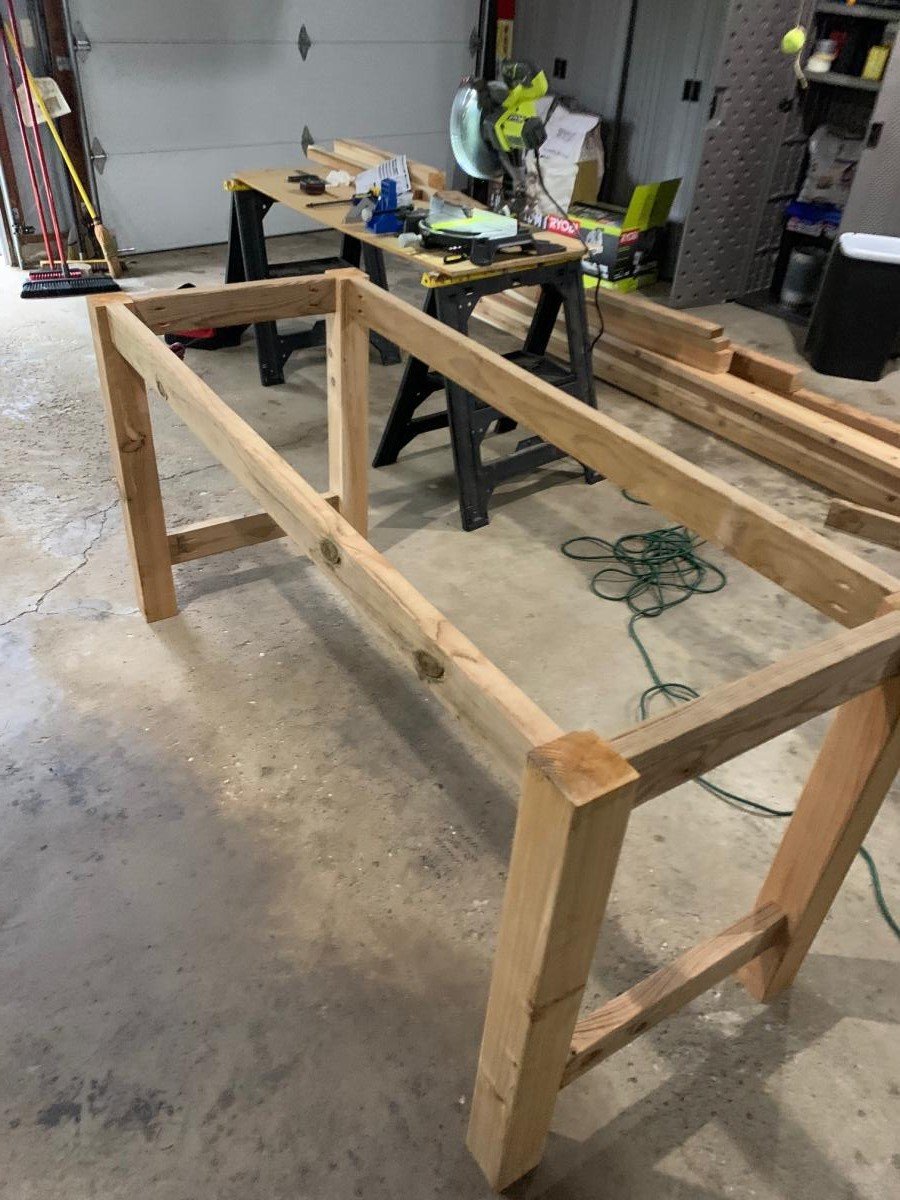
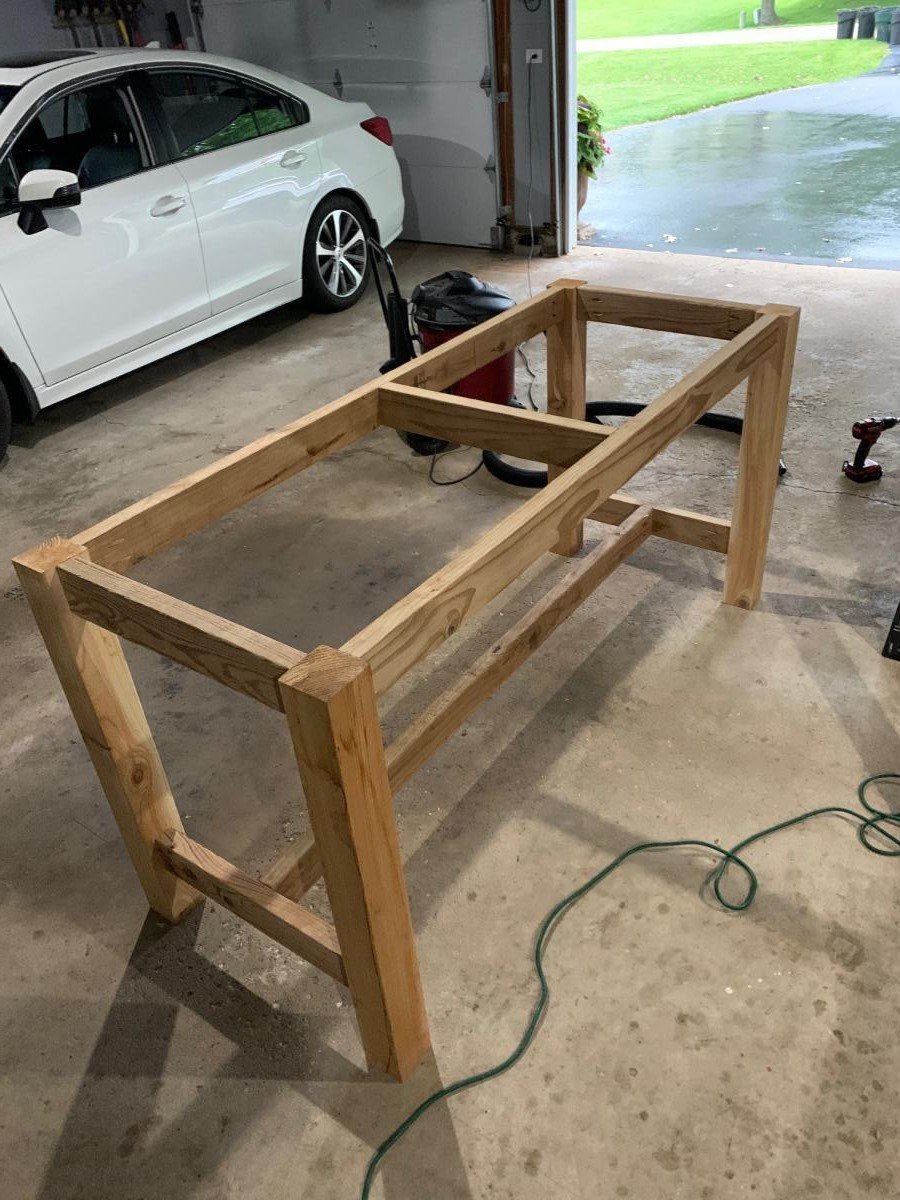
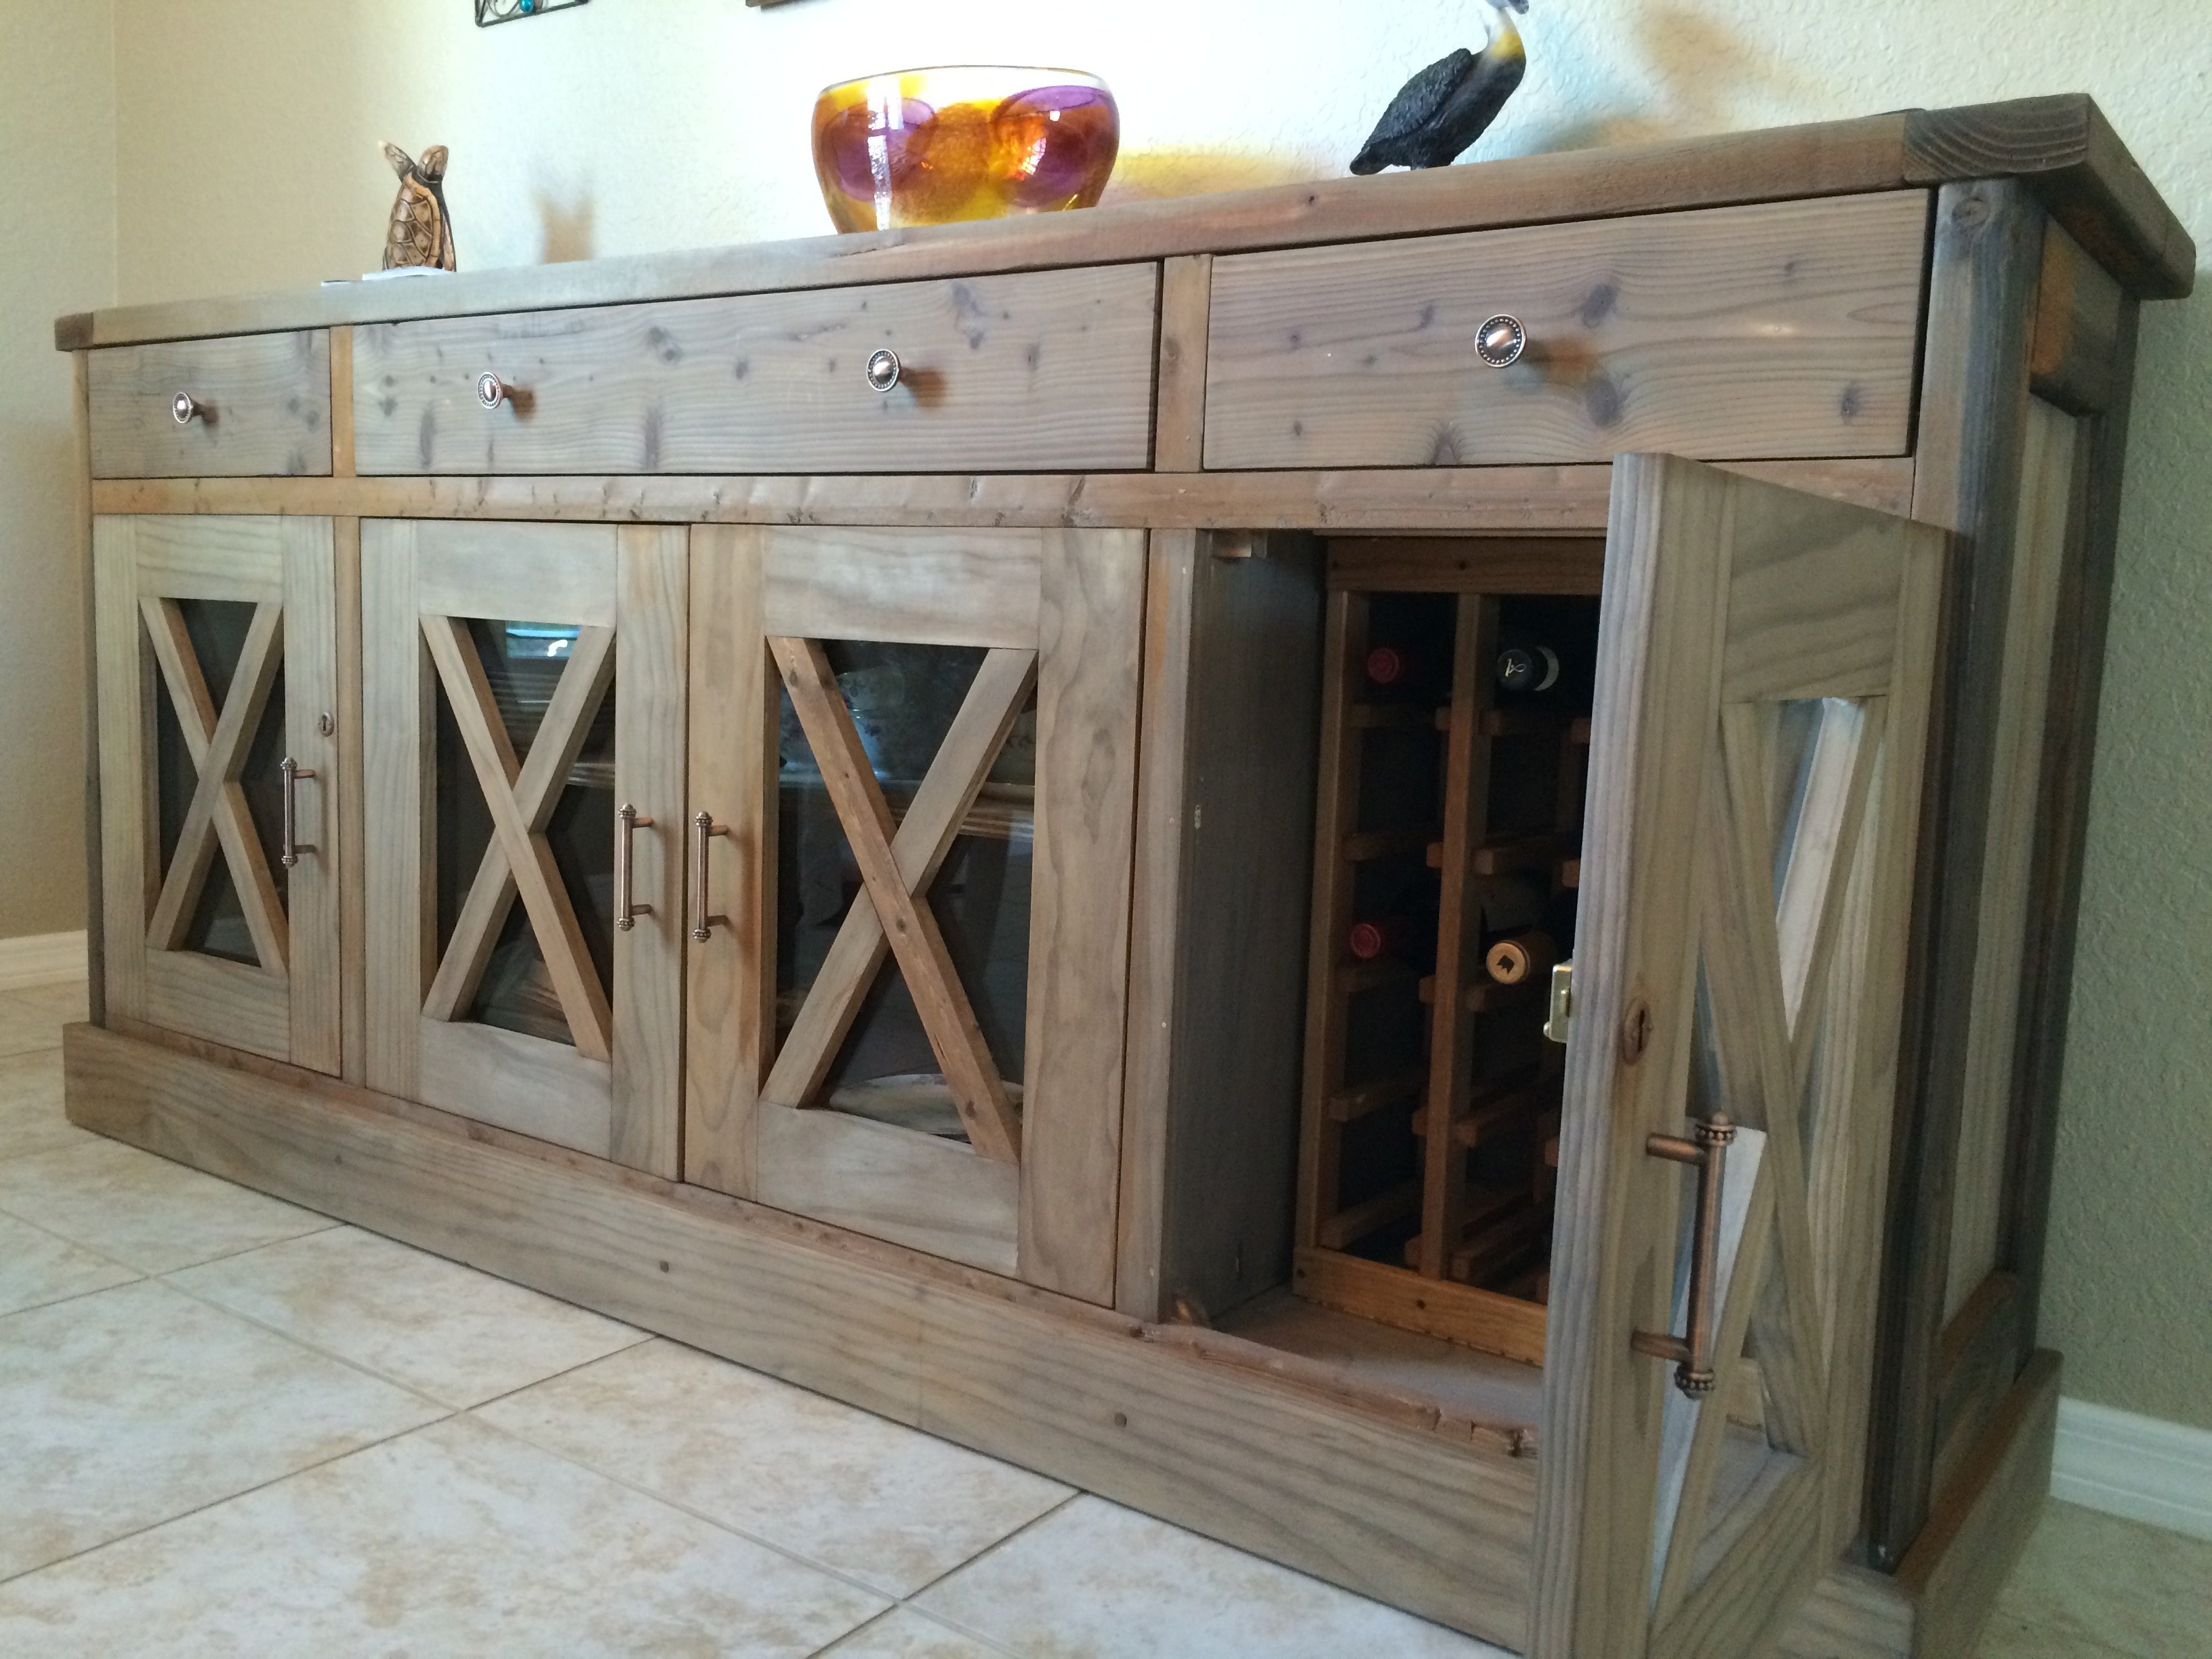
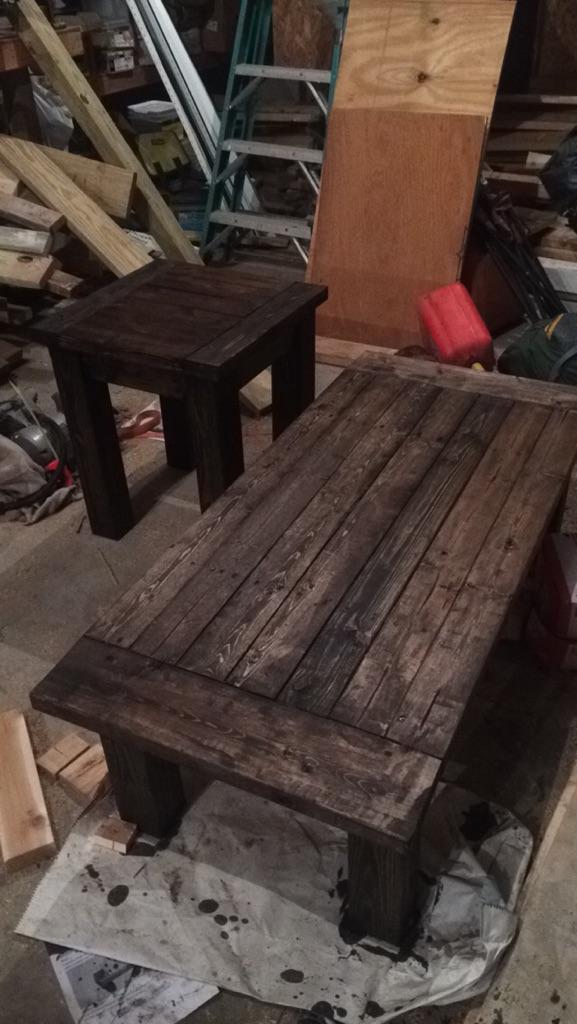
This is a beautiful console table built using the Narrow Console Table (Modern Farmhouse) plan. This is modified to be slightly wider, longer, and taller than the original plan. The dimensions are 68" long, 34" high, and 12.75" wide. The plan was very easy to follow and it was simple to adjust the measurements.
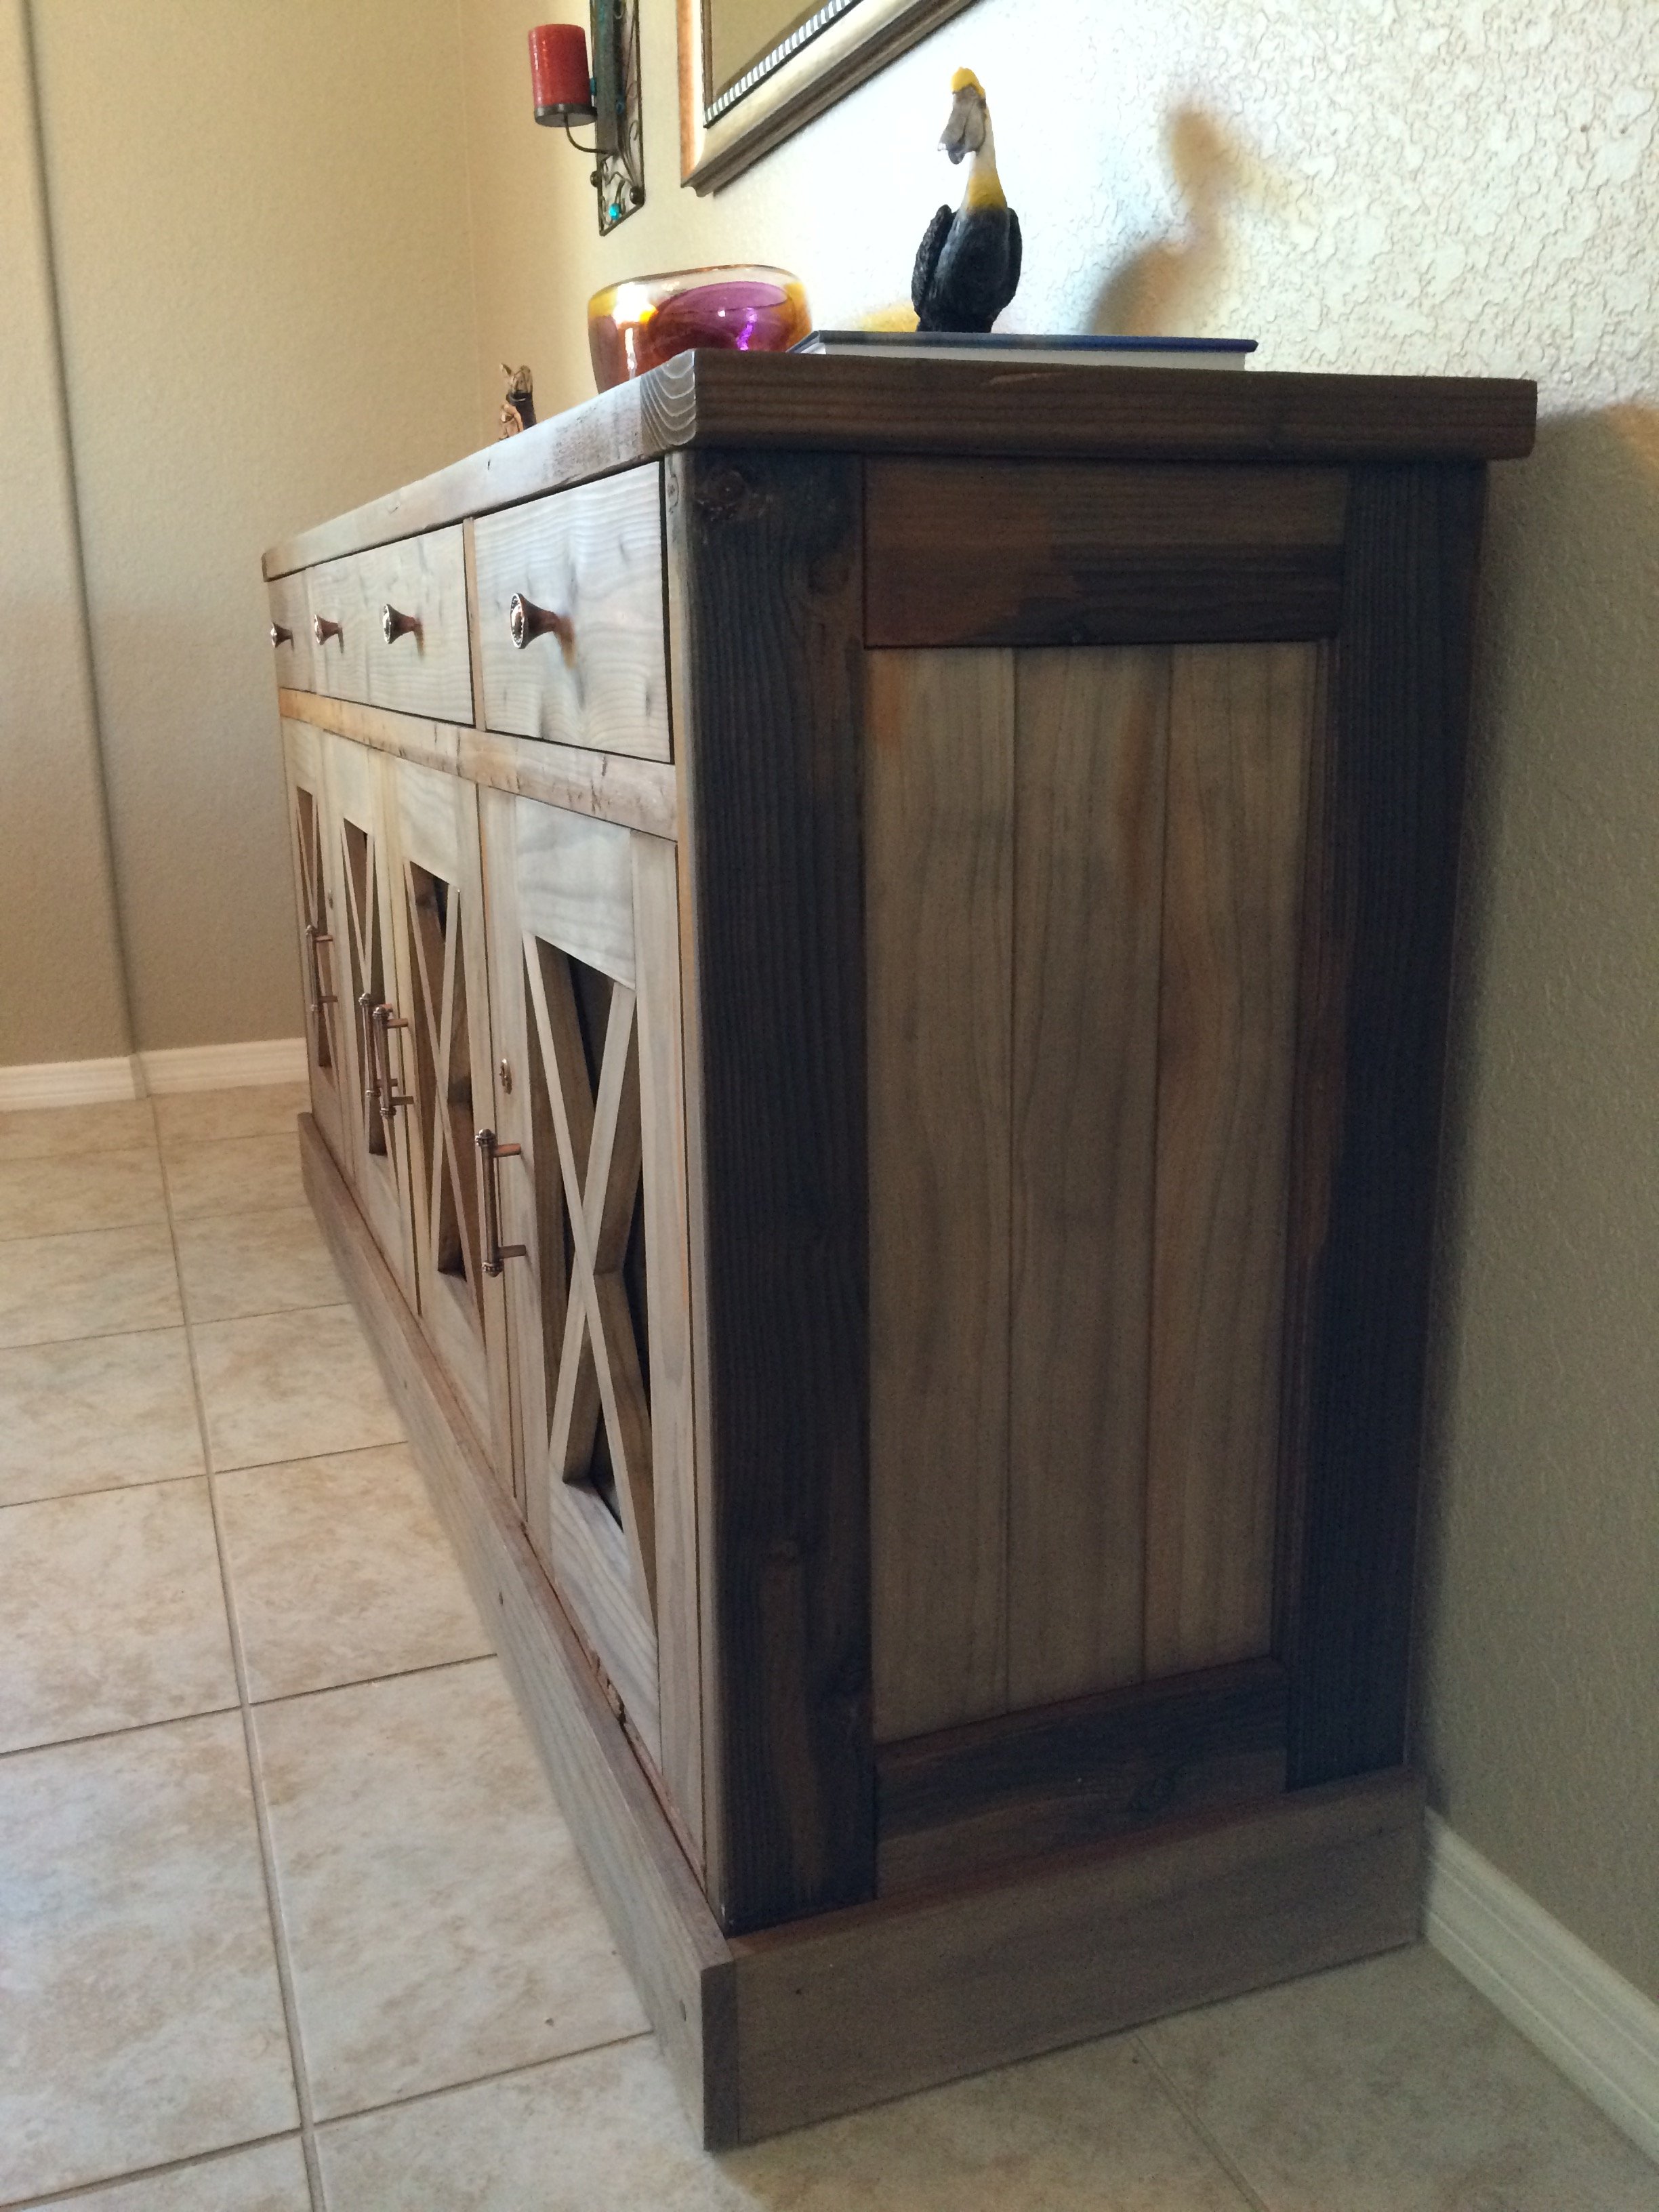
I used Varathane Dark Walnut Stain and once that was dry, I went over that lightly with Varathane Classic Gray stain. The final finish is Minwax Dark Wax and buffed.
More photos available on my facebook wood shop page at the link below.
Thu, 12/05/2019 - 12:06
Beautiful! I really like the finish you did on this table, thanks for sharing the details. I may need to try this myself.
Tue, 02/02/2021 - 19:09
Great color. I have never gone over color 1 with color 2 - I will now try it. Great look!
Tue, 02/02/2021 - 19:13
How do you wipe paint 2 over paint 1? Do you use a cotton cloth?
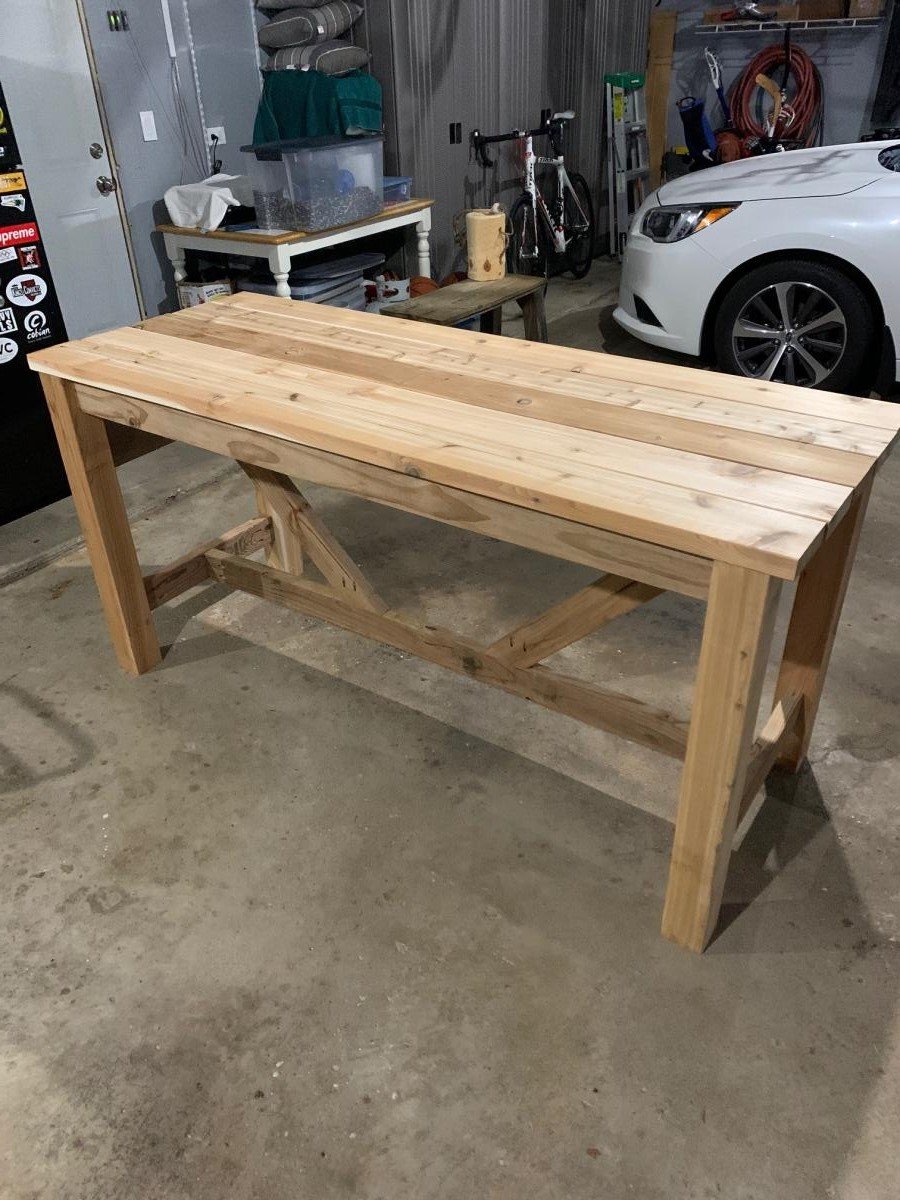
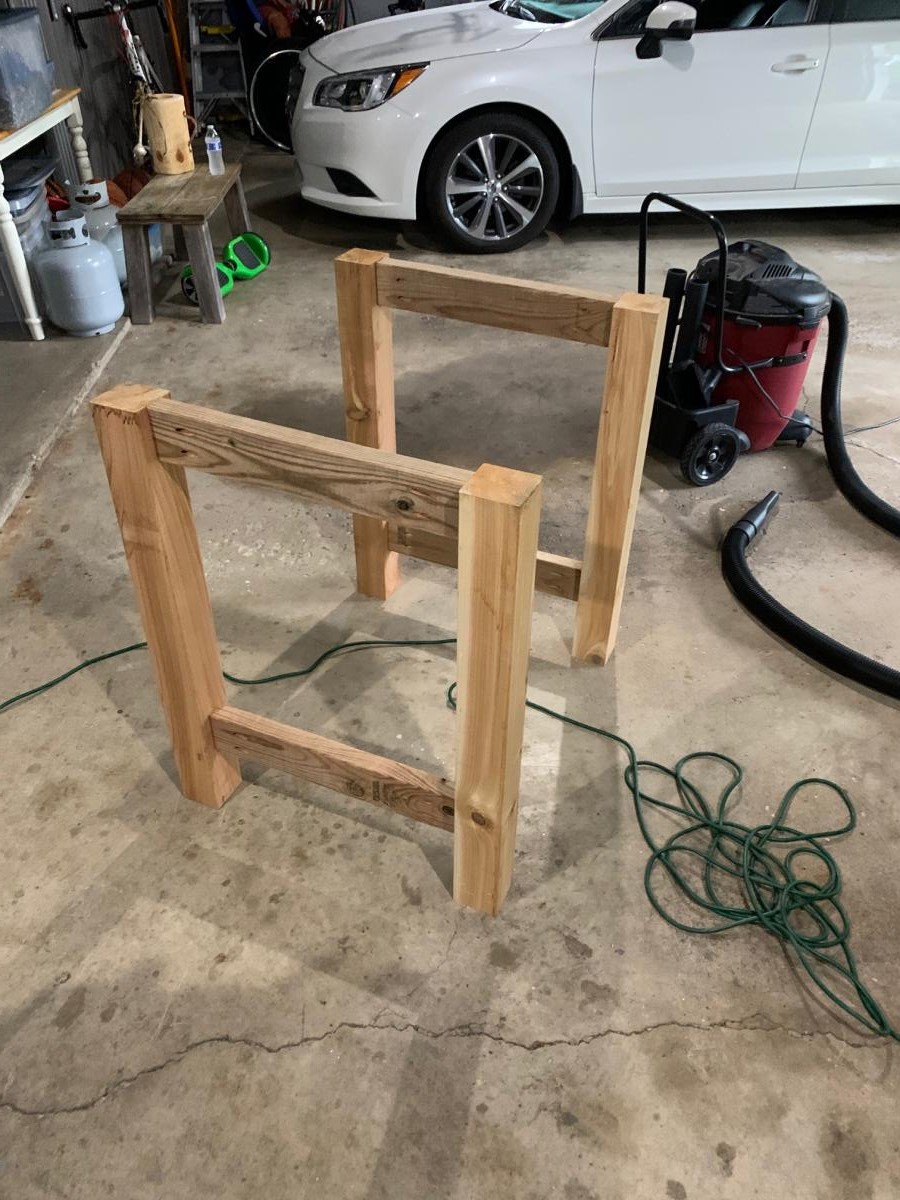
Not quite finished but love the table already. Trying to decide how to stain/paint it. The Kreg jig was a must for this project. It was my first of hopefully many! I used cedar for the 4x4s and 2x6 top pieces. The 2x4s are treated lumber (only because there were no more cedar ones....apparently lumber is getting hard to get lately!!!). Anyway....thanks for the great plans and motivation for this project.
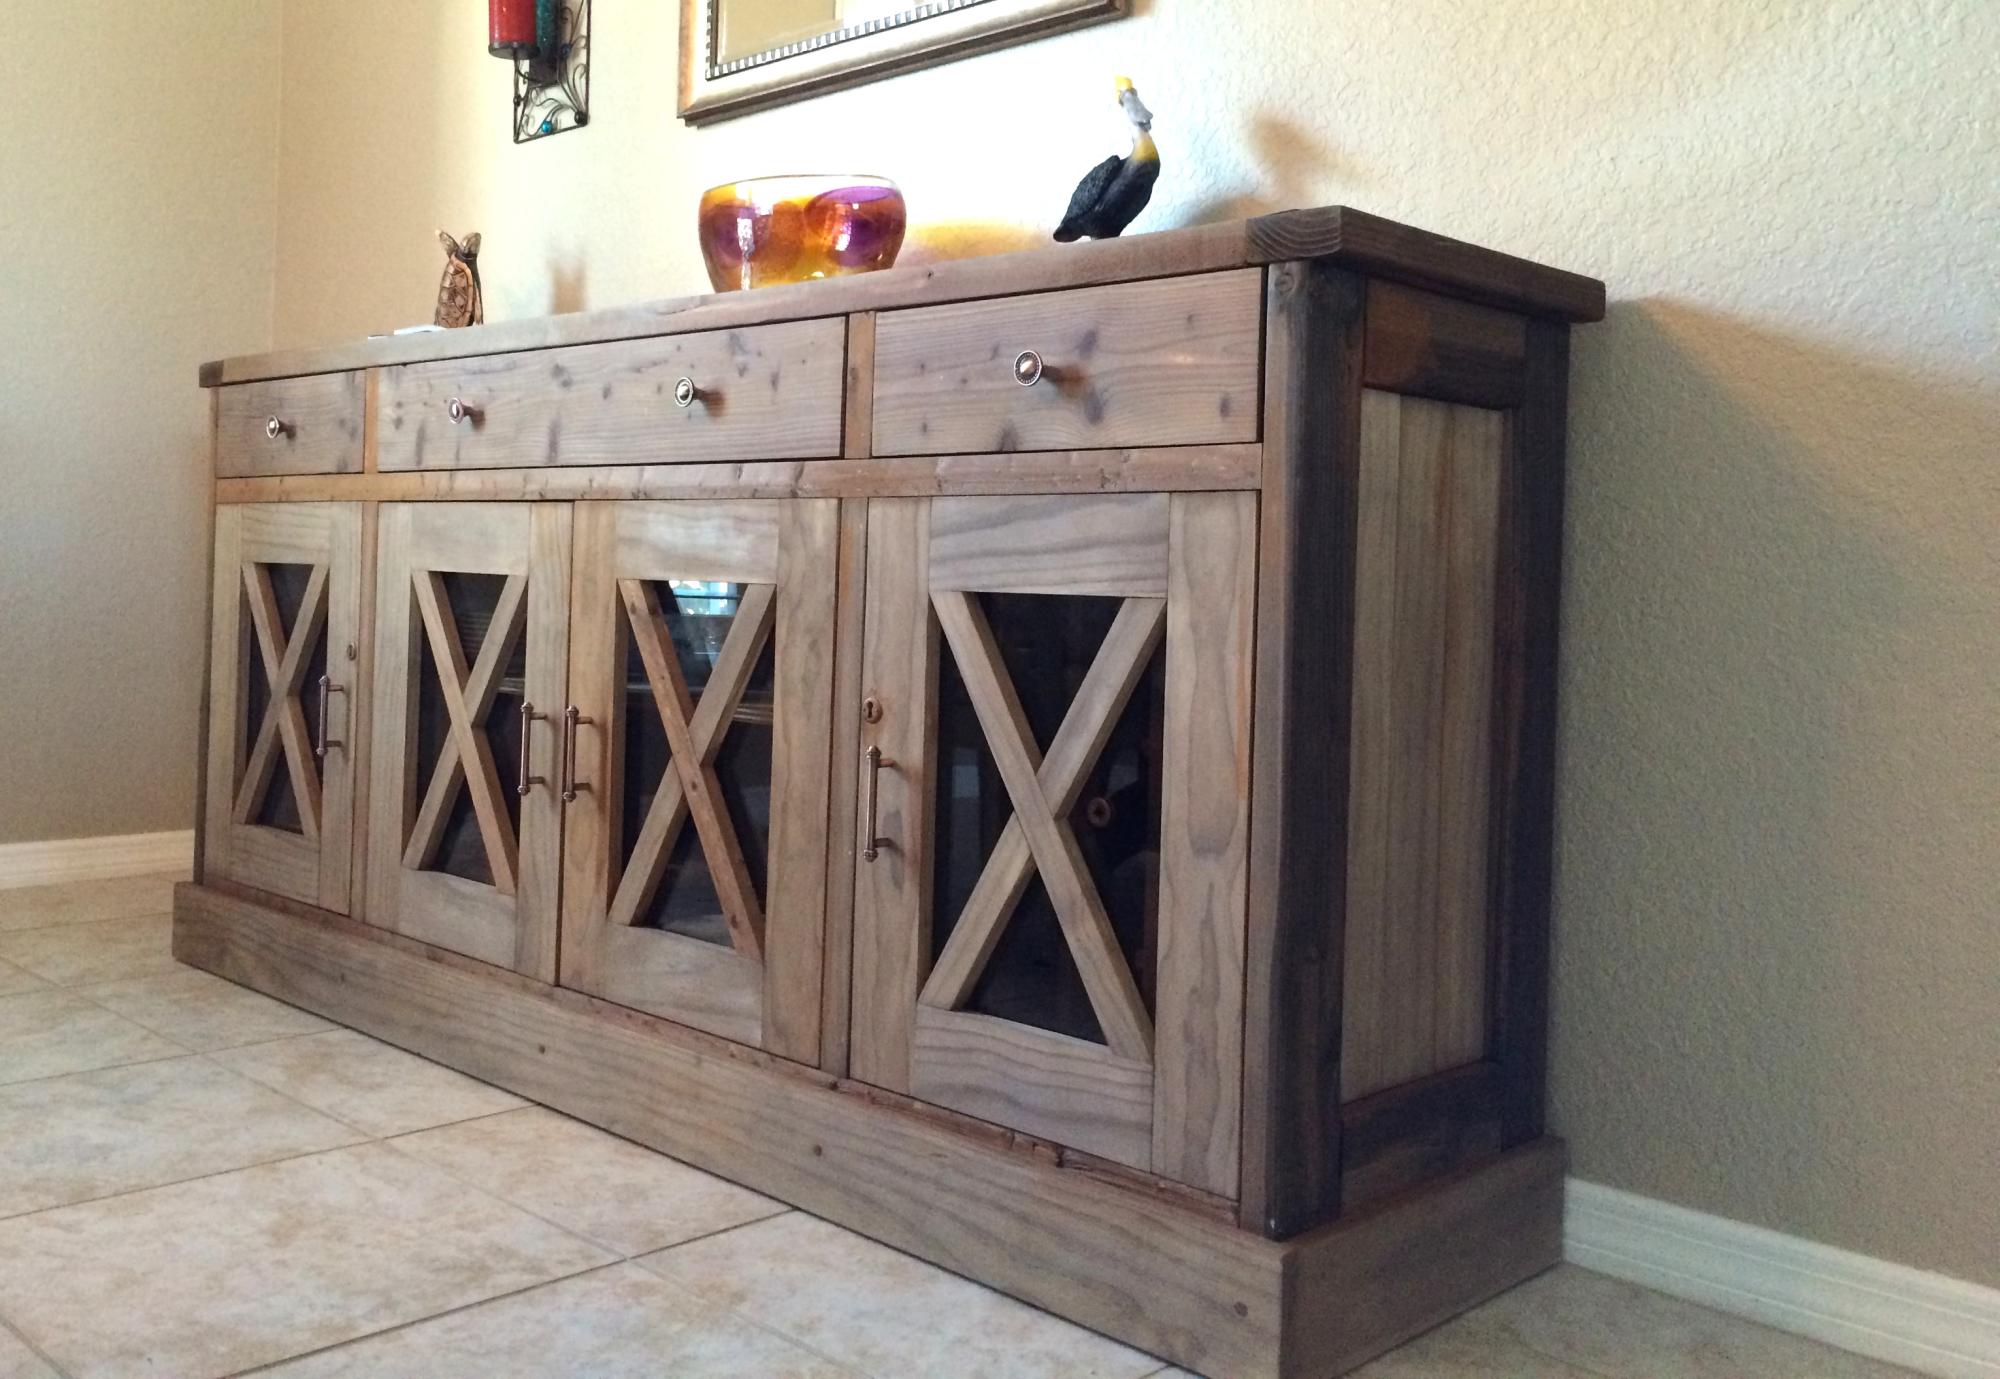
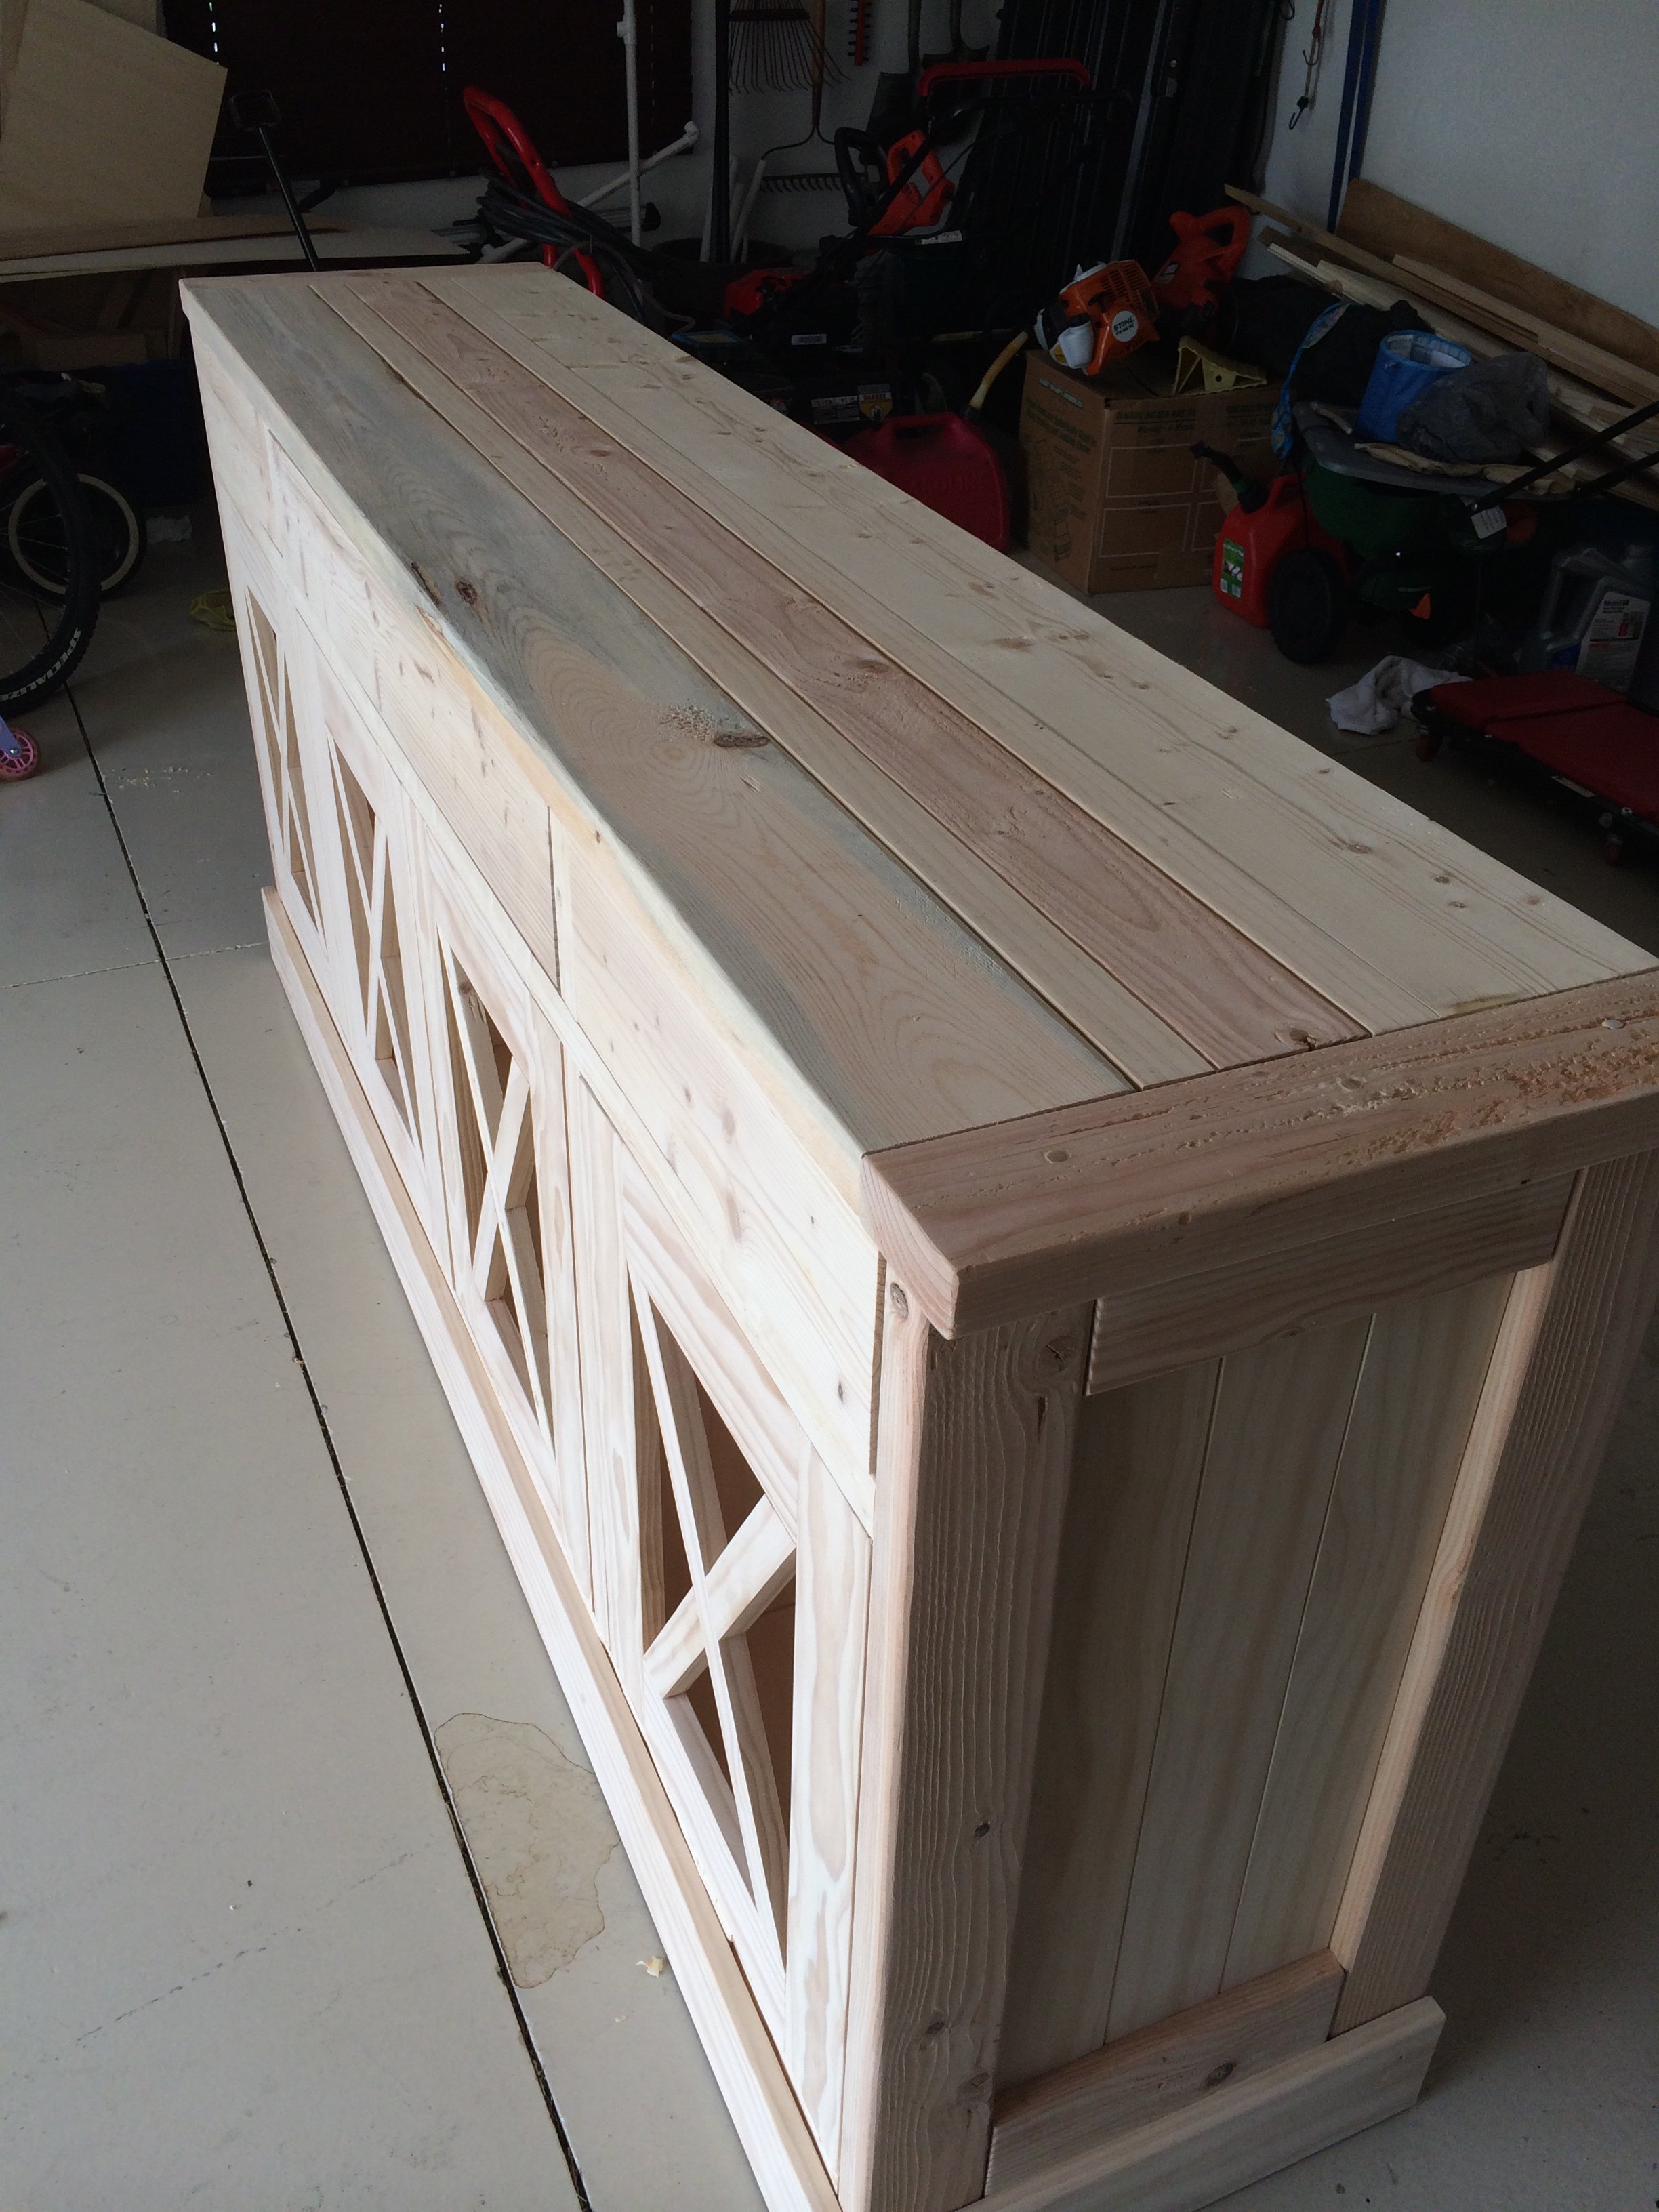
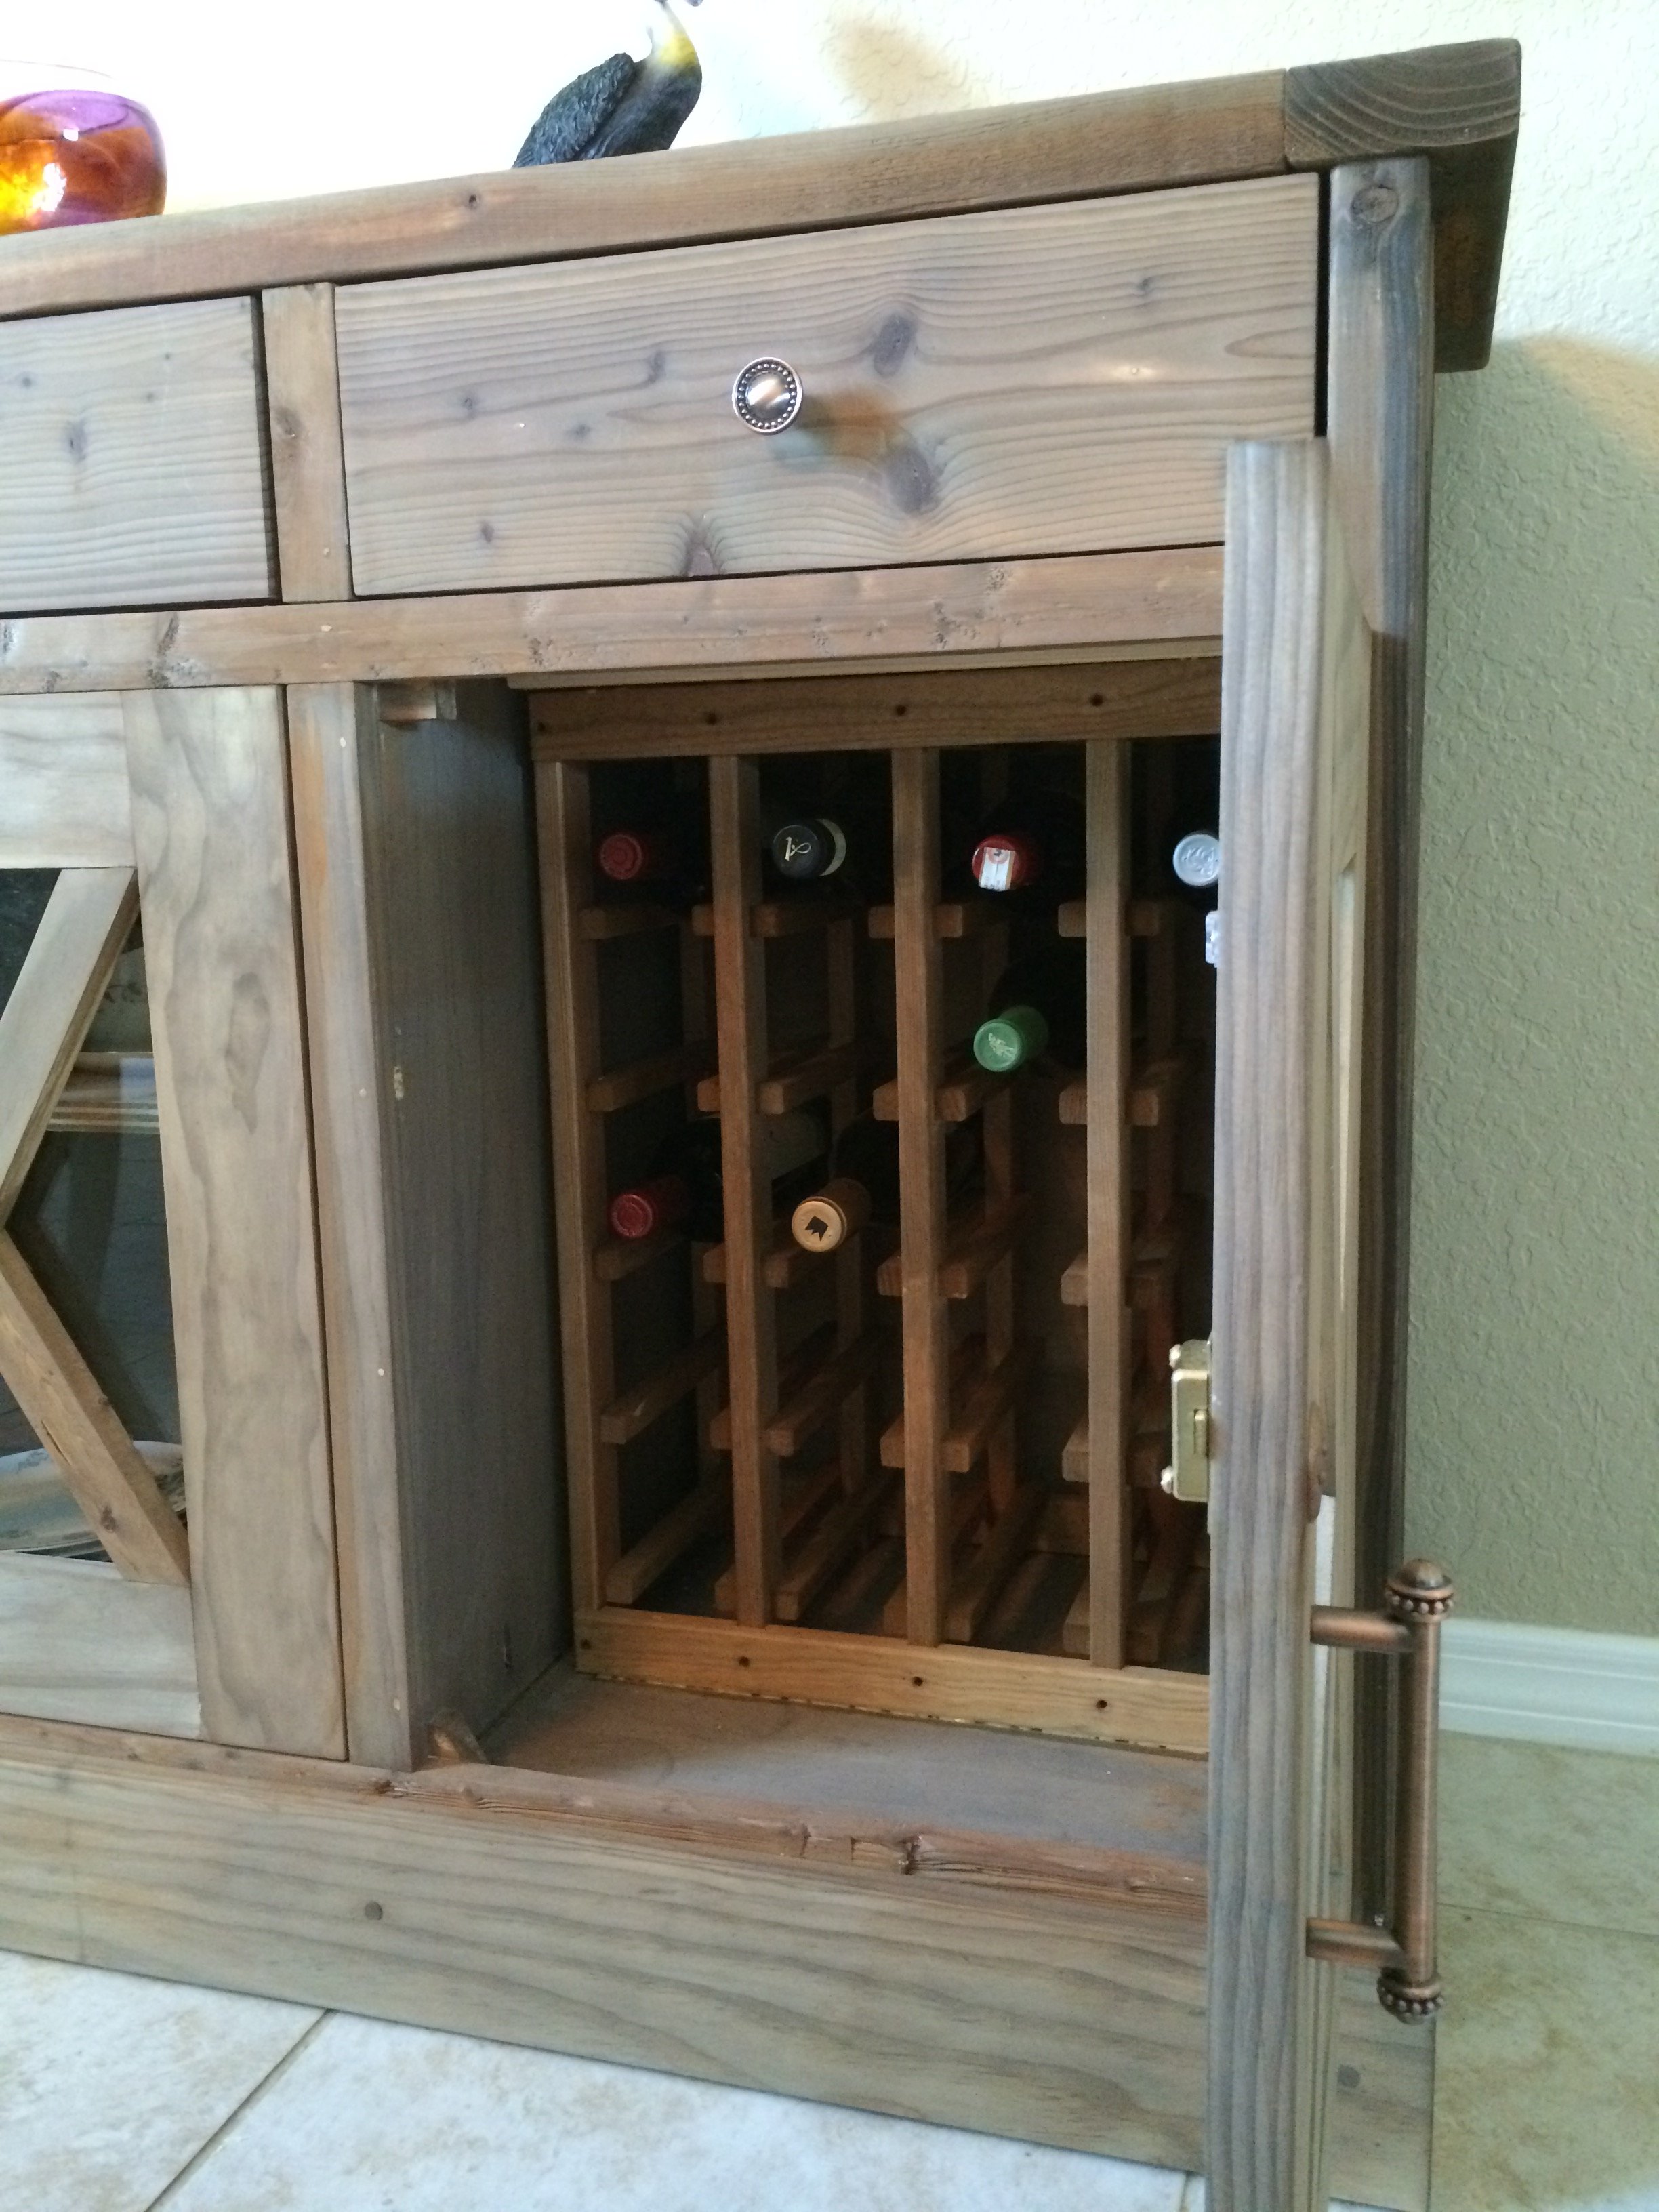
I made a few modifications from the original plans as I wanted to have some visibility into the cabinets. I used natural pine and finished with a tea, vinegar/steel wool solution to give it the reclaimed wood look.
Wed, 08/17/2016 - 23:42
Would you have plans available for the modifications that you made? This is beautiful!!
Mon, 07/22/2019 - 10:52
Do you have plans for the modifications you made on the doors? Thank you
This is one of my first wood working projects I have accomplished and these two plans were some that I really enjoyed making.
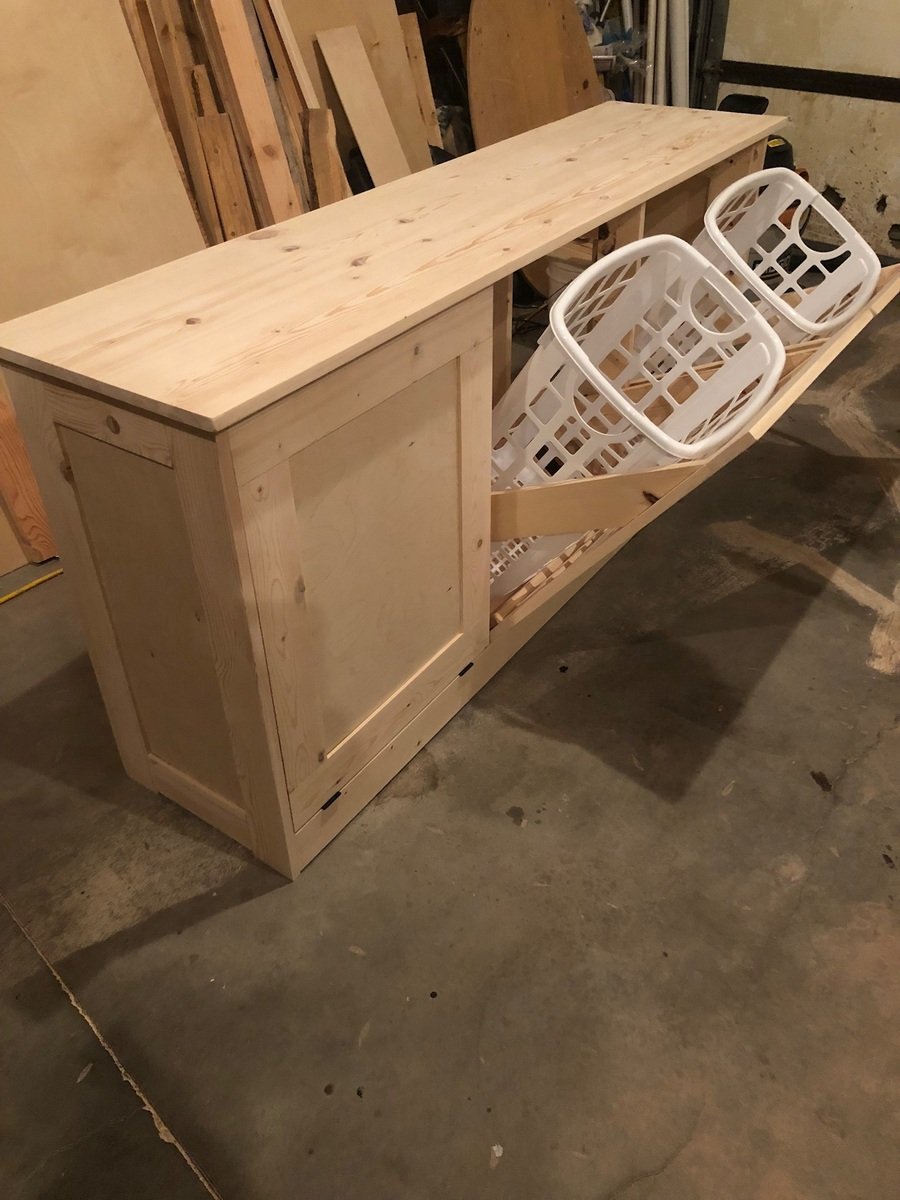
This was a build from a picture and made to fit into a space we have in the laundry room. Used the Kreg jig for much of it.

Tue, 06/05/2018 - 14:52
Awesome laundry sorter! Can't wait to see the paint/stain!
Thanks so much for sharing a brag post - much appreciated!
Ana
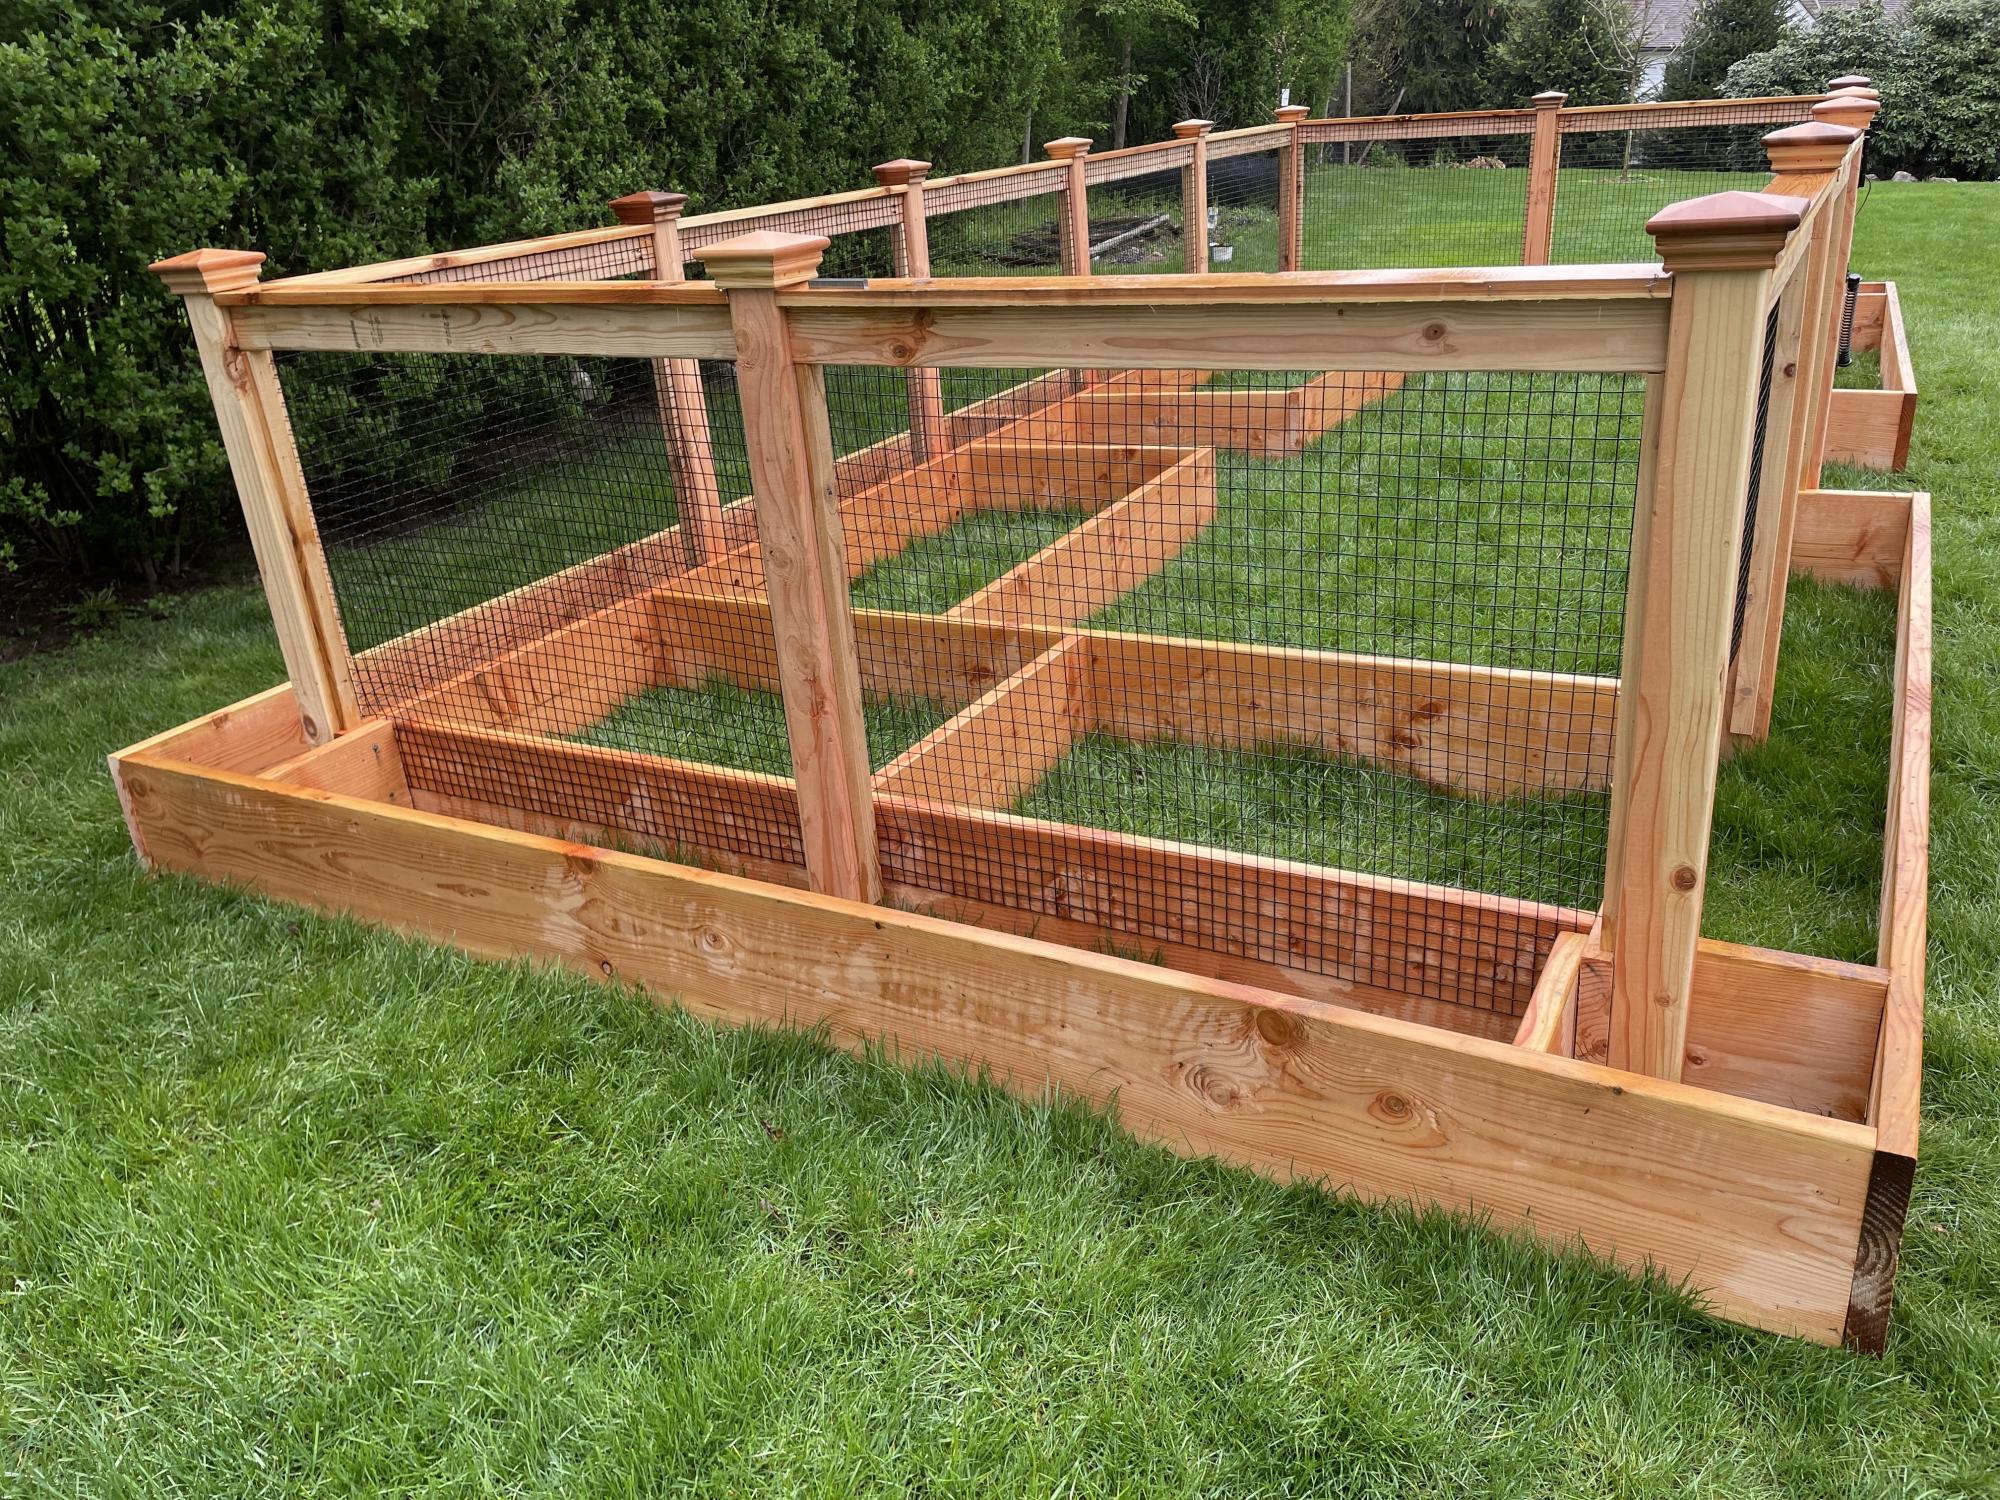
A vegetable garden with an outside ring to plant marigolds to keep deer away.

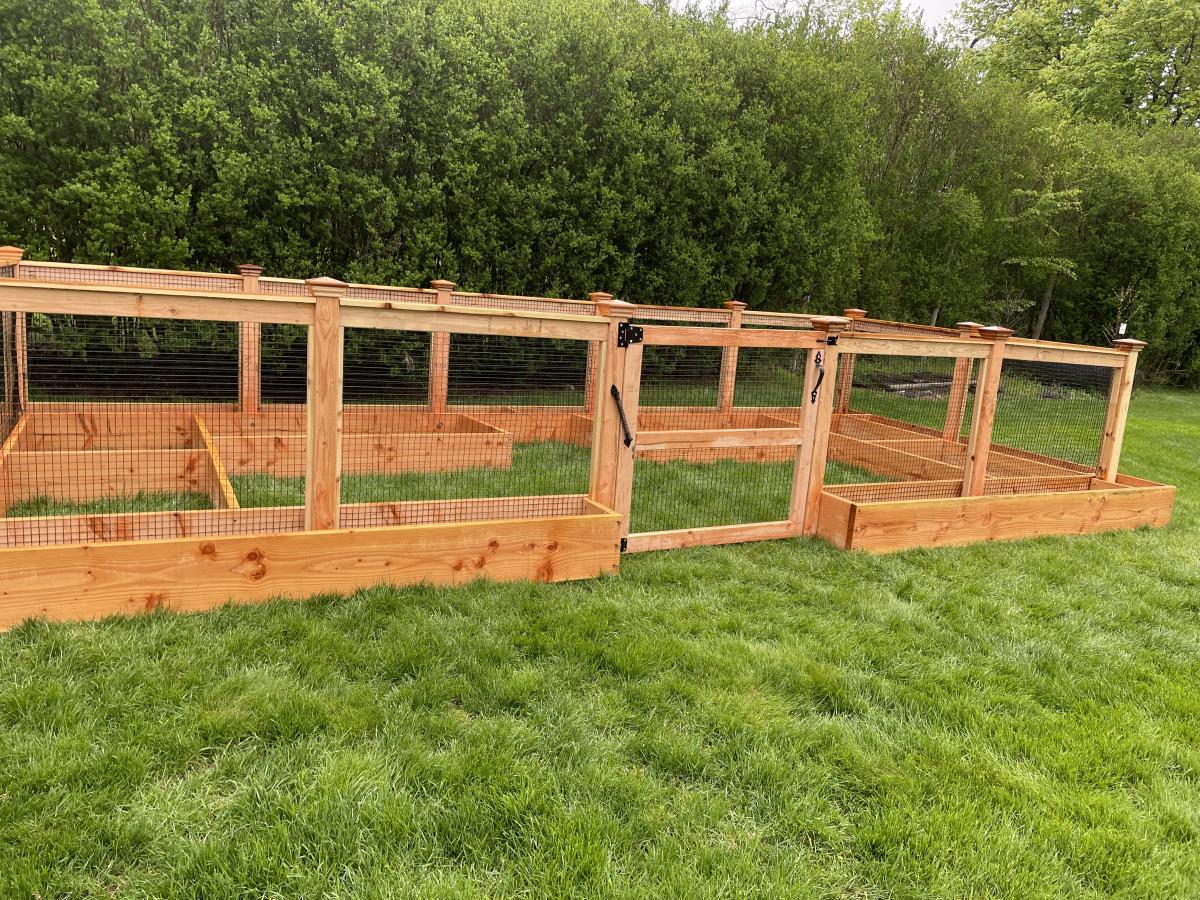
For more information and photos see House of Rumors in Instagram www.instagram.com/houseofrumours
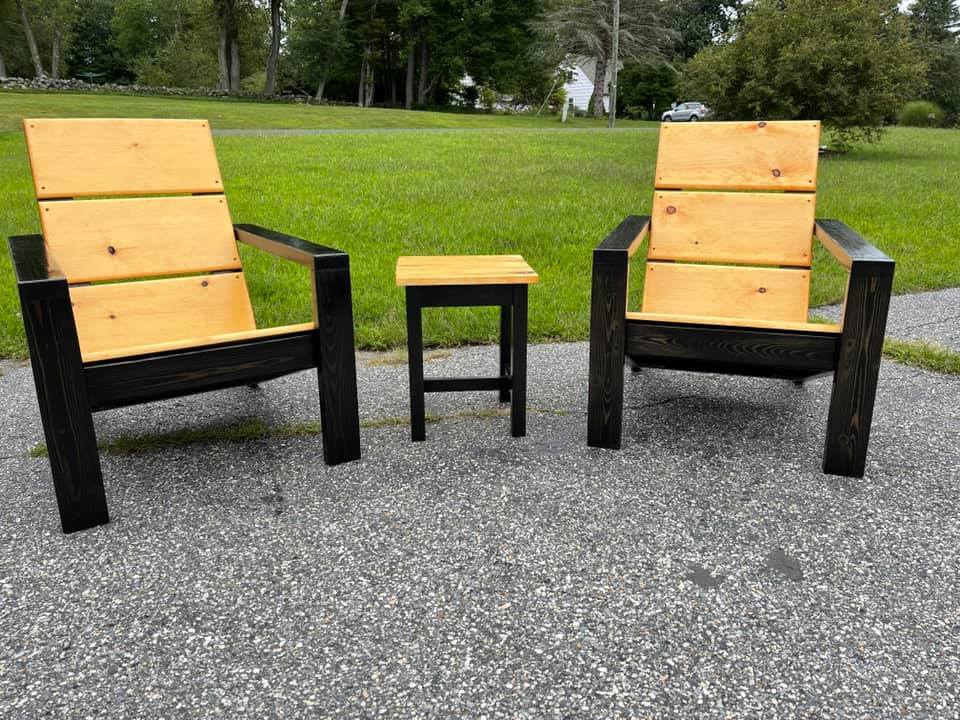
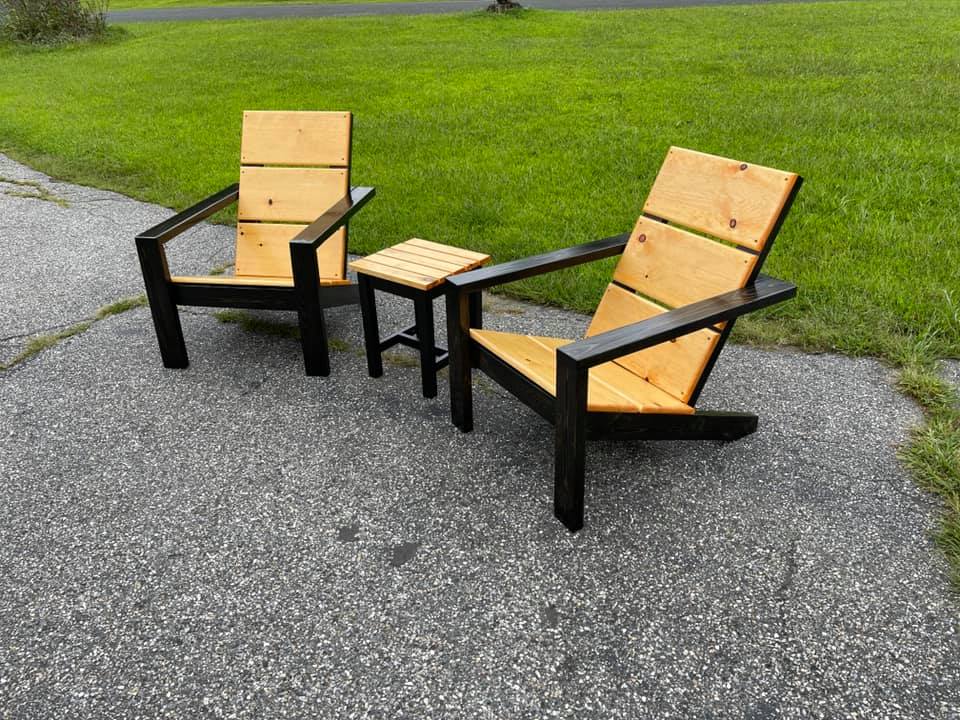
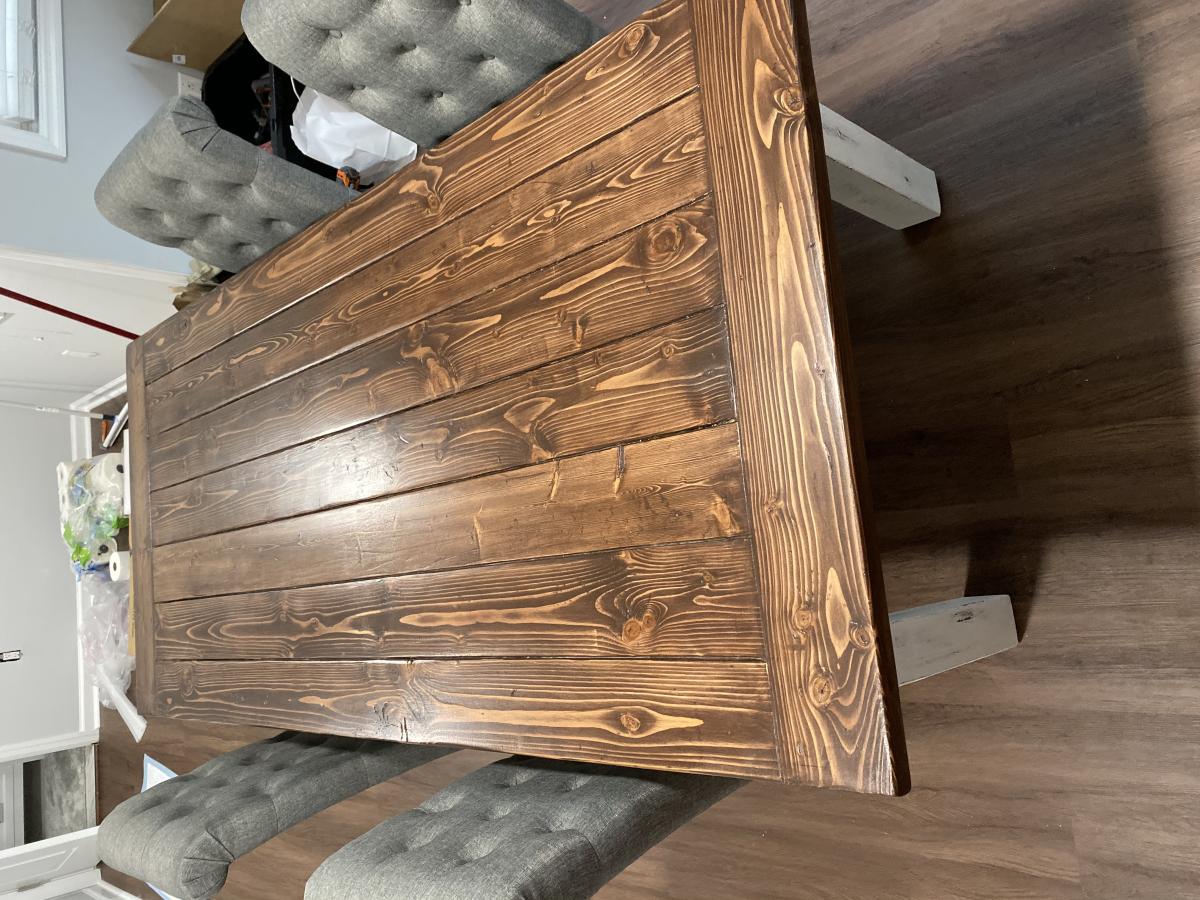
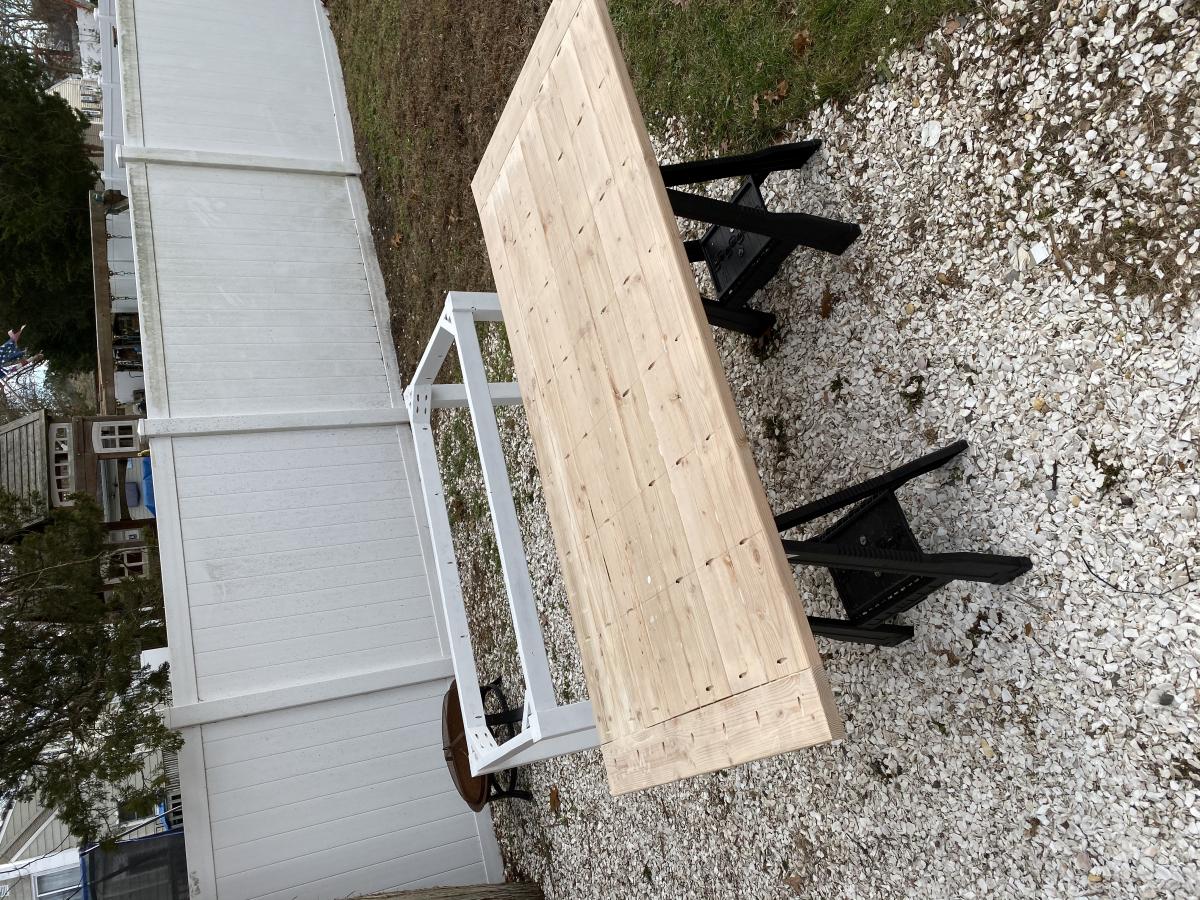
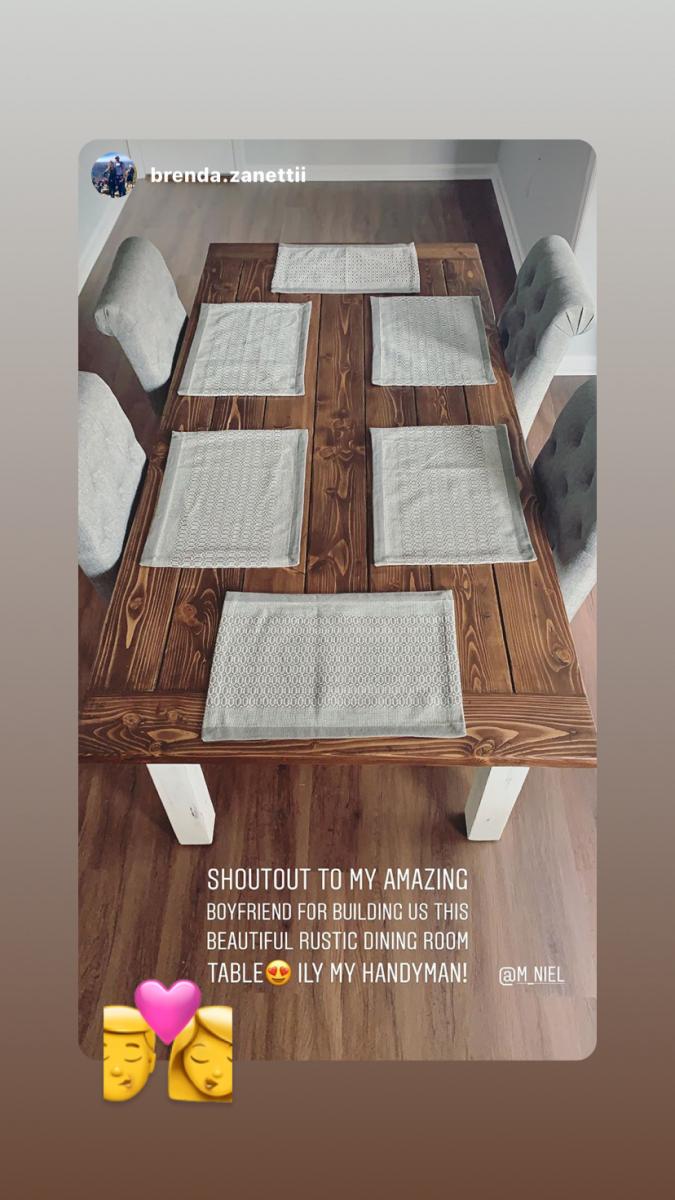
Great plans. I got a lot of attention for these tables. I think they're easy to build and a few bad cuts/mismatches can make it look more rustic so no need to worry about perfection with these. I use them in my apartment and they're both really nice. I stained with miniwax jacobean and used a satin clear poly on it after. I only needed one layer of stain.I think a dining room table version of this plan would be really awesome too!
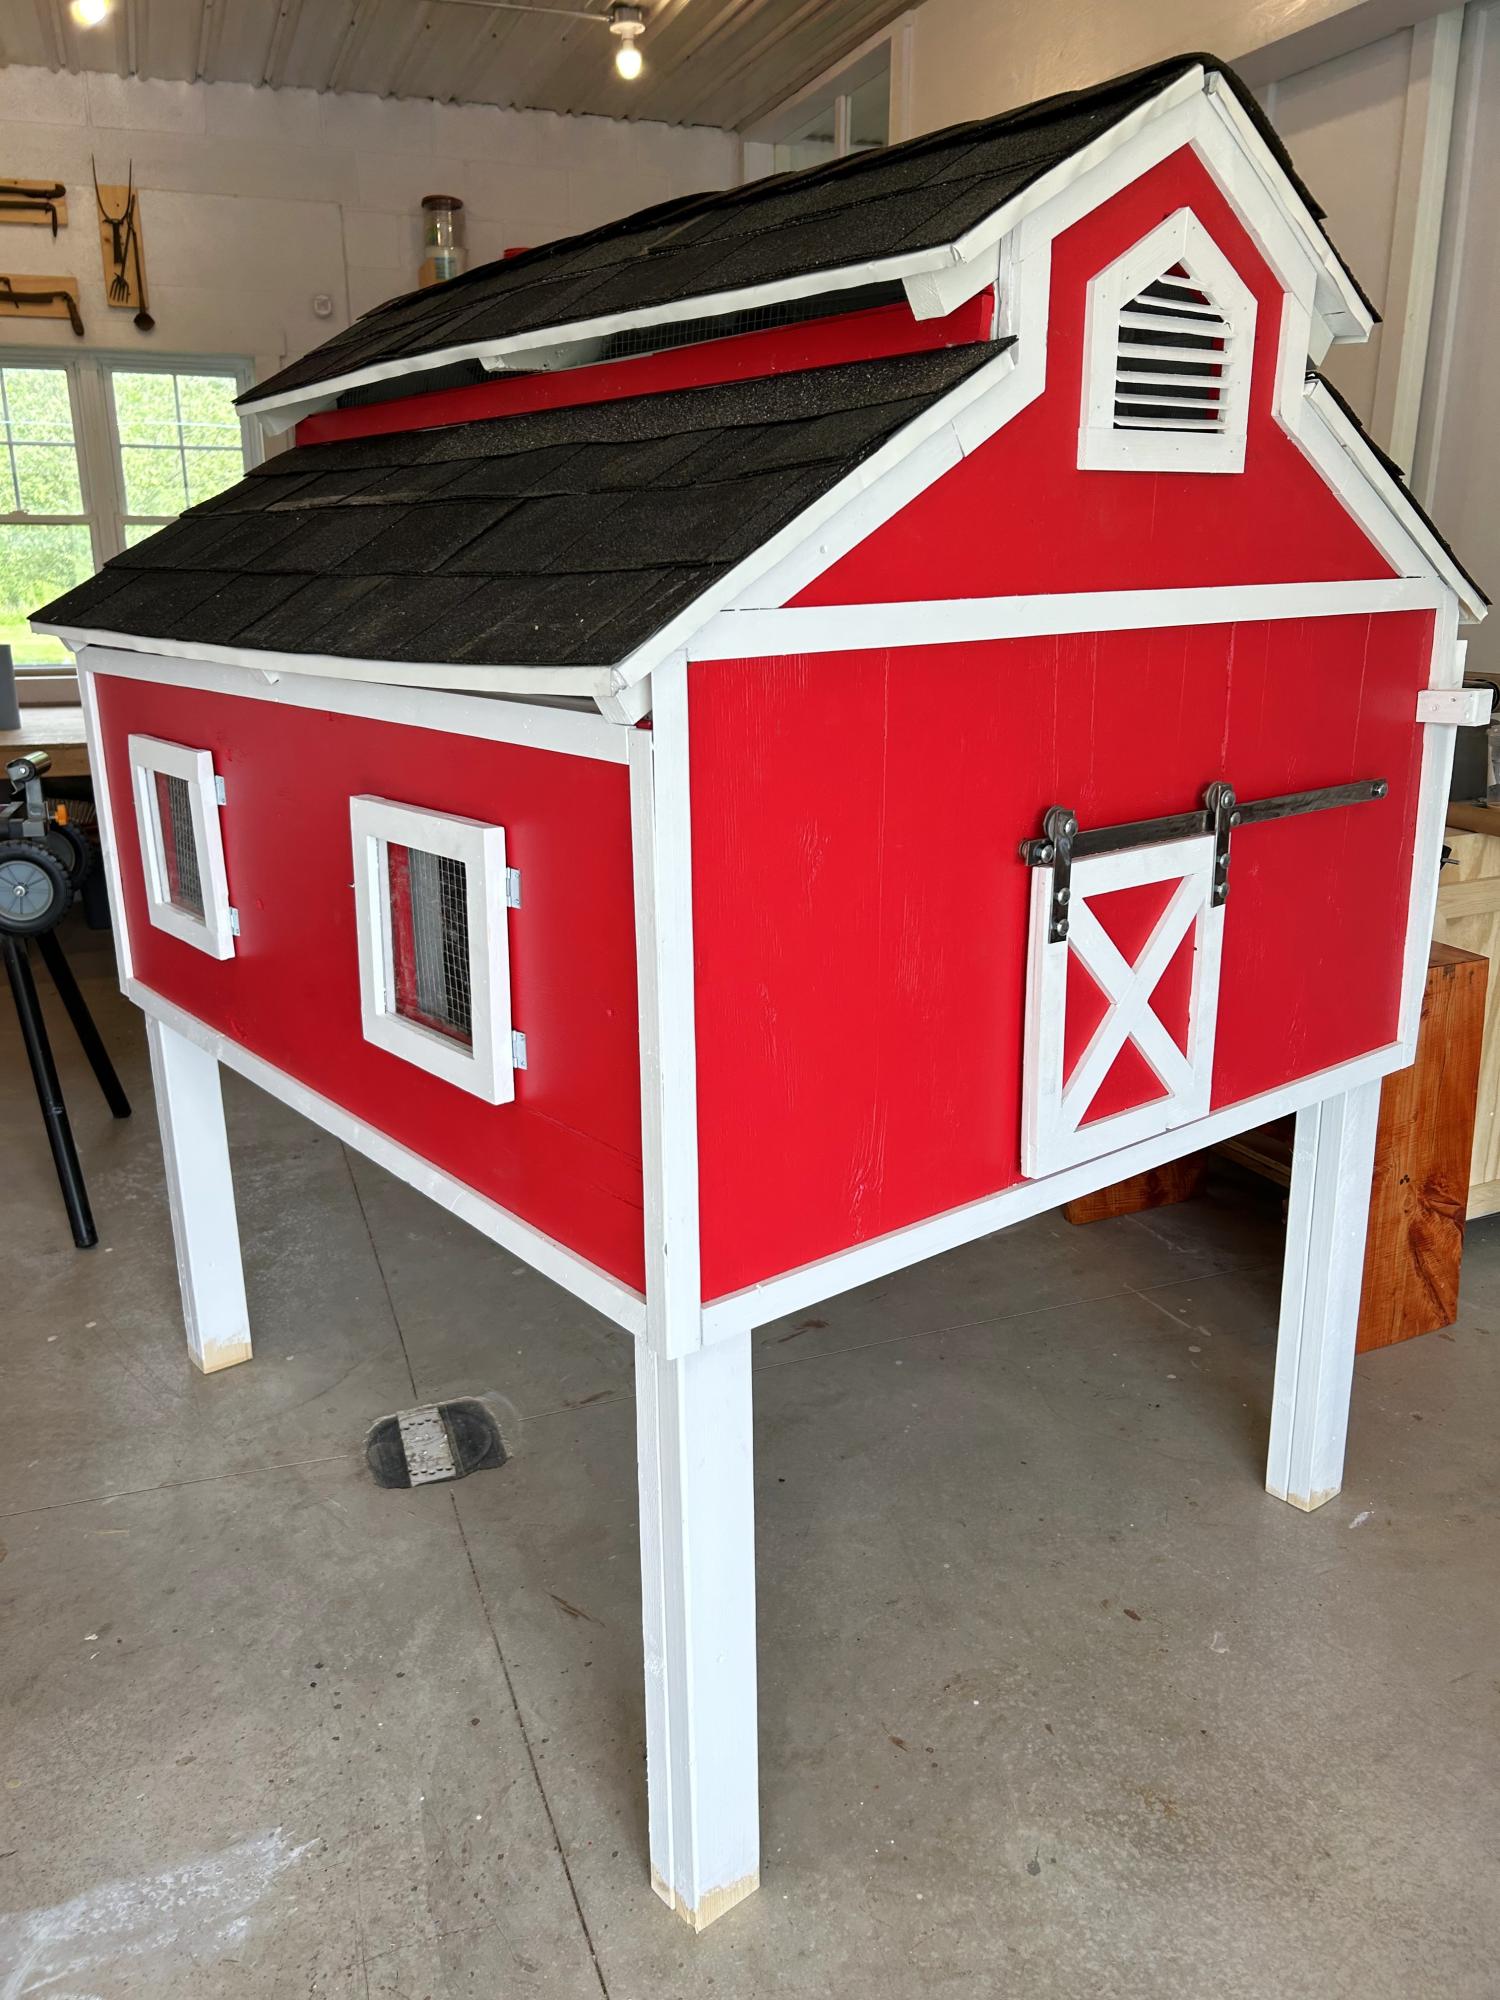
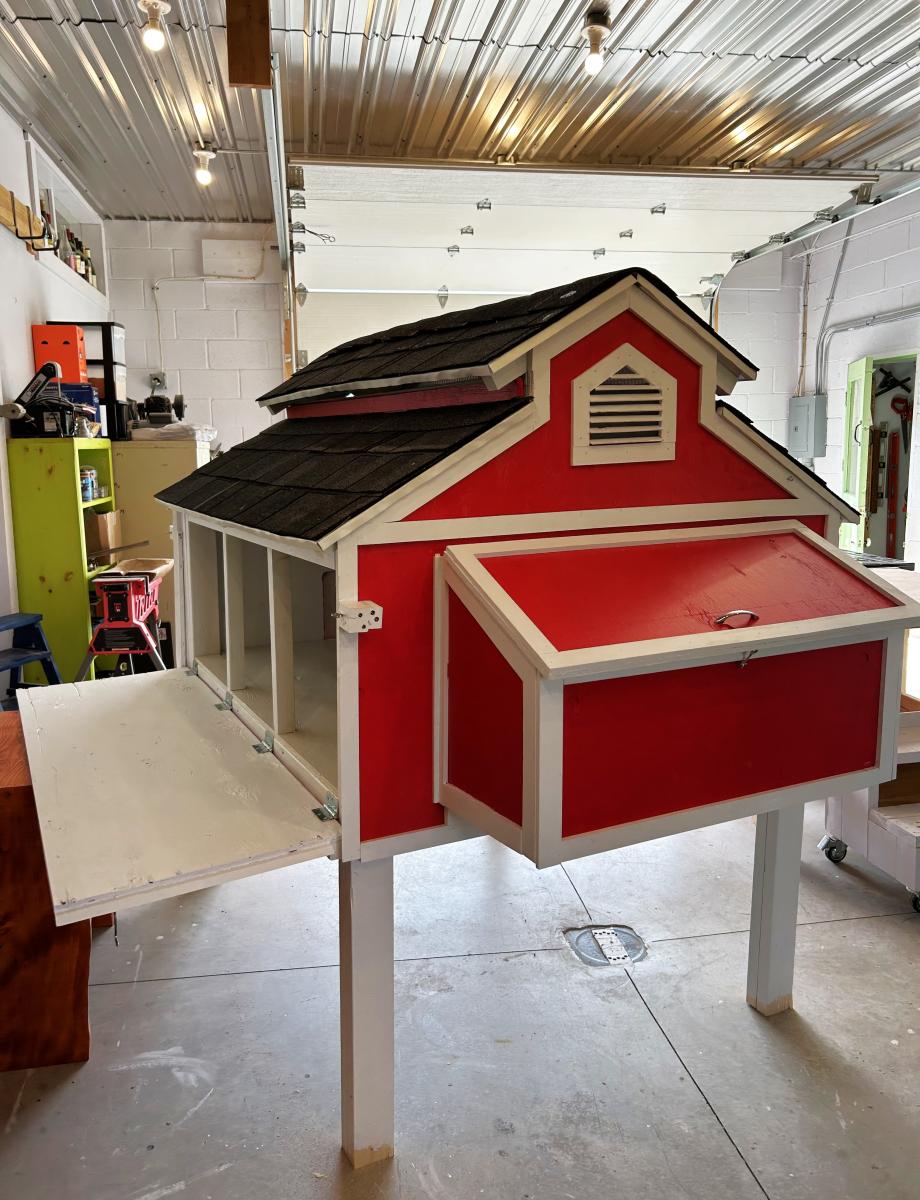
Chicken coop I made to look like a little red barn complete with a working barn door. We have seven girls and they love their lovely barn home.
Sue Laidacker
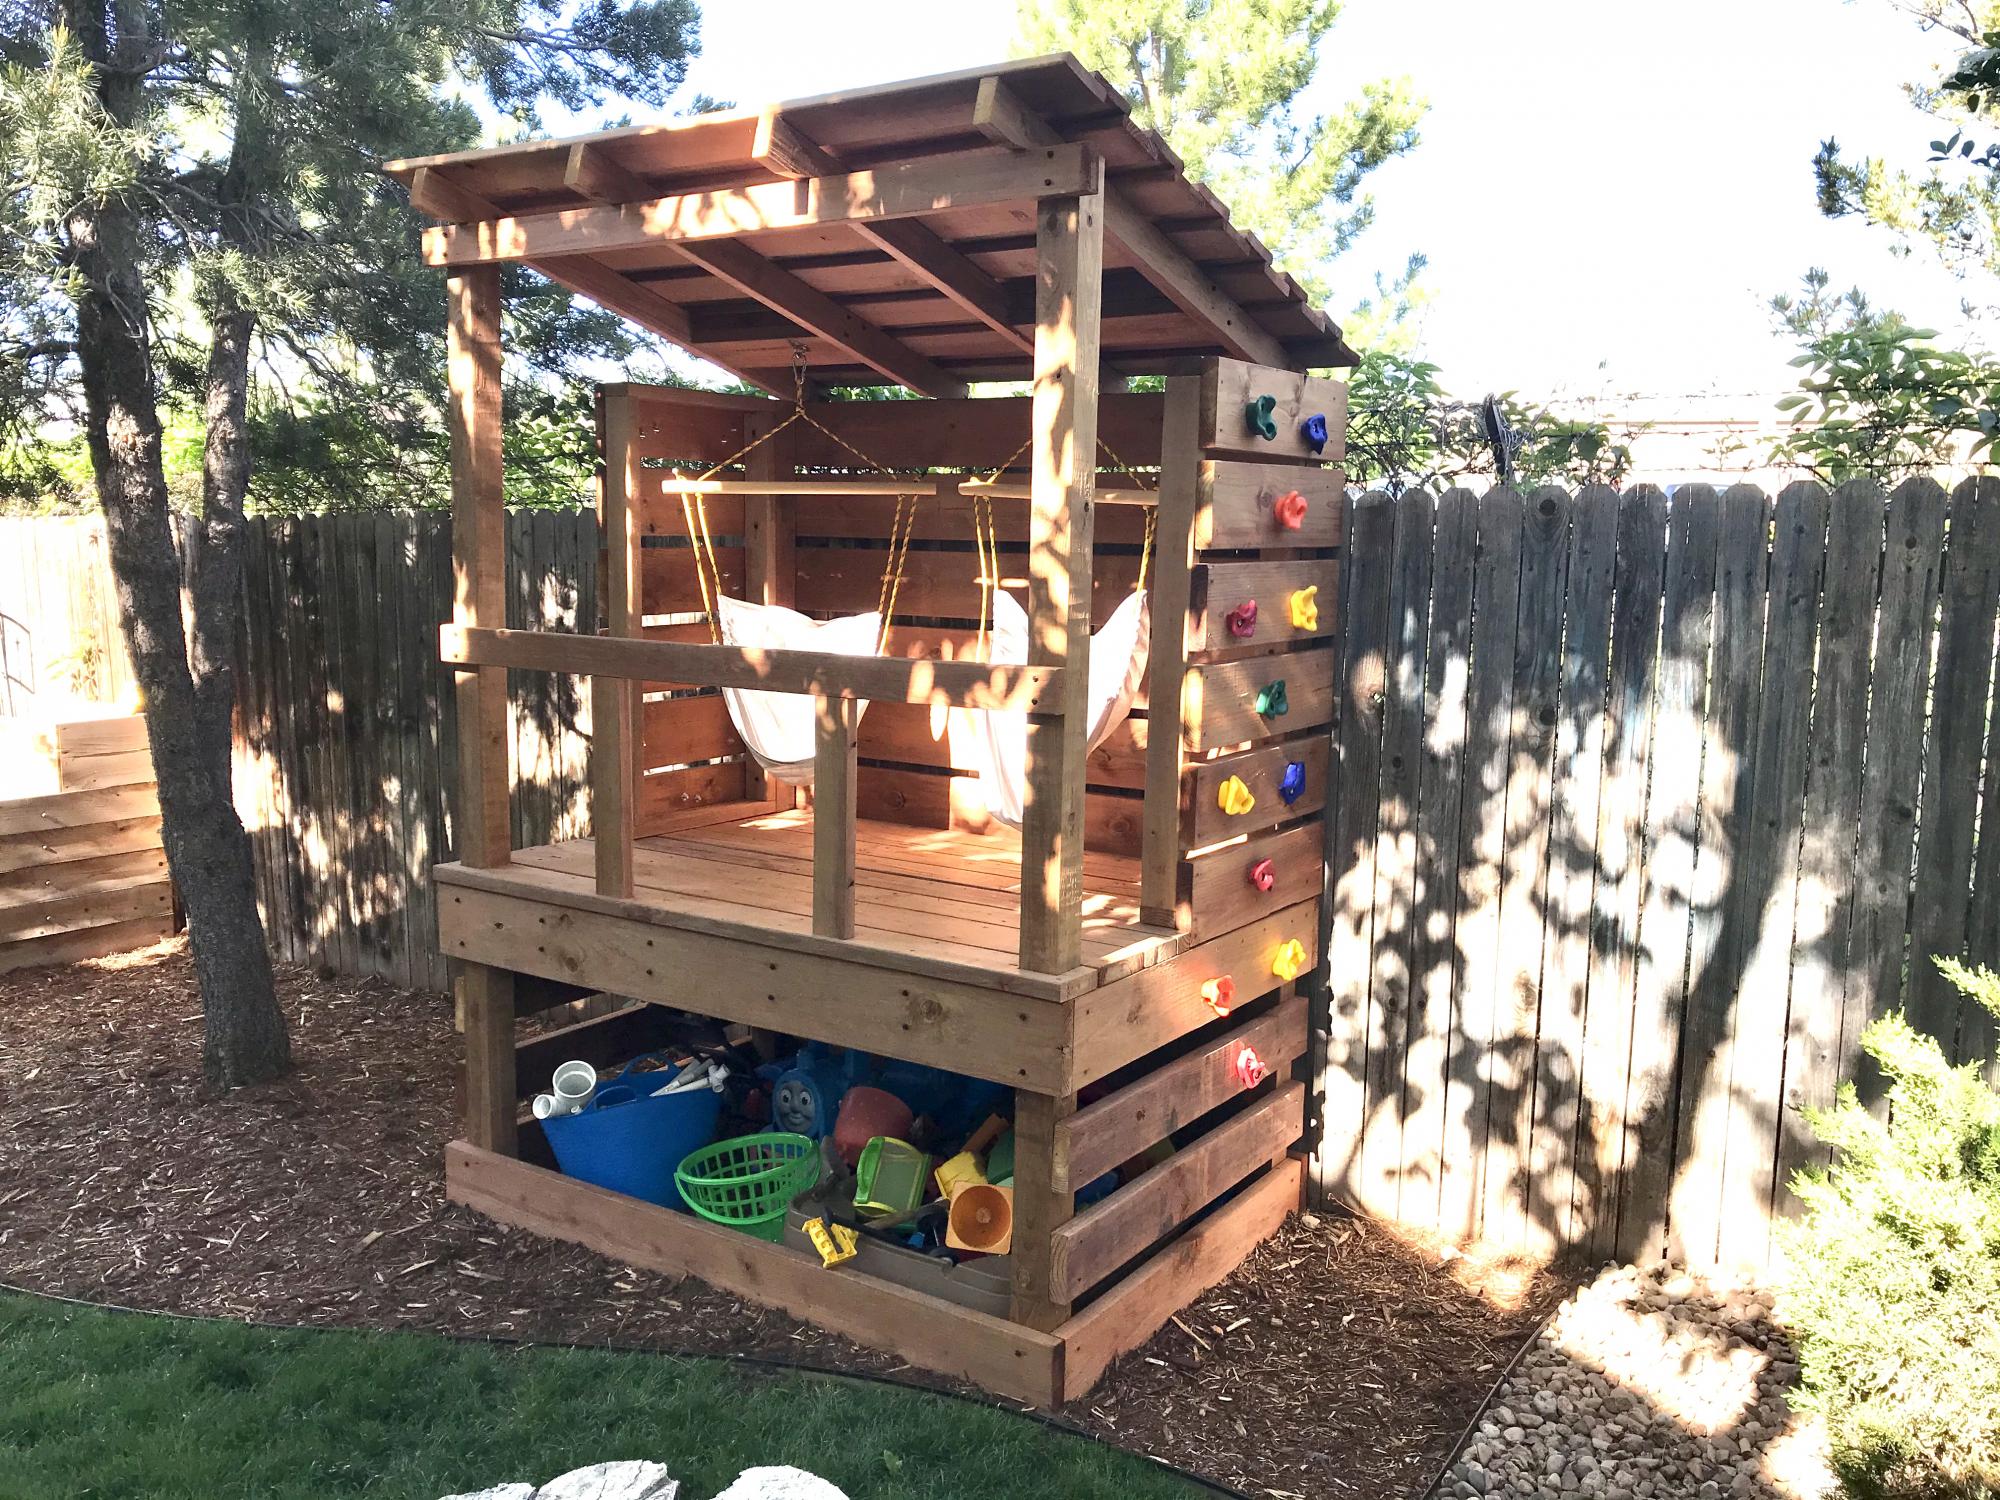
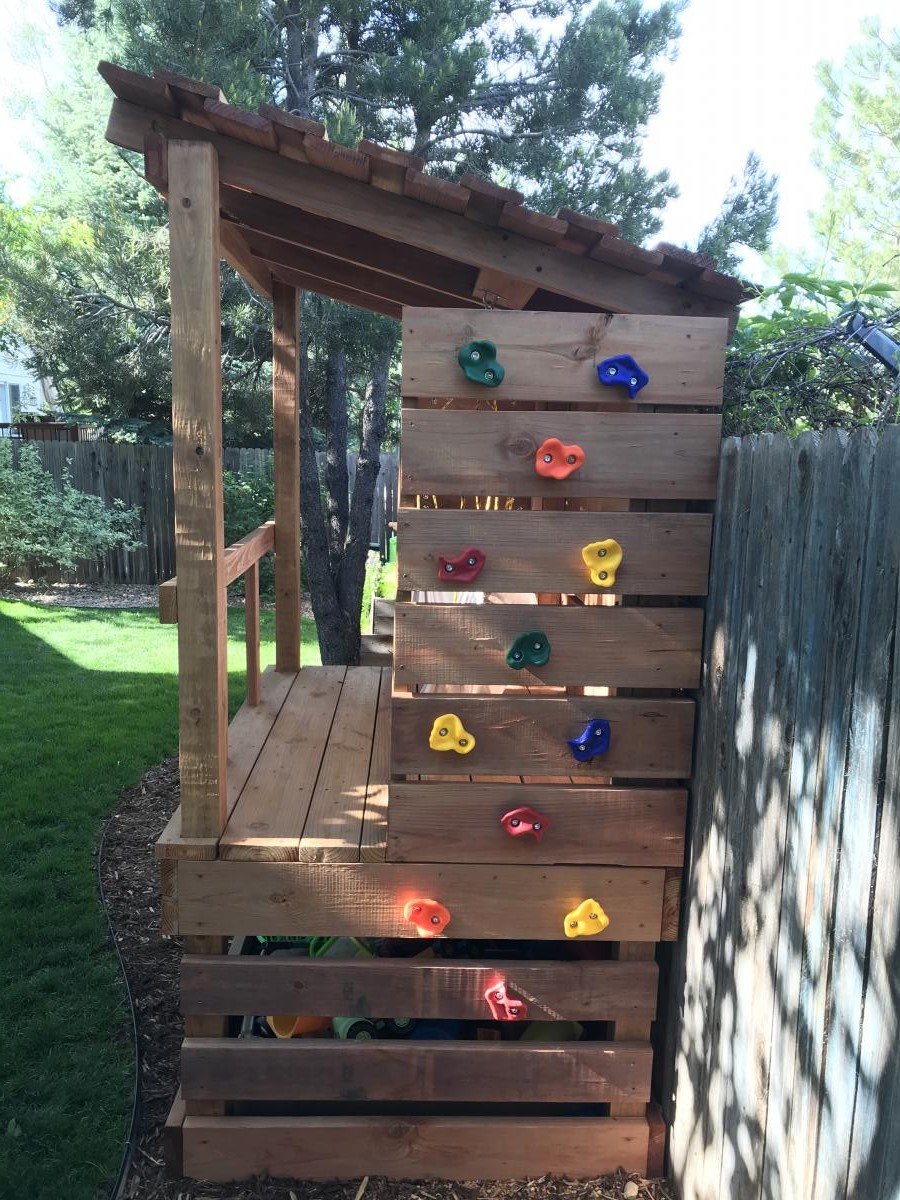
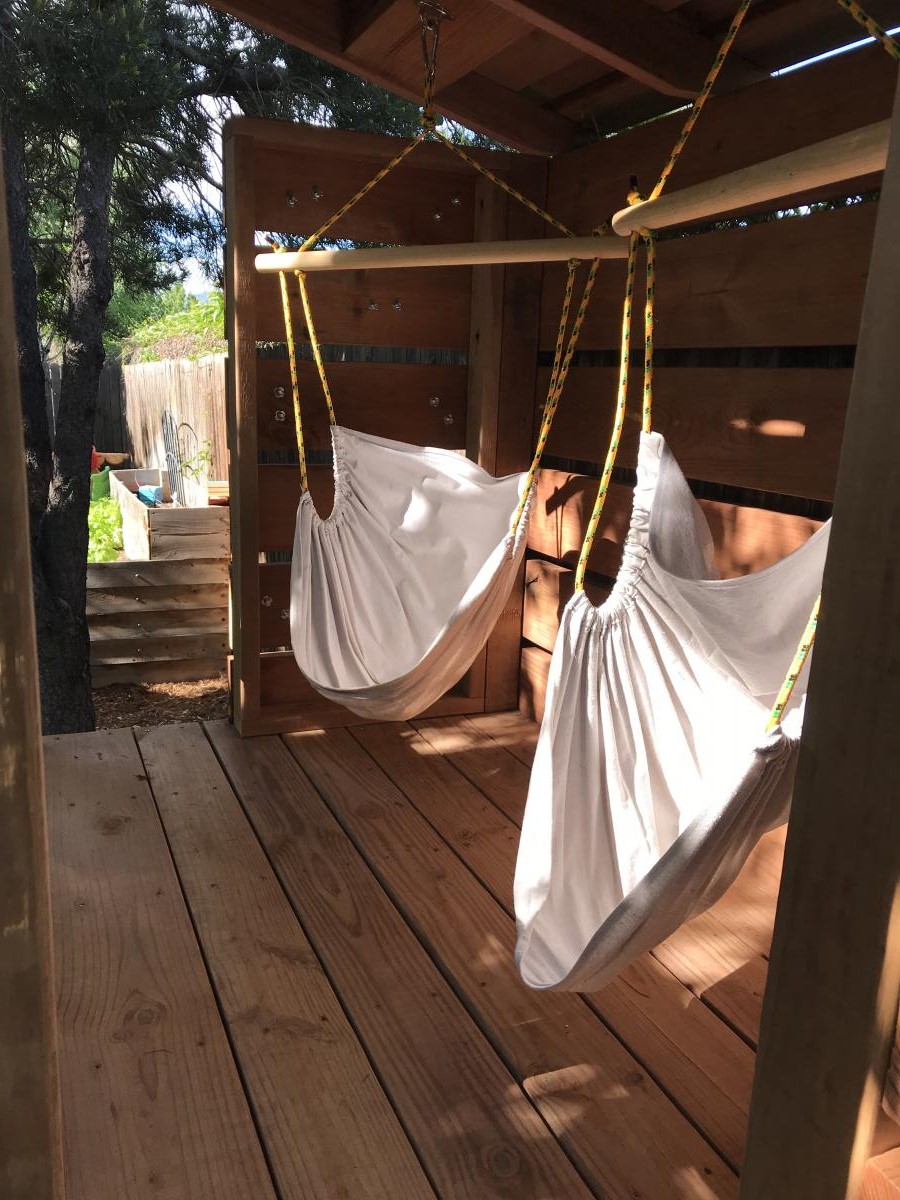
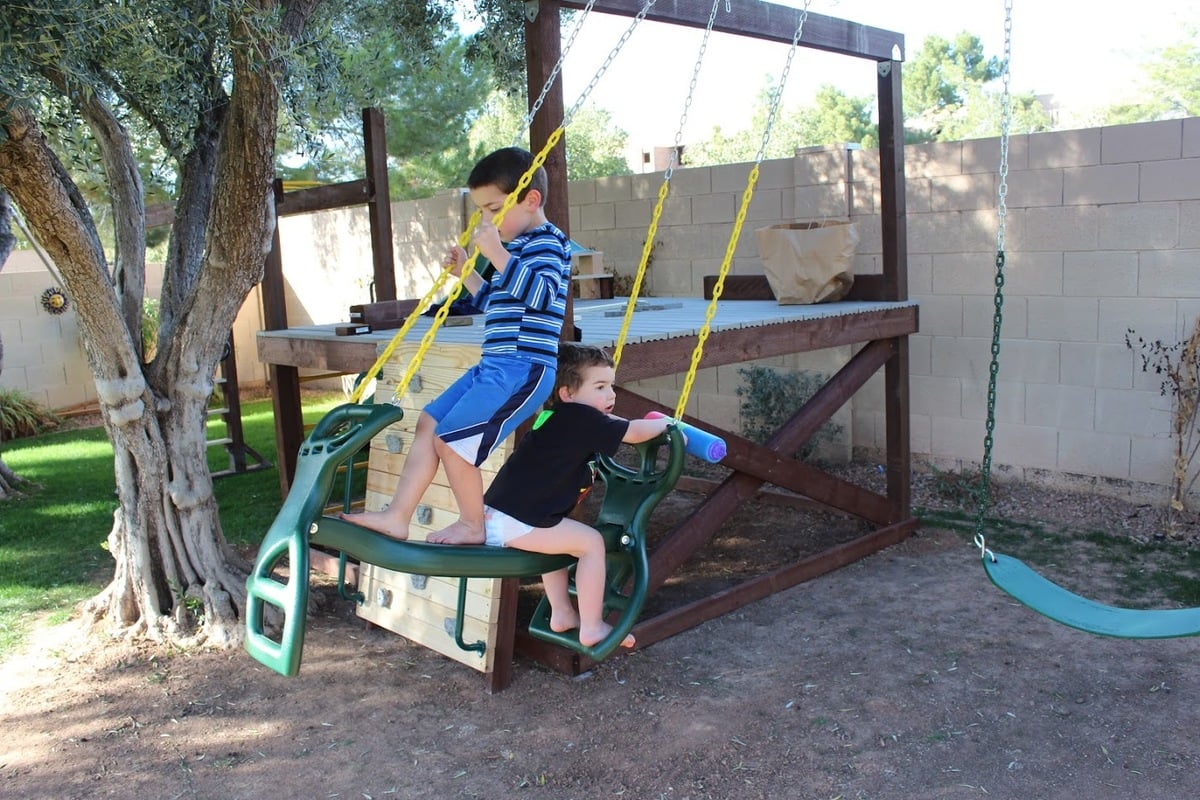
Built a fort for the boys with two climbing walls, a spot for their toys, and added some hammock swings
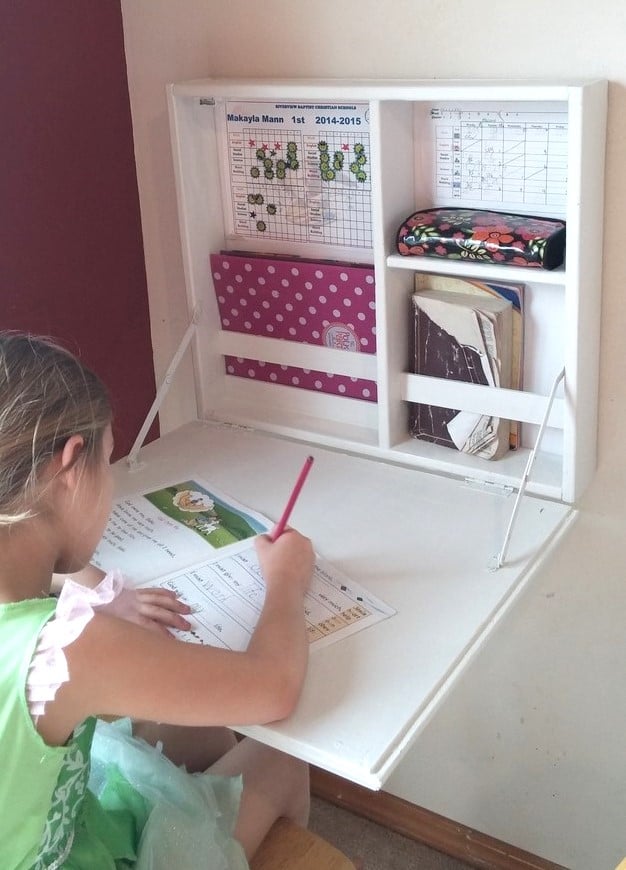
This was just what I needed! My daughter started homeschooling and we needed a place to neatlly contain her school stuff. I had her working at the kitchen table next to me, but it still felt like it lacked the school atomosphere. I removed the area for the paper holder and instead added a few support scraps to hold her folders and books upright.
It did take me awhile to get the support hinges placed correctly (I almost gave up and went with a rope or chain) but I finally got them placed correctly after placing a pencil mark on where they could lie correctly open and closed - seriously this took me awhile because just when I thought I had it, the brackets when closed would be to deep for the desk or when I placed it it correctly inside when open it wasn't 90 degrees.
The only thing I wish was that I had made it slightly shorter, because when it is open it is a little hard for her to reach the top shelf, but its not to bad and that is the height my scrap bead board was and I was to lazy to cut it =)
I had a magnetic clasp left over from another project and that has worked well to keep it closed nice and tight, I also used some foam board I had lying around for the back so that her things were not tapped/pinned on my wall. I choose the bead board on the front because A: it is what I had lying around and B: it is in my dining room so I wanted it looking a little nicer.
I had everything on hand excpet for the support brackets which cost me 2 something each at Lowes. YAY for projects under $10 bucks! Thank you so much Ana!

Thu, 08/15/2019 - 12:45
What a beautiful desk! I'm so glad you got the brackets to work, they look awesome!
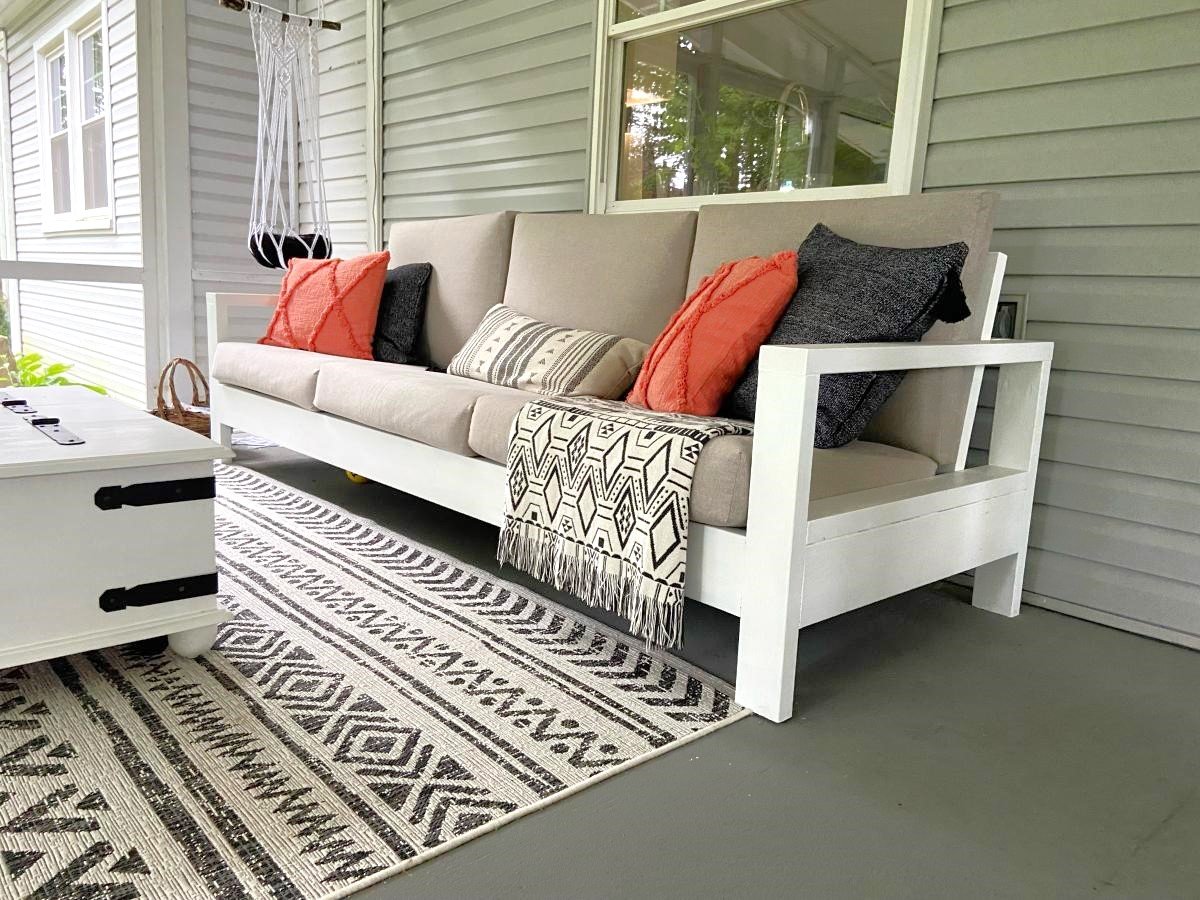
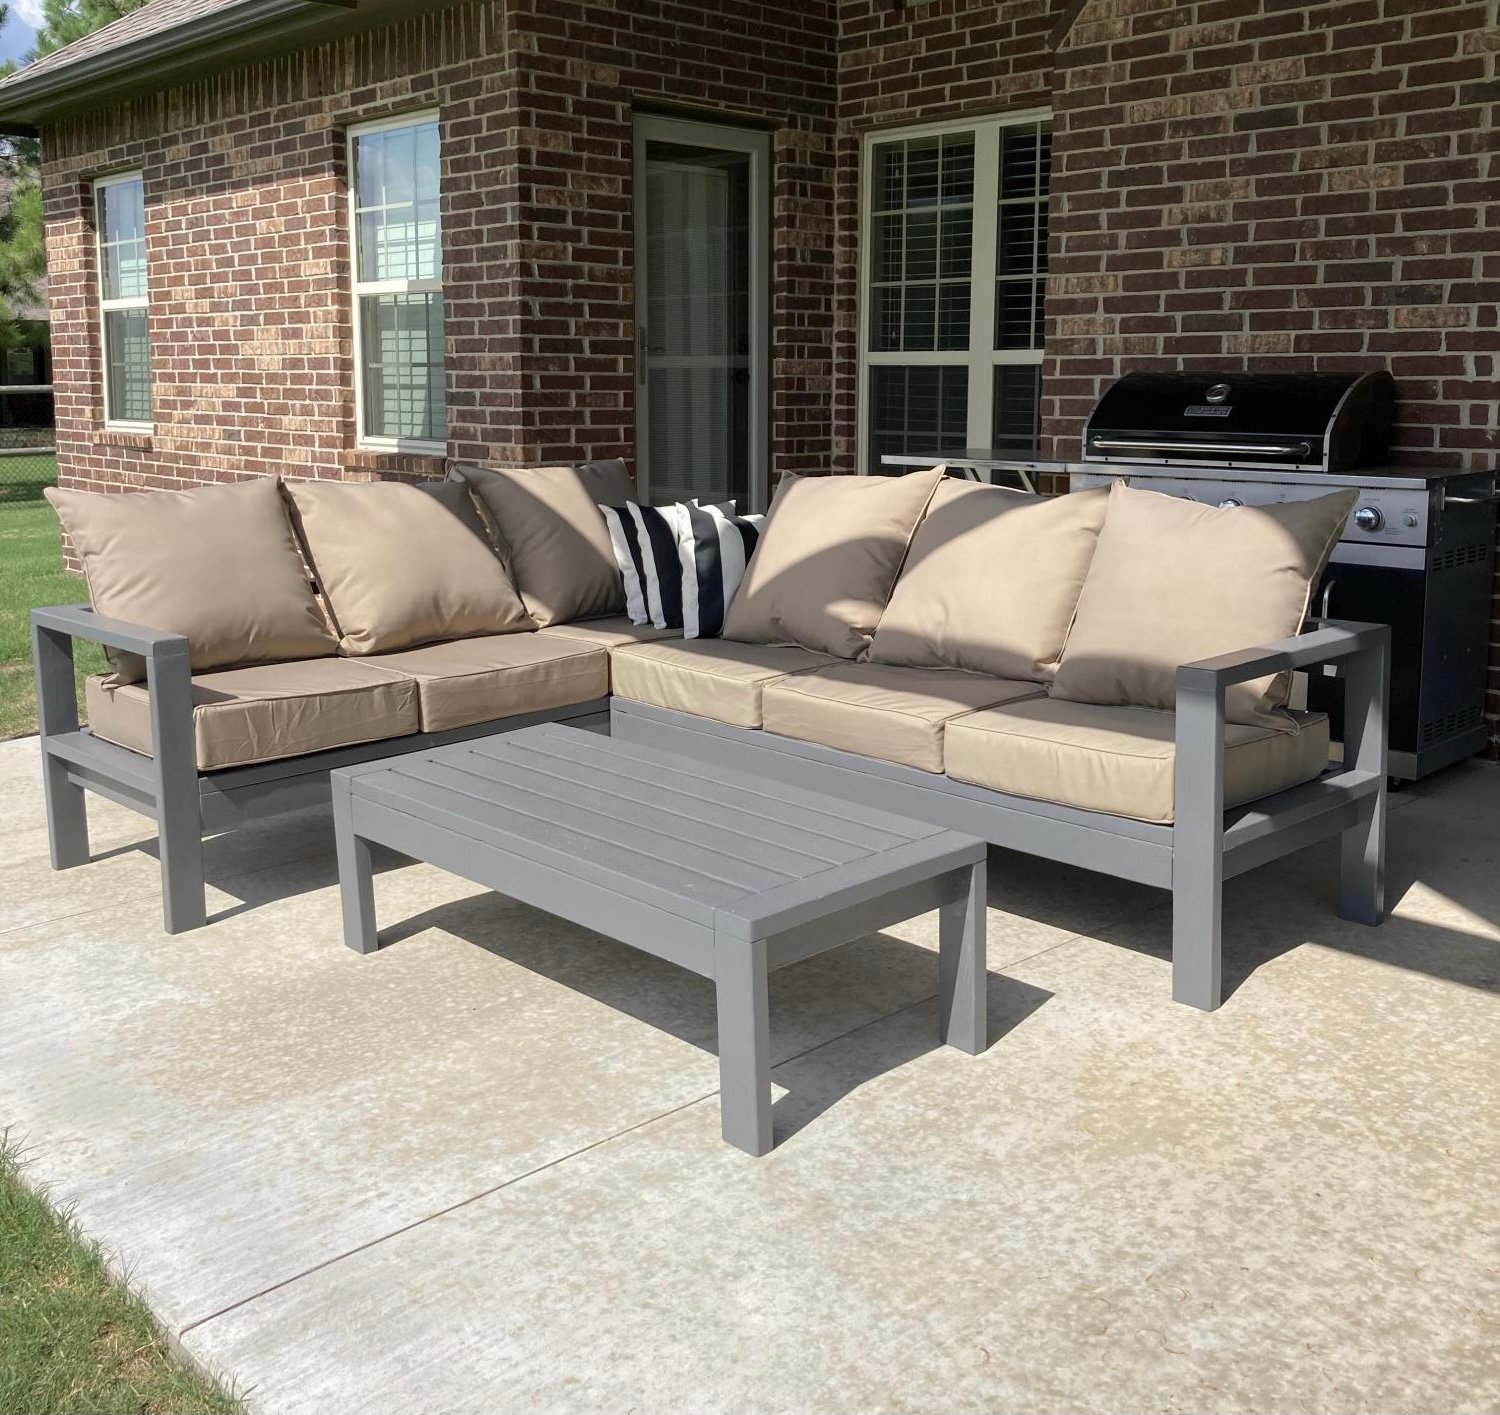
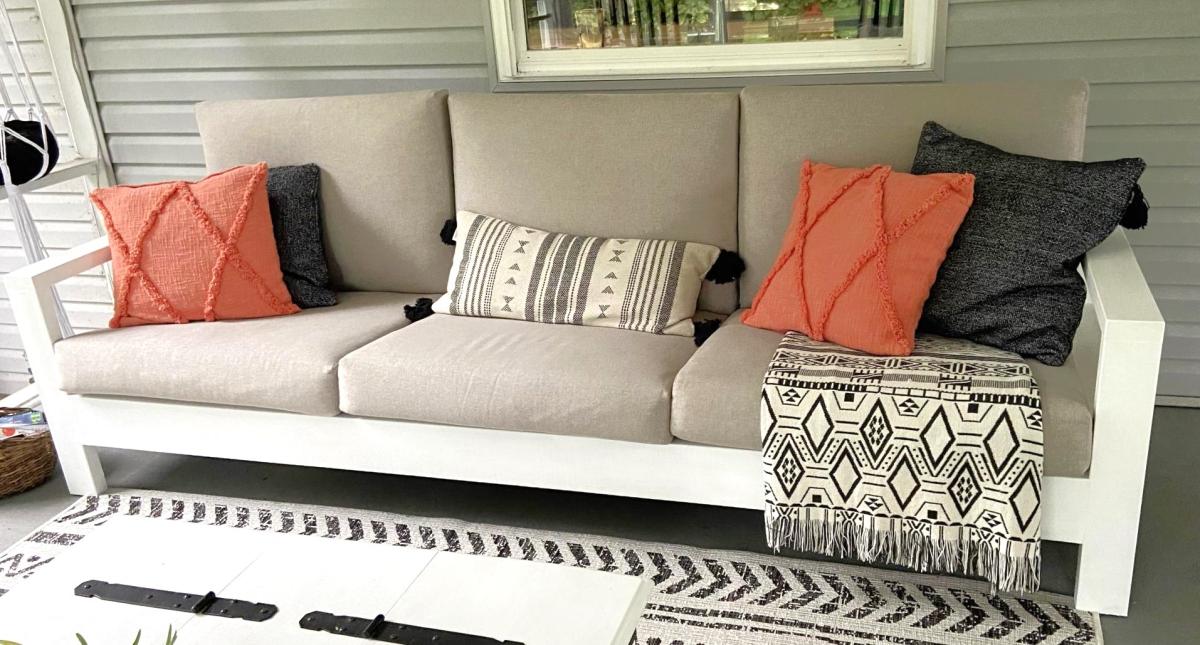
This was our first big project with our Kreg Jig. We adapted the plans to make the sofa 8' long. On Friday night, my husband did all the cuts and I pre-painted everything. With the help of our son, we had the whole sofa built in a few hours on Saturday morning. I puttied the visible holes, did a second coat of paint, and made custom cushions. The plans were very easy to follow. I followed the others' advice about pre-painting and assembling the back on a perfectly level surface. It came out better than I expected and it's super comfortable!
Sun, 04/10/2022 - 10:33
Thank you for sharing, it looks amazing! Would love to hear how you made the cushions.:)
Mon, 04/11/2022 - 07:44
I want the plans for this one! I like this style a lot better. I really like how the bottom cushions are at a slant. I suck at modifying plans.
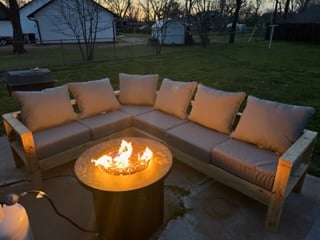
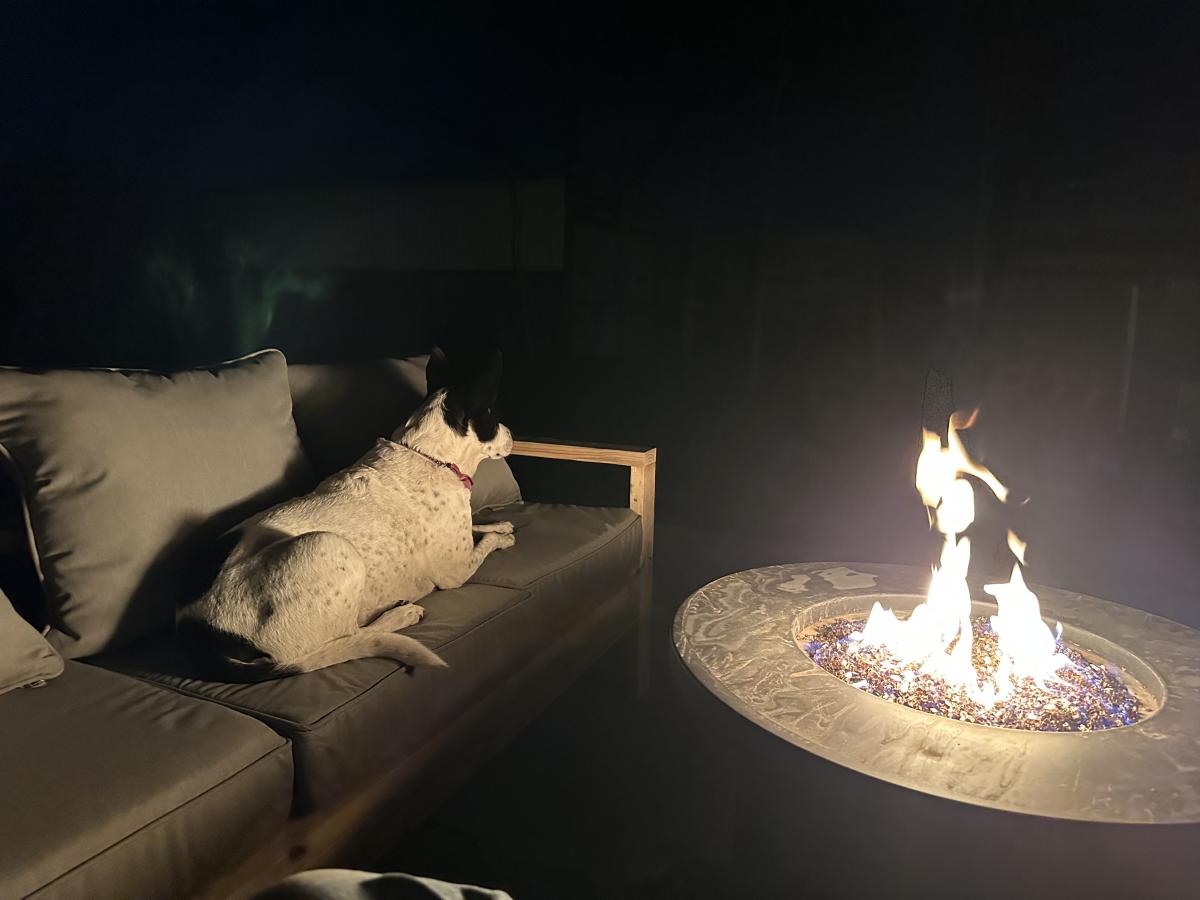
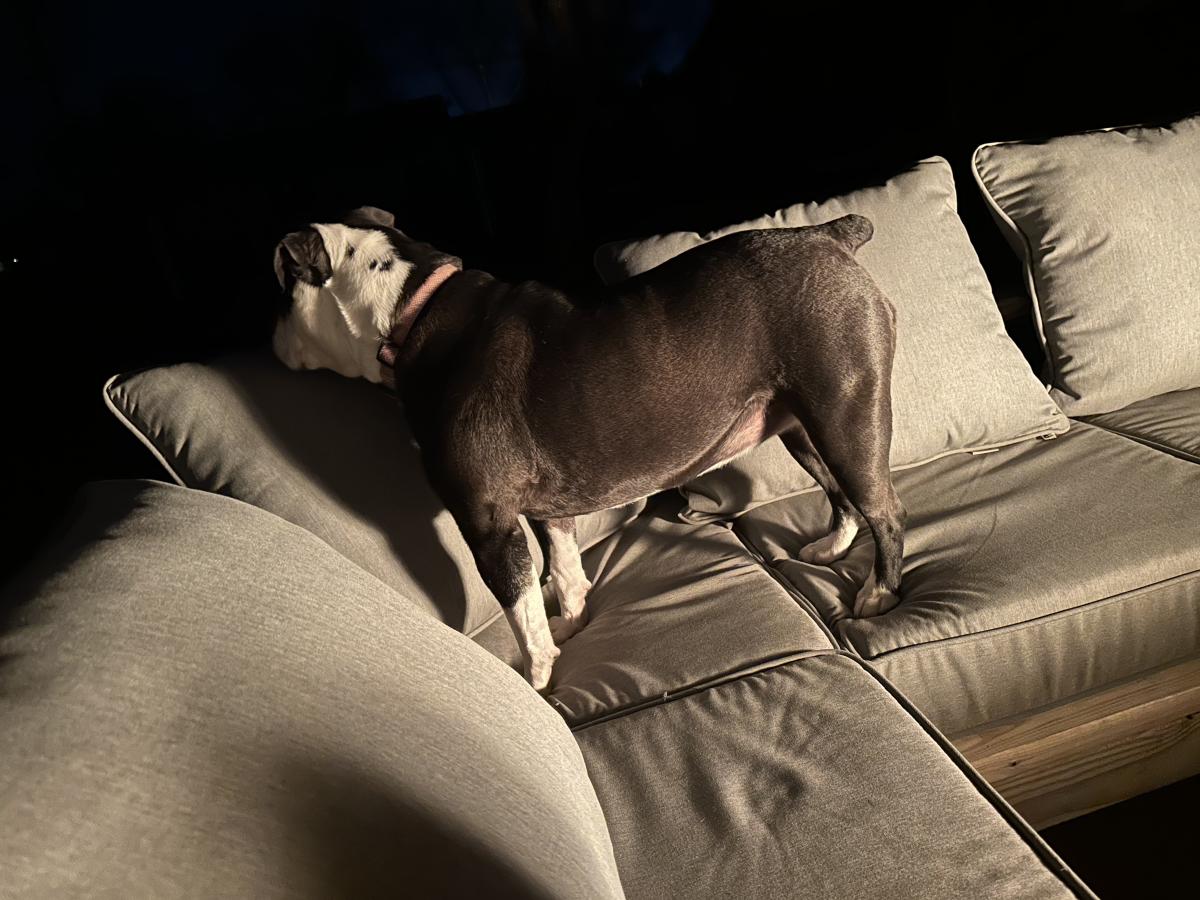
First build ever. Took about 2 days and the most expensive part was the cushions, but Lowe's had a good deal. I did not sanding, painting, or staining. I'm sure I'll do that eventually, or make another sectional later, but I'm in North Texas and loving this set right now.
Tue, 04/18/2023 - 15:35
This looks so great! Thank you for sharing your first ever build, can't wait to see what's next.:)
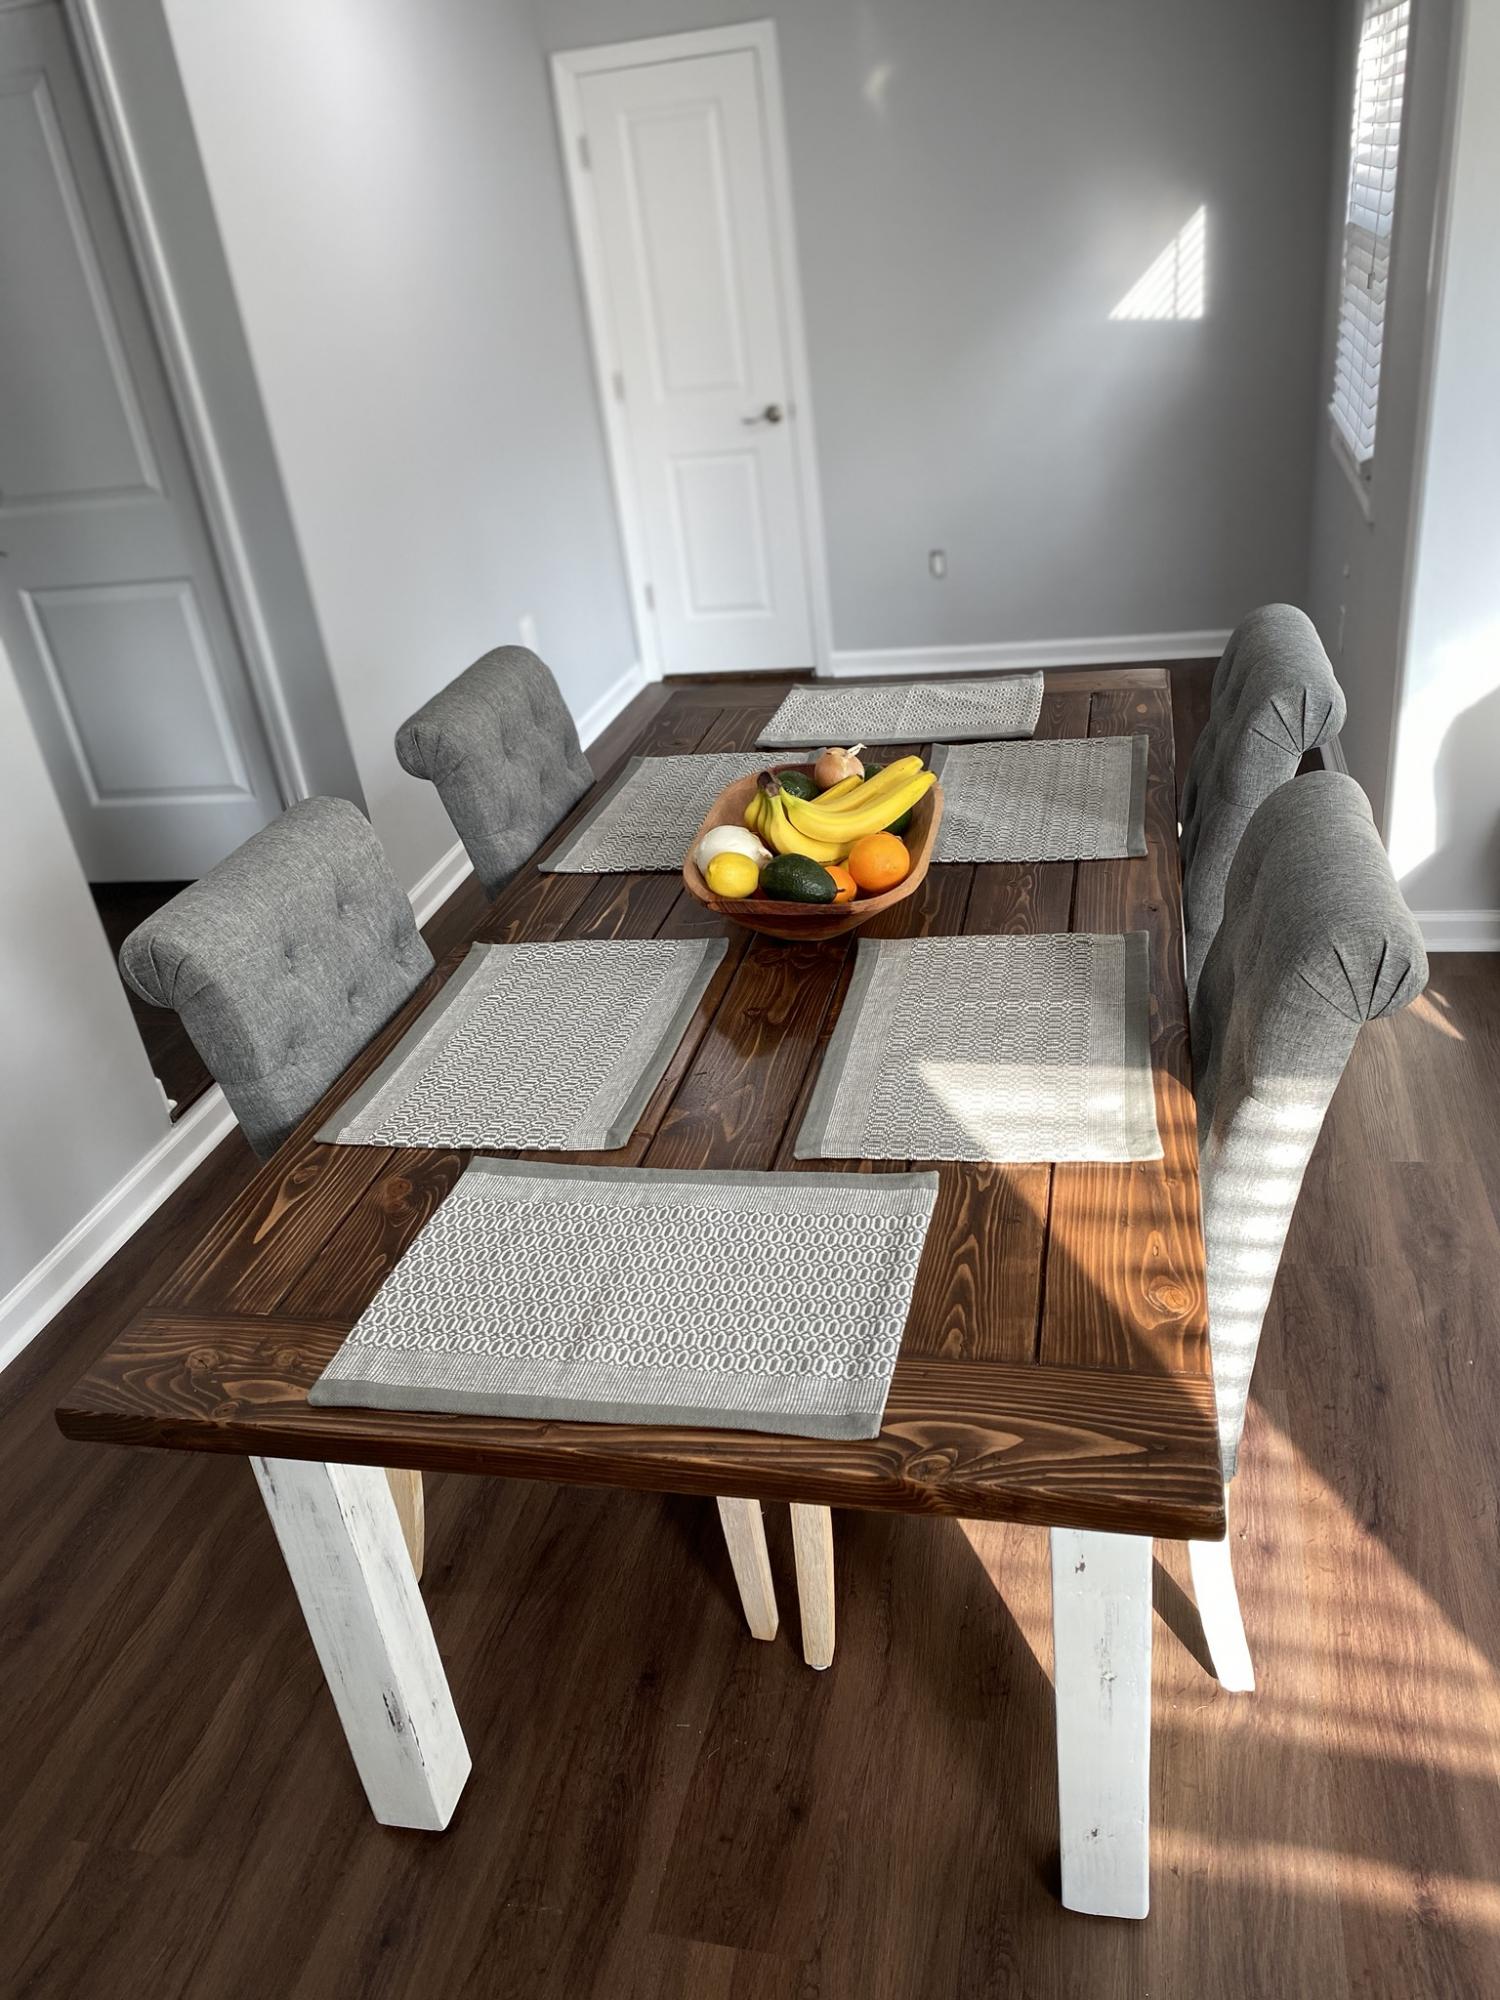
Thanks for the awesome table plans. I ended up mixing a few different plans to fit what I was looking for. Everyone loves it!
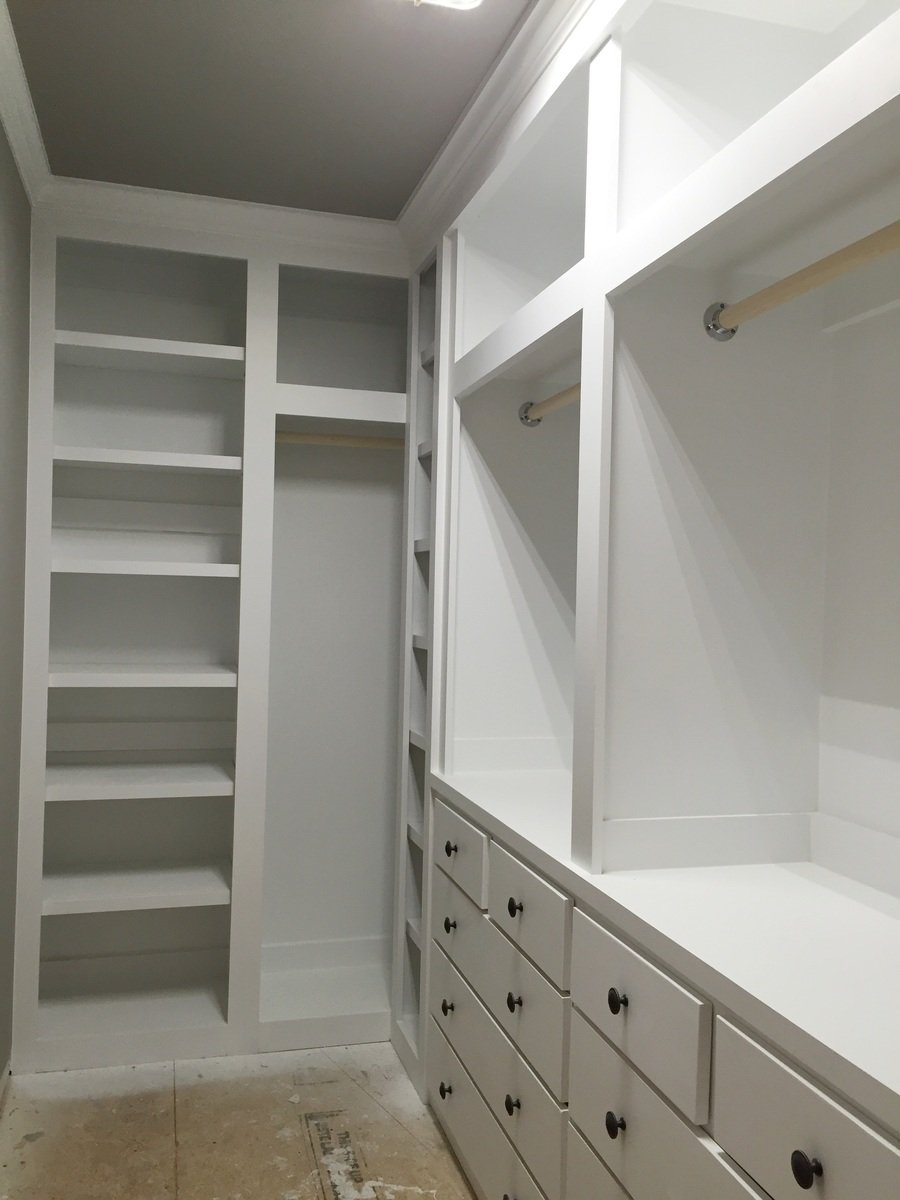
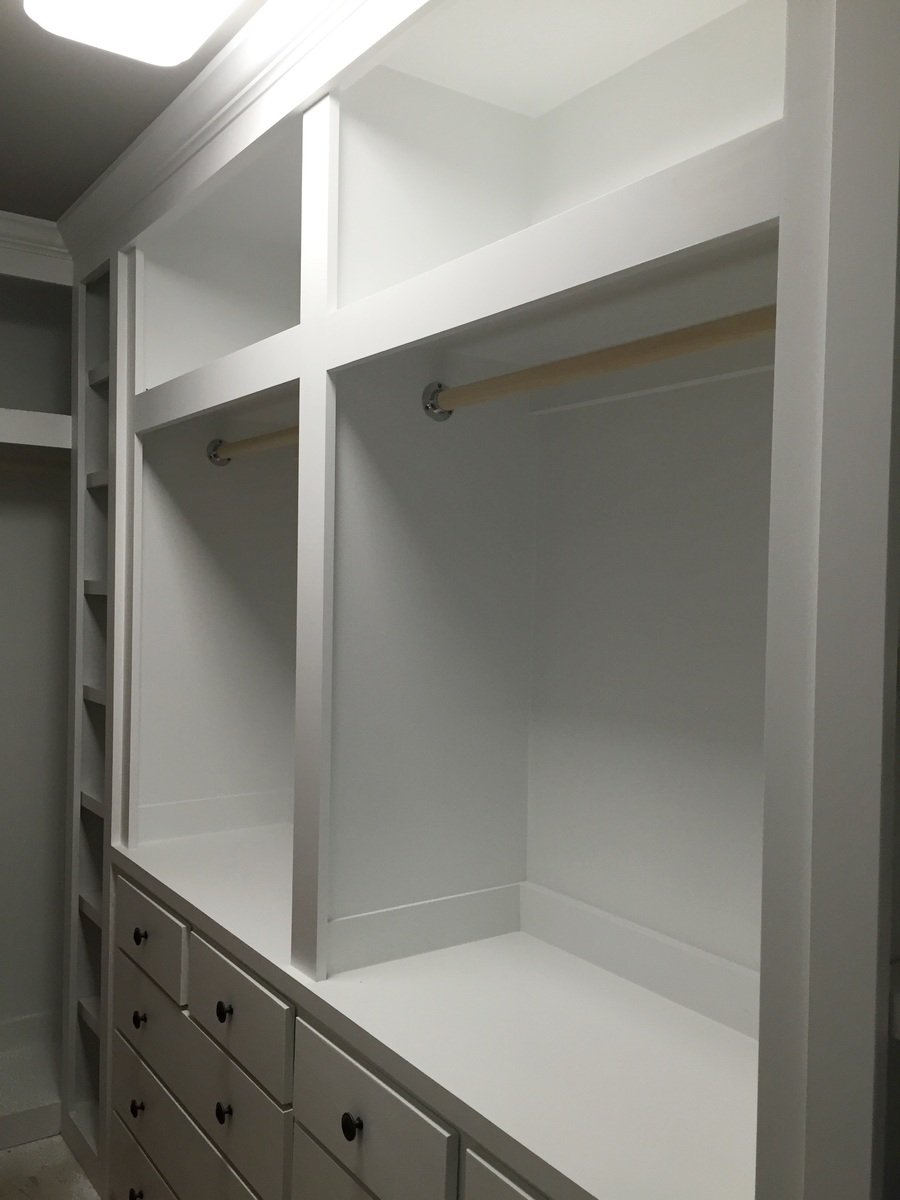
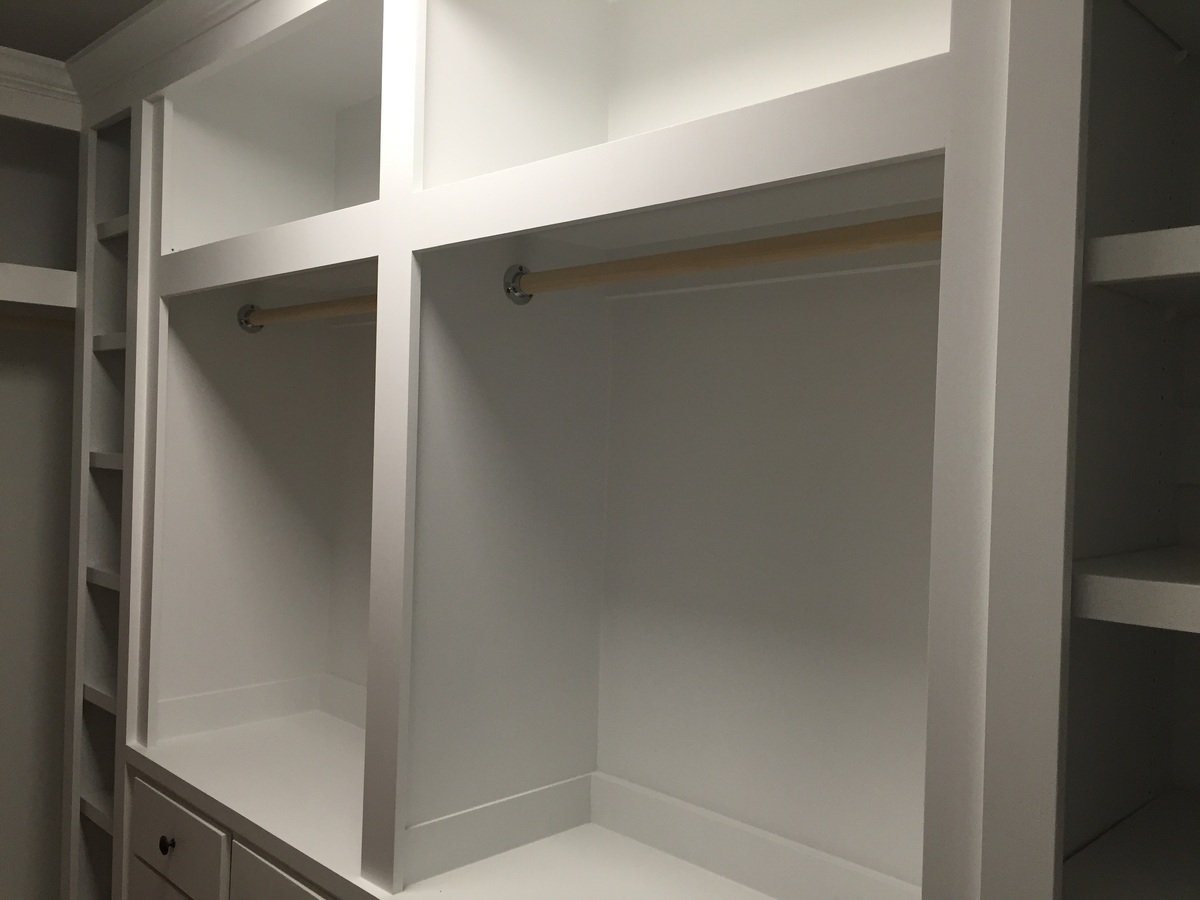
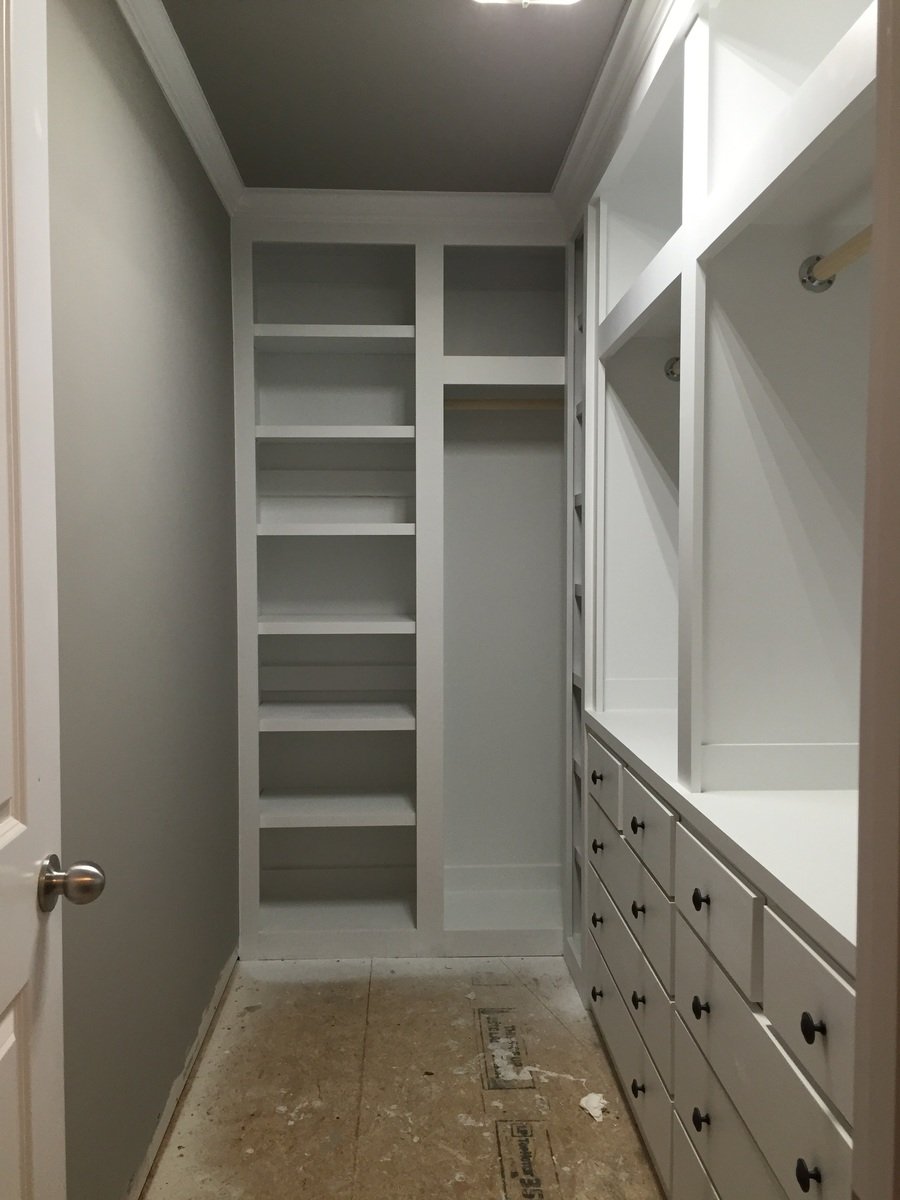
Built in closet to replace builder grade wire wracking. Closet is approximately 11 feet by 5 feet. consists of two shoe racks with 7 shelves each. 6 large drawers and 4 small drawers. Two hanger sections with storage above them. End wall has hanger for longer items and storage above and a cabinet with shelves.
Yet to finish the floor.

My second building project... this one took quite a while, building in the evenings after the kids went to bed.
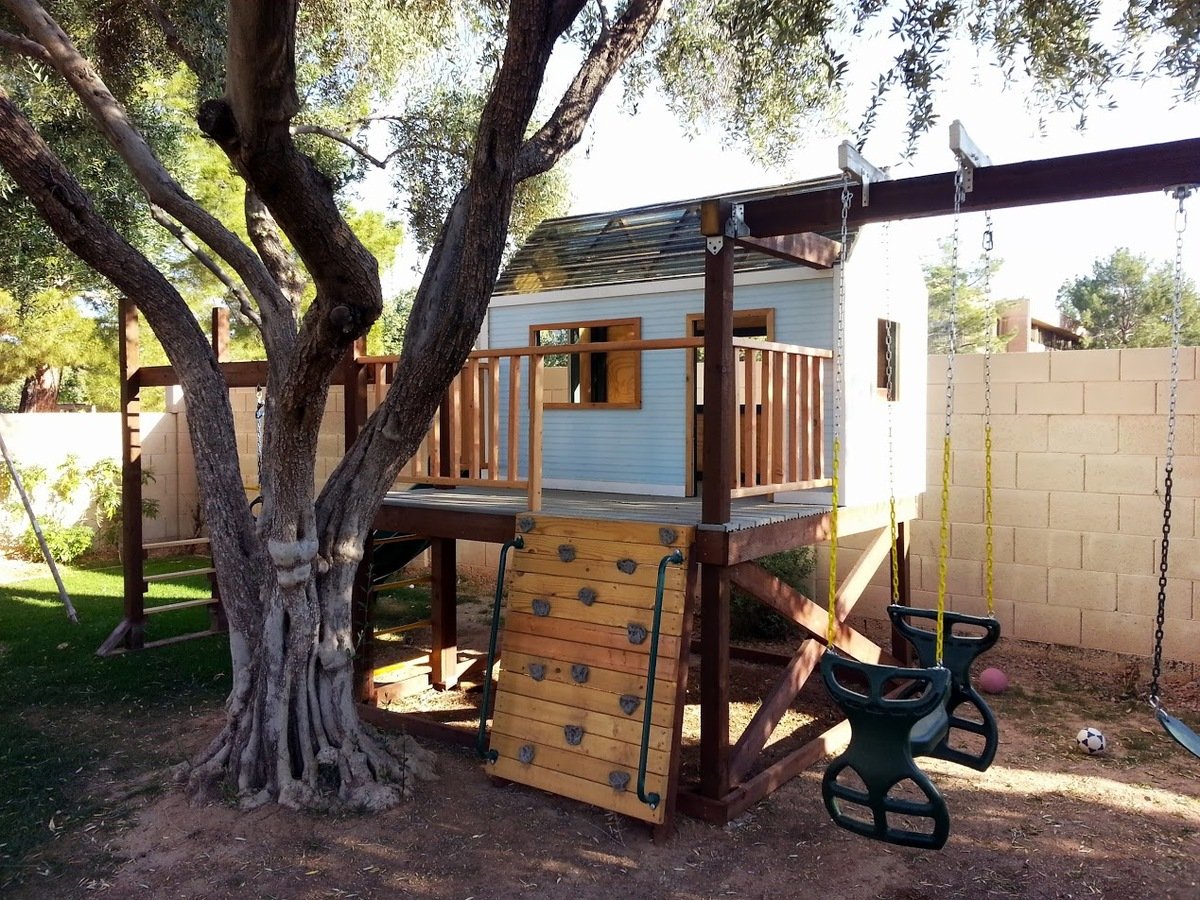
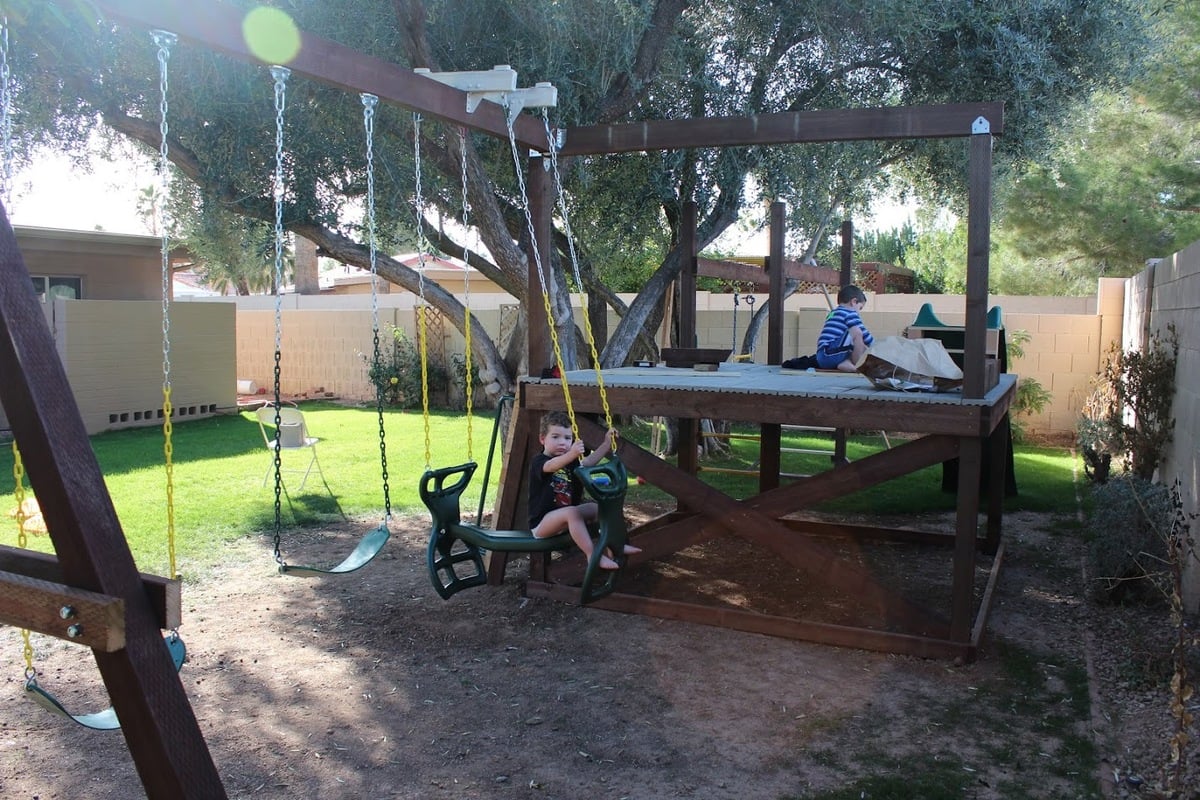
The playhouse is based off of Ana's Playhouse Building series, with some modifications to fit the space in my backyard and accommodate climbing wall, monkey bars, and slide.
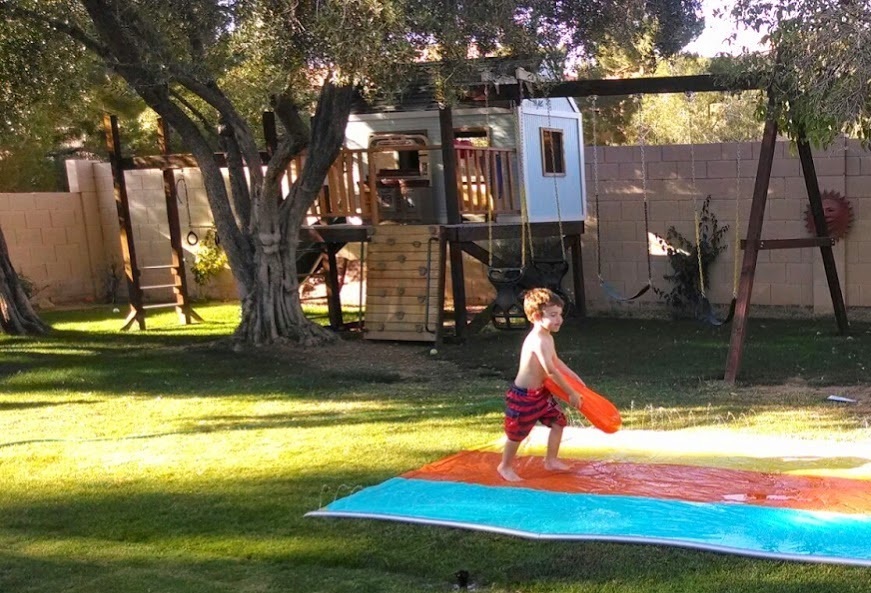
To put the main deck structure into the ground for sturdiness while protecting from moisture, I dug out 5 holes to fit single hole cinder blocks (4 corners plus an extra 4x4 for the monkey bars; you can see an leftover block on the ground in one of the pictures). I placed some brick in the holes, then the cinder blocks on top. I then partially filled the cinder blocks with sand, put the pre-built deck in the cinder block holes (with help - it's heavy!), and then filled the rest of the cinder block holes with sand. It's worked remarkably well - the deck has been up for about a year now. I also sprayed some clear waterproof sealant on the bottom part of each beam near the ground for extra protection (deck, monkey bars, climbing walls, and swingset A-frame). This has allowed me to still run sprinklers near/around the playset and even grow grass underneath the swings!
Materials used:
* Playhouse: pine, plywood, Suntuf solar grey polycarbonate corrugated roofing panels (I live in Arizona, so little rain to worry about but lots of heat - the sheeting lets light in but blocks most of the UV rays, corrugated shape also provides venting at top when placed sideways)
* Deck/Swingset/Monkey bars: treated lumber, composite decking, pine for railings, monkey bars purchased from Amazon
* Climbing wall: pine, treated lumber, handholds/railing bought off ebay/Amazon
* Swings/slide/bongos/wheel, telescope: purchased from Amazon
Modifications:
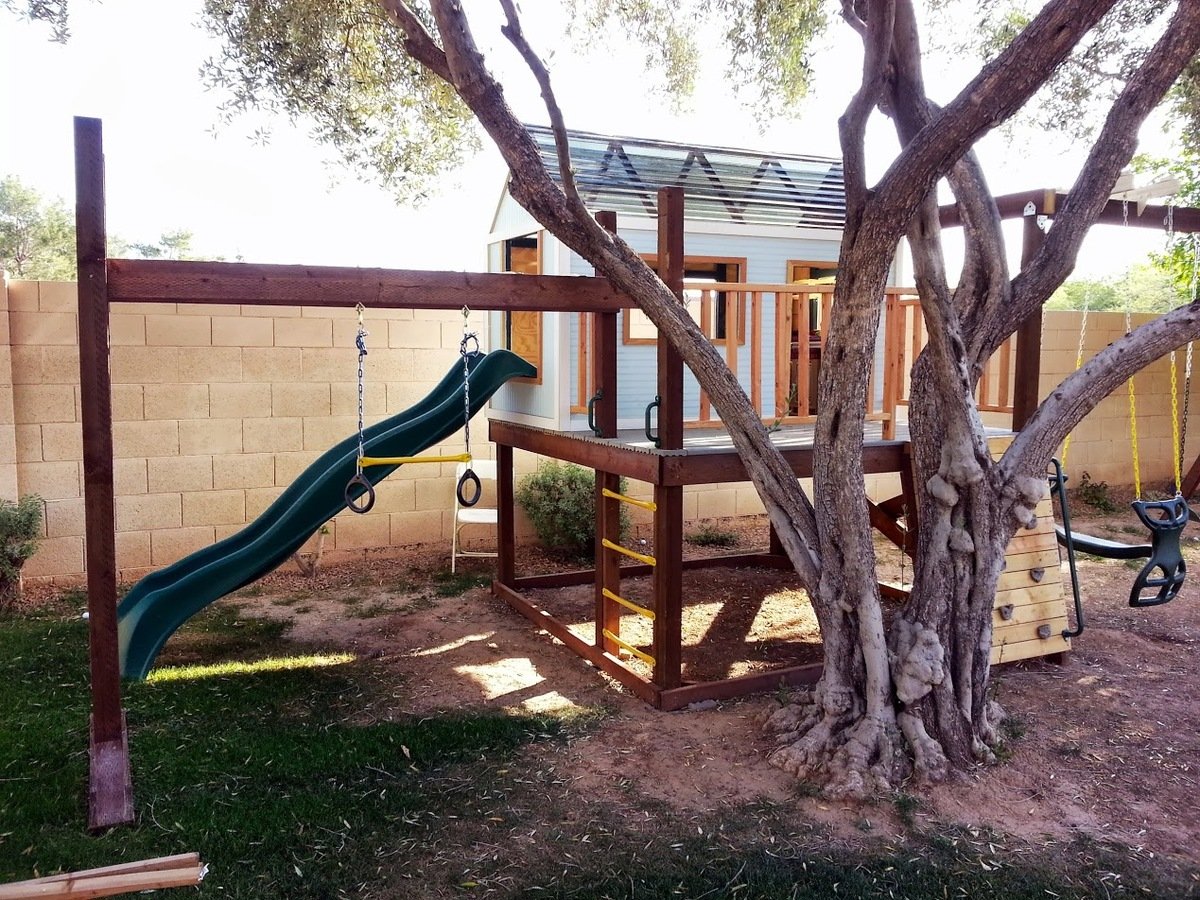
* Turned playhouse 90 degrees to be in back of the deck, with swingset coming off the side. This meant the support beam for the swingset had to pass through the playhouse - modified the frame for that wall slightly and created a notch for the beam to pass through.
* Slide comes out one end of playhouse - made the "window" on that end larger than the plans called for in order to give room for the slide.
* Monkey bars come off one side of the deck - used extra 4x4 here to create support for the bars, and used extra bars to make a ladder on this side
* Climbing wall instead of ladder for main entrance
* Put large window in back wall of the playhouse
* Added cross bracing to side of decking on swingset end to make it more solid/cut down on sway when swinging
Tue, 04/29/2014 - 20:41
This is phenomenal - just the plan & design we've been looking for. Can you upload a few more pictures? Any sketches you can provide? Shopping list? Really great job - I hope your kids love it. It looks awesome.
Wed, 09/10/2014 - 14:03
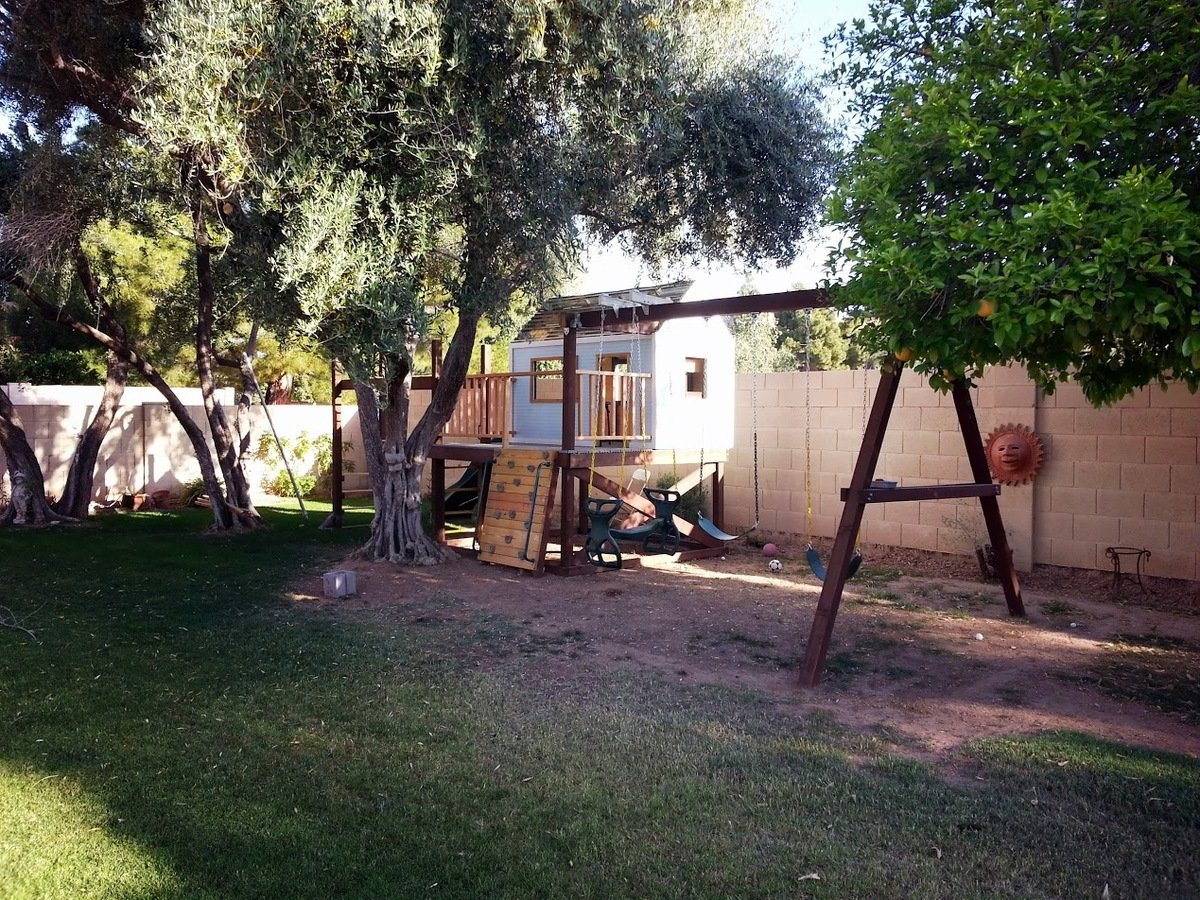
Thanks! It's certainly nestled in right behind that tree - I originally was going to place it in between that tree and another one but then decided to just place it behind them in order to take better advantage of shade (critical in AZ) and fit in everything I wanted to put on it (monkey bars, swings, slide, climbing wall)

Mon, 07/08/2019 - 00:48
We've been looking at these type of players for our son, and good grief! Prices are astronomical for playsets that are NOTHING like this. This absolutely an amazing place for those boys to make memories. You're amazing! Do you mind if I ask what it cost once it was finished? I never imagined that it would cause a tic in my eye to look at the kids from Lowe's or anywhere else for that matter.
Tue, 08/20/2019 - 10:14
I don't remember how much it cost in the end... but probably around $900? That may include getting some tools that I needed but didn't have at the time. The slide was the most expensive single piece I bought - I think I got it from Amazon.
When it was all done, I remember thinking that what I got for my money was *way* beyond what I would have gotten by purchasing a kit or a pre-built play structure. Plus, by going my own way, I was able to build it to fit my space and the needs/abilities of my kids.
While the whole thing is big and looks like an intimidating build, it really isn't bad - the platform is a fairly blank base to design everything else off of, and is incredibly sturdy. Everything else is a discrete part that branches off of the platform and can be planned out as you need. Adding the monkey bars required putting in a 5th upright (the first 4 are the corners), but that was an easy modification since I knew I wanted it before building the platform. The playhouse just sat on top of the platform (screwed down, of course).
Sat, 08/01/2020 - 20:40
Hello. This is pretty cool, probably the best modification that I am looking for from Ana's default plans. Could you please add some more detail on the right side wall, and how you incorporated the support beam through the playhouse? (with maybe a picture from inside of that wall). And secondly, if you can add the dimensions for the monkey bar setup on the left side of the deck? Thanks, much appreciated
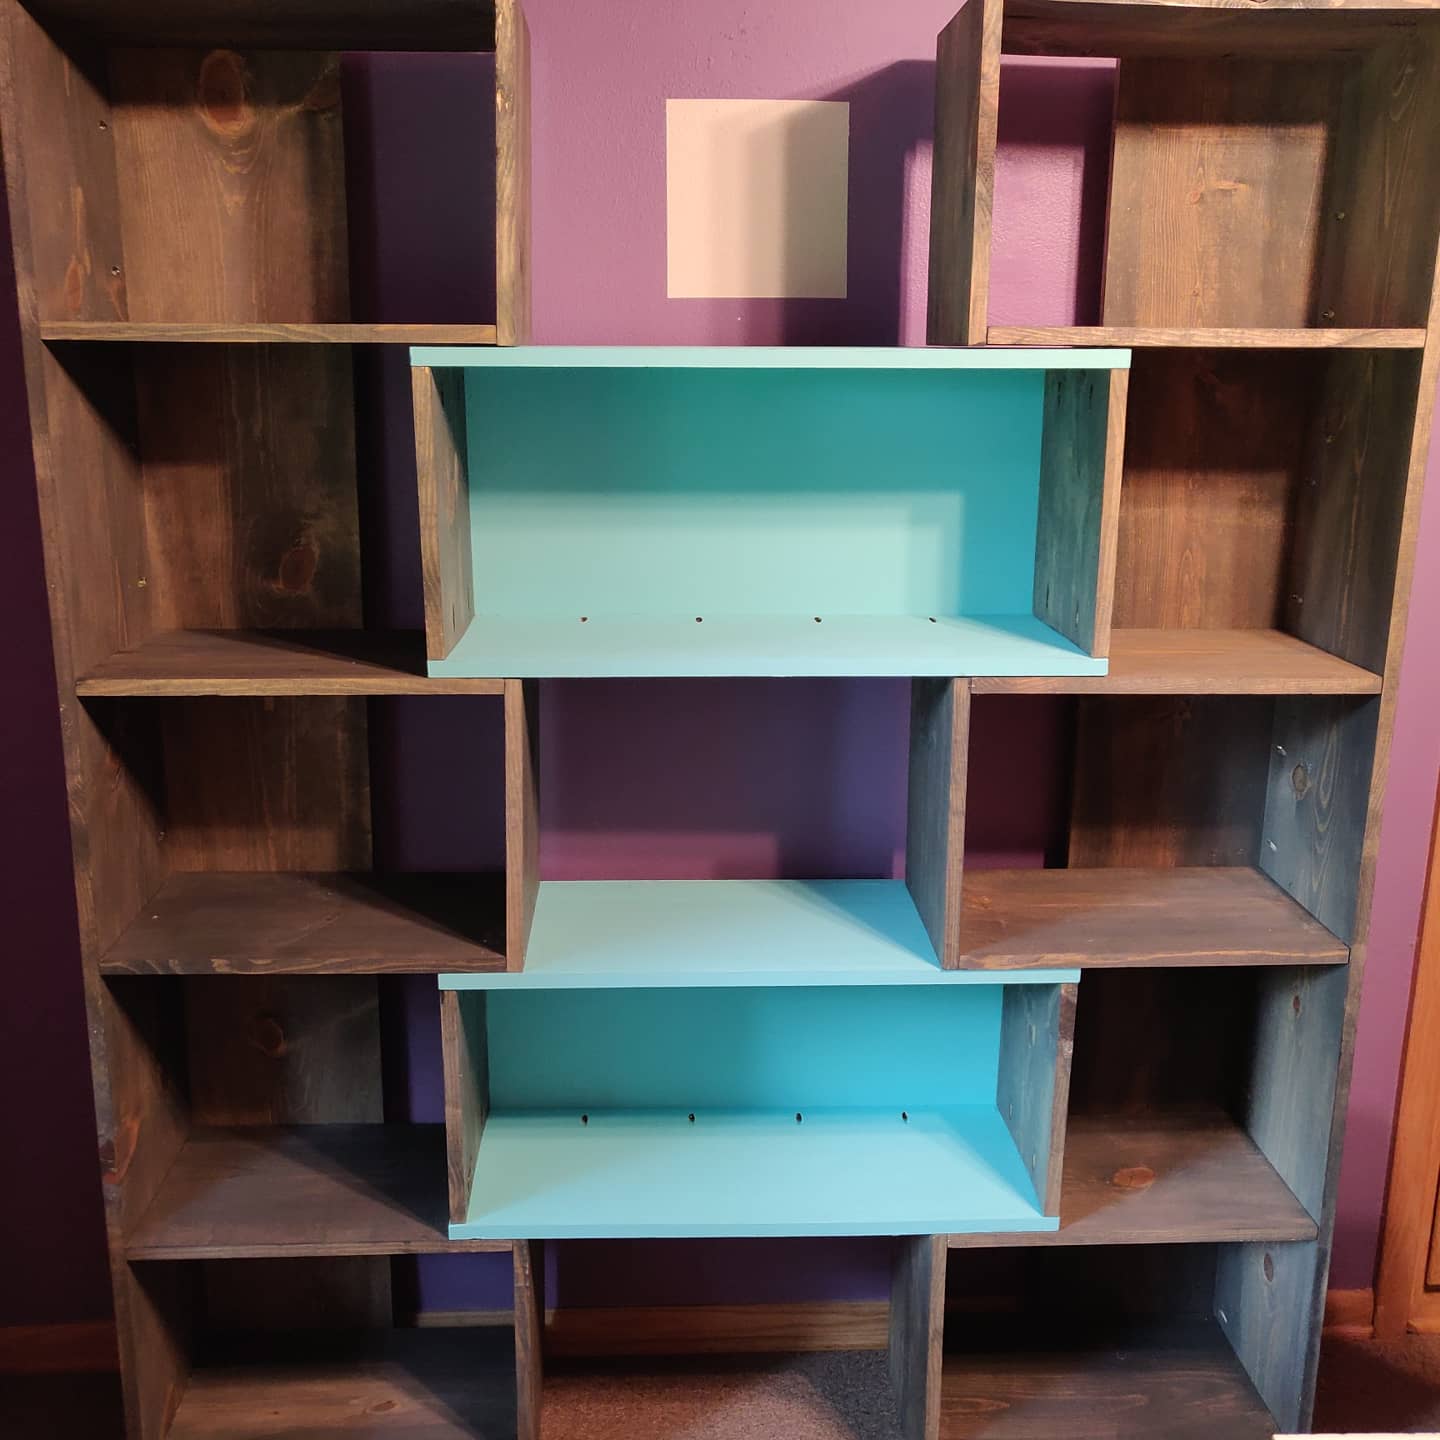
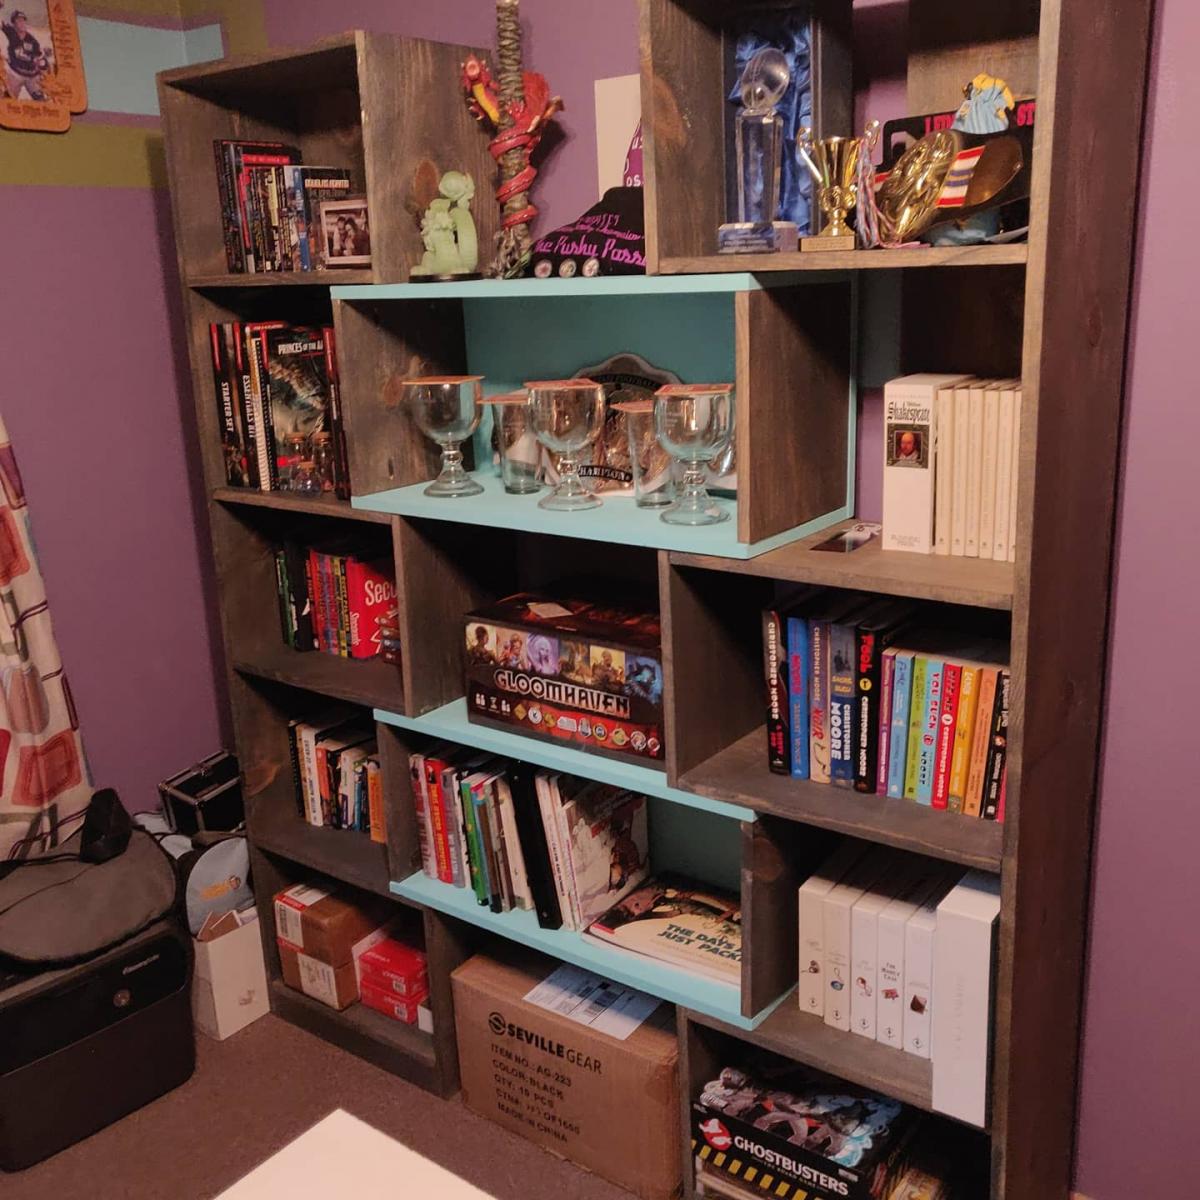
Made over two weekends - used pocket holes - stain is charcoal grey and the paint is rainwater by Behr - had some issues with warped wood but it still turned out great - I did not secure the cubbies to the bookcases; my hubby likes the idea of being able to change the size - overall very happy! Plans are so easy to follow

Comments
Ana White Admin
Thu, 05/04/2023 - 14:00
Super Cool Sectional!
Looks fantastic, thanks so much for sharing!