Community Brag Posts

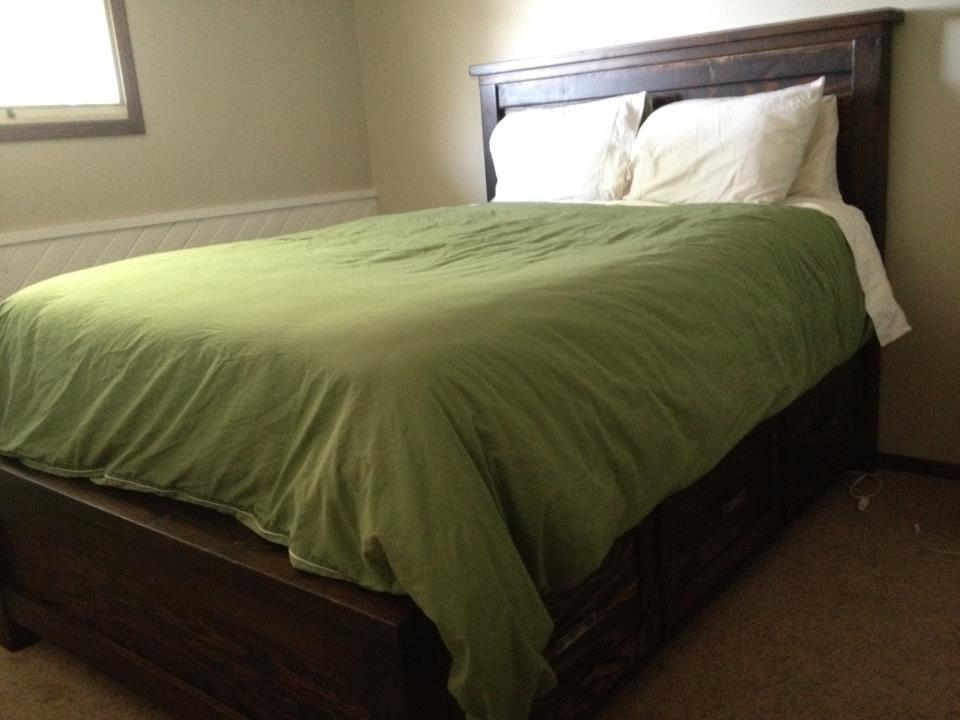
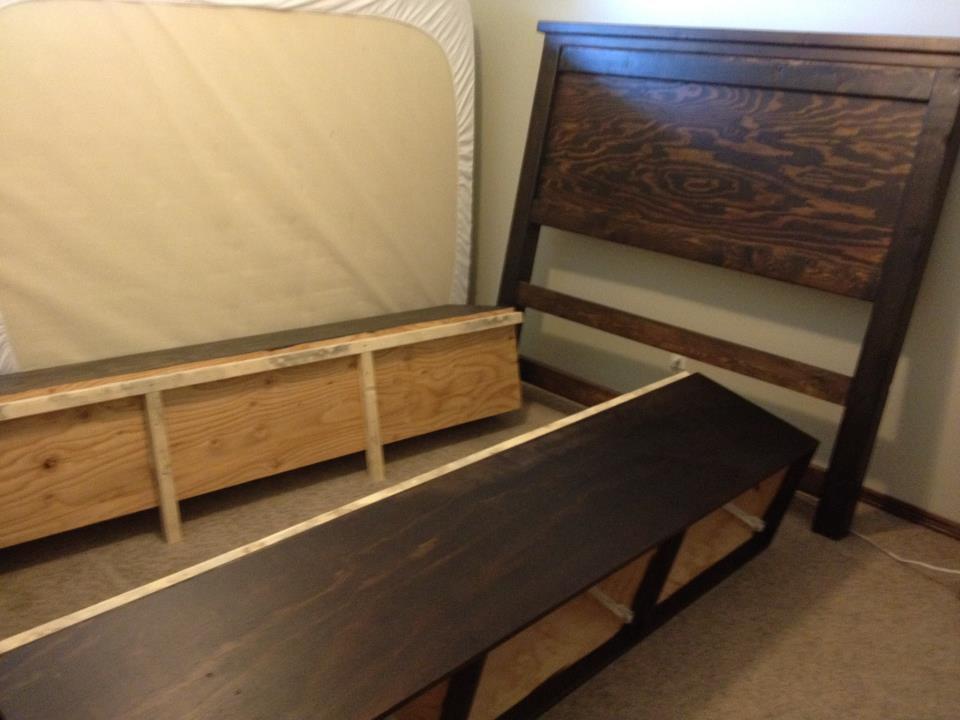
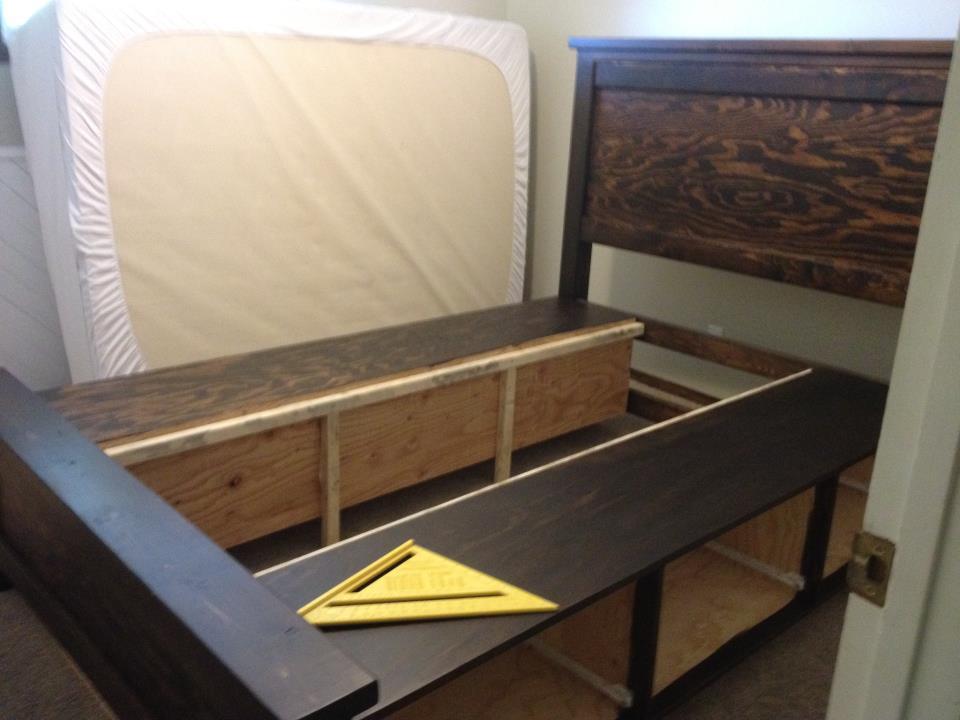
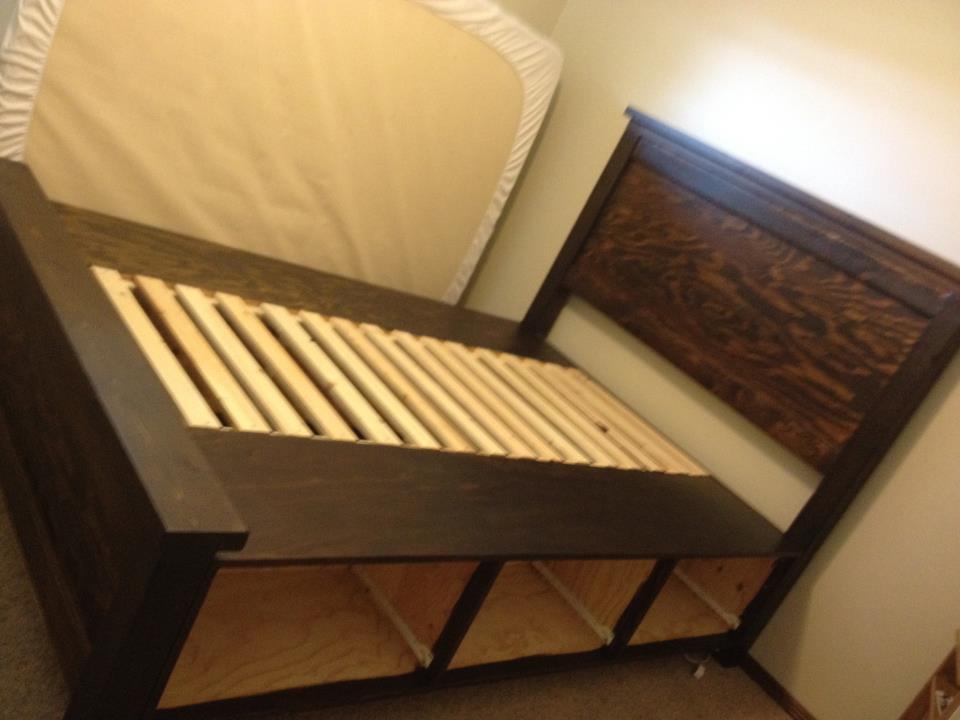
Queen Sized Farmhouse Bed

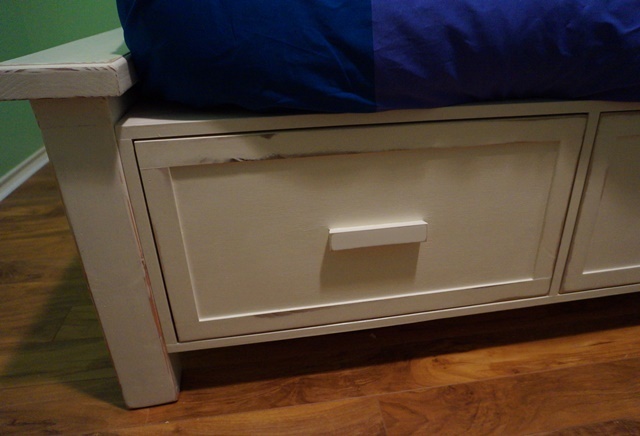
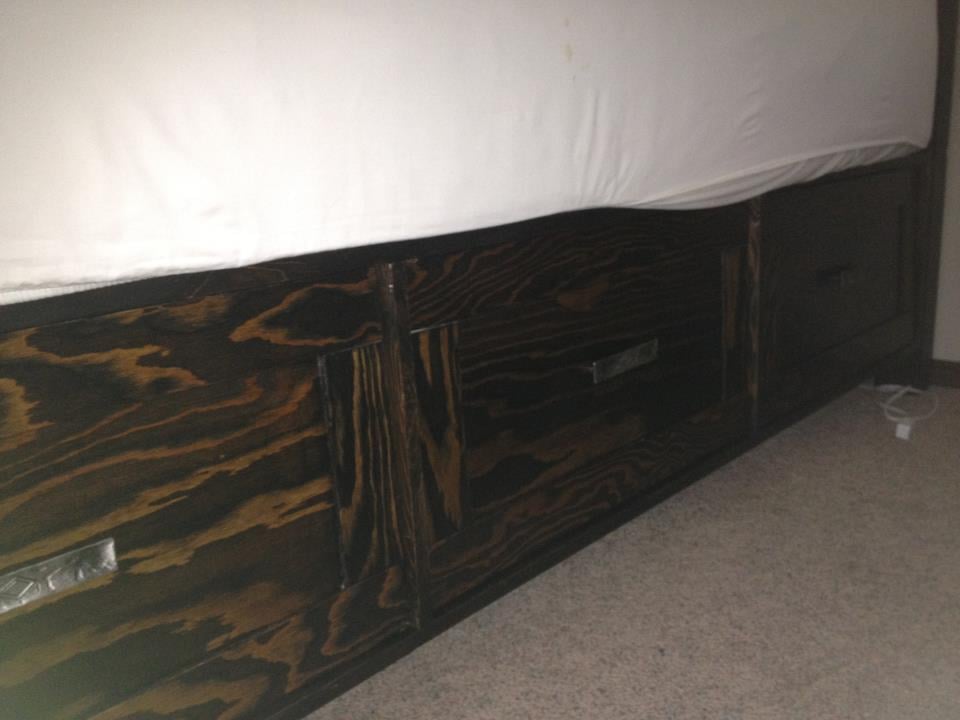
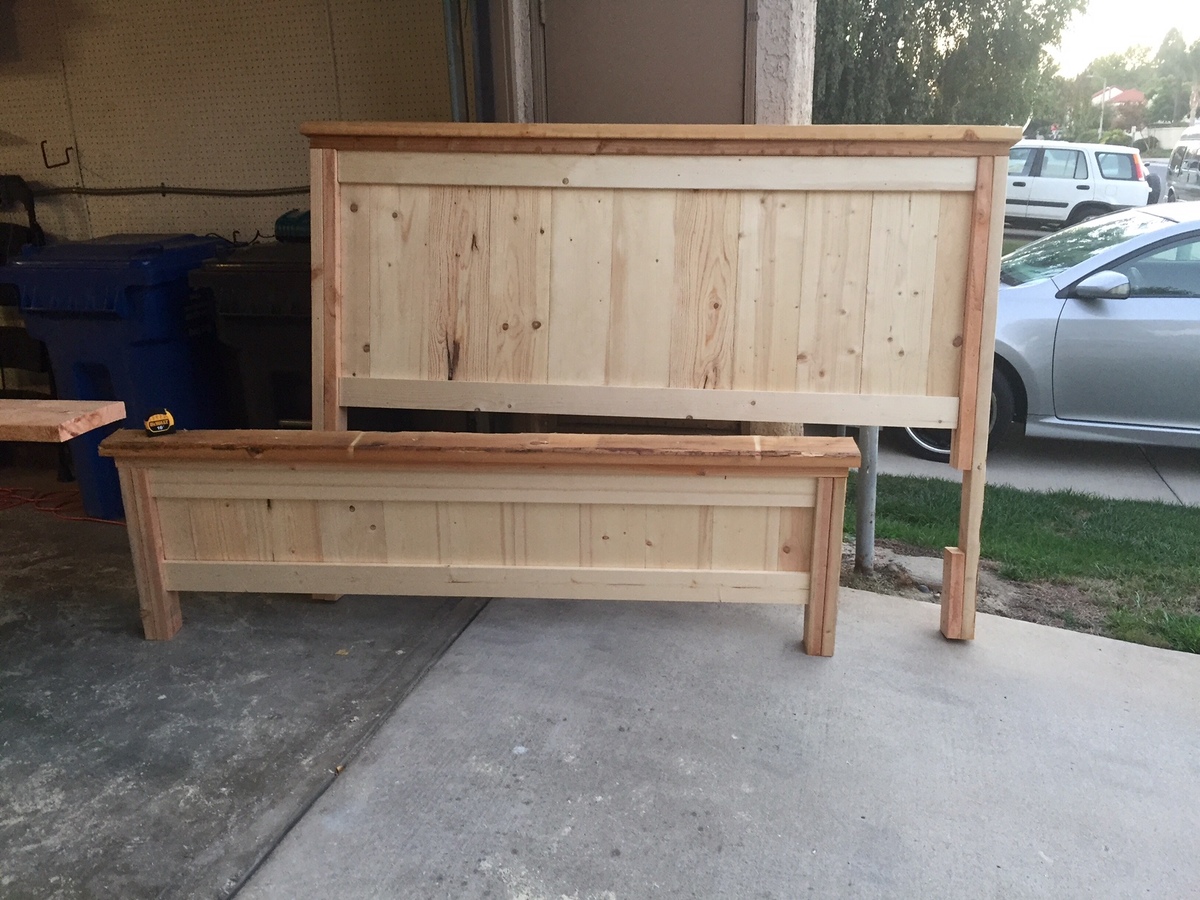
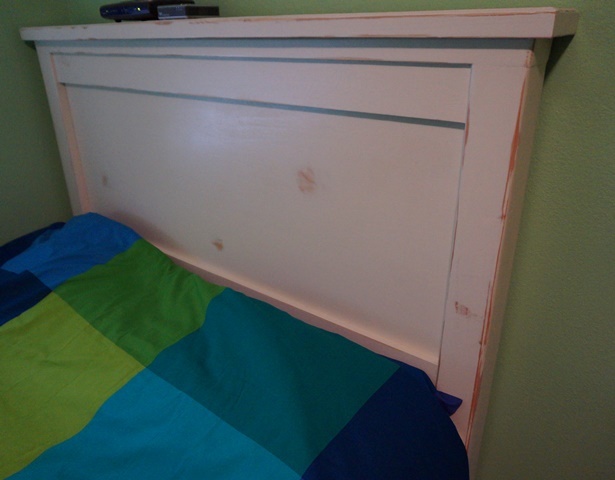
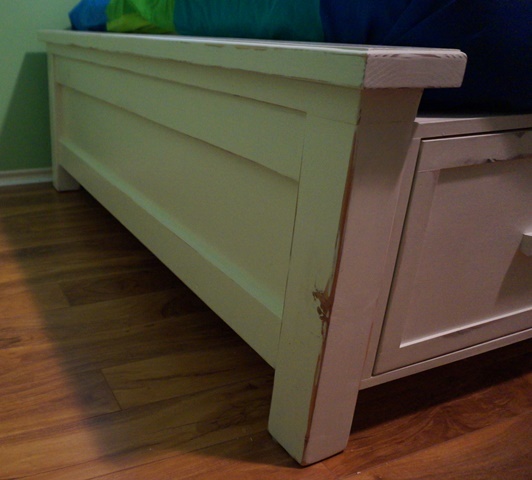
I built this Farmhouse Storage Bed with Storage Drawers for my youngest son. I wanted this bed to be for our current use (for my son and when my parents come a visit) but also I wanted deeply for this to be an heirloom that he would carry with him in his life.

I worked on it a bit at a time for about three weeks. I probably put 50 or so hours into it and I learned a lot. I used redwood 4x4 posts for the head and foot board, cabinet grade plywood, and reclaimed poplar for the trim and handles on the drawers.

I sealed the drawers and drawer boxes with my own version of "Wipe on Poly" that I mixed myself. I painted the bed with eggshell white paint that I bought a while back to repaint our ceilings with when Hurricane Ike came through. I sanded back portions of the bed to make it look distressed and then sealed the whole thing (bar the portions I already sealed) with clear semi gloss polycrylic.

My thinking was that I would have the color I wanted and yet seal the whole bed including the portions I distressed making the look rather permanent and tough for a child under 10.

I plugged all of the pocket holes that I used and sanded them flush as well as using edge banding on the drawers and the bases so that they looked like solid wood. These two alterations to Ana's plans added some time to be sure - but I was really happy with the result.

Ana, I wanted to thank you personally for putting these plans together and encouraging others to try their hand and building furniture. I had build a lot of other woodworking projects before but nothing of this scale. It went VERY smoothly with few hiccups and came together, essentially, like I wished it would.

I plan on making more things in the plans soon, including a loft bed for my other son, and will post them here when I do.
Estimated Cost
400 dollars
Estimated Time Investment
Week Long Project (20 Hours or More)
Finish Used
Sand back wood, add eggshell paint and let dry overnight. Adding a second coat a few hours after the first. Sand back paint, 220 grit, to a smooth finish and then sand back points where natural wear would occur creating a distressed look. If you want the wood to be a little darker at these points, use Danish oil on the wood and the paint. Let this dry for 72 hours then cover with polycrylic sealer (semi gloss) and let dry.
Recommended Skill Level
Intermediate

Doll bunk beds

Submitted by anm8ed on Sat, 06/06/2020 - 19:12

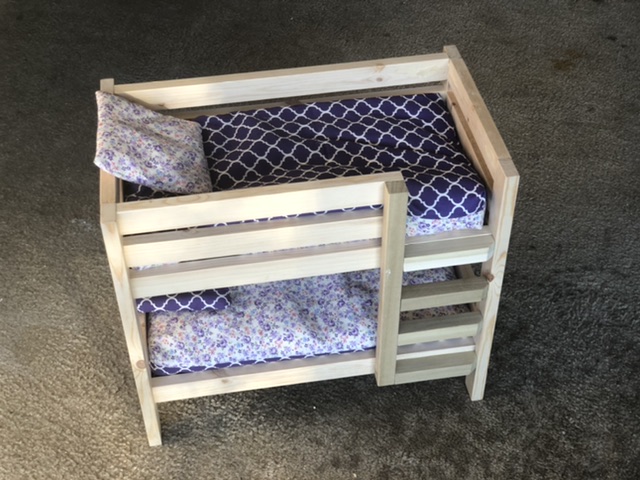
I altered it a little bit since I could not find a 1x1 anywhere near me. I used a square dowel and I placed the ladder steps on the outside. The square dowel was a little big so i notched the right side. I also cut the left side of the ladder to not block the bottom. I may try a trundle later on. It’s not painted yet but she wants it a light pink. Maybe tomorrow we will do that.

Estimated Cost
$25
Recommended Skill Level
Beginner

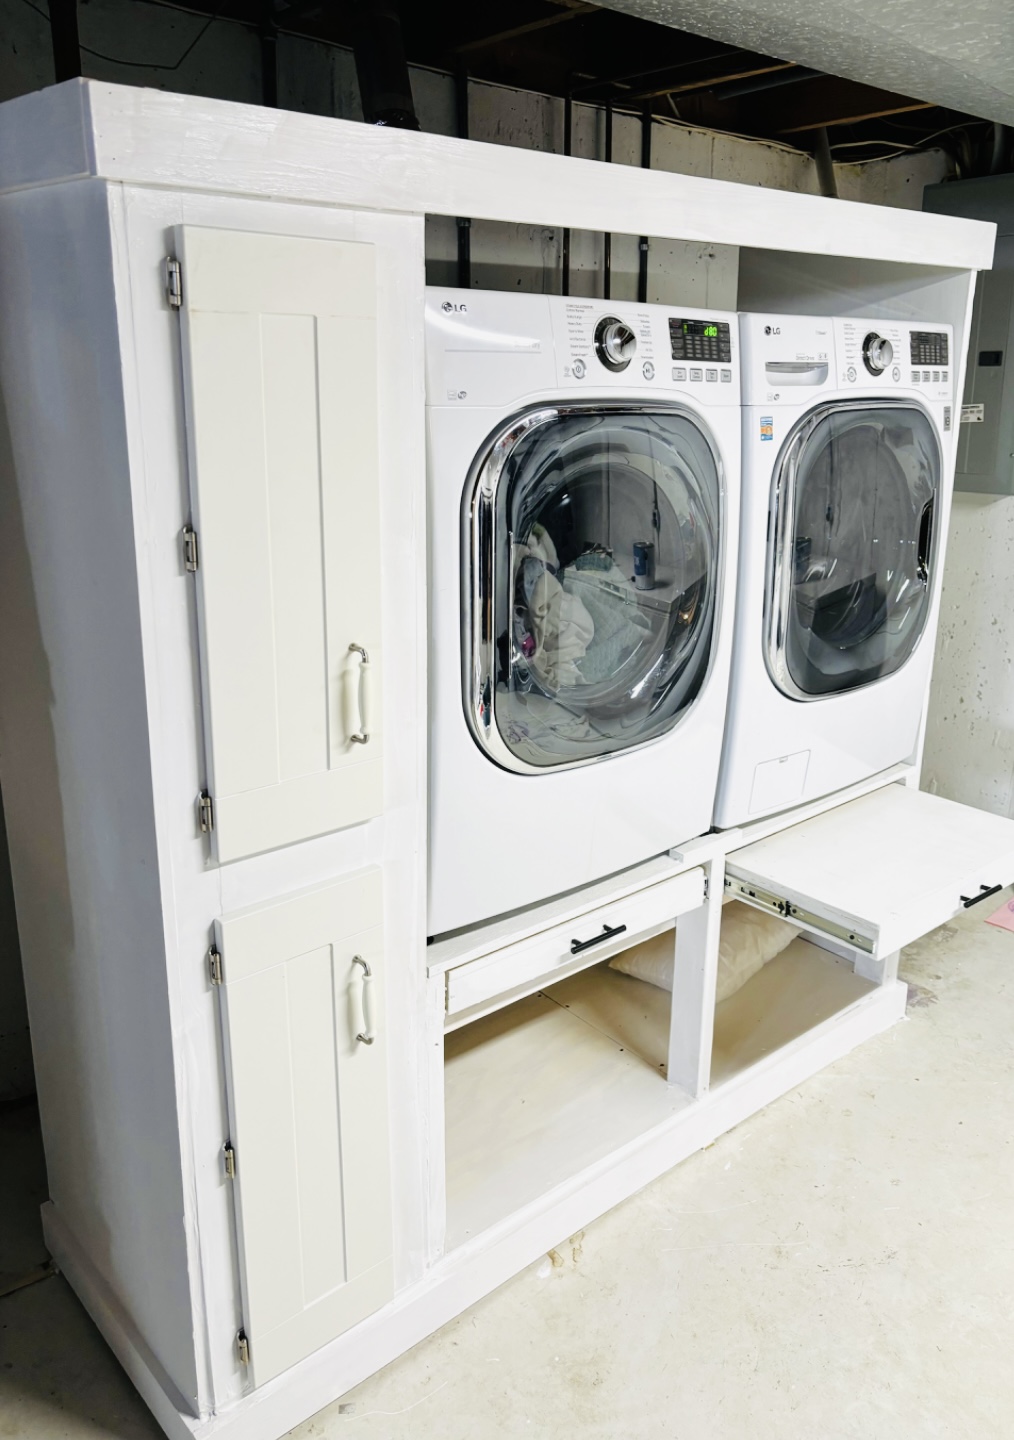
Laundry Cabinet for Washer and Dryer

Submitted by Anonymous (not verified) on Mon, 03/04/2024 - 11:57

My daughter wanted a way to hold her machines higher, so as to not have to bend over, and a place to store laundry aids. We added pull out shelves to hold the basket while loading, and her empty baskets fit in the botton openings.

Rob Gassel

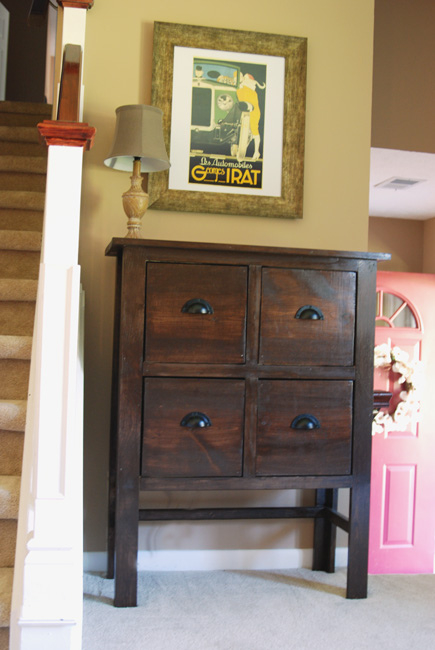
Balin console table modification

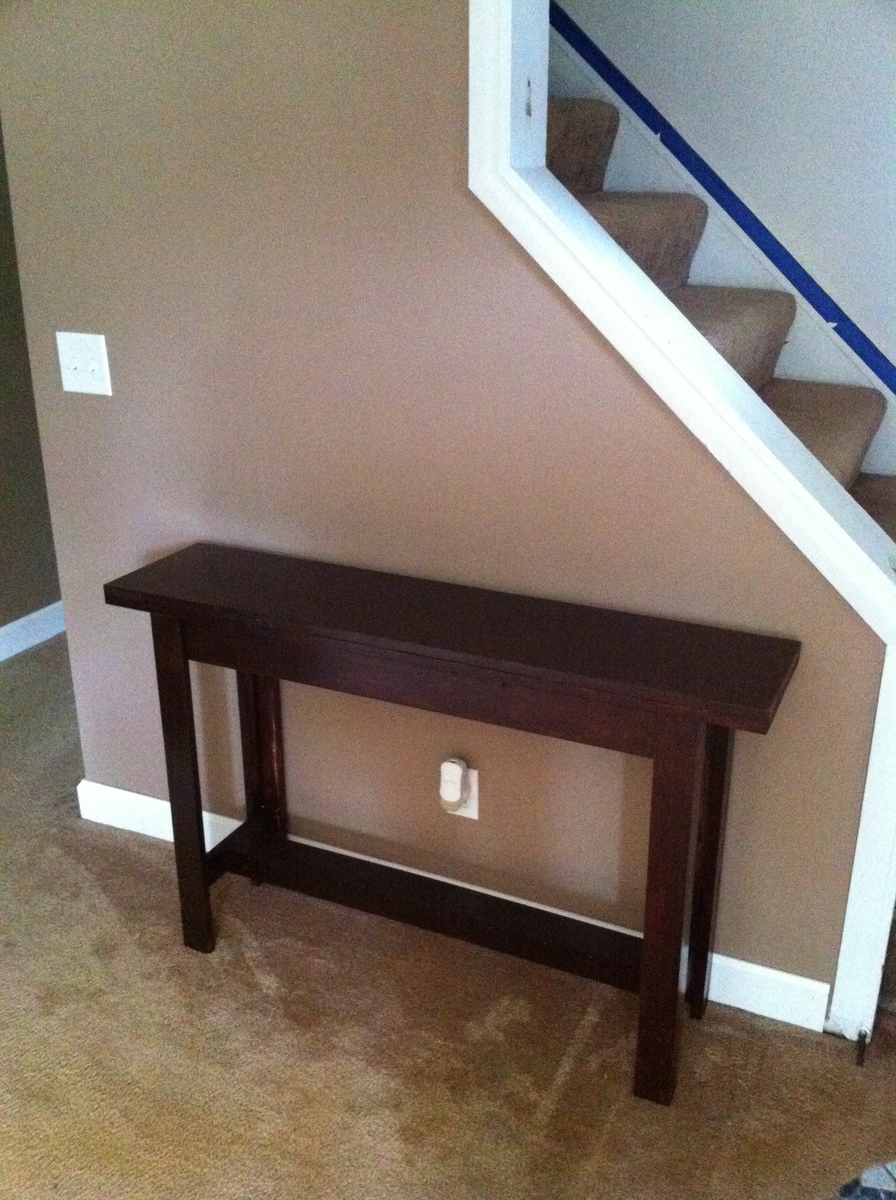
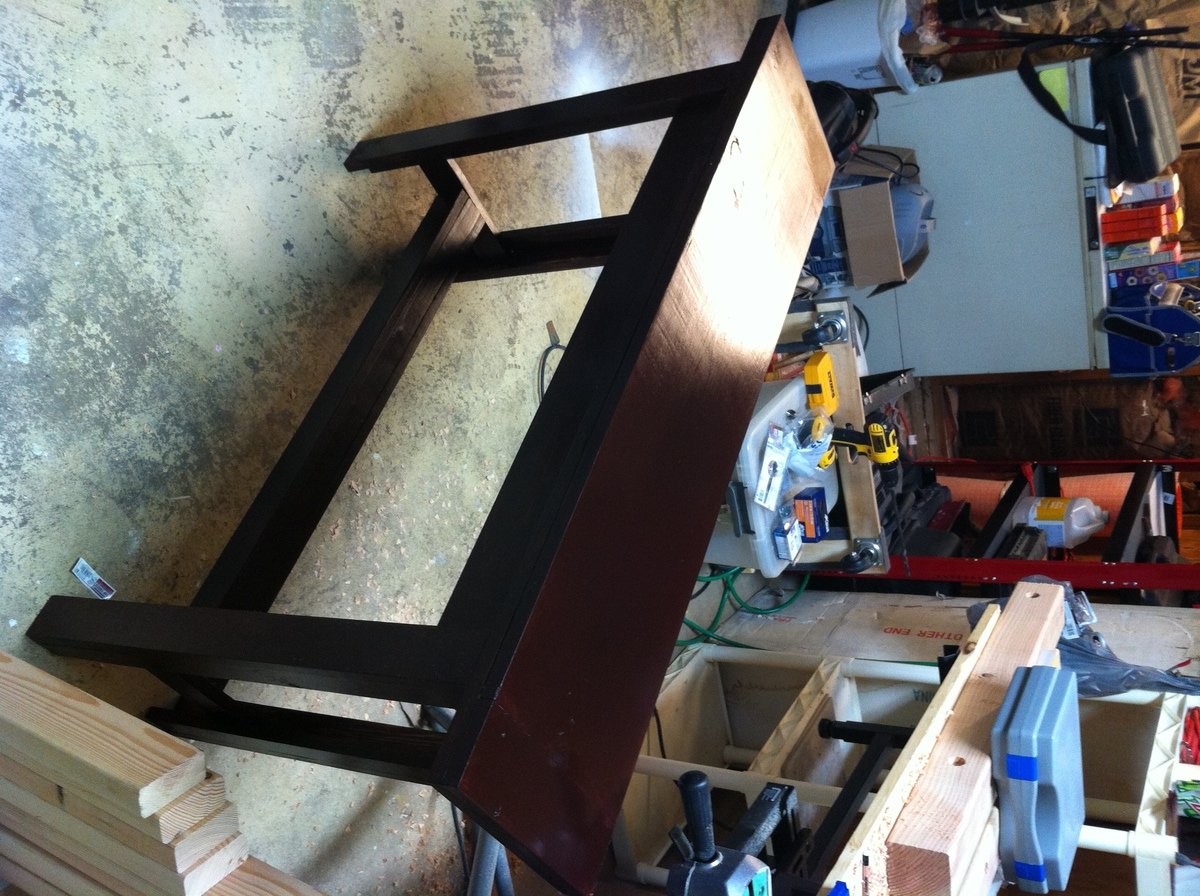
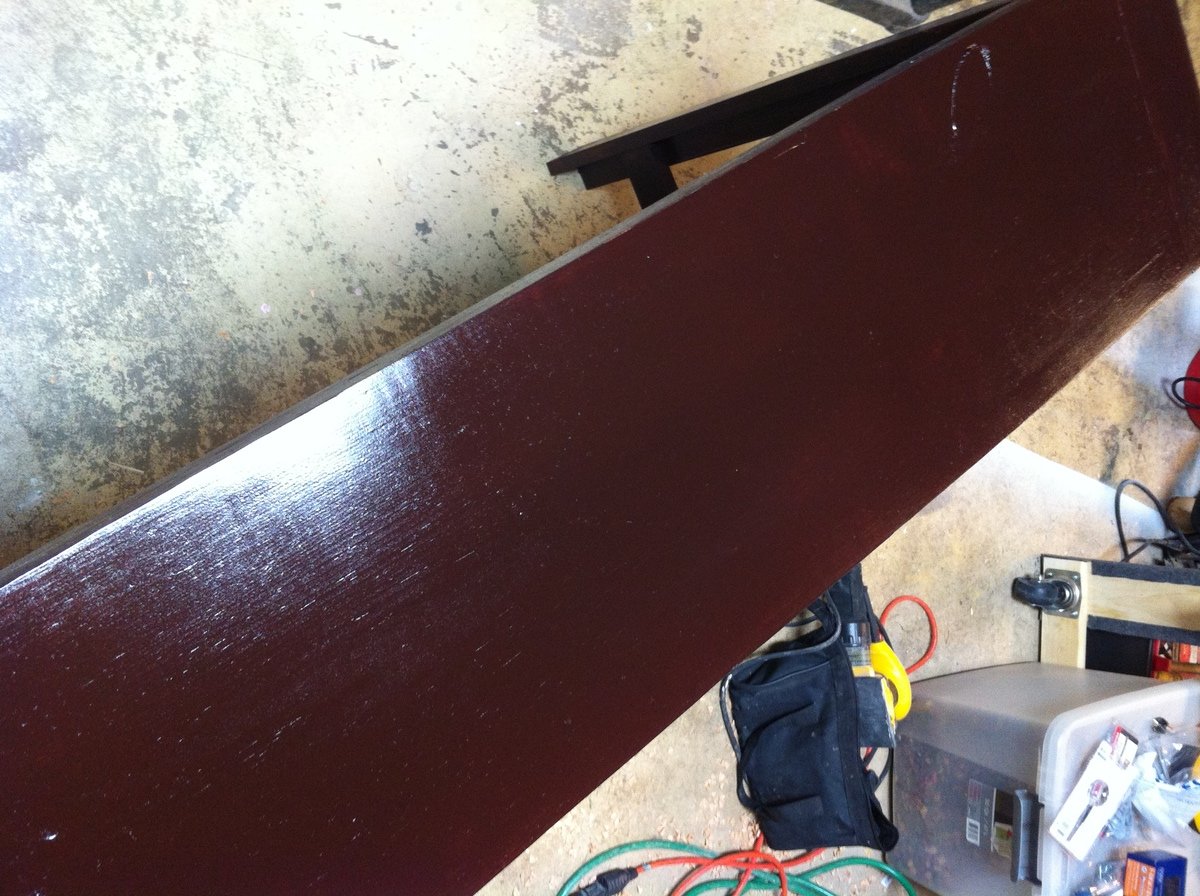
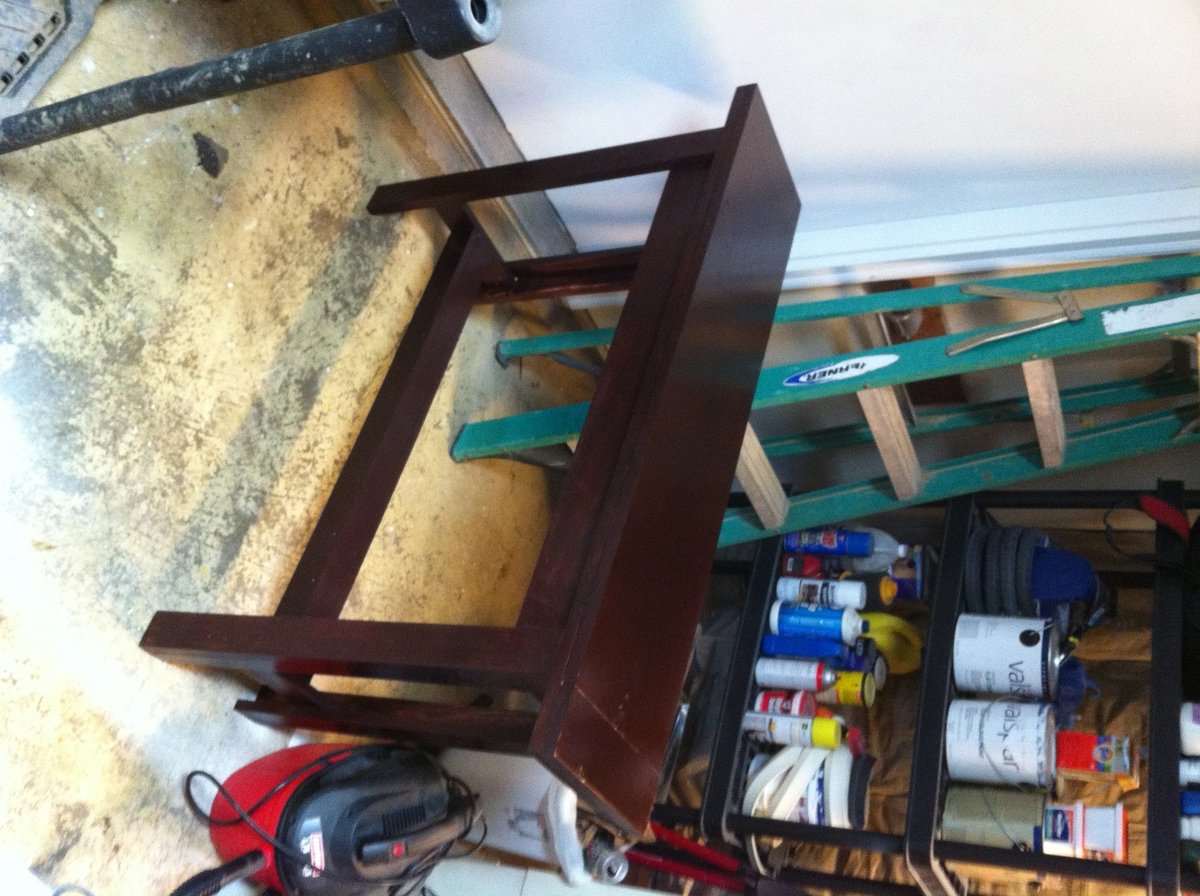
I absolutely loved this table but needed to modify it to fit into a specific area of my house, so I put two drawers on top of each other instead of having all four across. I also shortened the legs as a result. I really love the way it turned out. It is so pretty.

The only thing I dislike is the drawers. They are incredibly heavy, don't slide that well (not because of any mistake on my part, just because they are wood sliders and not metal or plastic), and the shape and size don't make them very usable. They're sort of awkward. I originally wanted it to be a place for my boys to store their Thomas train tracks and Legos, but there's really no way a kid can use drawers that heavy and deep. So that's a bummer.

But overall it's a really nice addition to that part of our living room!

Built from Plan(s)
Estimated Cost
$75
Estimated Time Investment
Weekend Project (10-20 Hours)
Finish Used
Minwax's cognac
Recommended Skill Level
Intermediate

Comments

Linda7

Thu, 08/02/2012 - 10:40

Your console table is beautiful! I read a recent post that addressed the awkward drawer slides. This person used teflon tape on the slides and said it worked well. Here's the post...
Submitted by alexnb on Thu, 2012-08-02 00:30.

That might work for you, too, so that you could actually use the drawers for those pesky little toy train and Lego pieces! :-)

Lady Goats

Thu, 08/02/2012 - 10:44

I've loved the Balin console since Ana first posted the plans, but haven't gotten a chance/place for it. Your modifications are amazing, and the finish is stunning. WOW!

katiesommer

Mon, 08/06/2012 - 09:13

Thanks guys. Your nice words made me feel so good. Linda, can you send the link again? It didn't post here.

Thanks again. :D It was a fun project and the mods make it unique.

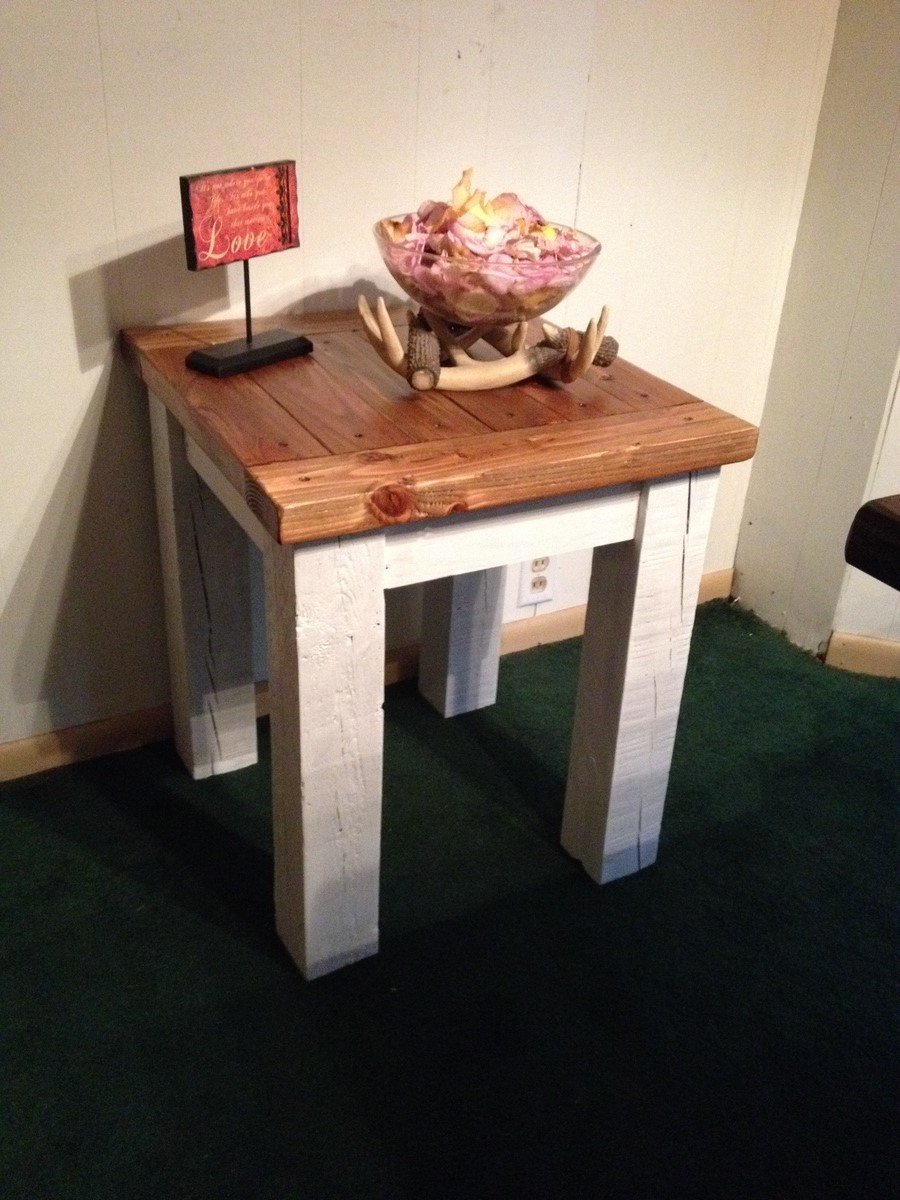
Tryed end table

Submitted by Samdr33 on Tue, 05/27/2014 - 13:12

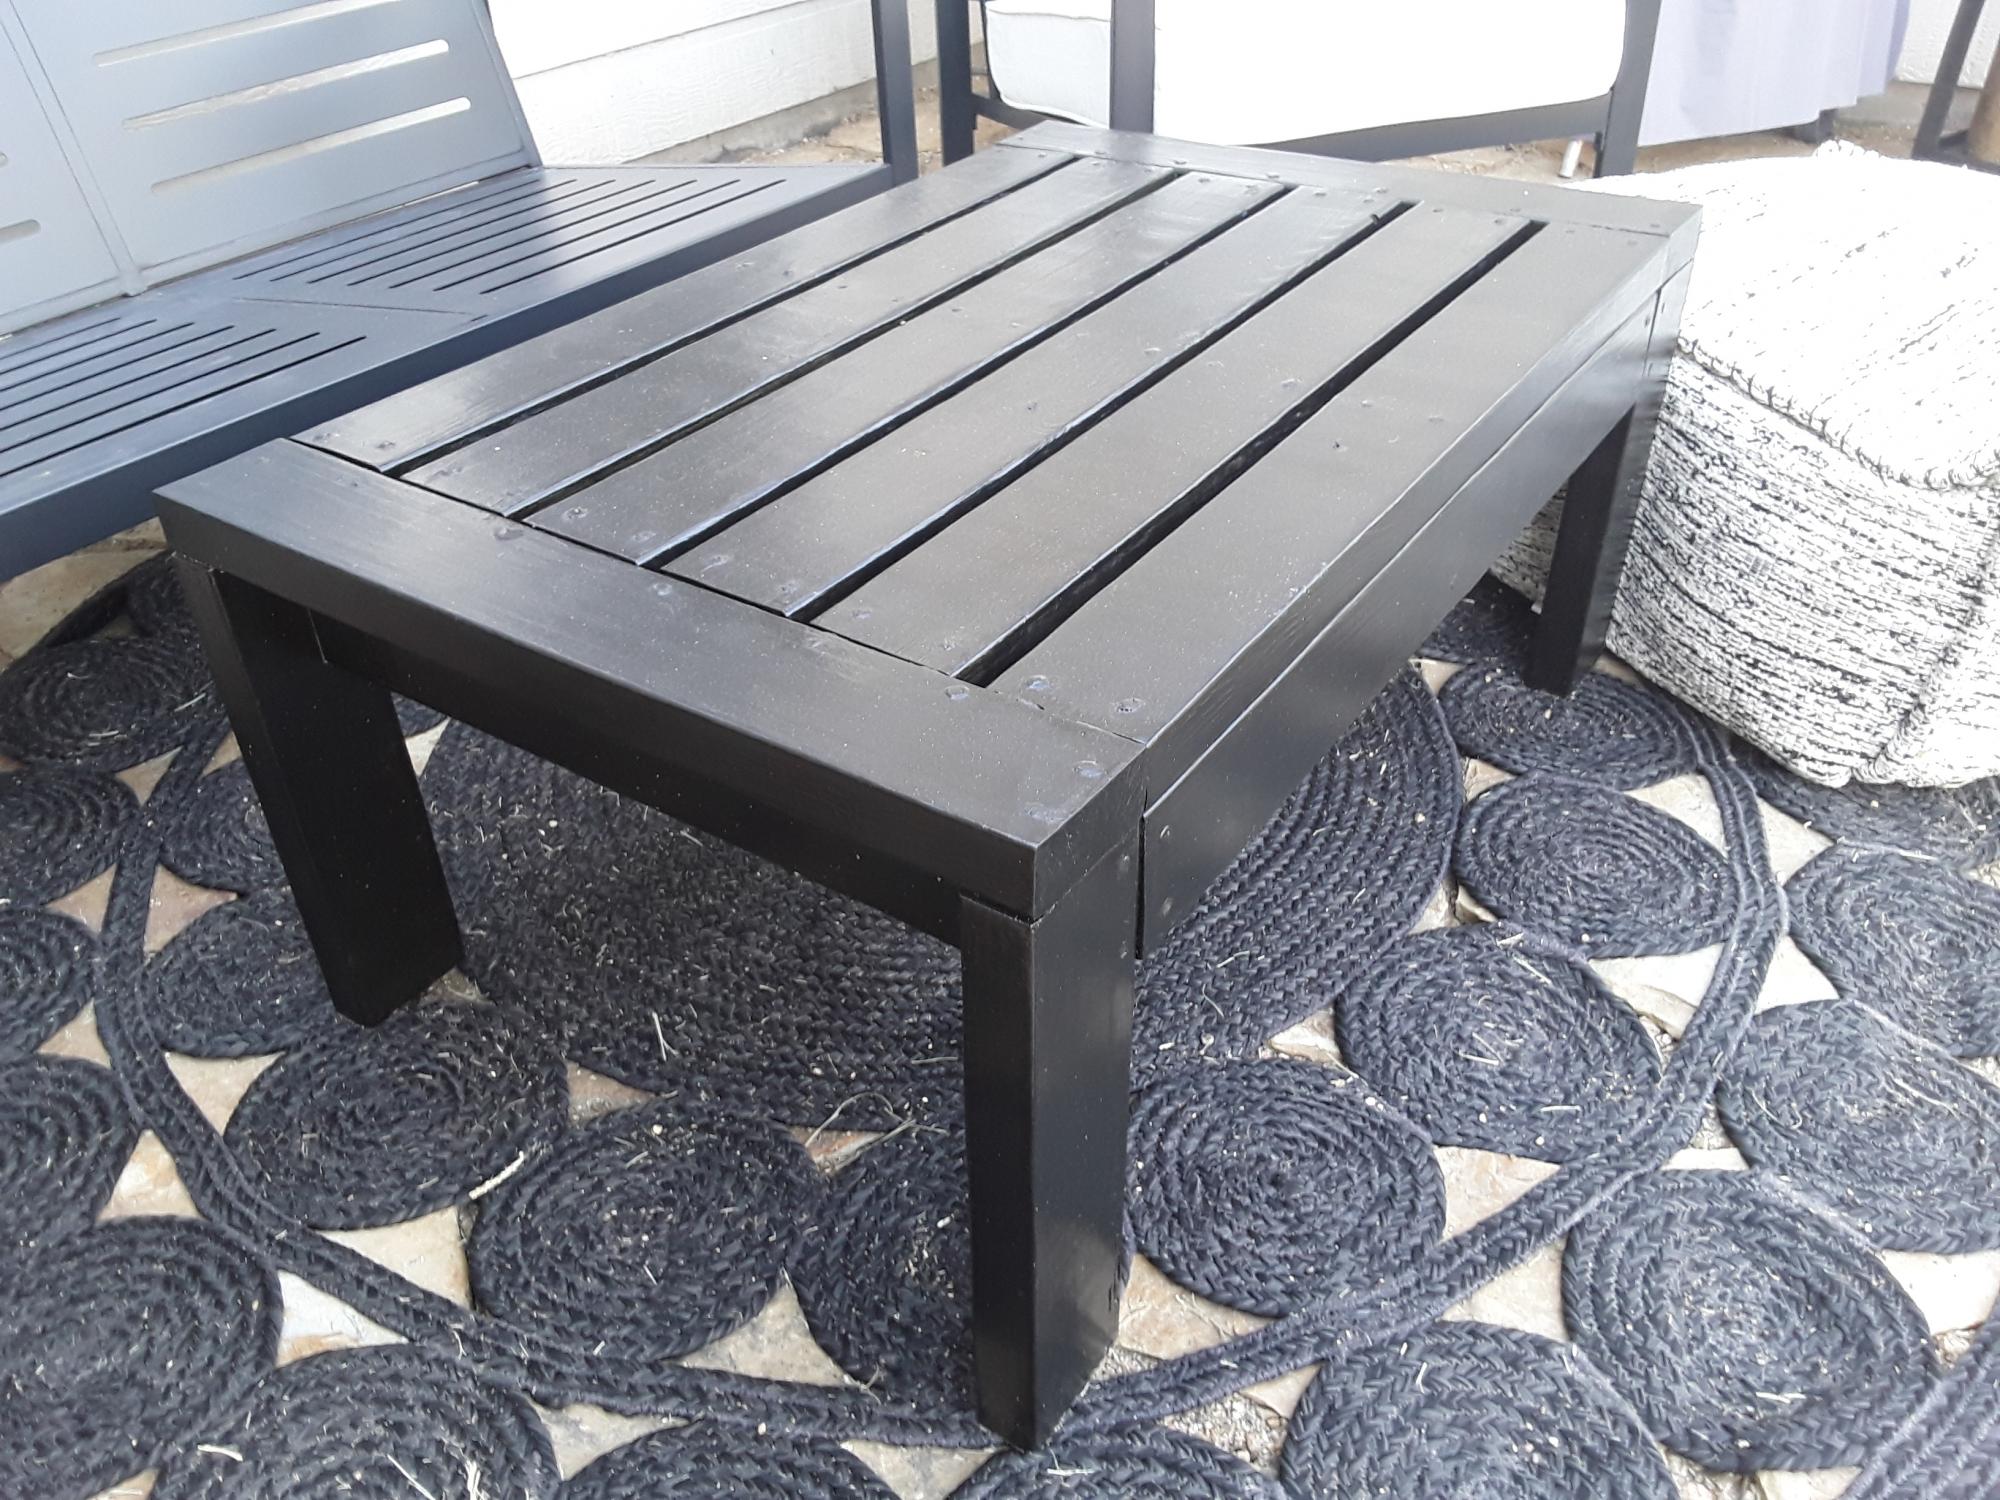
I had some really old (30+ years) 4X4's laying around the backyard that I found in a brick pile at my grandmothers house sometime back. I saw the plans for the really easy Tryed Side Tables, so I made a few of them, and people jumped on these really fast. This may be the simplest tables I have ever made, time and skill-wise. Just need a few 4x4 legs, 2x4 top, and 1x4 trim and support. THAT'S IT. Then about an hour of your time plus paint and stain time. Very cool and very easy.

Built from Plan(s)
Estimated Cost
$12
Estimated Time Investment
An Hour or Two (0-2 Hours)
Finish Used
Legs and support trim are painted Vanilla White
Top is stained Golden Oak.
Minwax Poly applied to top.
Recommended Skill Level
Beginner

Multi-Use Desk with File Cabinets - 3rd configuration

Submitted by Anonymous (not verified) on Sun, 08/28/2016 - 15:36

The first version of this desk was built for our office prior to having kiddo #2. My husband altered the plans a bit to fit our room and instead of open shelving on the end cubbies, he converted them into drawers and a file cabinet.


Checkout more photos and details on my blog at www.momontrend.com

Estimated Cost
$100
Estimated Time Investment
Day Project (6-9 Hours)
Finish Used
Expresso stain on top. Sherwin Williams Paint
Recommended Skill Level
Intermediate

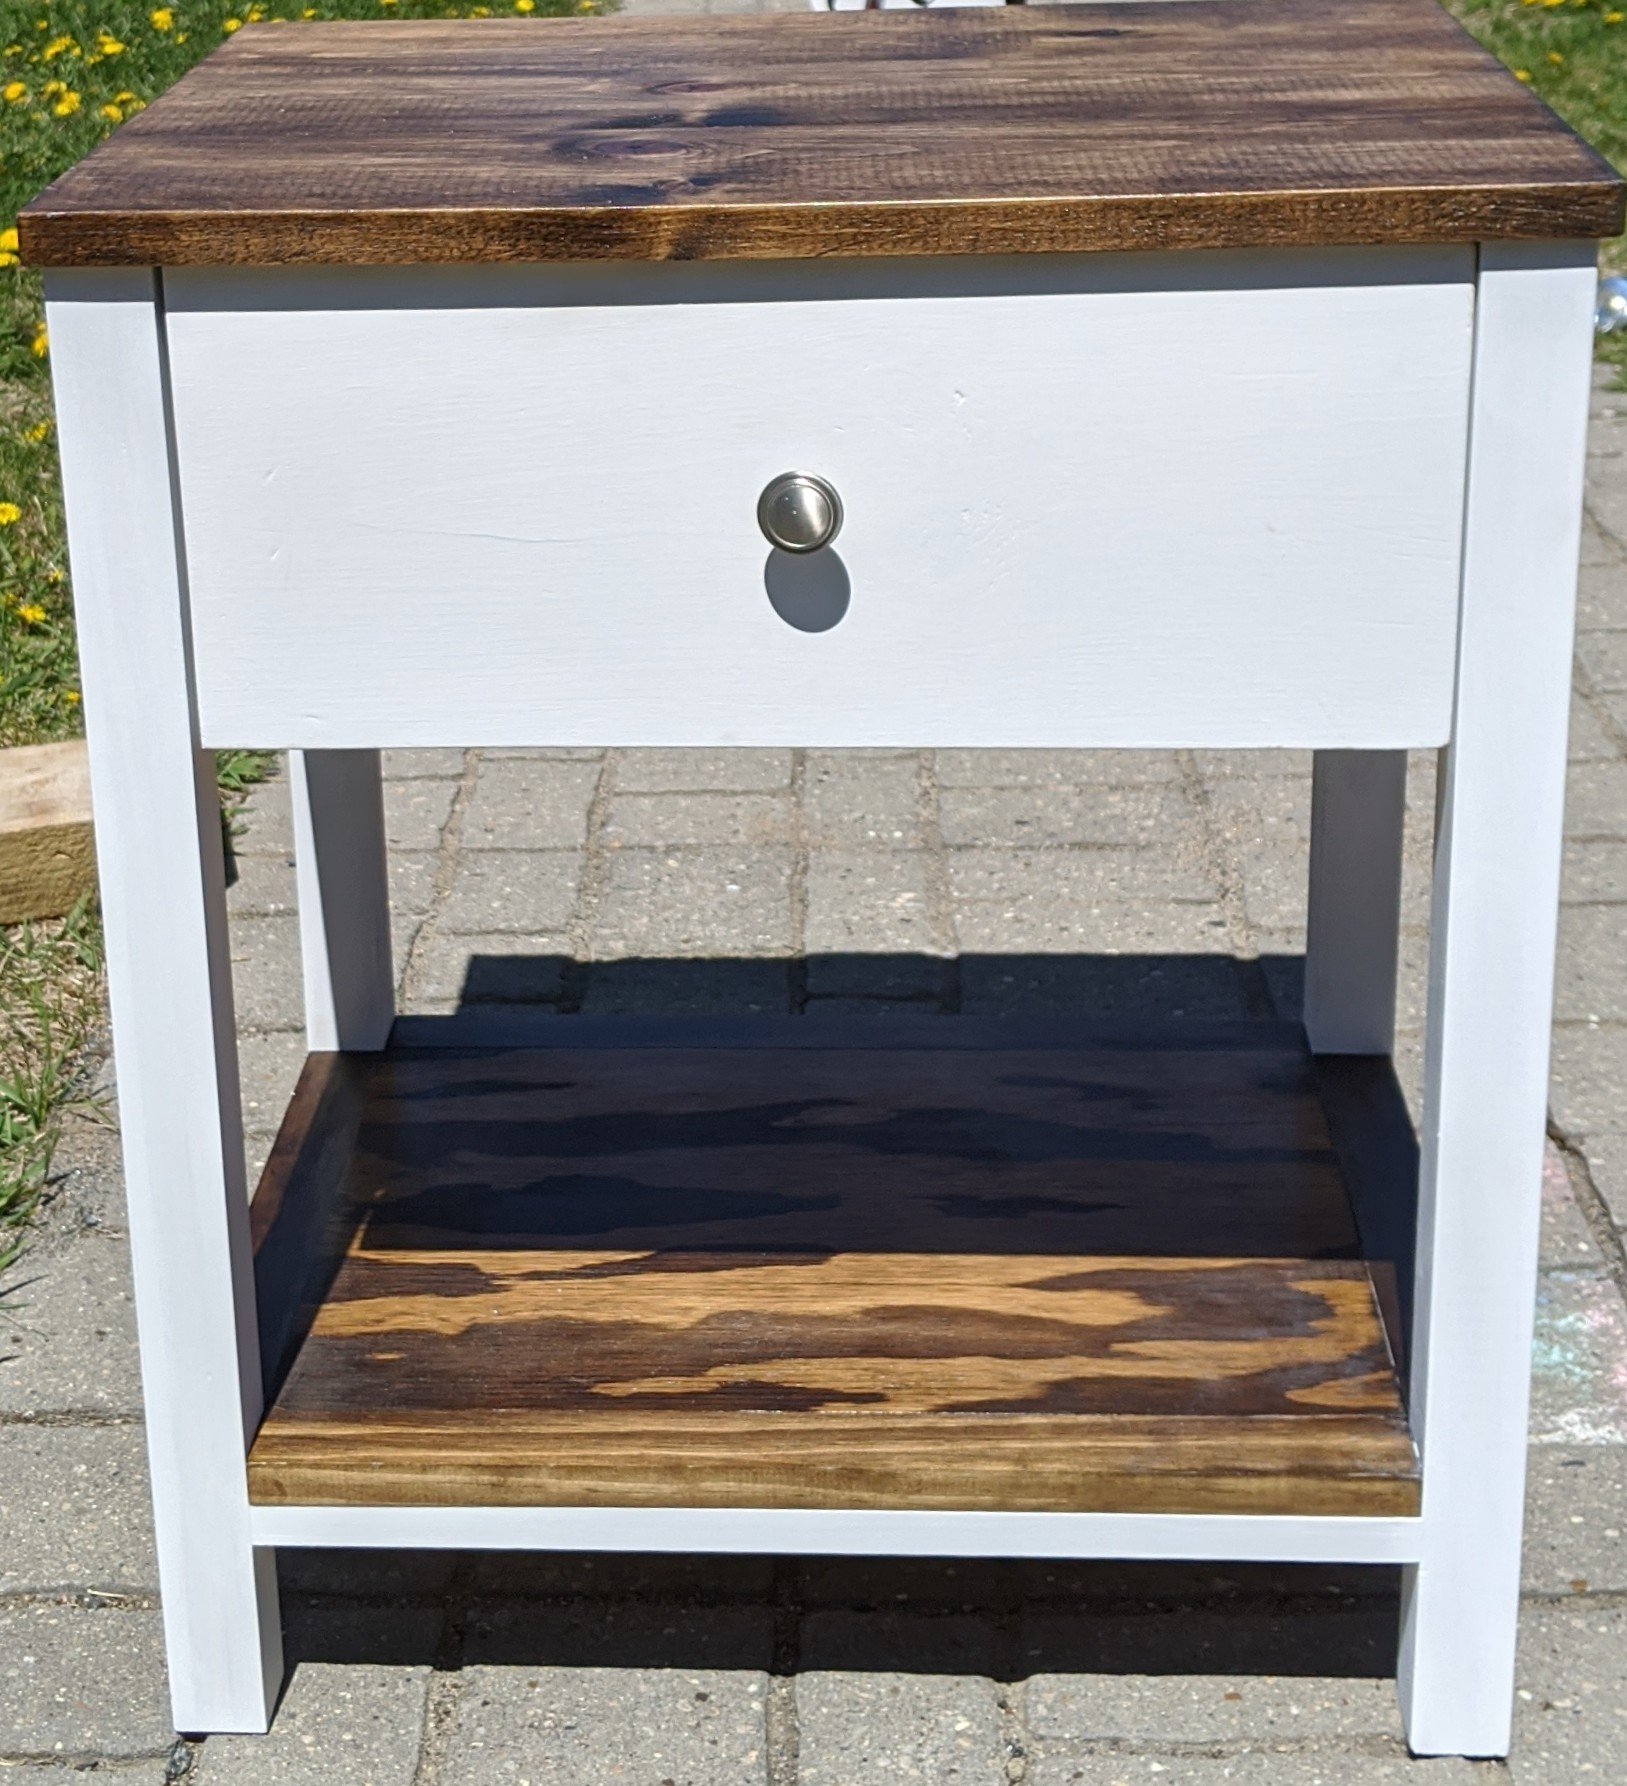
Farmhouse end table

Submitted by ladybug'13 on Tue, 06/09/2020 - 16:54

I made this based on a plan here and modified it to my preferences and needs. It was my first time working with drawer slides and it wasn't as bad as I was afraid of. Pleased with the results.

Built from Plan(s)
Estimated Cost
50
Estimated Time Investment
Day Project (6-9 Hours)
Finish Used
White paint and dark walnut stain and poly
Recommended Skill Level
Intermediate

Console Table

Submitted by LaserTech on Mon, 08/06/2012 - 08:37

I built this in just a couple of hours. I thought it would look good in our living room. I also wanted to try the Gel stain and thought this would be a good project for that.

Estimated Cost
$44
Estimated Time Investment
An Hour or Two (0-2 Hours)
Finish Used
Sand, Minwax Red Elm Gel stain
Recommended Skill Level
Starter Project

Love love love

Submitted by OliveJuice on Thu, 05/29/2014 - 13:53

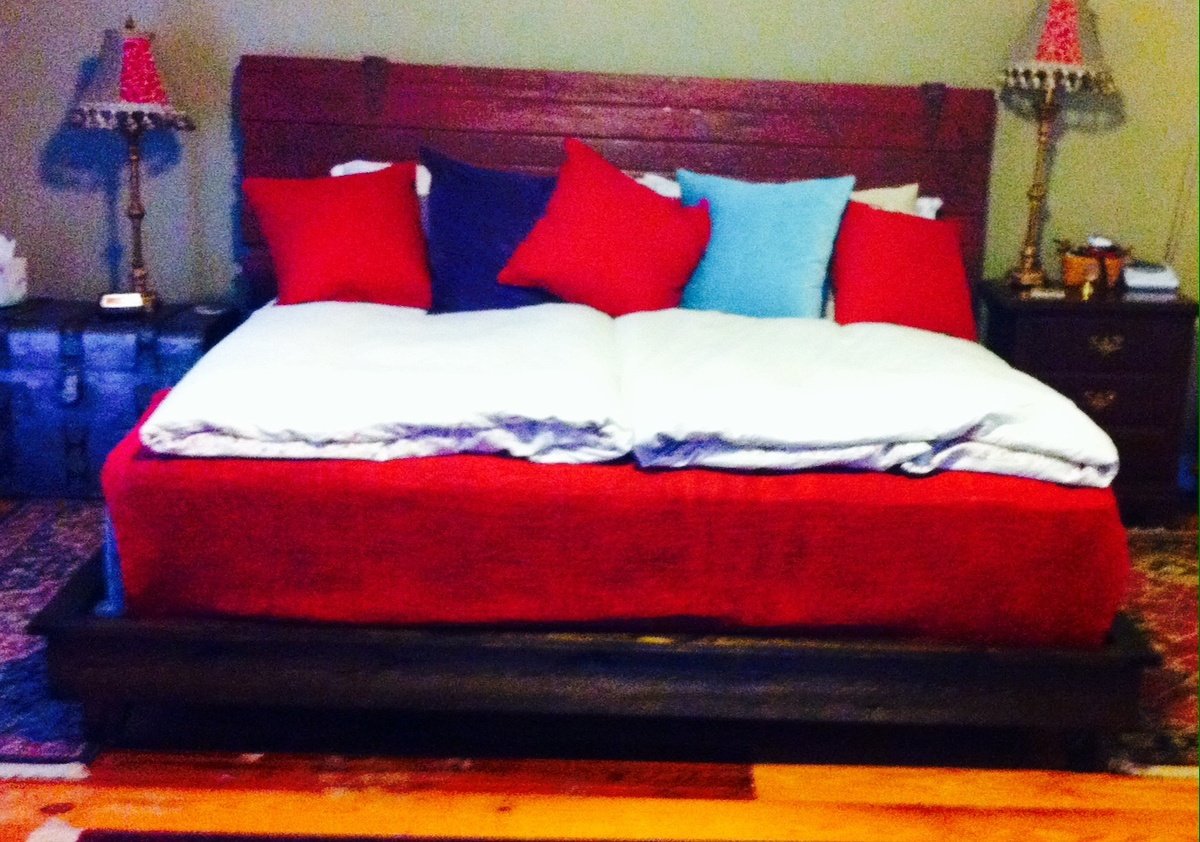
Our first build! Adapted plans to make a king size. Headboard is an old barn door I found. (Pic is crooked not bed ;) ) We had to use 2 Twin XL mattresses due to narrow staircase. Added extra slats. I'm saying it took a weekend to build only because it was below 30° in garage and we took warm up breaks.

Built from Plan(s)
Estimated Cost
$100 (bed only... headboard separate)
Estimated Time Investment
Weekend Project (10-20 Hours)
Finish Used
Minwax Jacobean
Recommended Skill Level
Beginner

Console Table Modification to Utility Room Bench/Sink

Submitted by Anonymous (not verified) on Tue, 08/30/2016 - 14:09

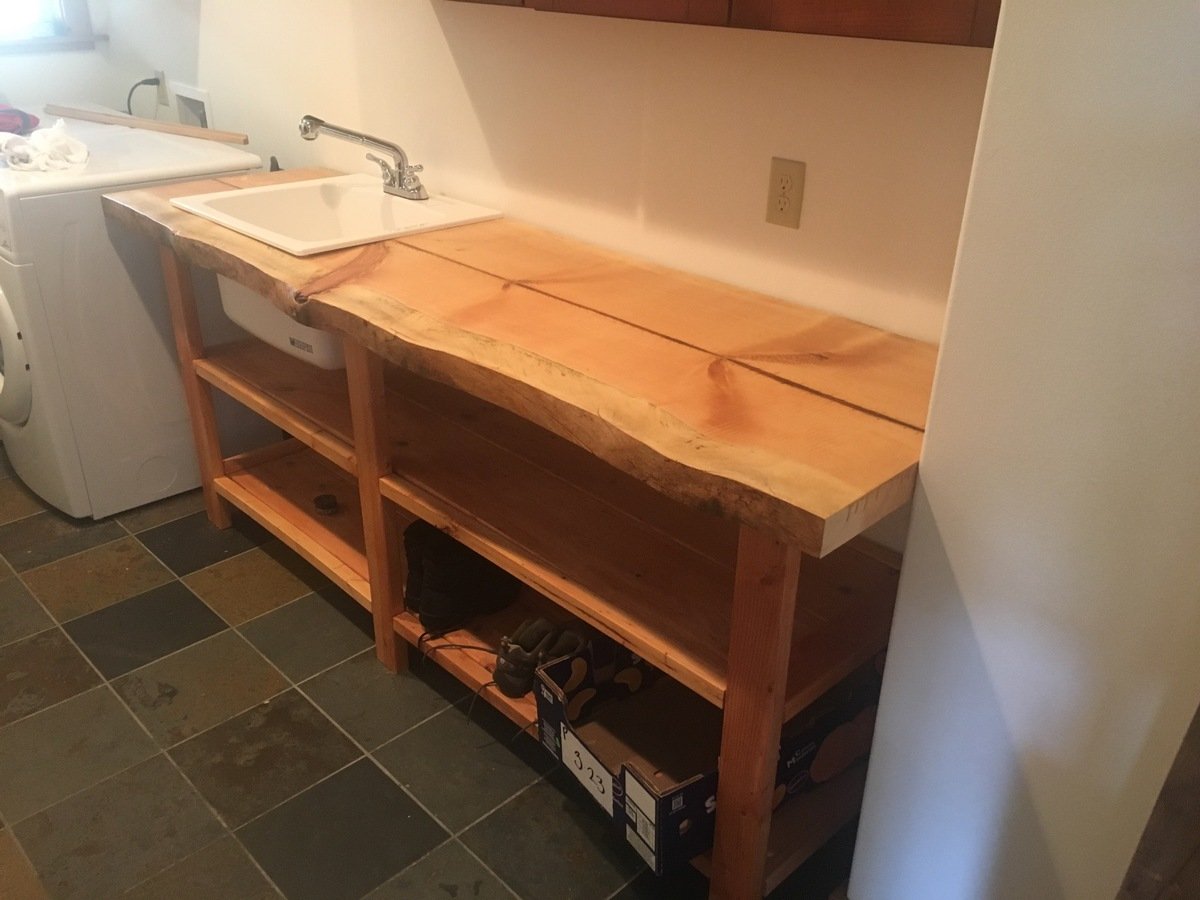
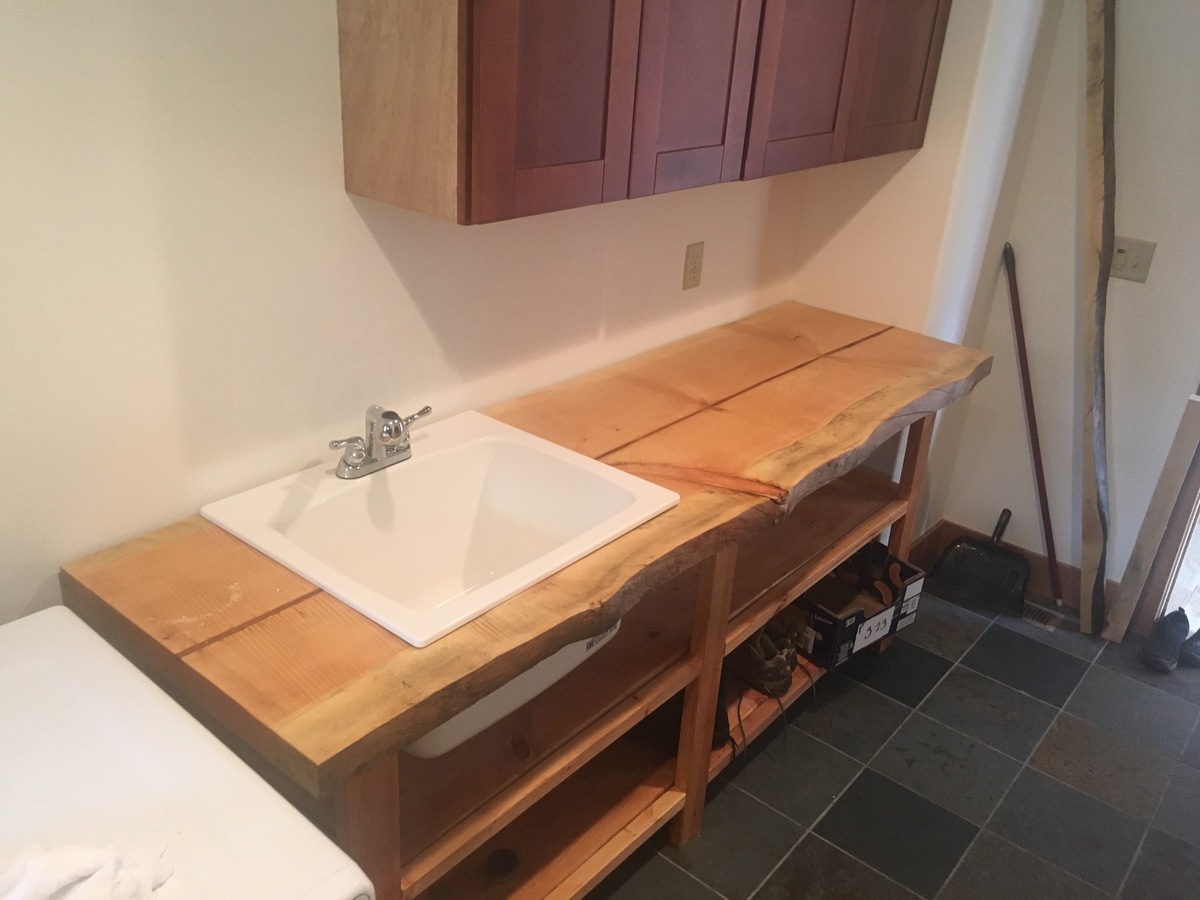
 Very much like the console table look but decided to modify it to create a utility room bench and sink with open storage space below. Got a 1.75" pine slab to put on top and then cut out the space for a utility sink. Did not put in the cross pieces as the bench was to run from one wall to the washer/dryer setup.  Used dimensional lumber from Lowe's (after perusing several second-hand sources for more interesting woods but prices and quality fell short) and stained with an oak stain. Now may try my hand at an actual furniture piece that will be in a living area and needs to be done right.

Estimated Cost
$500 - lumber for frame, pine slab, sink, plumbing,
Estimated Time Investment
Week Long Project (20 Hours or More)
Finish Used
Oak stain.
Recommended Skill Level
Intermediate

Cluckingham Cottage

Cluckingham Cottage wasn’t built in a day, but it WAS built by a DAME!
A-frame instructions were pretty helpful considering the builder knows nothing about construction. I made a few modifications to accommodate my 5 chooks + 2 bantams . Sturdy and tight structure.

Estimated Cost
Under $400
Estimated Time Investment
Weekend Project (10-20 Hours)

Back to School Lockers

Submitted by imalearba4 on Wed, 08/08/2012 - 12:50

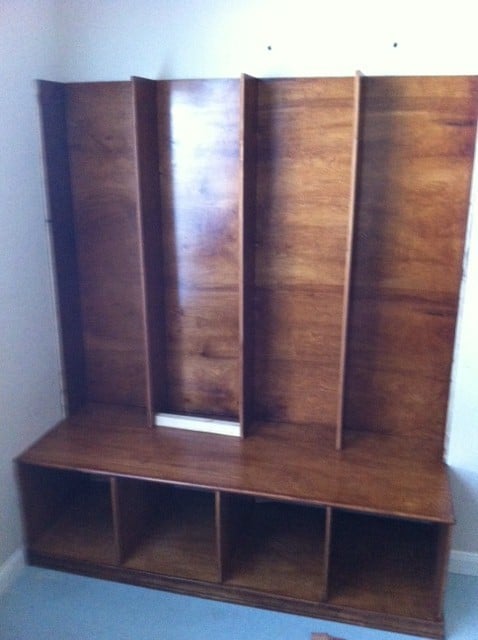
It is almost back to school time (20 days) and I am home alone with my 4 kids while my husband is away on business for 2.5 weeks. What is a woman to do? Find a project.
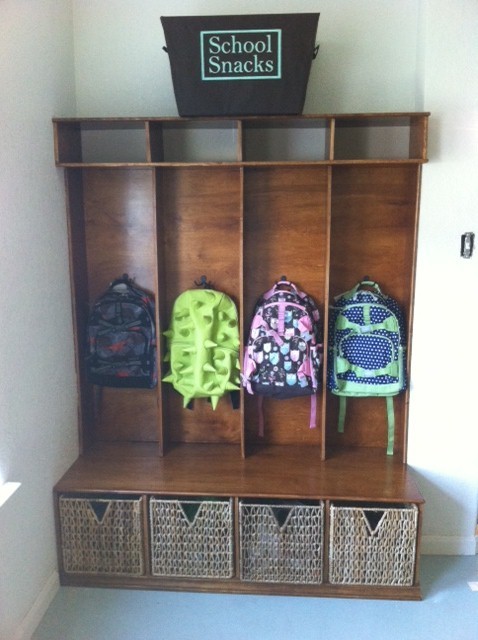
There has always been this weird little nitch in the front "formal living room" that I use as my photo studio. It is only 55 1/4 " wide and 7" deep so nothing I could find would fit there- I usually have a coat rack there- and last year I had my boys' backpacks for school hung there. But... This year my twins are going off to school- which means 4 backpacks. Enter project! I modified the Small Locker Project (http://ana-white.com/2010/08/still-not-locker.html) and built the lockers to 1.) fit the space 2.)to fit their existing shoe baskets that used to be in an Ikea Expedit shelf.
I am soooo pleased with how they turned out.
I built this in pieces- first the bench, then the dividers and backing, and then the cubbies above. I built it using 1/2 in birch veneer plywood (that happens to be Purebond) from home depot. I had Home Depot cut the wood (which I normally do for the easiness factor- but this time it was a mistake. My favorite cutting guy was on vacation and I wanted to start now so I let Moose cut it. So not a good idea. One piece was 15" wide at one end and 15 1/4 " at the other... I gave him a cutting guide, hello?
Good thing I have my own table saw so I could fix it. (from when I built my girls beds: http://ana-white.com/2010/05/plans/corner-unit-twin-storage-bed)
I sanded and stained the wood with custom stain from Sherwin Williams. I then gave it 3 coats of waterbased Poly .(sanding between each one)
Then I glued and nailed it together (for the record, 1/2 plywood is harder to shoot nails into- just sayin')
Then I had the wood cut for the dividers and back (sand, stain, poly, glue and nail, install)
Finally the cubbies at the top: (sand stain, poly glue and nail, install)
After that I put on the trim so now I have a built in lockers for my kids- their backpacks and shoe baskets fit exactly, and there is room for when they grow for the backpack hooks to move up. I plan to use chalkboard vinyl to put their names above the hooks. Thanks Ana again for inspiring me!!!!!!

Built from Plan(s)
Estimated Cost
$80
Estimated Time Investment
Weekend Project (10-20 Hours)
Finish Used
Sherwin Williams stain, with 3 coats of Minwax Semigloss Poly
Recommended Skill Level
Beginner

Twin farmhouse

Submitted by Anonymous (not verified) on Sat, 09/03/2016 - 14:23

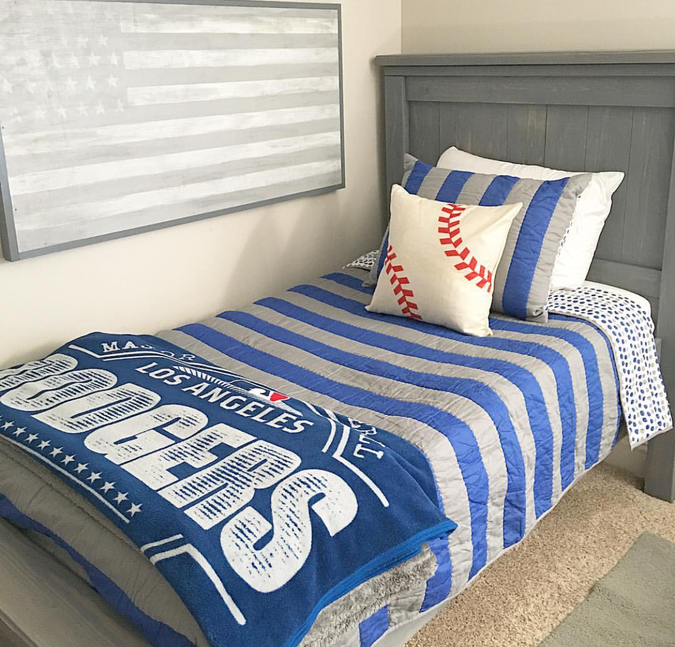
Made two of these for our twins! Lots of steps and measuring but pretty simple! 

Built from Plan(s)
Estimated Time Investment
Day Project (6-9 Hours)
Finish Used
Weathered grey stain
Recommended Skill Level
Intermediate

Comments

Doggiemama09

Sun, 01/21/2018 - 16:32

I'm making these beds and love your stain! I have tried several sample stains and cannot find one I like. Where did you find your stain?

Seasonal And Holiday

Storage Bedframe

I used pine for the 2x6's and 2x4's (and 1x3's) and fir plywood for the headboard, footboard and drawers. I also modified the drawers and used a square piece of 3/4" plywood for the bottom - made it way easier to build the drawers square so they slide nicely!

The pulls are from Lee Valley.

Estimated Cost
200
Estimated Time Investment
Week Long Project (20 Hours or More)
Finish Used
2 coats of Minwax Dark Walnut stain and 3 coats of Verathane Crystal Clear Satin Interior. I applied the first 2 coats, then lightly sanded then a third thin coat and it turned out super smooth!
Recommended Skill Level
Intermediate

Comments

StacieM

Sun, 08/12/2012 - 17:36

I love how the storage drawers are off the floor. The finish looks great and the "in process" photos help a lot. Great Job!

theresalynn

Sun, 08/19/2012 - 11:02

The plans were great, but the drawers took FOR EVER to get them to slide properly. It is a very much recommended build if you live in a house like mine, with small bedrooms! (Yay older houses!)

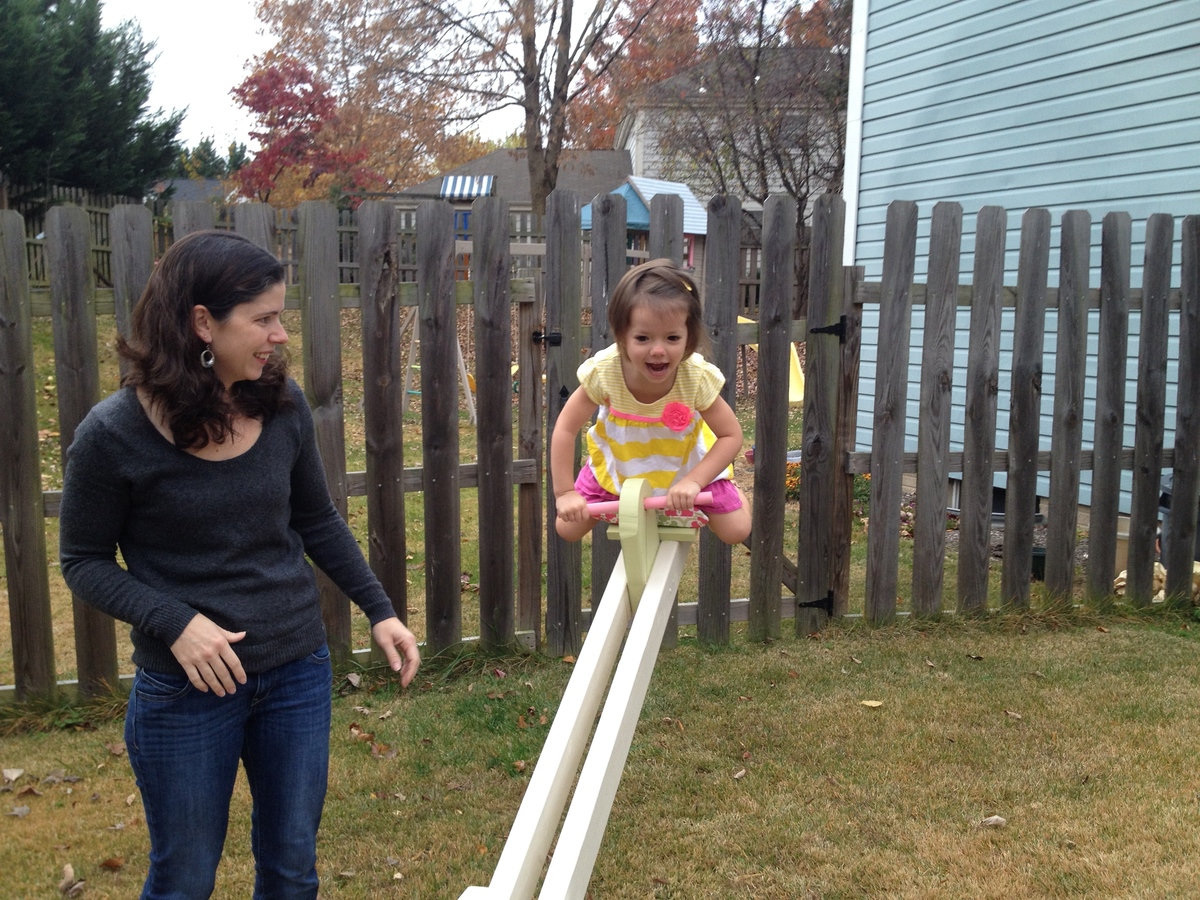
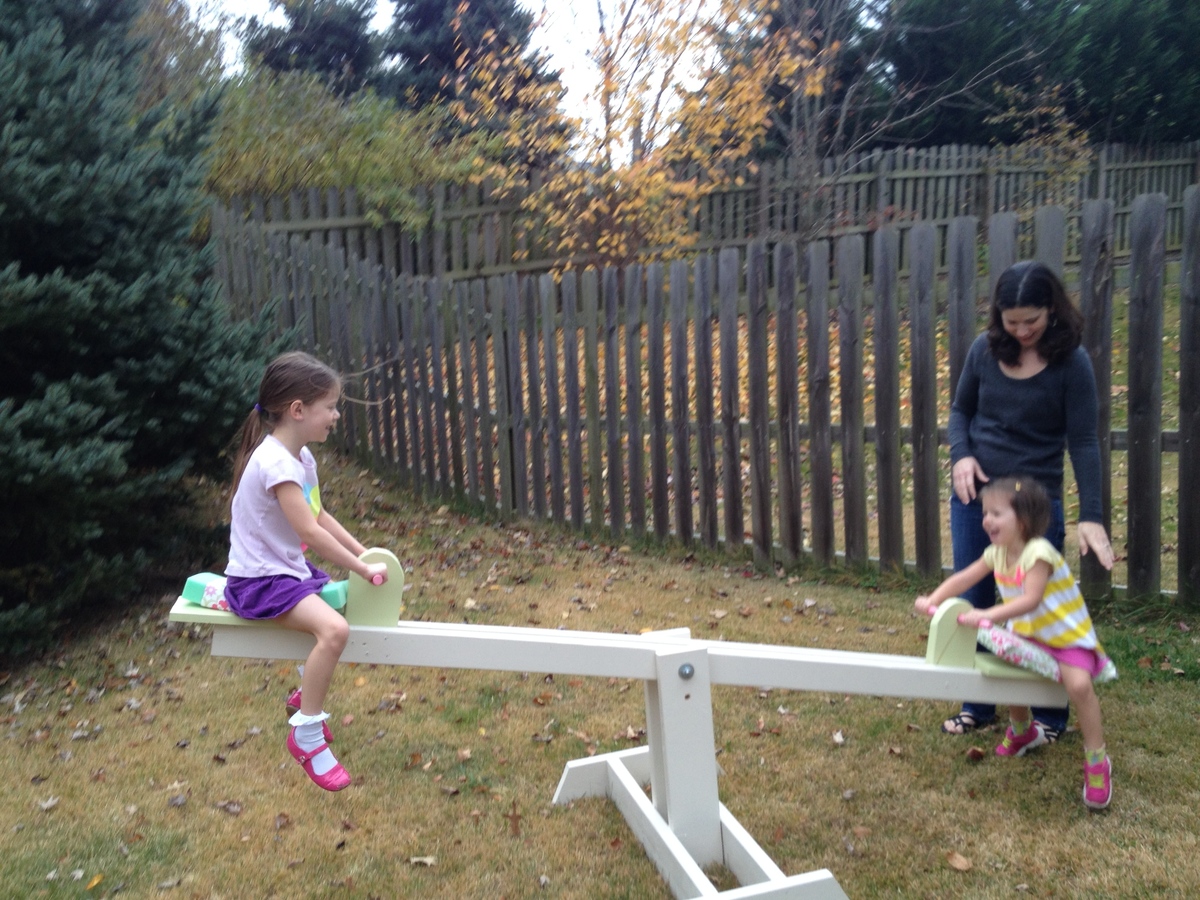
Birthday See-Saw :)

Submitted by stacie_b on Mon, 06/02/2014 - 13:55

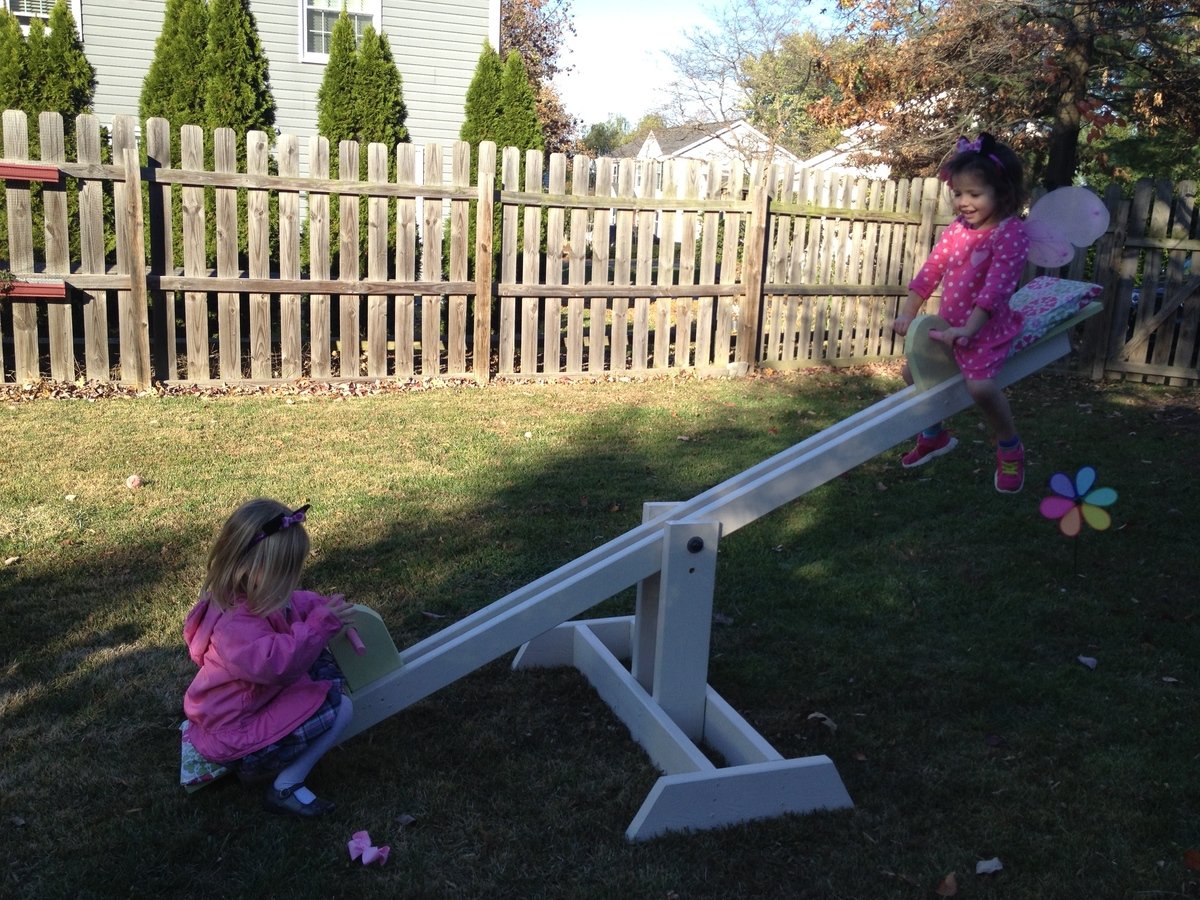
I built this for my daughter's 4th birthday. The kids love it!

Built from Plan(s)
Estimated Cost
$20
Estimated Time Investment
Afternoon Project (3-6 Hours)
Finish Used
Paint from the "Oops" section! - 2 coats. First coat applied before assembly.
Recommended Skill Level
Beginner

California King Farmhouse Bed

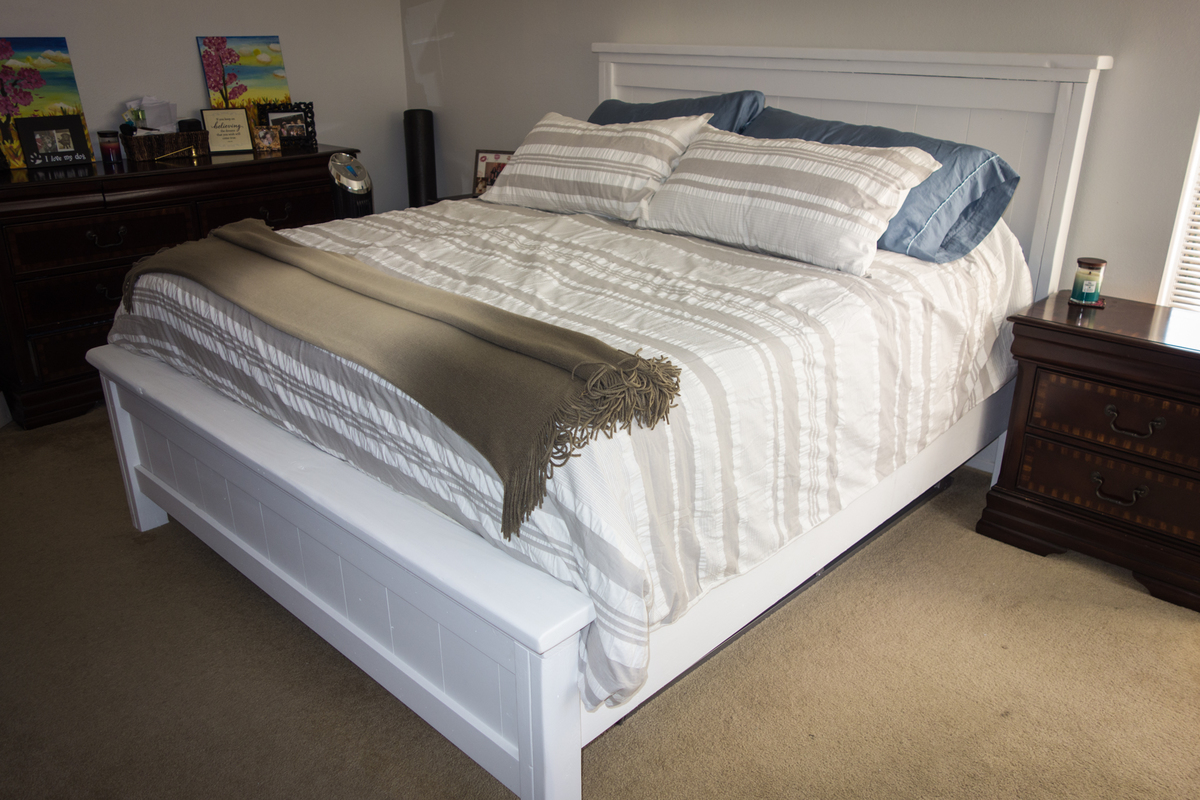
This was my first wood working project, and it came out great!  

Please note - the buy list leaves out the 2x10s needed for the sides.

Estimated Cost
$200
Estimated Time Investment
Weekend Project (10-20 Hours)
Finish Used
Zinsser Bulls Eye 1-2-3 primer, Behr Premium Ultra Polar White paint.
Recommended Skill Level
Intermediate

Adirondack Chairs

Submitted by onohdoc on Wed, 06/17/2020 - 17:20

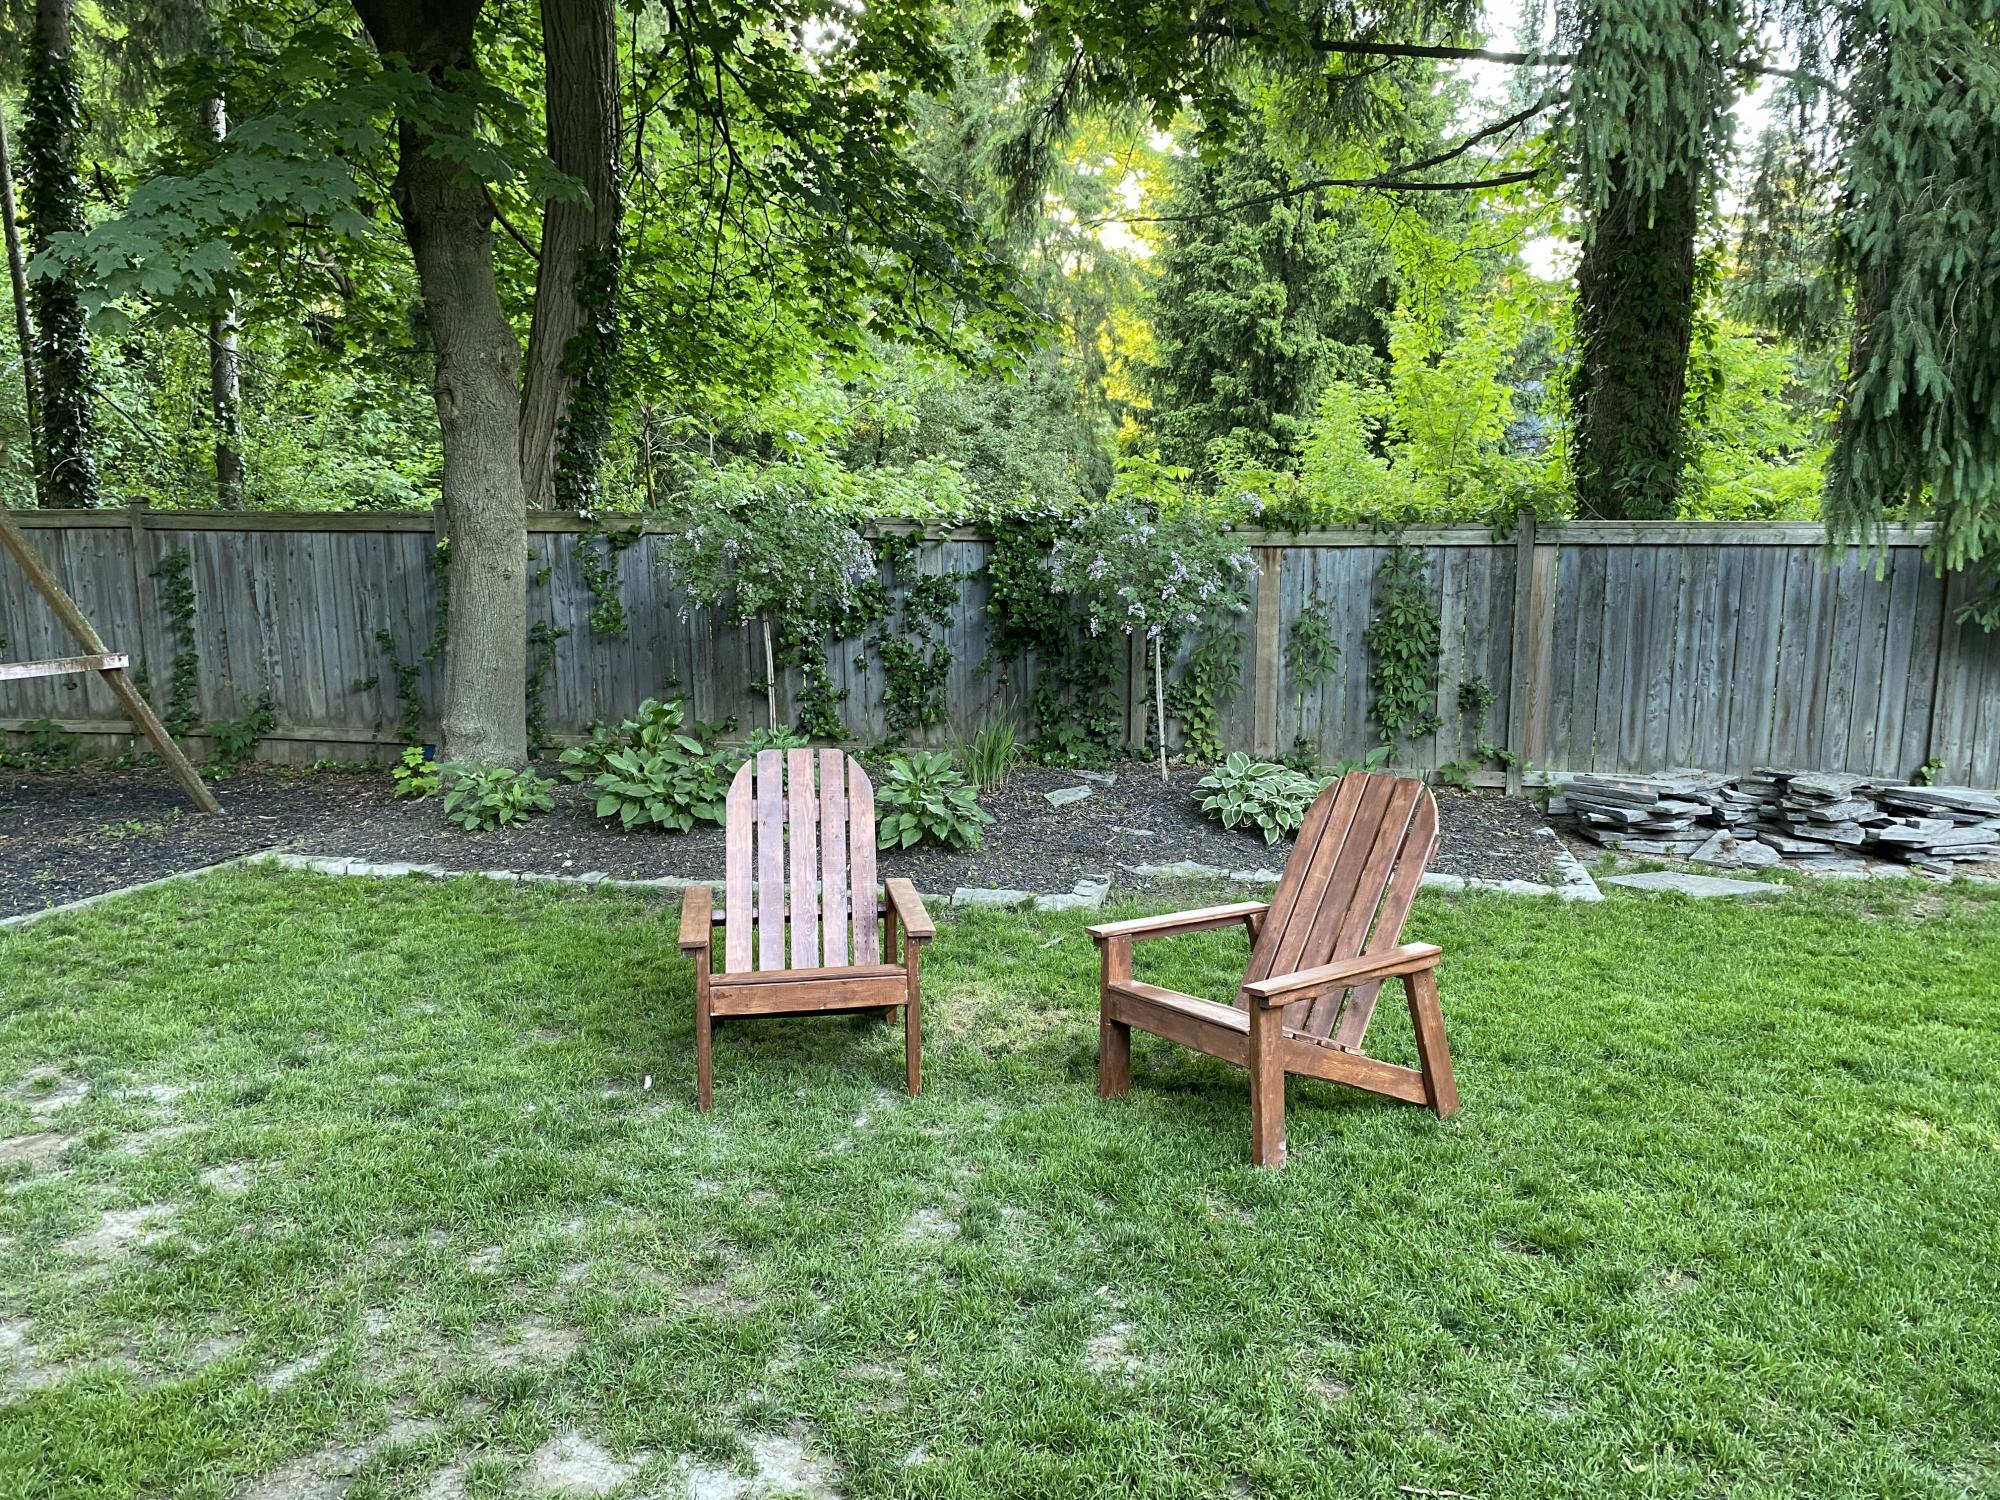
I am in the middle of redoing my backyard and wanted these chairs for a fire pit. Third woodworking project, and loving this! Great plans, thanks!

Finish Used
Henna Stain
Recommended Skill Level
Beginner
Back