Community Brag Posts

Recyle/Waste Cabinet

Submitted by RITWood on Sat, 10/07/2017 - 11:03

Keeping with the cottage farmhouse this is my take on the Wood Tilt Out Trash/Recyle cabinet.  I used construction grade 1x12's.  I would consider this project an intermediate level because I used two 2x12x8 and machined the smaller dimensional material.  I rounded over the faces using a 3/8 inch round over bit in my router.  Multiple coats of sprayed on latex followed by several light coats of water based poly.  

Estimated Cost
$28
Estimated Time Investment
Day Project (6-9 Hours)
Finish Used
Fireweed red latex with a clear coat of polycrylic. I used a HVLP sprayer to apply the finish. It takes several light coats of the red to cover adequately. Smooth moderate sweeping motions work the best.
Recommended Skill Level
Intermediate

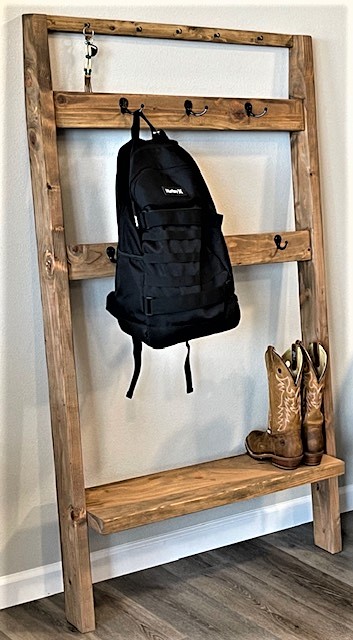
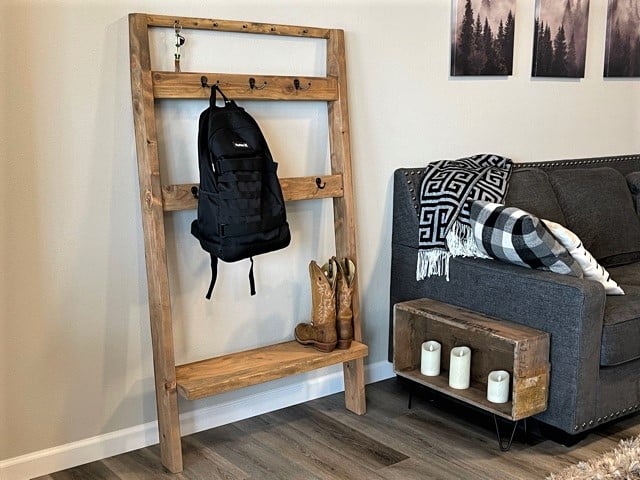
Leaning Hall Tree

Submitted by vendo on Wed, 10/20/2021 - 12:33

I had a small piece of 2x10 left over from this plan's original post, as well as some 2x4's and a scrap 1x2 laying around, so added the top key hook and stained instead of painted. Love how it turned out. I did the top angle a little different too, so it sits a bit closer to the wall, making it awesome for a narrow entryway or space. Easy to modify for whatever the need.

Built from Plan(s)

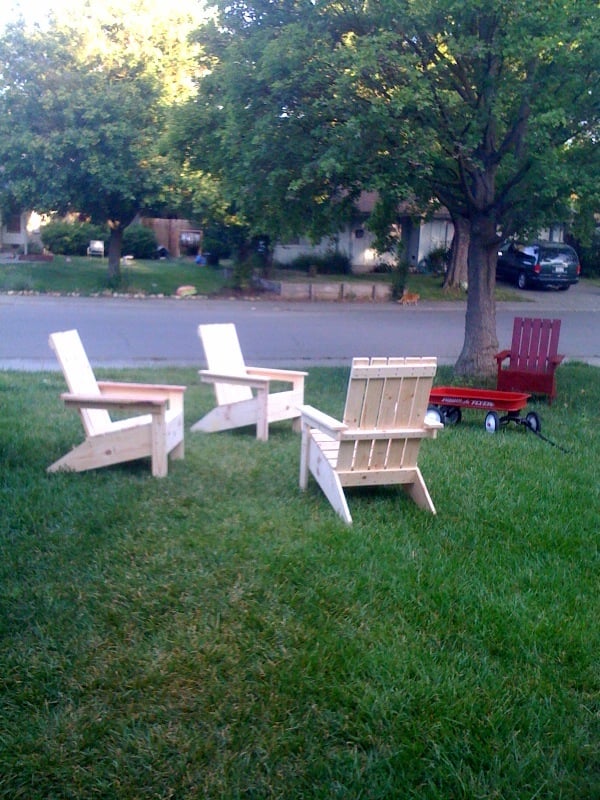
Adirondack Chairs

Submitted by ktrodger on Fri, 03/25/2011 - 20:01

This was the first project my husband and I completed from one of Ana's plans. I'd wanted a pair of Adirondack chairs for our yard, and convinced my husband that we could build them ourselves. Once he was on board, he suggested we build a pair for our neighbors as a surprise and leave them in their yard while they were out of town. We had a blast and learned a lot. We've had tons of compliments on the two sets of chairs, and during our last neighborhood garage sale, we had many offers to buy them (but we're not selling!). Thanks, Ana!

Built from Plan(s)
Estimated Cost
$100 for 4 chairs
Estimated Time Investment
Weekend Project (10-20 Hours)
Finish Used
I wanted to paint and my husband wanted to stain, so we each took a pair of chairs and did our thing. I spray painted with red Rustoleum and my husband stained with Miniwax.
Recommended Skill Level
Beginner

rustic x table set

I built the whole rustic x table set. I mixed apple cider vinegar with steel wool, let it set overnight, and stained the tables with that. Then I put minwax polyurethane clear gloss coat on it. I then cut the corner angle pieces out of scrap 1 16th inch flat metal bars, bent them at a 90 degree angle and painted them black

Estimated Time Investment
Afternoon Project (3-6 Hours)
Finish Used
used apple cider vinegar and steel wool let it set overnight then finished with minwax polyurethane in clear gloss
Recommended Skill Level
Intermediate

DIY Workbench on wheels

Thanks to www.shanty-2-chic.com for this plan! I needed a workbench for all these projects that I was starting and I was tired of getting out a piece of plywood and the sawhorses every time. So this was just perfect for what I needed!

Estimated Time Investment
Afternoon Project (3-6 Hours)
Recommended Skill Level
Beginner

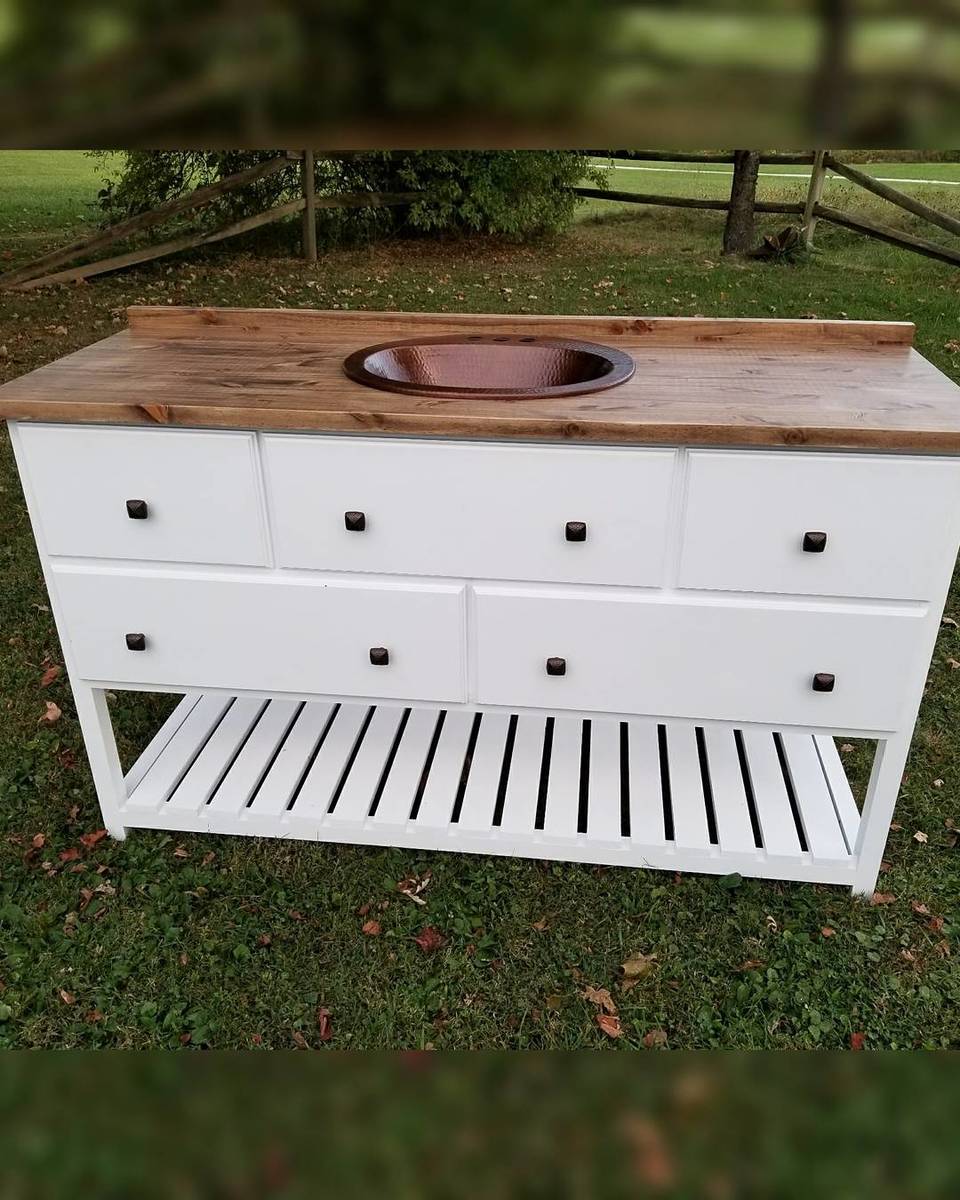
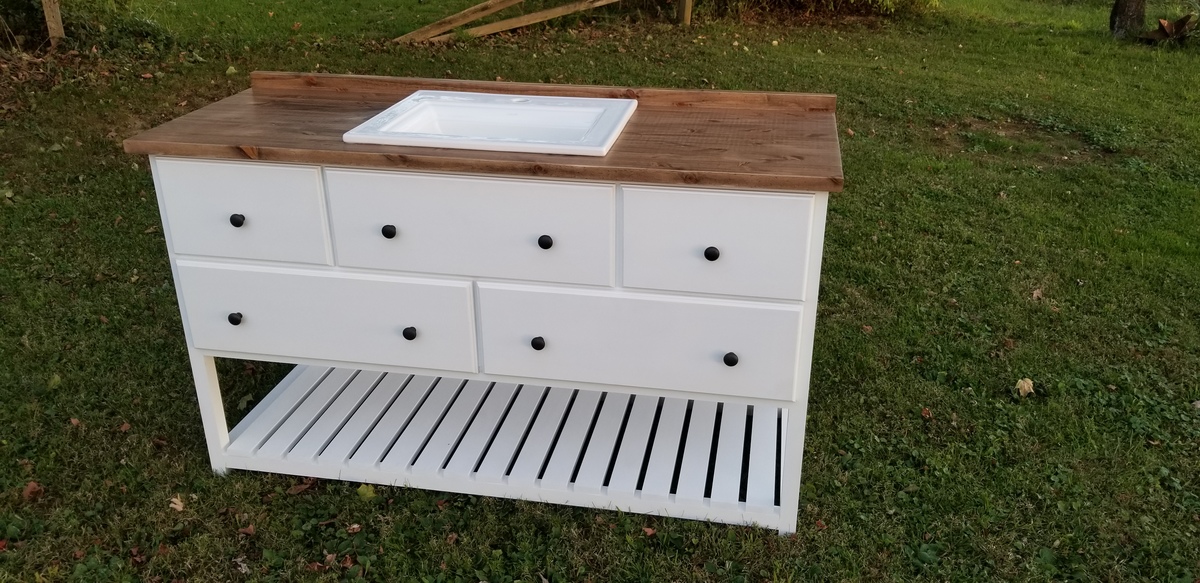
Bathroom Vanity 2 Ways, Hammered Copper or Wave Sink

Custom Bathroom Vanity in traditional furniture styling. Designed two ways, one with a hand hammered copper sink and matching hardware, the other with a Kohler Wave sink with black aged hardware. 

Estimated Time Investment
Weekend Project (10-20 Hours)
Finish Used
Ultra White Paint, Special Walnut Stain
Recommended Skill Level
Intermediate

Toy Box

Submitted by frmoody on Mon, 11/01/2021 - 08:37

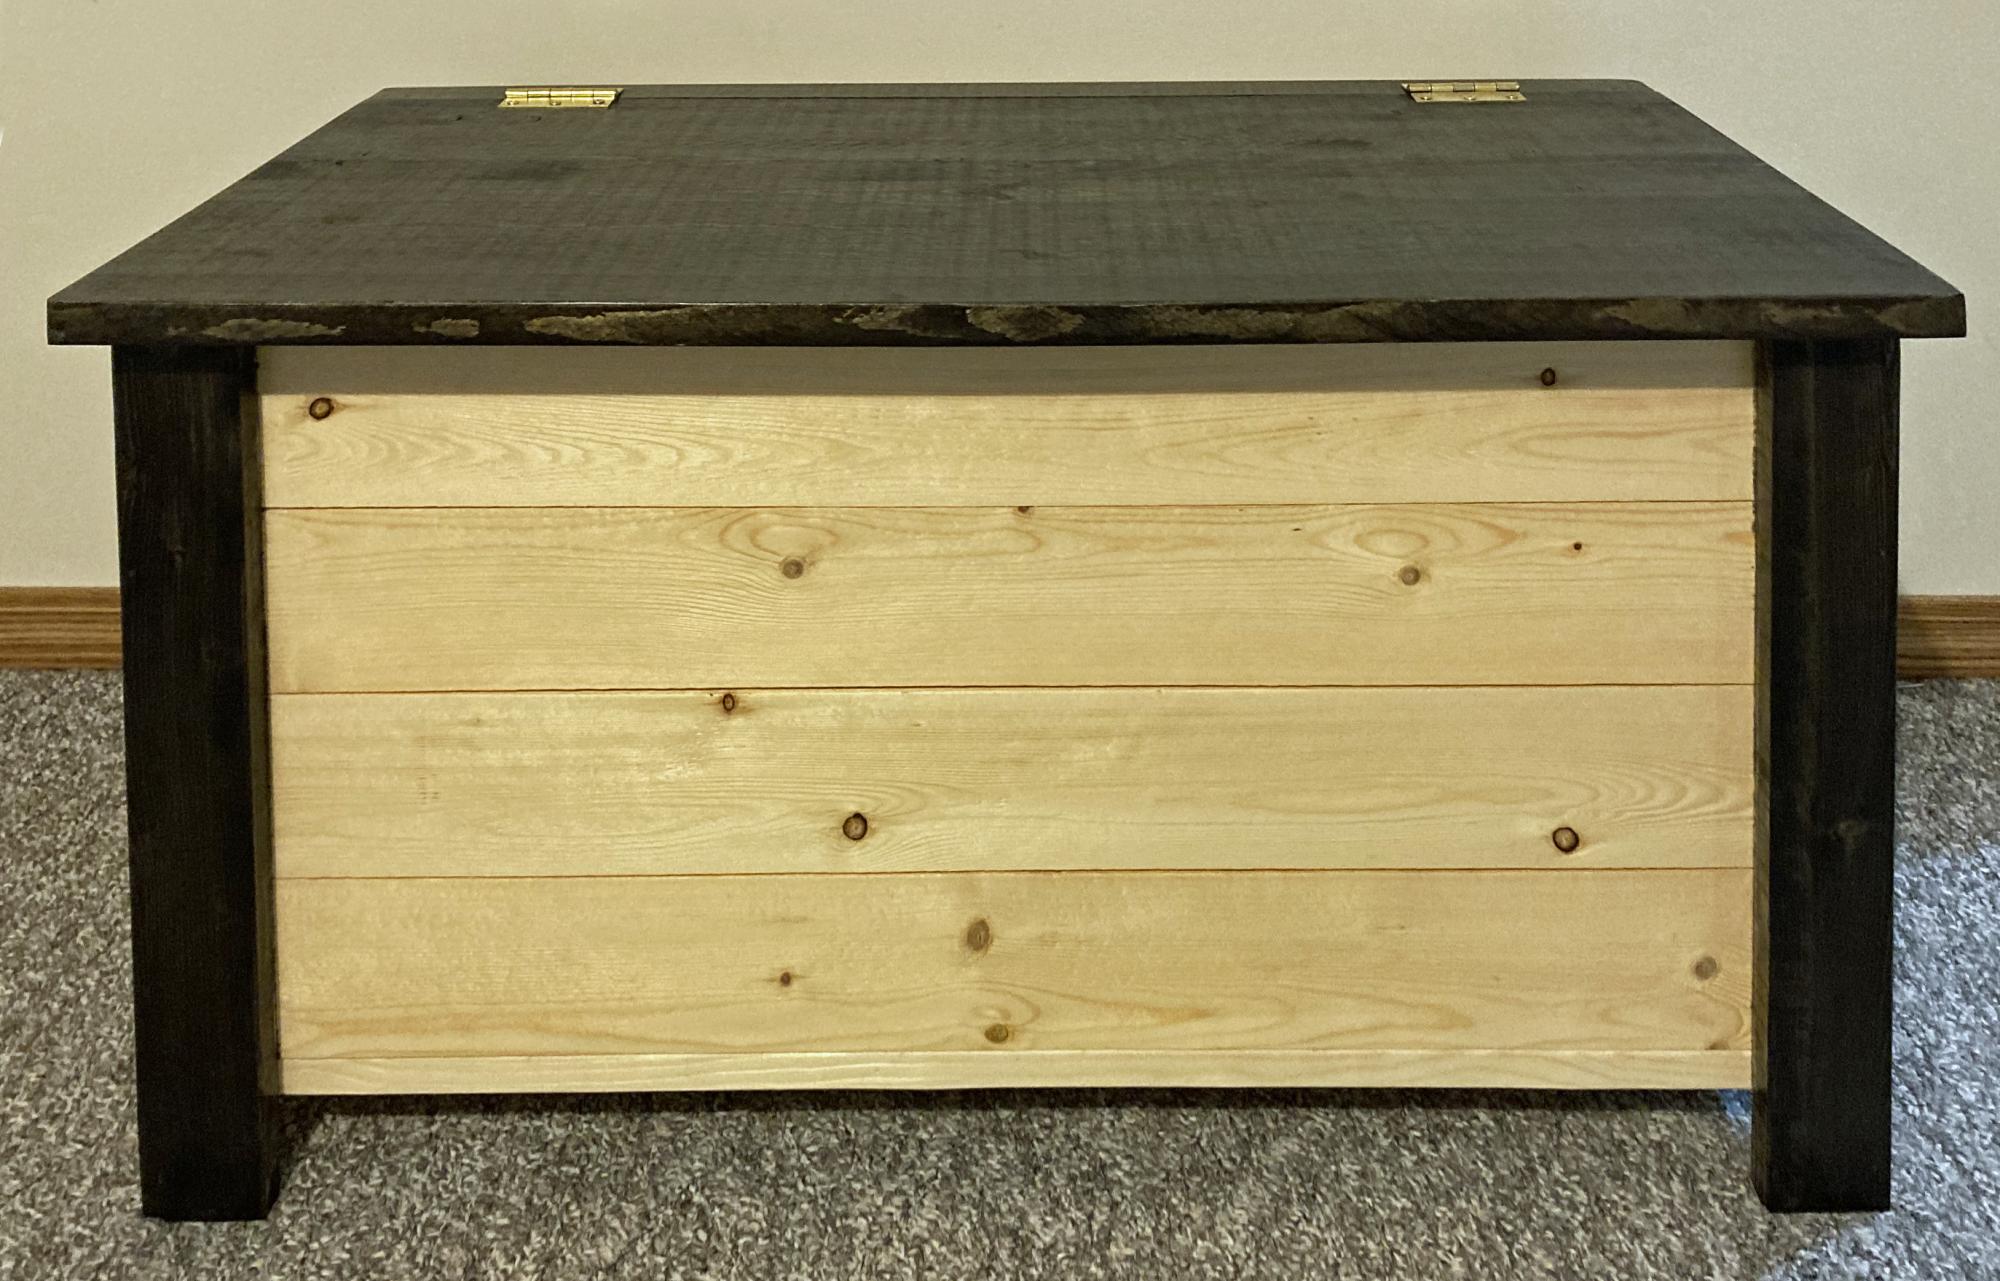
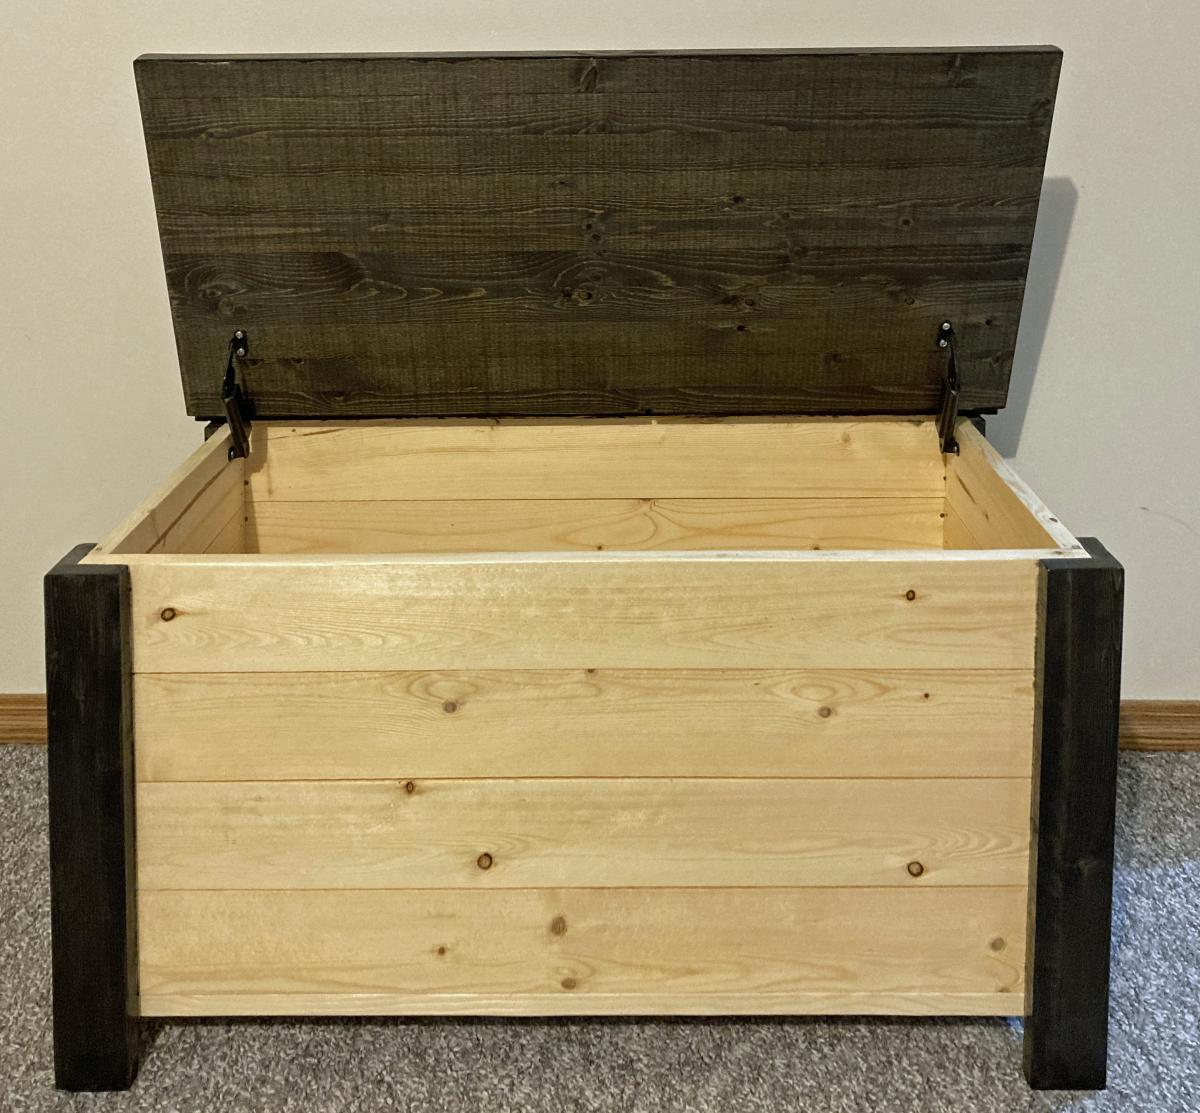
This was a pretty simple build. I got the soft close hinges at Lee Valley for only $12.00 CAD. Stained the dark areas with three coats of Minwax Ebony stain and then finished with three coats of Varathane Satin. The only thing I would change in the next one is to secure the front and back board with pocket screws in a couple of locations to keep them straight.

Built from Plan(s)

Comments

Console Table

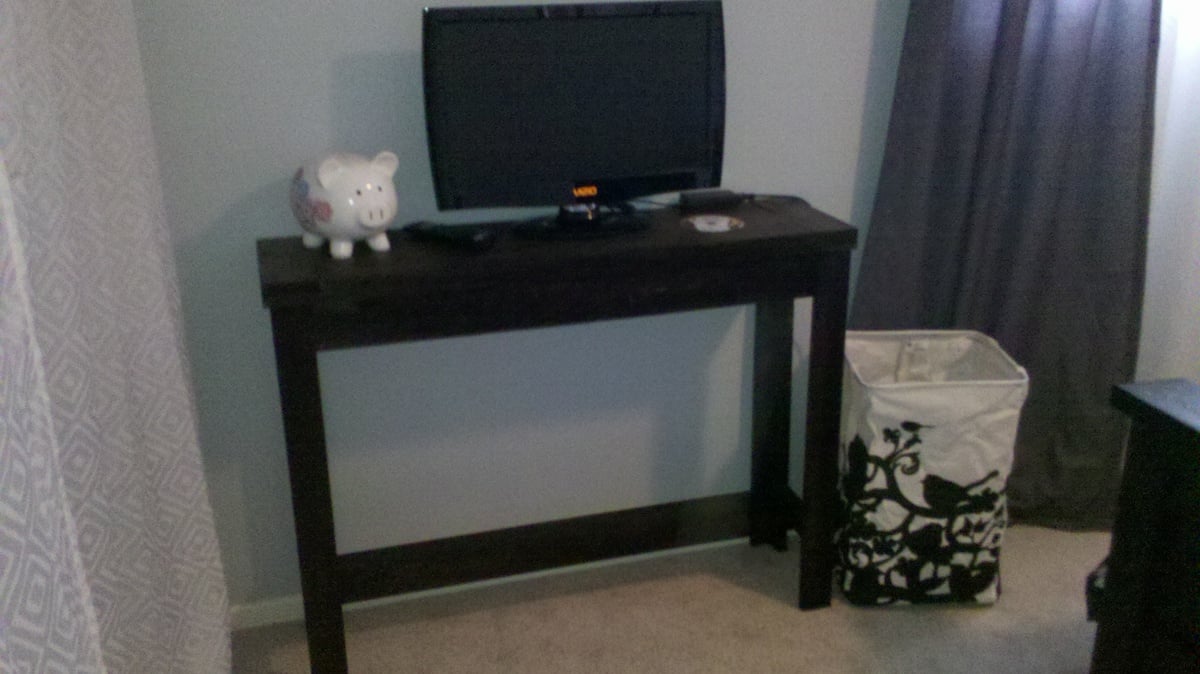
This plan had comments about the 1x12 being a little short. 

Well mine was a lot short measuring in at 11inches even. 
So I adjusted all the boards to fit correctly. 
And with a little simple planning, that took 5 minutes, PERFECT. 
No gap, no issue, no problem. 
Super Easy Console Table, is just that. 
Estimated Cost
$50
Estimated Time Investment
Afternoon Project (3-6 Hours)
Finish Used
General Finishes Espresso (Water Based Stain), and General Finishes Poly acrylic Water Based Top Coat.
Recommended Skill Level
Starter Project

Adirondack Chair (Home Depot Version)

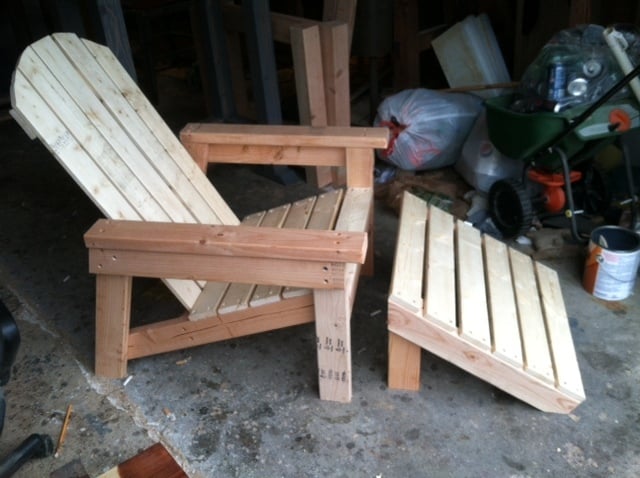
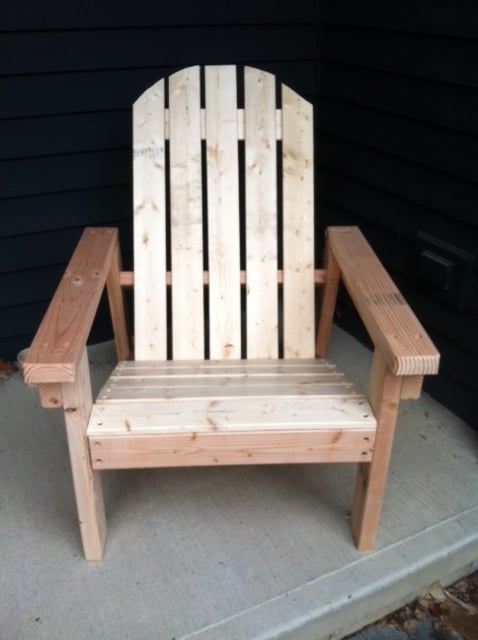
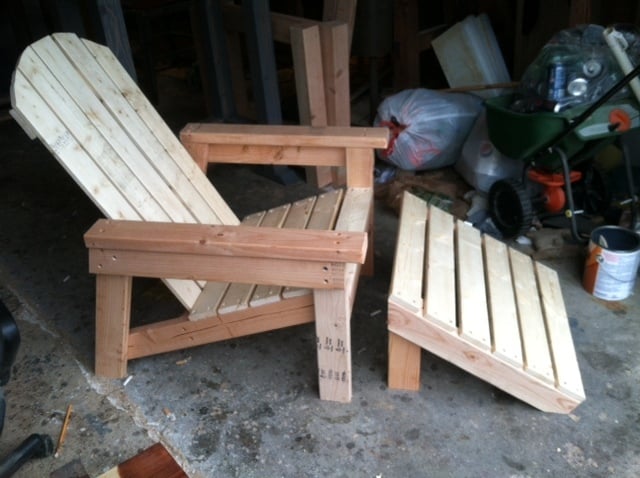
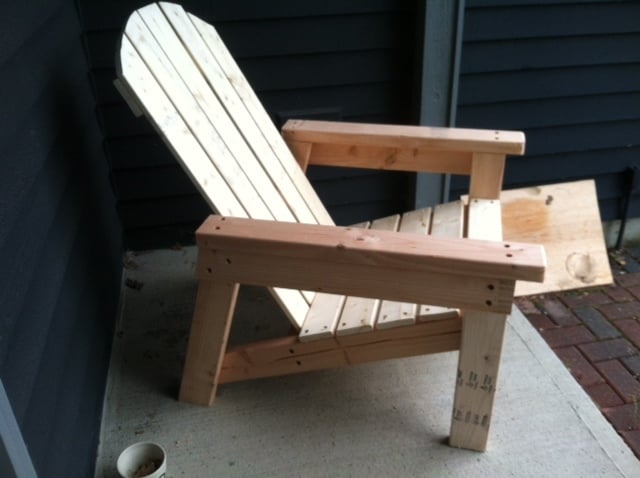
Followed the new home depot plans, only change I made was using 2x4 instead of 2x2. Getting ready to build another one, but this time will also change the arms to be wider on the ends to accommodate wine holder on one arm and cup holder on other arm. :0)

Estimated Cost
$60
Estimated Time Investment
Afternoon Project (3-6 Hours)
Finish Used
Going to use English chesnut stain and then marine spar varnish for protection
Recommended Skill Level
Beginner

Comments

acer211

Fri, 11/13/2015 - 20:36

Hi Ana,


Thanks for all your free sharing and advice.  I'd like to return the favor (hopefully)...  

Just wanted to say (as I am a painter) that it is best to avoid using any sort of "clear" varnish (such as poly, or spar, etc...) on anything that sits outdoor (such as furniture, doors, decks), because UV rays from the sun will break-down the varnish and cause them to fail.  

Instead, it is best to use a stain that is suited for decks, like Cabots Semi-Transparent, or semi-solid, etc,,

best regards,

Aaron

c3663b

Wed, 03/02/2016 - 12:21

The plans for this adirondack chair are no longer available on the Home Depot website. Where can I get them? Does anyone have them to share?

Farmhouse potting bench by Rocky Acres Woodworks

Submitted by Anonymous (not verified) on Sat, 11/06/2021 - 07:17

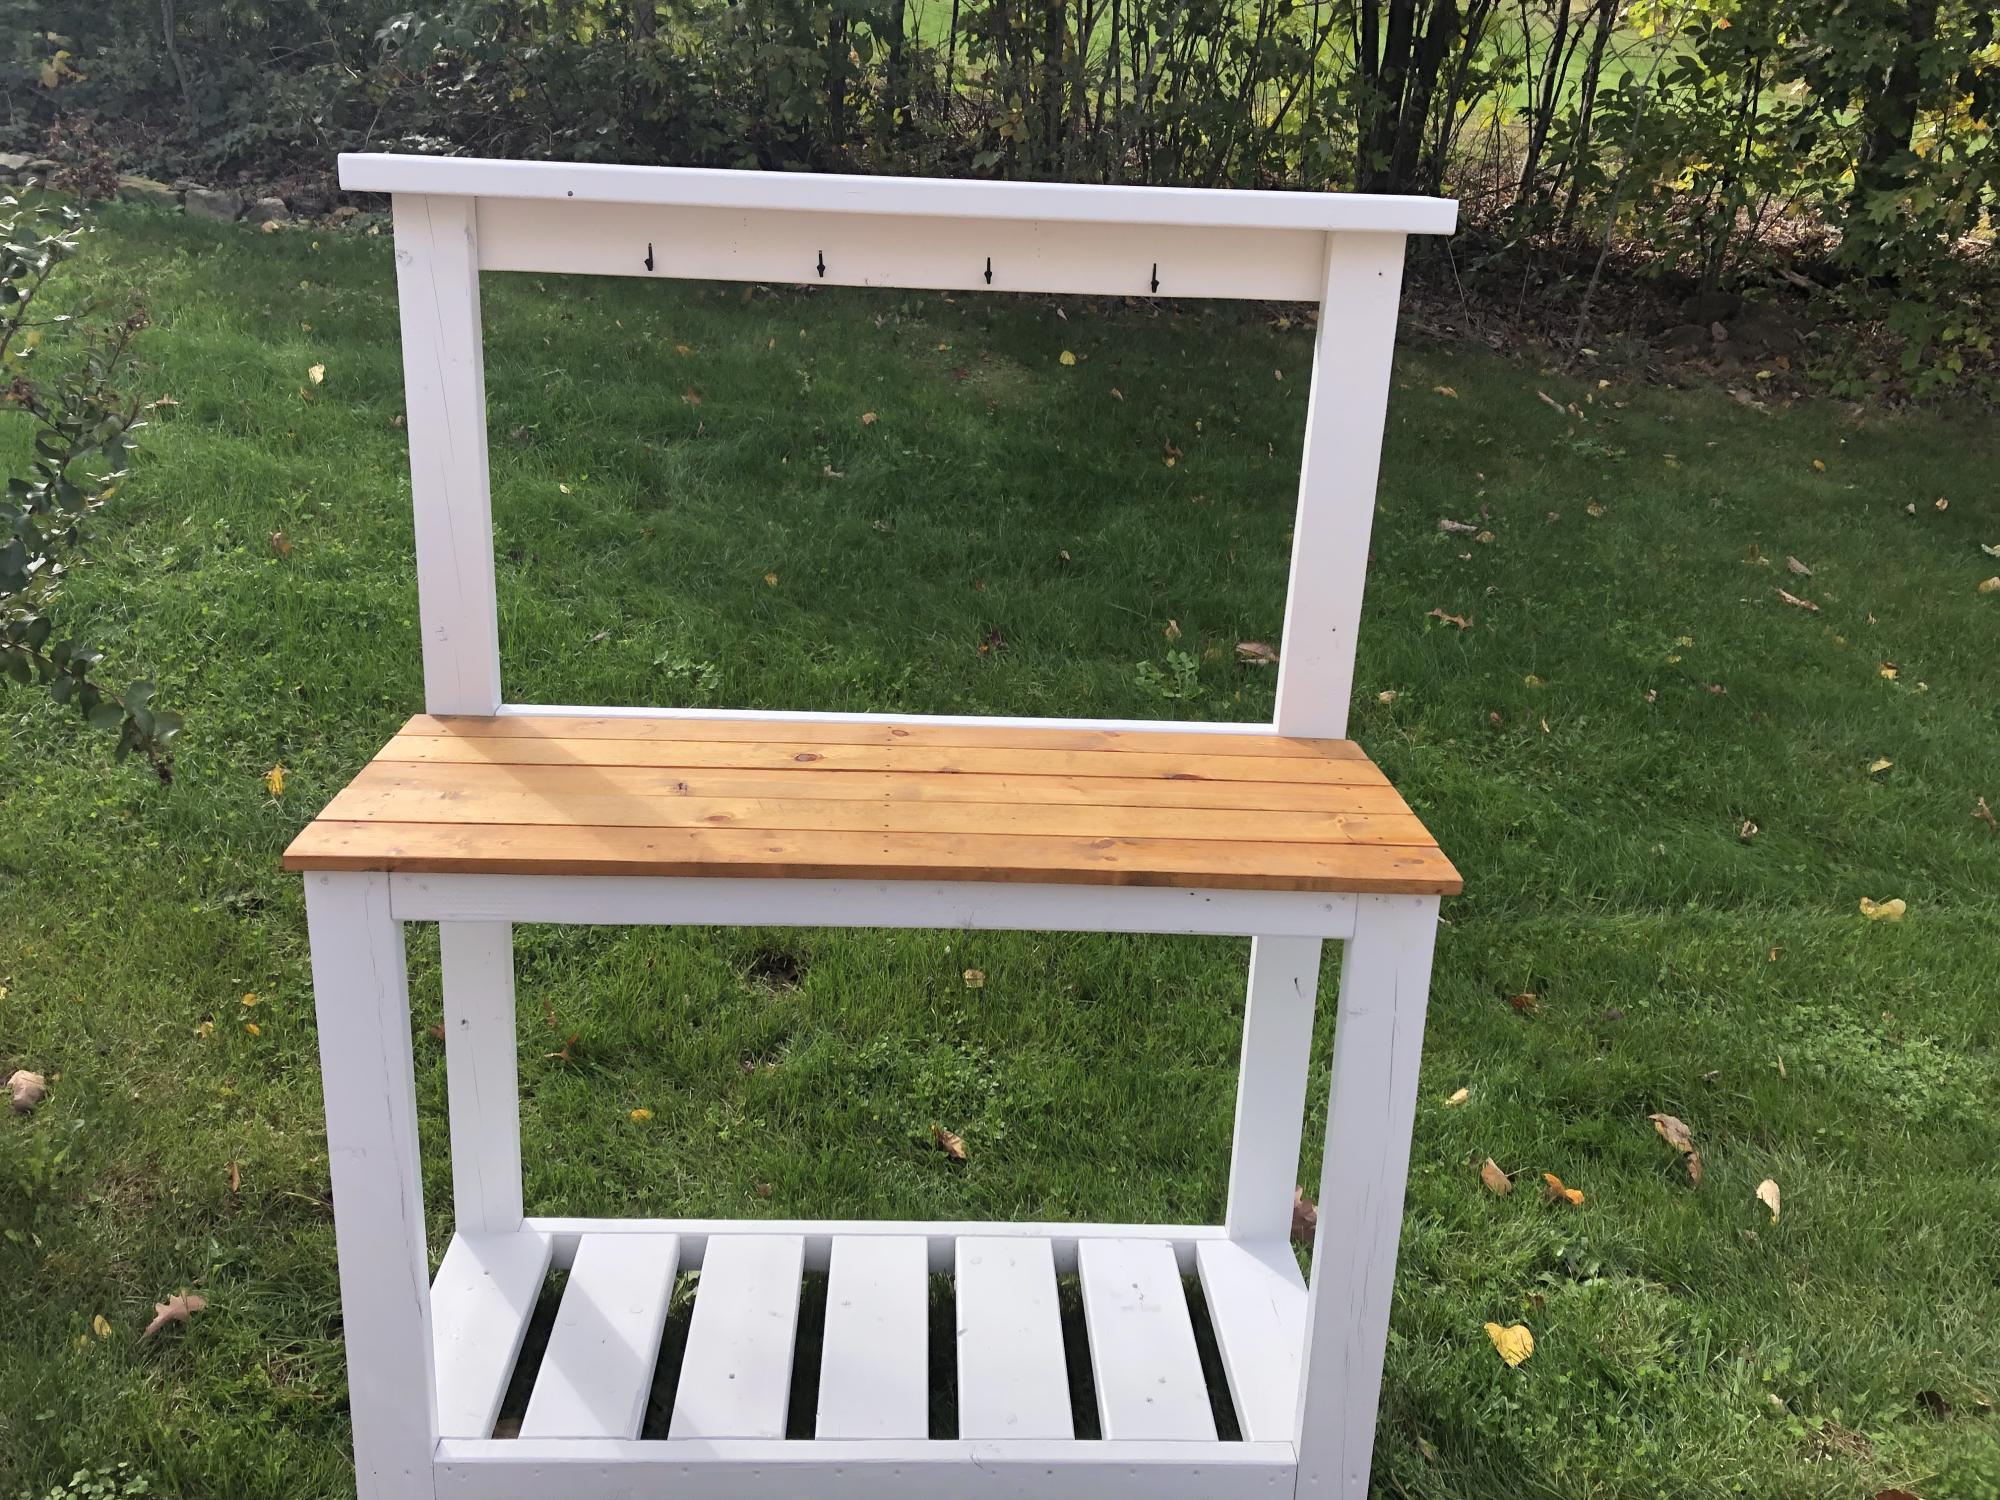
I used 1x4 for the top and stained with dark walnut danish oil

Built from Plan(s)

Comments

Modified Spa Bench

Submitted by michellek on Sat, 04/02/2011 - 22:01

This is my first build ever...except for a rad cd rack I built in 8th grade shop class.  My husband and I team-worked it as a date in his dad's garage. 

So it all started when my amazingly crafty friend Lee built a toy kitchen for her kids.  I was so impressed and started looking up other people's diy kitchens.  So then I was searching for something totally different and saw the play kitchen on Ana's website (love it), and I got totally addicted and decided I was going to build a dining room table, because we have been using a hand-me-down brown card table and chairs from the 70's since we got married.  (How's that for a run-on sentence?)  I wasn't sure if my husband would take me very seriously, but after I showed him this website, I started noticing him on it all the time.  He's more addicted than I am! 

Fast forward some time and we decided to start with the spa bench as a warm-up.  Once we are in a house with our own garage (God willing in the next few months), we plan on tackling the Farmhouse Table.  Anyway, when we took the kids to Gma and Gpa's, my father-in-law got really excited that there were going to be carpenters in the family, and he took us out to the garage to show us all his tools that we could use. 

We had to buy all of the wood, screws, sand paper, stain, polyurethane, and a paint brush since it was our first project, so it ended up costing about $85.  At least now we have a lot of supplies left over for our future projects!  We had Home Depot make the cuts for us so that we could fit the wood in our car.  We used 1x4s instead of 1x3s because we didn't know that 1x3s were furring strips and not in the same place, but now we know.  :)  We also bought one warped board, which was a total pain.  Don't do that. 

This is probably a weekend project if you count the staining and finisher.  The actual building part only took us three or four hours (please don't laugh at us if that's painfully slow), but we actually took about two weeks to finish it because we have rain, no garage, and three kids under 19 months.  And we weren't really in a hurry.  Anyway, it was fun.  We like to build.  Thanks, Ana, for inspiring us and for making it doable for so many people!  We think you're neat.
Built from Plan(s)
Estimated Cost
$20-$85
Estimated Time Investment
Weekend Project (10-20 Hours)
Finish Used
We used one coat of Jacobean 2750 Minwax Wood Finish for the stain and then two coats of Minwax Fast-Drying Polyurethane (clear satin).
Recommended Skill Level
Starter Project

Desk with additions

Submitted by klatz on Fri, 05/15/2015 - 09:25

This was the first plans we used from Ana White and it turned out great. Modified the desk to be a little shorter and have dual drawers in the front.

Built from Plan(s)
Estimated Cost
$125
Estimated Time Investment
Weekend Project (10-20 Hours)
Recommended Skill Level
Beginner

Comments

Anastasia's new bed

Submitted by dave on Mon, 04/04/2011 - 18:57

This is my daughters new bed. We modified the plans to fit what we wanted. I added drawers to the stairs. Then put shelves behind the stairs. Added doors so we can hide the shelves. We used rope lights inside to add light with her own light switch.

PS Don't mind the date on the pictures. Forgot to change the date.

Estimated Cost
450.00 USD
Estimated Time Investment
Week Long Project (20 Hours or More)
Finish Used
We routed all edges to round them over and sanded.
Then primed and painted. We used a hvlp paint sprayer.
Recommended Skill Level
Intermediate

Tryde Coffee Table

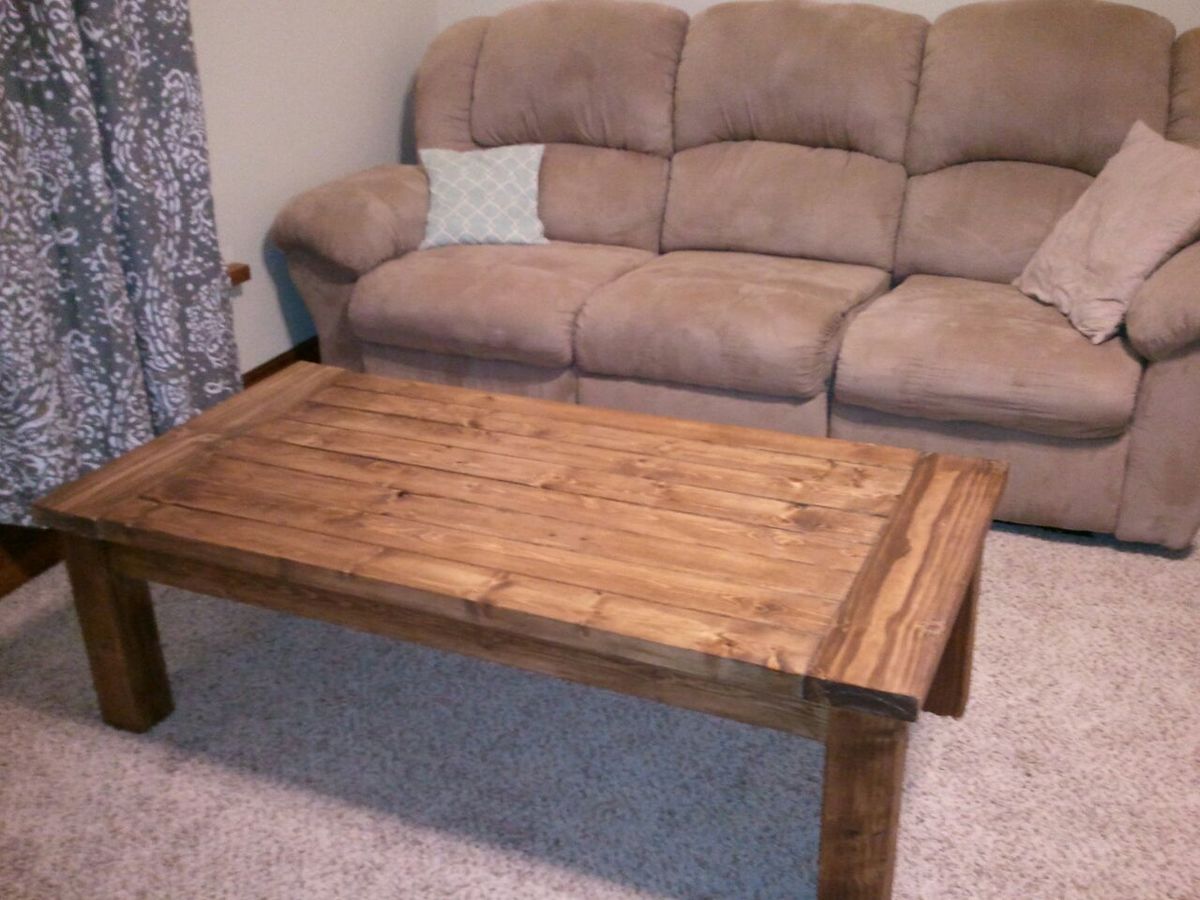
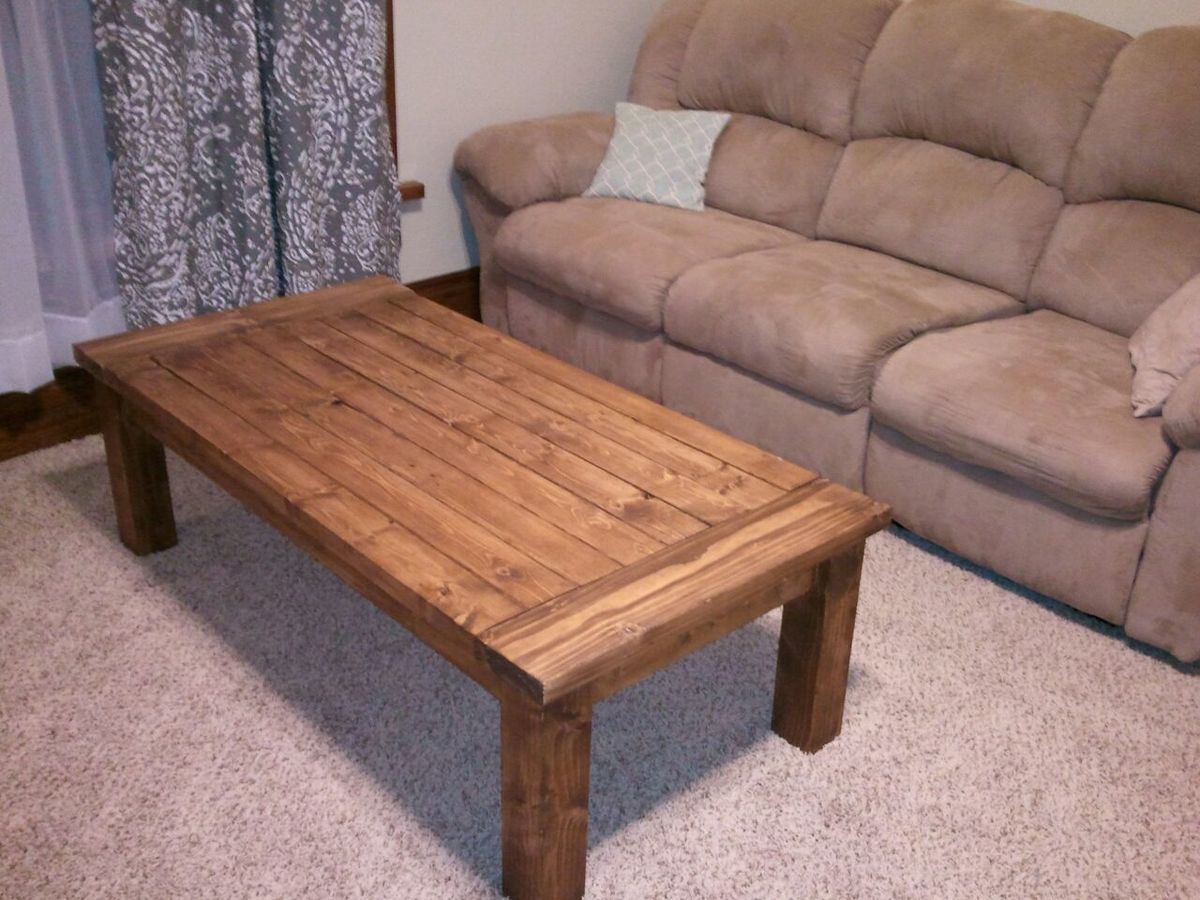
This was my first project. We are using it in the Man Cave.

Estimated Time Investment
Afternoon Project (3-6 Hours)
Recommended Skill Level
Beginner

Comments

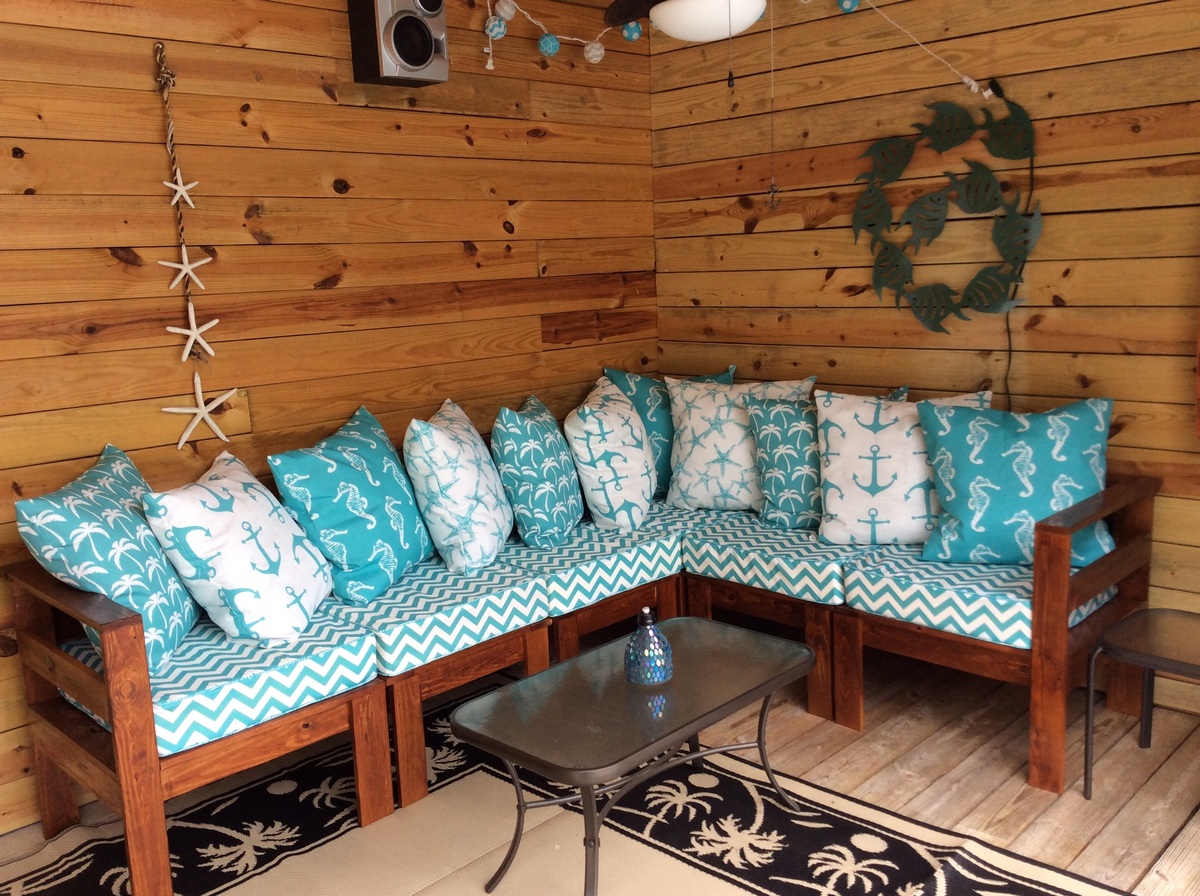
Poolside sectional

Submitted by Littlek8 on Tue, 05/19/2015 - 09:55

This was our first diy furniture project but definitely not our last. We were looking for furniture to put by our pool but everything that we liked and was comfortable was way out of our budget. I came across the post on pintrest and recruited my husband to do the woodworking for me. I the meantime I made the cushions and back pillows using outdoor fabric from fabric.com. The sectional is stained using Olympic Elite semi transparent exterior stain in kona brown.

Estimated Cost
$500.00
Estimated Time Investment
Week Long Project (20 Hours or More)
Finish Used
Olympic Elite semi transparent stain in kona brown. Topcoat of Helmsman polyurethane
Recommended Skill Level
Beginner

Comments

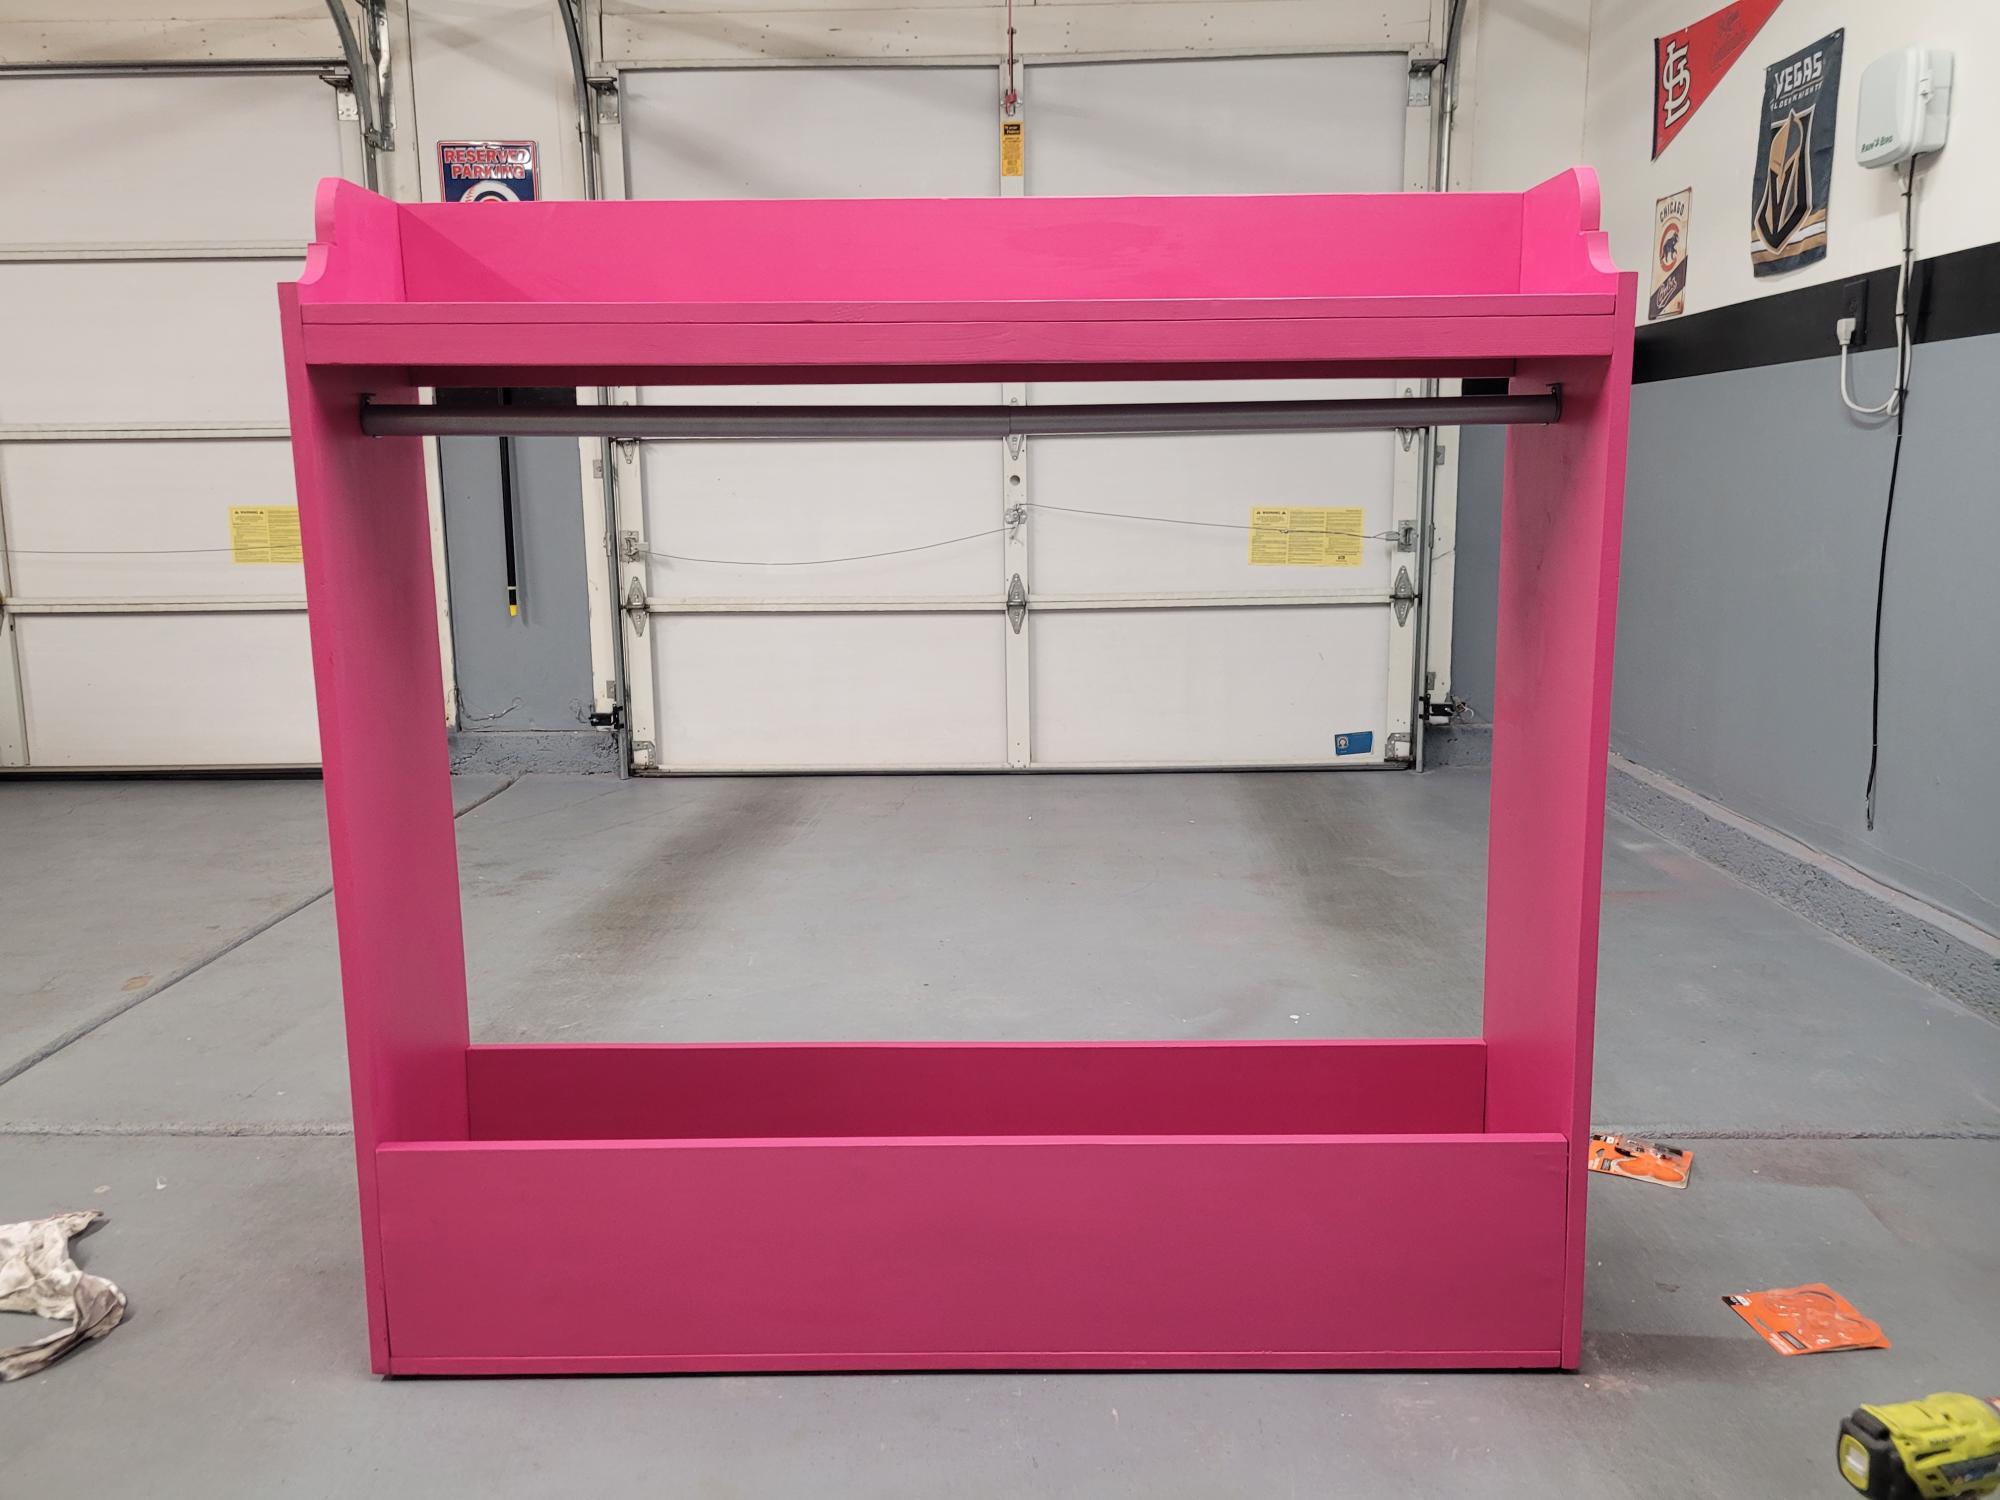
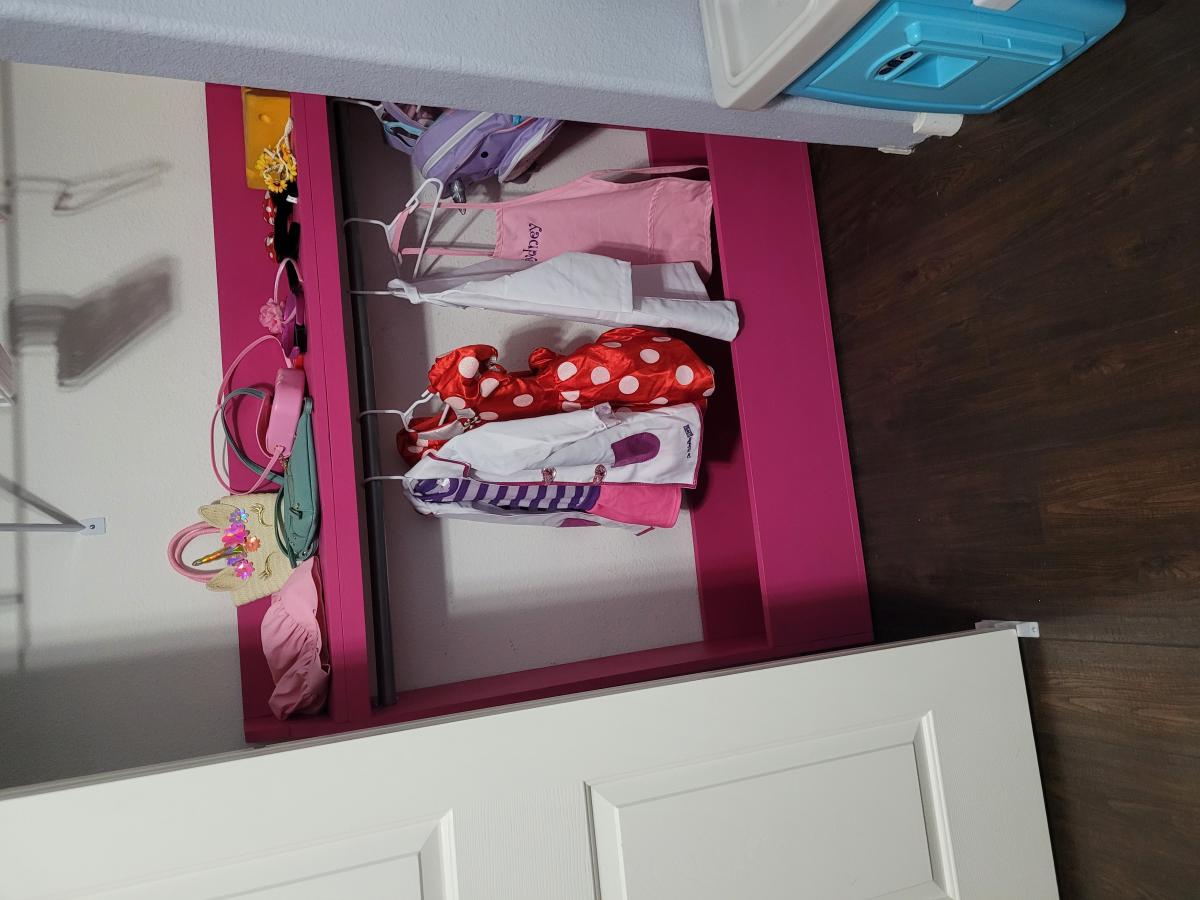
Dress up Center

Submitted by Kassidy_D on Wed, 11/24/2021 - 09:50

Project #2 in the bag! I haven't personalized because I am still considering making another at 36" wide to better fit her room and giving this one away. Very pleased with how it turned out! Still learning!

Comments

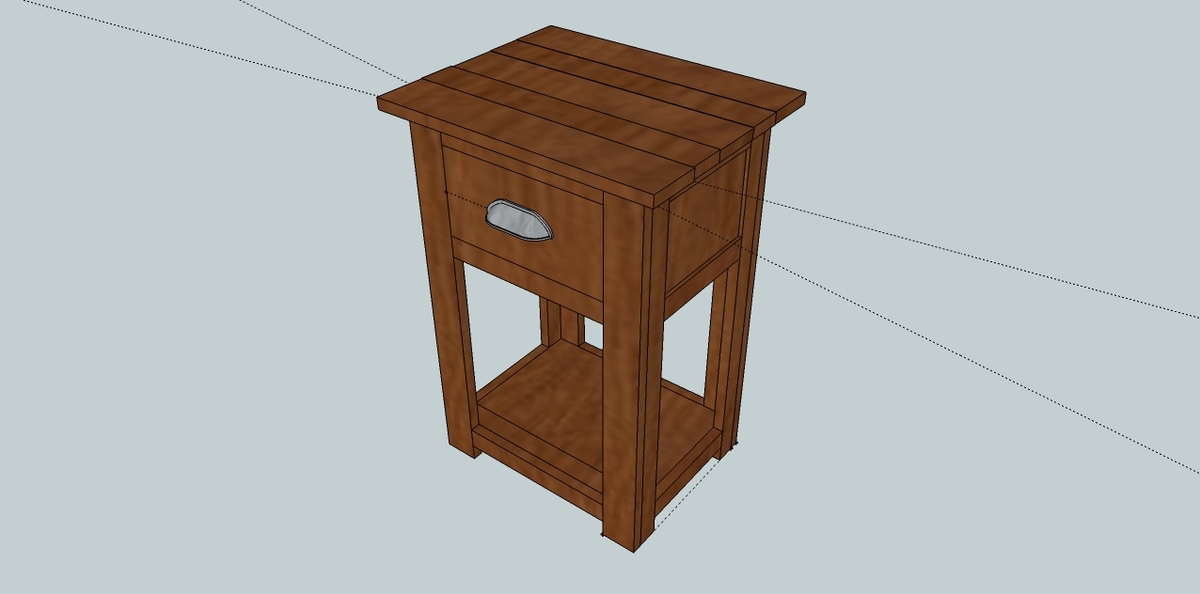
Simple Nightstands

I absolutely love the way these turned out! I drew up an example in Sketch-up using Ana's plans for the Simple Nightstand as a starting point. 

The top is made from 5 boards, 19 inches in length, joined together underneath with a kreg jig. I made two of these, identical. Each nightstand took exactly 50 kreg screws, not intentional, it just worked out that way. I used a brad nailer to attach the trim along the bottom shelf (which I could have avoided with a a little more planning in the beginning), also to attach the side panels that you see on the sides and back, and to assemble the majority of the drawer, using kreg screws to attach the front.
I'm in love with the drawer pulls, a metal twig shape bought at blue! I'm debating whether or not I want to paint them with some brown paint and distress them a little bit, but not sure if it would just end up looking hokey since they are obviously not real twigs.
It took me several hours to build these, mostly because I had to kind of work out a few details as I went, but I'm confident I could do it quicker if I had to do it again. The finishing is what takes the longest!
Built from Plan(s)
Estimated Cost
$110 includes enough Select Pine, kreg jig screws, and drawer pulls to make two nightstands
Estimated Time Investment
Day Project (6-9 Hours)
Finish Used
Two coats of Cabot stain, Pecan color. Three coats of satin polyurethane, with a light sanding between each coat.
Recommended Skill Level
Intermediate

Farmhouse Style Bed

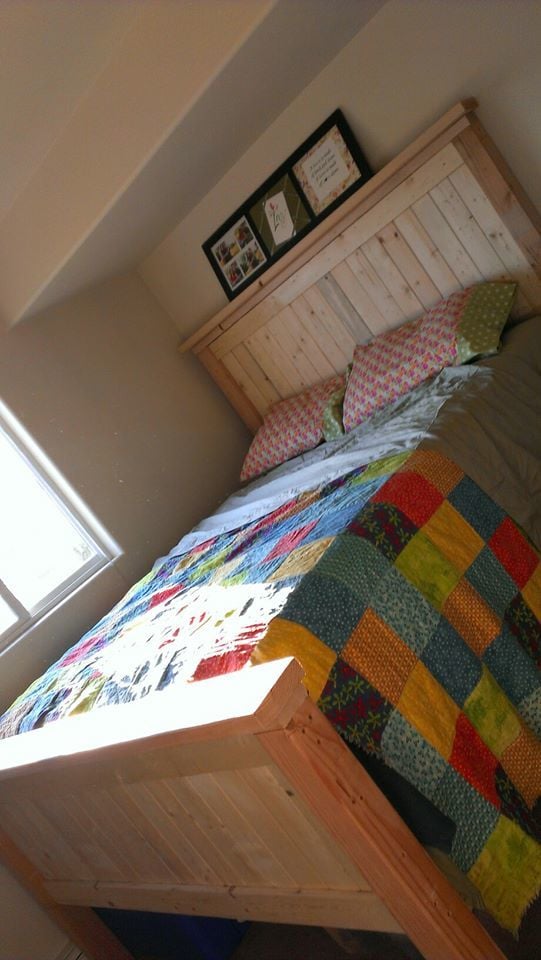
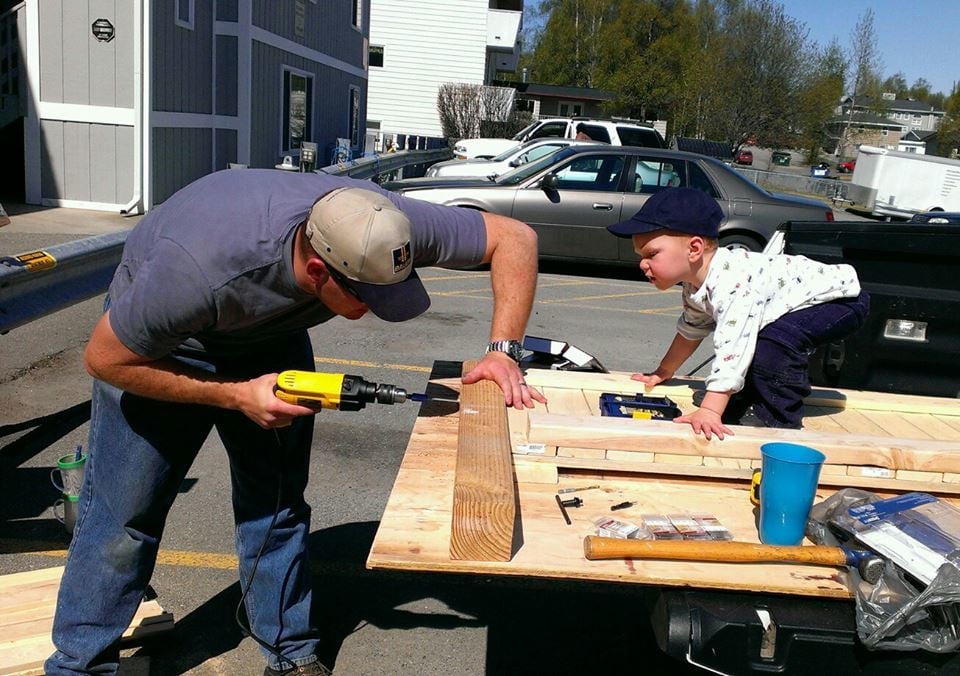
It took about 7 hours to complete this project. We used Ana White's Farmhouse Queen plans, with some modifications: the bottom of her bed frame is about 4-6 inches off the floor, ours is 17 inches for extra storage space. We also made the footboard slightly deeper to accommodate longer legs. Due to limited space, we built it on the bed of our truck with the "help" of our 18 month old. We love the way it turned out.

Built from Plan(s)
Estimated Time Investment
Day Project (6-9 Hours)
Finish Used
Unfinished
Recommended Skill Level
Beginner

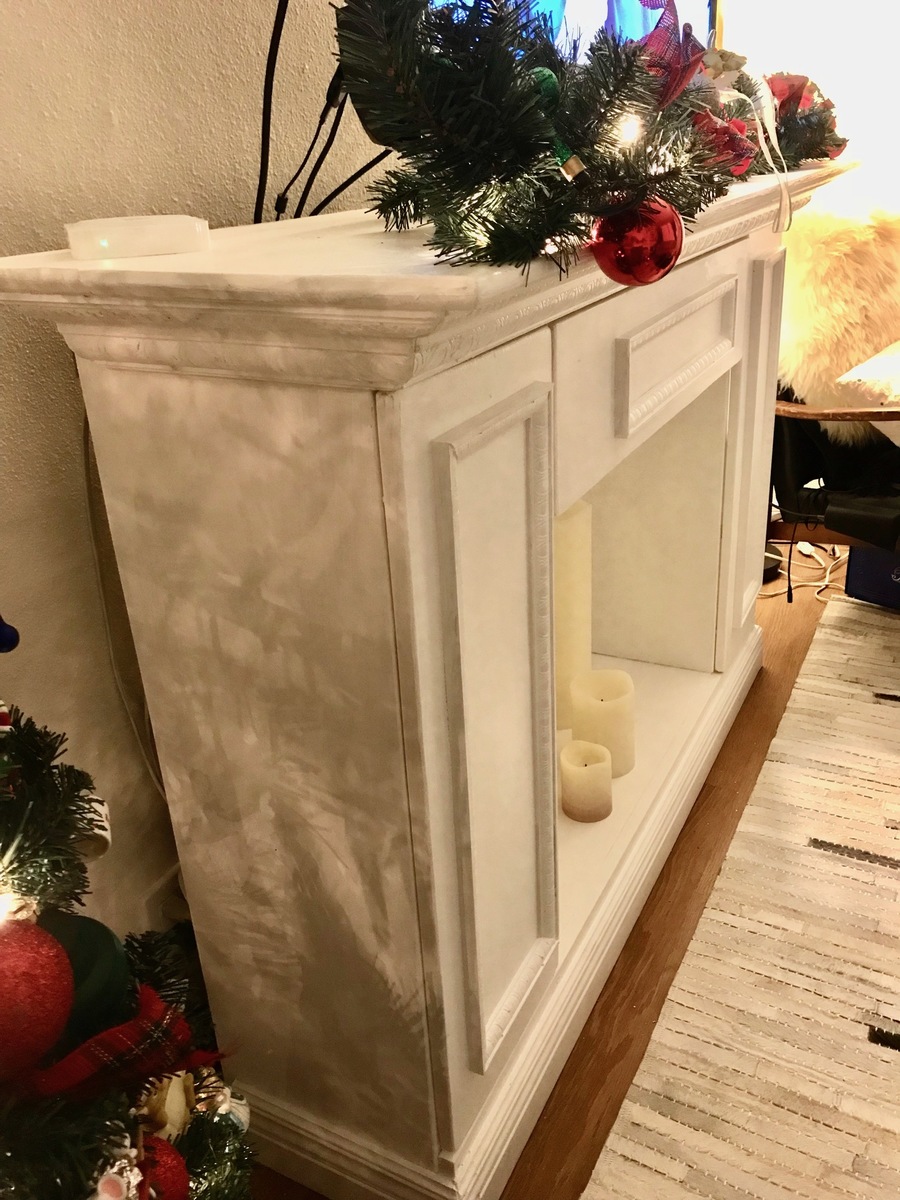
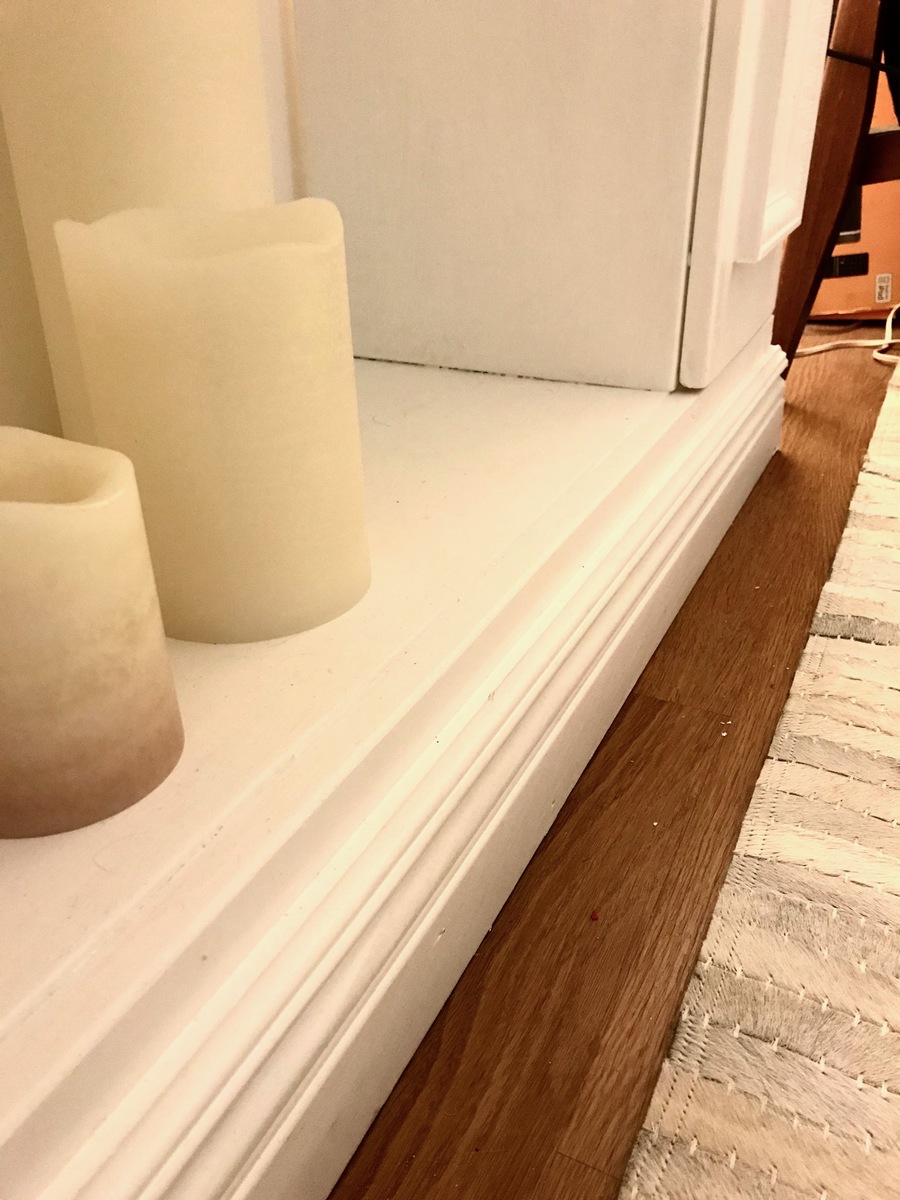
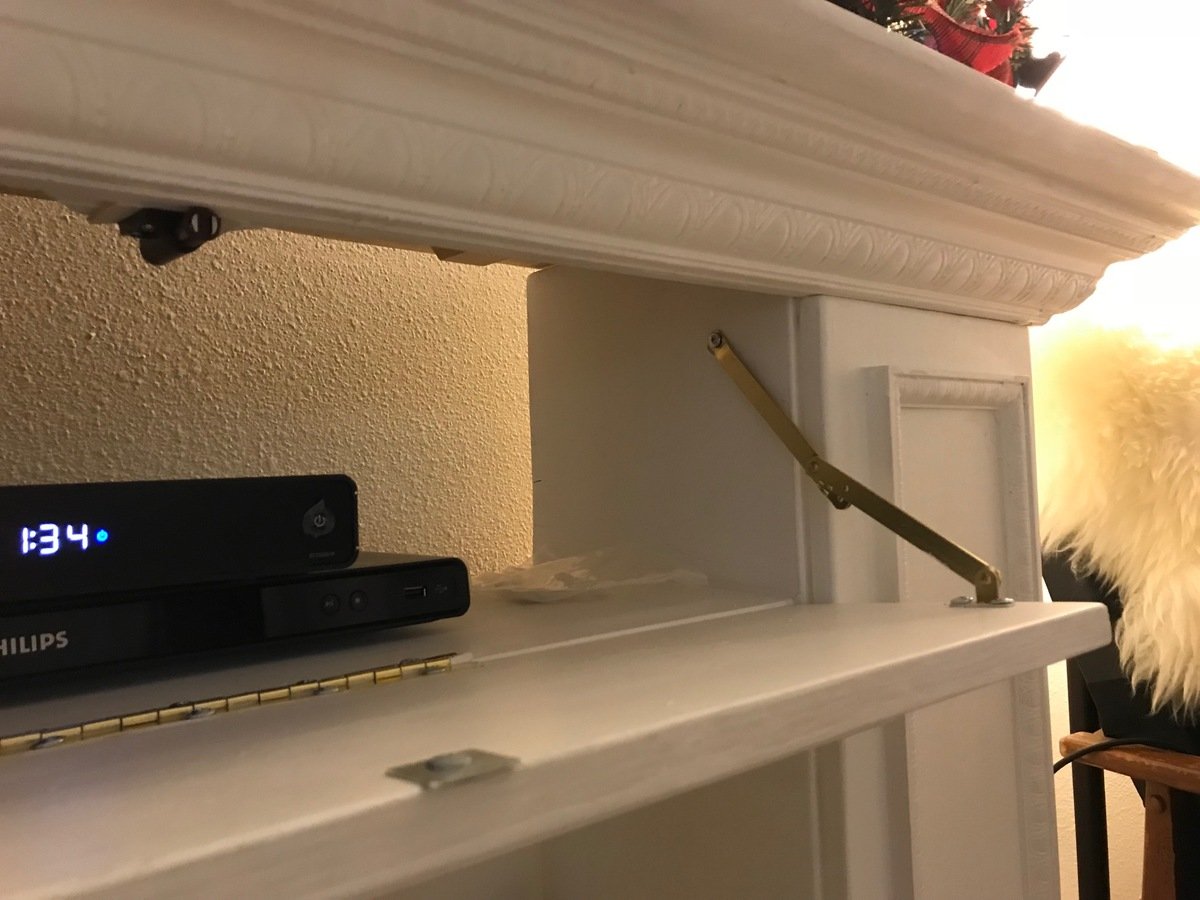
Faux fireplace with hidden storage

Submitted by Amymesser on Mon, 12/18/2017 - 05:59

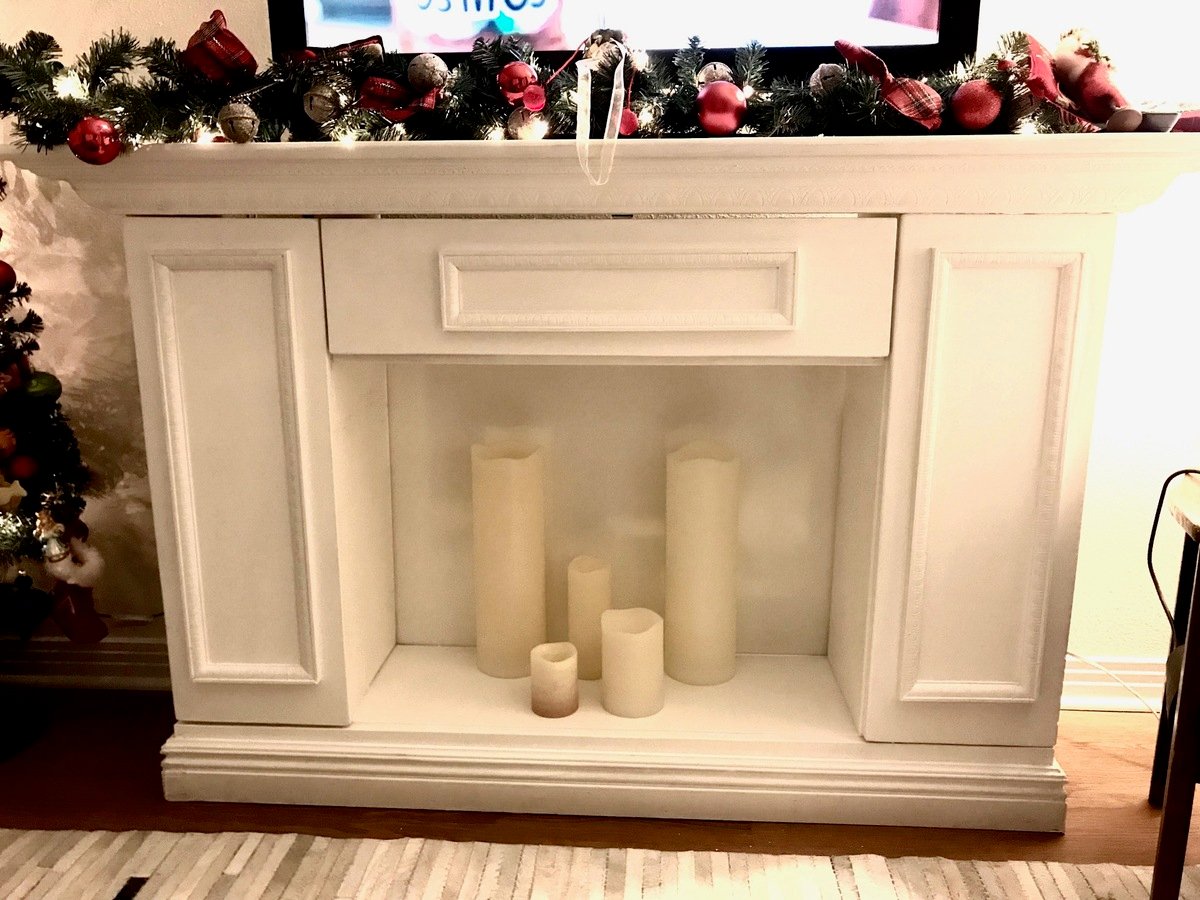
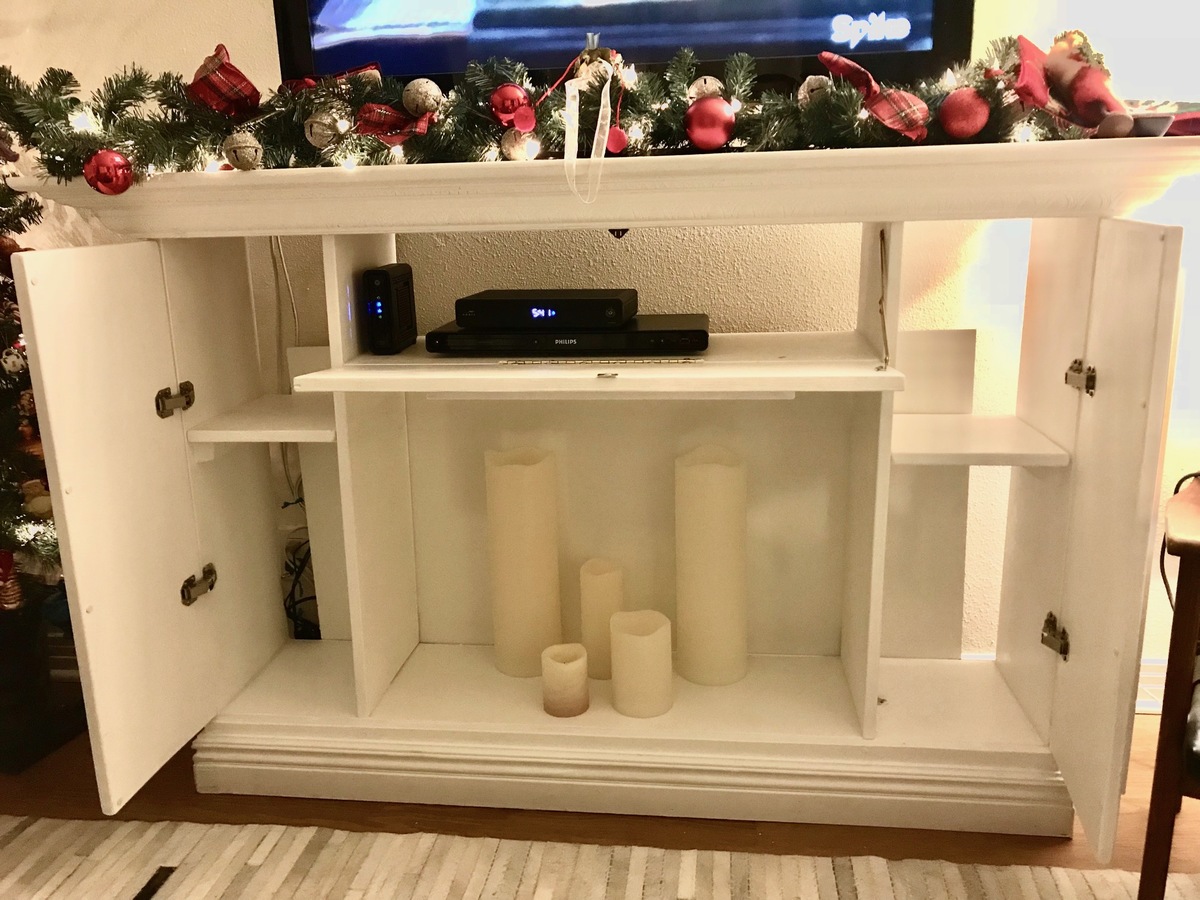
I saw this project on the Ana-white website DIY. Luckily I have a friend that has all the tools so we used the cut list & built this faux media cabinet fireplace. I wanted it to store all my media stuff & have my TV set on top instead of the boring & expensive hanging the tv on the wall route not to mention the damage to my rented apt wall. We made a few modifications we extended the top & moved the center hidden shelf up. 

Estimated Cost
$400
Estimated Time Investment
Week Long Project (20 Hours or More)
Finish Used
Painted white
Recommended Skill Level
Starter Project