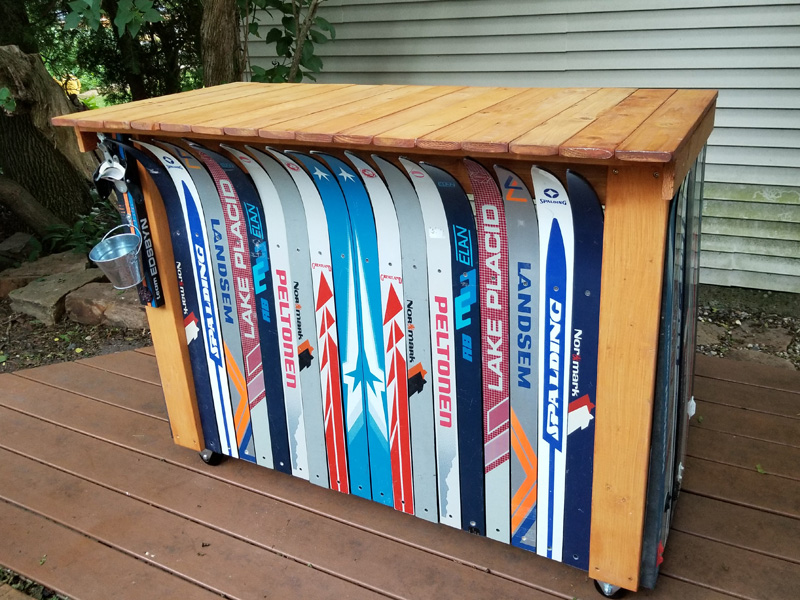
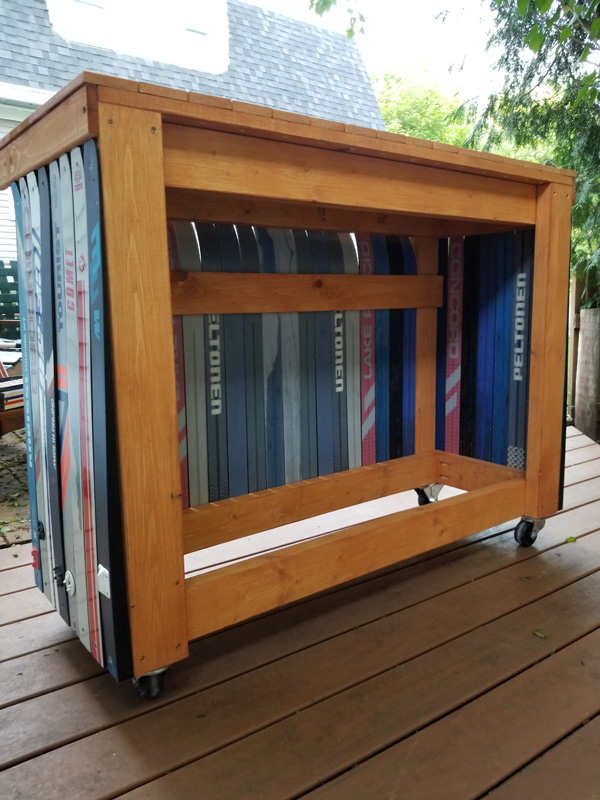
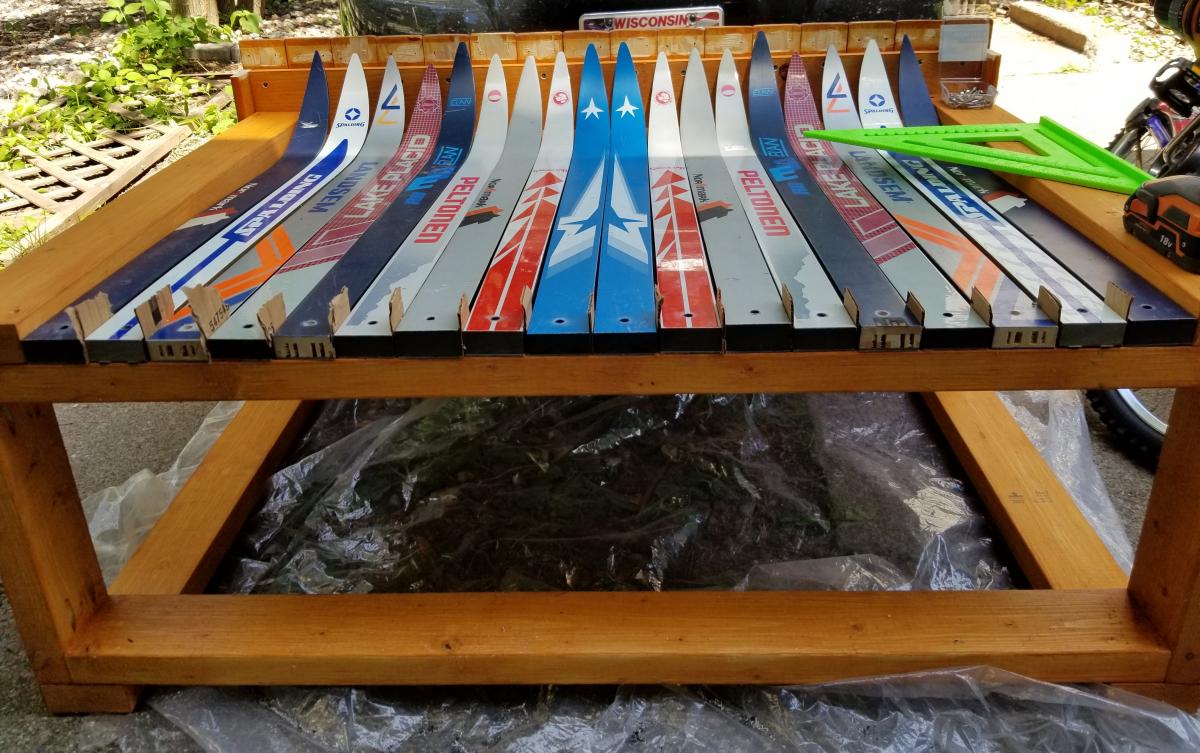
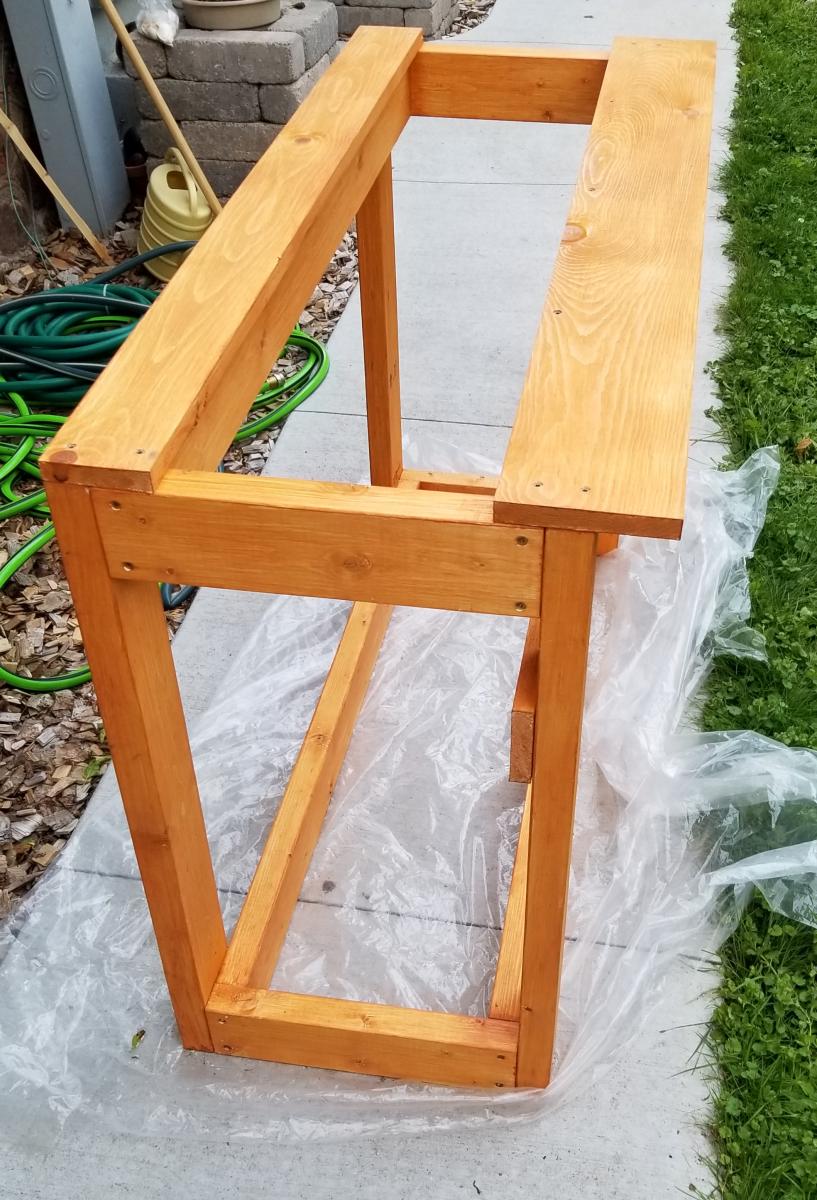
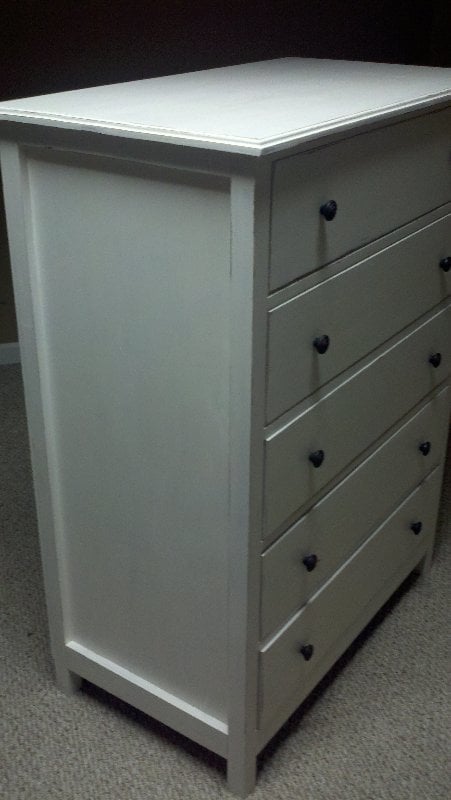
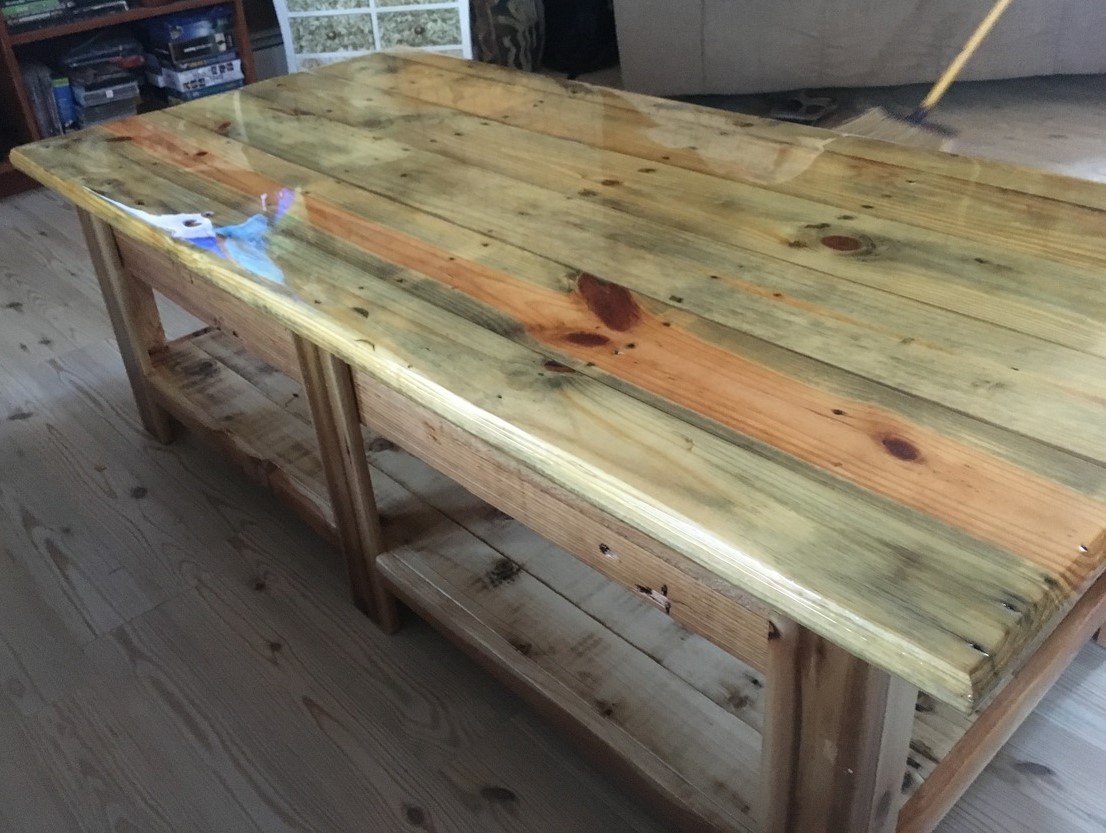
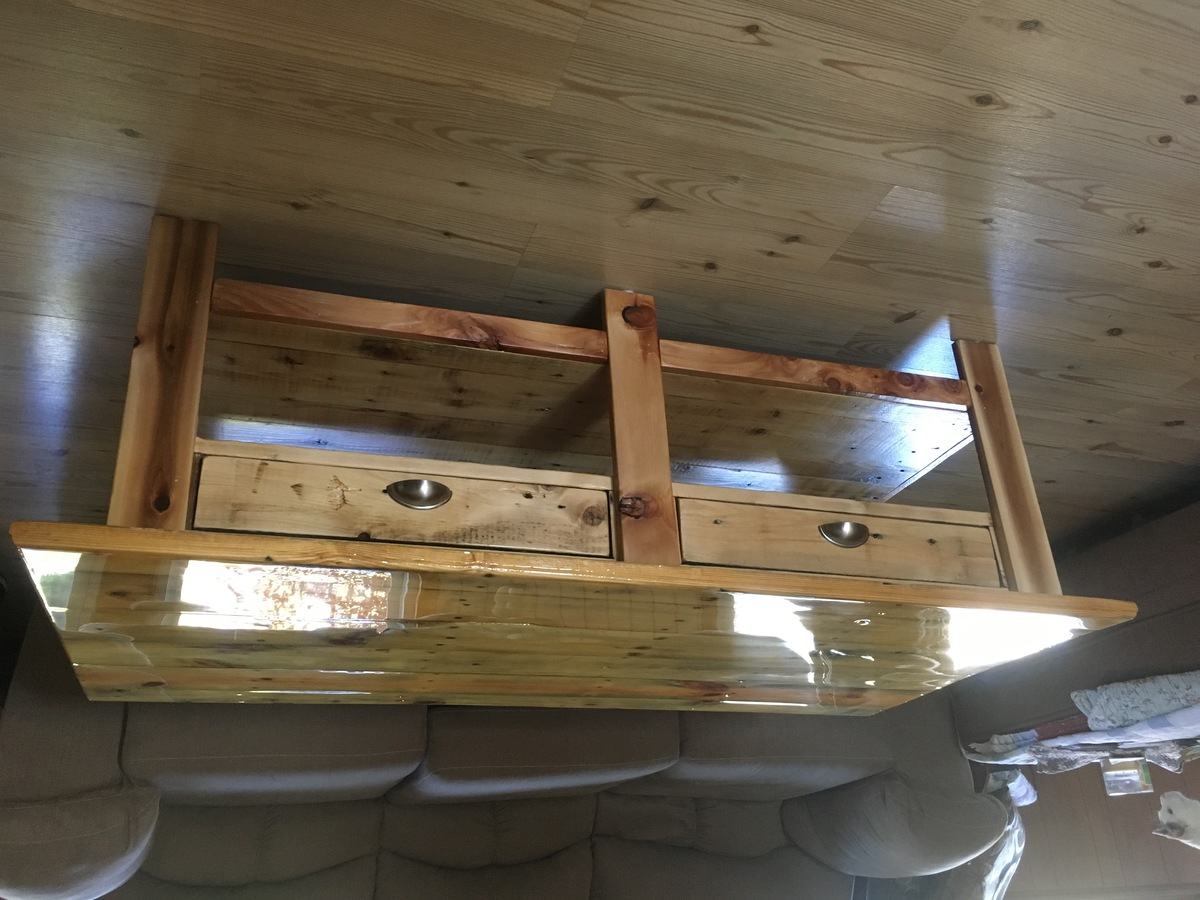
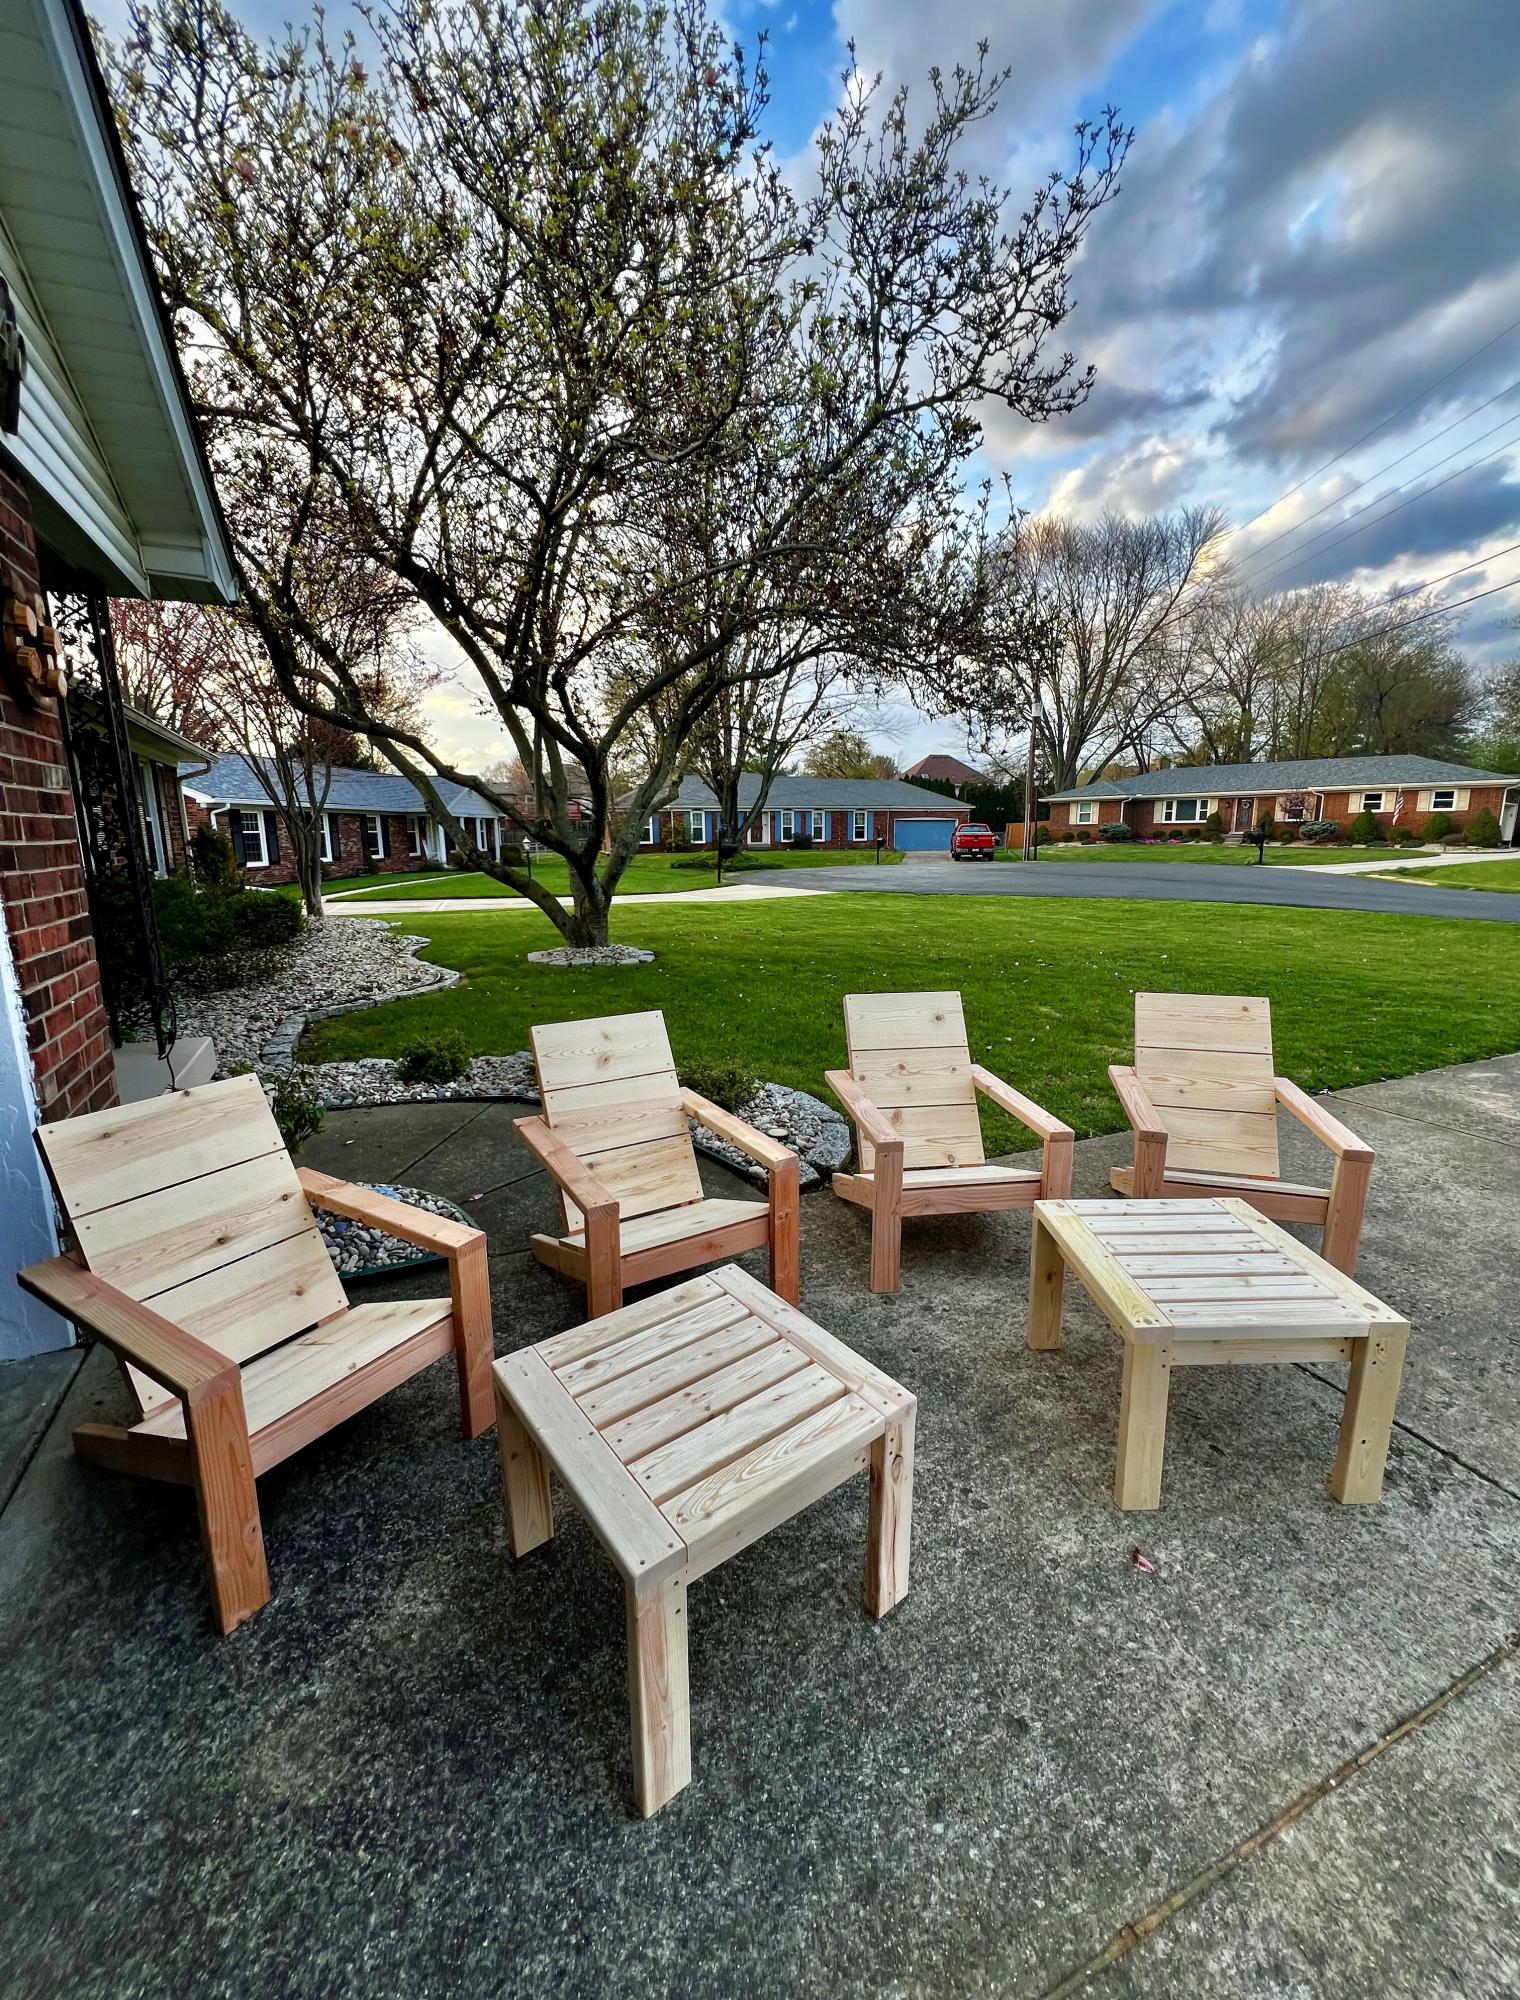
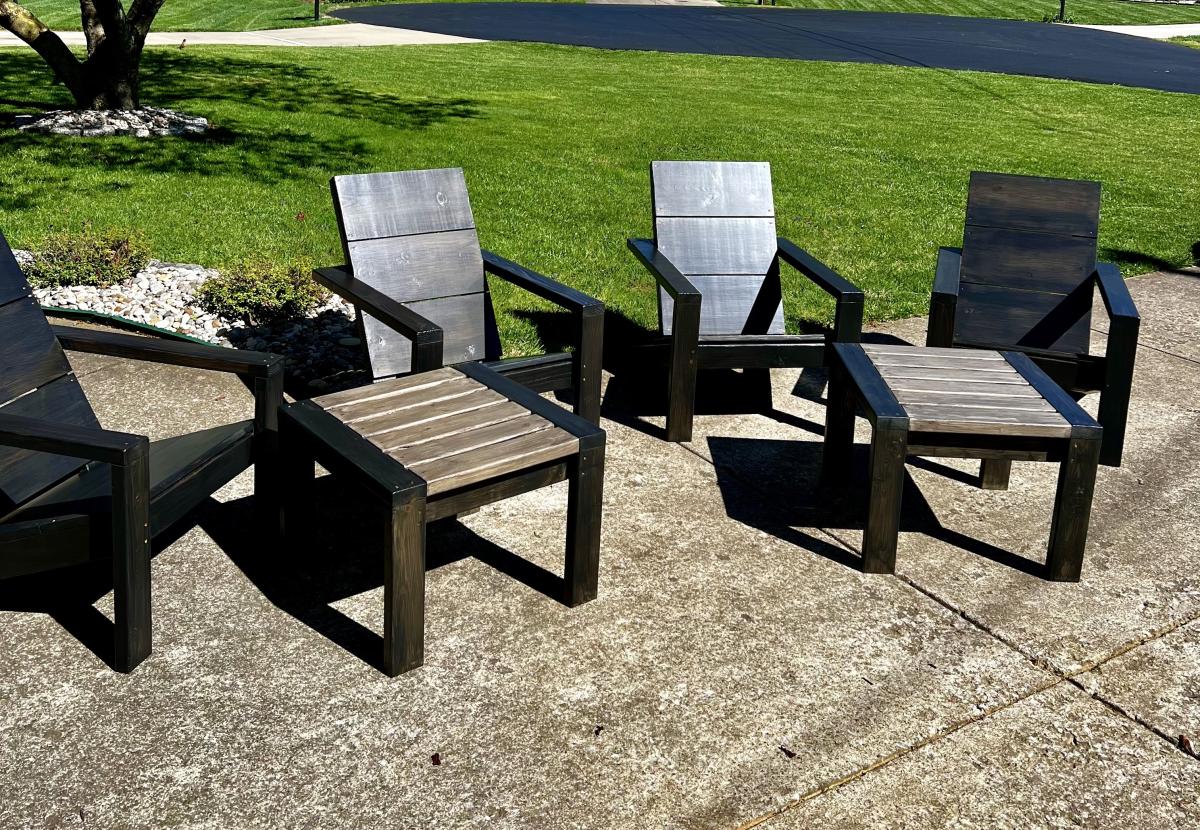
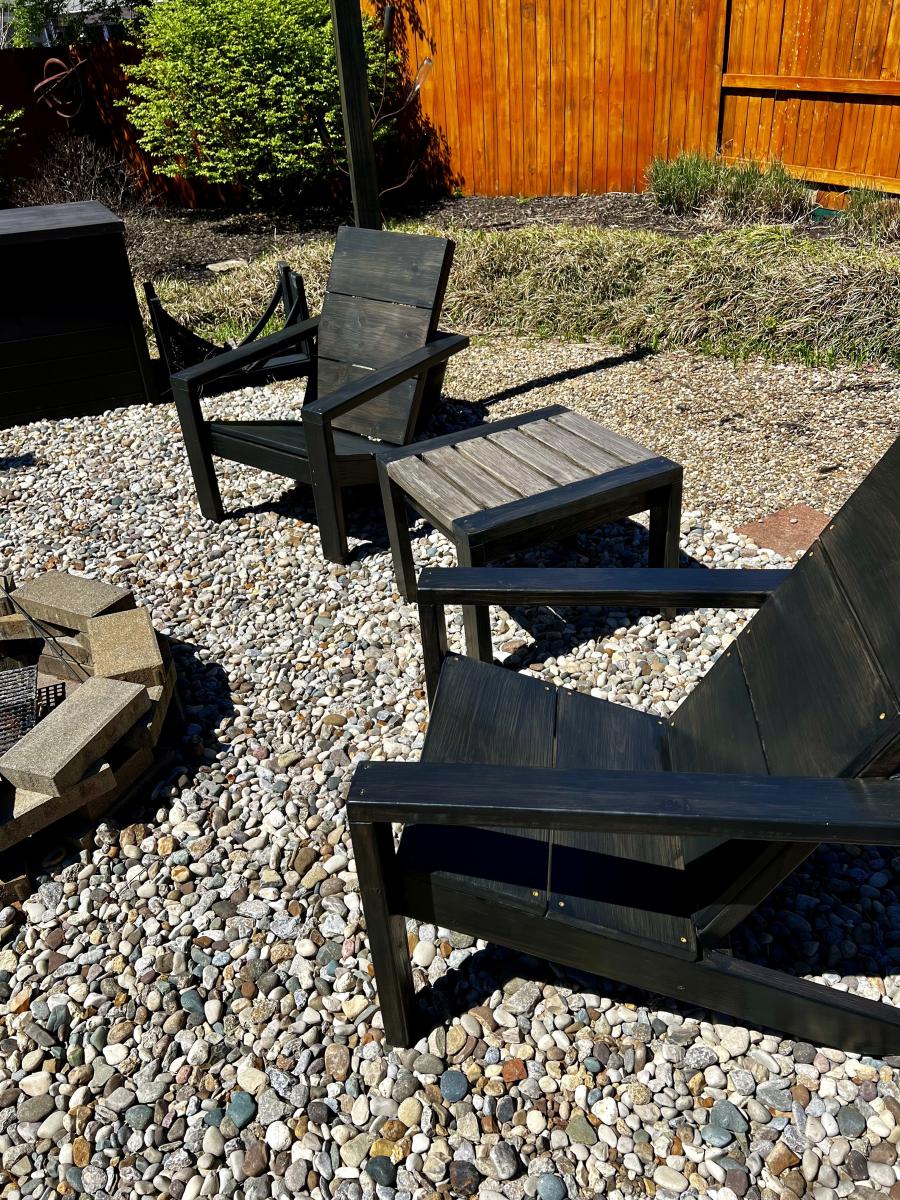
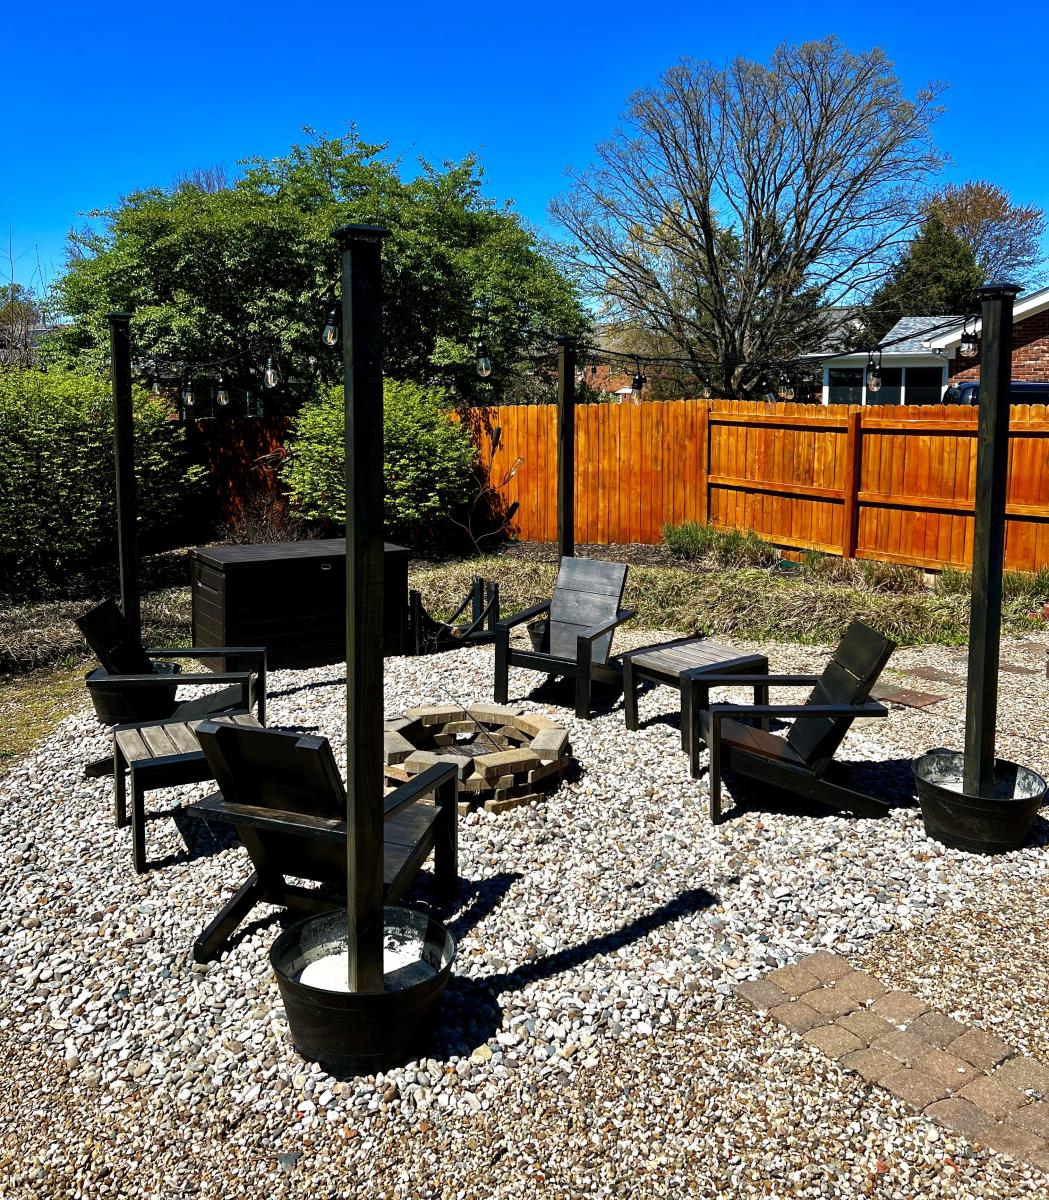
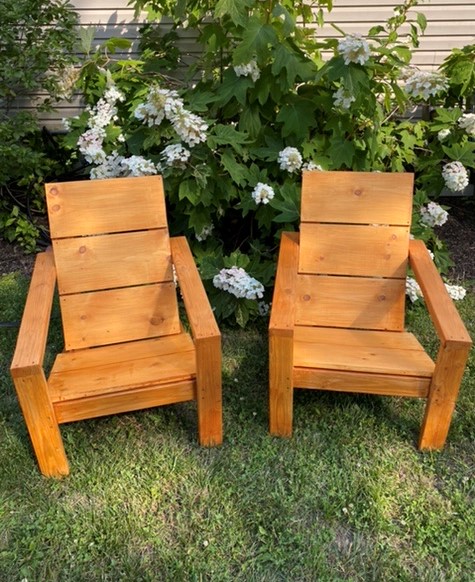
I'm calling this a Skiki Bar which is a word play on Tiki bar. It is based on the Simple Rolling Cart design. I used my own dimensions according to the width of cross-country skis. I have a large number of these old skis for projects. They are sold for very cheap at garage sales, etc. The top of the bar is made from boards that I had removed from an Adirondack chair set, which I had made Ski chairs with. So those were already stained and they matched the stain I used on the pine 2x4 frame of this Skiki Bar. I already had a pair of wheels laying around so I only had to buy 2 more of the same size. The pictures were taken before I installed a shelf on the bottom with some scrap plywood I had in my garage.
I estimated the time to factor in how long it takes to stain all the boards and let them dry.
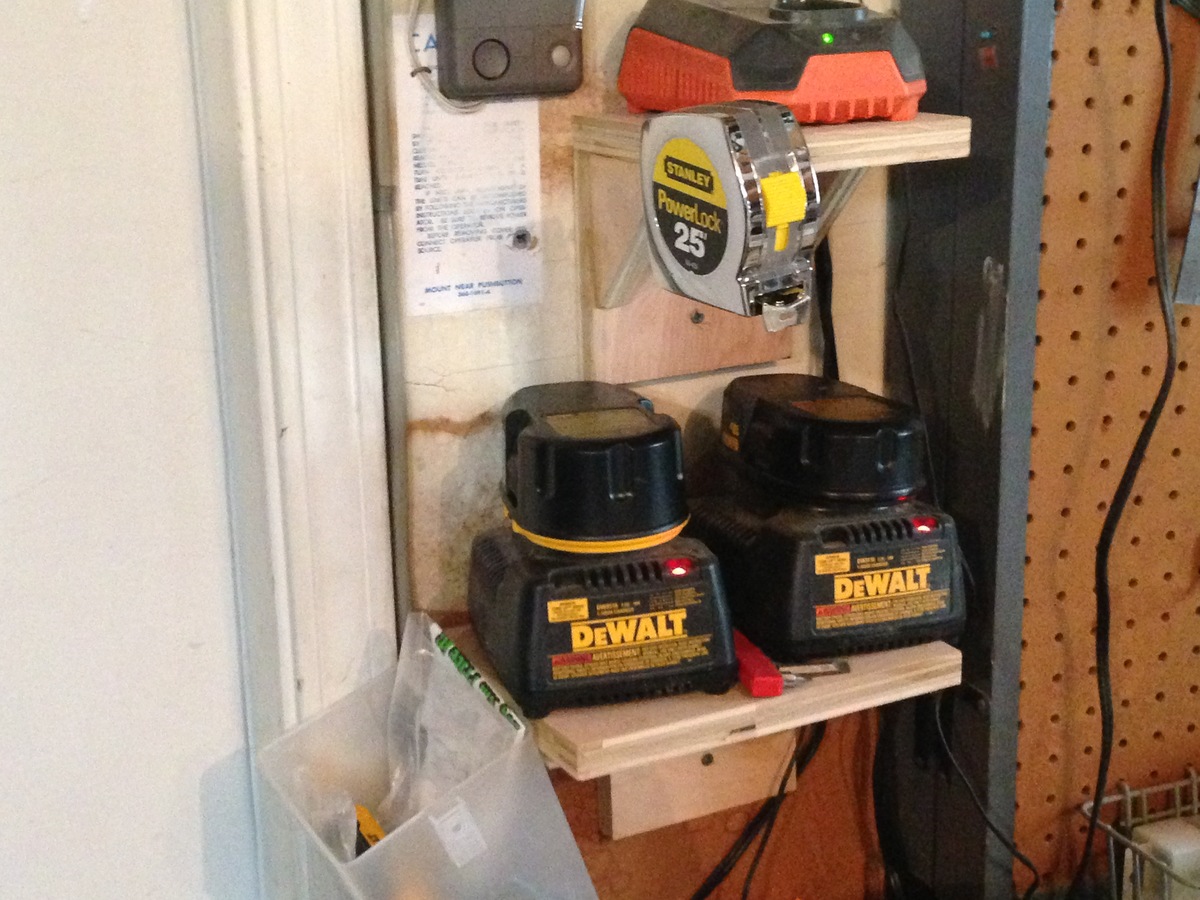
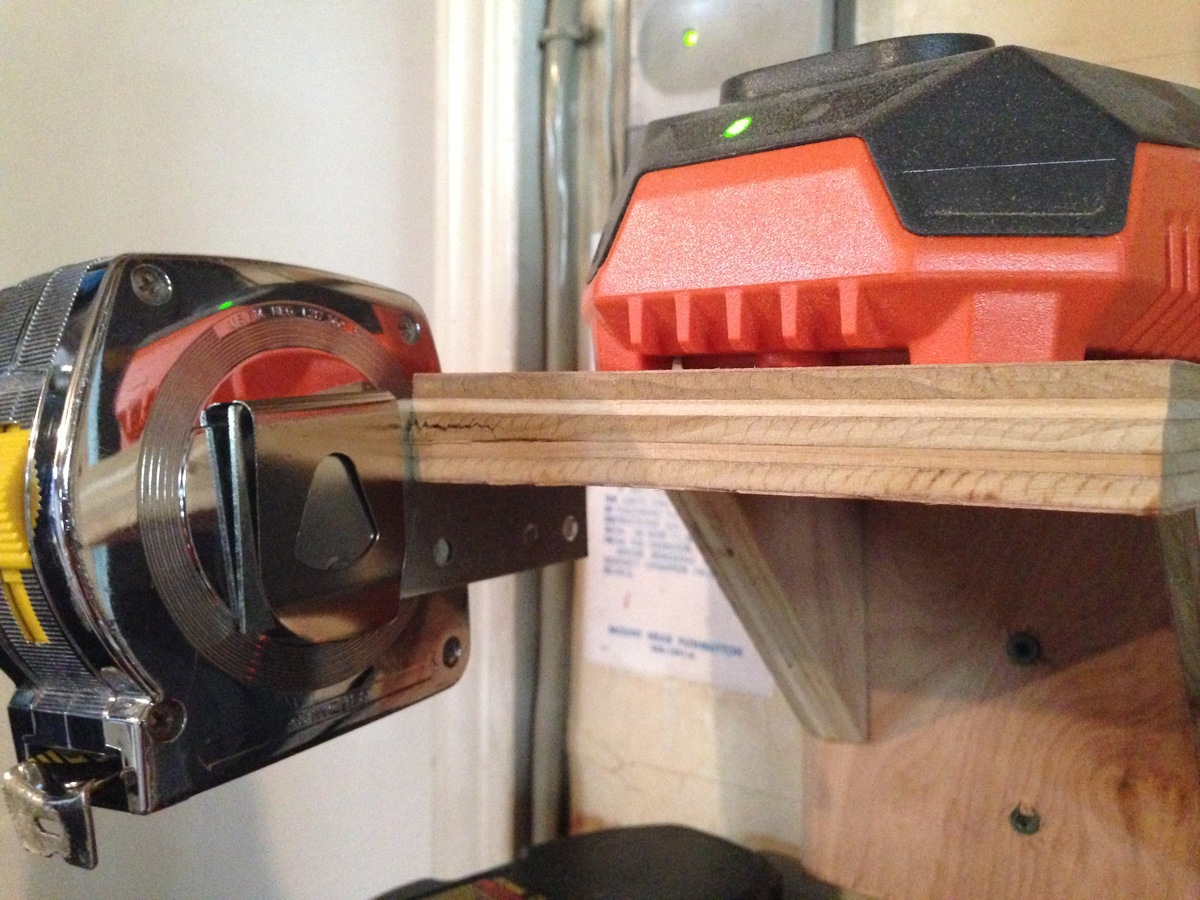
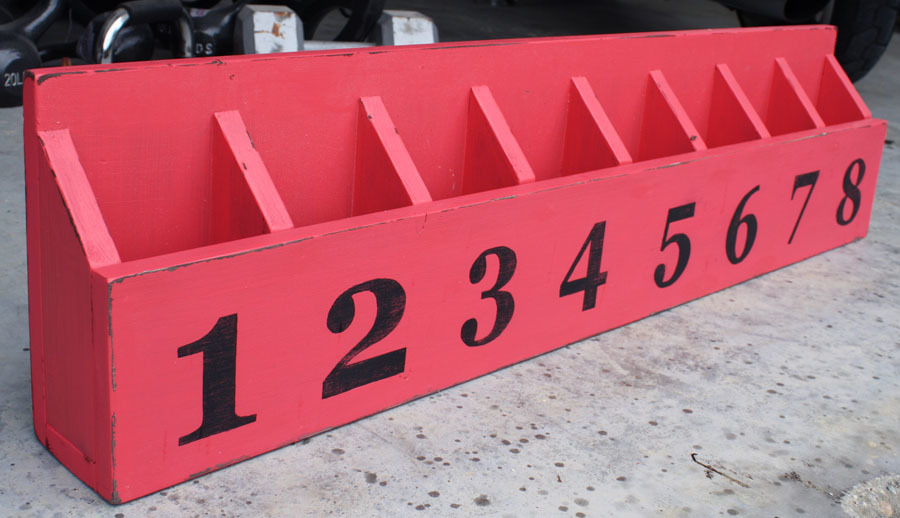
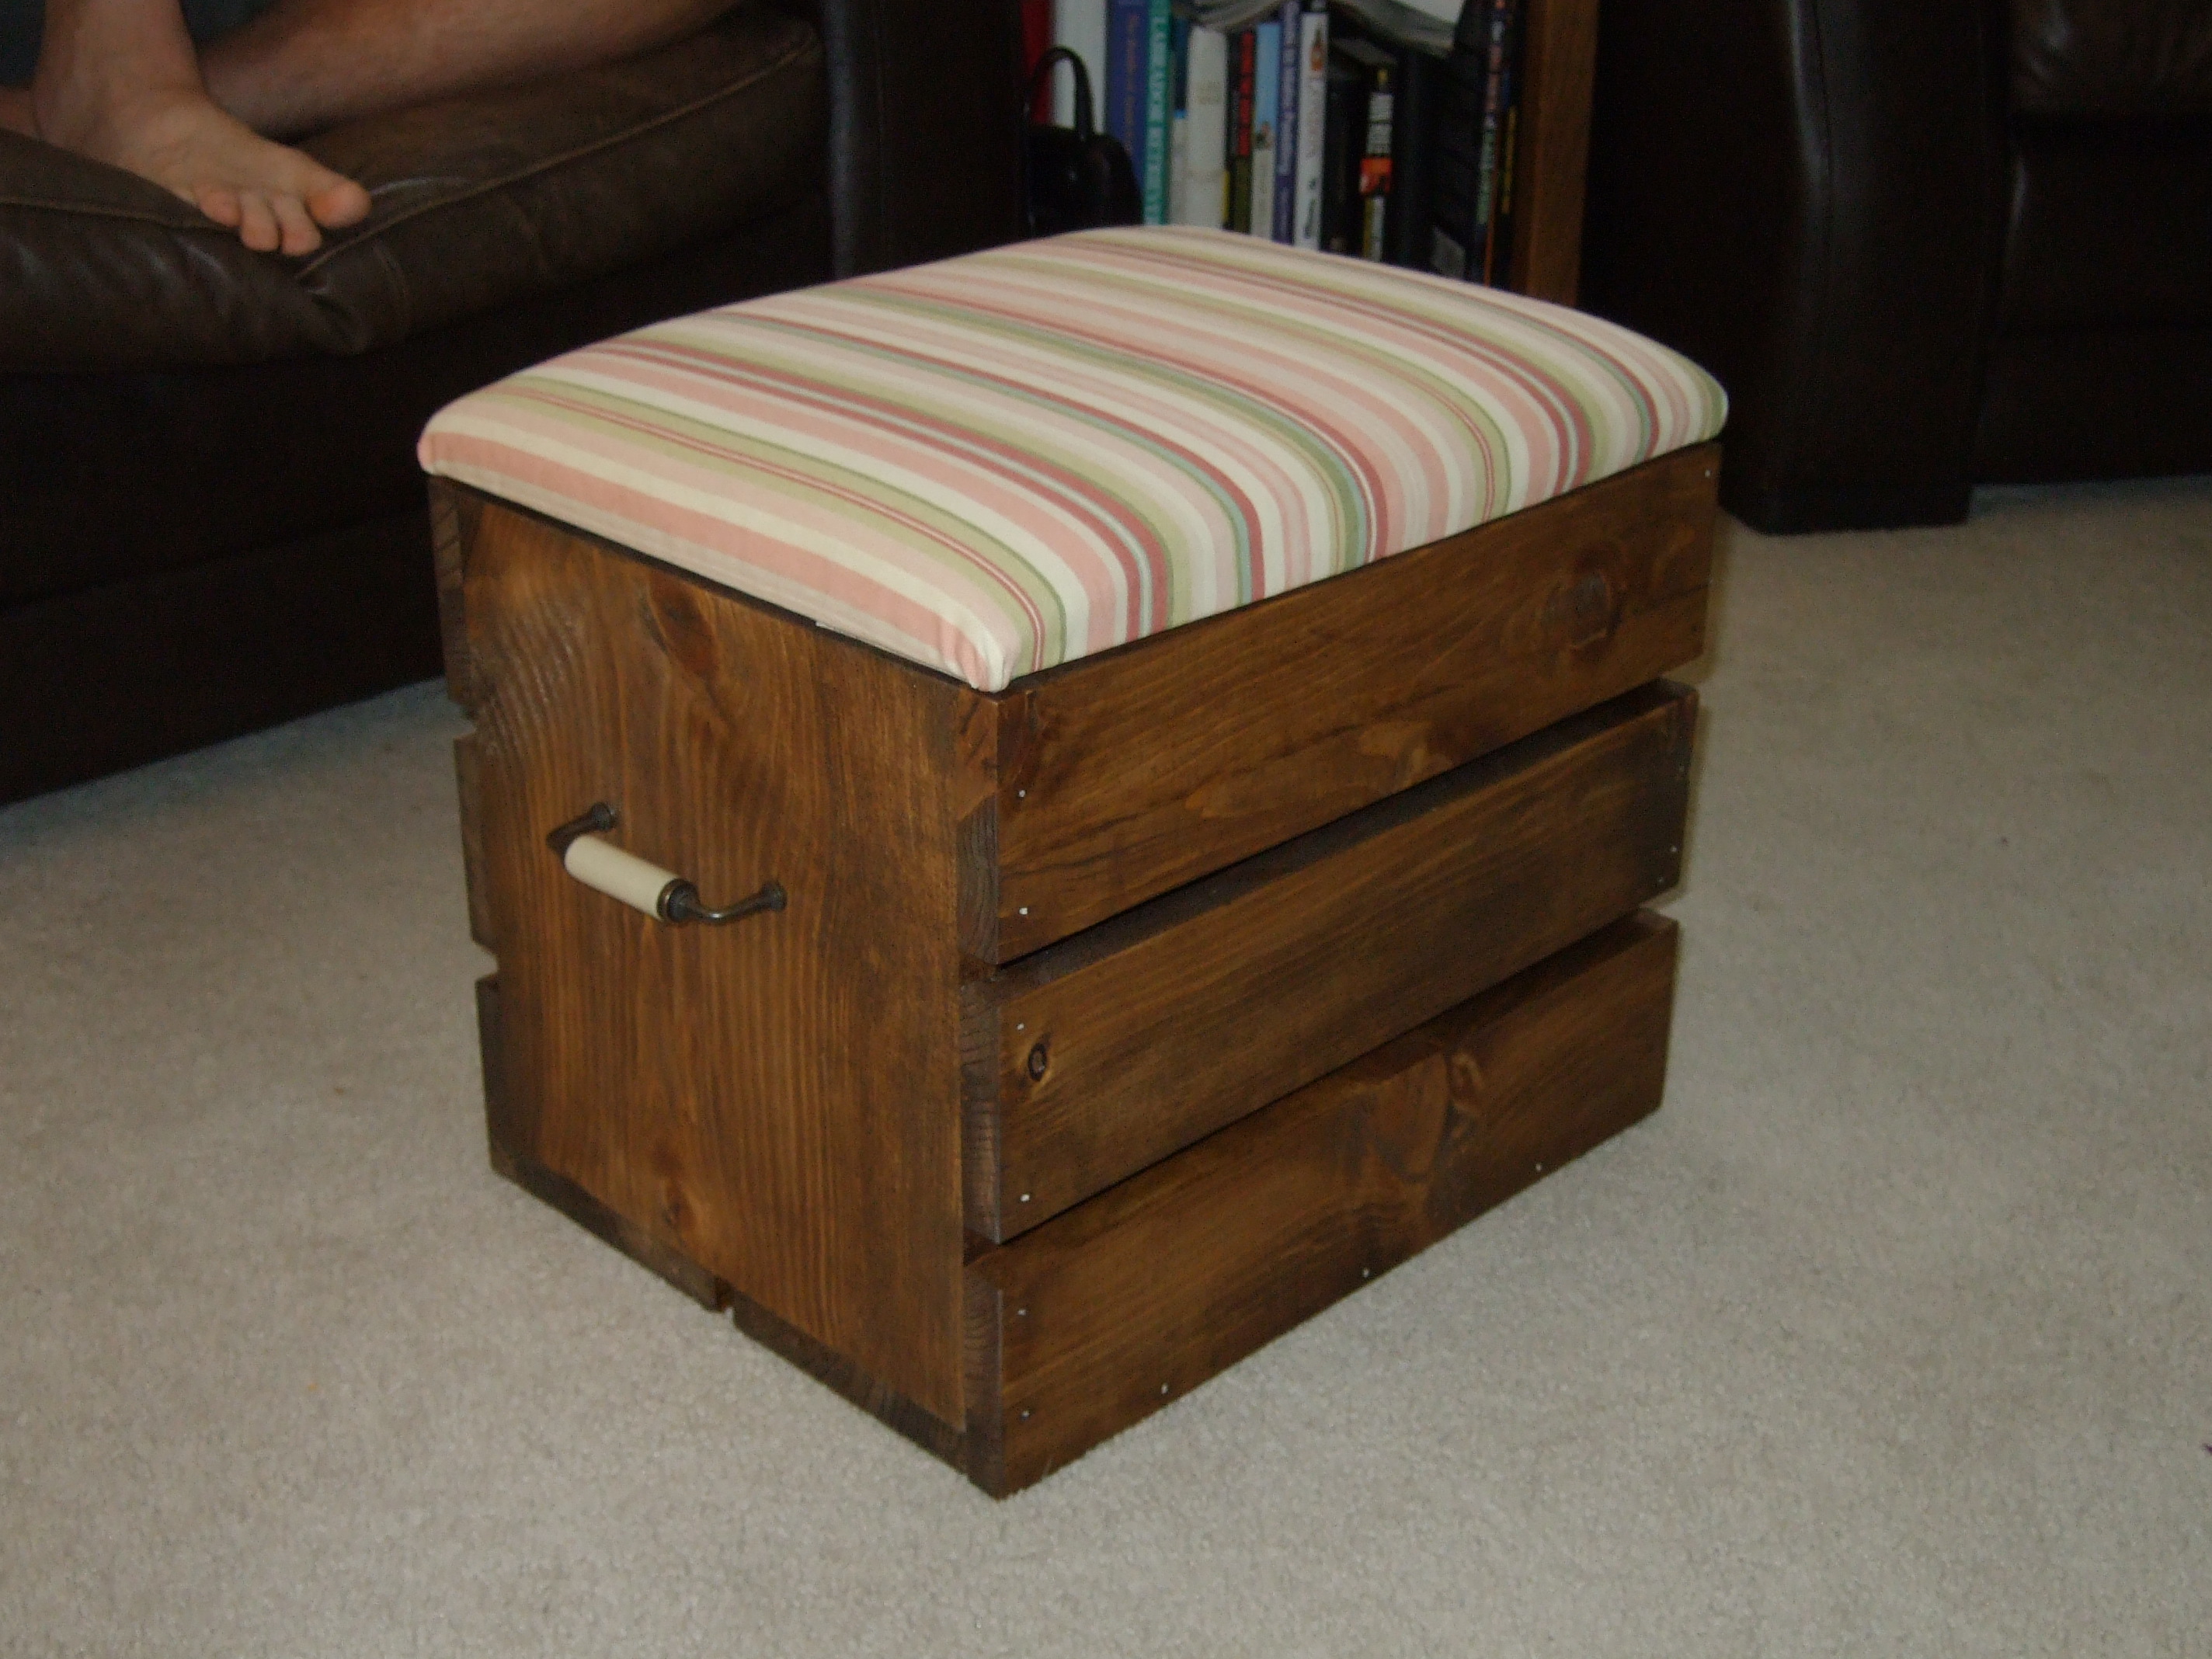
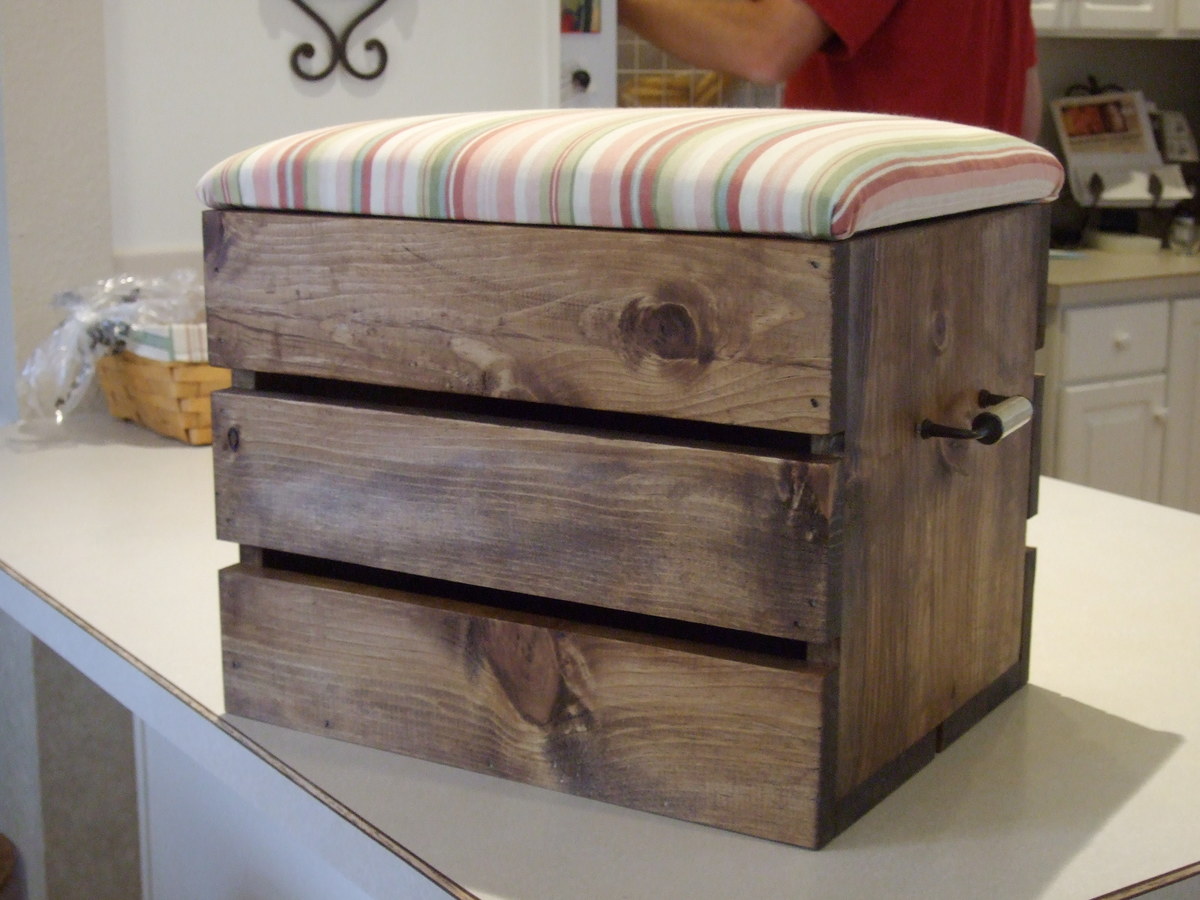
On the left edge I installed a Ski bottle opener I made.
I estimated my cost on what I bought that I didn't already have. I bought the pine 2x4's (also a 1x4, 1x6), Construction Screws, Stainless Steel Screws (For attaching skis), and 2 wheels.
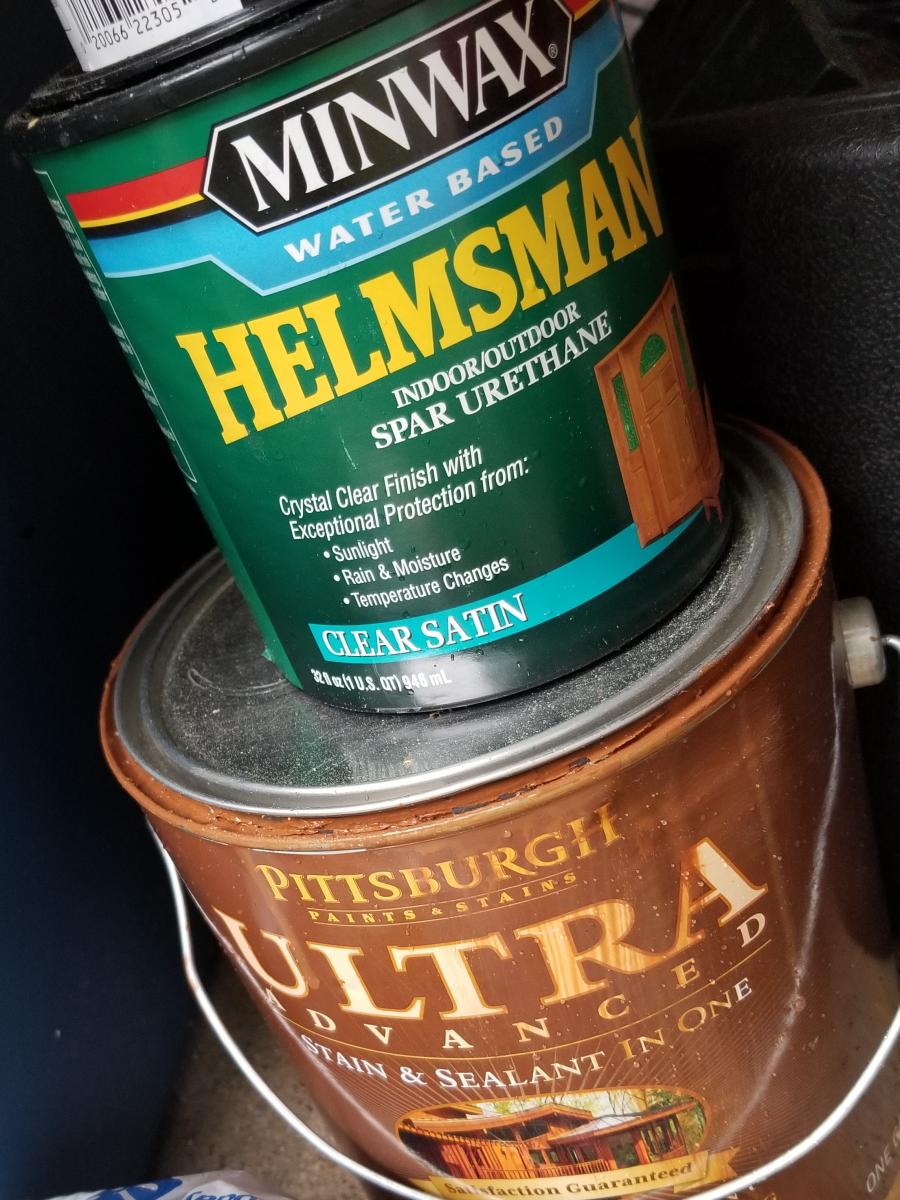
I already had: Skis, Bar top boards, 2 wheels, deck screws (attaching the bar top boards from underneath), stain, clear coat, wood glue and tools.
My next project is to make Ski bar stools. Thanks for having a look at my design!


Comments
birdsandsoap
Mon, 08/13/2012 - 12:32
Nice job!
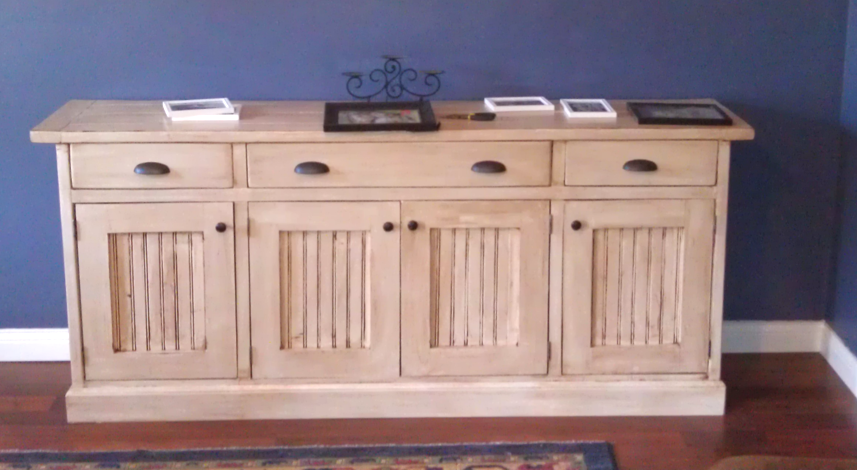
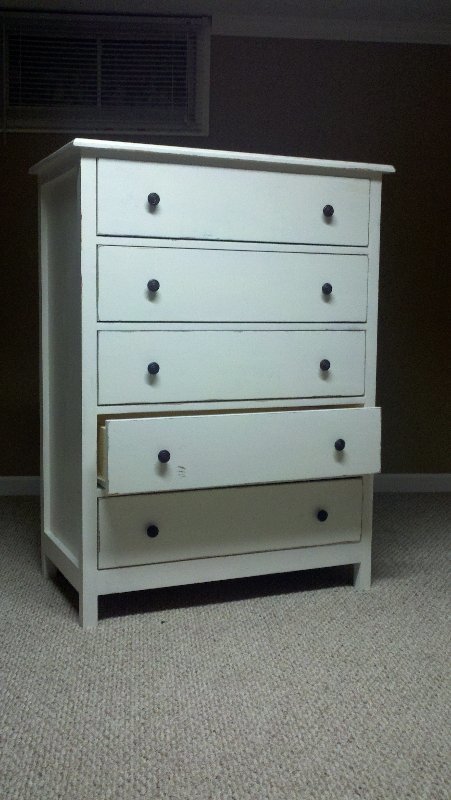
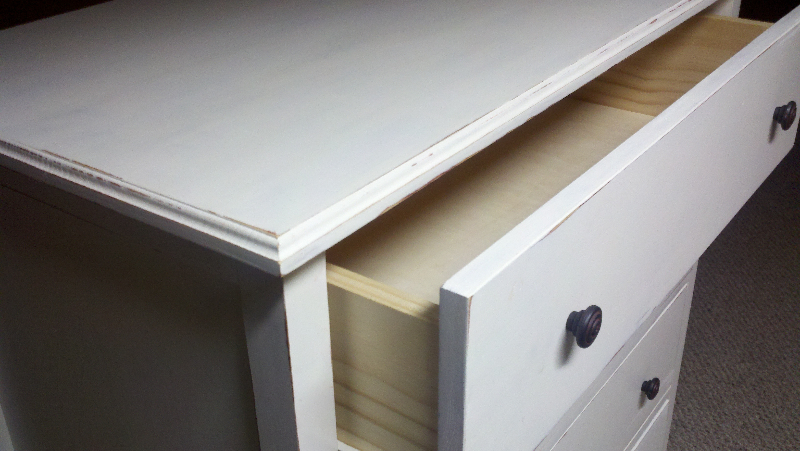
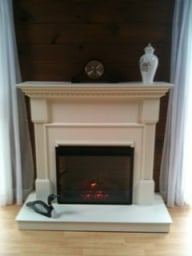
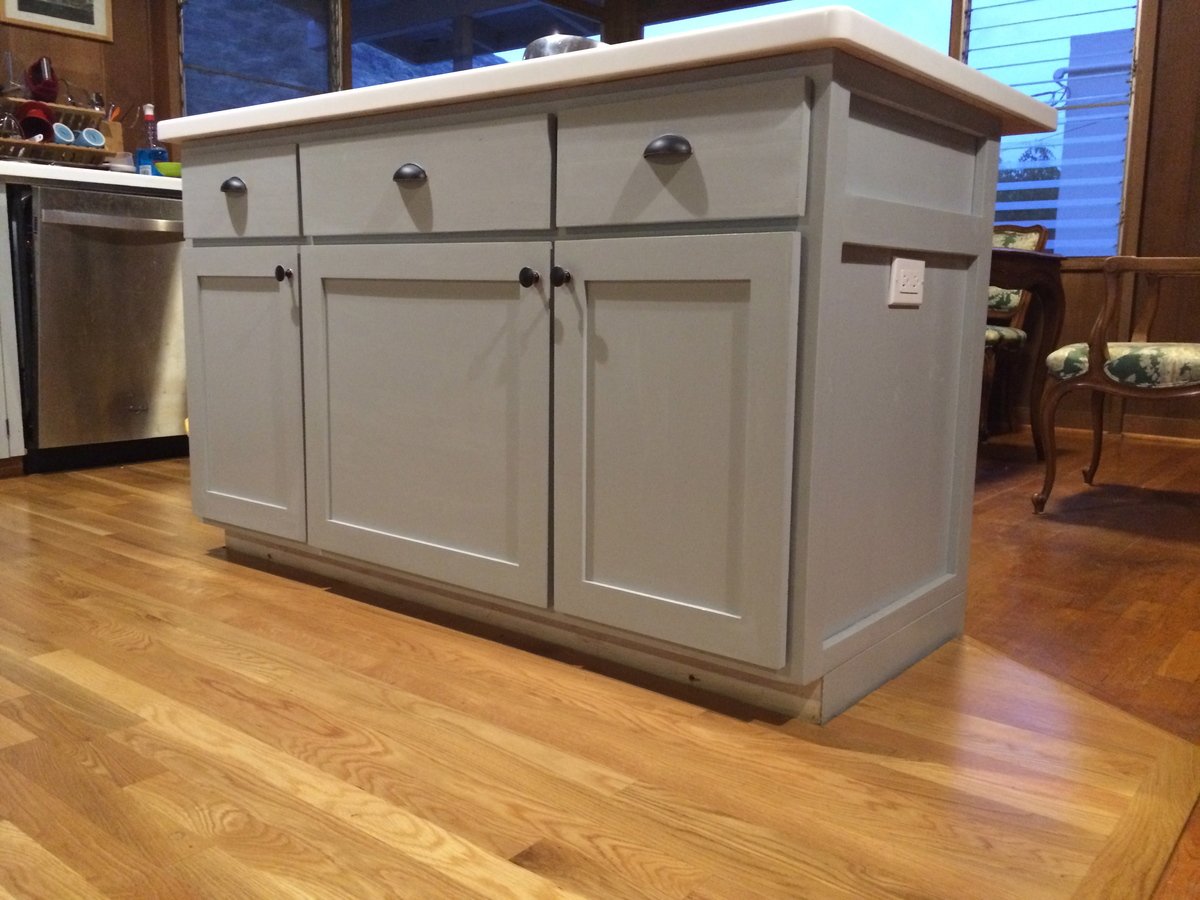
I love the glazing and the beadboard!
A place for ev…
Mon, 08/13/2012 - 18:33
Looks great :)
It does look great and I second birdsandsoap, love the finish and beadboard. On a side note... I also like the color of your wall! What is it?
BigRedFan
Tue, 08/14/2012 - 09:20
wall color
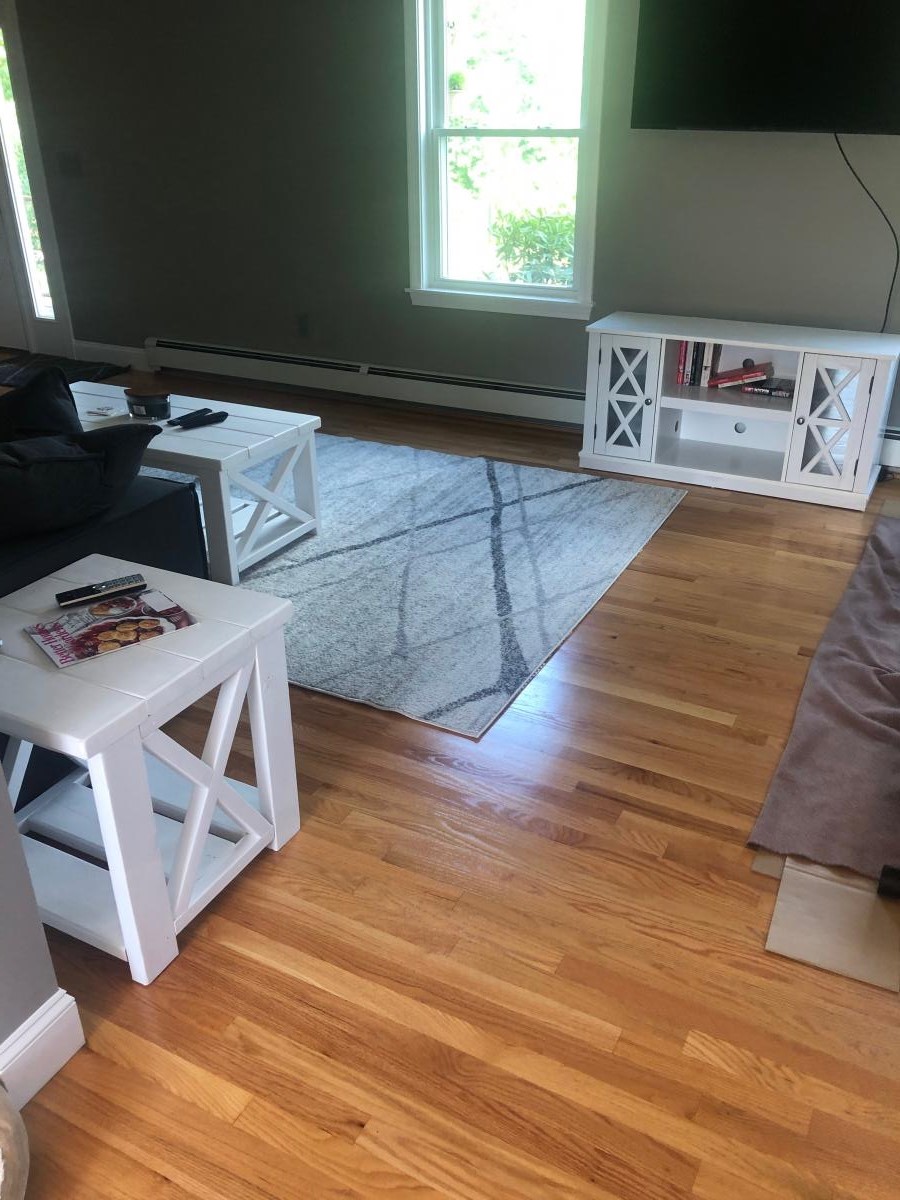
thank you for the commnets. The wall color is Distance by Sherwin Williams and thats funny you say that I have been thinking about changing it because it seems a little too dark
Hillary (not verified)
Wed, 08/15/2012 - 16:59
Gorgeous! Great work -- I
Gorgeous! Great work -- I love it!