Storage Coffee Table
Built this gorgeous table from Ana’s plan. Had to build two more for my grands.
Debbie Cutts
Built from Plan(s)
Built this gorgeous table from Ana’s plan. Had to build two more for my grands.
Debbie Cutts
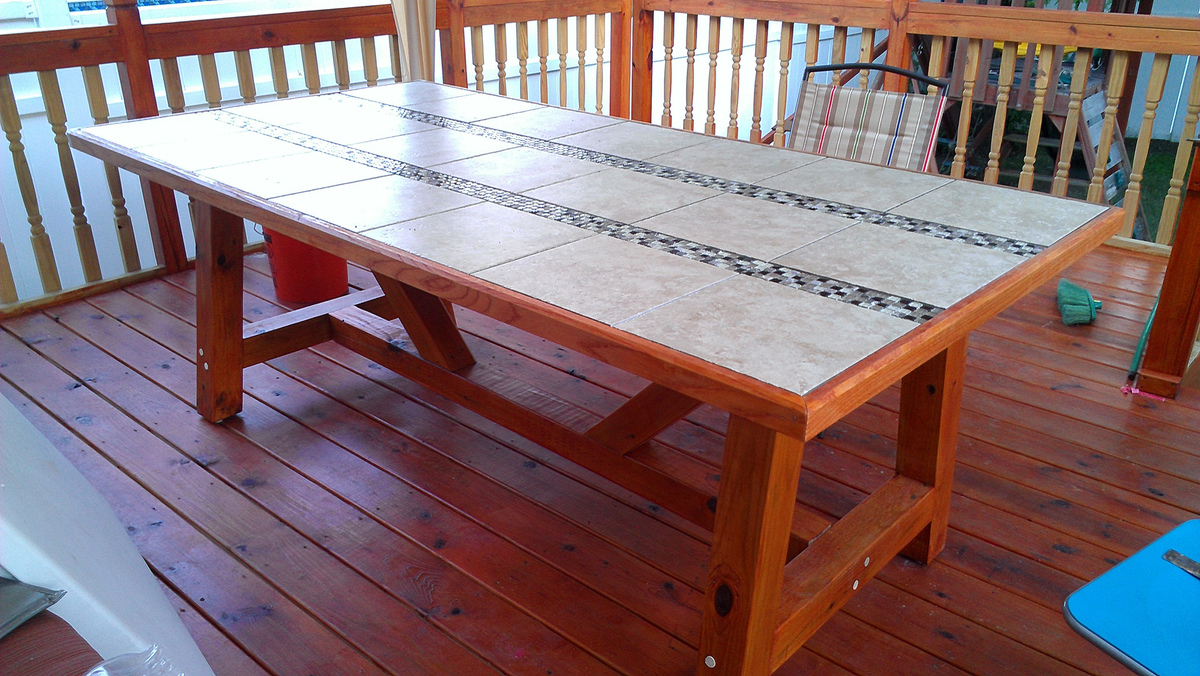
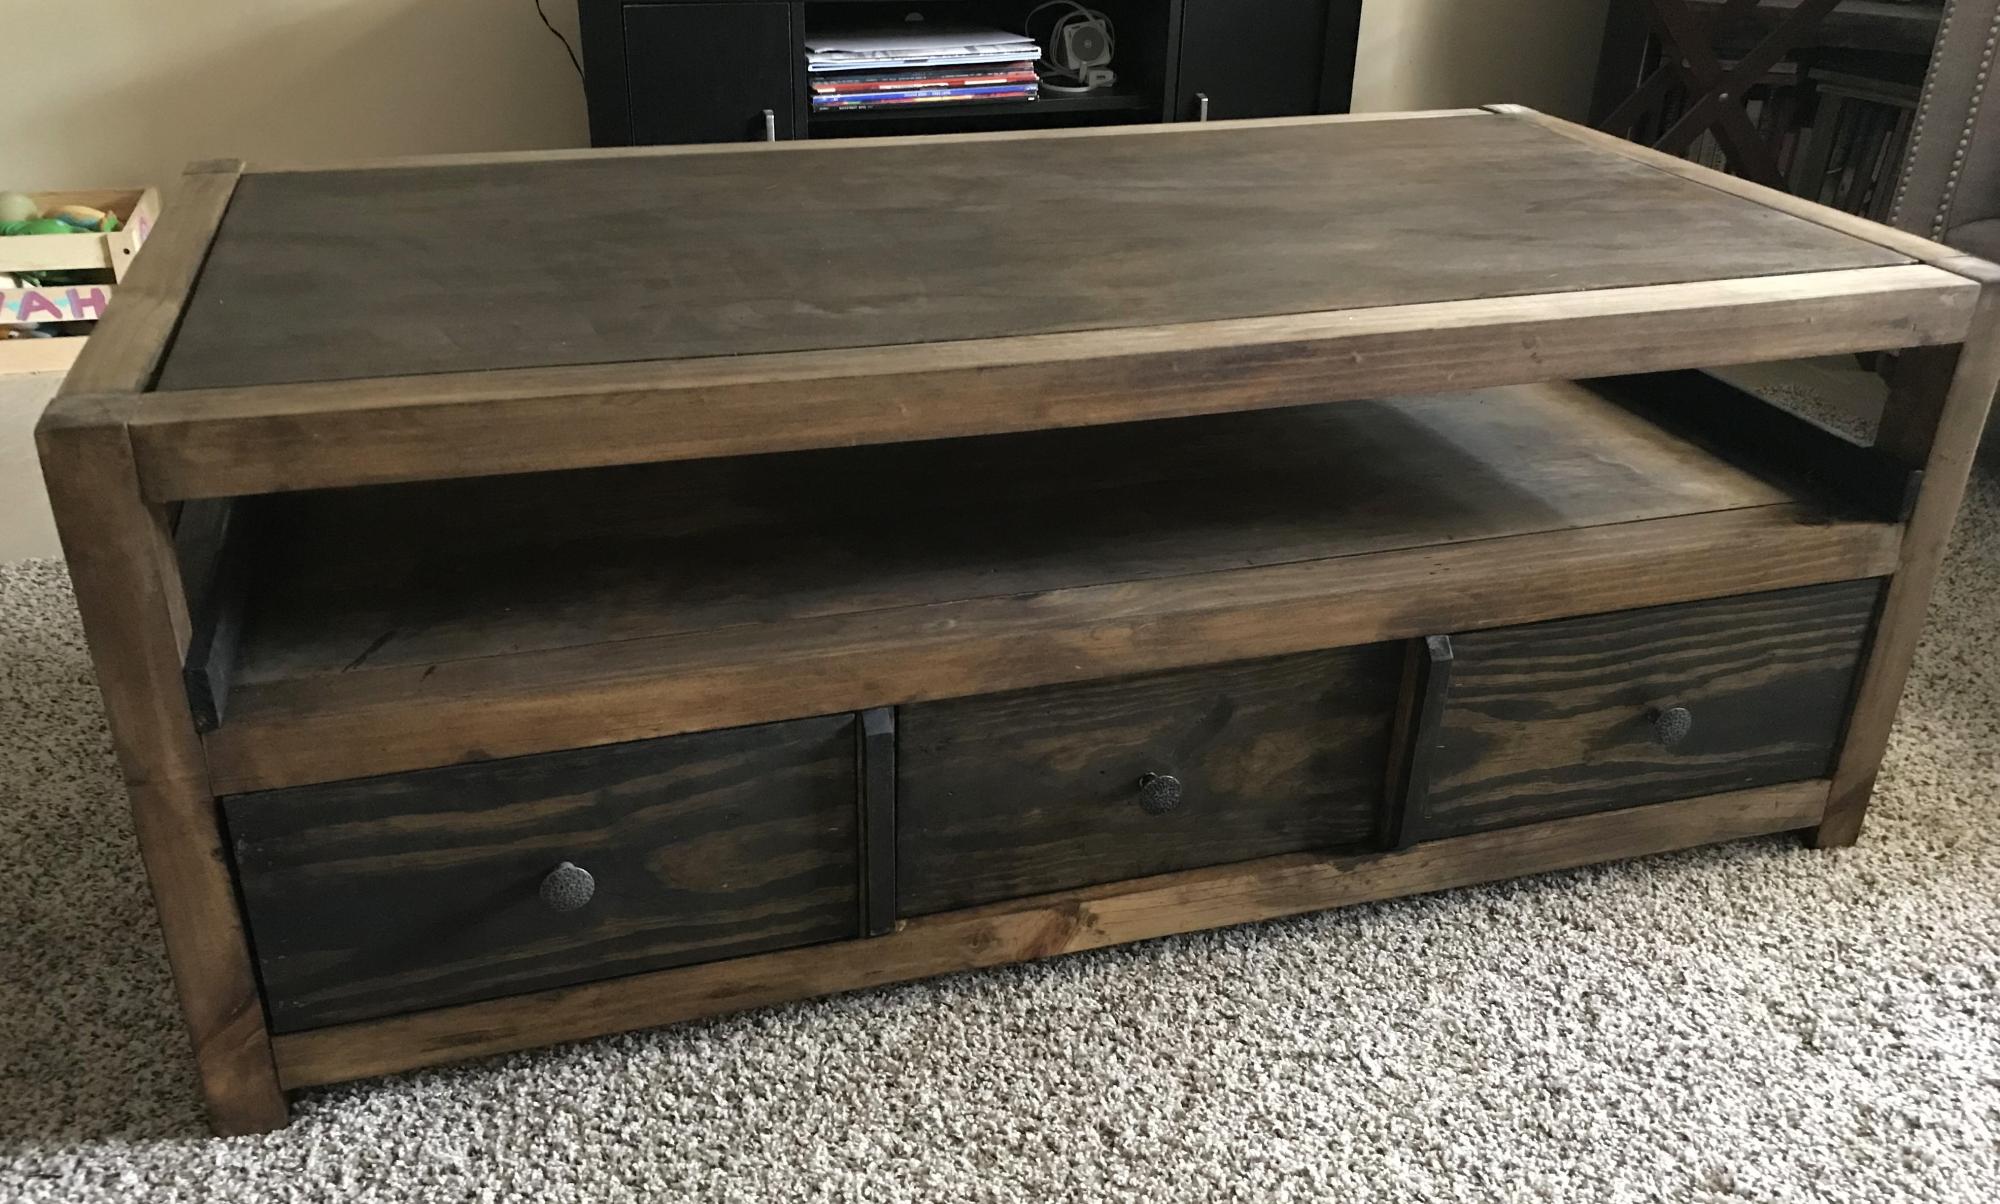
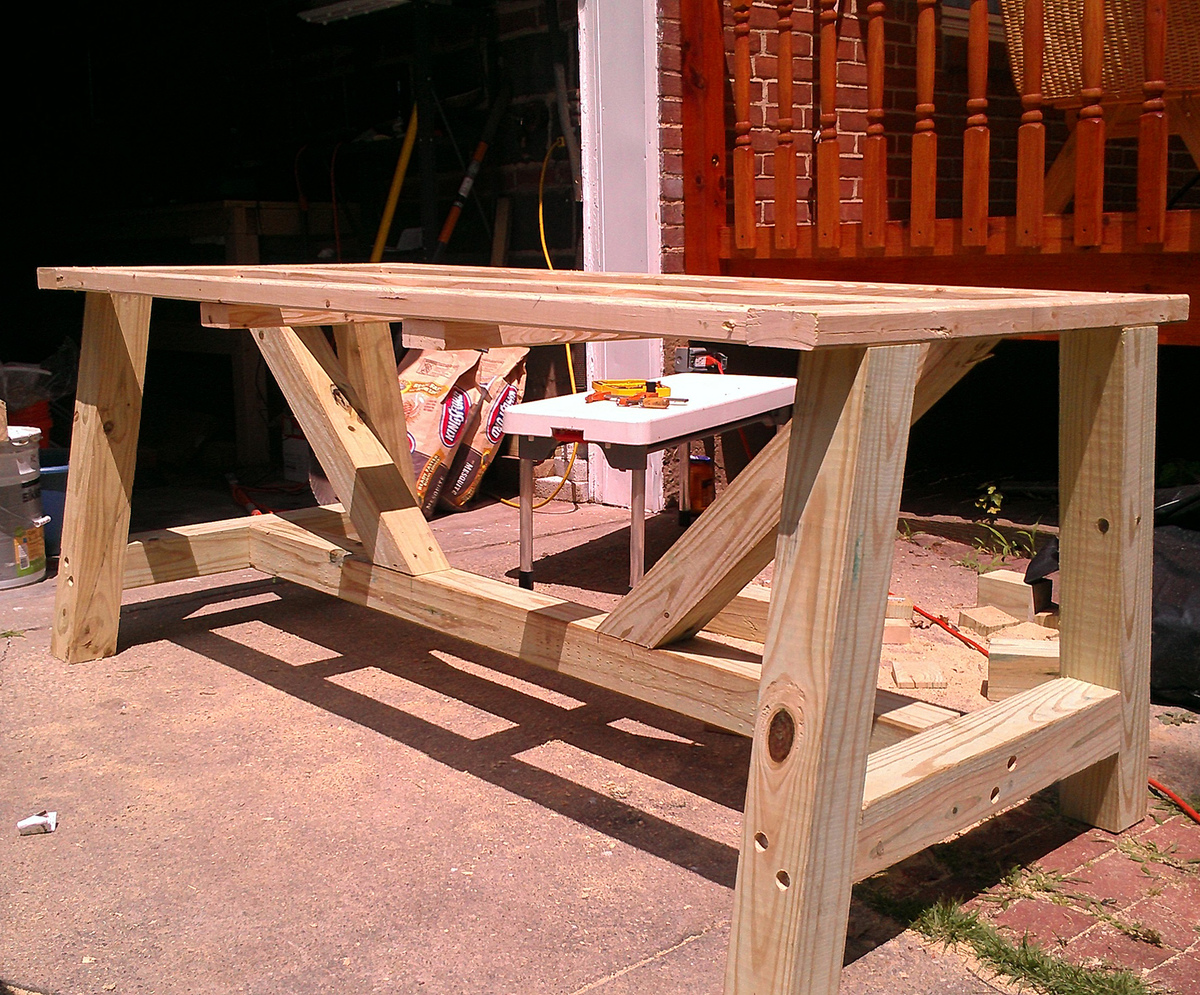
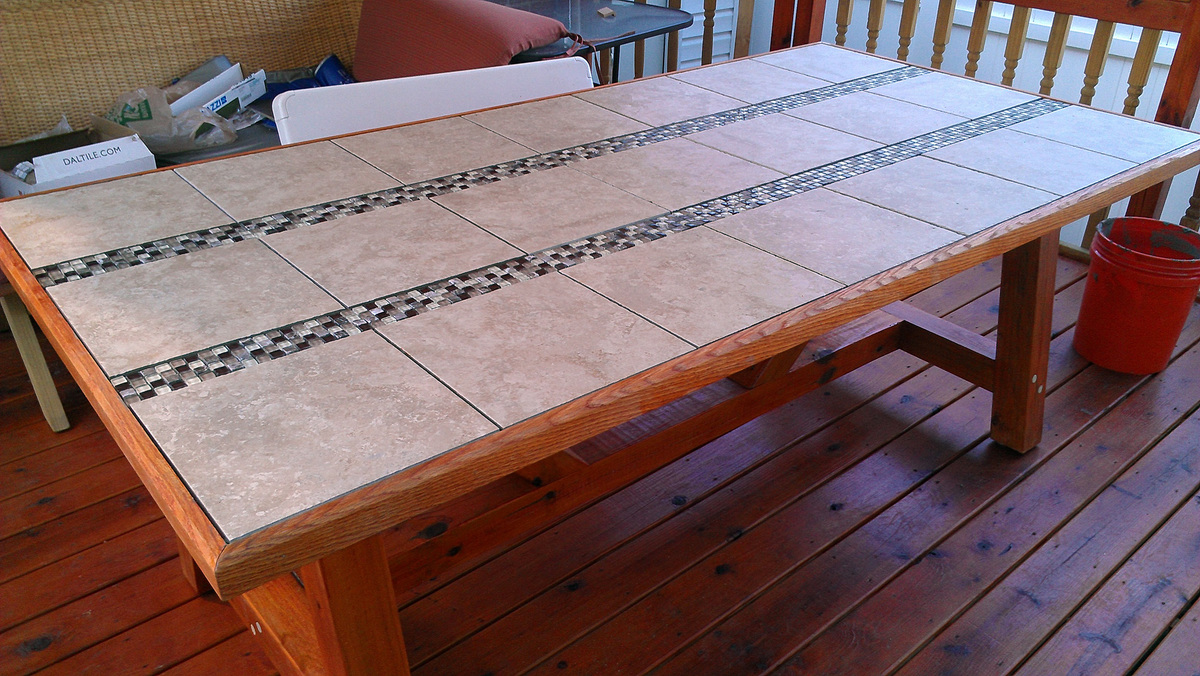
Wanted a nice big table, but couldn't find one in local stores. Decided to build one after seeing a small tiled table at Home Depot. This is my first project like this. I am a network engineer not a carpenter, but the table turned out great.

Thu, 06/28/2012 - 17:49
could'a fooled me! The table looks amazing!
Fri, 06/29/2012 - 06:14
This is my first ever project like this... but I just found out that I like doing this kind of stuff.
Already have some more ideas in mind, and once the weather cools down from the upper 90's we are having right now, I will probably do many more projects.
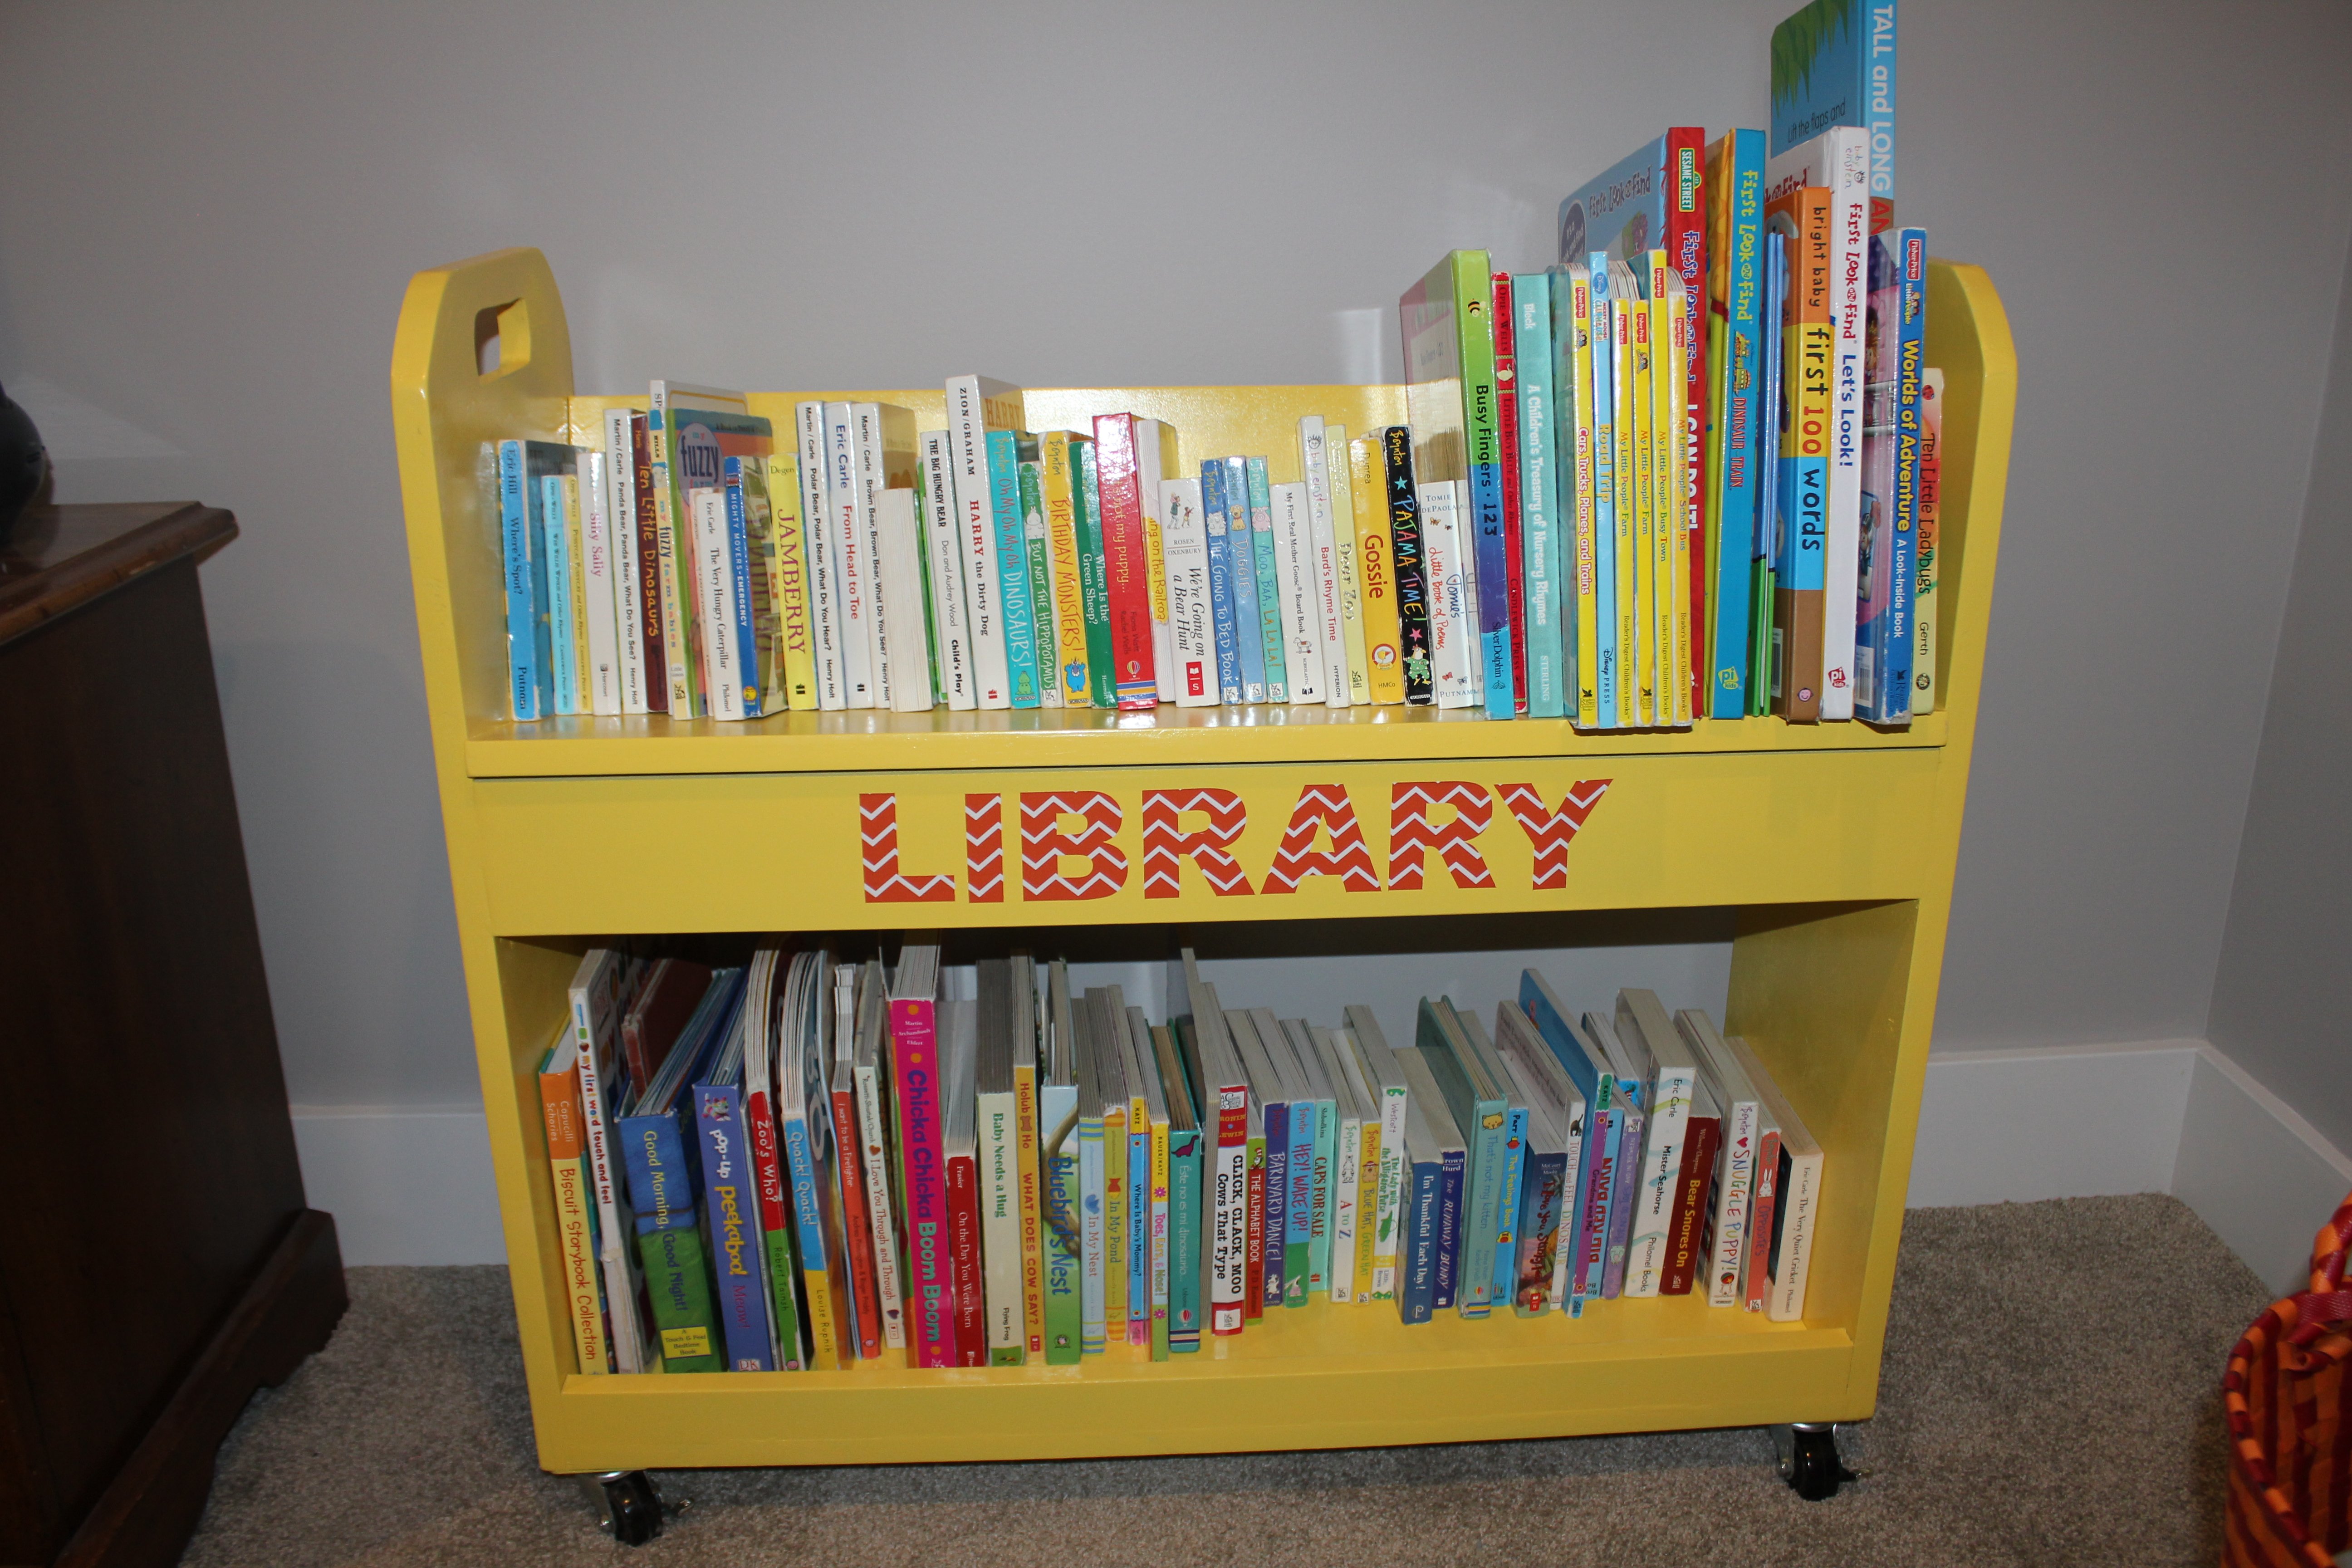
This was one of my first woodworking projects I completed with limited help from my handy husband. And the first time I used a jigsaw (to cut out the handles). I used mostly scrap MDF we had leftover from other projects - only purchasing one additional sheet of MDF for around $12. The MDF worked ok, but I did have some trouble with splitting when screwing it all together and screwing the castors on. Used our Kreg Jig where it made sense.
As a beginner, this project took me somewhere in the neighborhood of 16 hours over the span of a couple weeks. Cost was approximately $50 - including the MDF (but I used mostly scrap we had on hand), spray primer and paint, castors, and "Library" decal.
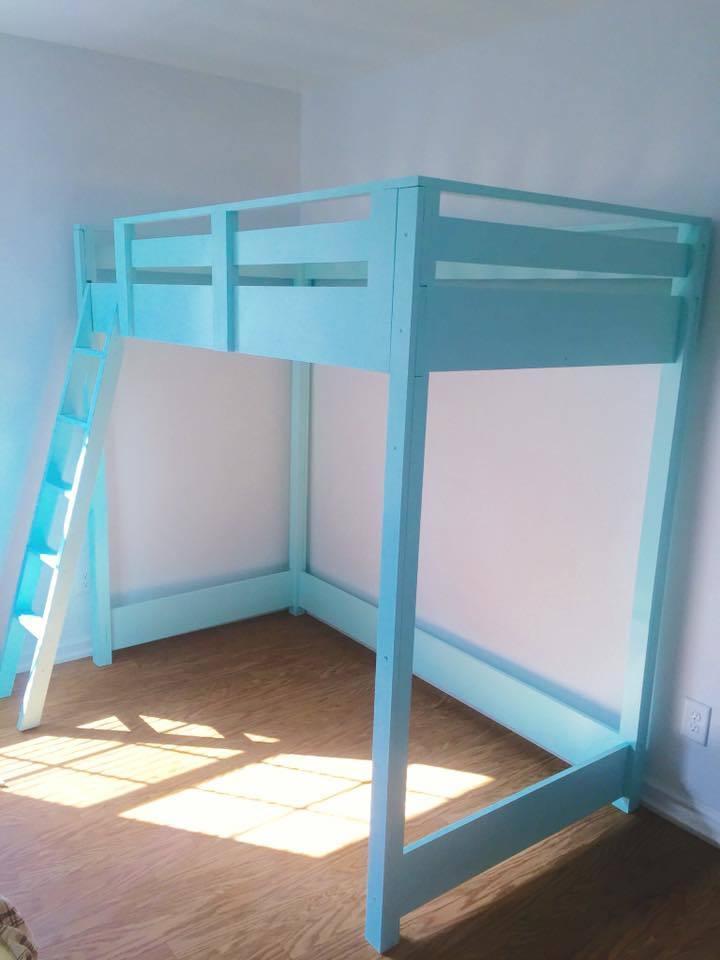
Those angles on the ladder are challenging. This is our first time building any furniture. Thak you Ana W
Thank you for the inspiration. In Australia I could not get the same size timber so needed to trim the sides. Next time will create the main frame and use it as a template. Made my own wheels, lock nut (also super glued) to ensure nut does not come off with little ones.
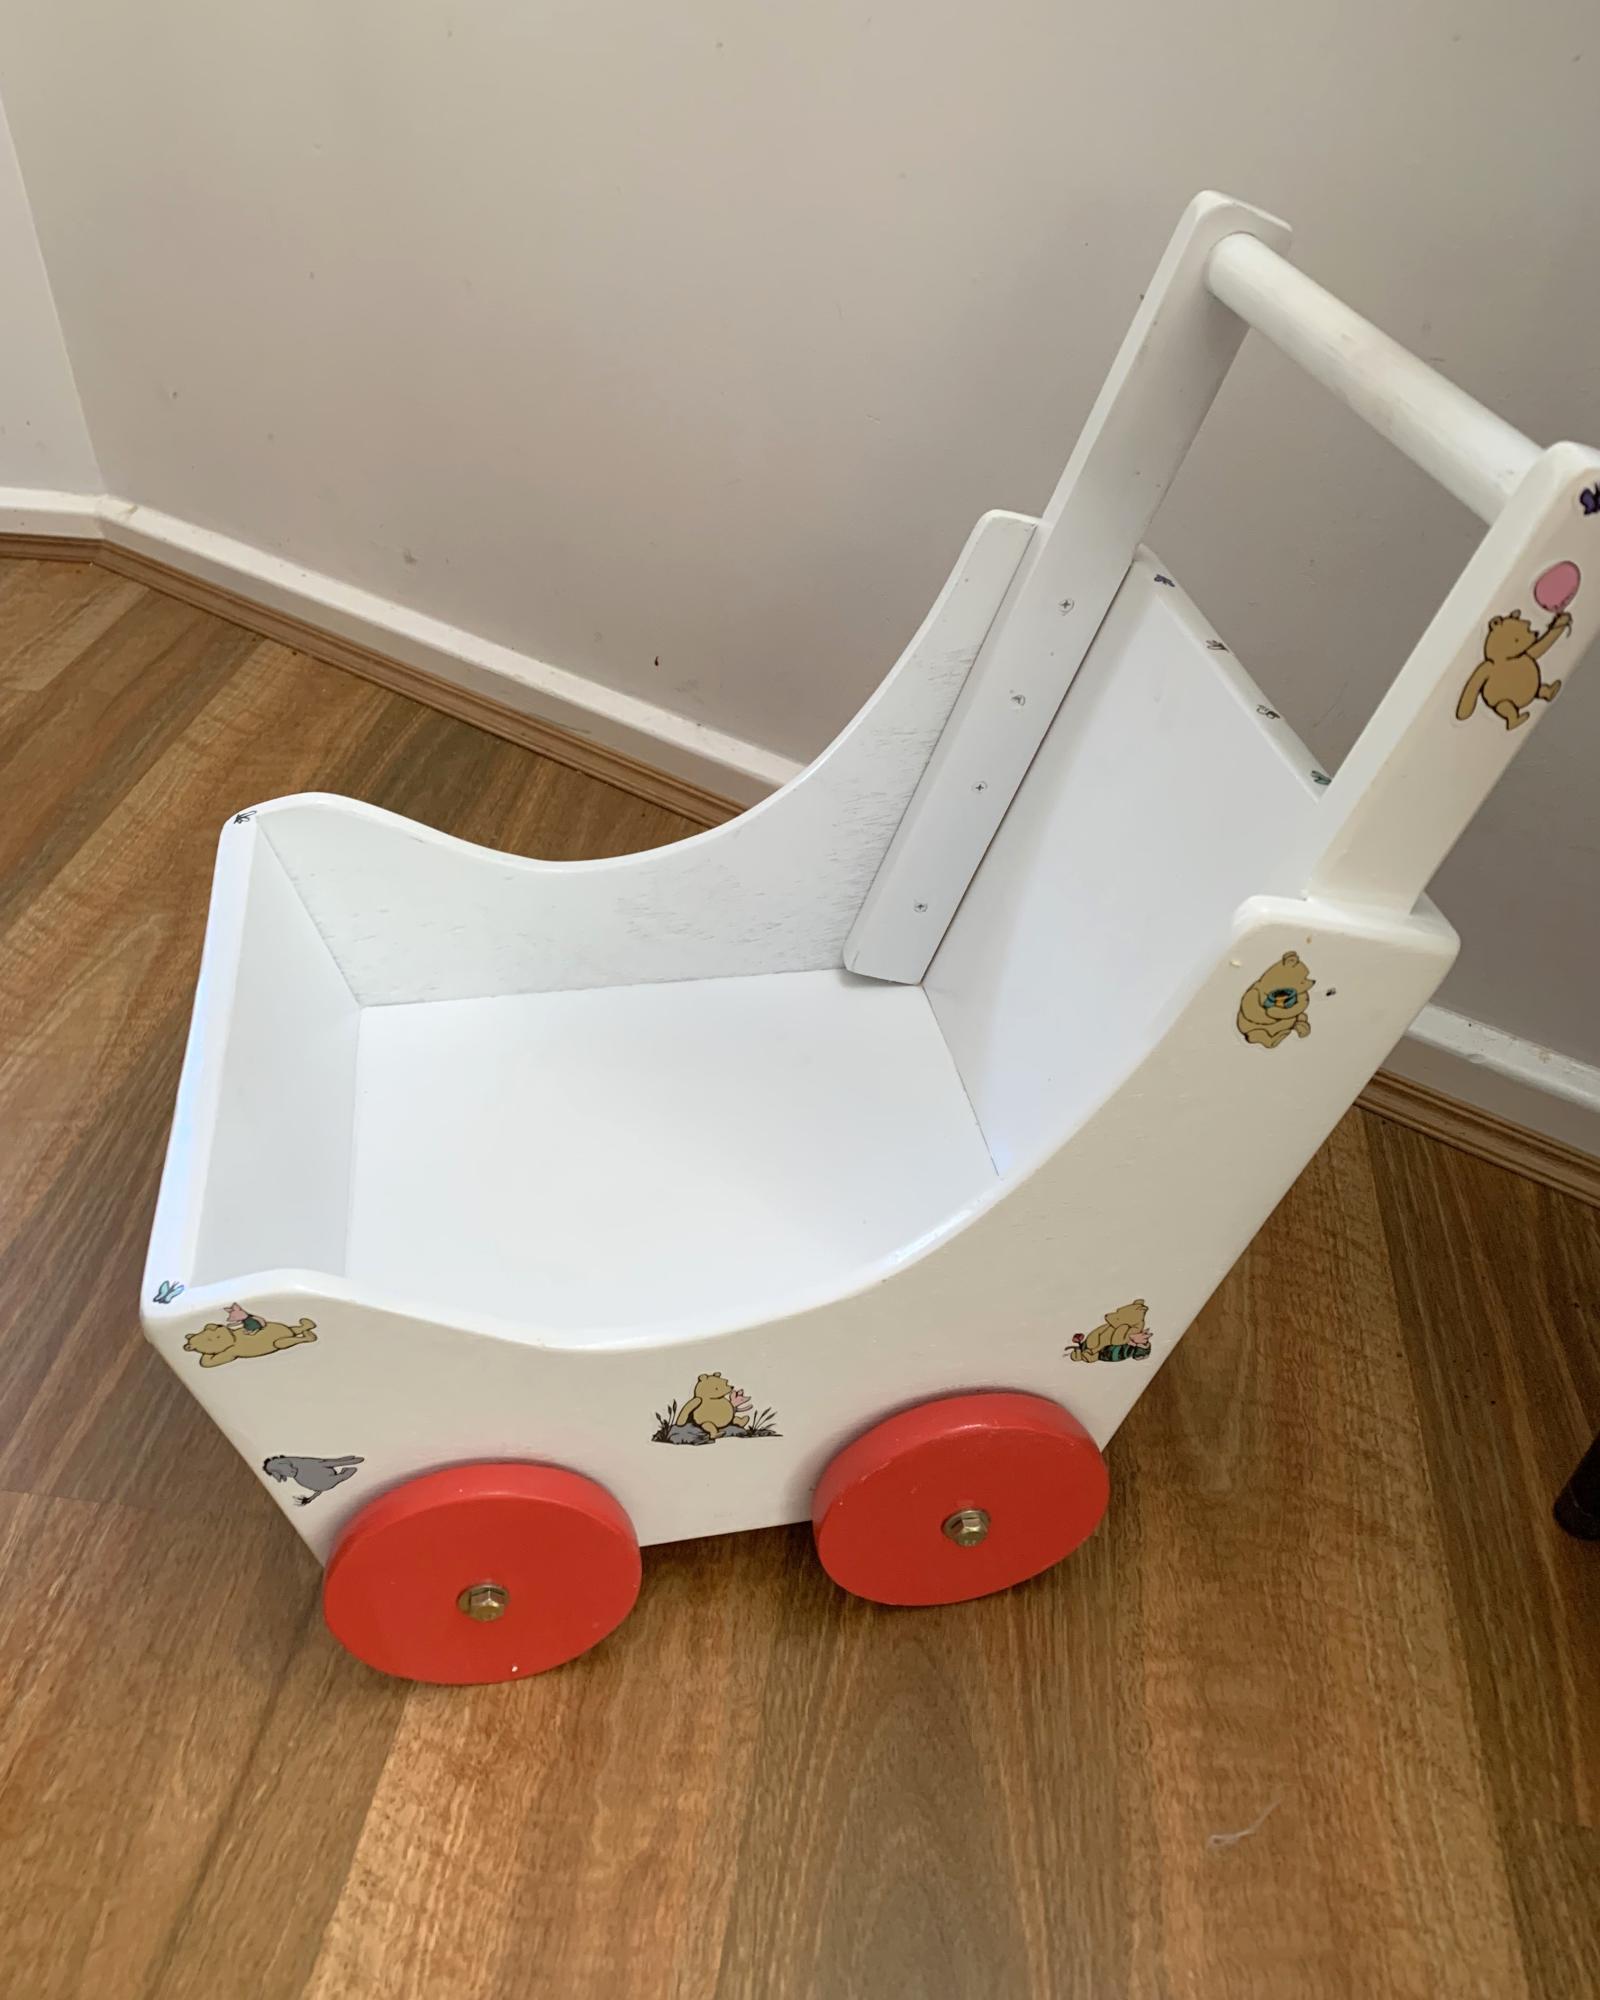
For my granddaughter and finished with Winnie the Pooh stickers.
Lawrie Kirk
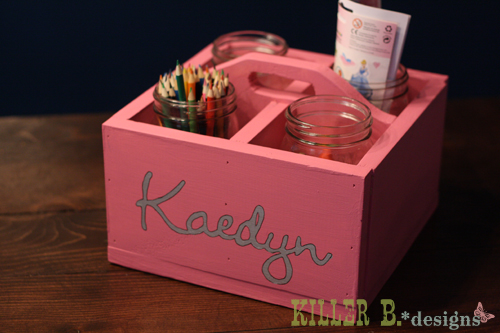
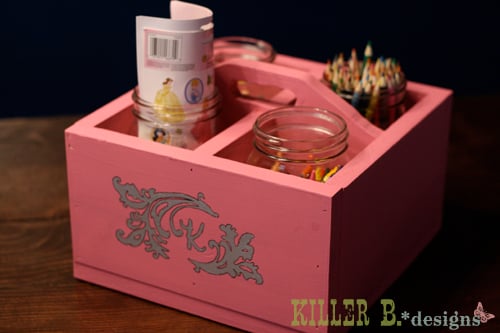
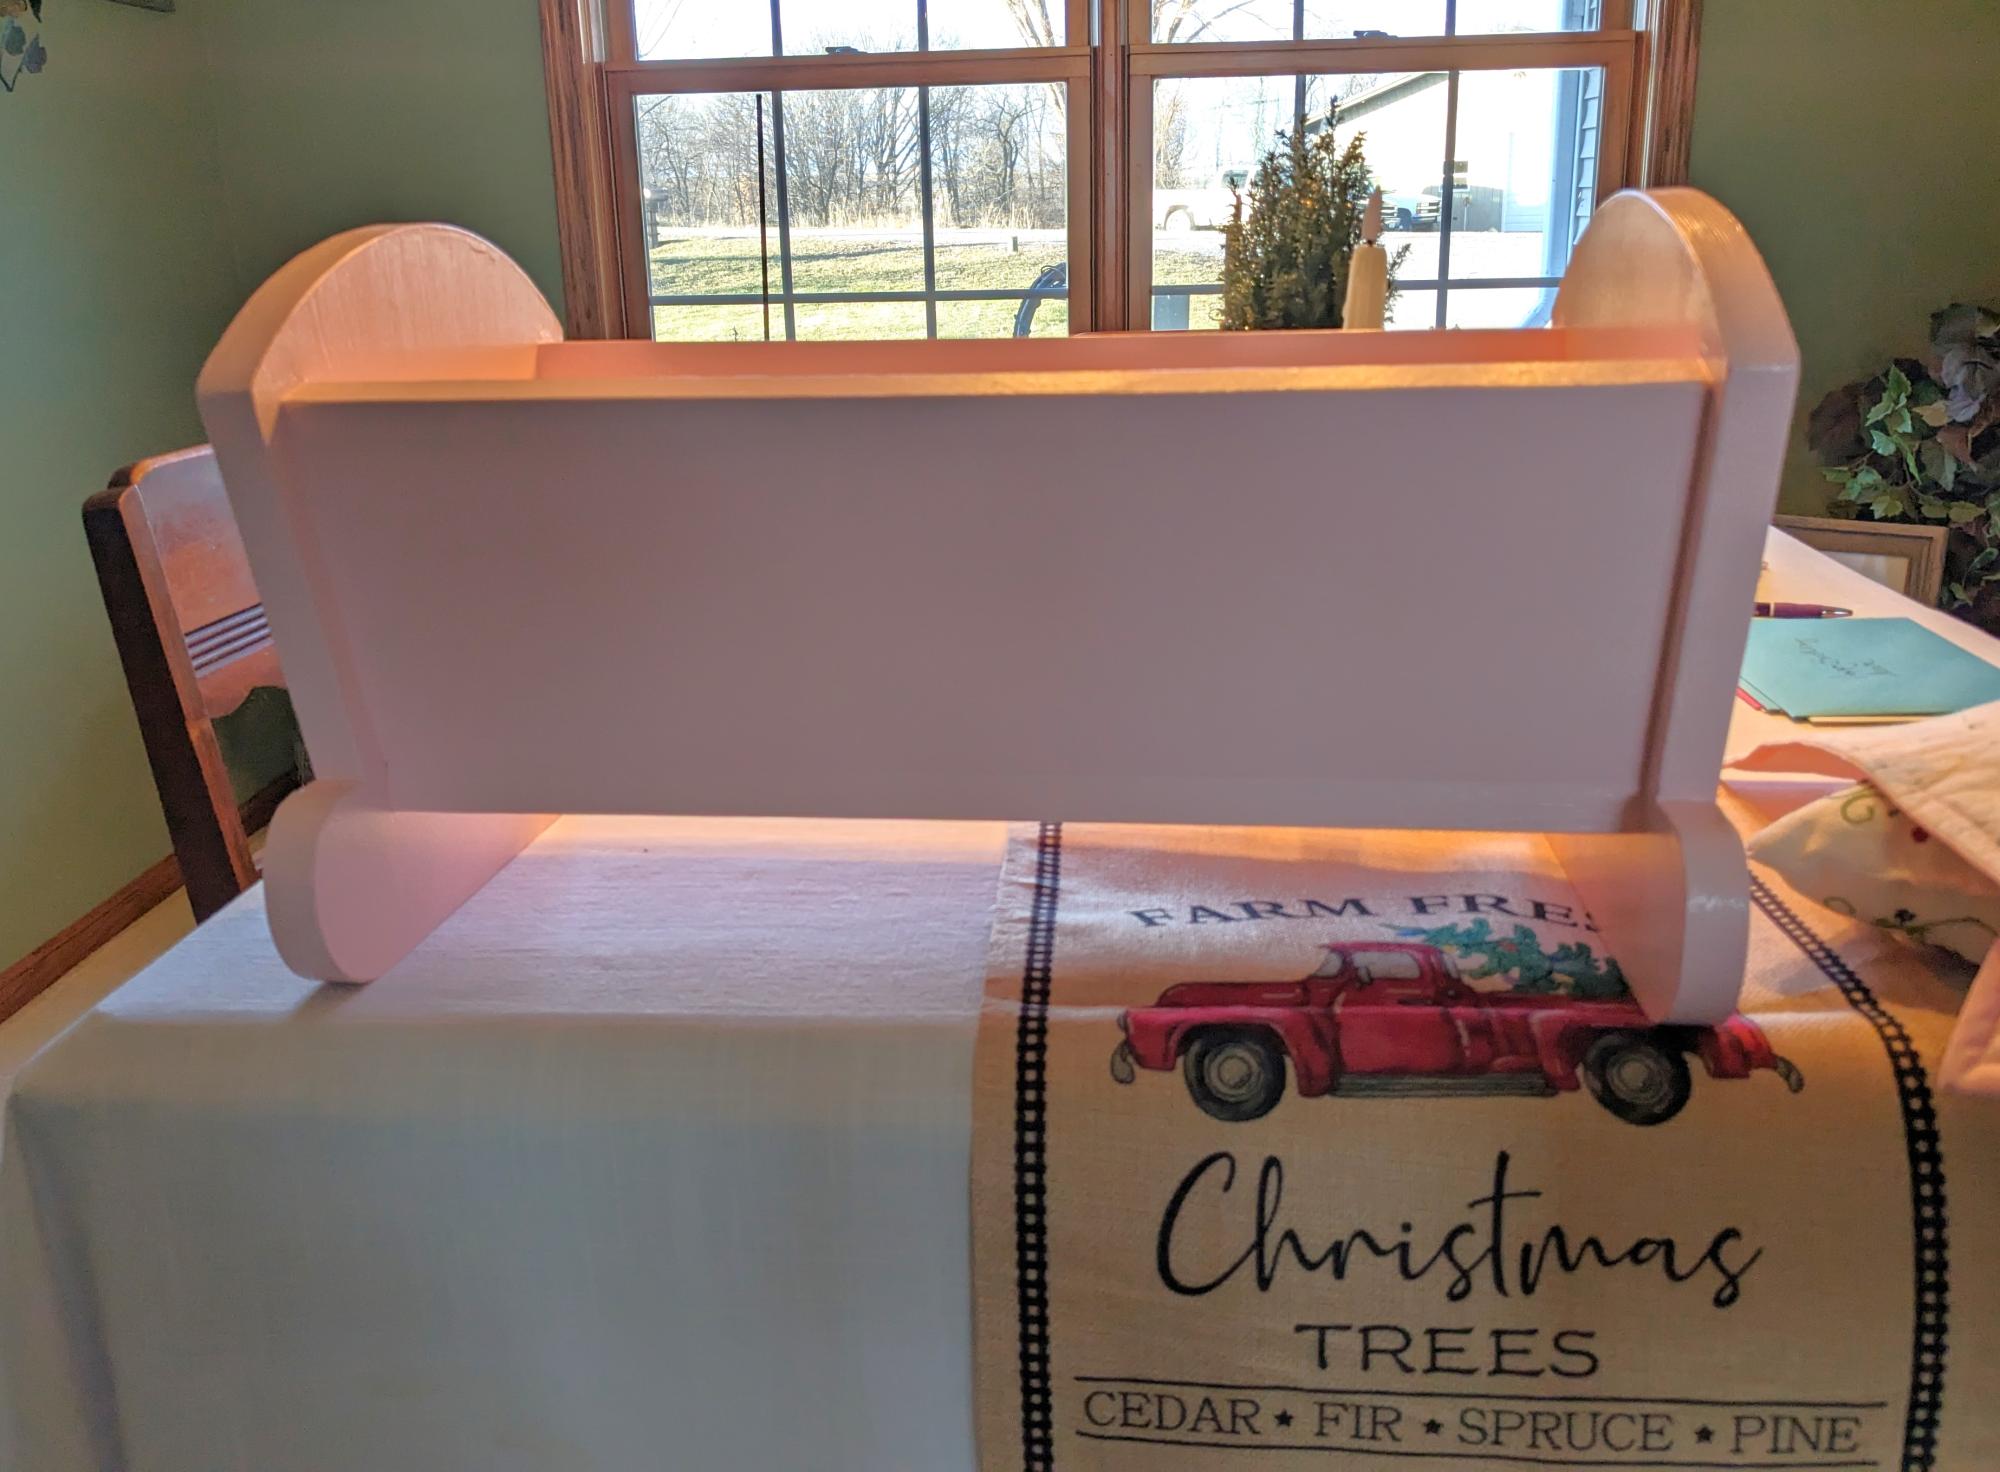
I built this caddy to celebrate a 4th birthday party for a sweet little girl. I used pine scraps, painted it with some leftover pink paint, and then created some name artwork and a little logo with her initial. I made the art on my computer (in Adobe Illustrator) held up a piece of notebook paper to the screen and traced it with a pencil. Then I held it on my caddy and used a mechanical pencil with the lead down to press the indent into the wood. Filled that in with a silver paint pen and traced it with a fine tip black sharpie. Then filled each cubby with a large mason jar from Walmart (about 50 cents each) and filled them with art supplies. It turned out so cute! And it's a great way to use up some scraps.

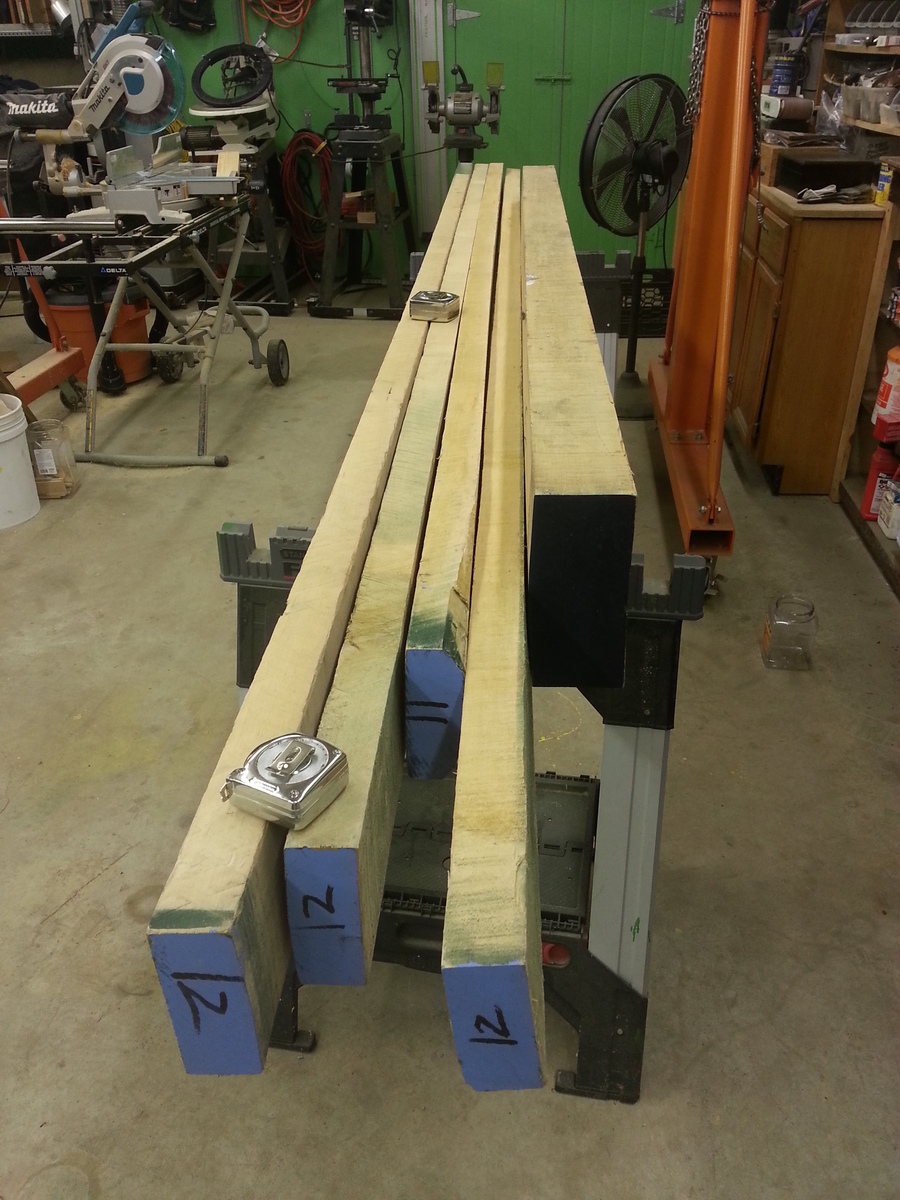
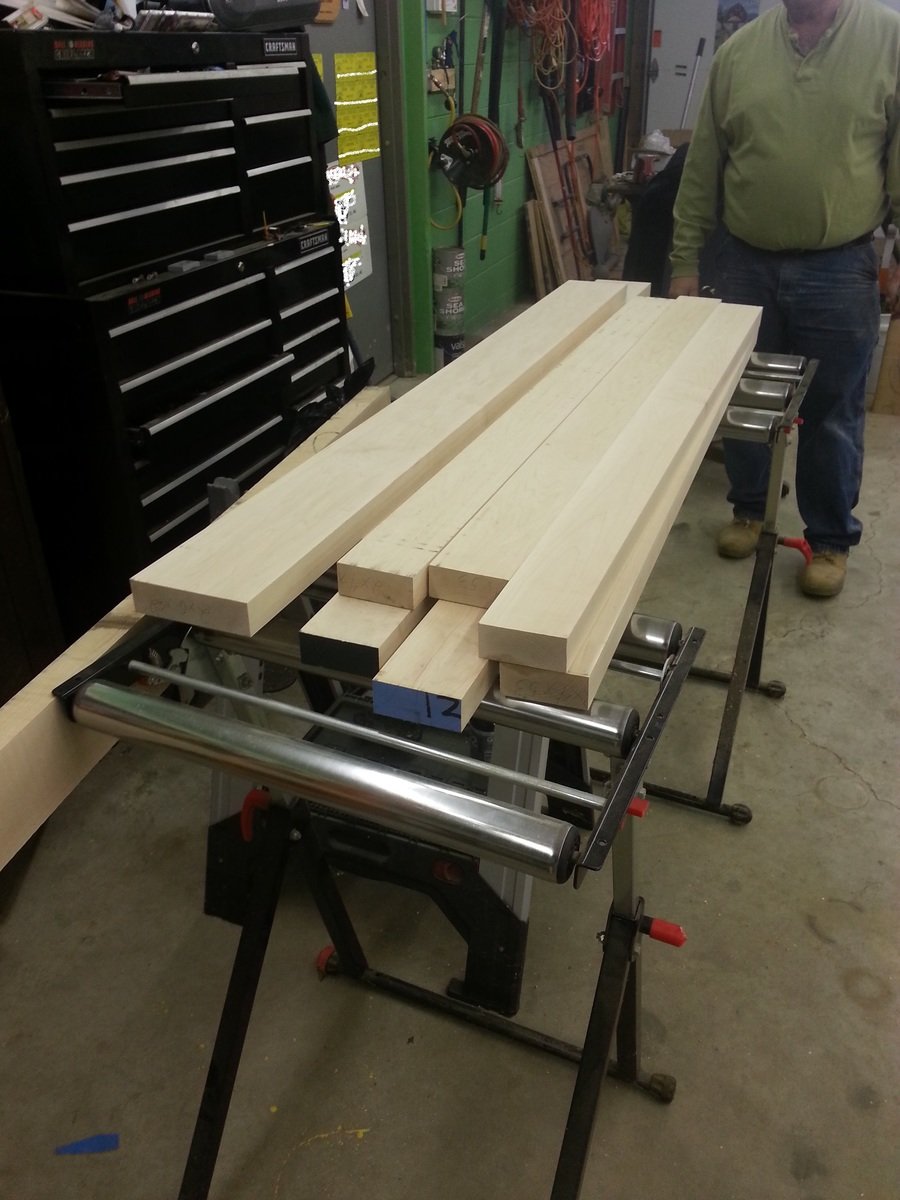
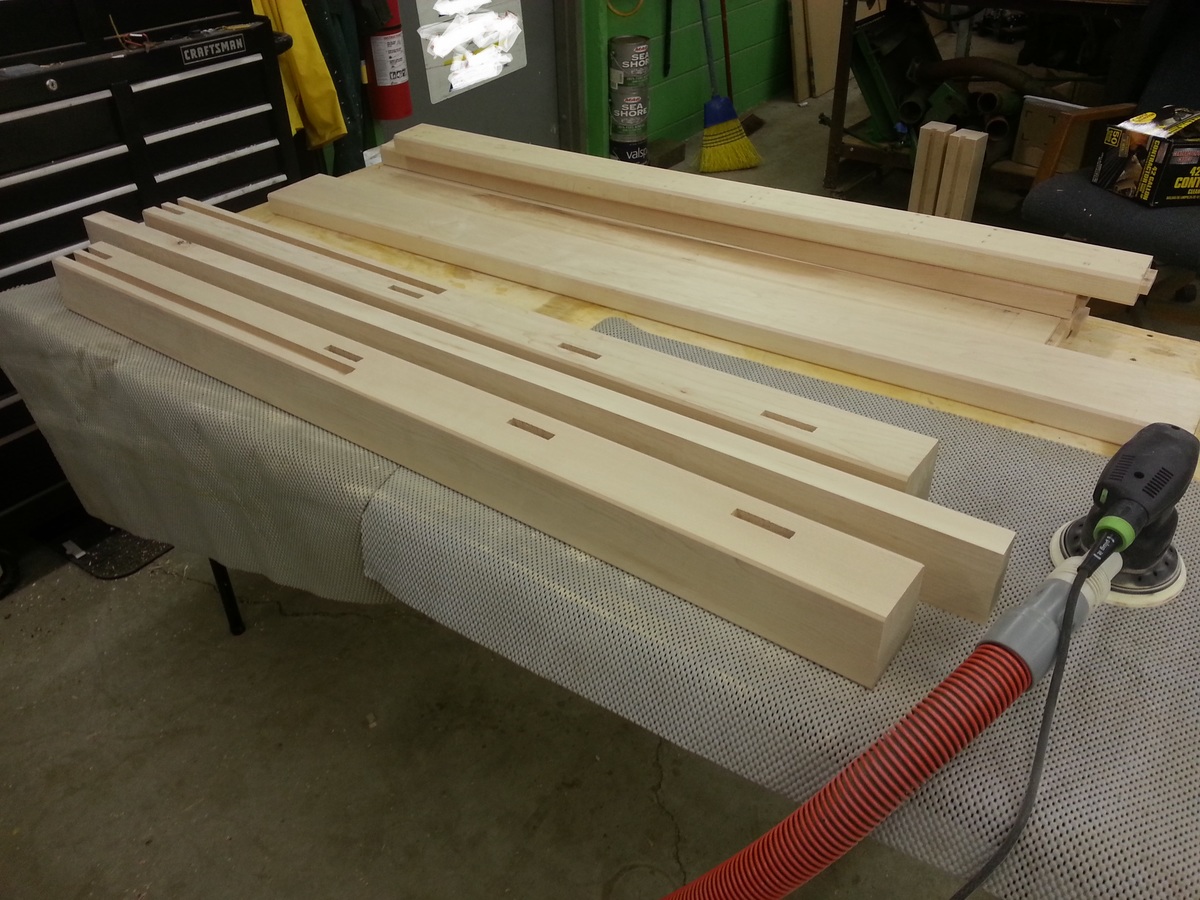
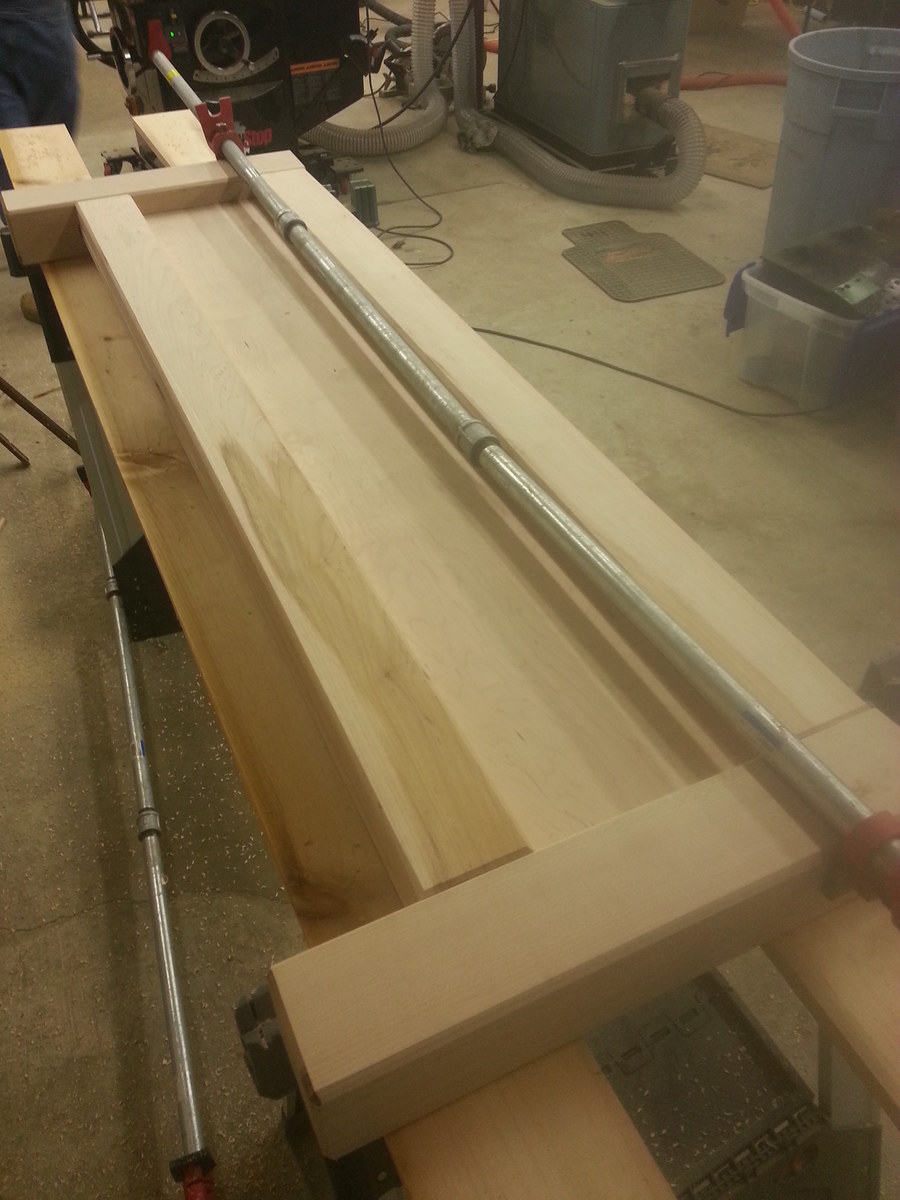
My Dad and I started with solid maple lumber. We altered the plan to use mortise and tendon joints and adjust drawer sizes to that night stands would not interfere with the drawers. Final product weighs about 500lbs.
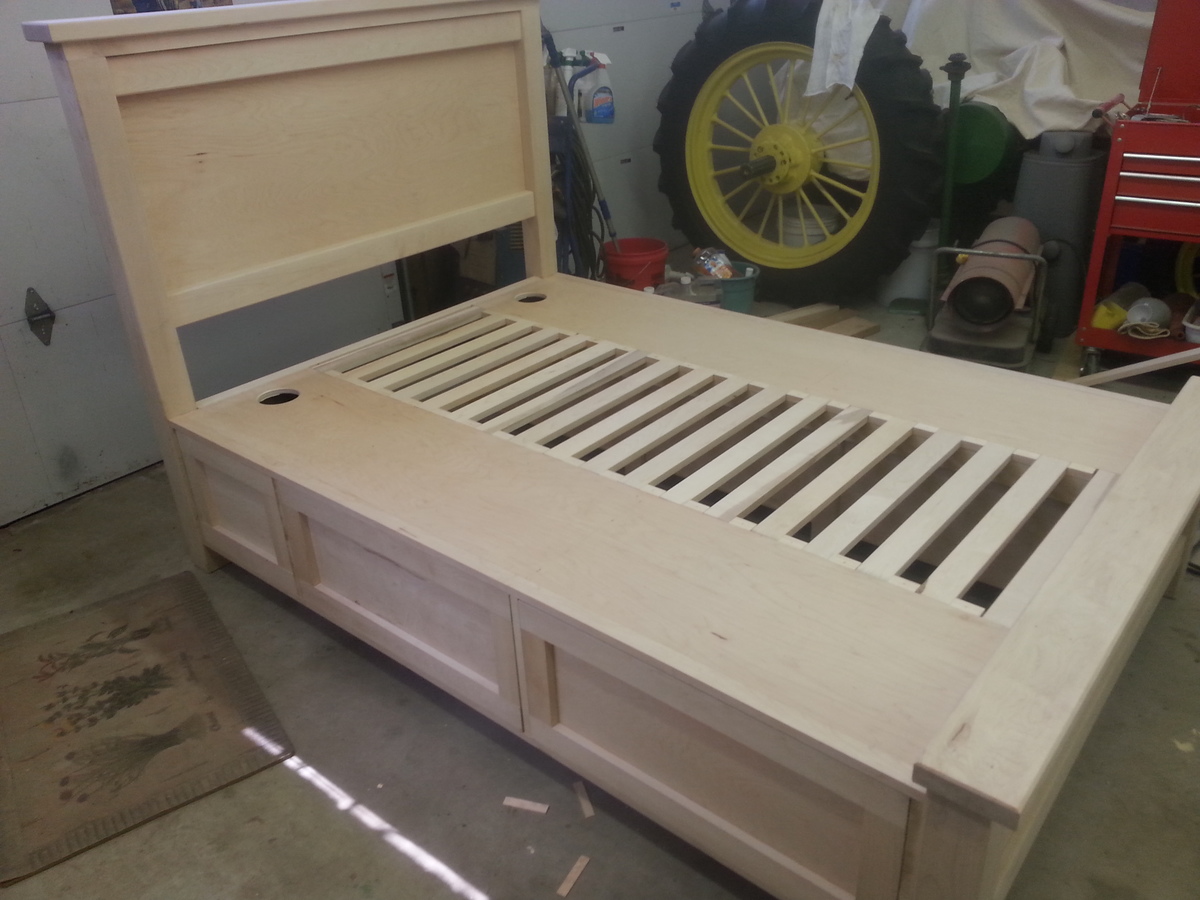
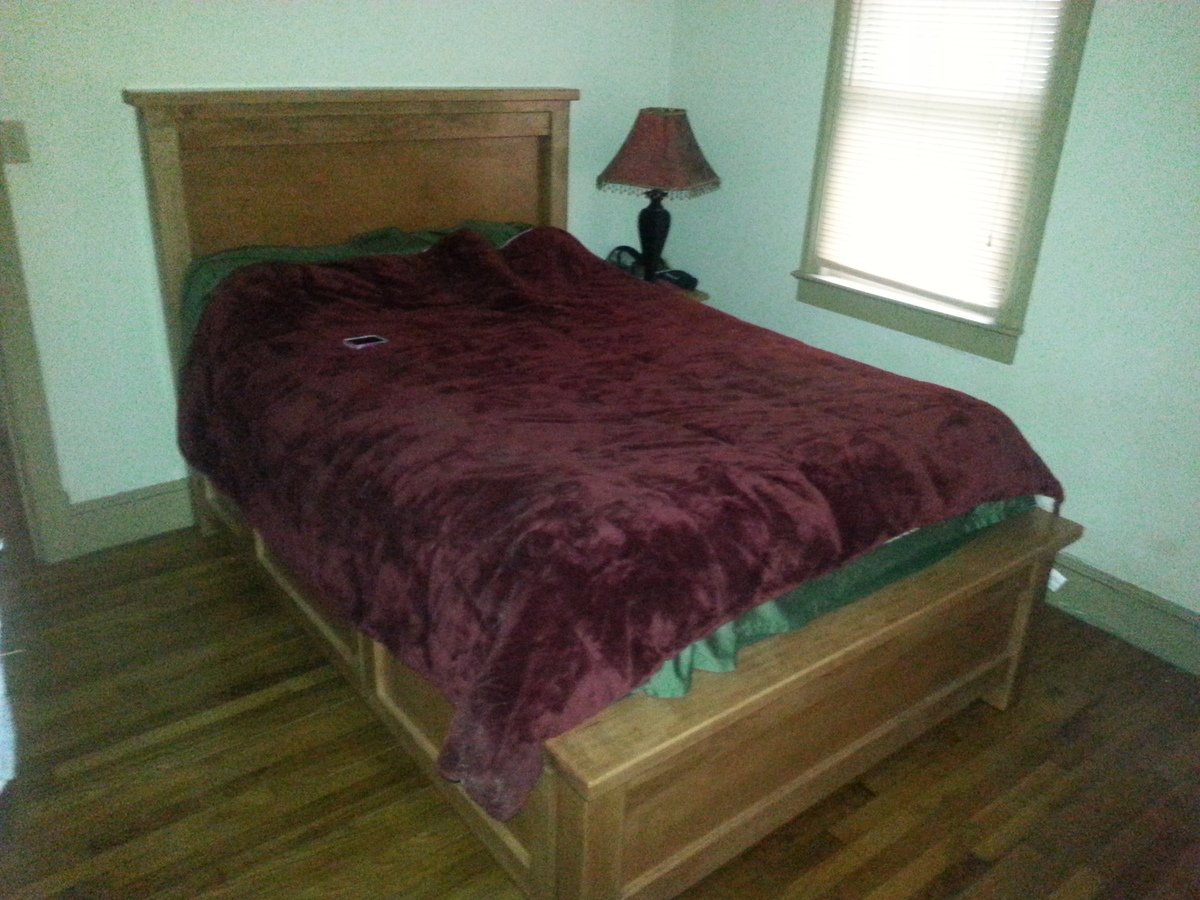
This was my first time building something like this. I used reclaimed wood from my wife's family farm and decided to use thinner materials. I'm very pleased with the results.
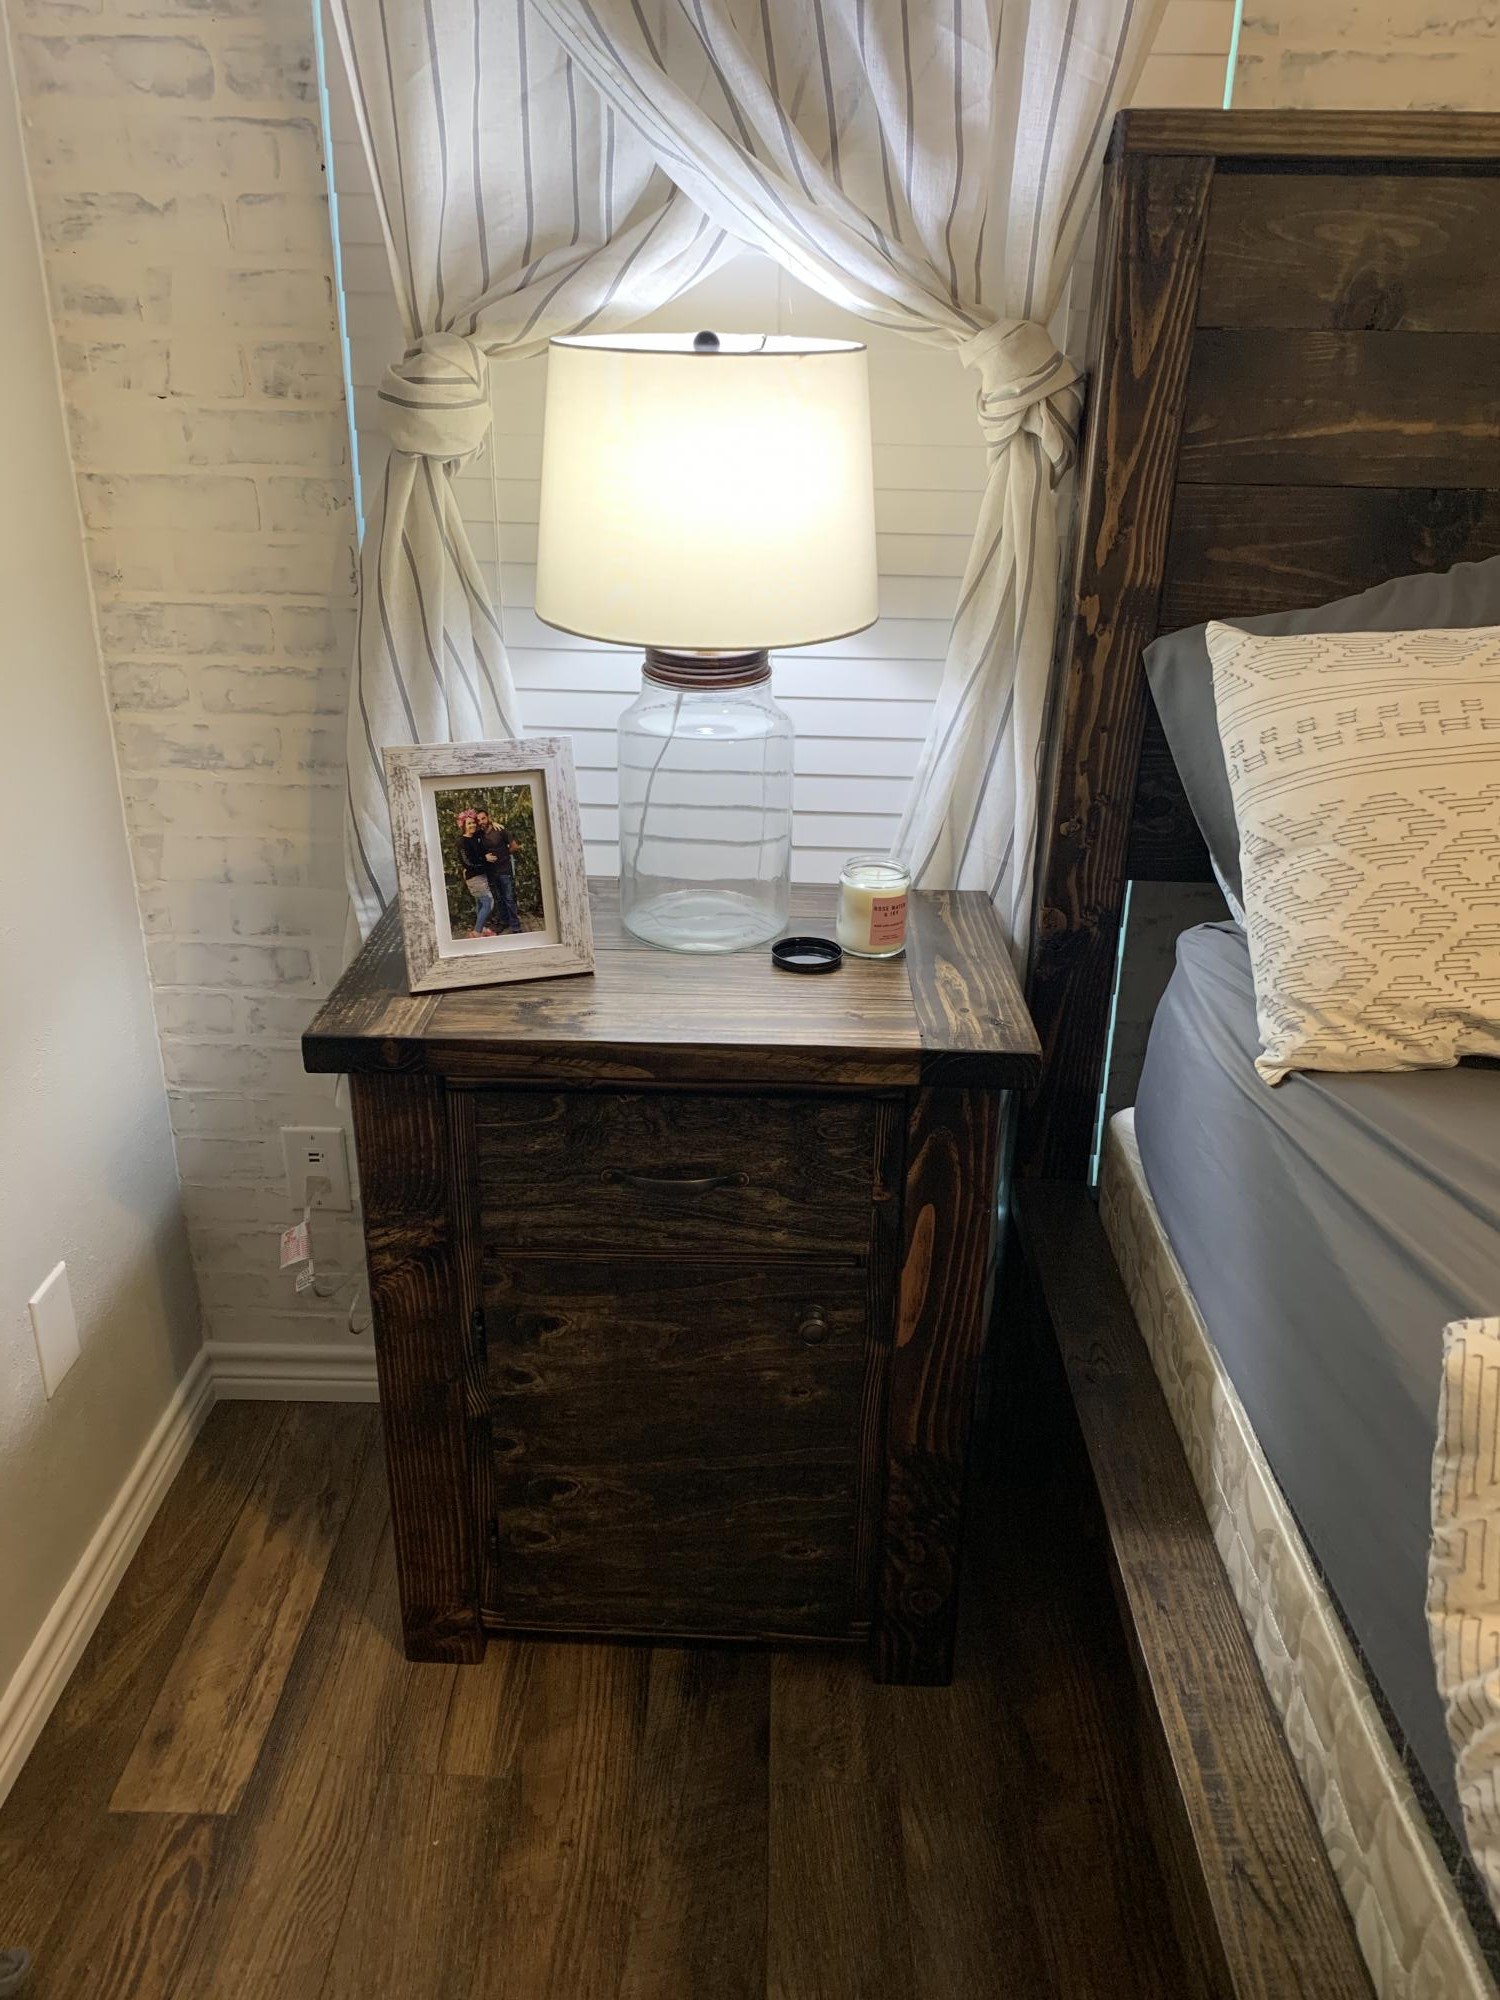
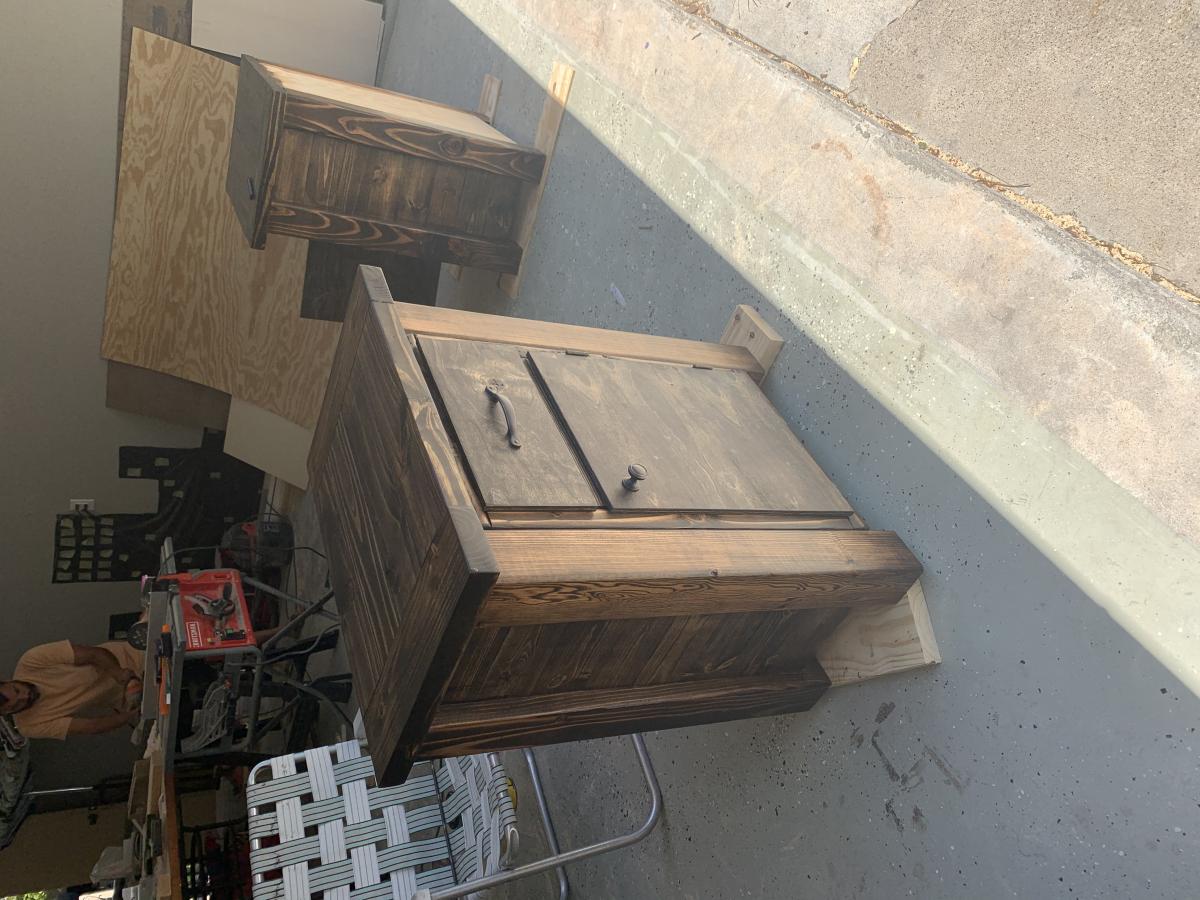
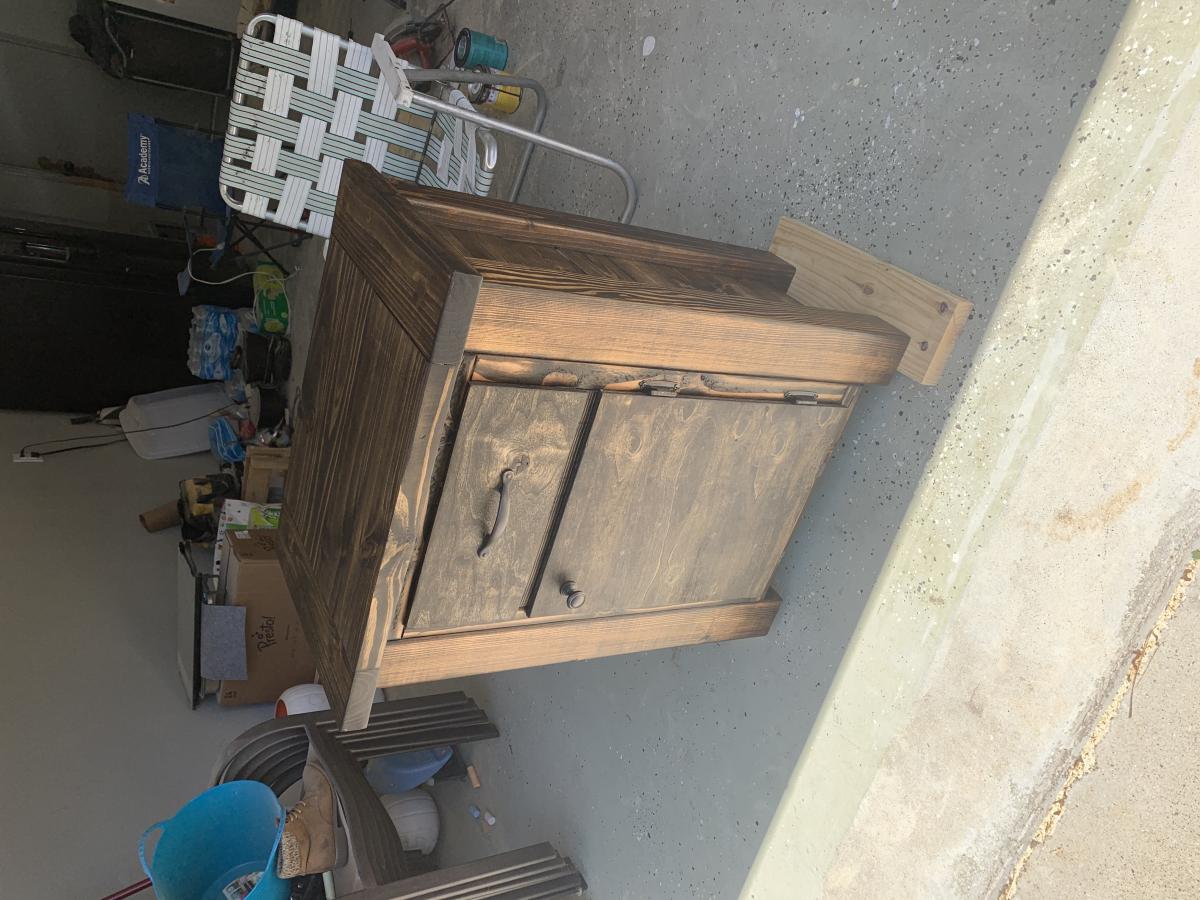
We built the Modern Farmhouse Bed Frame, but wanted matching nightstands. Since we made the bed frame taller than the original plans, we needed taller nightstands. I also wanted a drawer and cabinet in the nightstand. We used the same panel pattern as the headboard for the side of the nightstands, and we used 4x4’s as the corners. We used euro sliders for the drawers. We used Minwax - Dark Walnut and Polycrylic in Clear Matte to finish the pieces. The nighstands dimensions are 32” in height, 26” wide, and 17” (top edge to edge) deep. They turned out amazing!
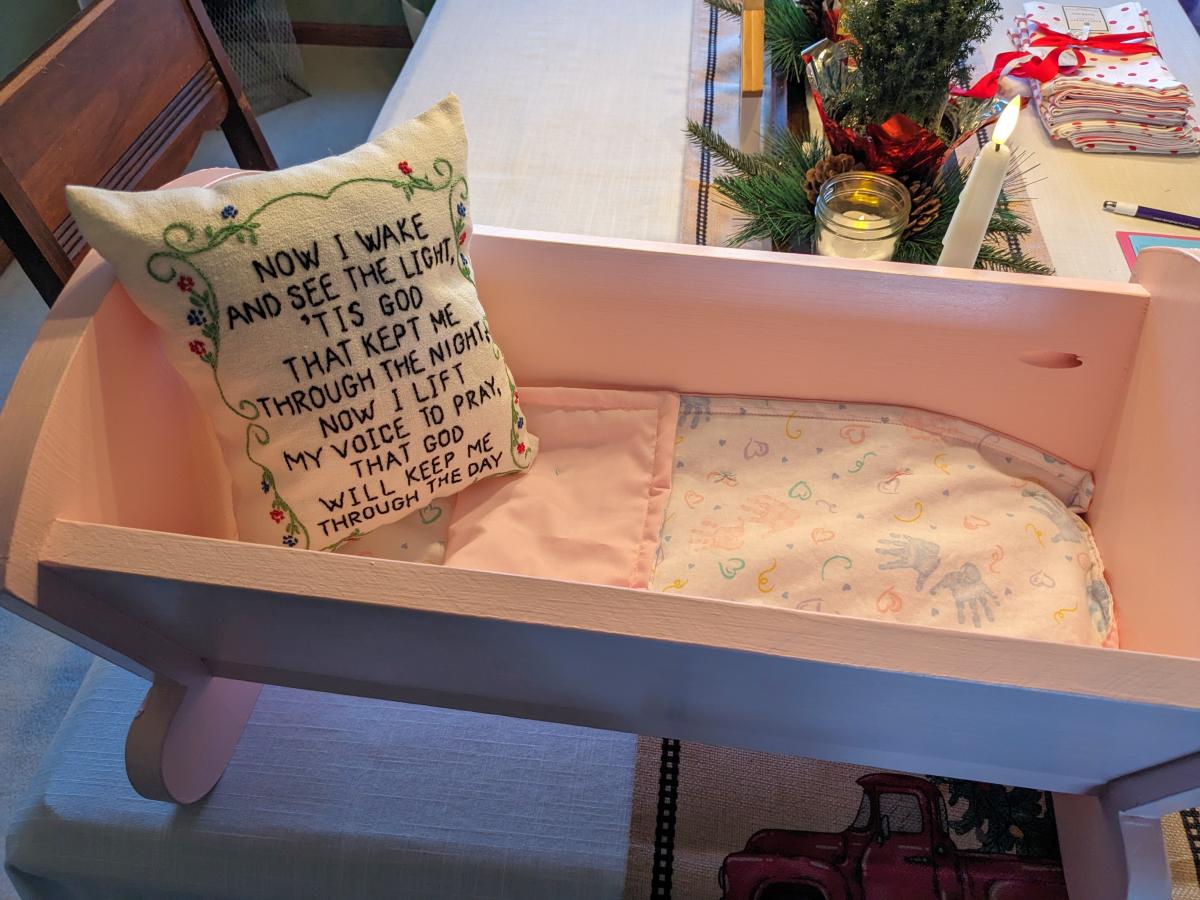
I am not a carpenter by any means, but my husband is. And I wanted to make something very special for my 2 year old granddaughter, and found your plans for this doll cradle. I took a piece of foam and covered it and then sewed a fitted sheet and made a little blanket from material I got after my mother passed away. She did the embroidery work, so I made the pillow.
Carol

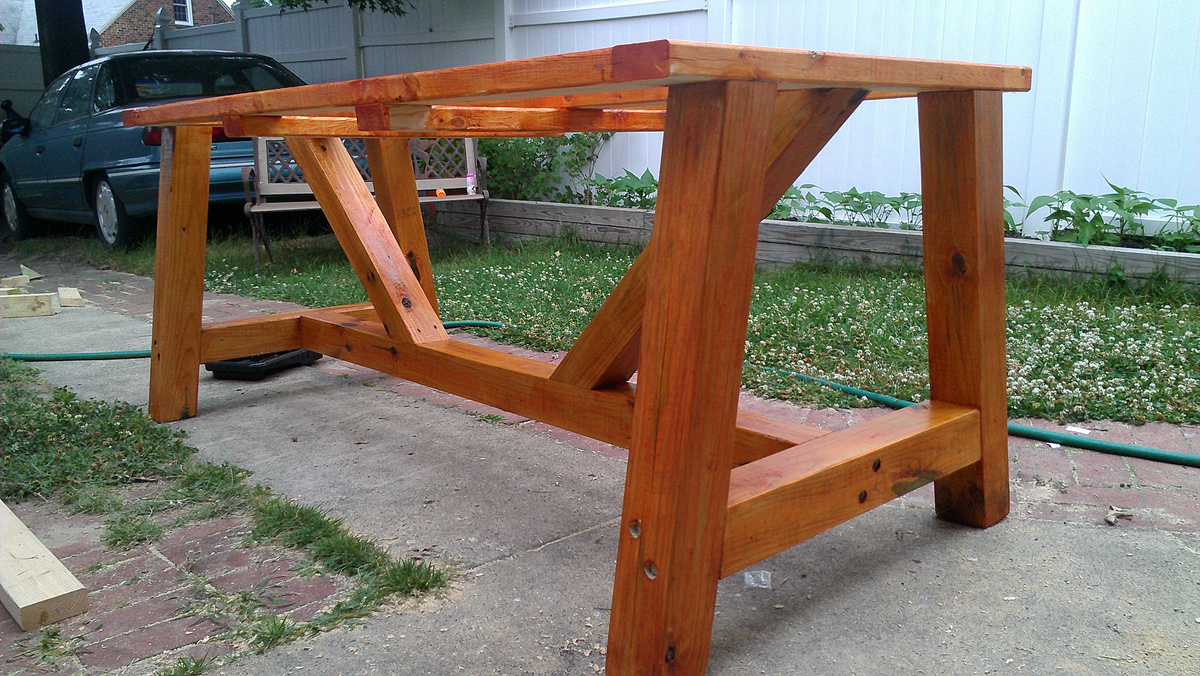
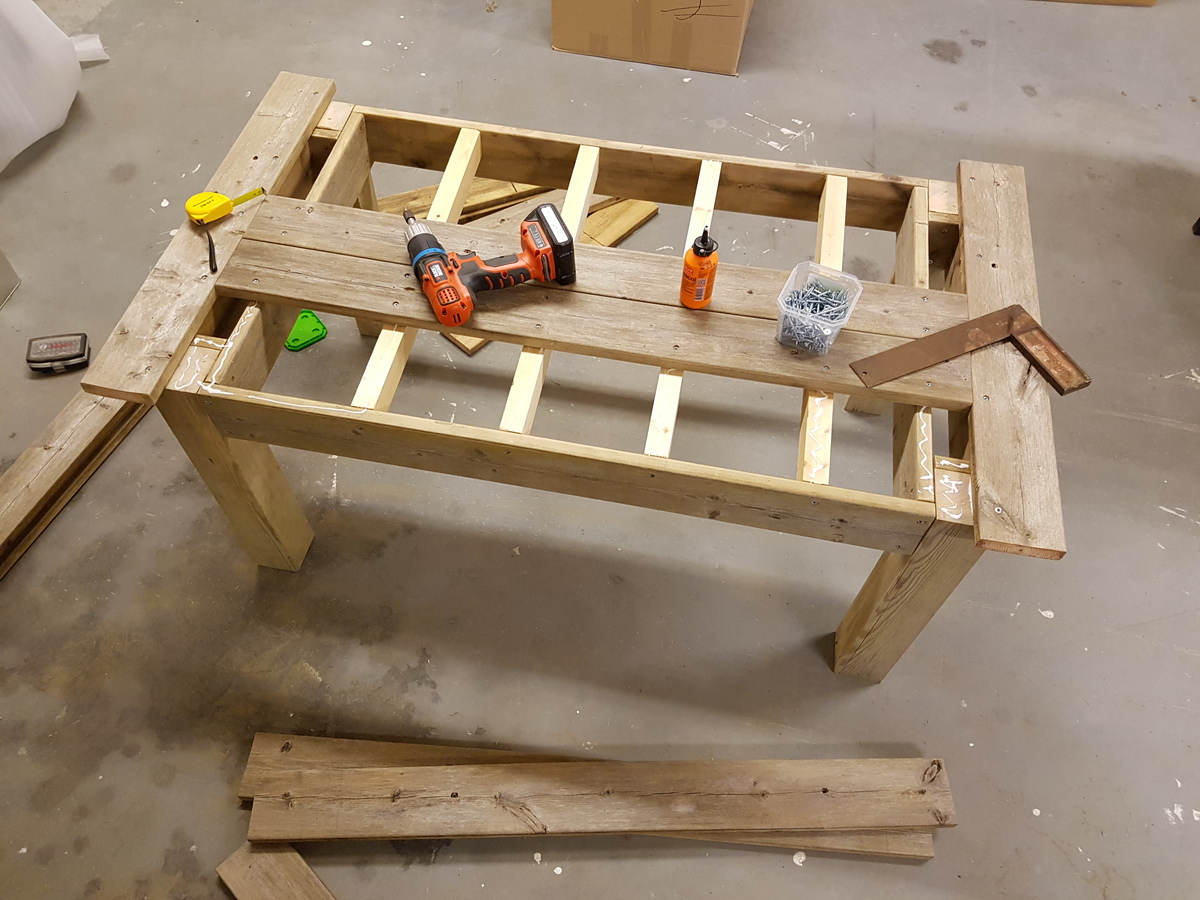
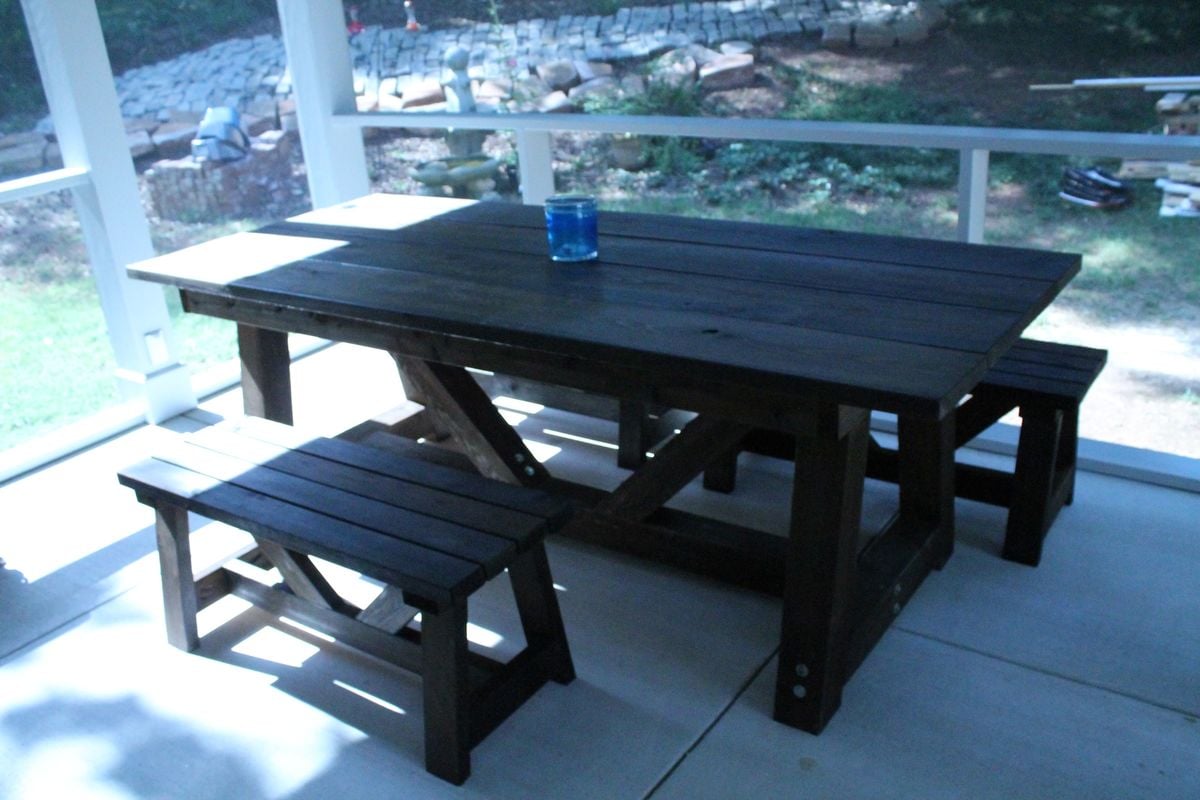
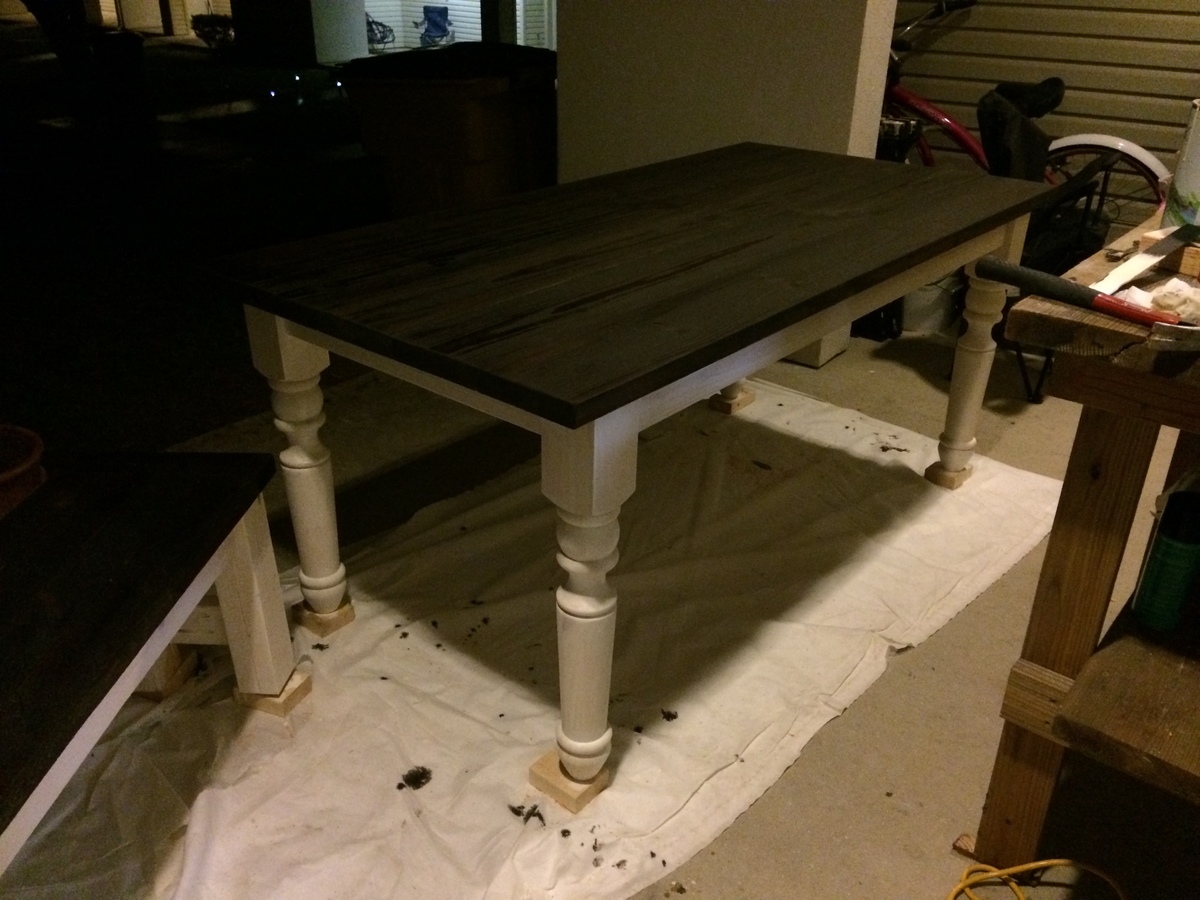
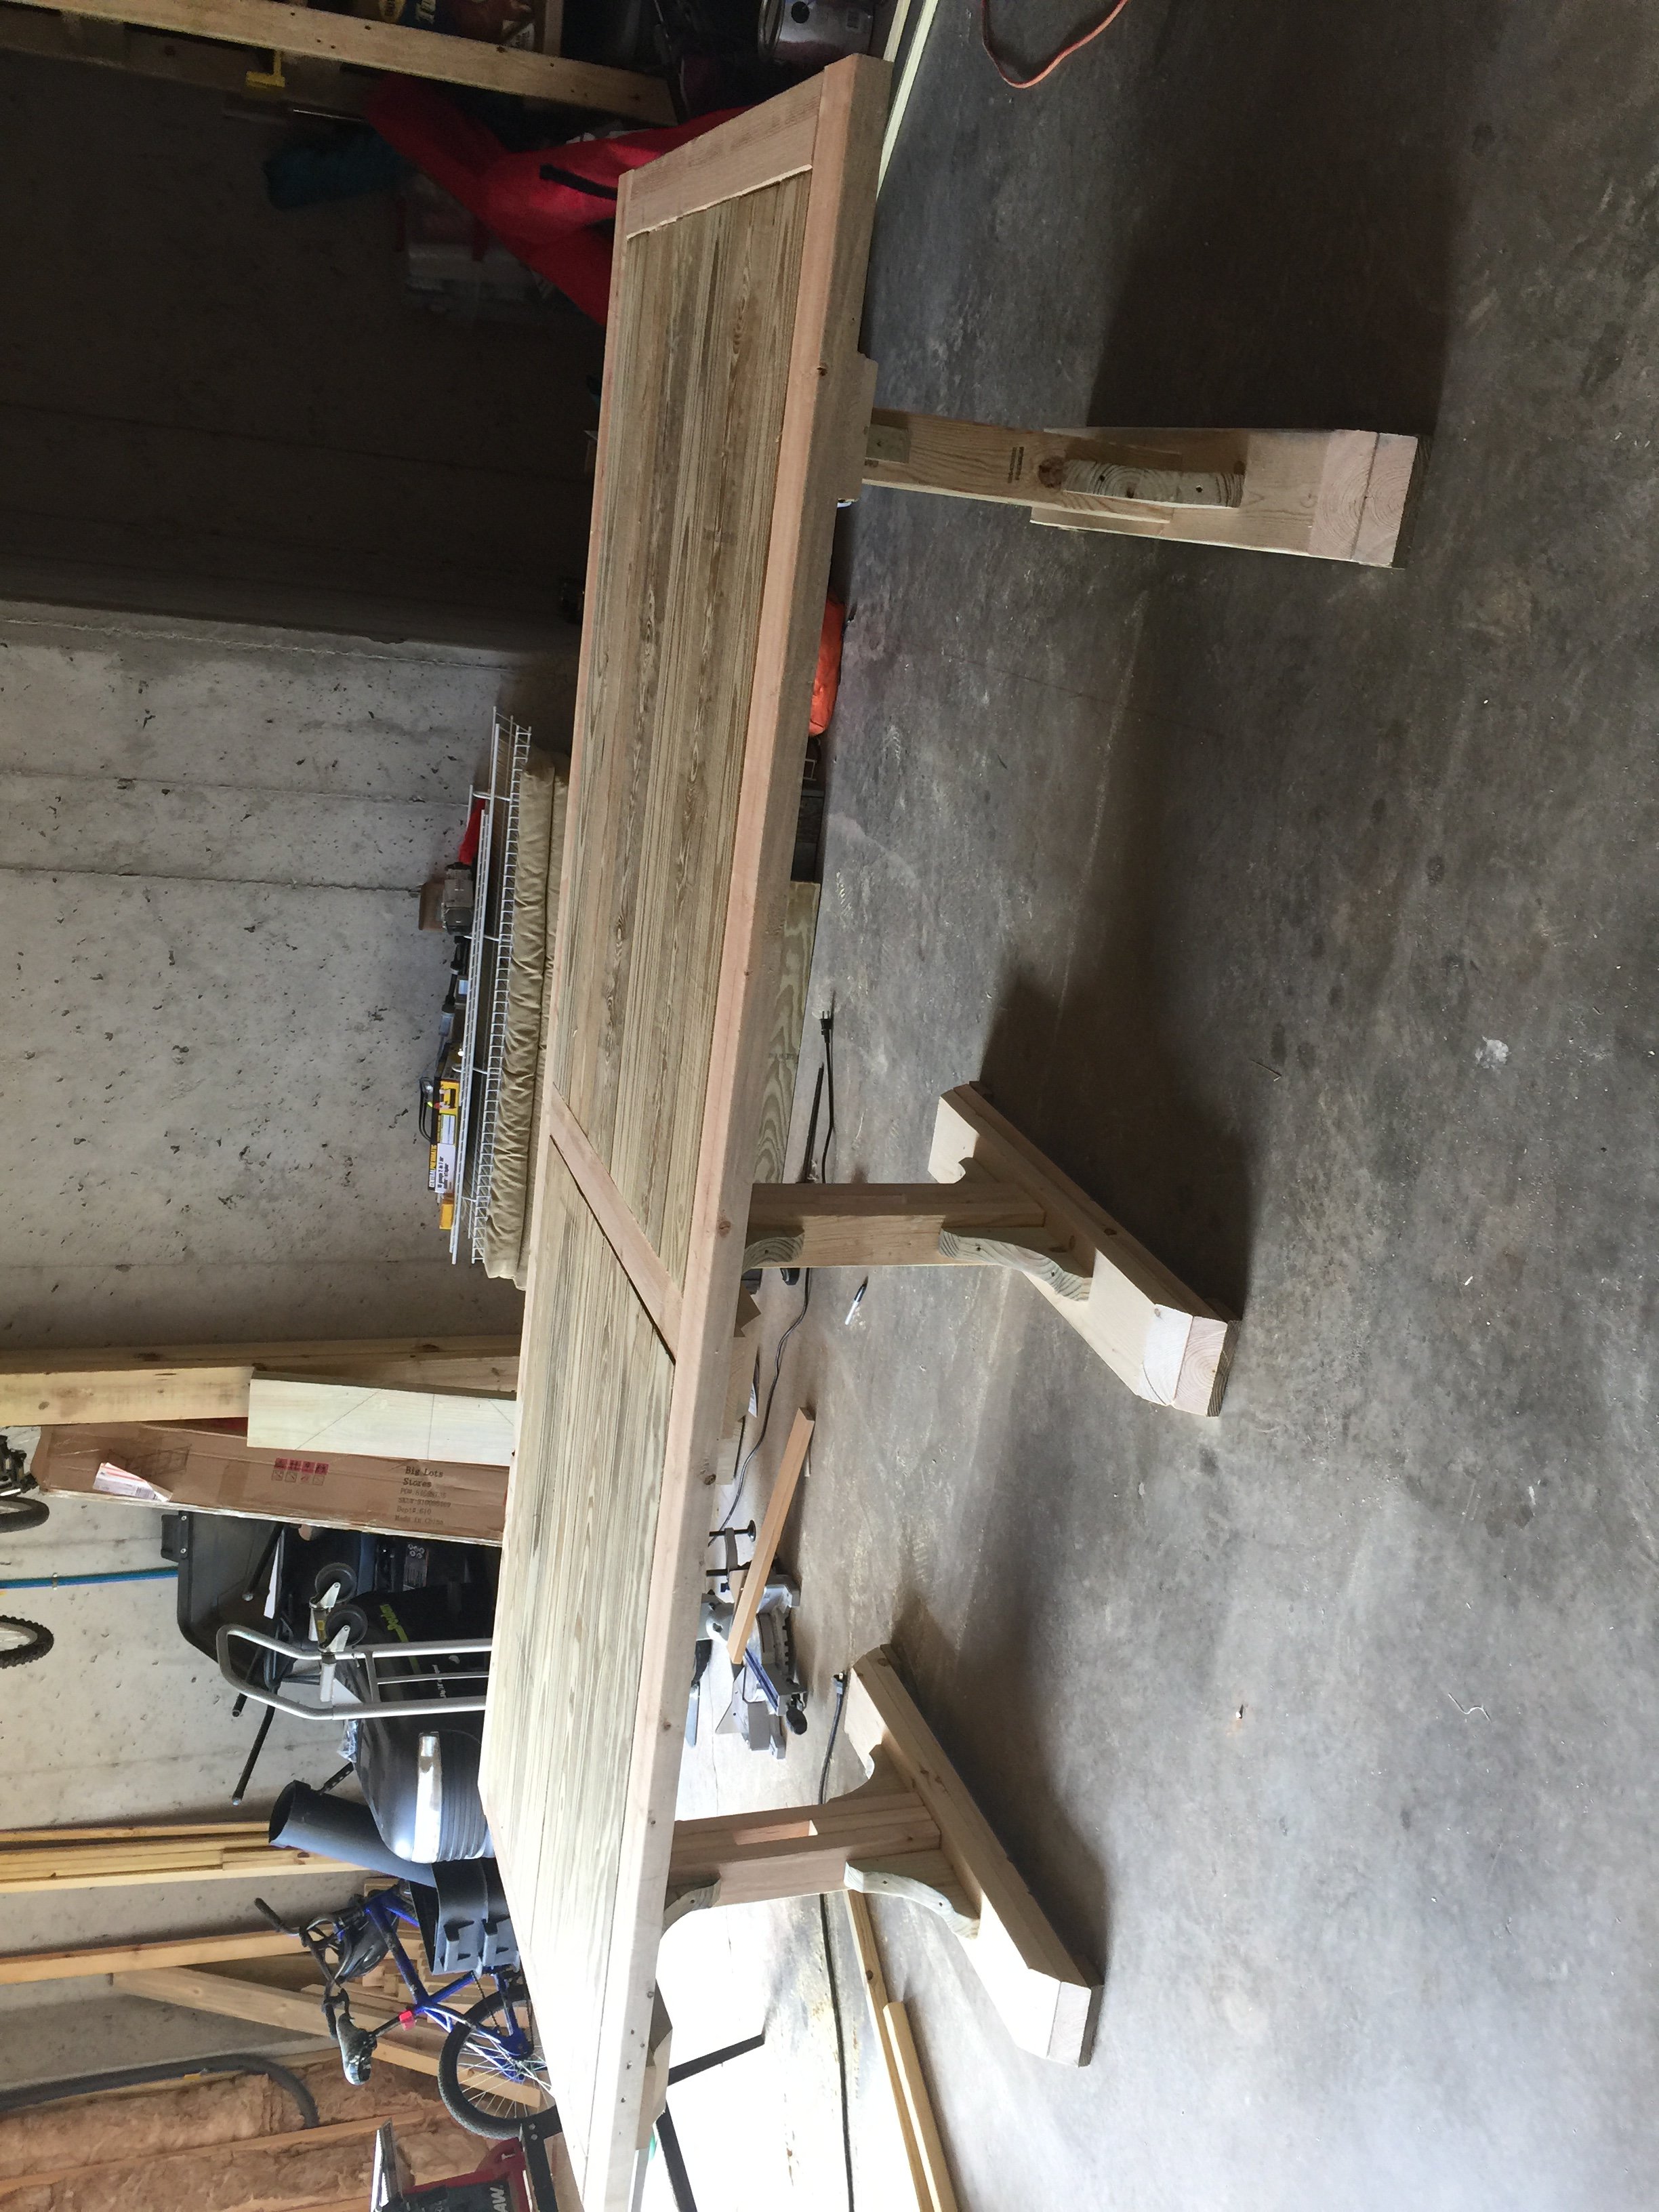
Provence table knockoff from restoration hardware (aka: providence) with 4x4s and providence benches
table modified to 90 inch length, benches to 42 inches
used lag bolts with a washer on 4x4's that show, kreg pocket screws everywhere else
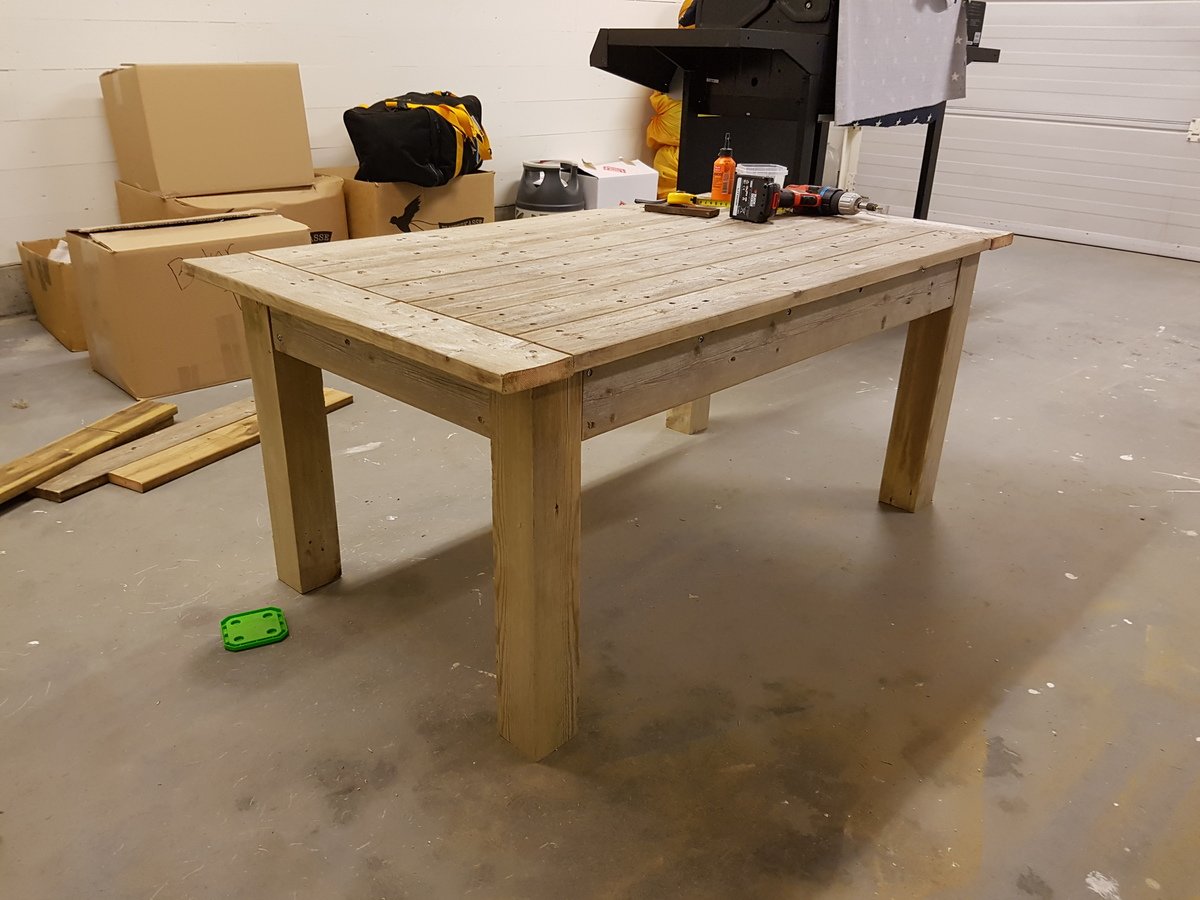
note: the free-diy plans listed last have an issue with the table height. It came out 1 1/2" too high, so we made a change that I like better: we modified the table top to have a 2x4 skirt held together with kreg pocket screws that drops over the 2x4 frame above legs. we left about 3/8" gap between the skirt and framing so the framing would fit in easily. The top actually just sits on the frame so it is possible to move it in two pieces. It is so heavy and stable that we didn't worry about screwing it together.
we love it! perfect for 2 families to eat dinner together. my husband calls it Thor's table because it looks so tough.

Thu, 07/05/2012 - 11:35
This is gorgeous! I definitely prefer the chunkier leg you used and love the hardware showing as well. That was smart the way you made the top for easier moving, too. Great job! I think you should have added the link for the plans, this way your picture will always show up above the plans in order for everybody to see it each time. :)
Thu, 07/05/2012 - 19:22
thanks so much. I have now attempted to link the plans to my brag....let's see if it works!
In reply to thanks so much. I have now by Anne in Decatur
Fri, 07/06/2012 - 05:46
It worked, yay!
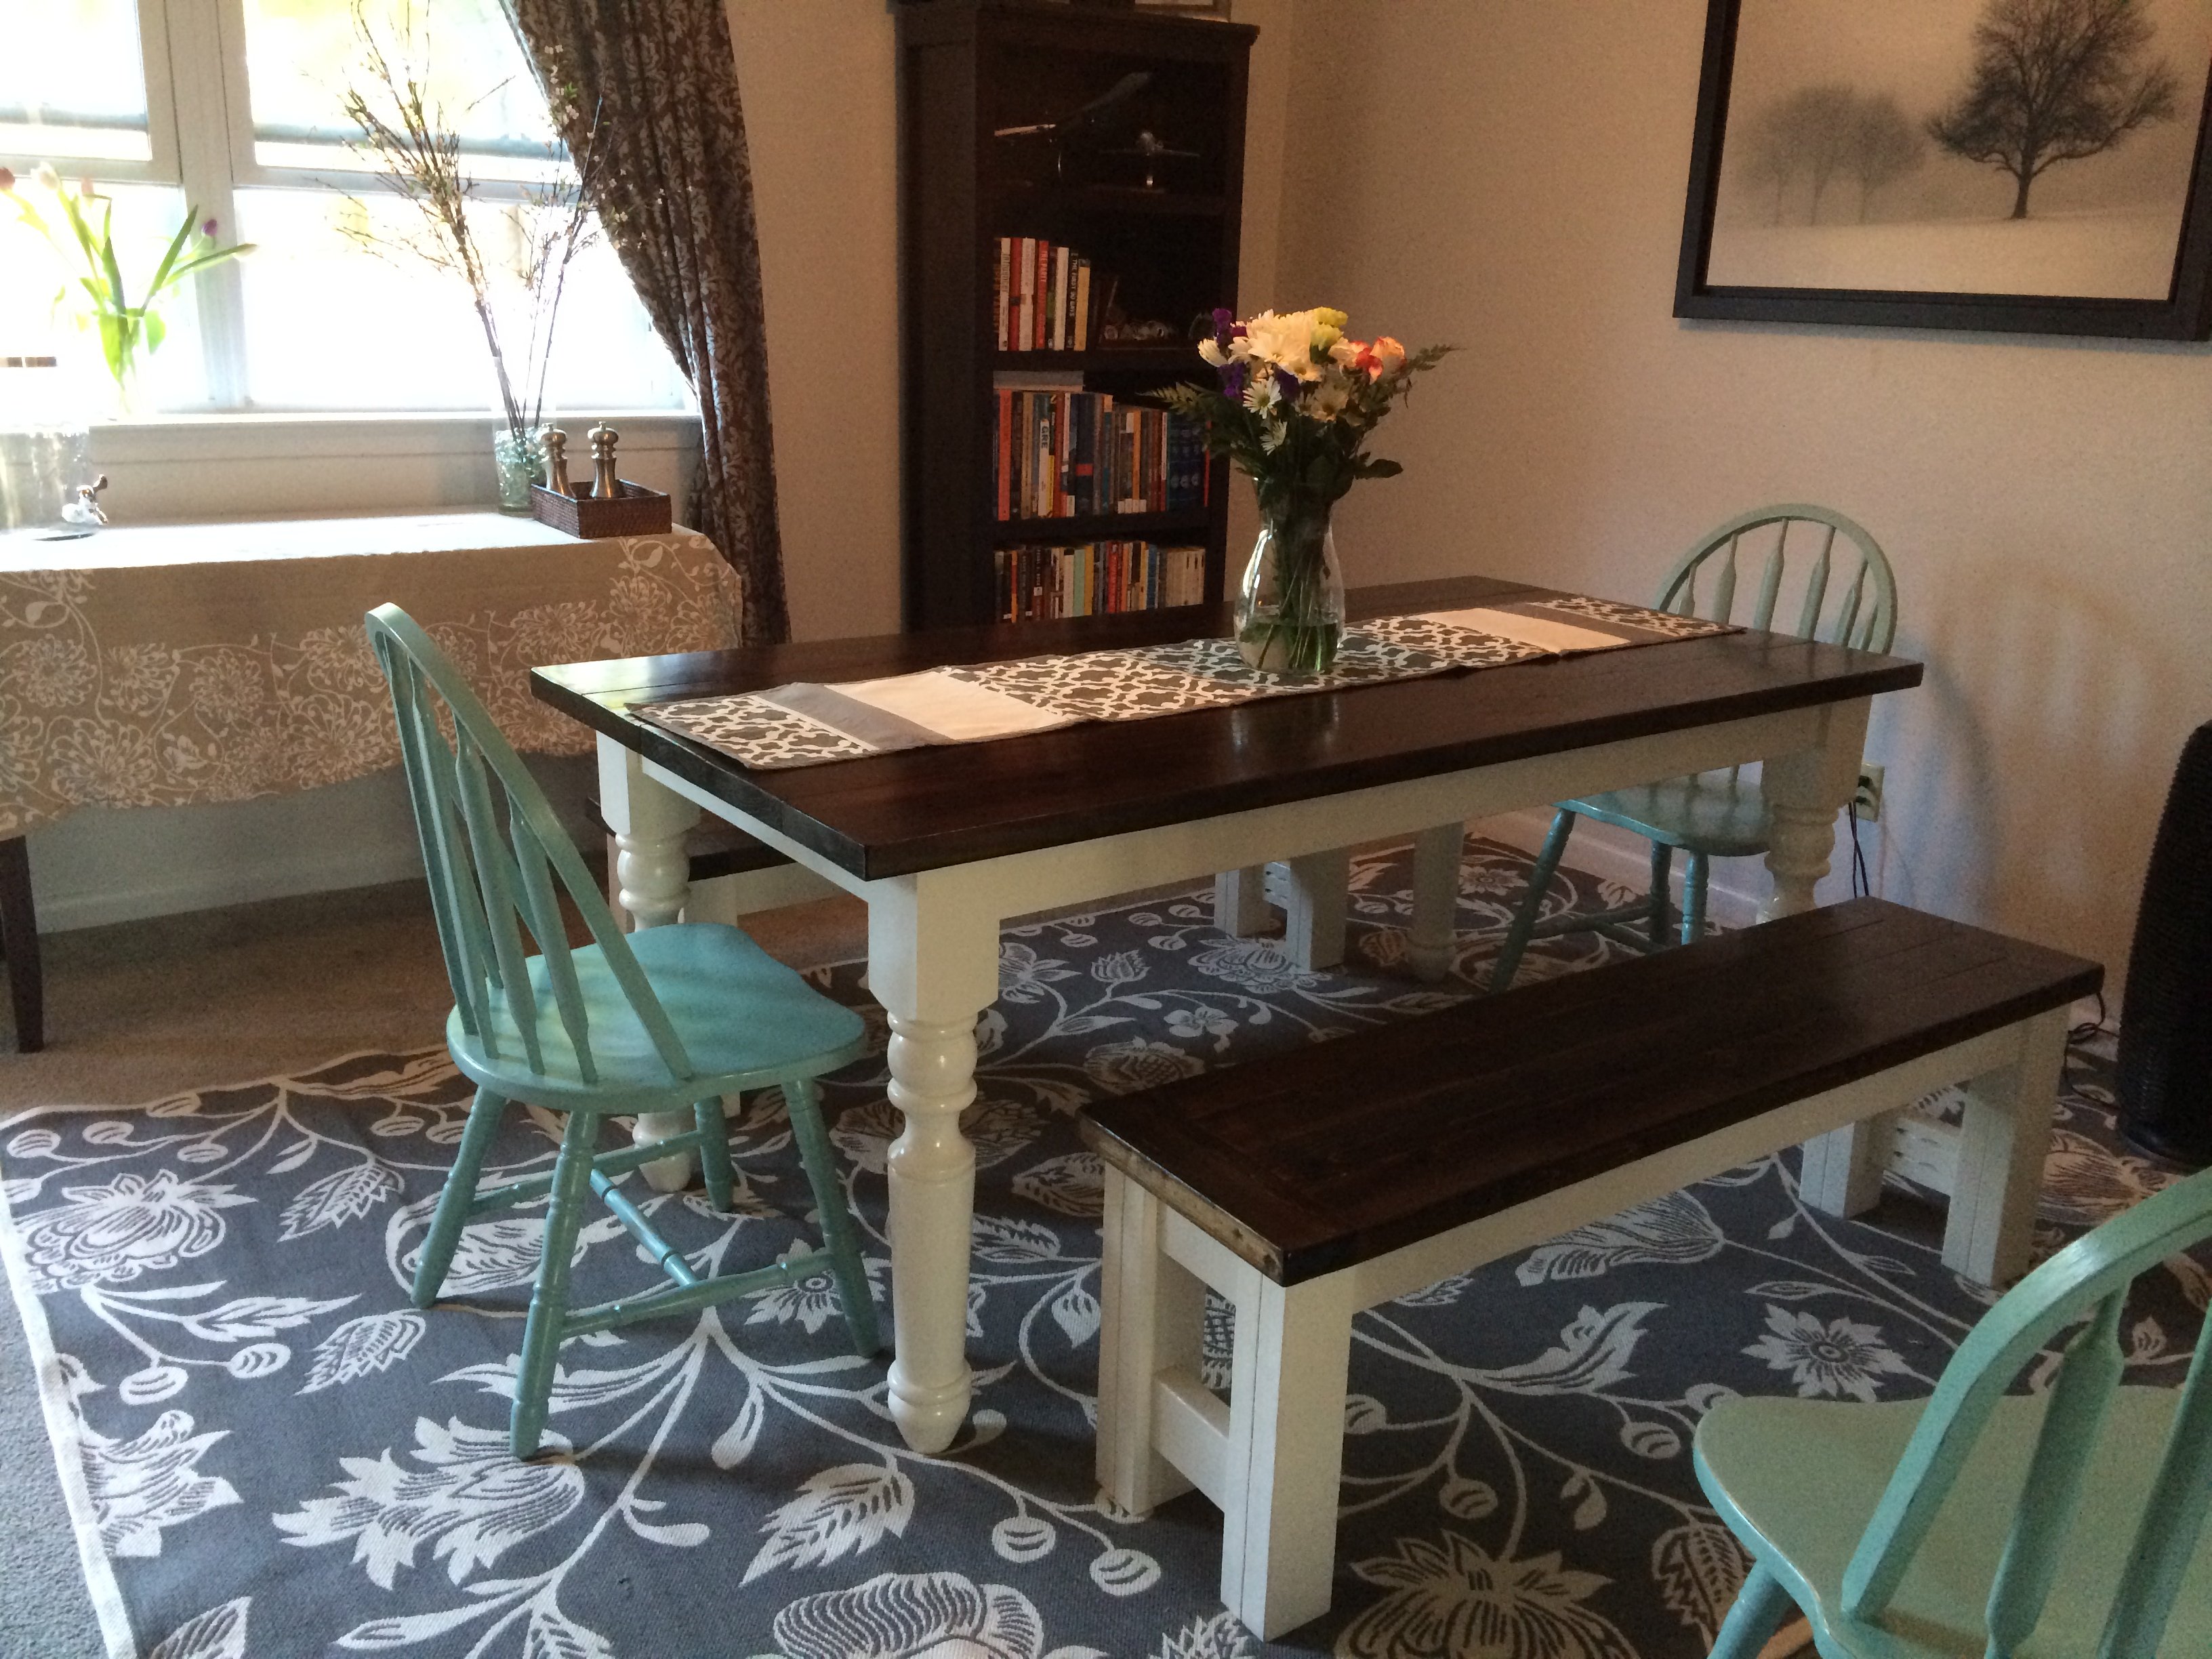
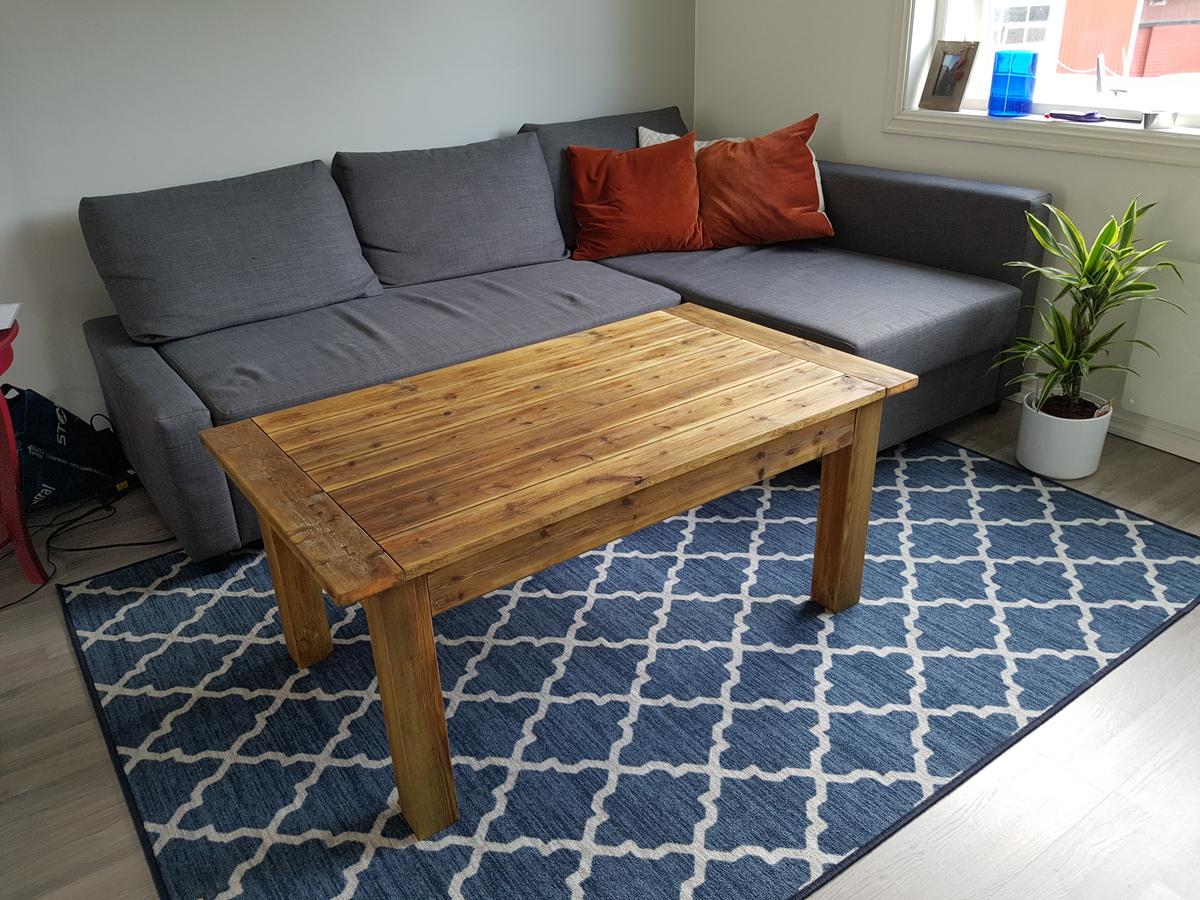
Took about a week to build and put together. Most expensive part was the table legs but the most challenging part was to get the table top smooth and level. I built the benches based off the farmhouse bench plans and then picked up some chairs from a local second hand shop for just two bucks a piece. So far the feedback has been very positive!
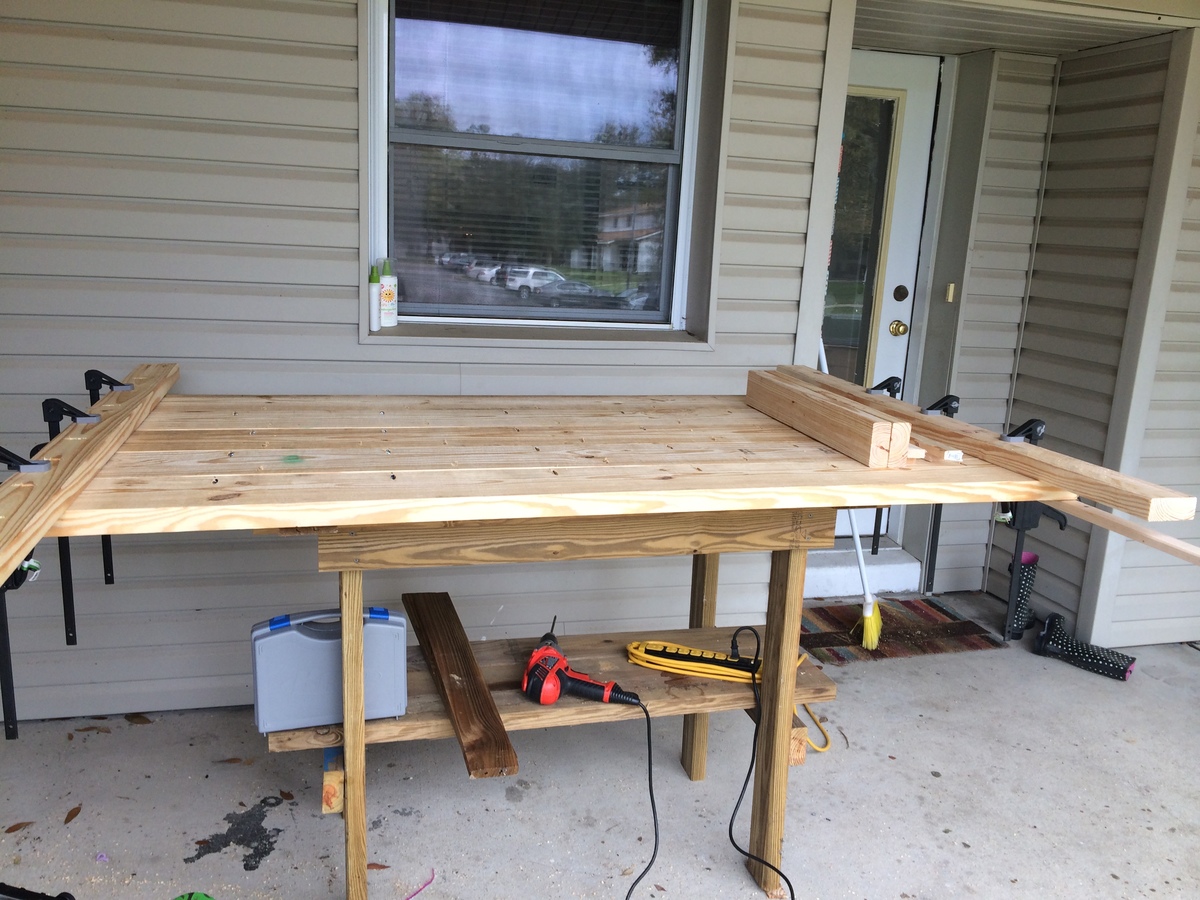
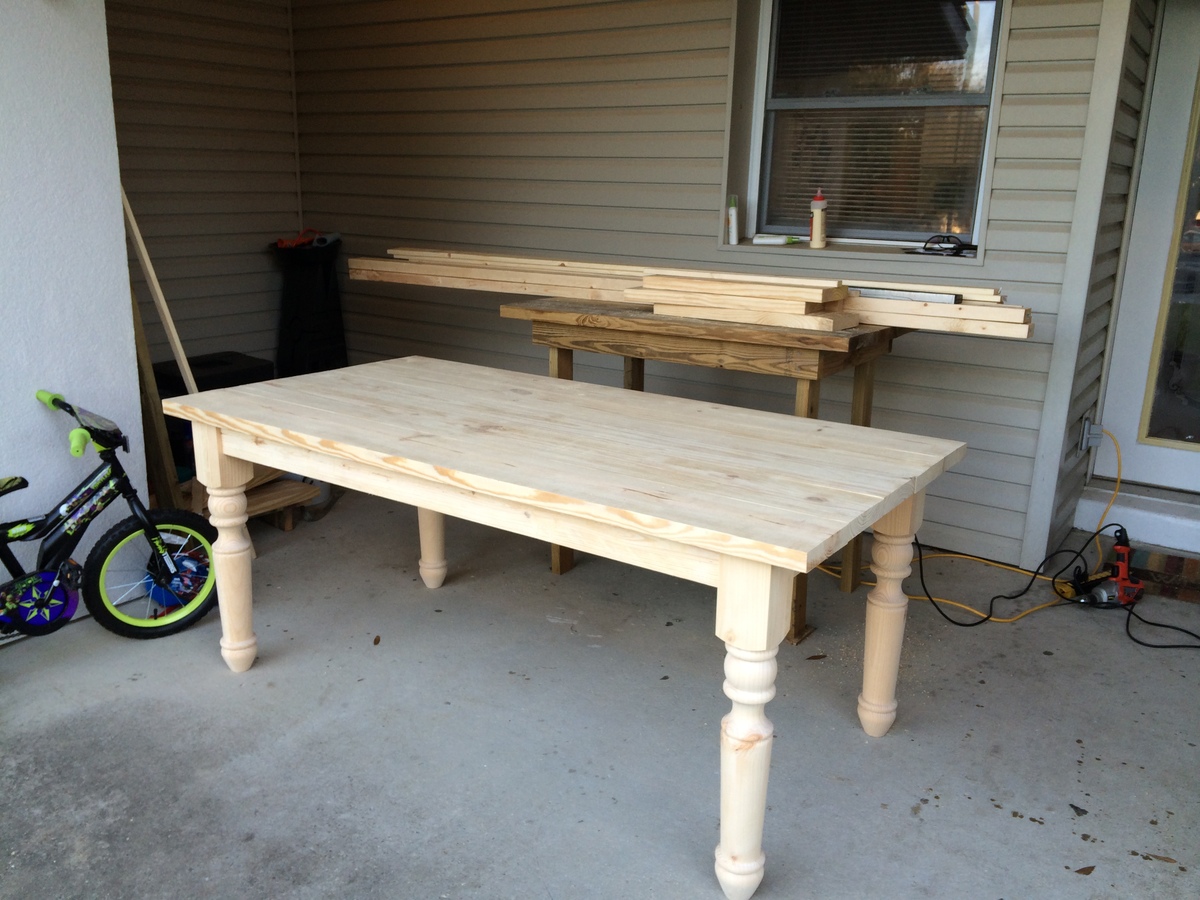
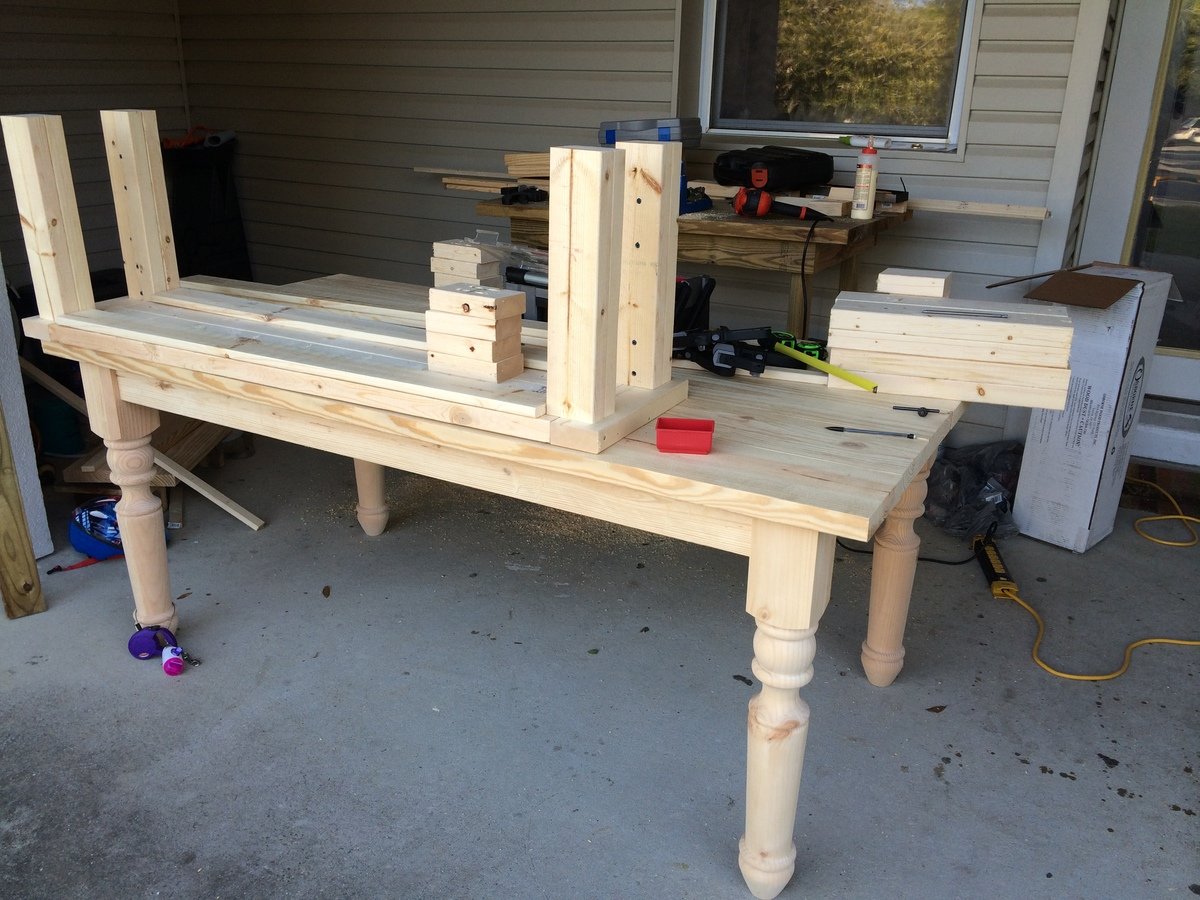
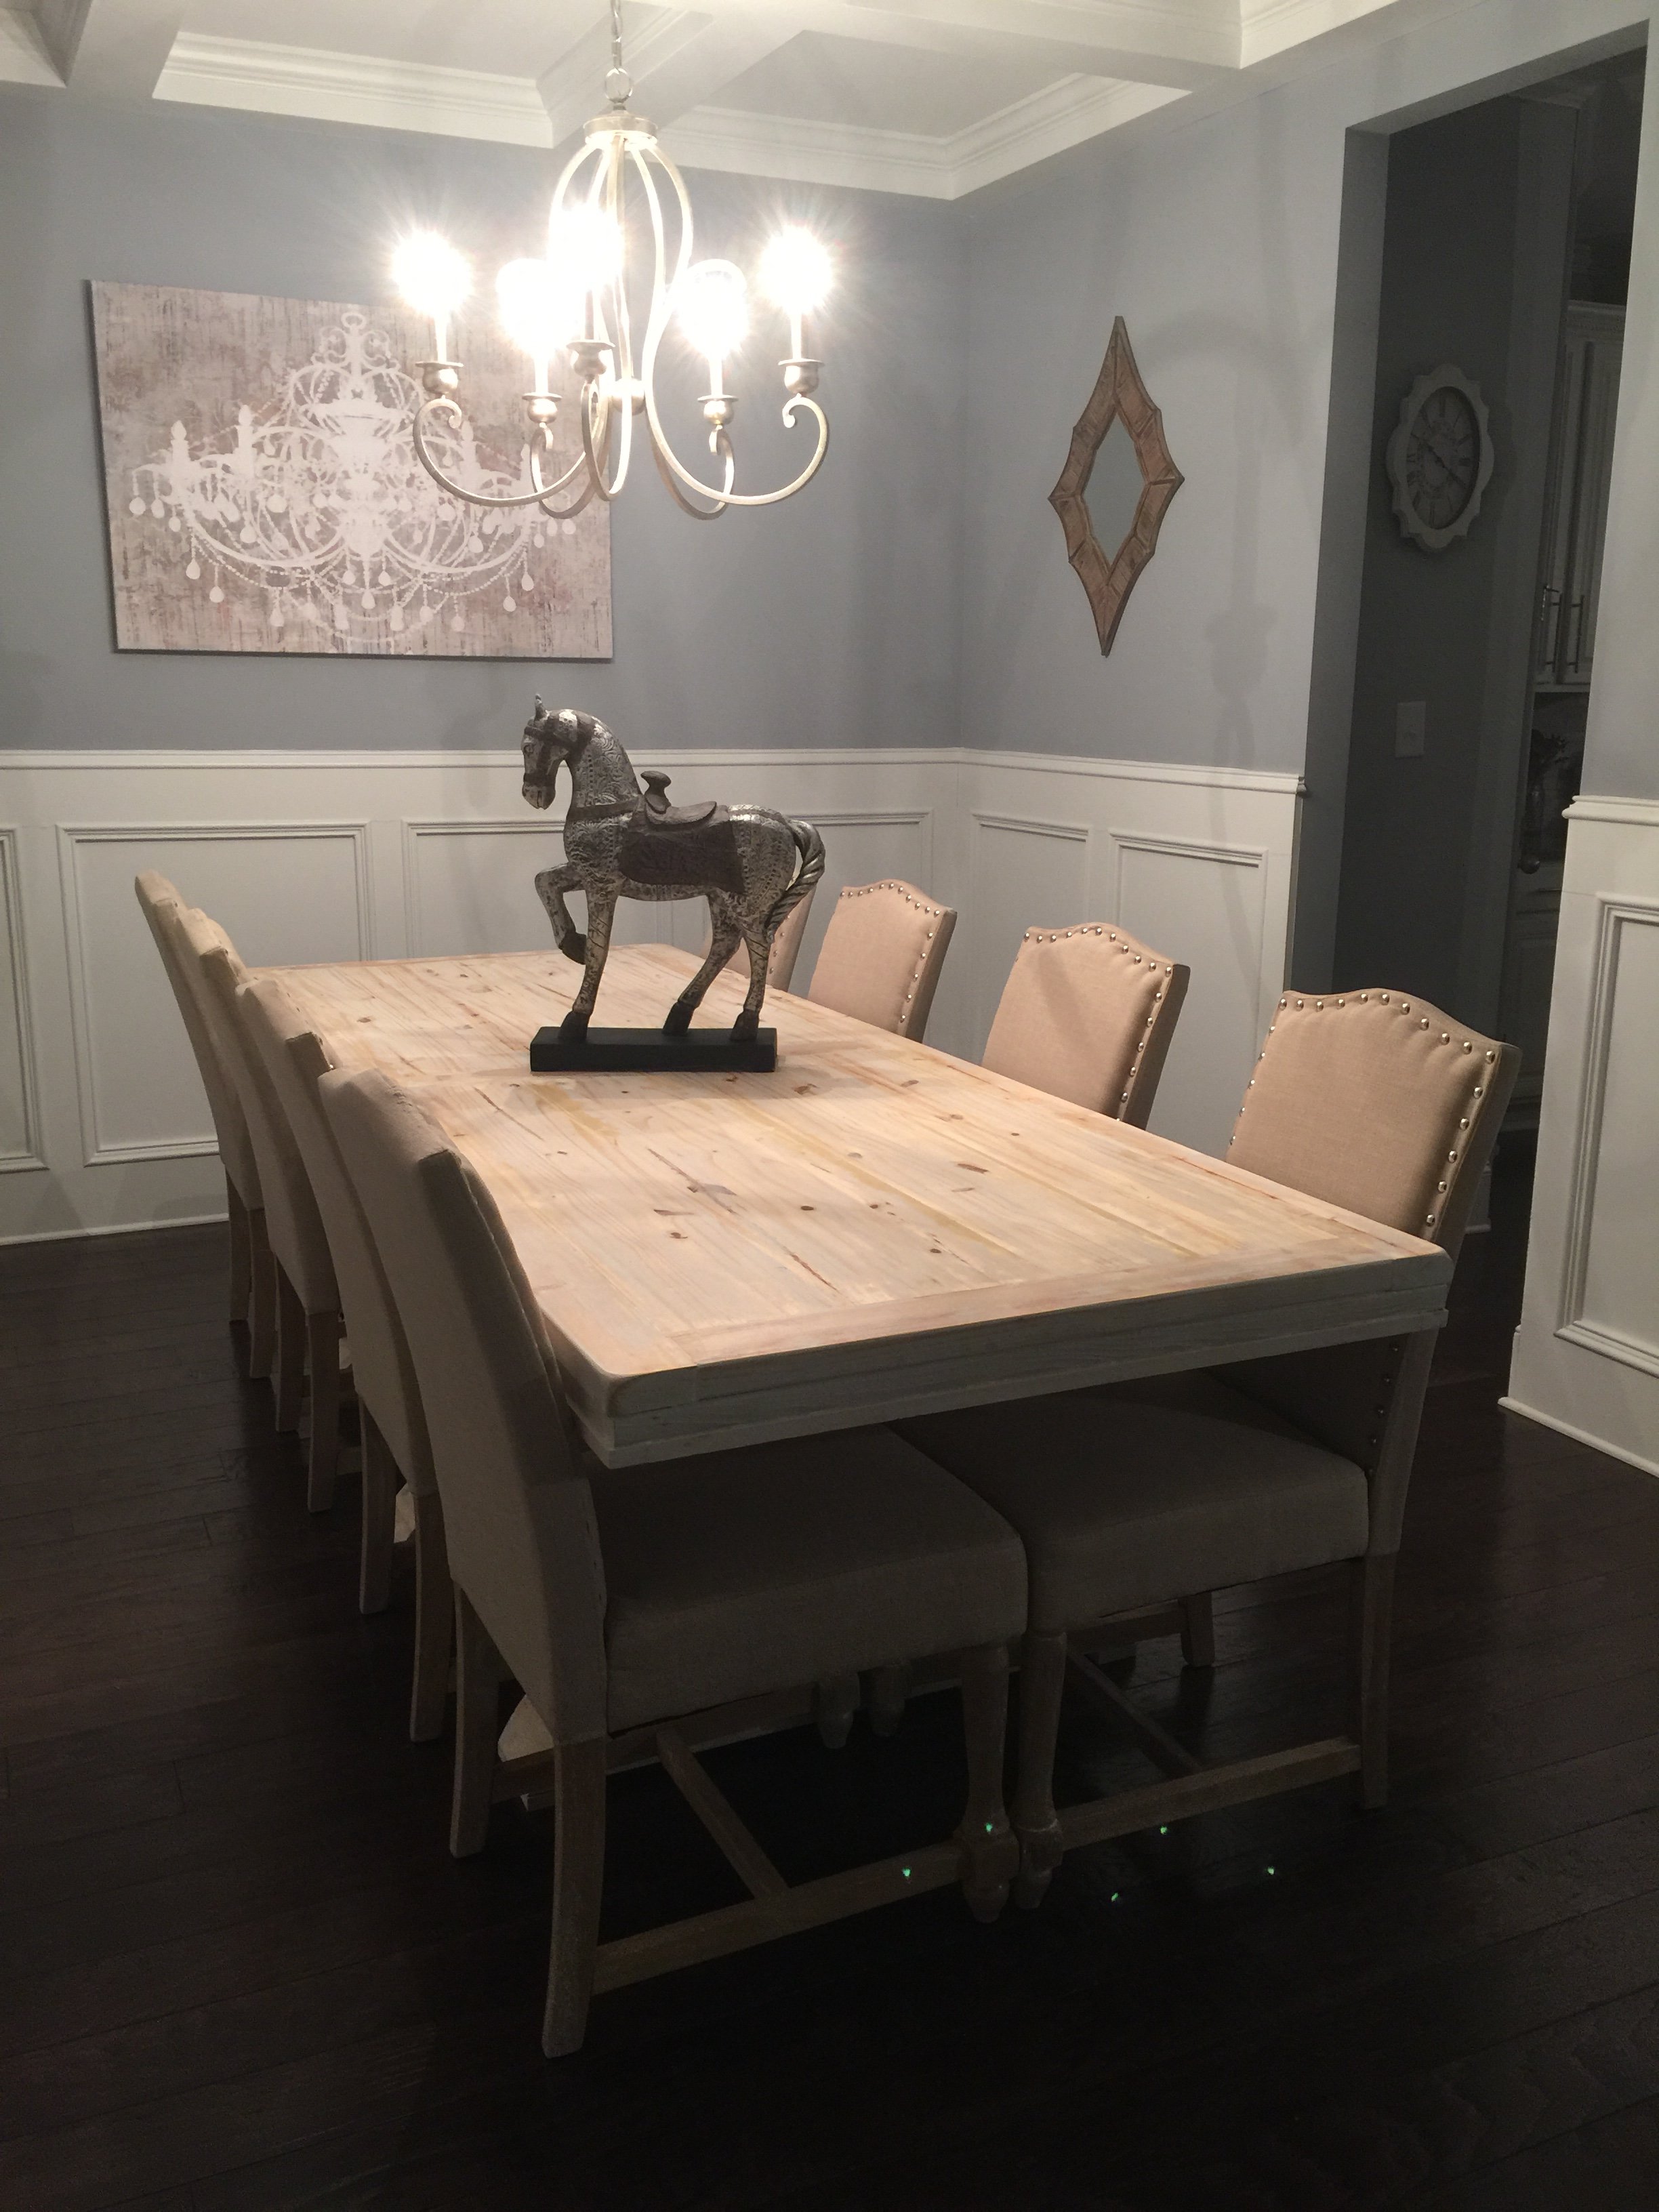
This was more or less a honey-do project for my birthday. My husband was able to use the entire length of the original plan that was downloaded from this site. It took him the entire weekend to complete all of the cutting and assembly. the wood glue application and staining went well-basically, after the wood glue was dry he sanded then applied two coats of a stain that has a white wash appearance. After letting it dry he sanded then applied two applications of matte poly. This project actually took about three weeks for us because we were in the mist of moving. I believe it could have been completed in the course of one weekend if there were know distractions. The table is now a piece that is the conversation of all who visit our home and it will be in the family for many years to come.
This honey do project gets a 100% thanks to making this tool available to others!
Thank you
The Kelley's
Finishing products: minwax water based white wash pickling 32oz.
minwax water based polycrylic clear matte
The $200 dollars was due to other materials and tools that were required
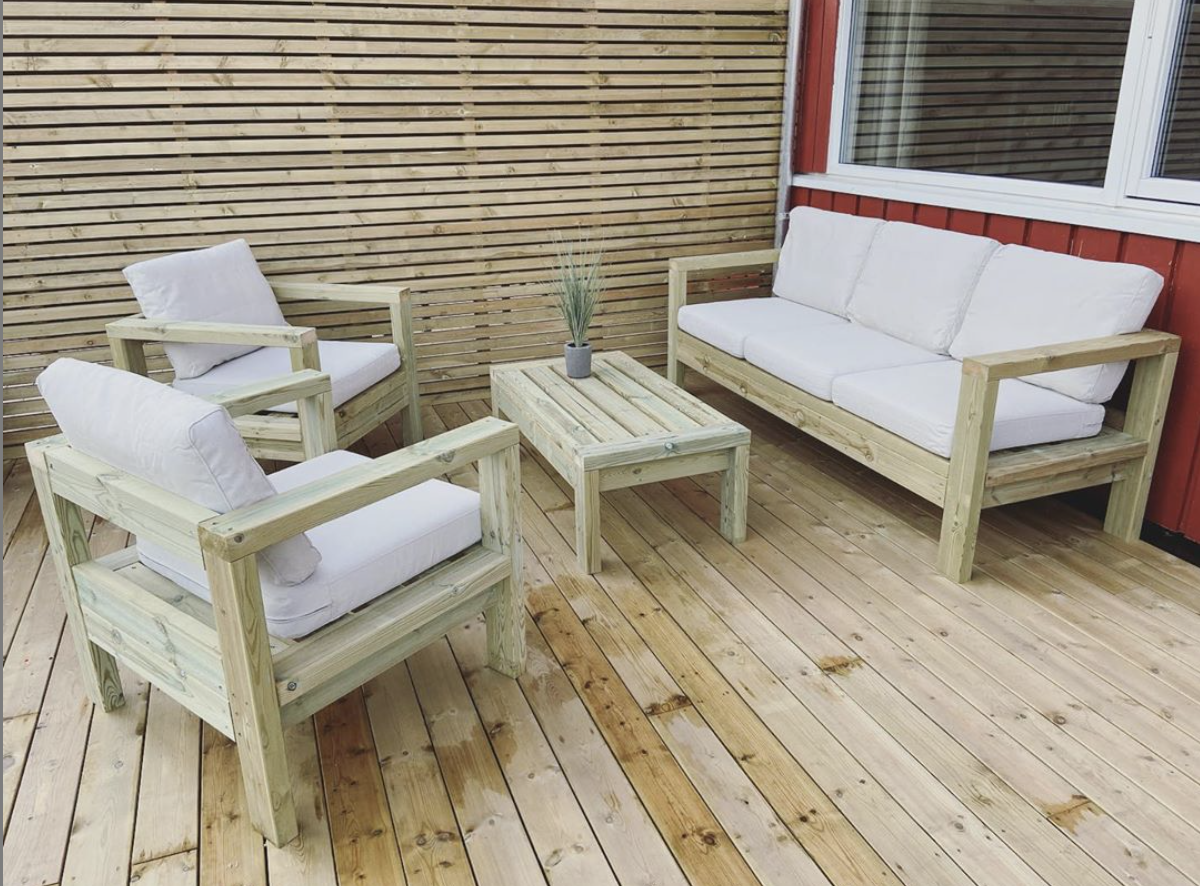
So, we decided after not finding any outdoor furniture, that why not make them! So this is the result, made a few changes to the size and measurements so the pillows from IKEA, would fit perfectly. Now we are waiting for them to be ready to oil/paint. We also made the chairs with the sofa plans, so happy we did that. Thank you so much for the plans! We are so happy! IKEA pillows name are: Sitting pillow - FRÖSÖN/DUVHOLMEN 62cm by 62 cm. Back pillows - FRÖSÖN/DUVHOLMEN 62cm by 44 cm.
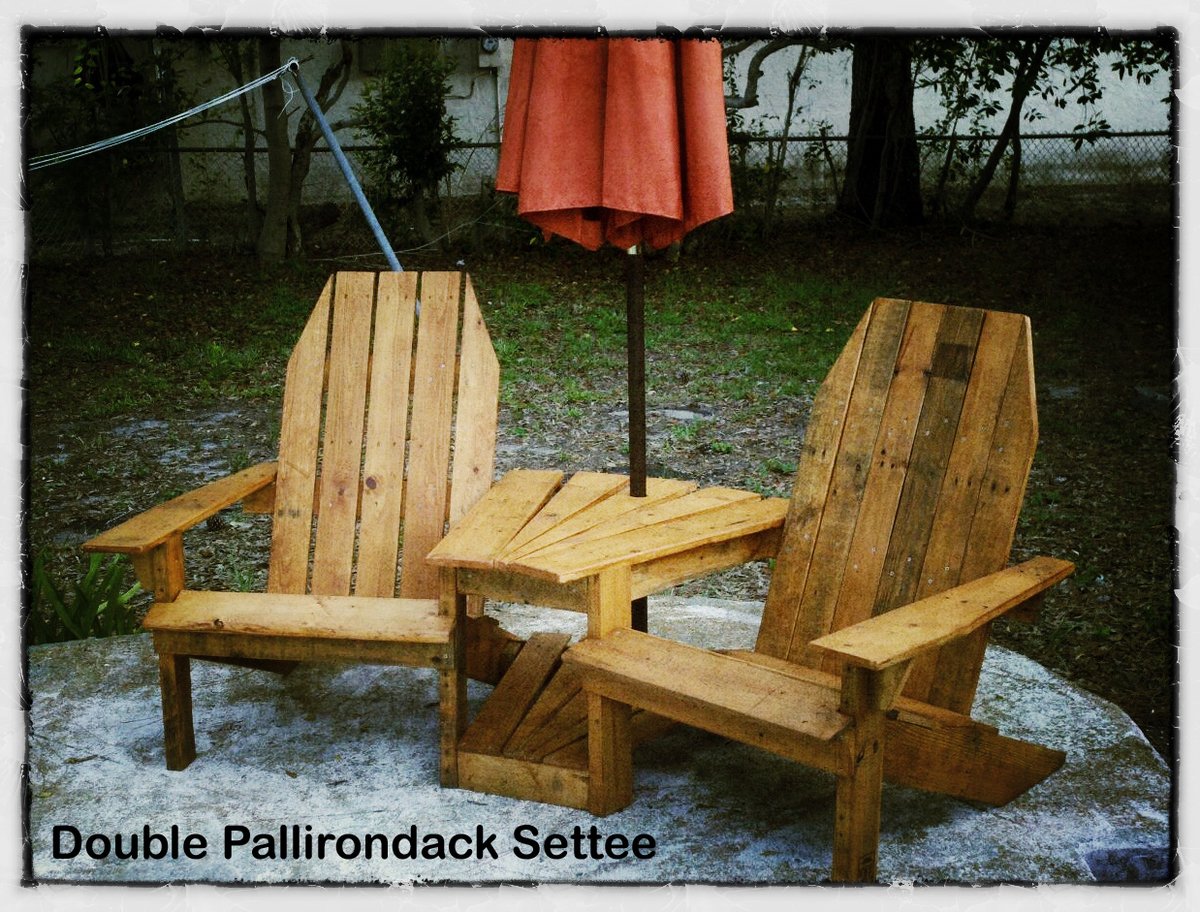
This is a Double Pallirondack Settee, an Adirondack-styled set of chairs connected by a two-shelf table that is also an umbrella holder. It is made 100% from recycled wooden pallets (thus the name). It took approximately four full pallets to make the settee. The finished picture was taken by its new owners after they stained it with a cedar-colored sealer and added an umbrella.
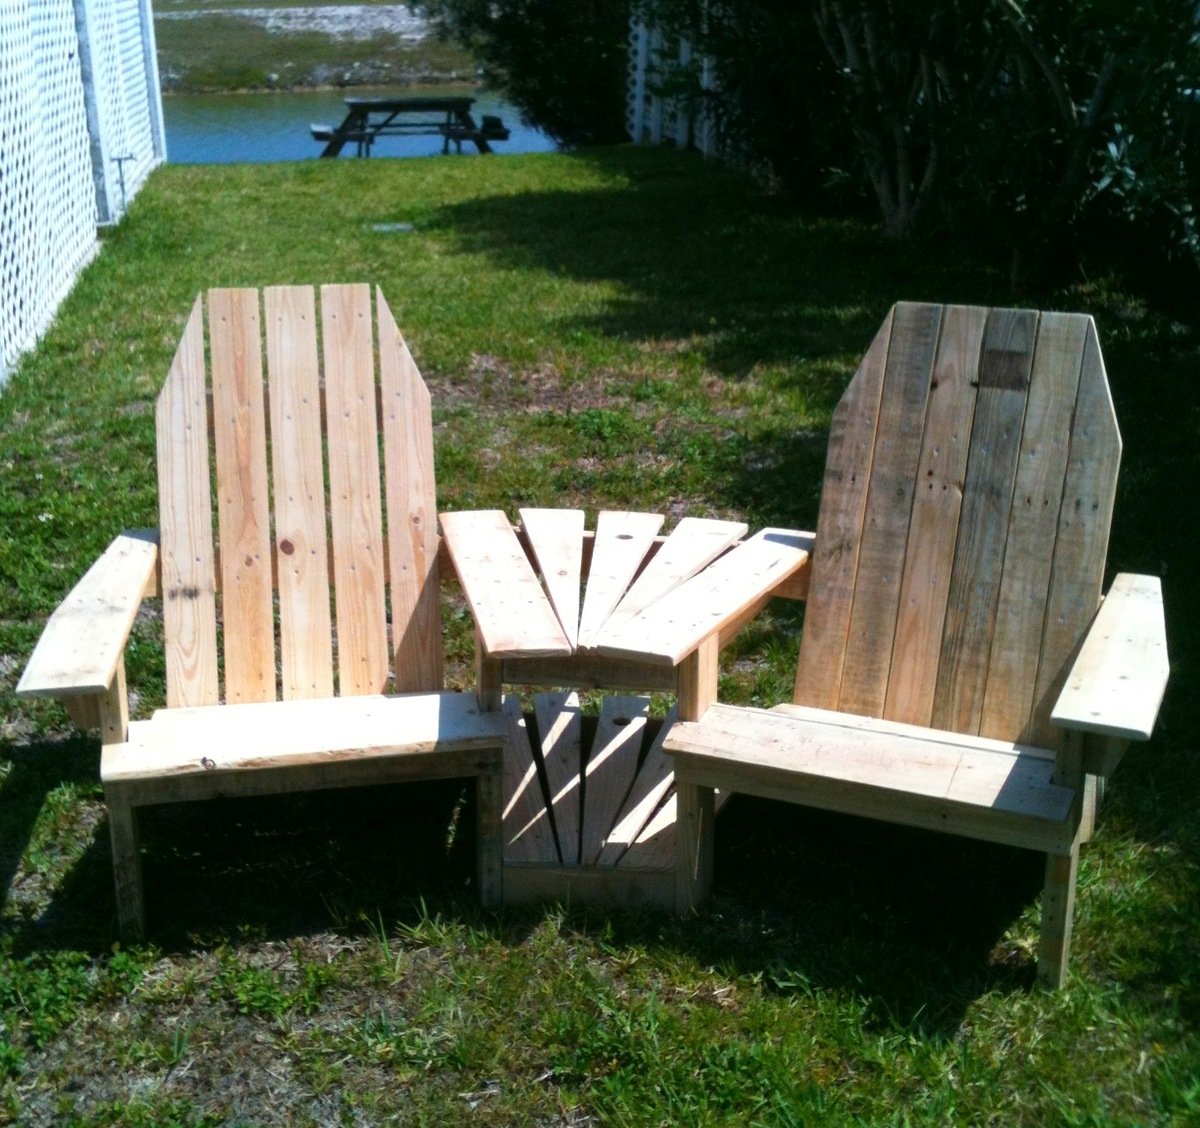
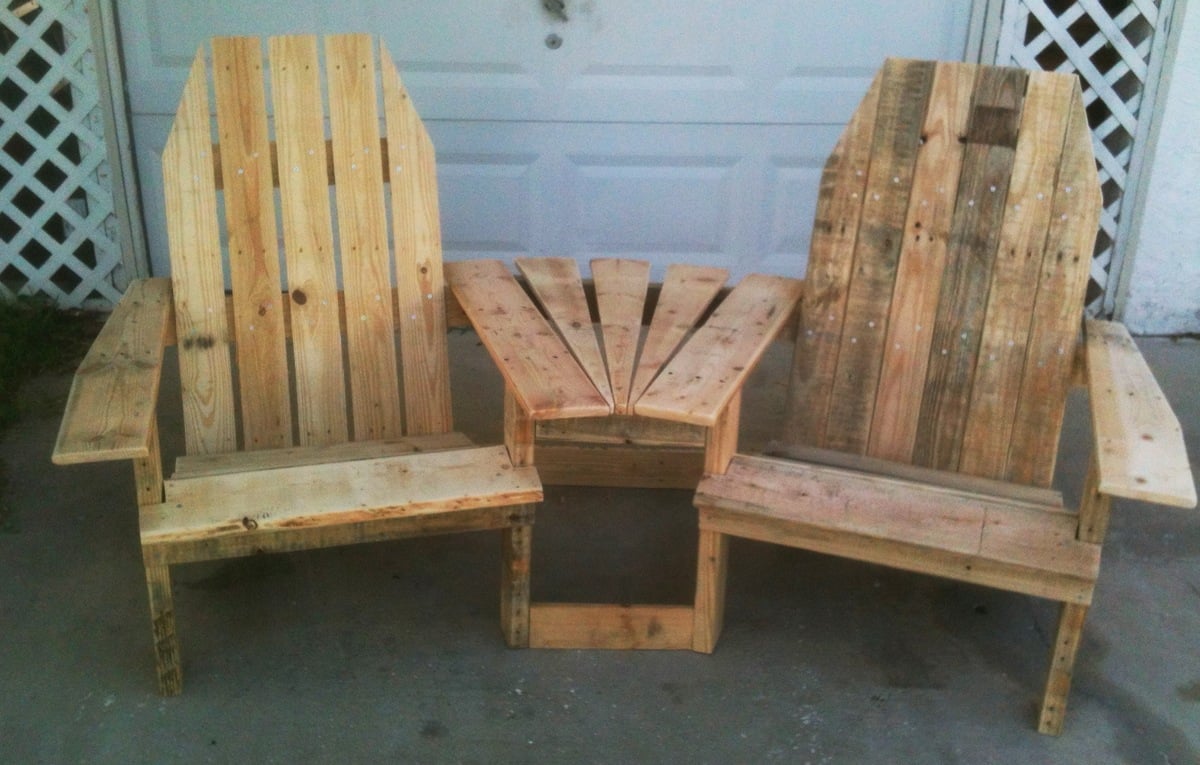
The other two images show it before I had added the bottom shelf of the table and it finished before staining. I just finished a second settee and will be selling that to someone who saw the original one at a party.
The design is based on a couple different plans -- one for the chairs and one for the table/umbrella holder. I modified both plans to make them work together. Great fun. If I could have worked on it straight through, it probably would have taken 2 full days, starting with pallet deconstruction, then cutting pieces, sanding, assembly of chairs and, finally, assembly of the connecting table.
Thu, 07/12/2012 - 10:16
Is it possible to get plans for these??? This would be awesome to build..
Thu, 07/12/2012 - 10:17
Do you happen to make plans for these?
I would love to build this!!
Thu, 07/12/2012 - 13:51
Unfortunately, no. I actually took the plans for a chair and mixed it with the plans of another settee. Essentially, the "inside" arms of the chairs do not get shaped at all. The front of the chairs are 12" apart (15 degree miter) and the backs are 27" apart if I remember correctly. I added 4" 2x4 blocks to the outside of the bottom back legs and that is what the bottom back table support is attached to on the settee. The the three center boards are cut to fit (1/2" in the front, 5.5" in the back and spaced equally. 1.5" hole for the umbrella holder in the center board, top and bottom.
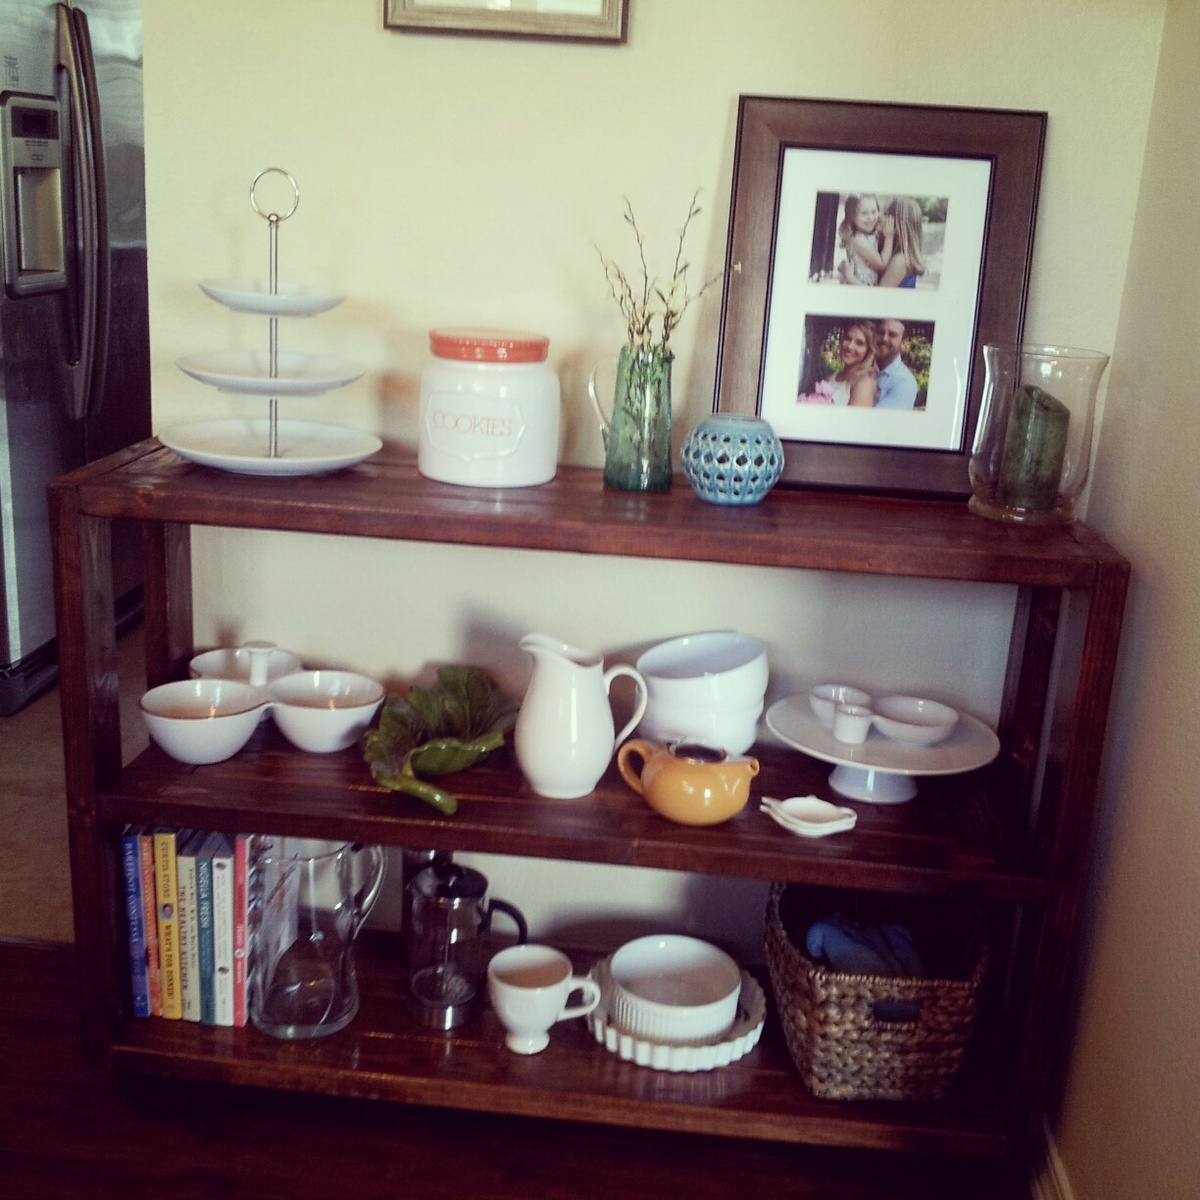
This dining cart is very versatile. It could be used in any room of the house. I love that it has wheels on the bottom so you can move it easily if needed.
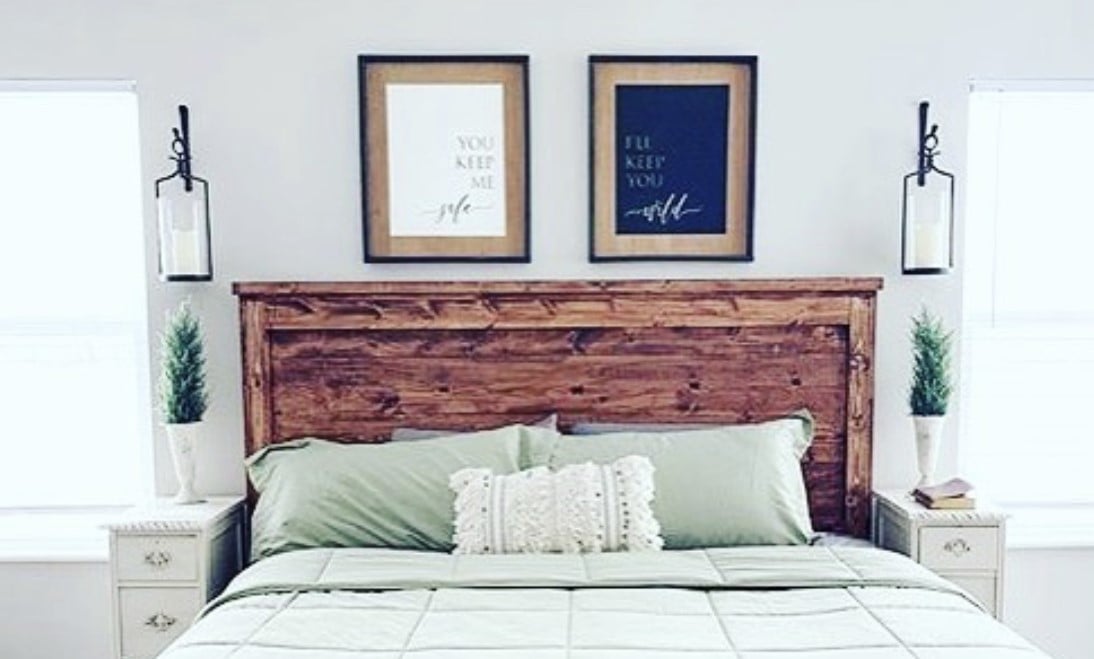
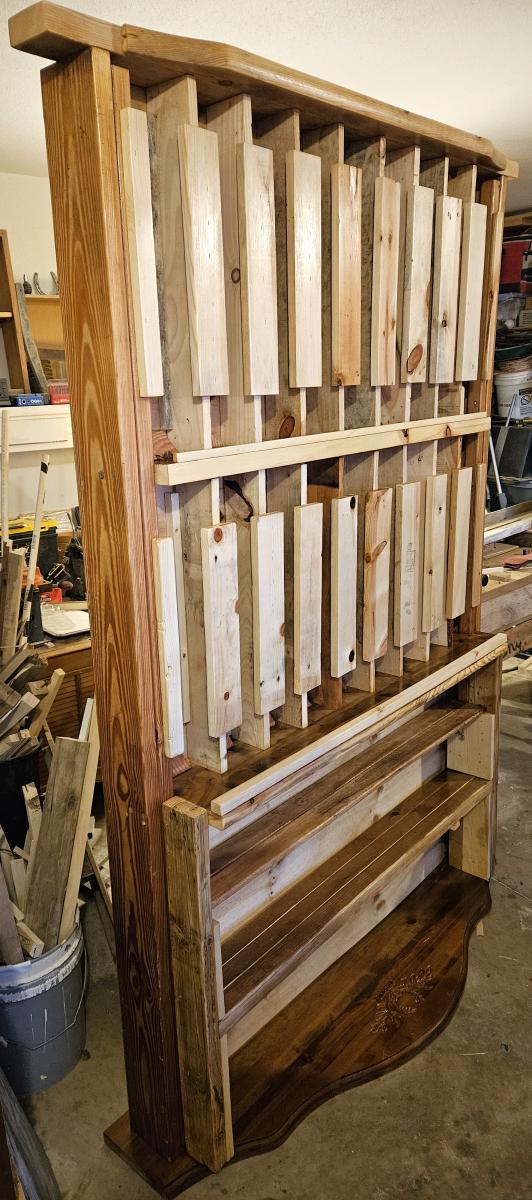
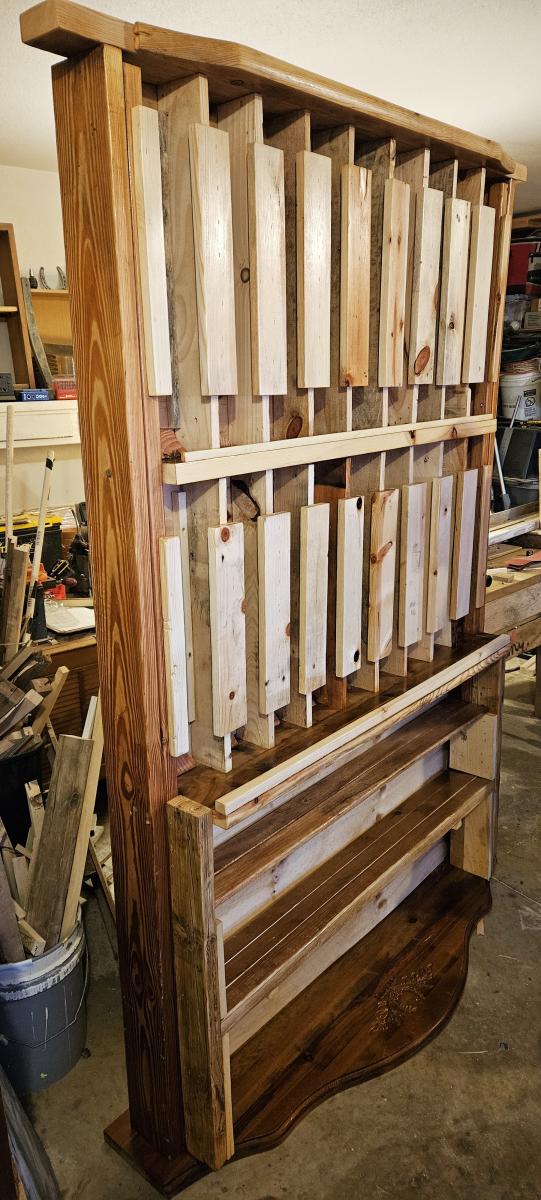
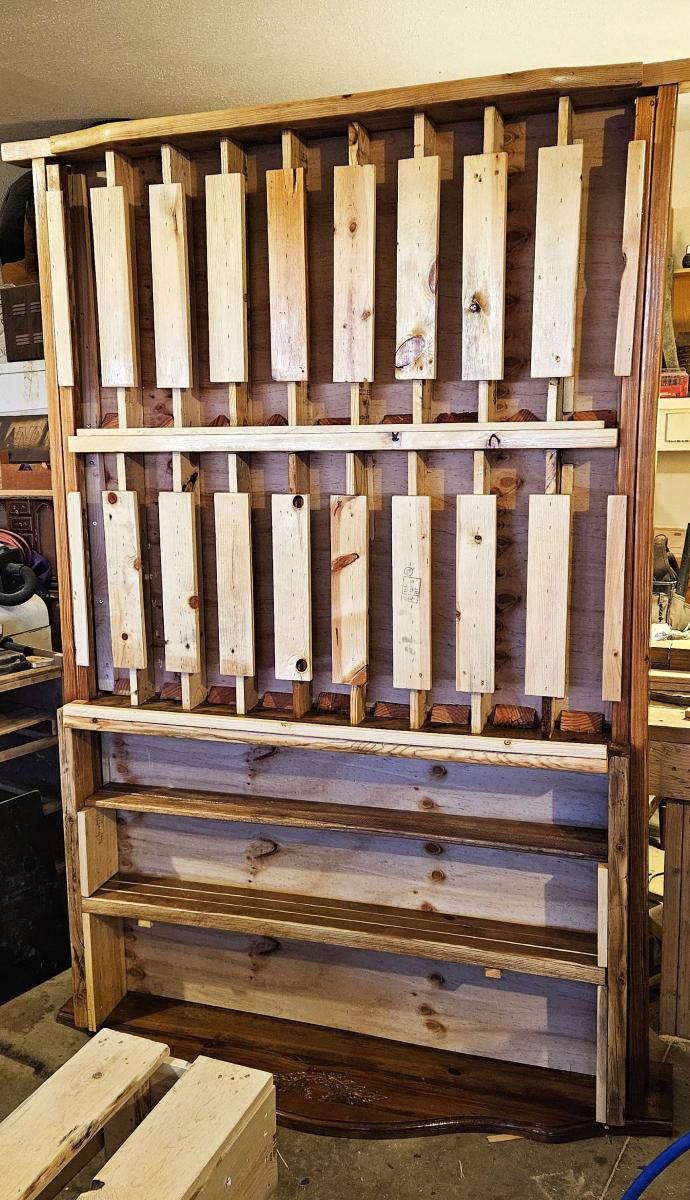
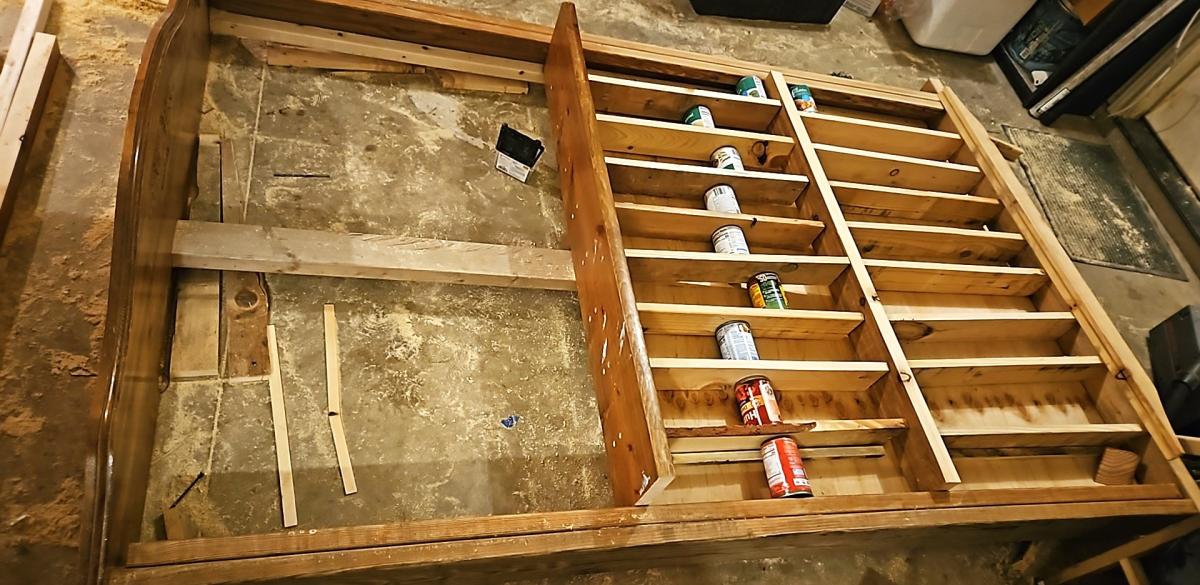
Modified Ana-white plans to accommodate a king headboard. Attached to metal frame

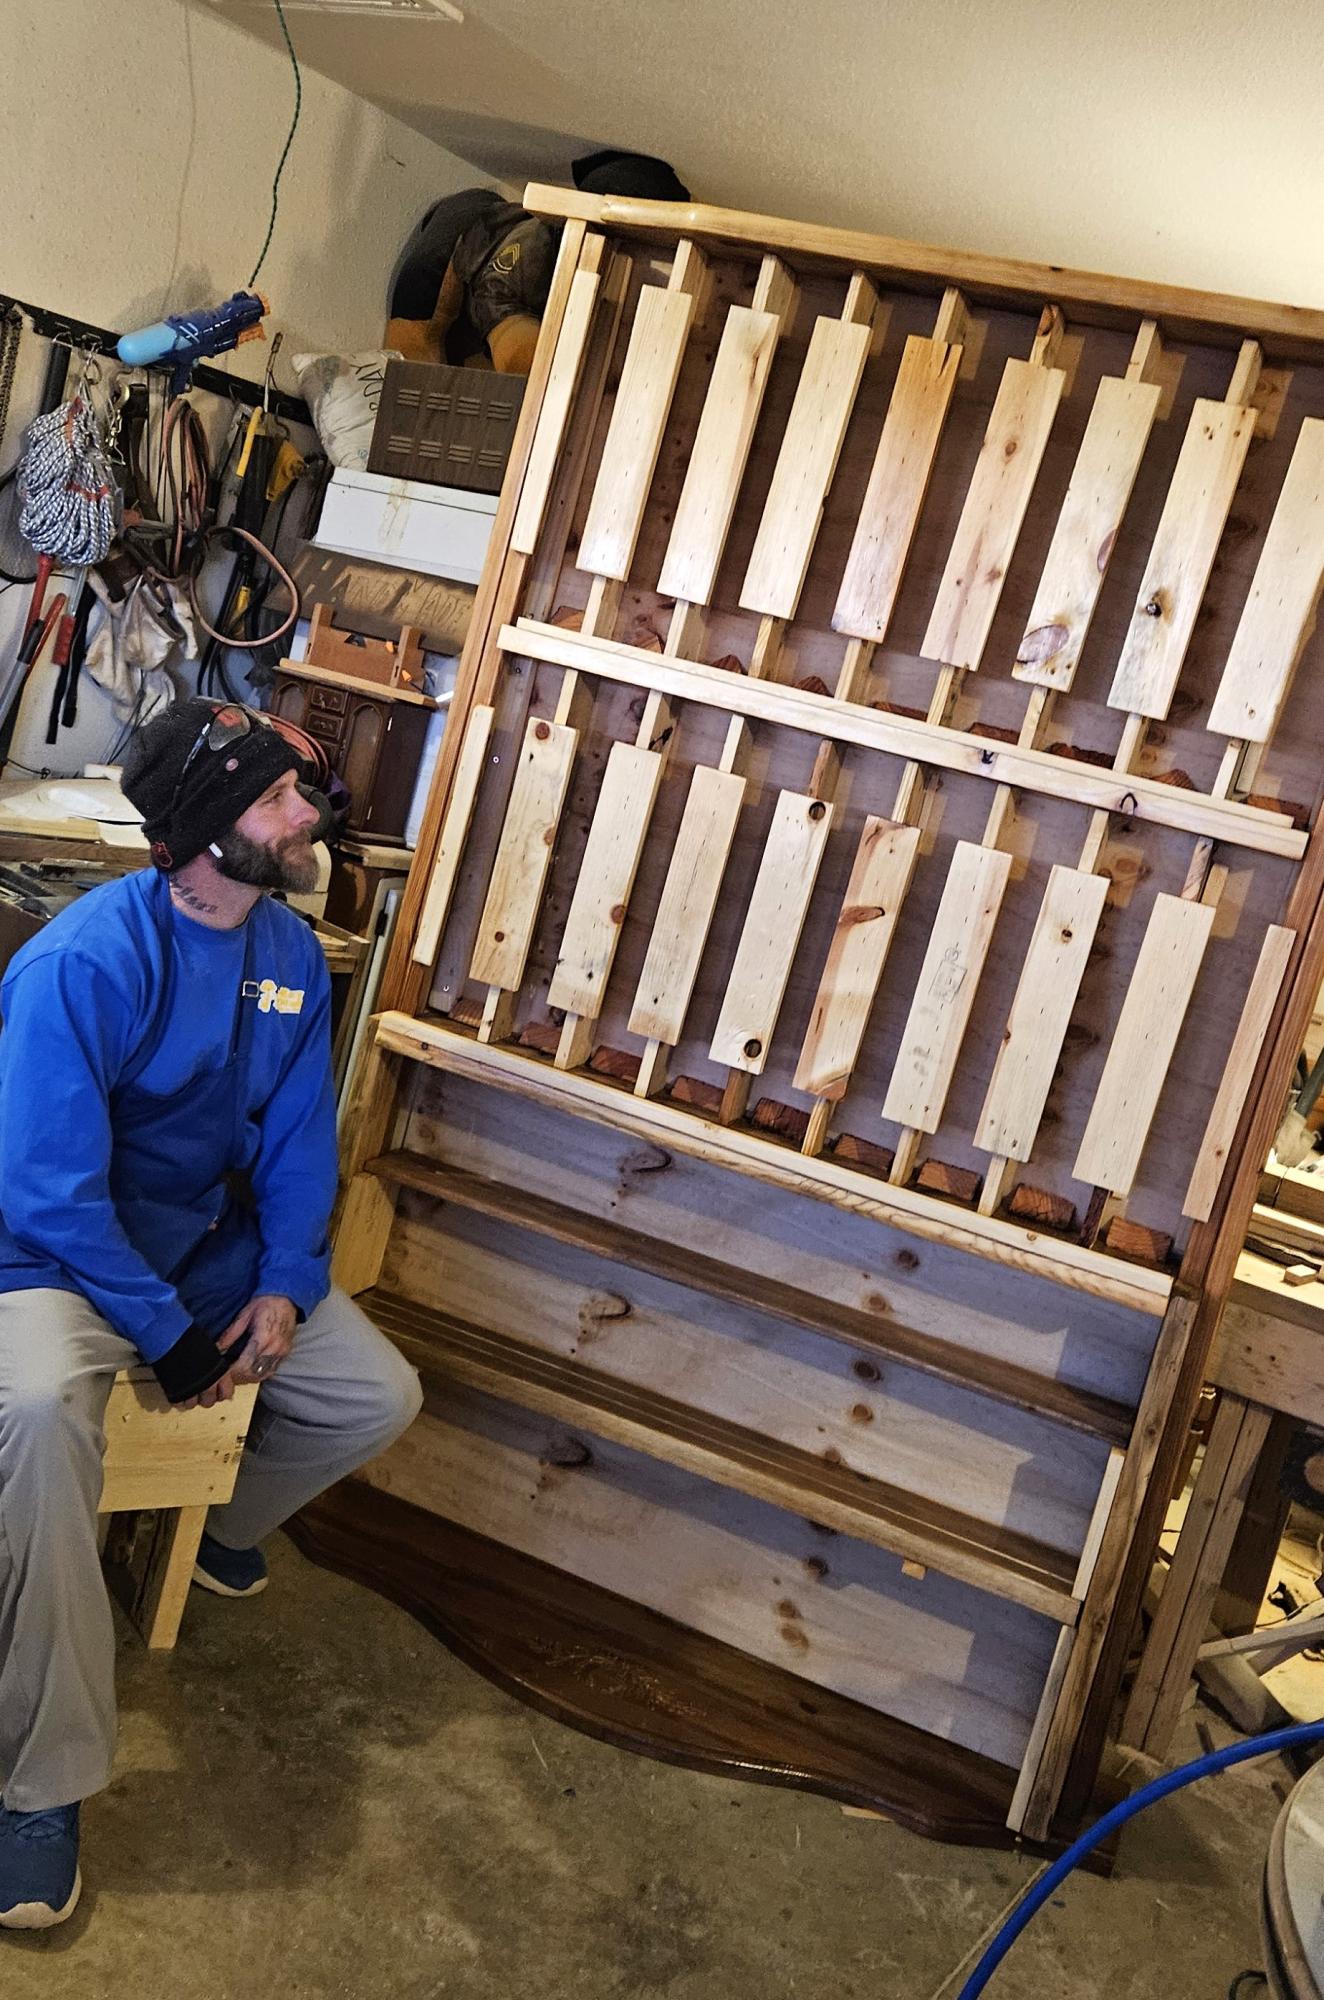
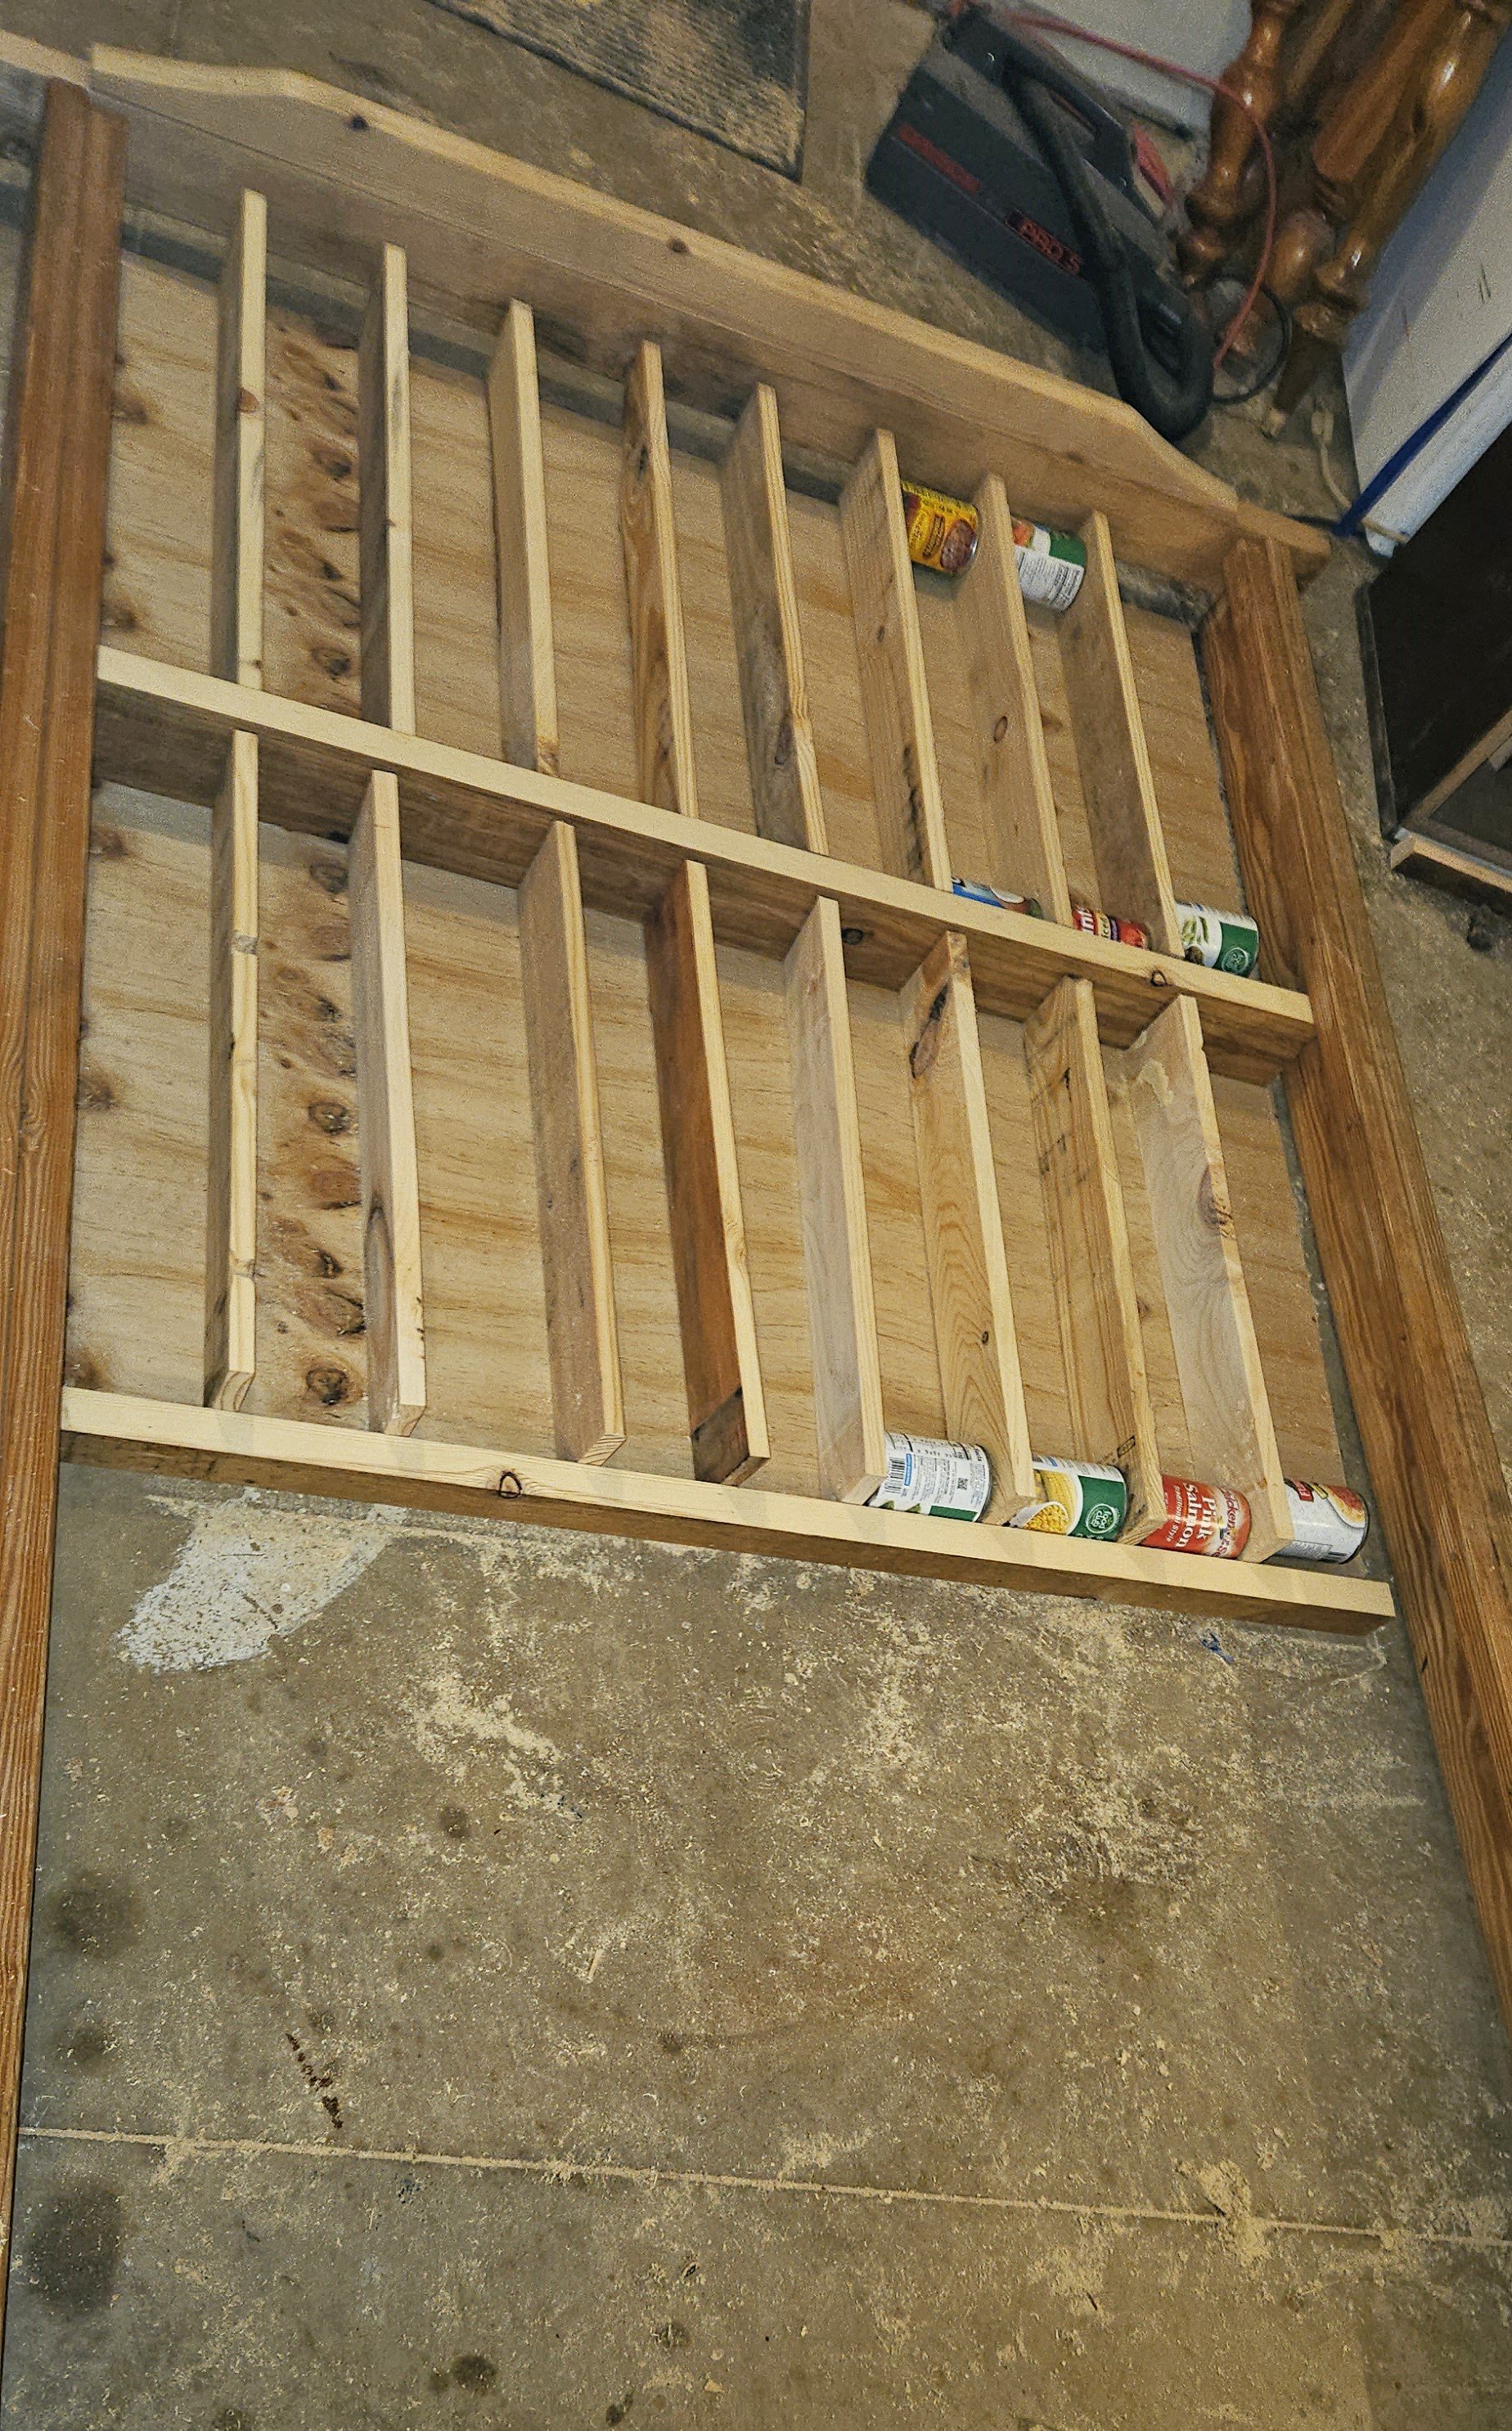
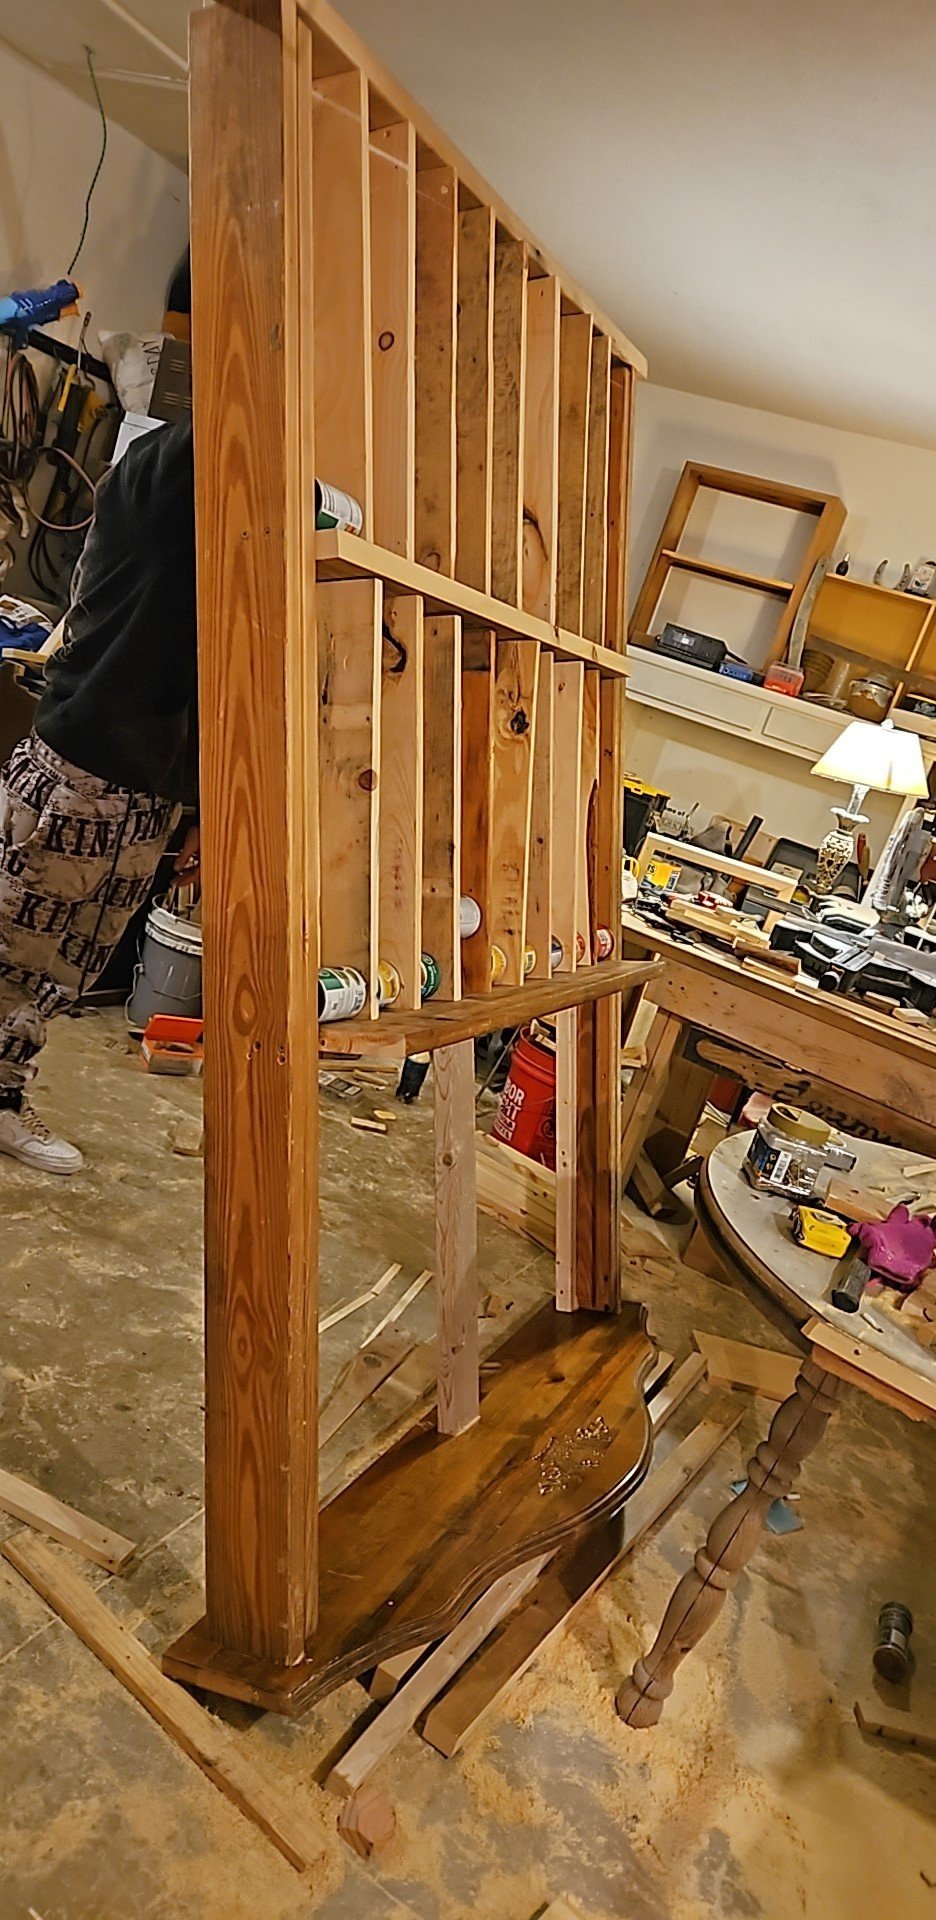
144 can dry storage for a pantry. In Amarillo Texas.
Jeremy Racette

Sun, 01/14/2024 - 19:44
This looks amazing and stores so many cans! Thank you for sharing.:)
It was a big project, and my husband did all the main stuff!
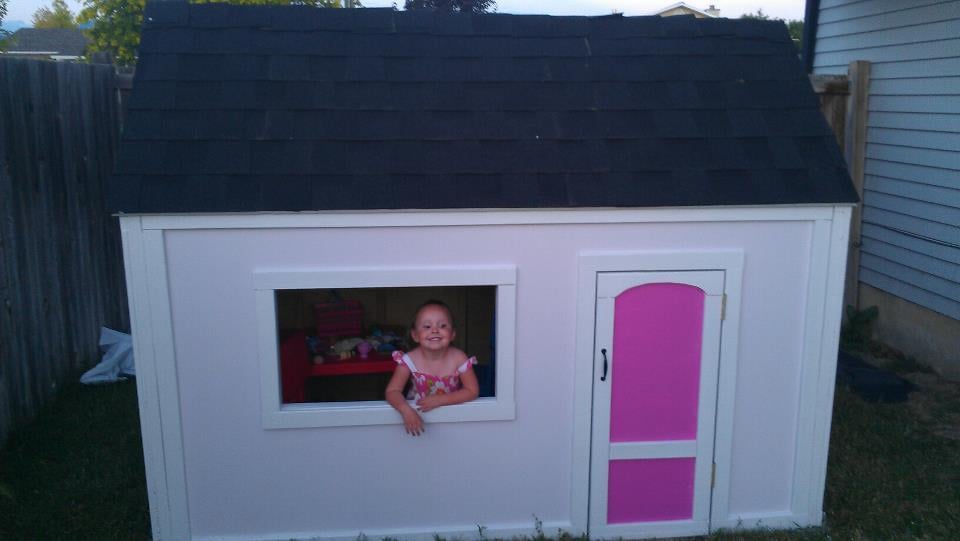
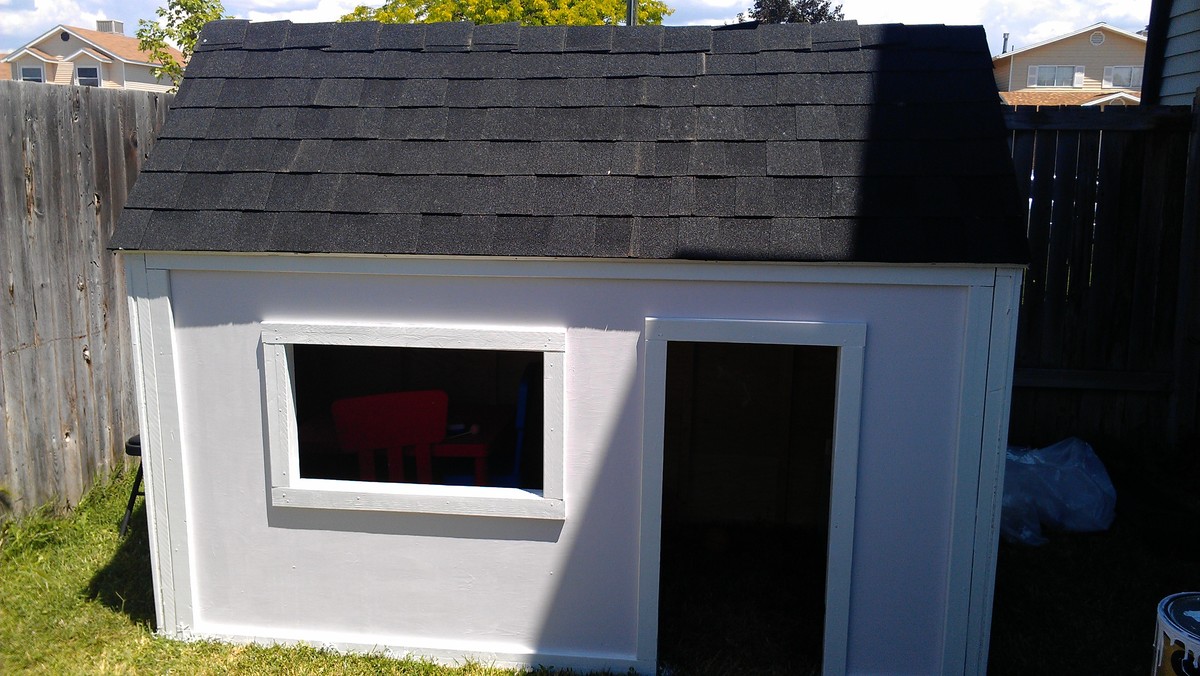
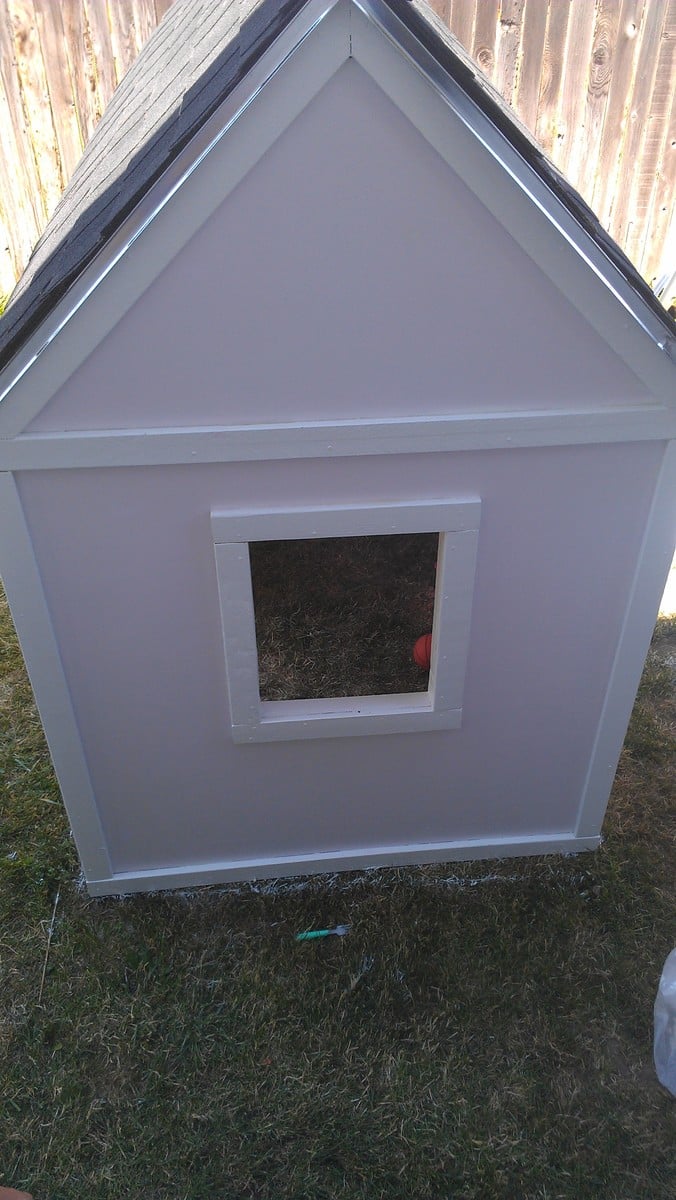
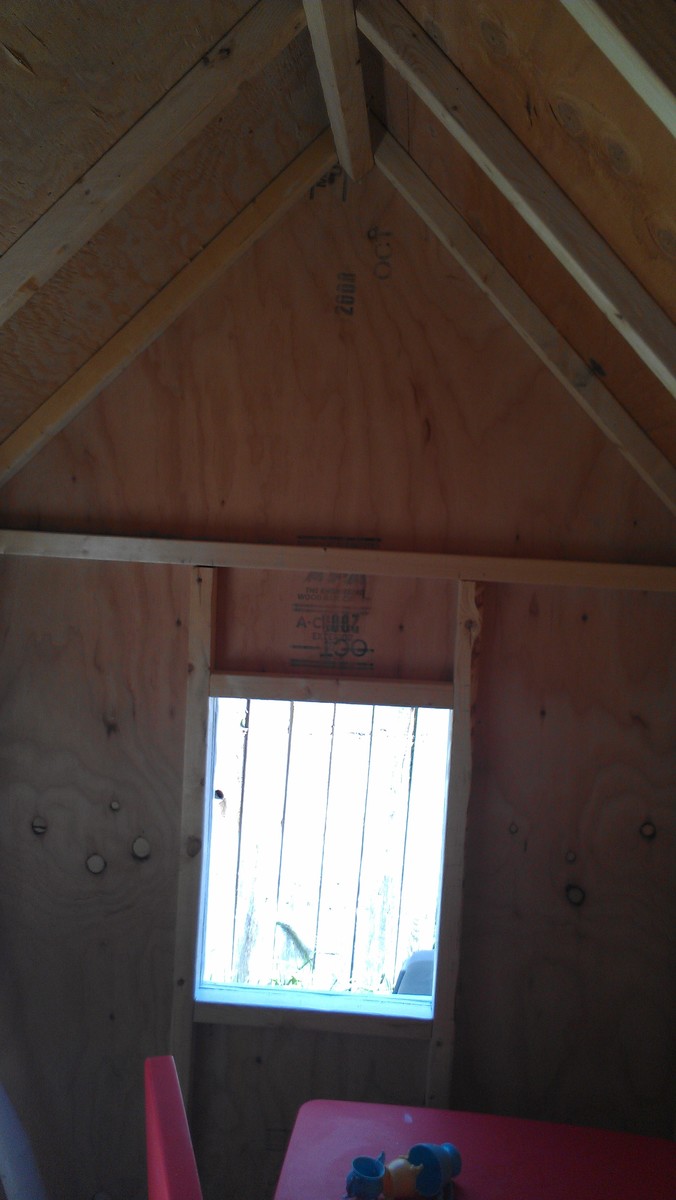
I still have to paint the inside. Since we aren't building a deck yet, we are putting it on some pavers. We bought 40 12x12 pavers and will push that out on in the next couple of days. I also will eventually attach a window box with plants. I'm planning on painting a couple of the inside walls with chalkboard paint.
It was seriously worth every amount of time and energy. If you are thinking of doing this, do it! You can, it's a great plan. Thanks Ana for the plans!
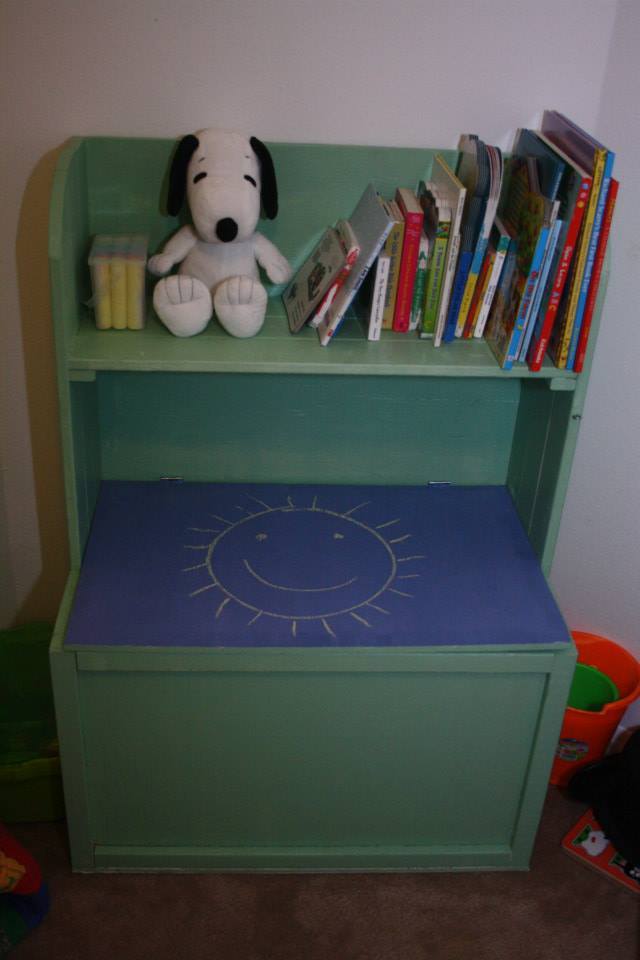
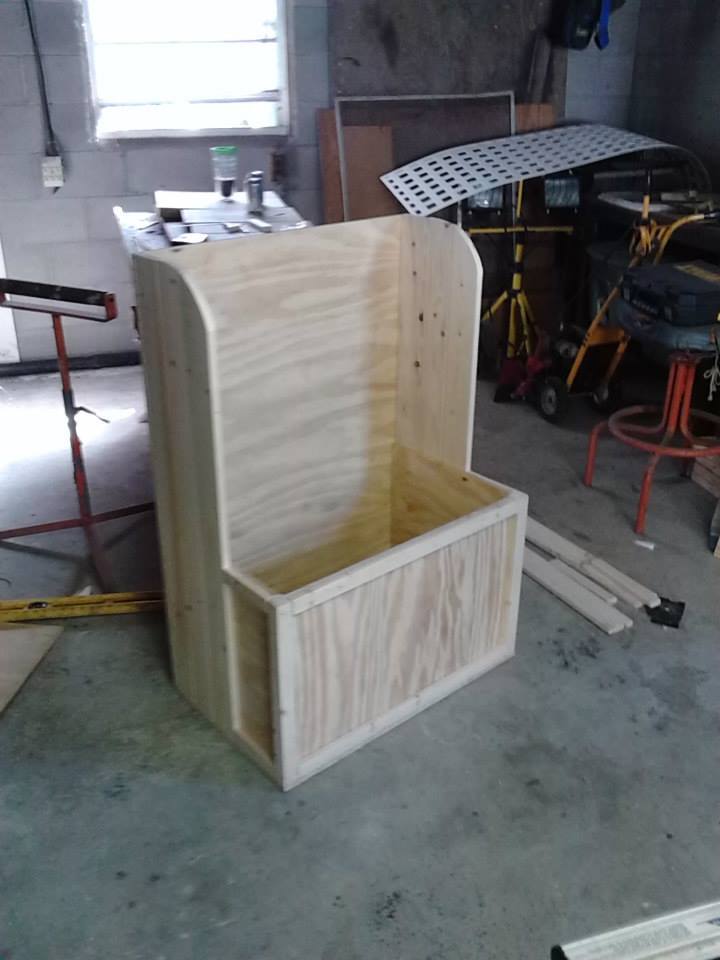
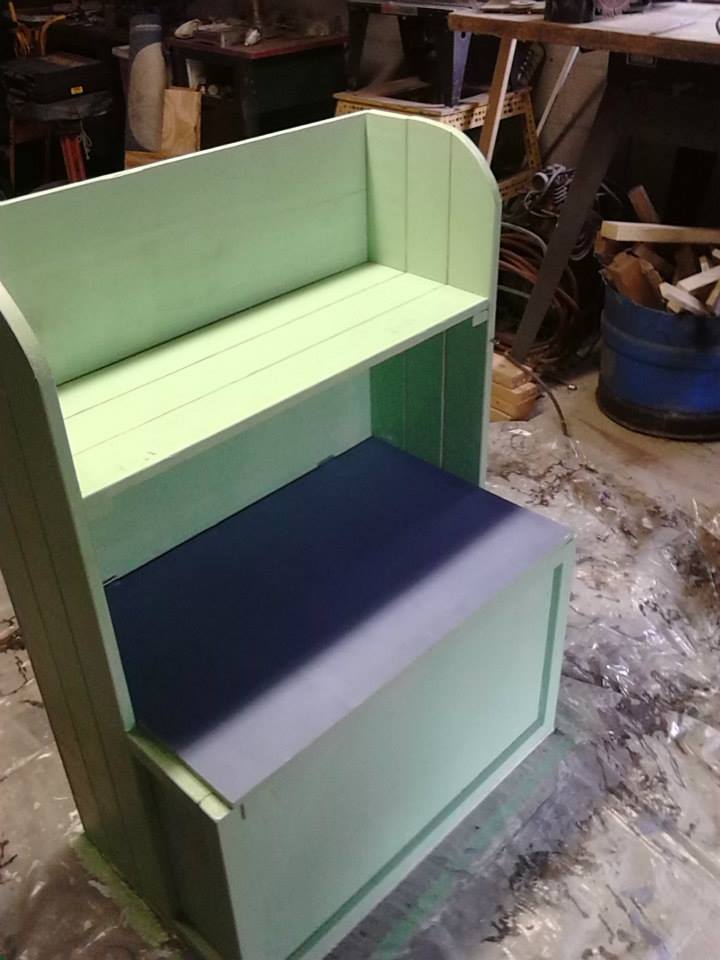
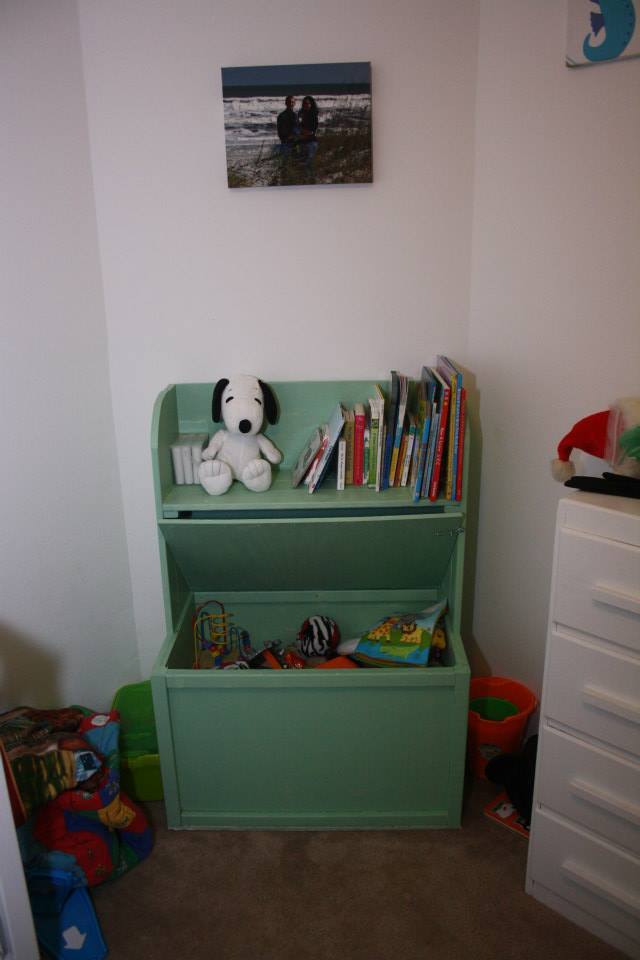
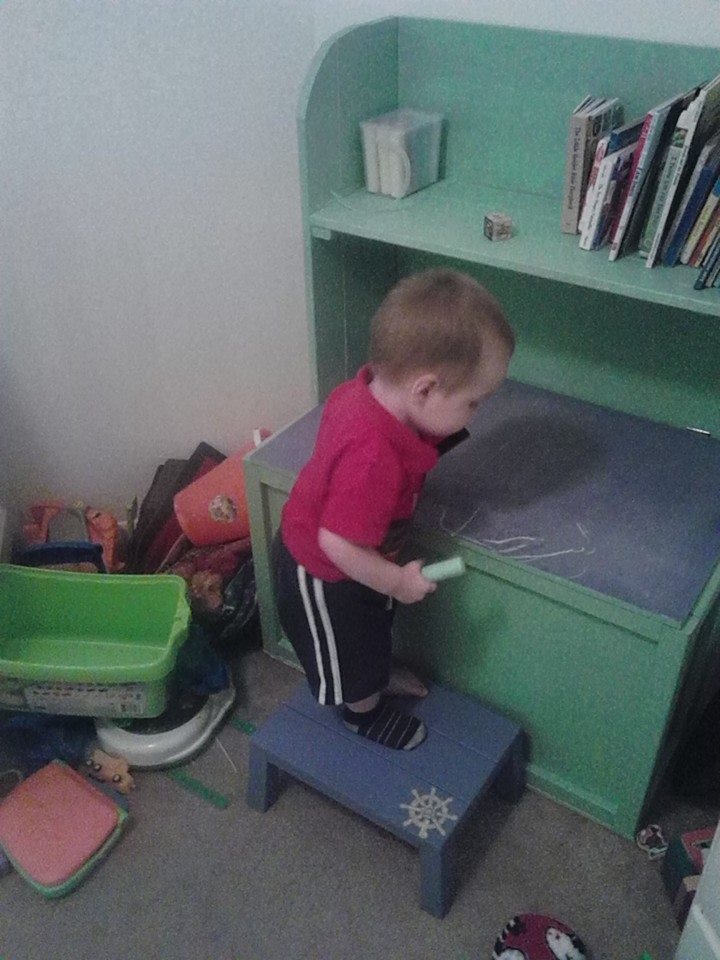
After building the farmhouse table, I got really excited about doing another project. While I was on spring break (nice benefit of being a teacher) I put together this toybox for my son. It's great to finally get the toys out of the laundry basket we had them in and into something more appropriate. We decided to make the lid a chalkboard for a little added fun.
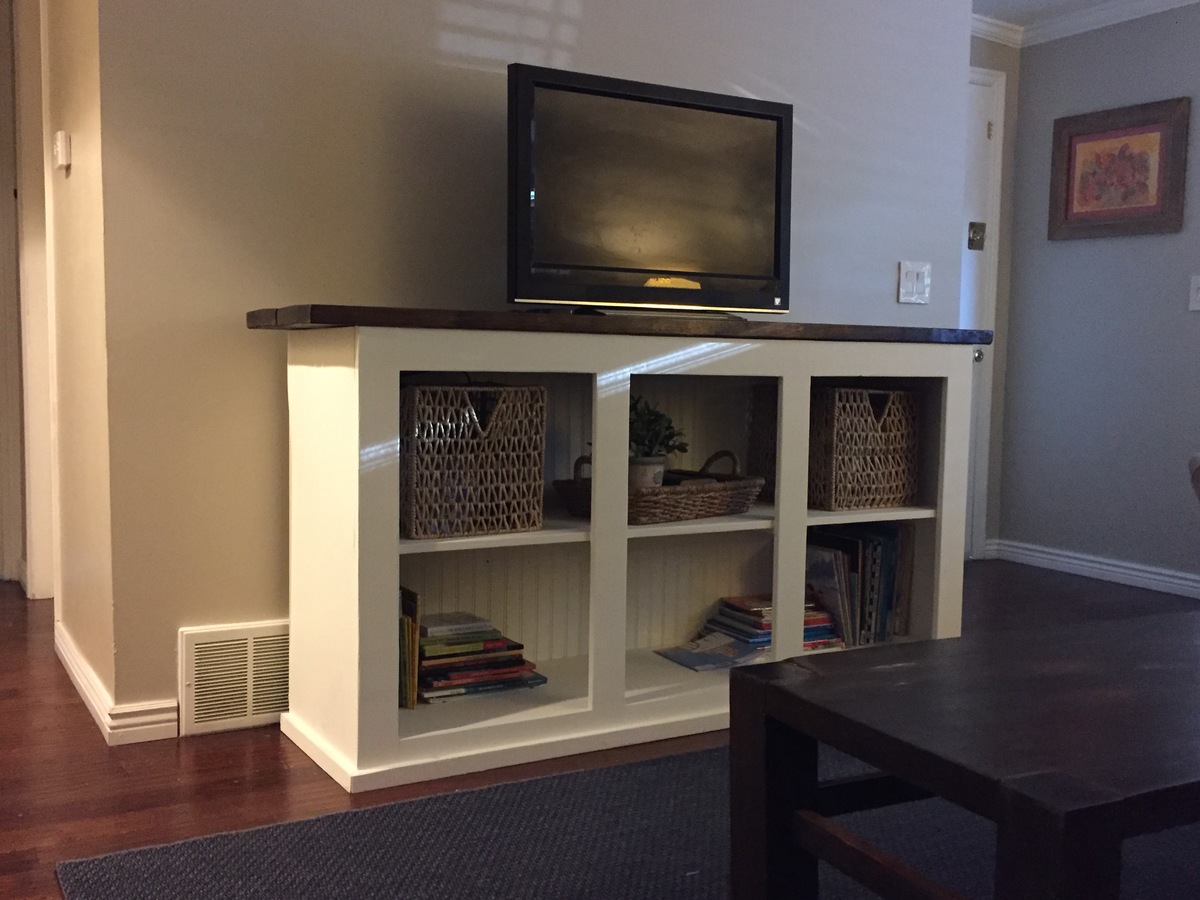
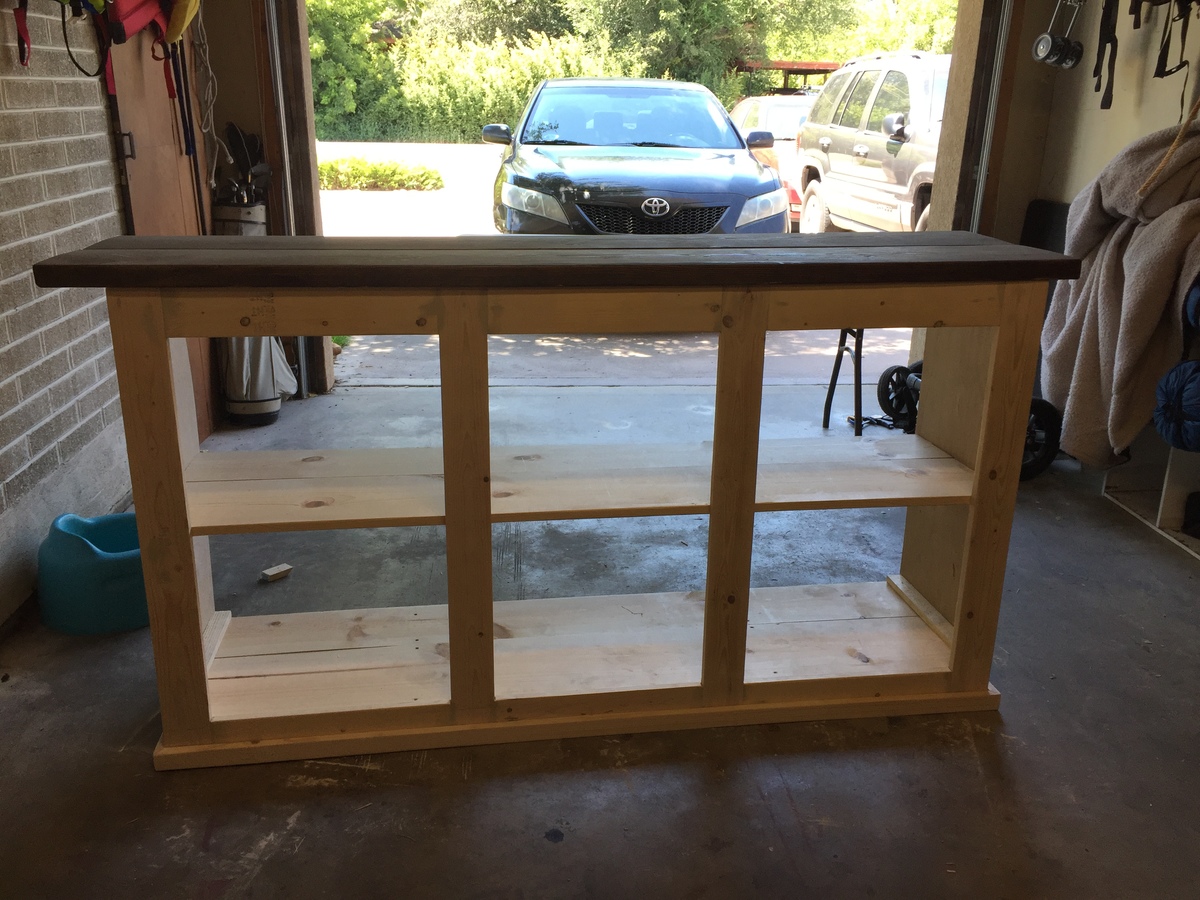
Built this at the request of my pregnant wife, got to crunch time with baby and sliding doors will have to wait until the craziness of the baby dies down. Prioritiezed and built the changing table first. Cut it down from 4 openings to 3 due to size of our wall.