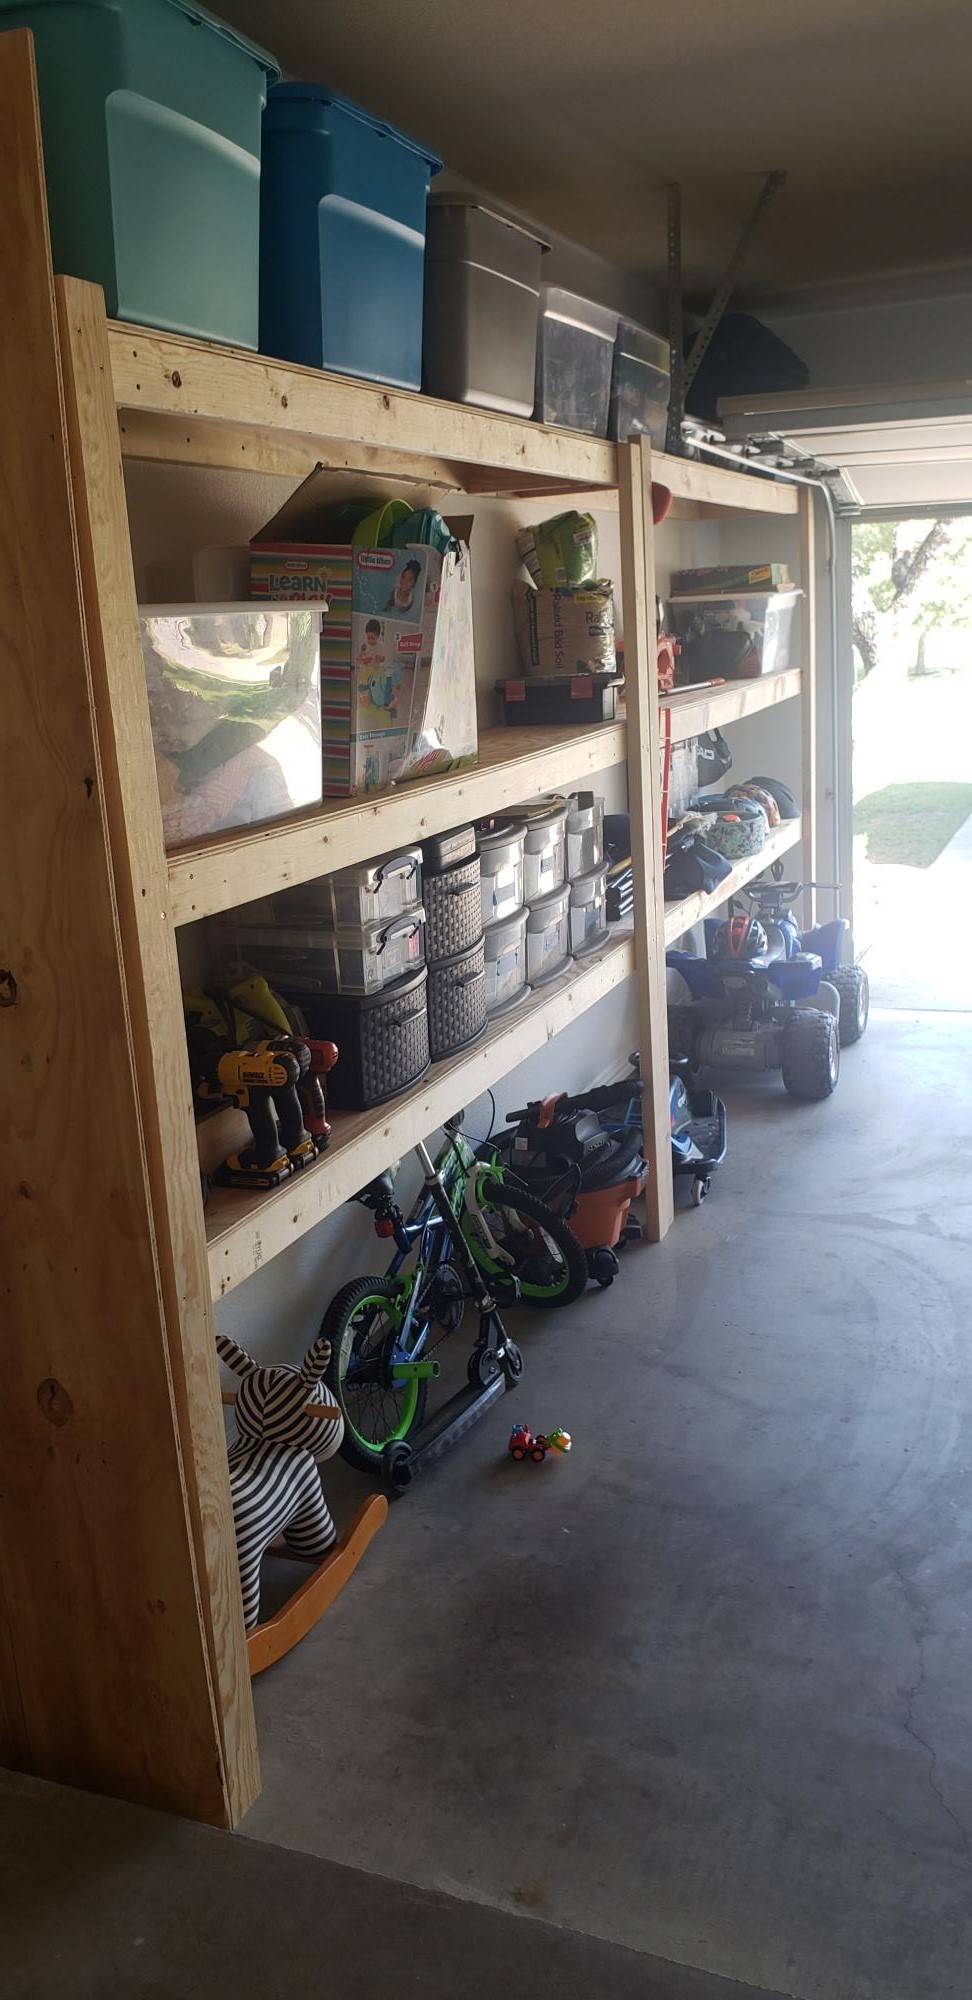
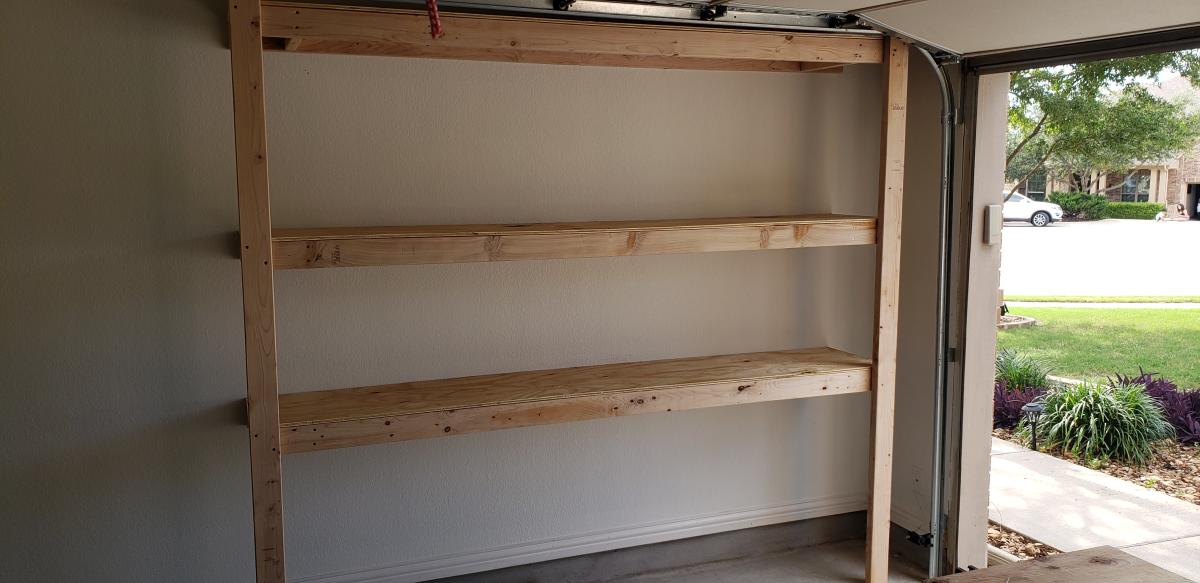
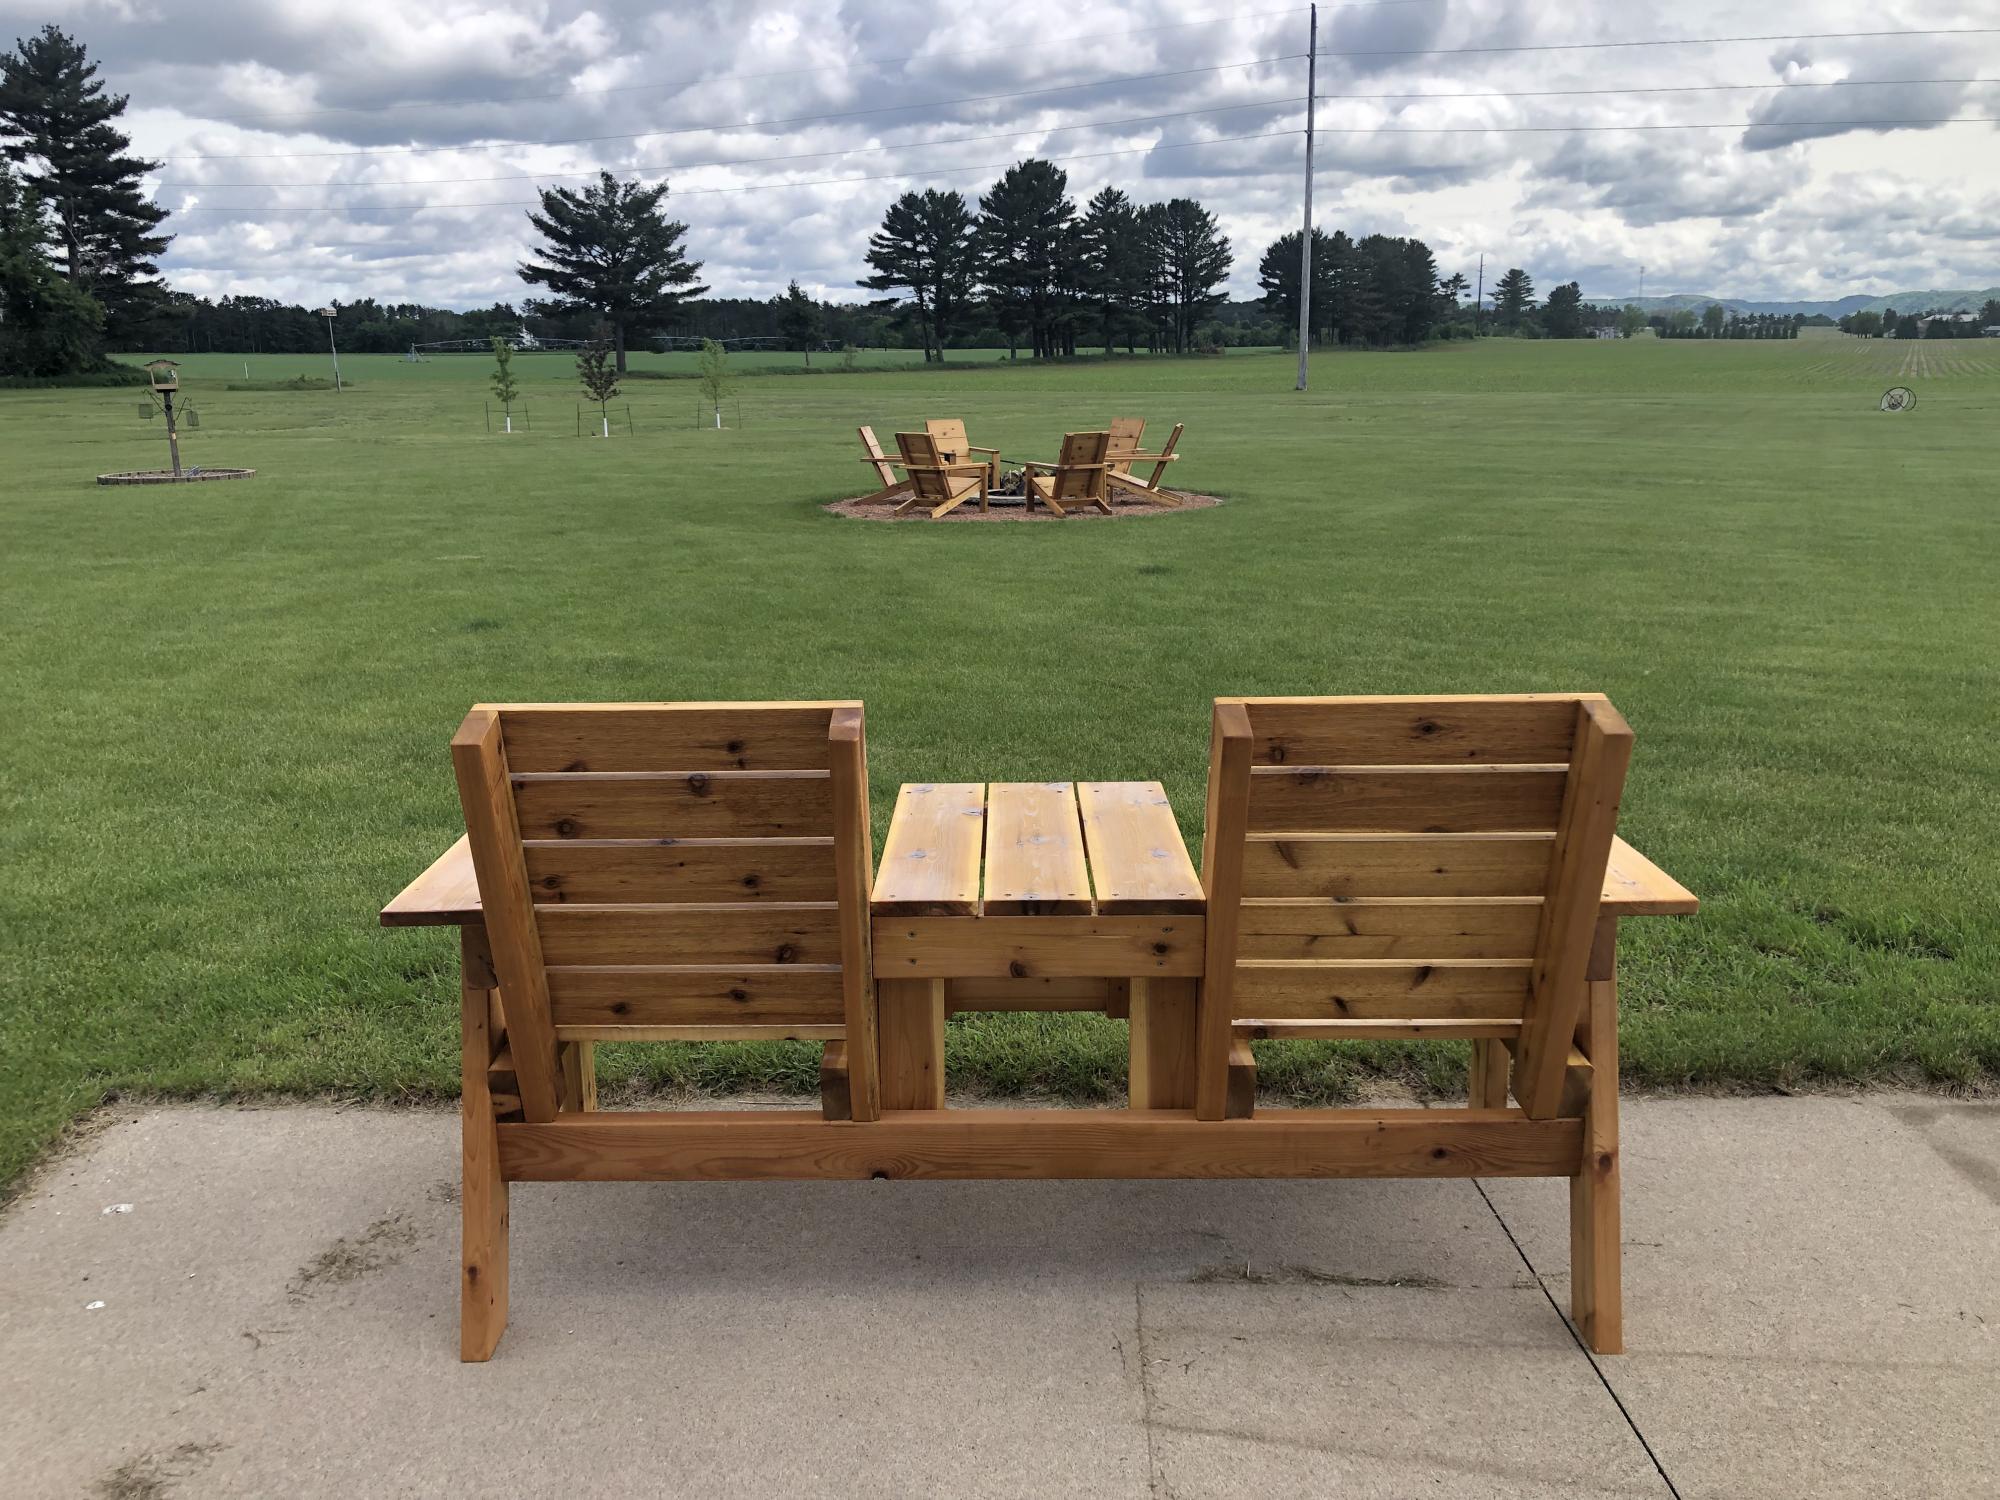
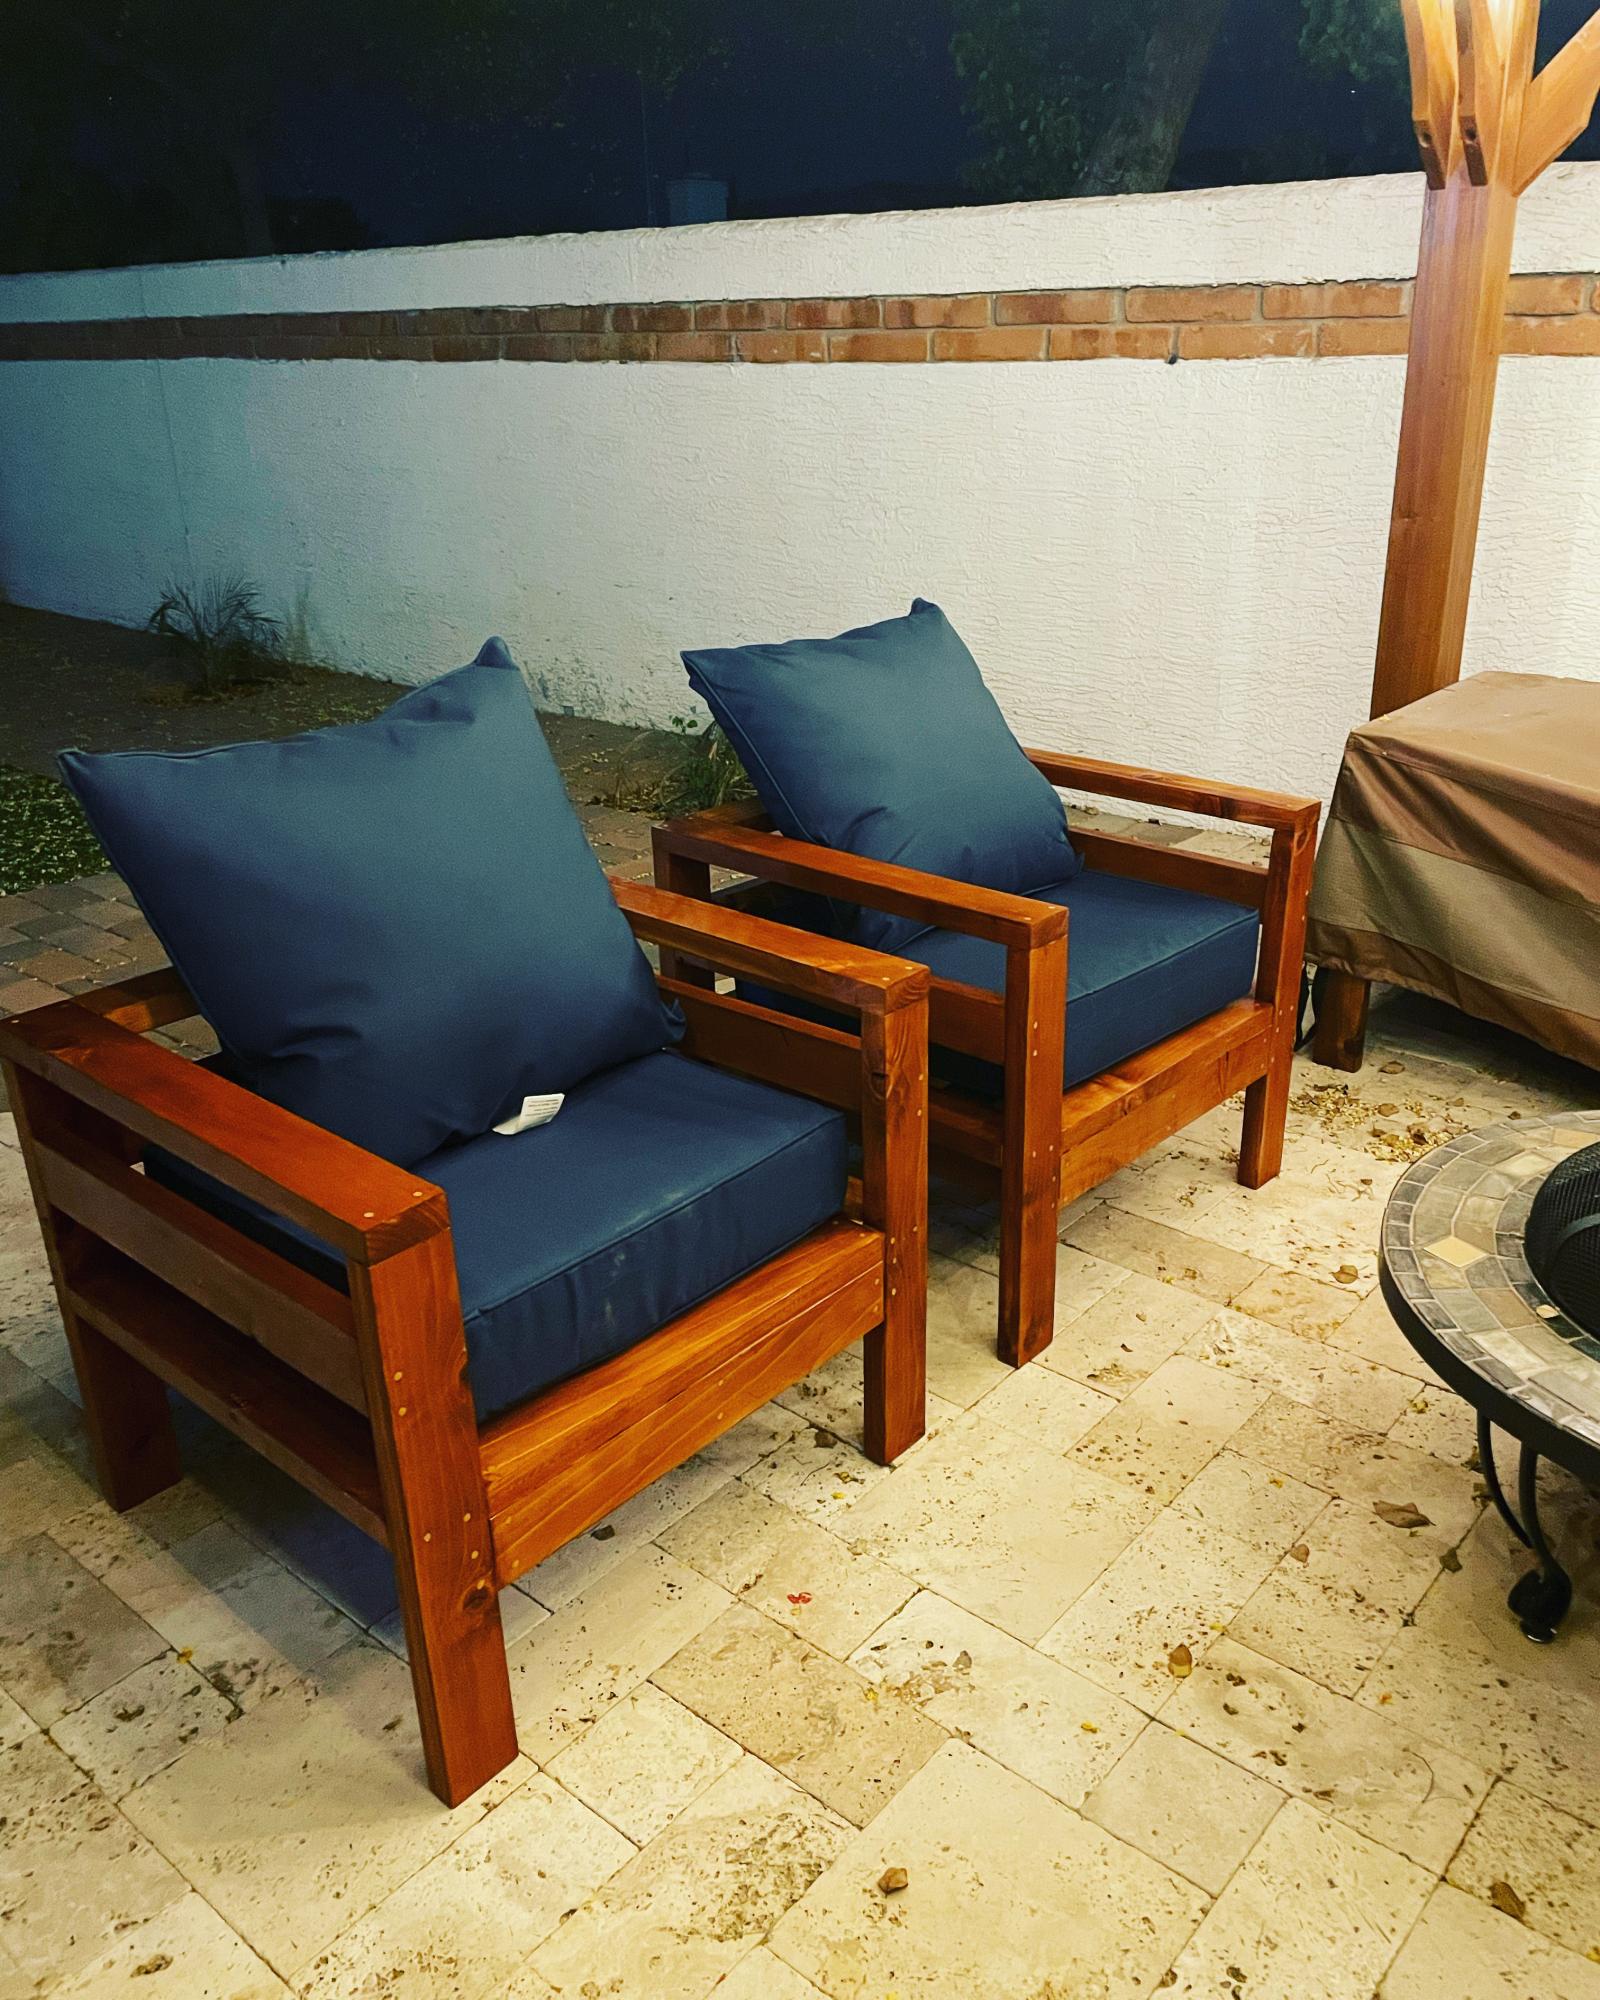
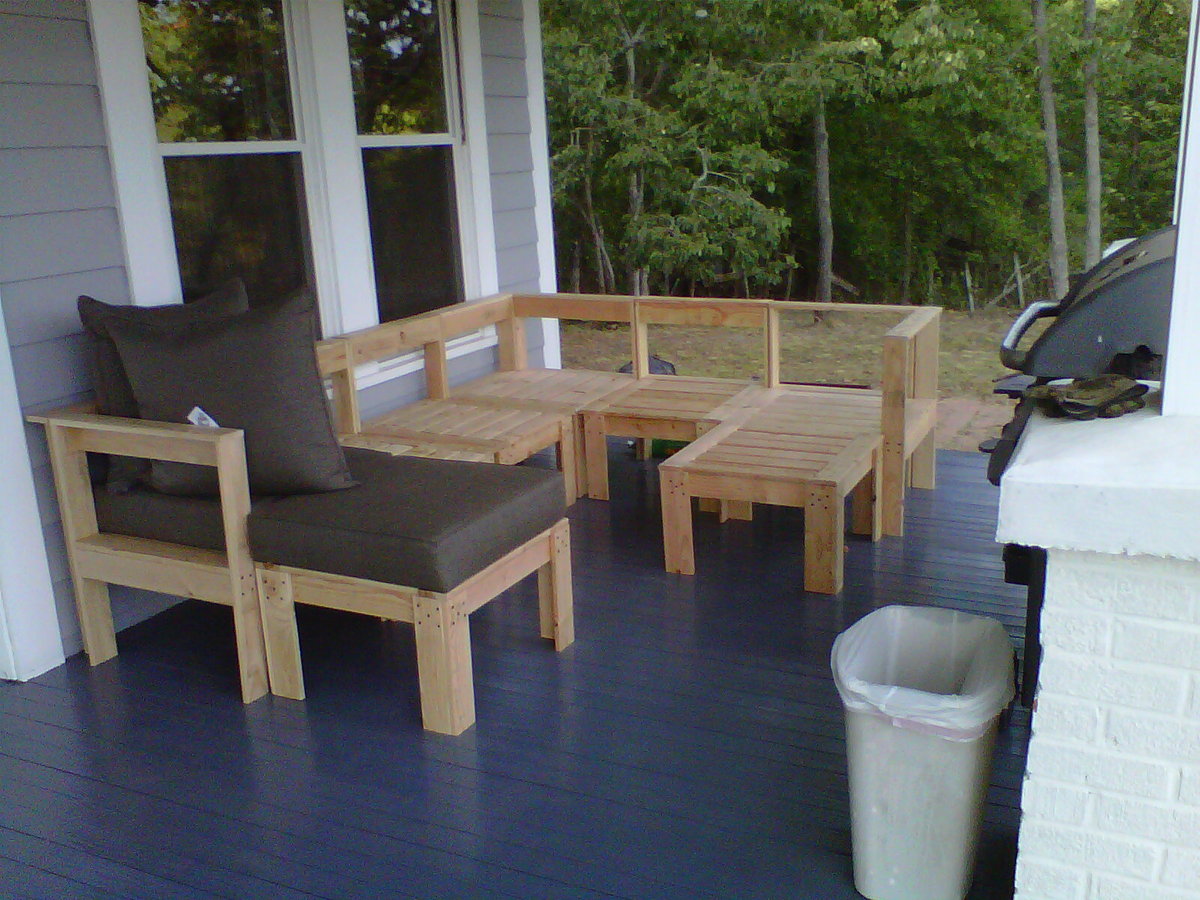
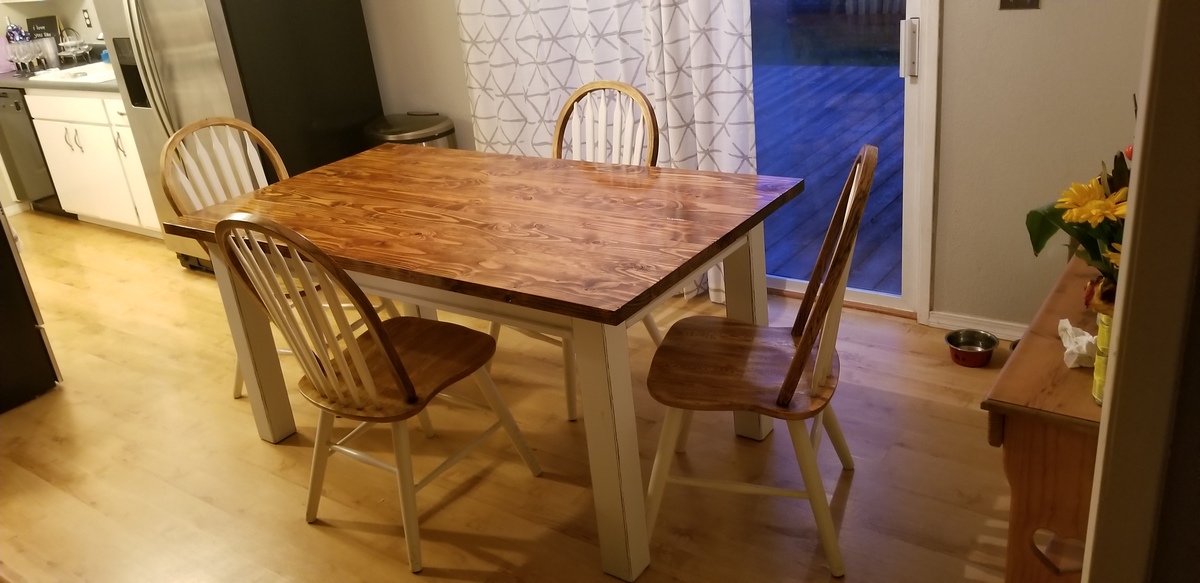
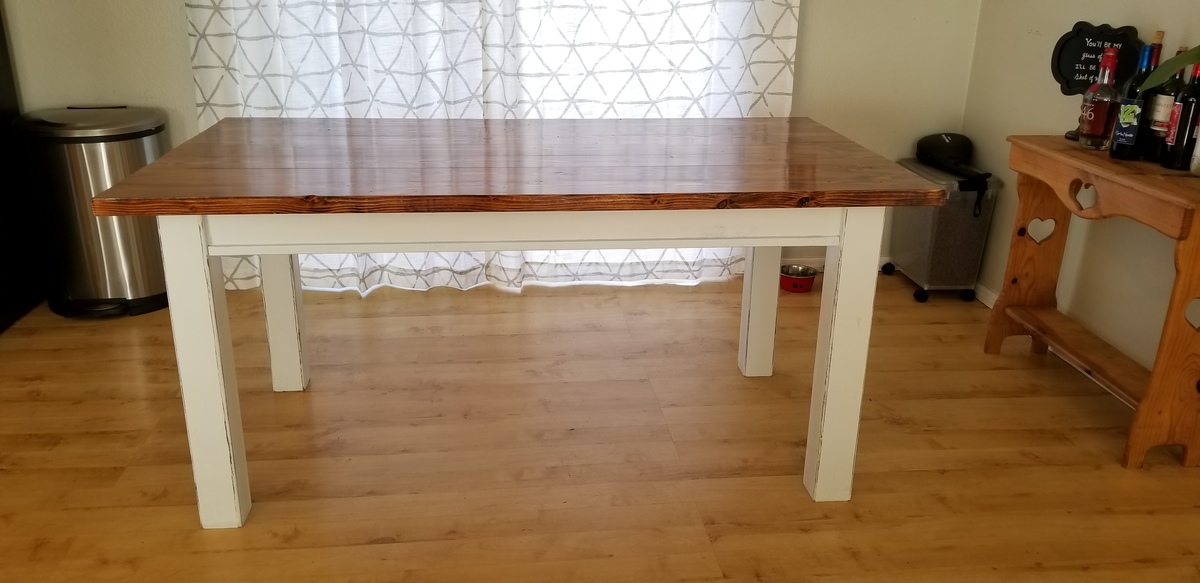
Second Squared2 Chair
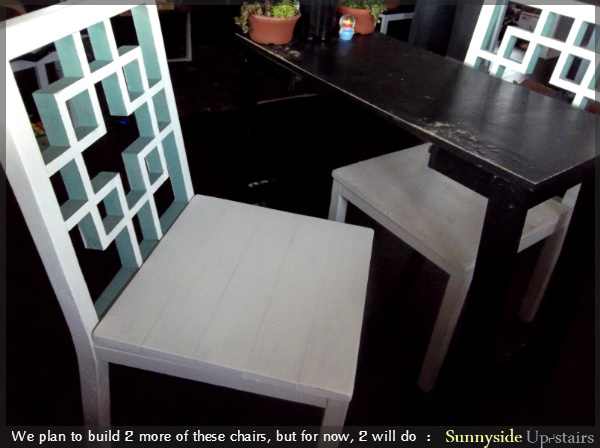
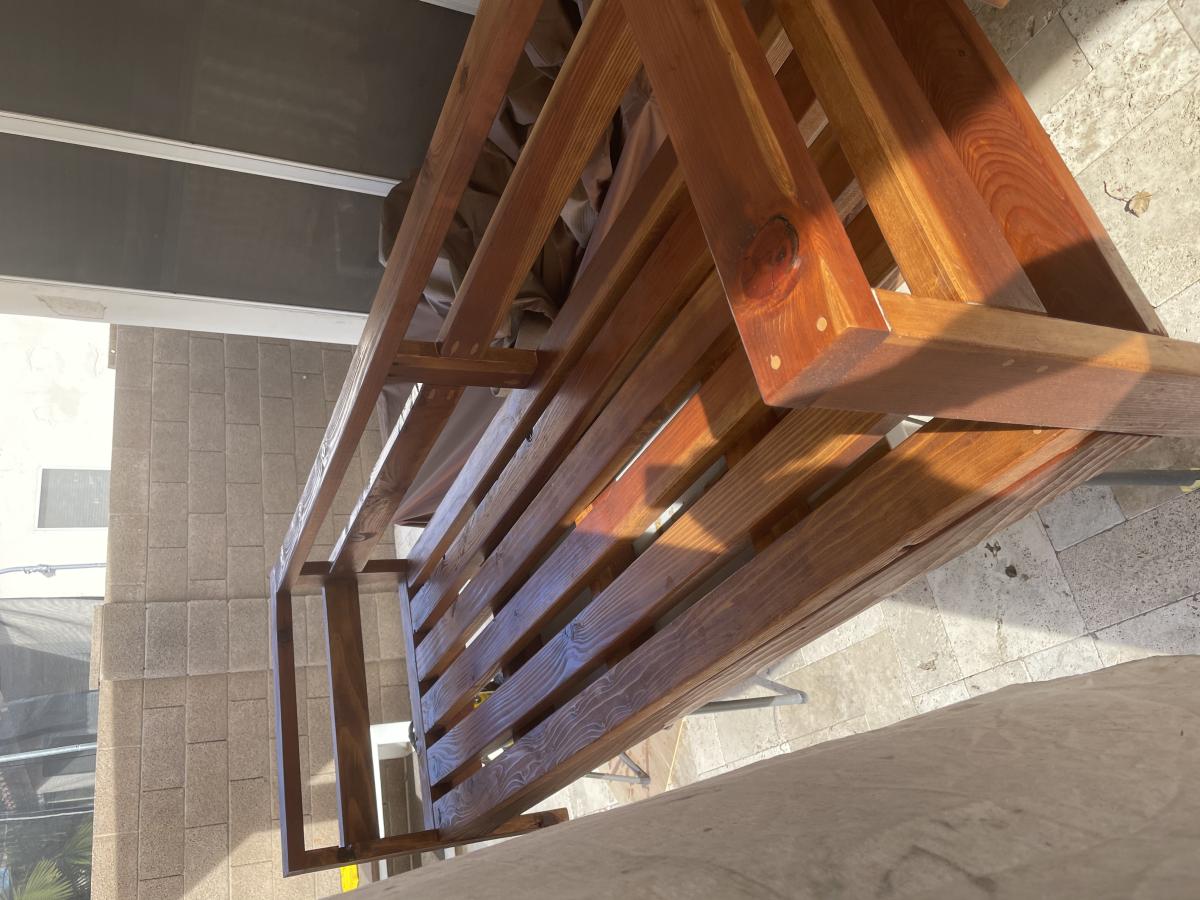
I purchased and used a circular saw to cut the back legs, which was so much easier than just using a jigsaw like I did the first time. Having experience building one before made assembling the second one simpler.
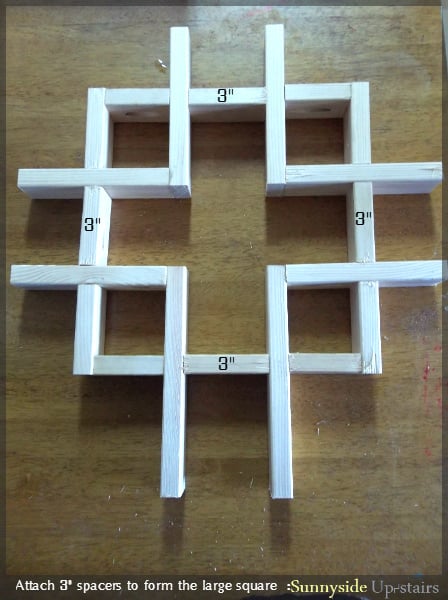
(Note: The measurements in the photos are different than those in the plans because I cut the back legs to be 37", adding about 1" to the height of the patterned back support to accommodate a 1" seat cushion for future.)
Built from Plan(s)
Estimated Time Investment
Weekend Project (10-20 Hours)
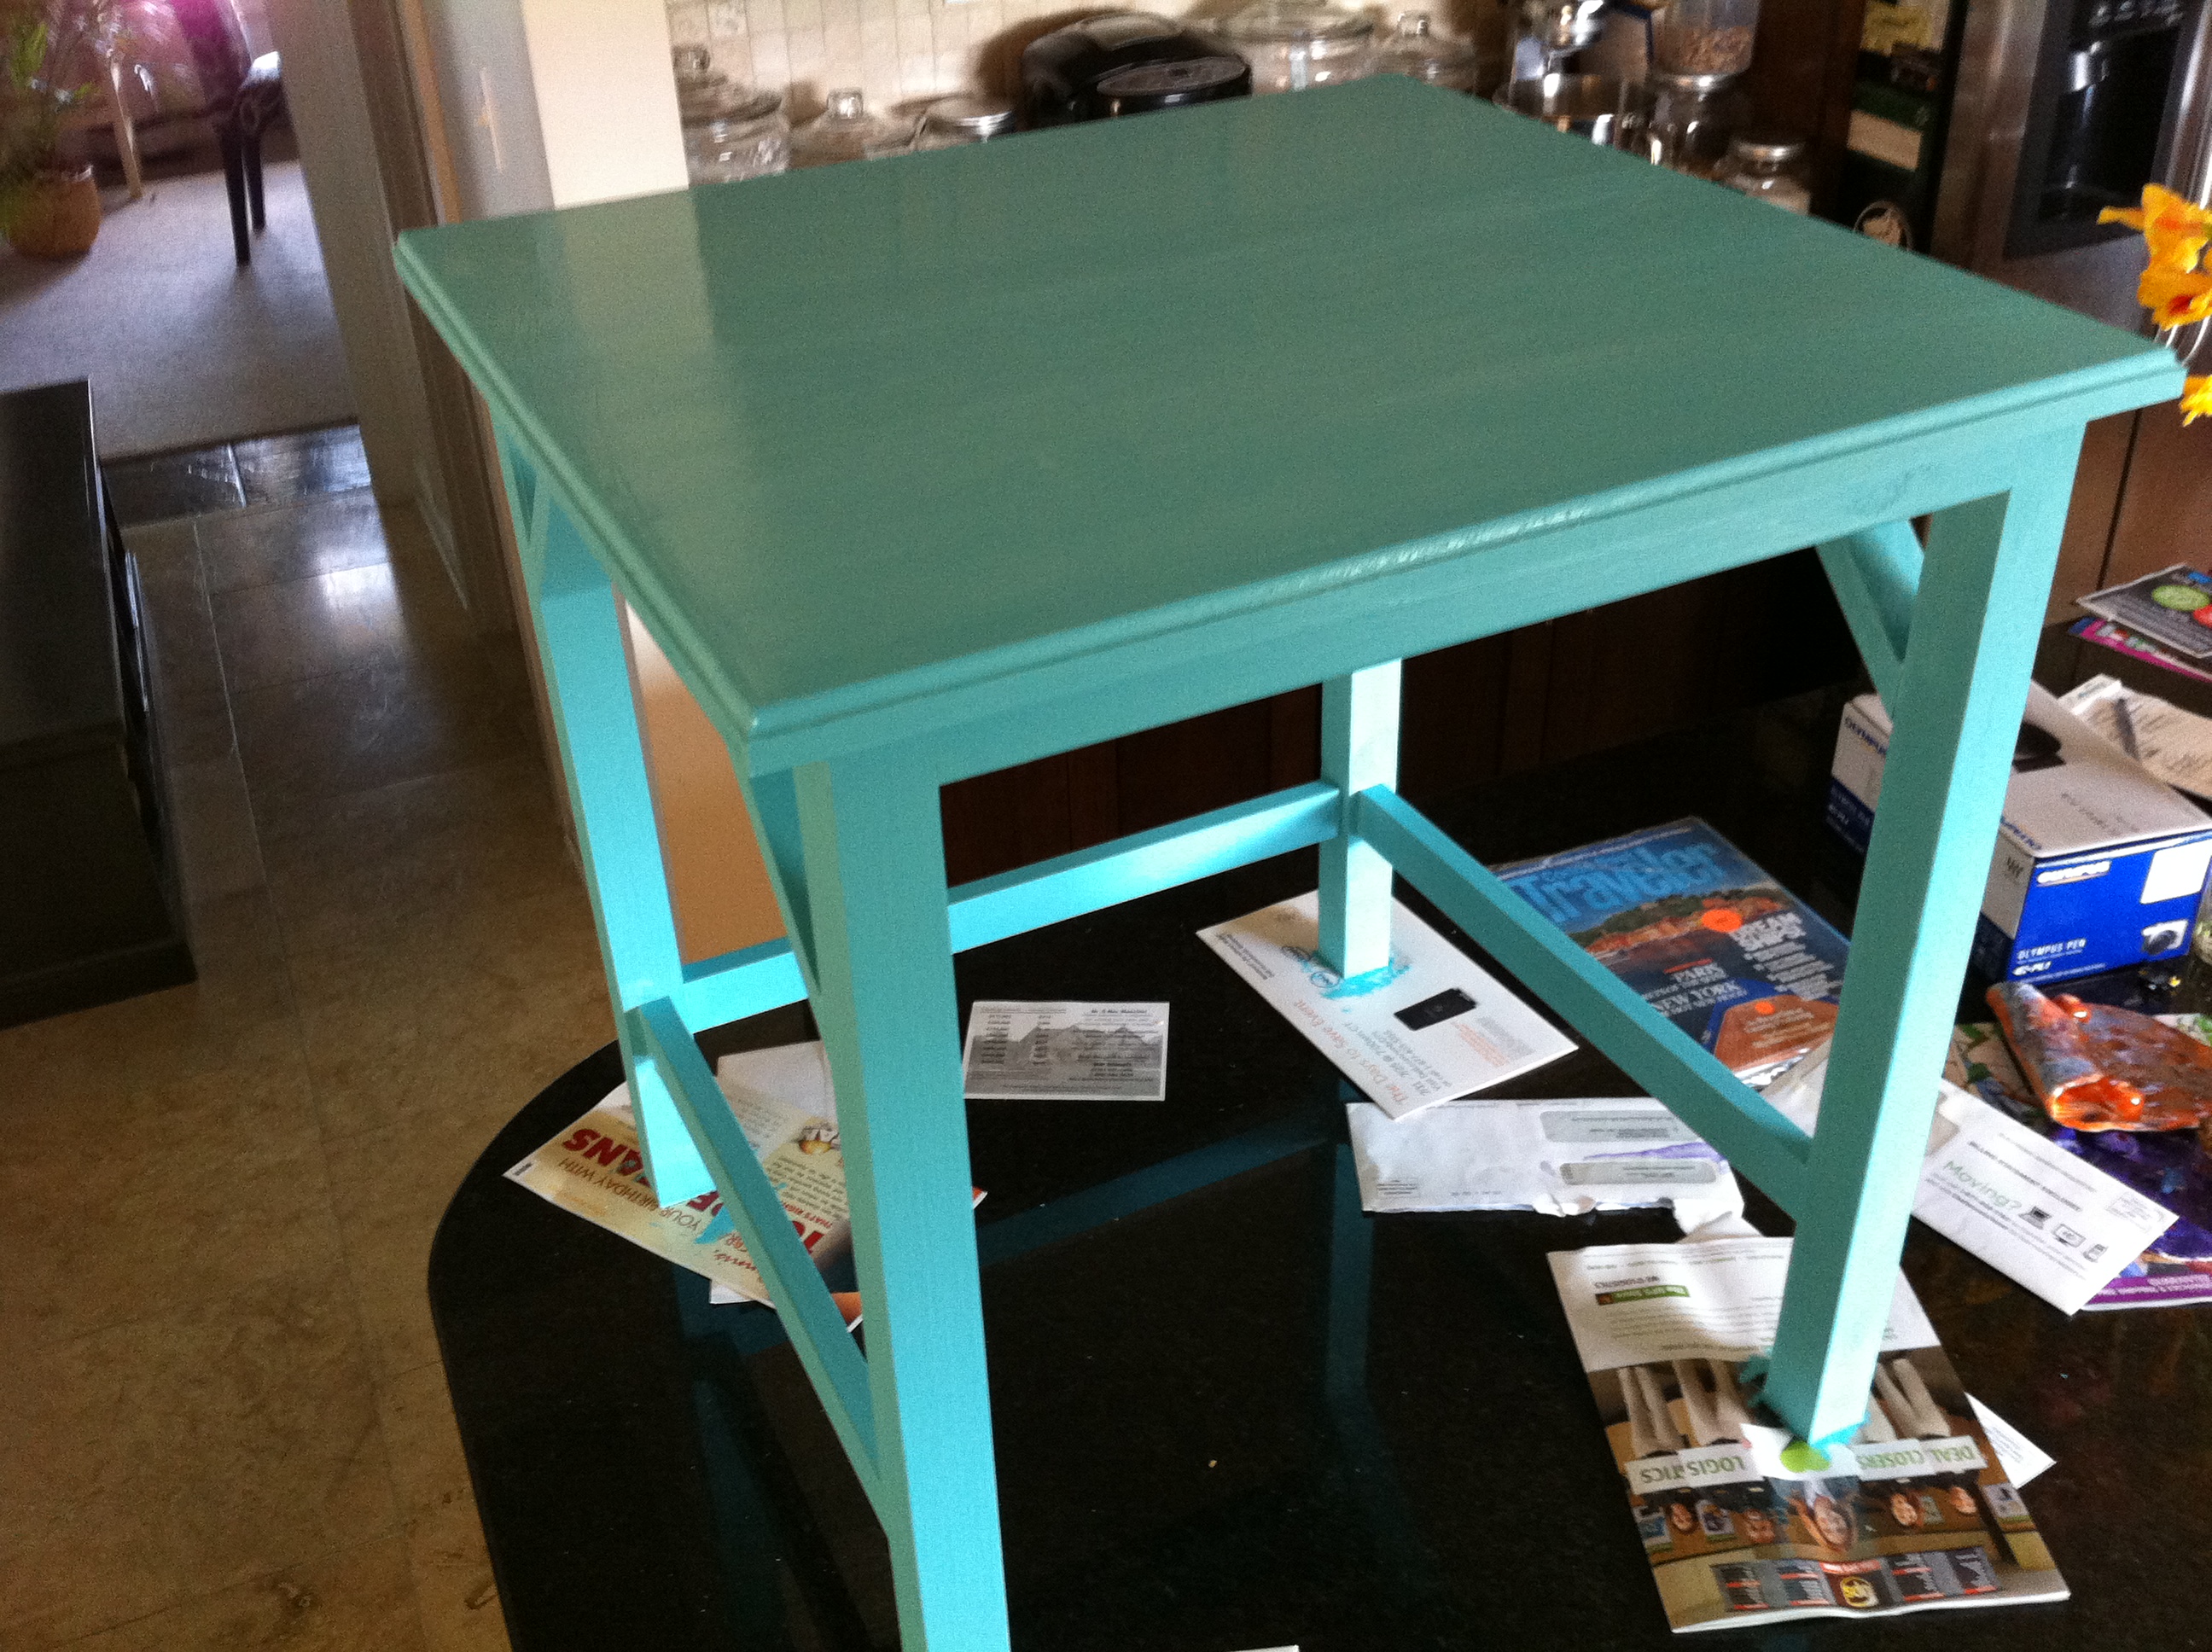
Finish Used
Valspar sample of Birchwood White ($3) with Valspar shimmer powder (remaining powder of previous $7 purchase), teal color ($3 oops paint my brother gave to me).
Recommended Skill Level
Intermediate


Comments
Medickep
Mon, 09/02/2013 - 06:59
Look Great
Are the back legs of your chairs two different pieces?? I noticed they have a curve to them and was curious how you got that look!!
Thanks,
In reply to Look Great by Medickep
yurra-bazain
Wed, 09/04/2013 - 00:54
The chair is essentially made
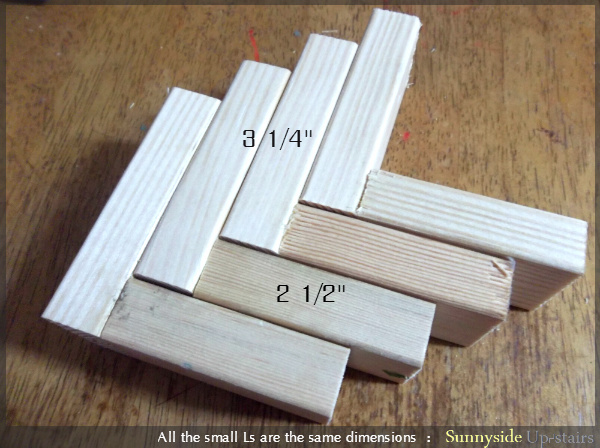
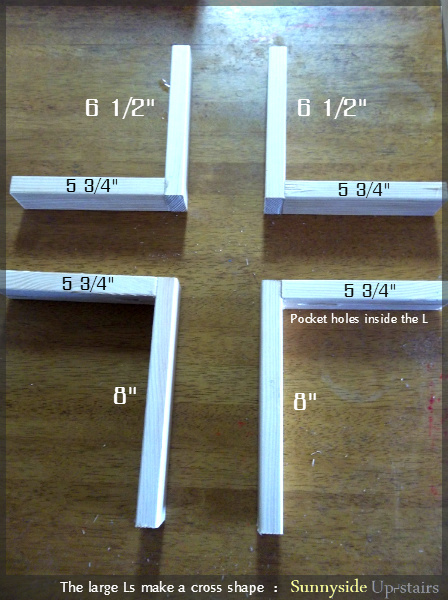
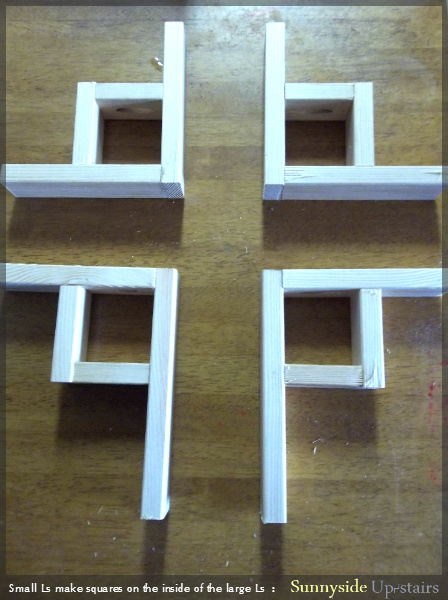
The chair is essentially made in two pieces: the back support and back legs being one assembled piece and the seat and front legs being the other. Each back leg is cut from a 2x4 to make the angled back, which was the trickiest part of the whole build for me. There are diagrams in Ana's plans to explain it visually. =D I hope this helps a little!