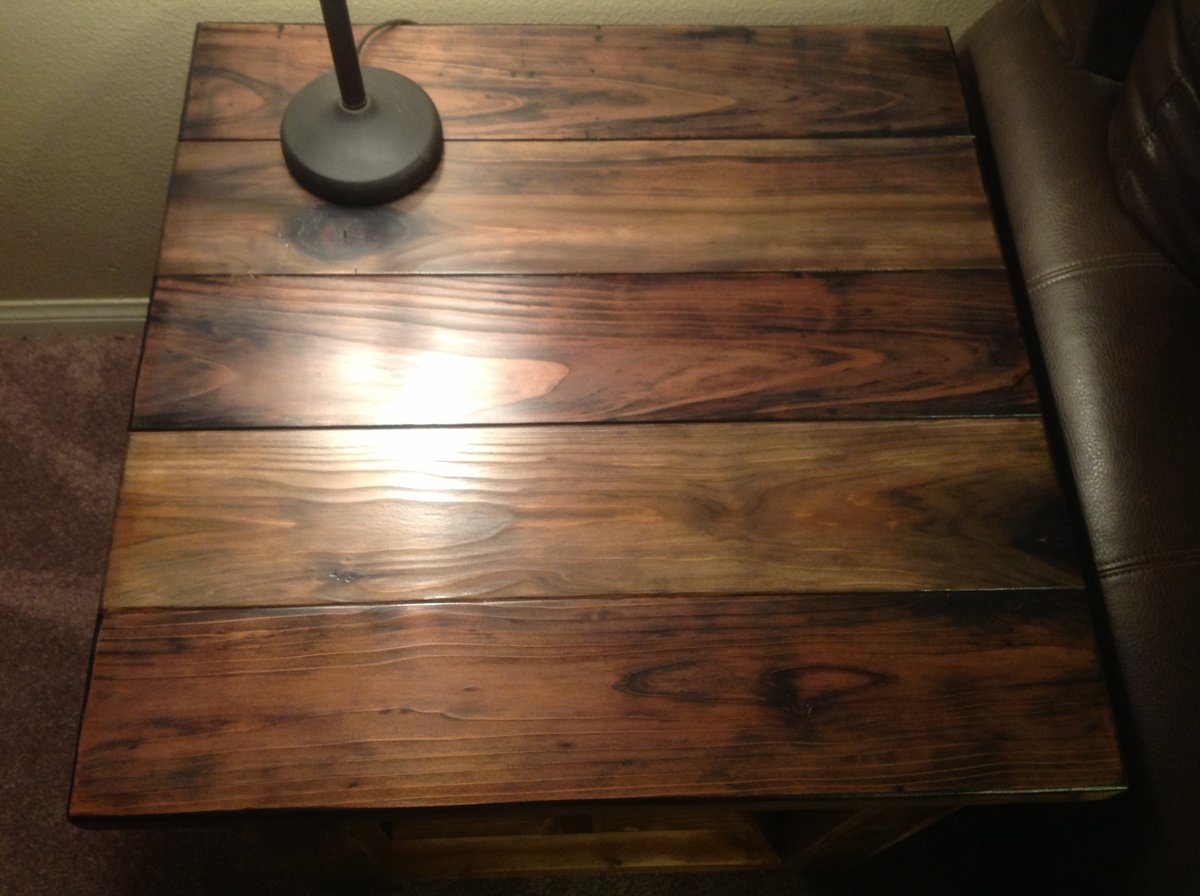
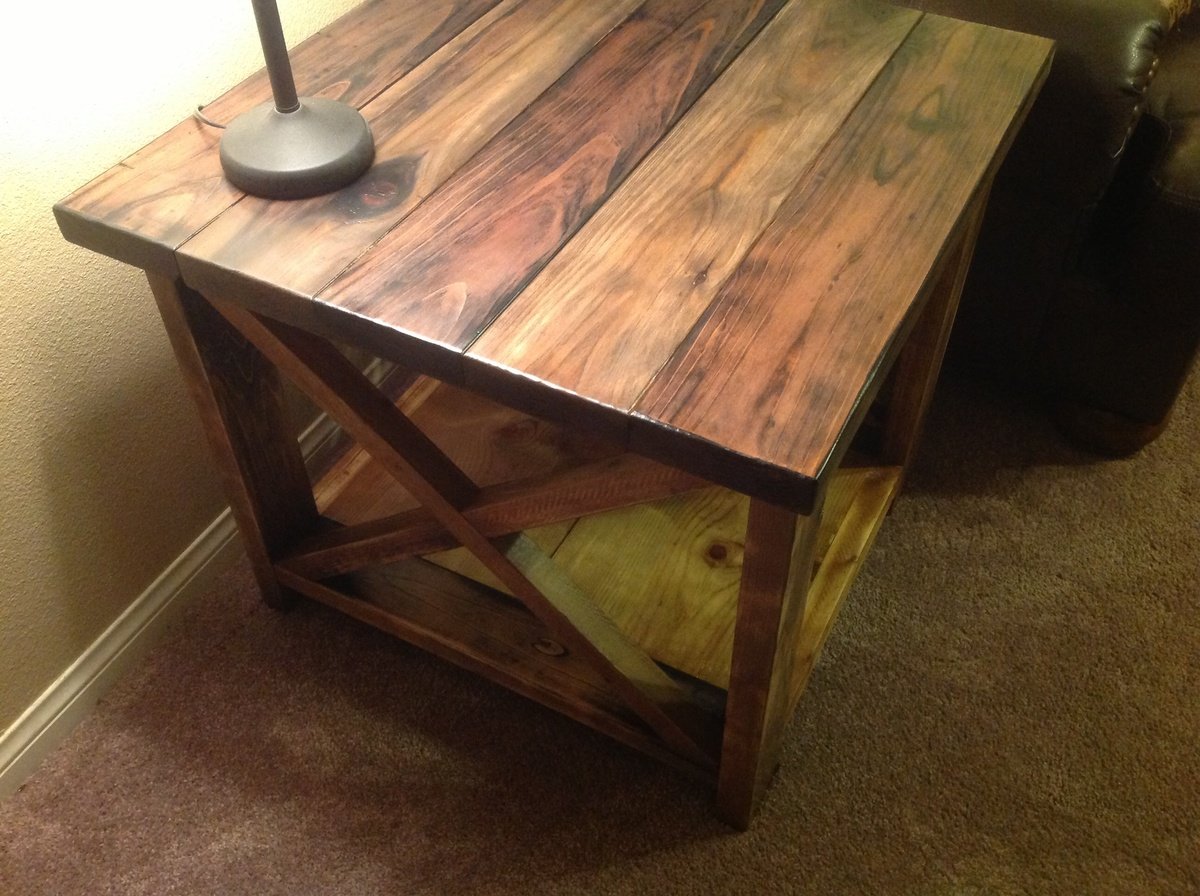
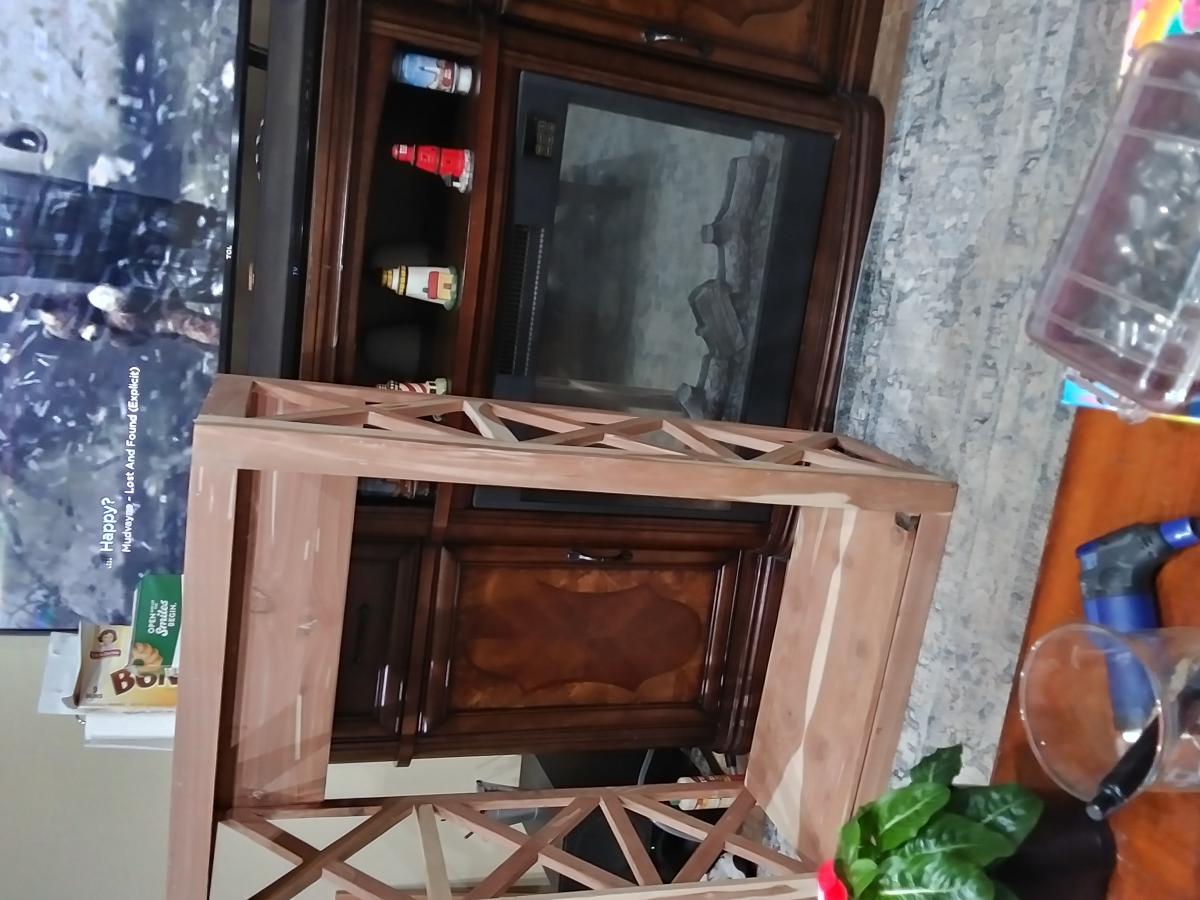
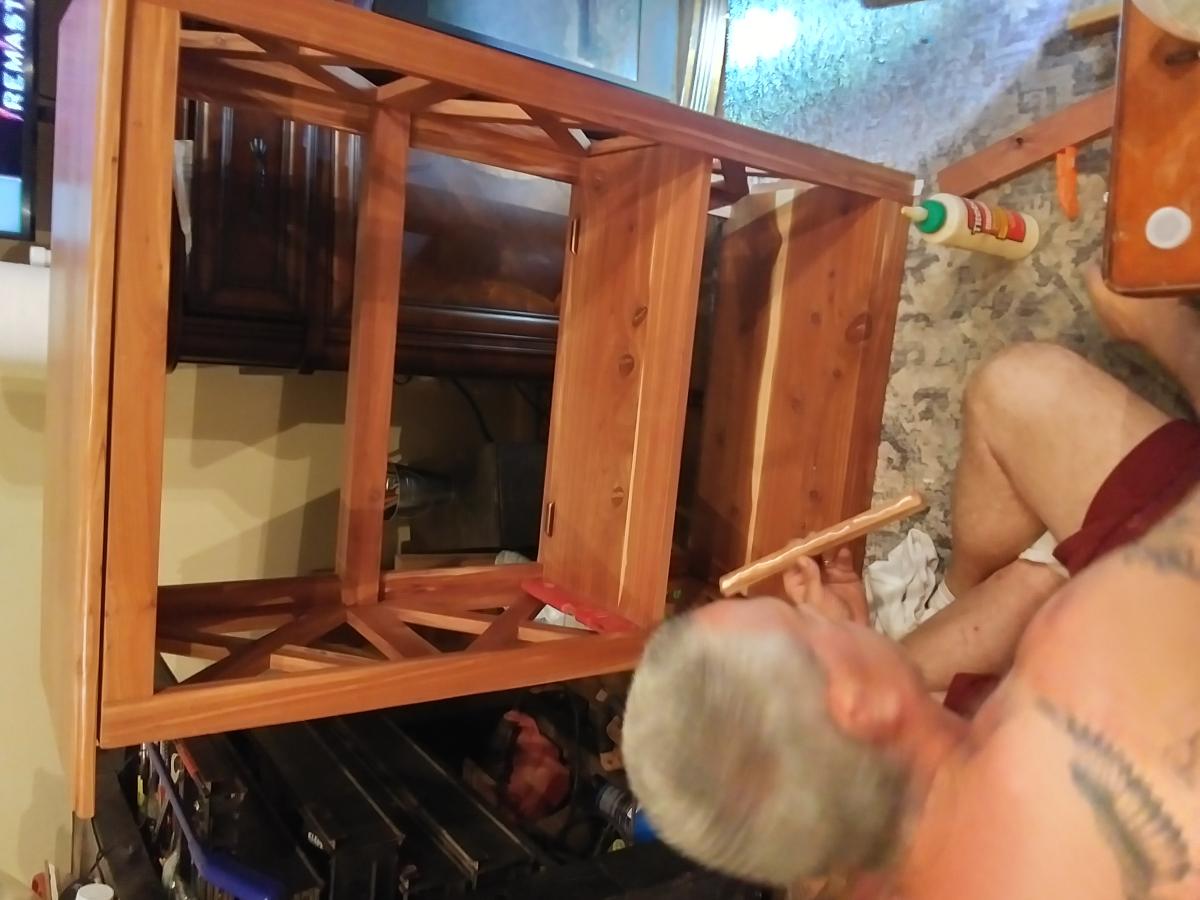
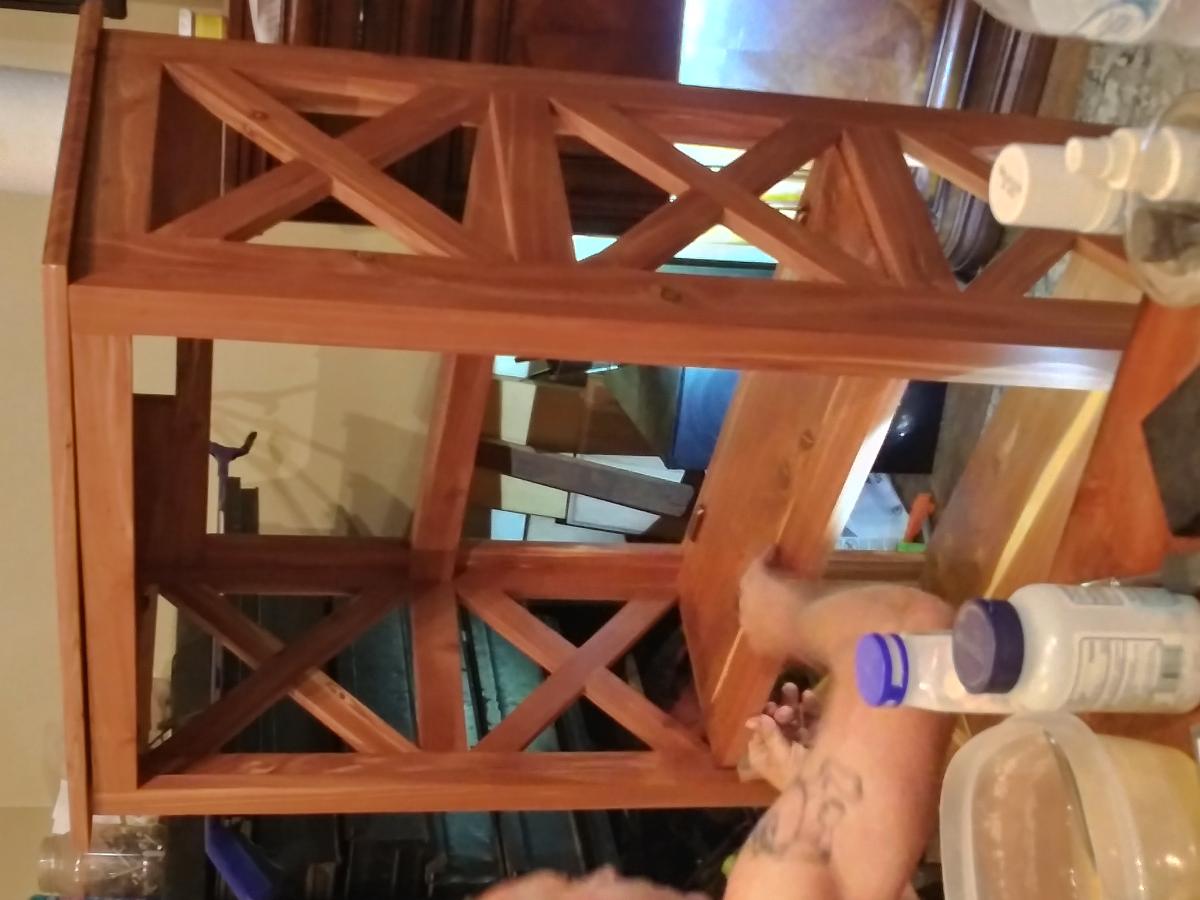
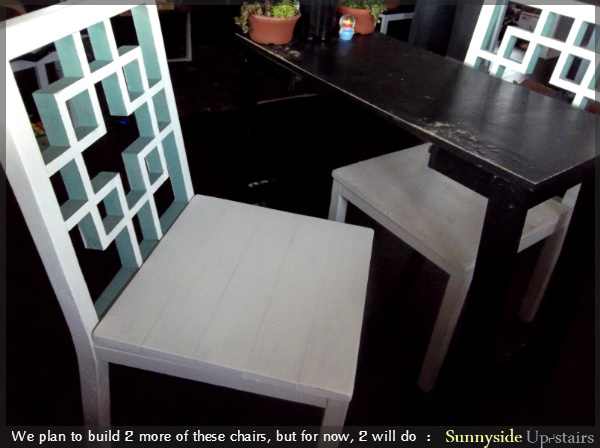
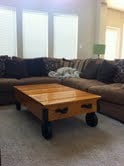
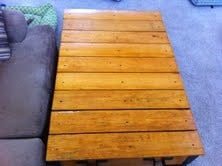
Deck Table and Eight Chairs
The plans for the table and chairs started with your designs and then evolved. The chairs are 2x2 an upgrade from 1x3s. We find them to be much sturdier. The total cost for the table and chairs is @$600 without finish.
This was adapted from the Farmhouse bed plans to match our king size farmhouse bed.
I used Ana's idea for the plan, but modified it slightly to stand up to my wrecking crew (aks the kiddos). I posted a step by step plan with photos on my blog if you want to use the information for yourself.
Tue, 07/05/2011 - 08:26
I tried posting on your blog but for some reason it wouldn’t allow me.
Okay, I seriously LOVE them! I'm in the process of making my own pub table for outside entertaining and was considering altering Ana's stool plans....now no need to! Thanks for posting, I'll just need to lengthen the legs a little and for that reason reinforce it a bit to make them sturdy (I've got three boys and a daughter that can be a rough as the boys). Thanks again and I'll be back to check out future posts. Check me out at: http://laundrywillwait.blogspot.com/
~Jen
In reply to I tried posting on your blog by jsle_bel
Wed, 07/06/2011 - 18:39
Thanks! Sorry the blog wouldn't let you post. I'm new to the blogworld and I may not have something set up correctly. I'll share more projects as I complete them. Don't you just love Ana and her website? She is so inspiring. I'll check your site out too. Thanks again and happy building. :)
This was a collaboration between my father and I as a piece to add to my newborn daughters room.
I had seen a similar bookcase in a model home in my neighborhood and wanted it. That's when I remembered that Ana had plans for something similar on here. I used those and made modifications to suit my tastes by taking things I liked from Ana's plans and things I liked from the one I saw in the model home.
It was painted white with primer and then I painted the roof and accents with the same color paint I had used on my daughters' accent wall to make it match perfectly.
You can see photos of it from different angles and then a completed photo of it in her room.
I absolutely love this piece!
I built this table based off the plans from Rogue Engineer for an X based side table with concrete top, but I modified the angles to make the table 18" tall and 34" wide. I also made the top from 2x8 boards instead of using concrete. More details in the blog post. A table base like this would cost $100 from Pier 1, but this plan helped me make my own base for about $8. Awesome!
Tue, 09/01/2015 - 09:39
Wow, I thought the top was concrete! It looks great!
Tue, 09/01/2015 - 12:34
Thank you! Now that you mention it, it kind of does look like concrete at first glance!
Mon, 12/07/2015 - 21:03
i am trying to find plans for a base like this as a pedistal dining table base with a 54" glass top, but haven't been successful. Maybe I can modify the plans to make the base. What do you think? And great job!
Toy chest made for grandson. The core made from tongue and groove boards. Lid supports hinge middle with two 90 Degree Stop Hinge on both sides.
Based off of this:
I built this playhouse for my great granddaughter out of pallet lumber and the 2x4’s from the pallets. I just designed it as I built it.
We decided to use redwood because it is sturdy and looks nice. We used the steel wool in vinegar to stain the wood, which FYI, redwood turns black. We were a little worried they were ruined and we weren't going to get that rustic look. After a lot of sanding and 3 coats of clear poly they look great! Thank you so much for the plans!
Sun, 08/11/2013 - 20:47
It looks great, and the redwood used is such a boon. You'd be able to use it outdoors on a patio or on a deck outside, too.
Hi Friends!
Jen Woodhouse from The House of Wood here.
I'm going to share with you how to create these Oversized Pegboard Shelves. If you’re short on cabinet or drawer space in your kitchen, this wall-mounted oversized pegboard shelf is a clever and stylish solution. It’s renter-friendly too! What more could you need?
Be sure to tag me @jenwoodhouse if you share photos of your build on social media. I'd love to see it!
You can get all the details for this build on my website jenwoodhouse.com
My husband and I had so much fun building this for our ladies! We had some material leftover from the build of our house so we made a few adjustments. I’ve included progress pics because we found others very helpful during our build. We also added hardware wire and brick at the base to predator proof (not pictured).
Just want to thank you, Ana, for the wonderful plans and this site. I'm still so surprised that I was able to build something that looks so nice and is so functional. Since stumbling upon your site I've been able to put aside my fear of the "big" tools and do something that I've wanted to do for years. Since the media/wine cabinet I built for my daughter, using leftover material I built these end tables to match. She and my son-in-law are pleased, too.
I've got a couple more projects in progress right now for my son and my other daughter is putting her list together - I'm just so happy to be doing this!
These tables are similar to the narrow cottage end tables, but without the drawer.
Thu, 07/14/2011 - 16:31
Nice job! I am interested in this console as well. I am scared of drawers and cabinet doors though! Were they that bad?
I needed a filing cabinet but wanted something stylish and unique. At the same time, I was also looking for an excuse to build this beautiful ladder shelf. So I decided to combine the two and create a "ladder filing cabinet!" I adjusted the plans so that the legs were made of 1x3's for extra support and I used 1x2's for shelf trims. I also converted side-mount drawer slides into a bottom track for the drawer.
Wed, 08/14/2013 - 18:52
Thanks, KF. I used two metal rails that I had laying around from an old DVD rack. Not sure what you call them, but they basically hooked into the front of each shelf to prevent the DVDs from tipping out.
However, for anyone who's considering building a filing cabinet, I would suggest using metal bars like the ones used in this link: http://sawdustgirl.com/2013/07/18/how-to-build-a-hanging-file-drawer/
I built these doors to save some space from my old swinging door and to add some visual interest to the hallway since this is the first thing you see when you walk in the front door. You can find full details and tutorial plus alot more pictures on my blog post:
https://chasingadreamblog.wordpress.com/2015/07/20/dress-up-the-mess-sliding-doors-to-laundry-room/
This was my first time ever using a drill AND a staple gun, and my first woodworking project since I made stilts out of wood and glue for 4-H, like, 25 years ago!
I'm not sure I did it right, and I had to place a plant stand strategically in order to keep it standing upright, but the boys love it so far! I ended up using the curtains that I had in the boys room, and the loops weren't big enough, so I improvised with ribbon, and the curtains weren't quite long enough to go around to the bottom, but I figure having the staples showing just made it look cool and industrial :)
All in all, I'm pretty darn proud of completing my first project!! Thanks for the awesome plans!
Tue, 02/21/2012 - 11:42
Congratulations, a great job! I like the colorful curtains you used!
I purchased and used a circular saw to cut the back legs, which was so much easier than just using a jigsaw like I did the first time. Having experience building one before made assembling the second one simpler.
(Note: The measurements in the photos are different than those in the plans because I cut the back legs to be 37", adding about 1" to the height of the patterned back support to accommodate a 1" seat cushion for future.)
Mon, 09/02/2013 - 06:59
Are the back legs of your chairs two different pieces?? I noticed they have a curve to them and was curious how you got that look!!
Thanks,
In reply to Look Great by Medickep
Wed, 09/04/2013 - 00:54
The chair is essentially made in two pieces: the back support and back legs being one assembled piece and the seat and front legs being the other. Each back leg is cut from a 2x4 to make the angled back, which was the trickiest part of the whole build for me. There are diagrams in Ana's plans to explain it visually. =D I hope this helps a little!
I based these off of the mini farmhouse bedside table plans, but changed a lot of the dimensions, added sides/back and chose to use plywood for the top, sides and shelf. The plywood did not stain very nicely for me- I learned my lesson! The drawers were definitely the hardest part!
Wow! I’m so pleased with how this turned out!! Super easy and mostly done with scraps left over from other projects. Was able to get the bed and bedding completed for under $30. Smaller (and cheaply made) beds on the AG website cost well over $100. Thanks to this plan, I’m able to give my niece a birthday gift that will last her for years...maybe even generations.
Sun, 08/12/2018 - 10:57
The only reason I listed this as an “intermediate” skill level is because of the sewing portion of the project. Covering the mattress and sewing the bedding (since there’s no plan for that part of the project) isn’t really a no-brainer sewing project.
I followed your plan for my 16 inches garage shelves and I absolutely love it. Tons of storage and easy to customize. Each 8 foot shelves is now costing $120 in material - which is still a great deal! Thank you @Anawhite 🙏
This Factory Cart Coffee Table is my third project. I used pretty much the same design as the Factory Cart Coffee Table plans on the site, with some minor modification. We attached a few pieces of hardware to the sides, and corners of the table to add a little bit more of the industrial look.
Great plans, keep up the good work. I am beginning to build a lot of stuff now. The furniture all looks great, it has the look of homemade, and saves a lot of money over buying in a store.
Sat, 07/16/2011 - 08:20
Been looking at these plans for a while trying to figure out where I could fit a table like this in my teensy-tiny house. Love your interpretation of it. The black hardware is a nice touch!
Thu, 07/28/2011 - 07:20
Hello,
Thanks...we really like the look of this piece in the house, and by building it ourselves it saved a ton of money.
I got the casters at Tractor Supply. They are 5 inch casters. The front two are able to swing 360 degree, and the back two are just straight casters. These were by far the most expensive portion of the project. I bought and tried 3 inch casters first, but these made for a really, really low table.
Wed, 08/03/2011 - 19:23
I love the work you did on the table. Did you also stencil something? Did you get the hardware at the tractor supply store? Just beautiful.
Mon, 08/29/2011 - 08:54
Thank you so much. We did stencil something on the side (S & K MFG Co.). A mix of mine and my girlfriends name.
We got the hardware at Lowes, and the casters at Tractor Supply. The casters were the hardest part since I was looking for the old type casters used on the turn of the century carts, but those were way too hard to source.
Comments
Ana White
Tue, 06/05/2018 - 14:51
Gorgeous outdoor set, love
Gorgeous outdoor set, love the upgrades you did!