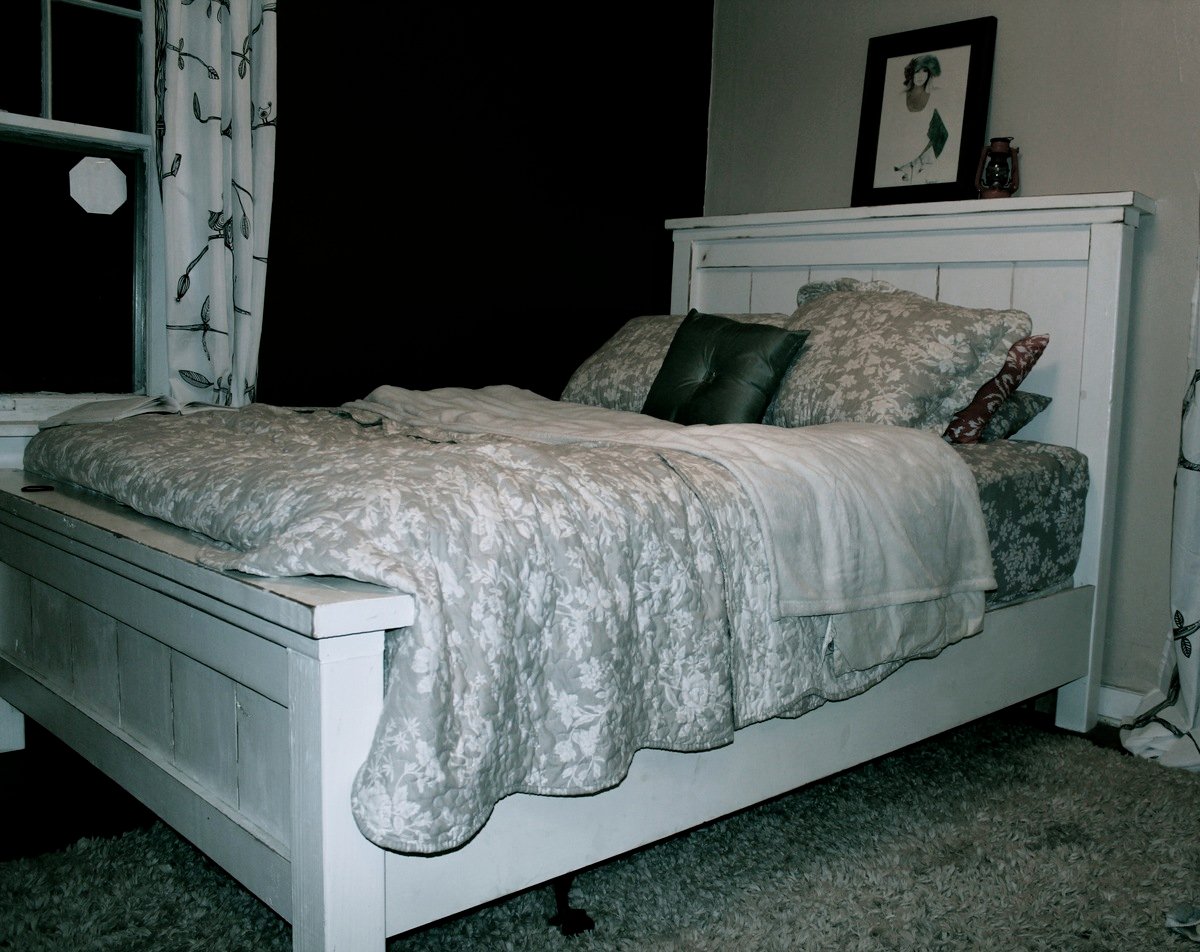
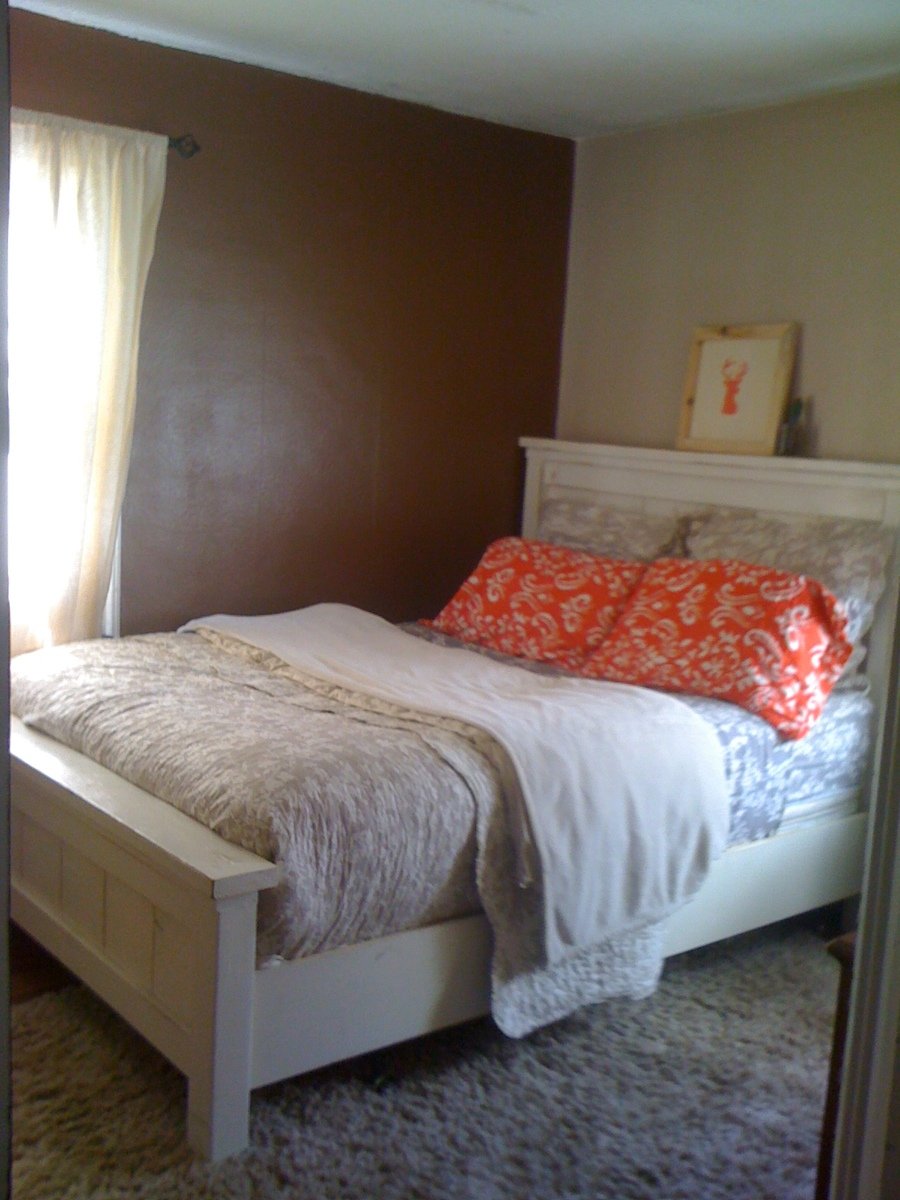
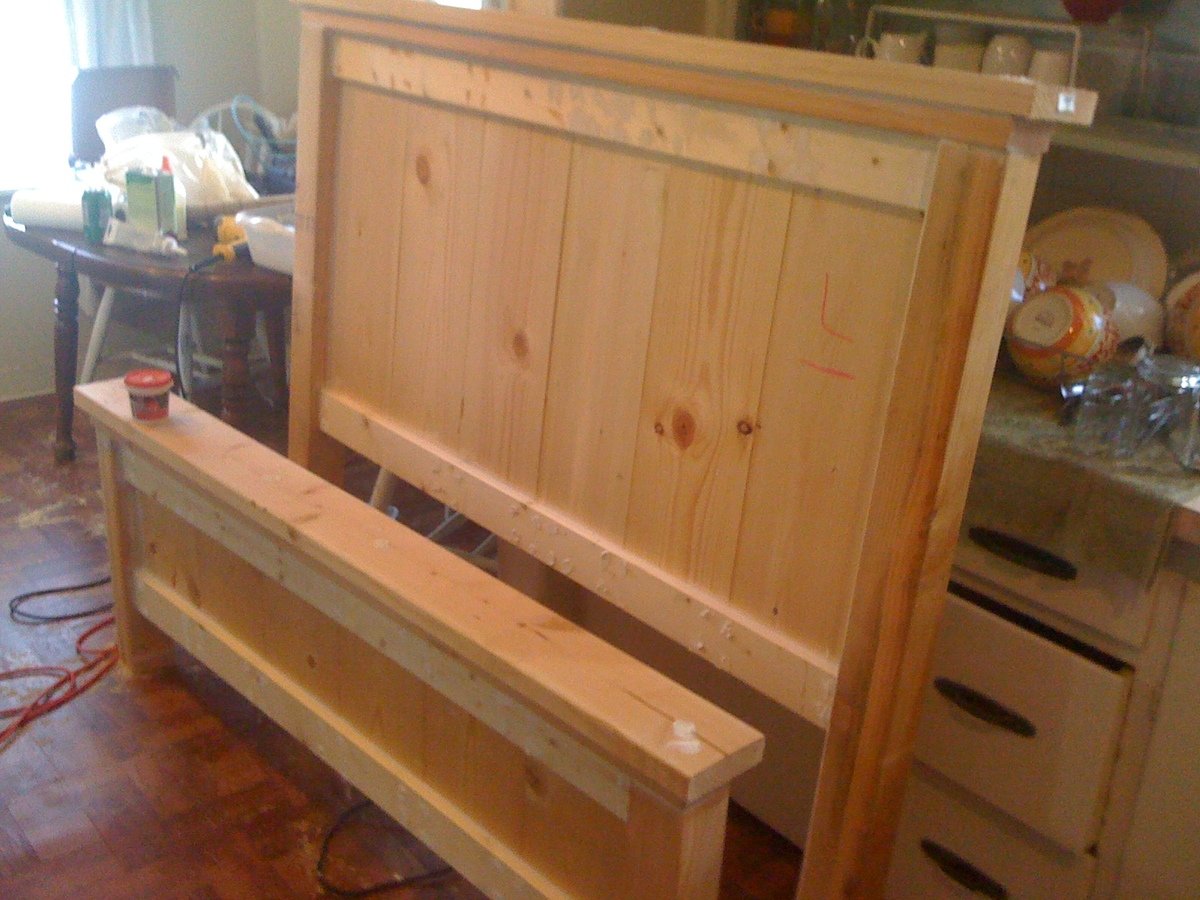
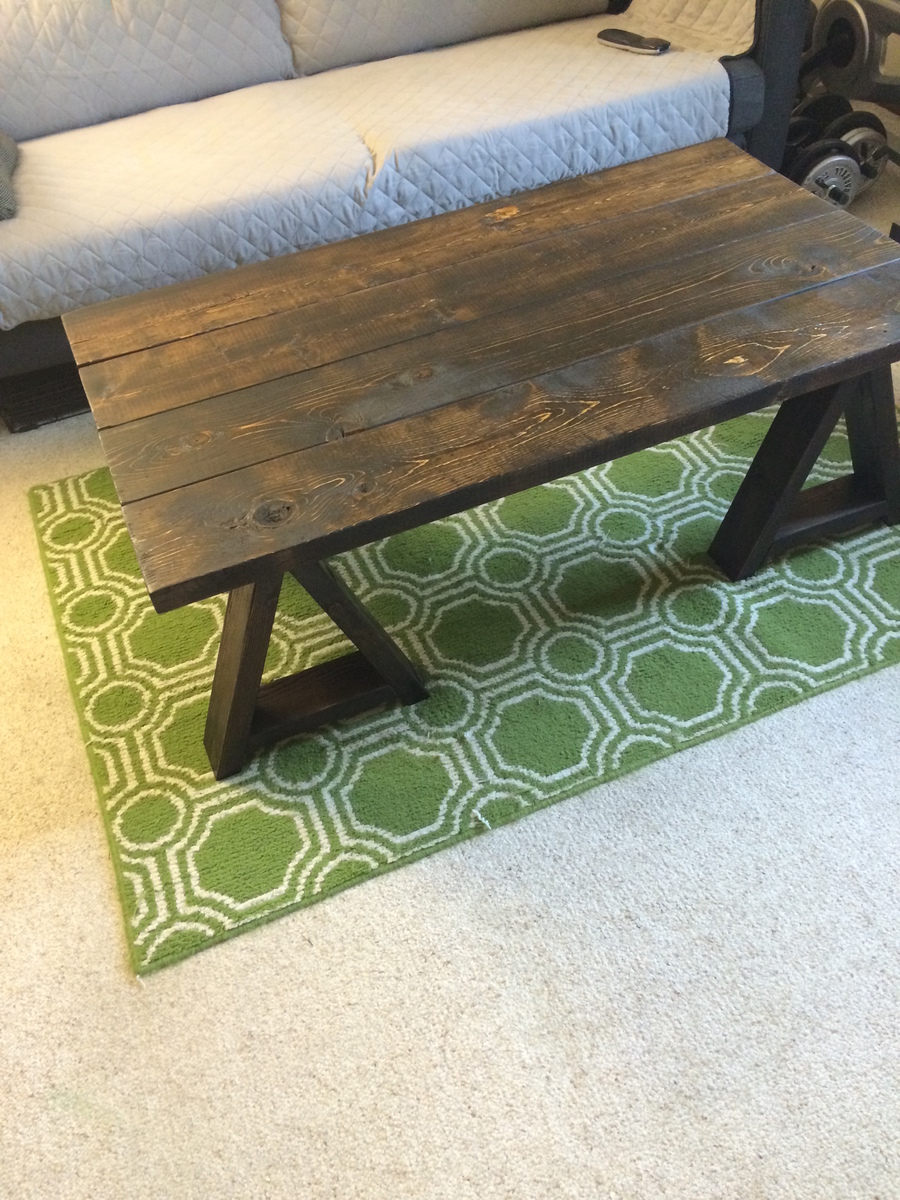
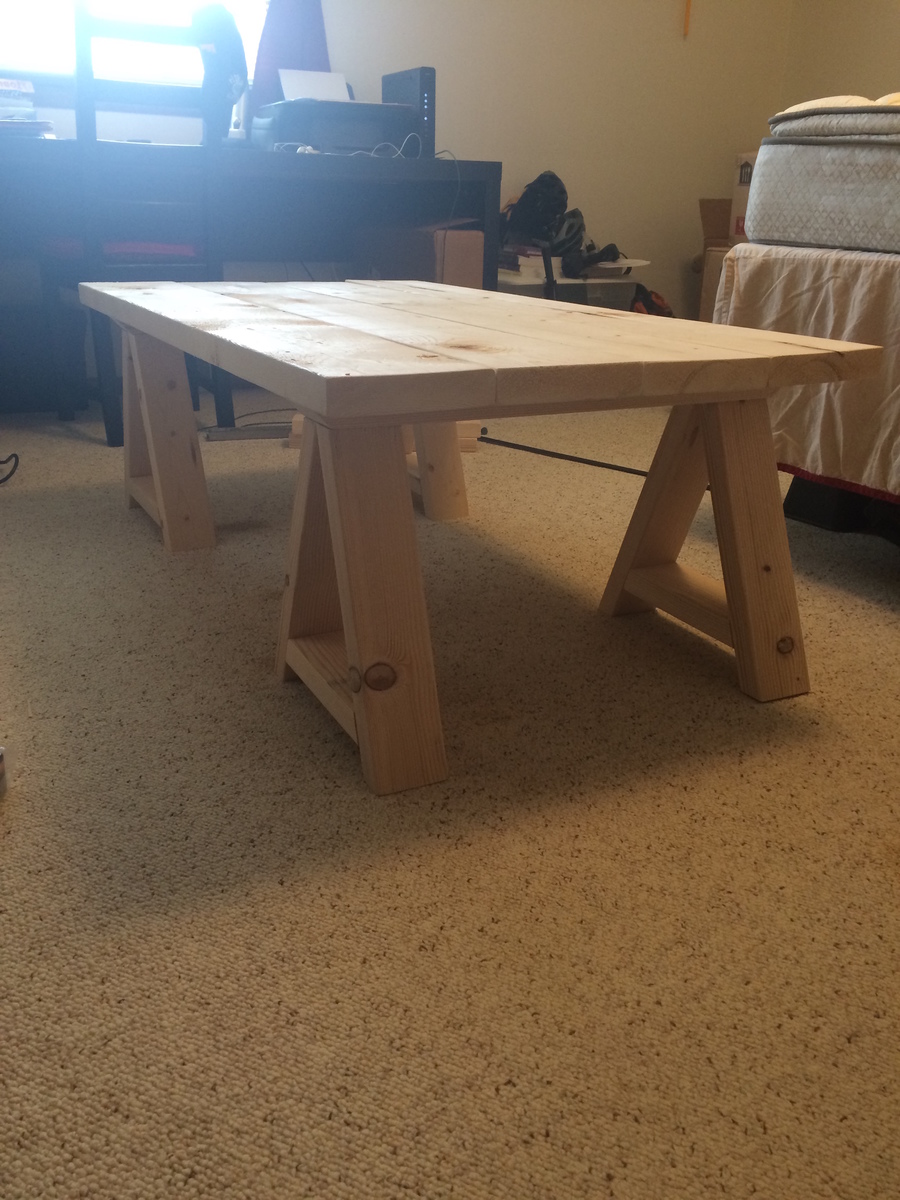
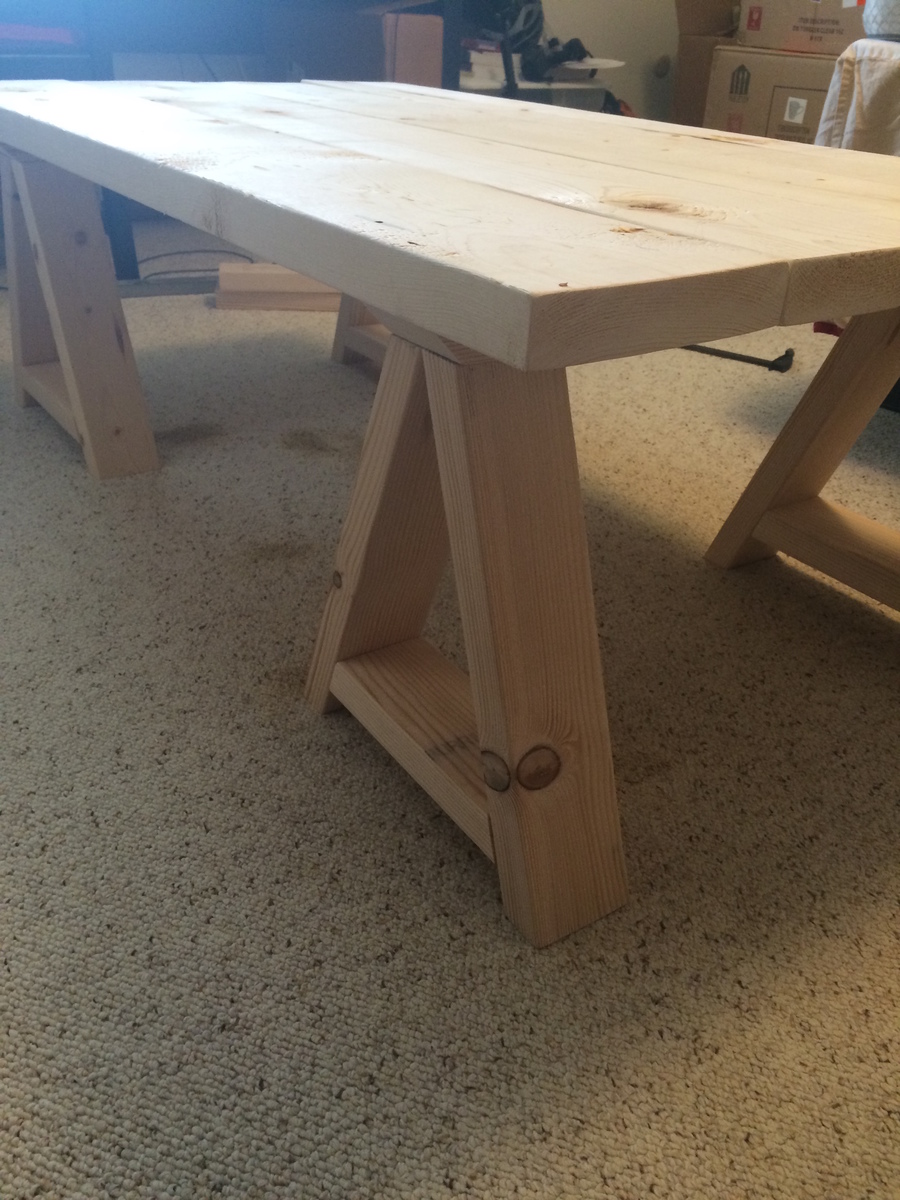
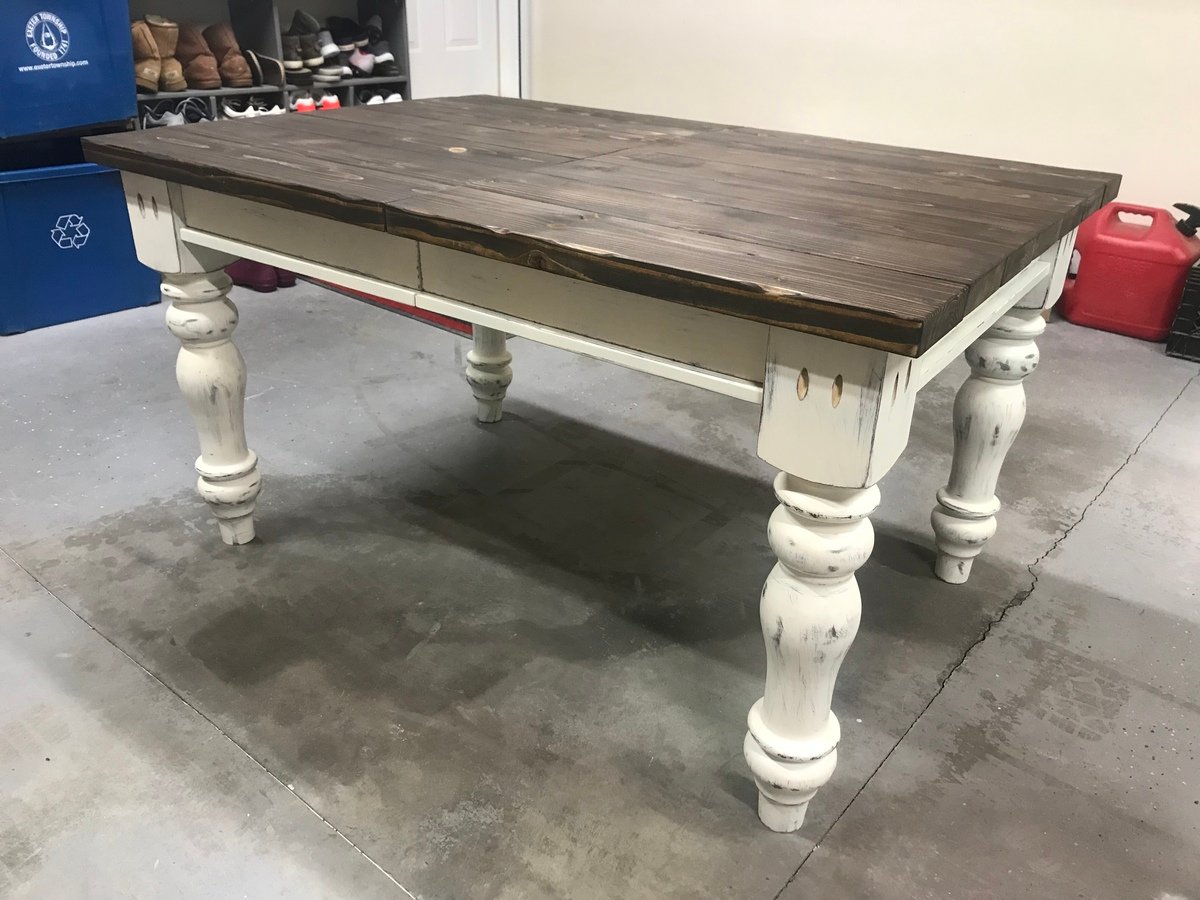
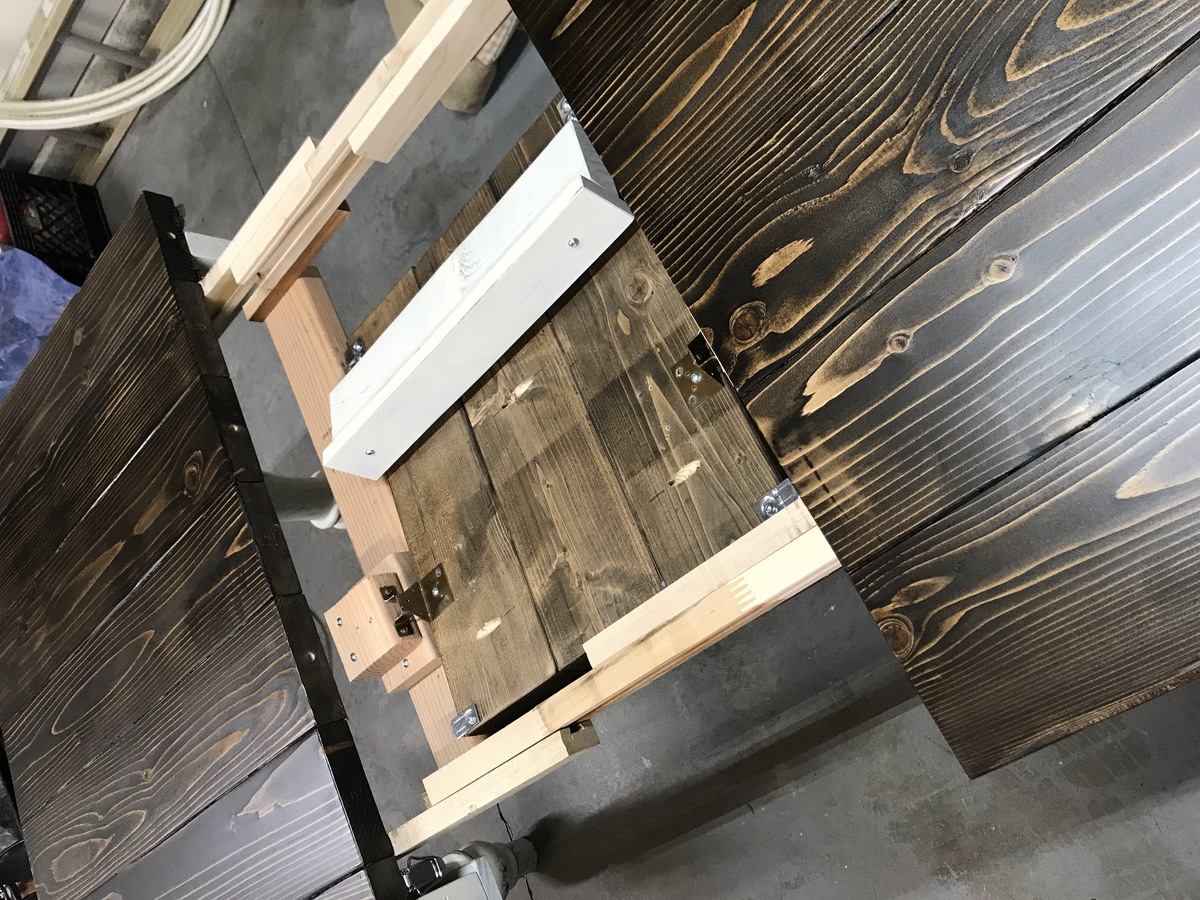
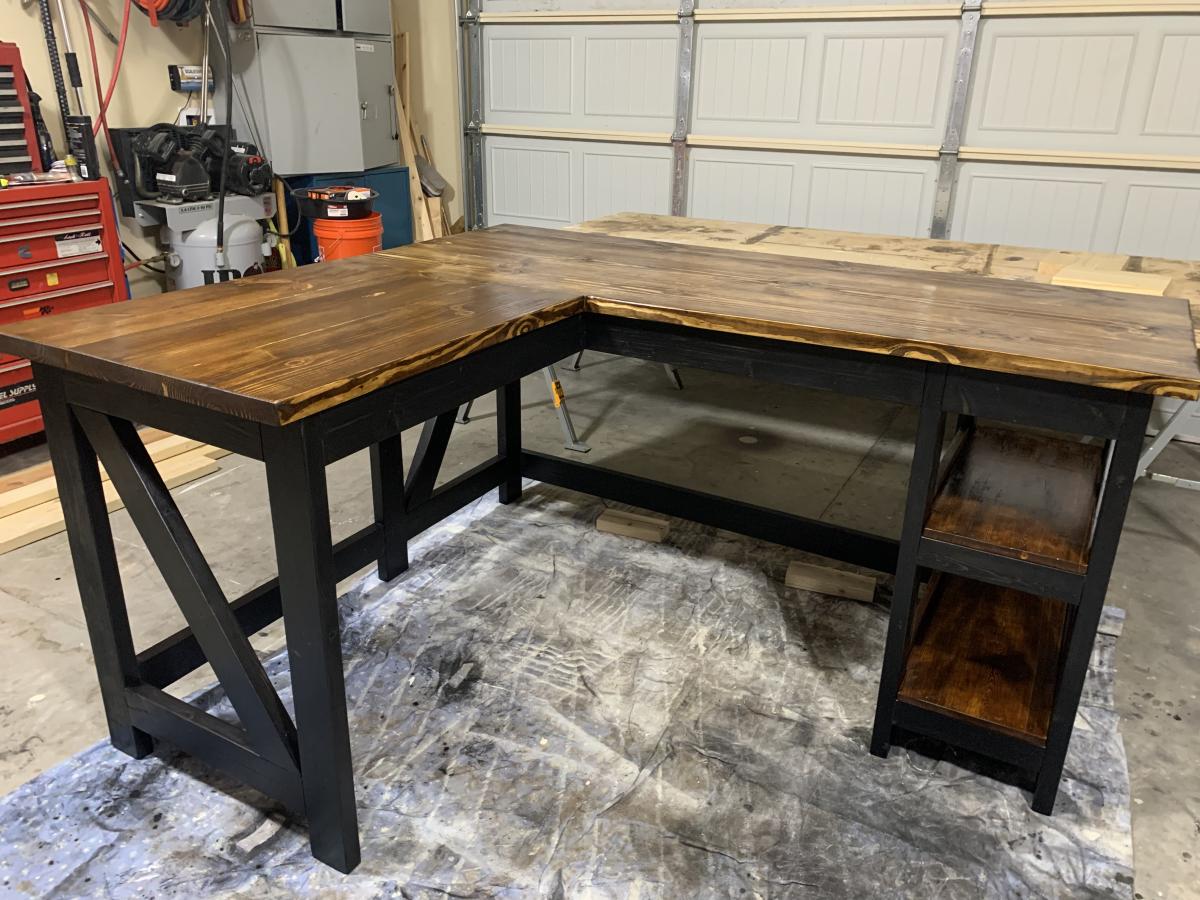
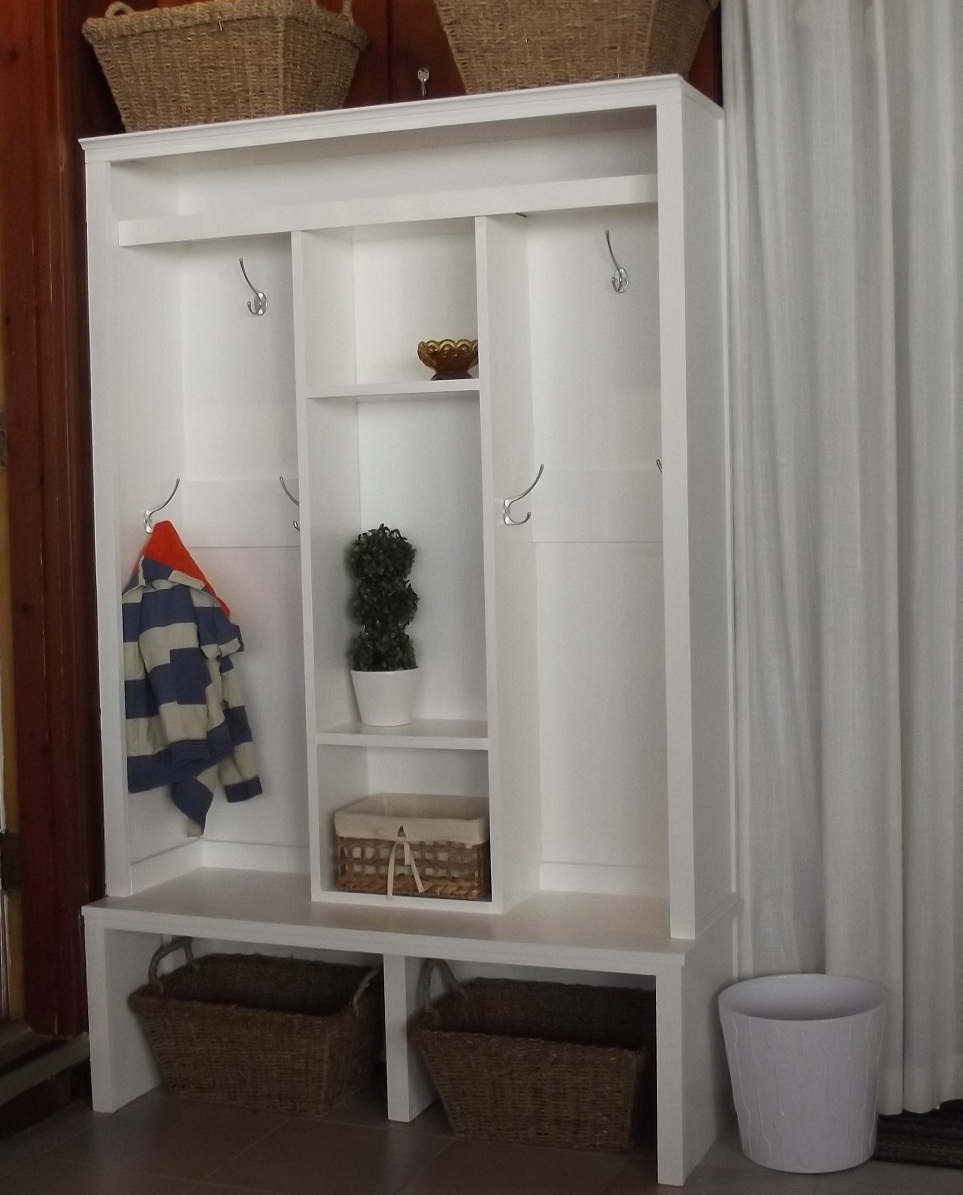
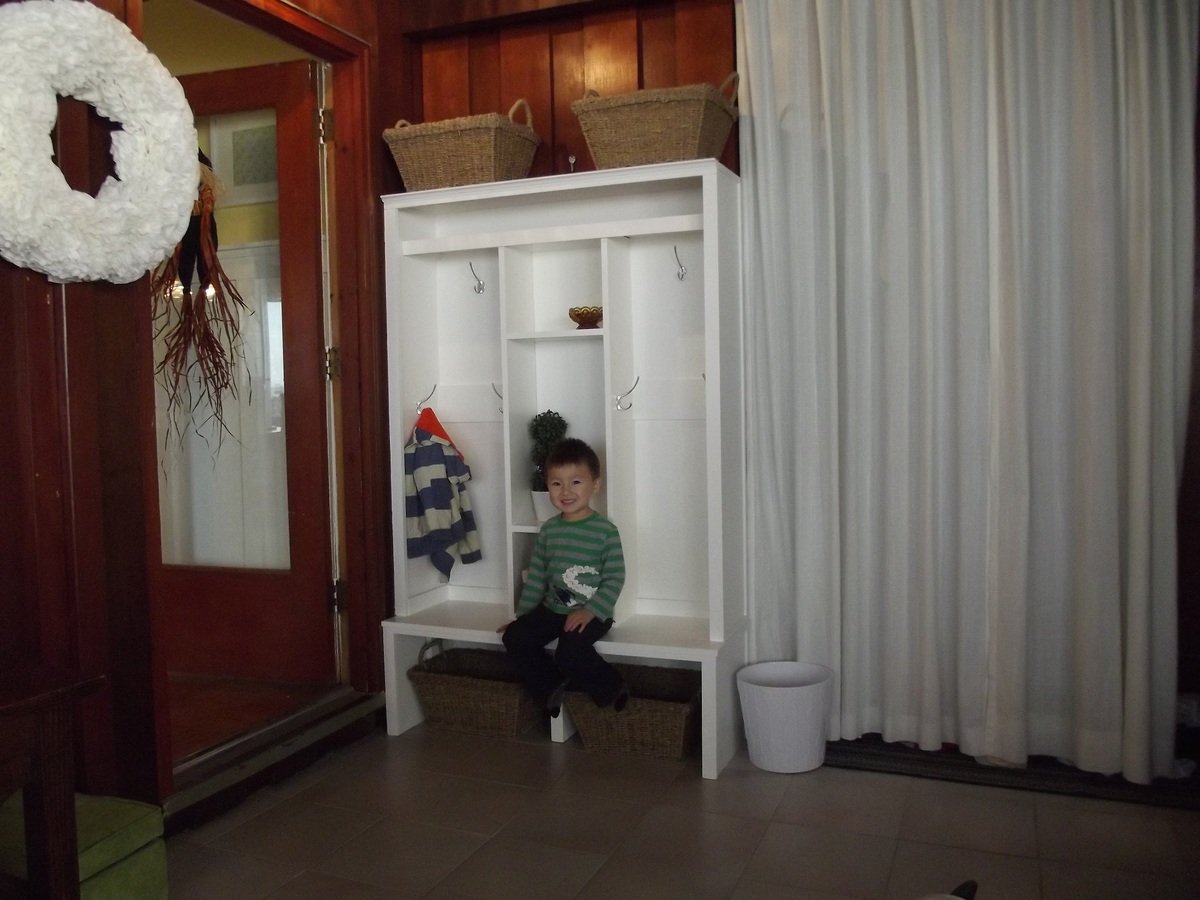
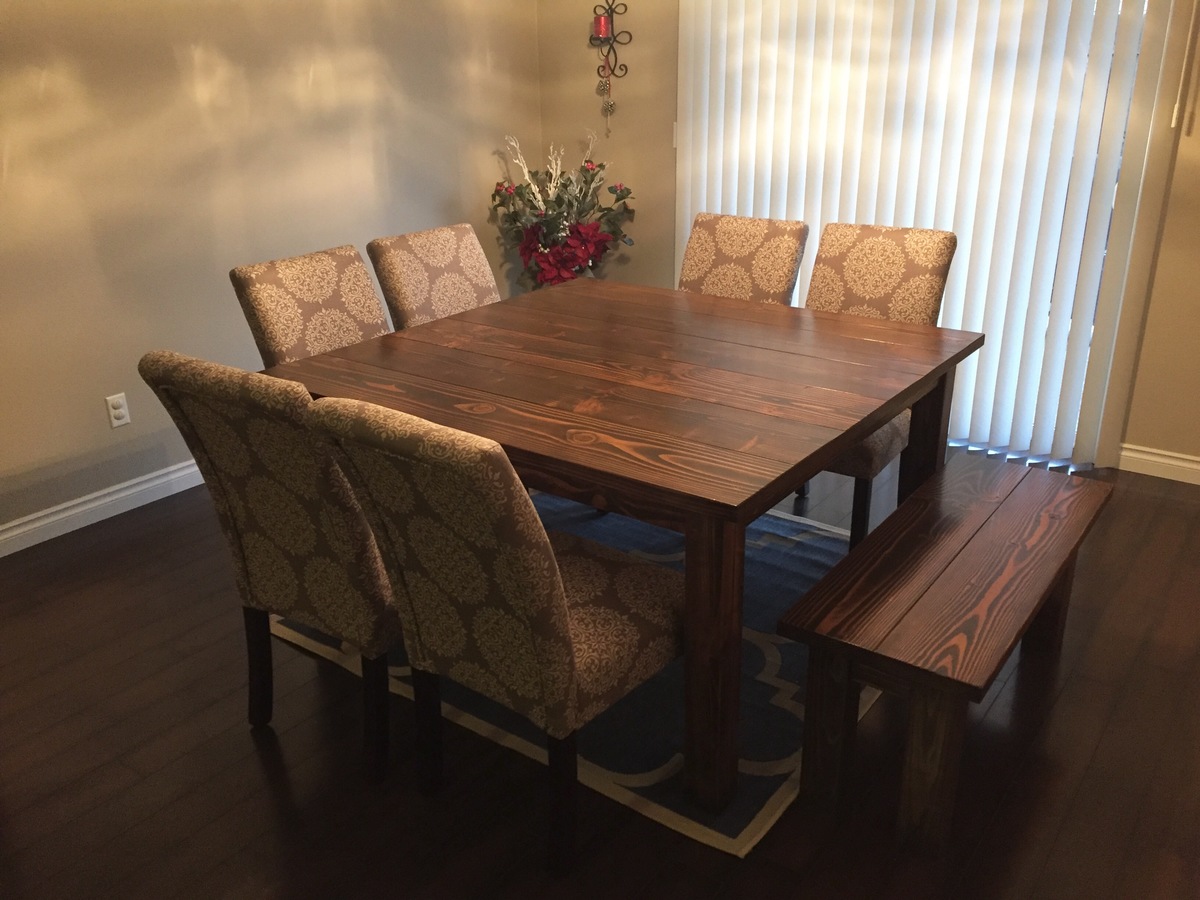
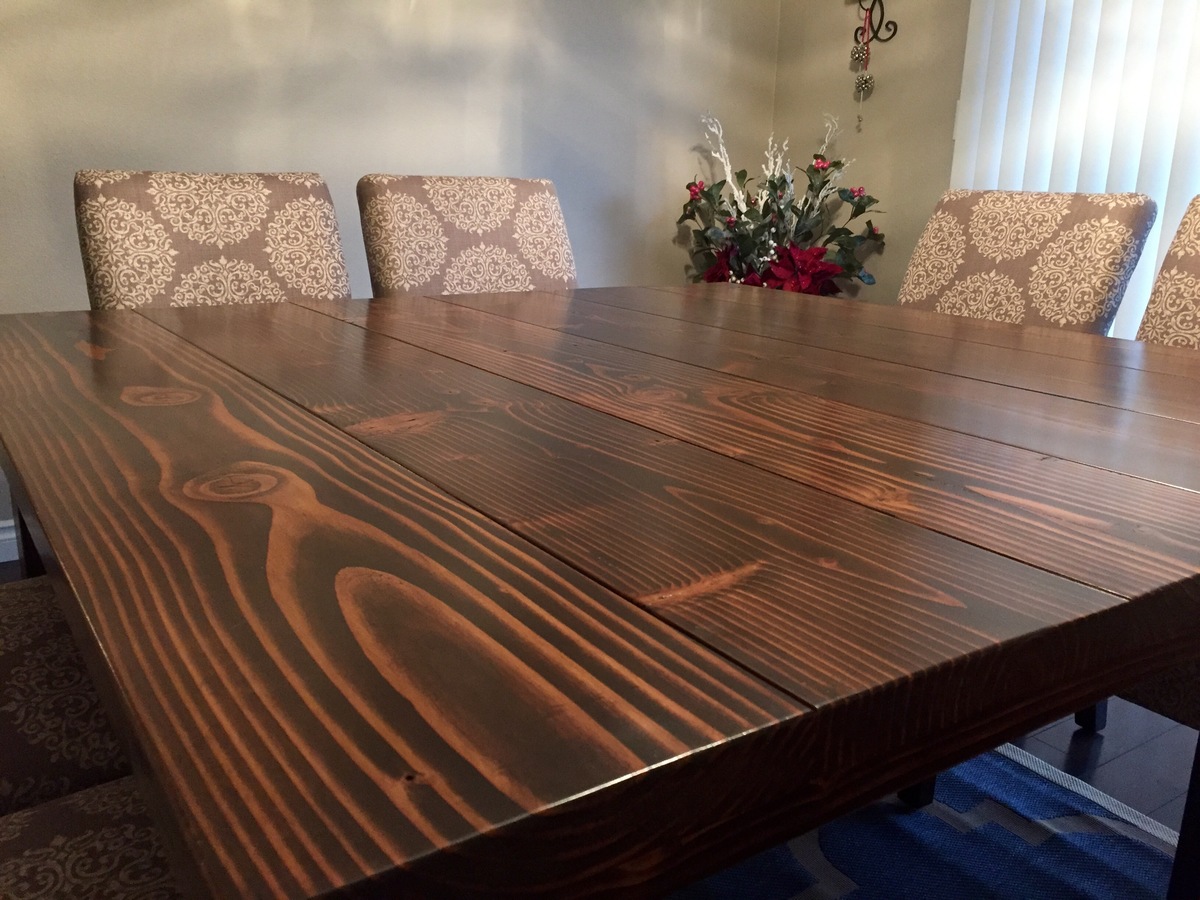
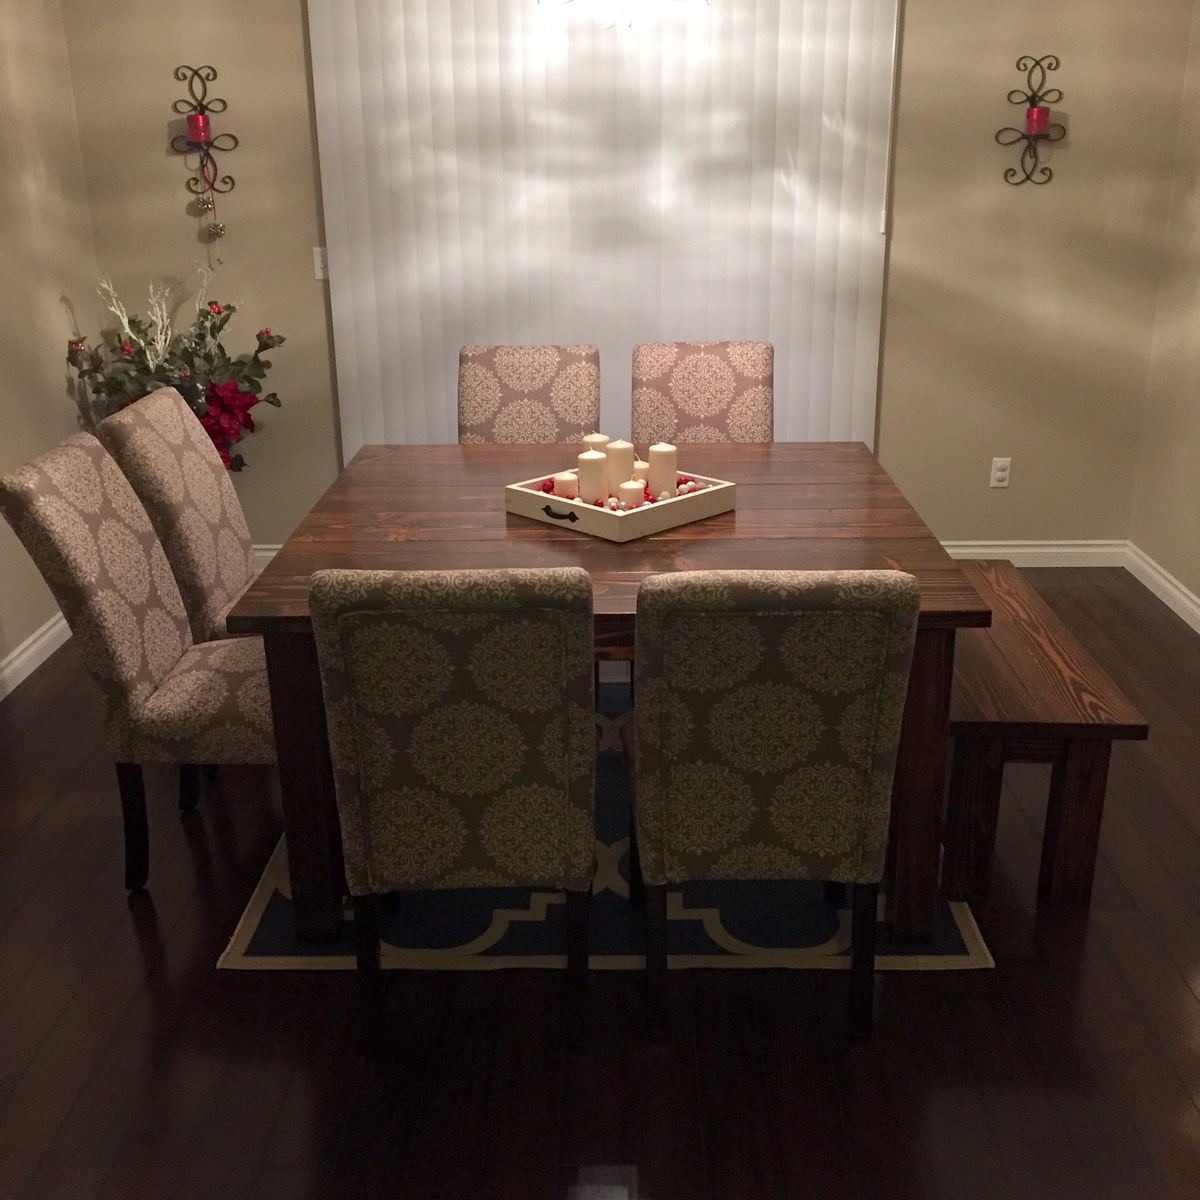
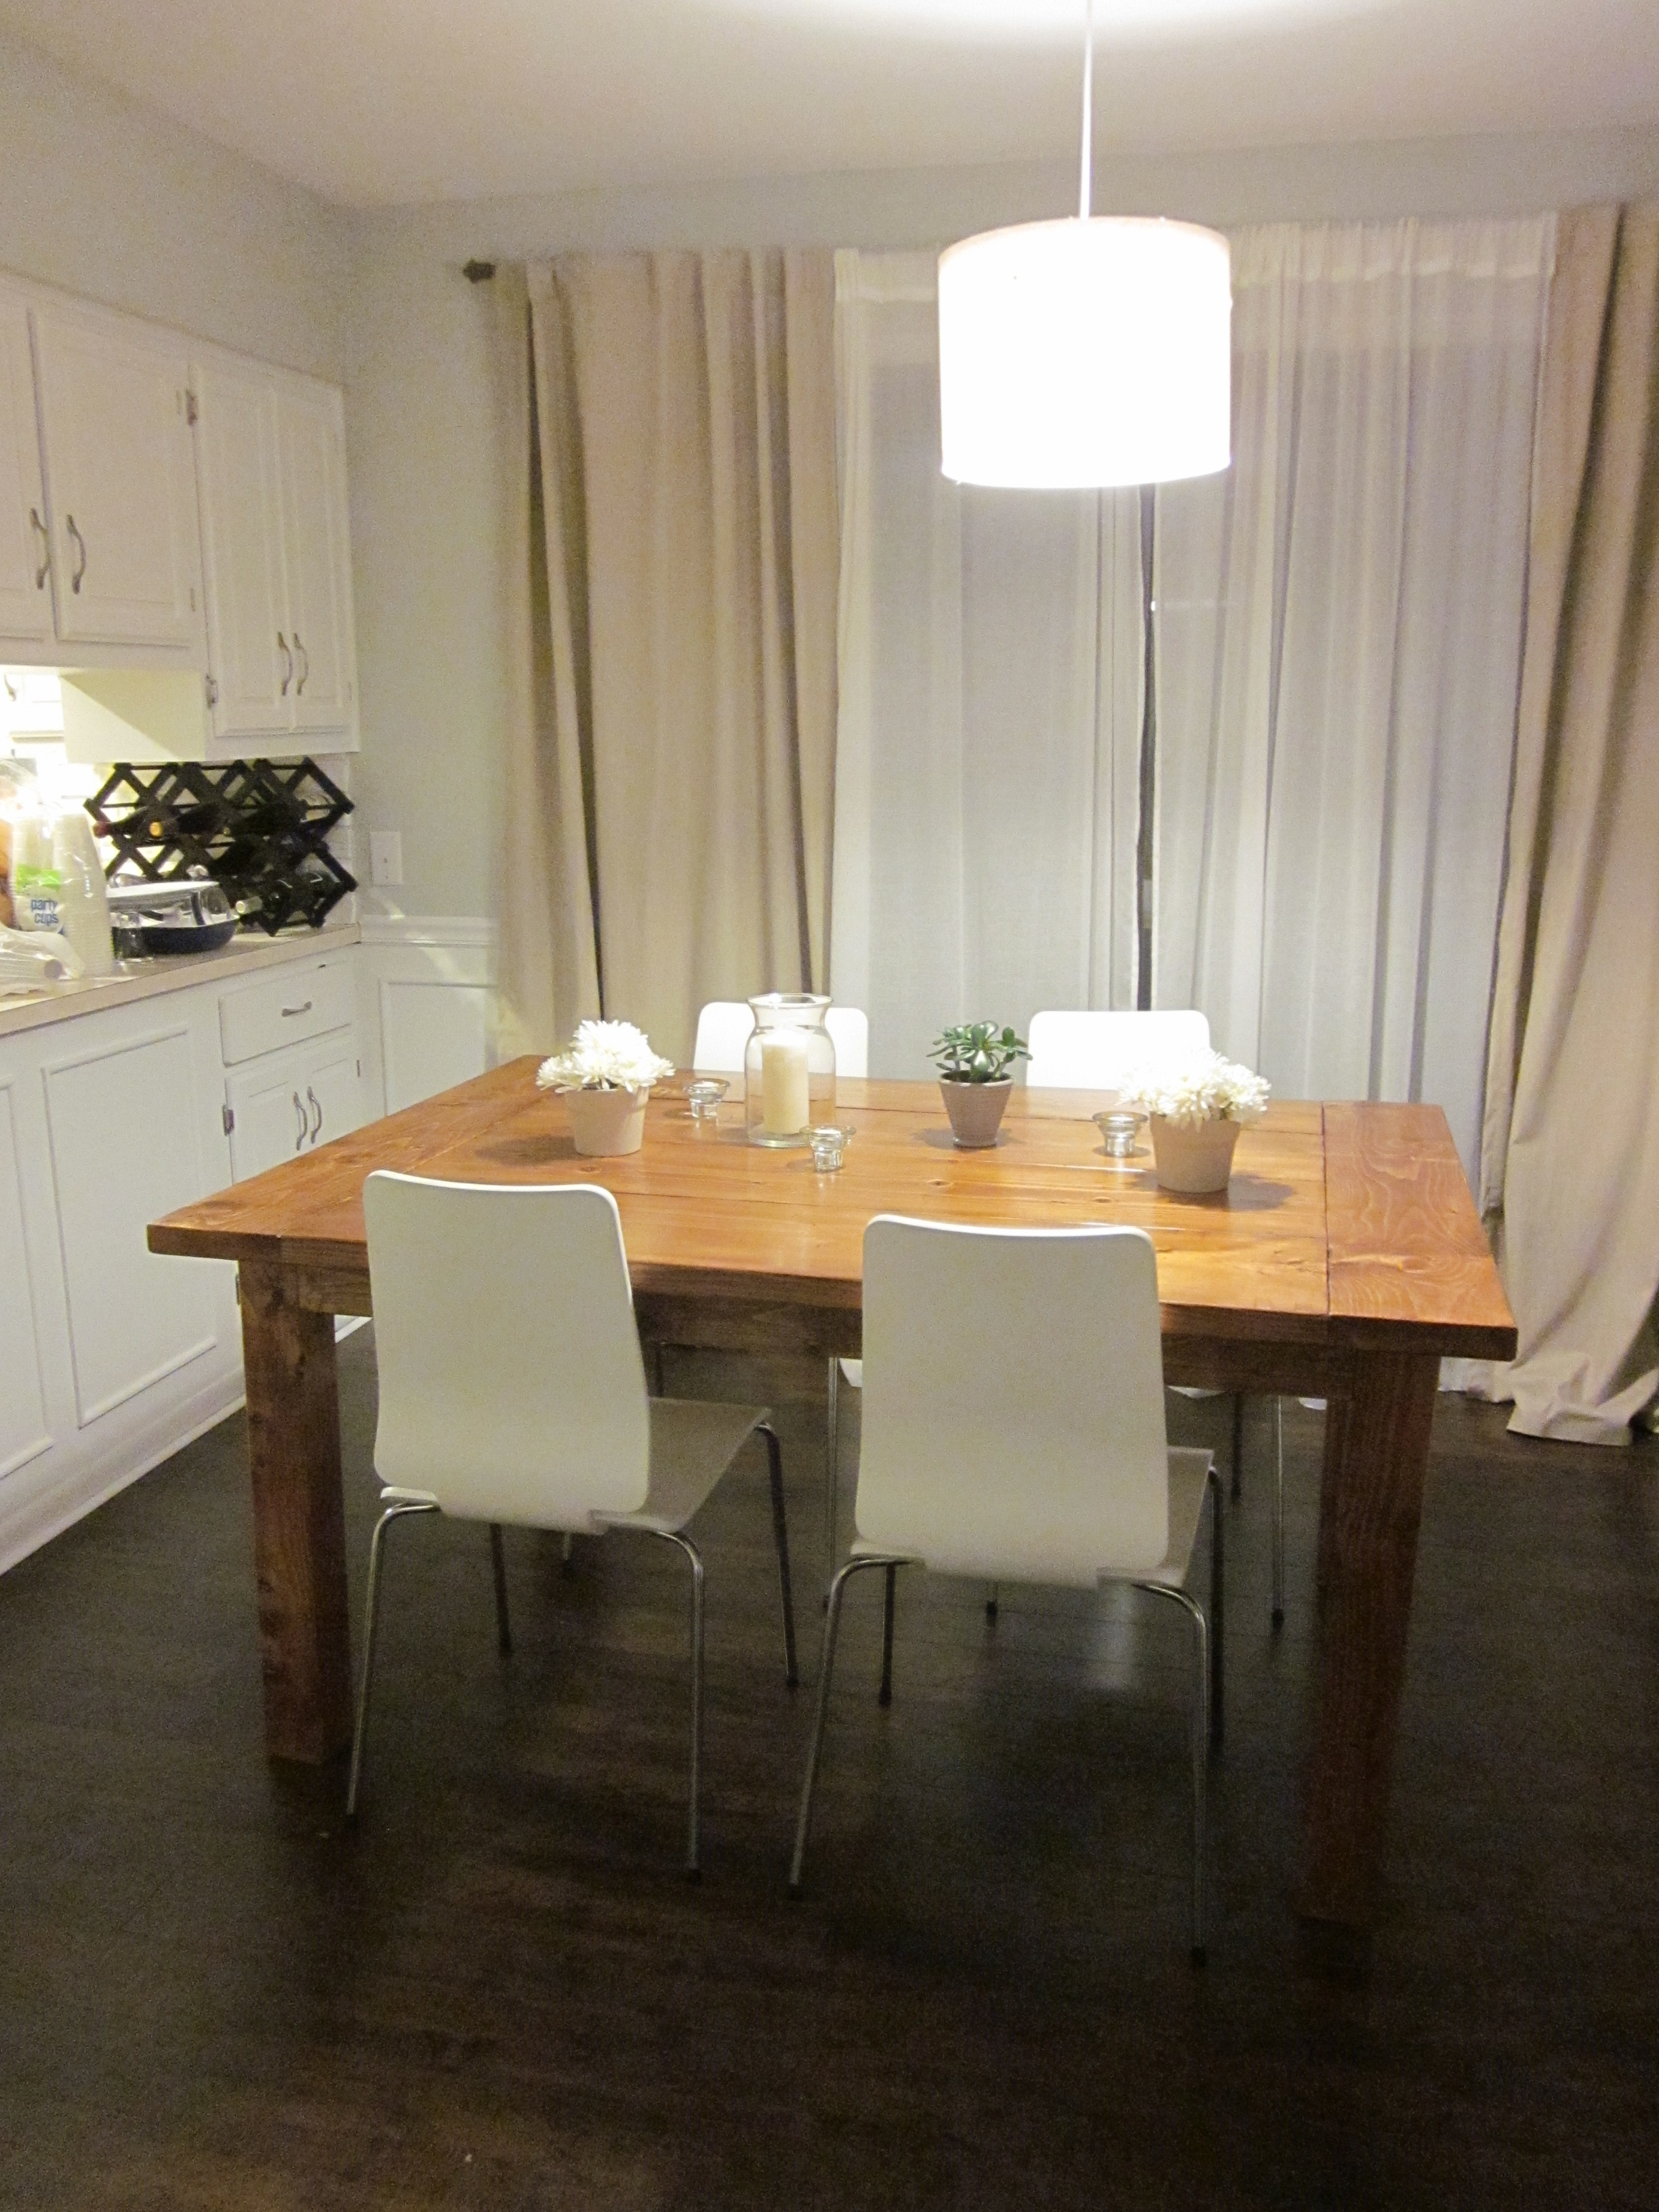
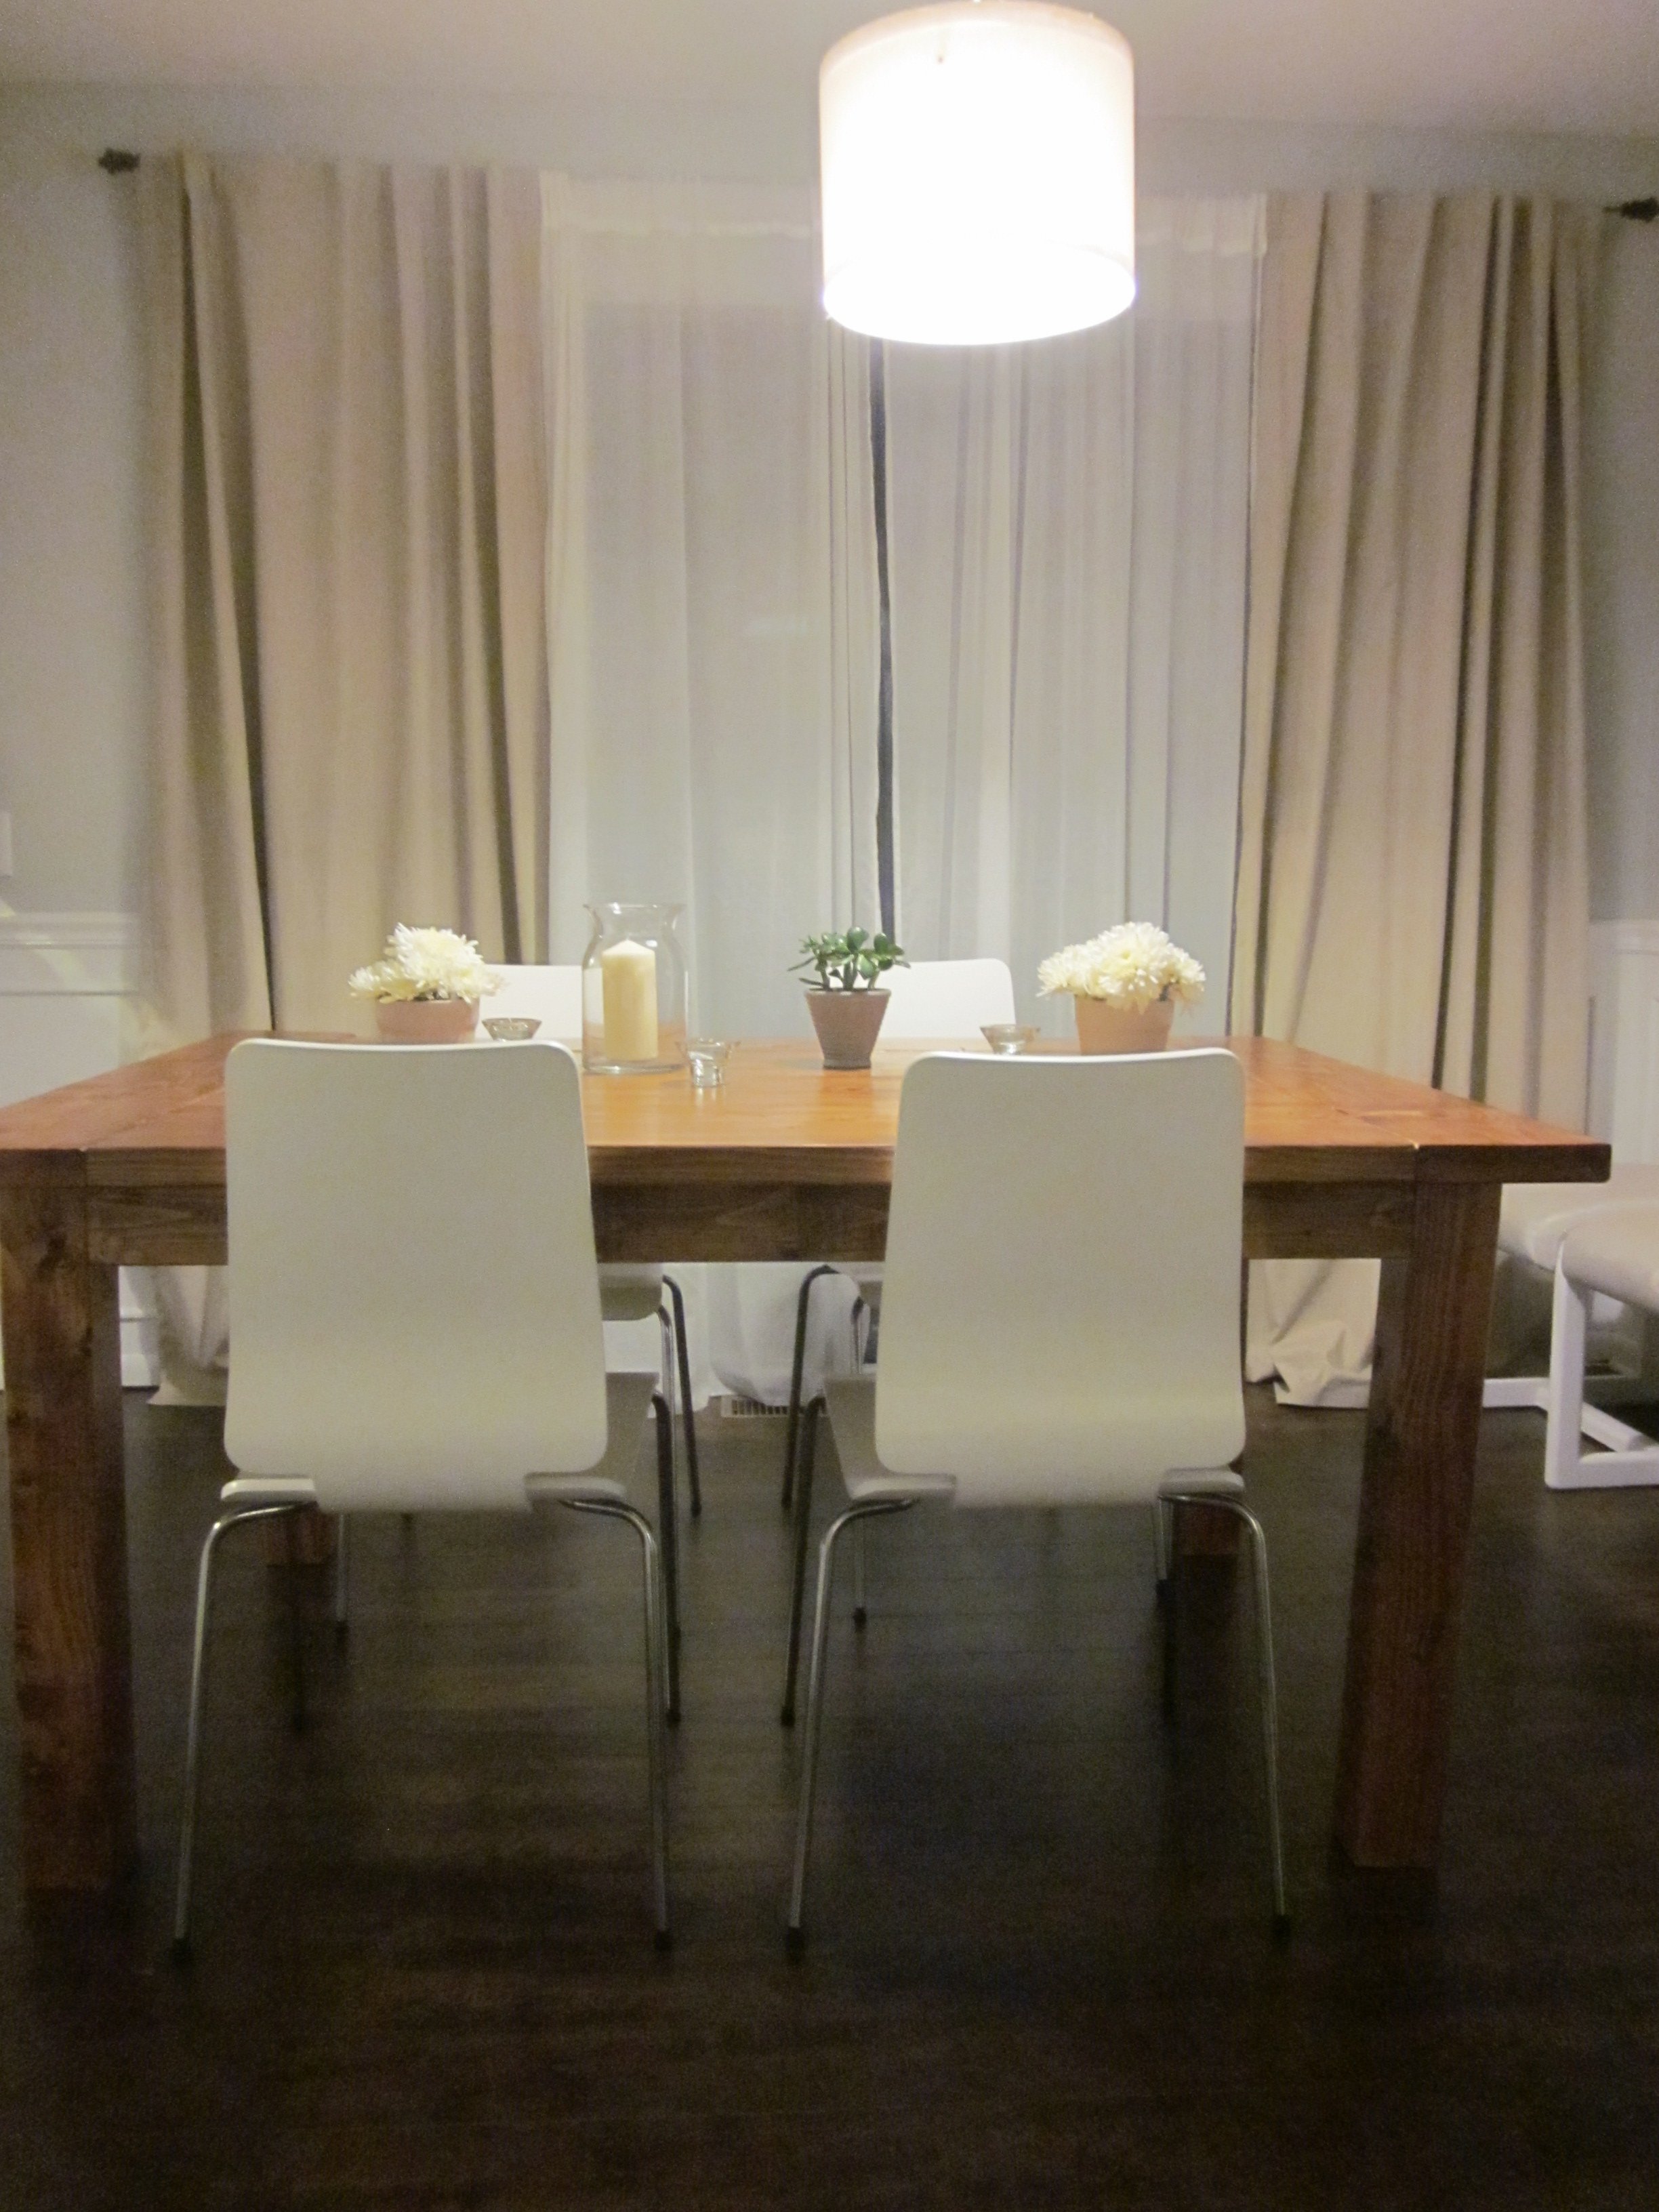
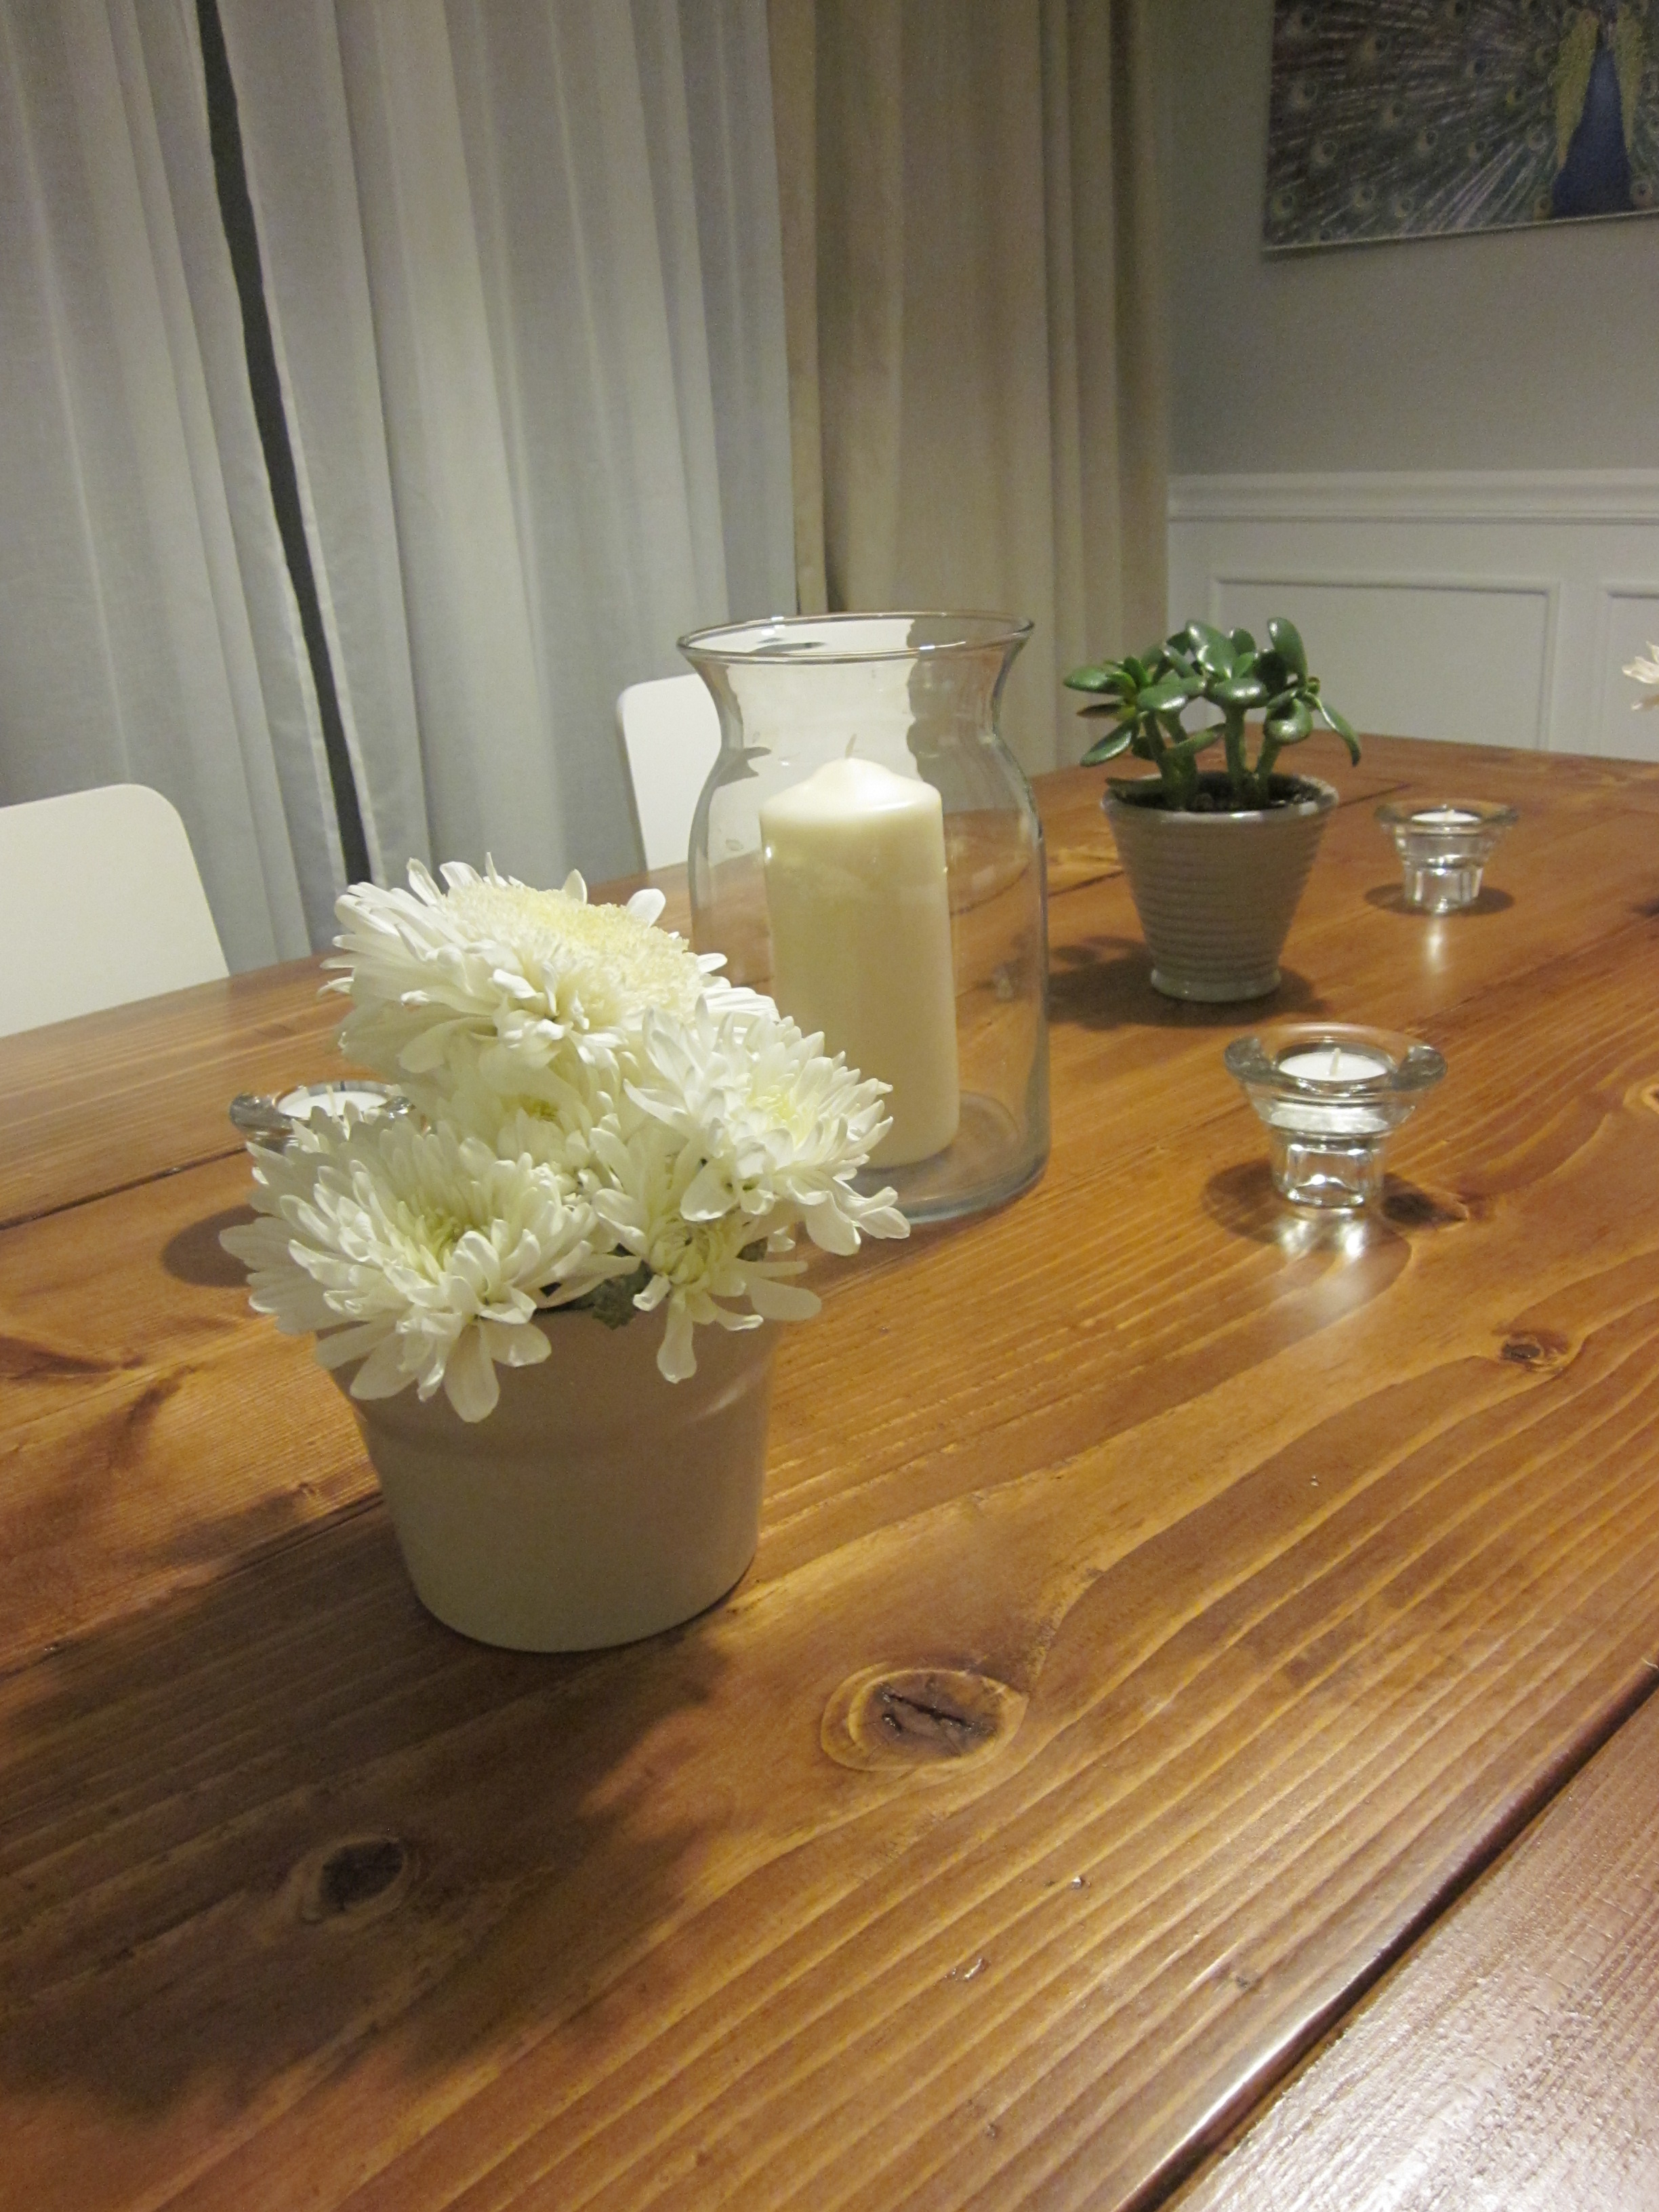
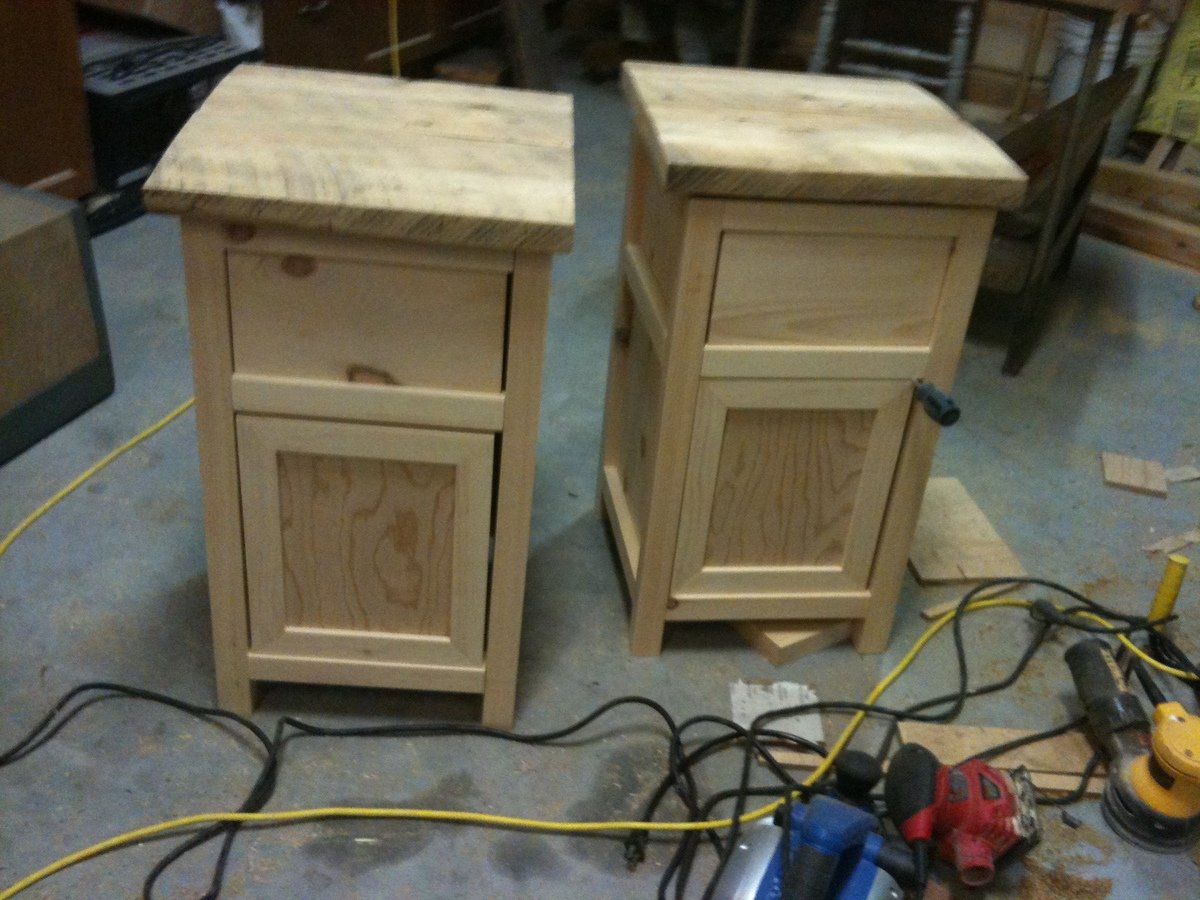
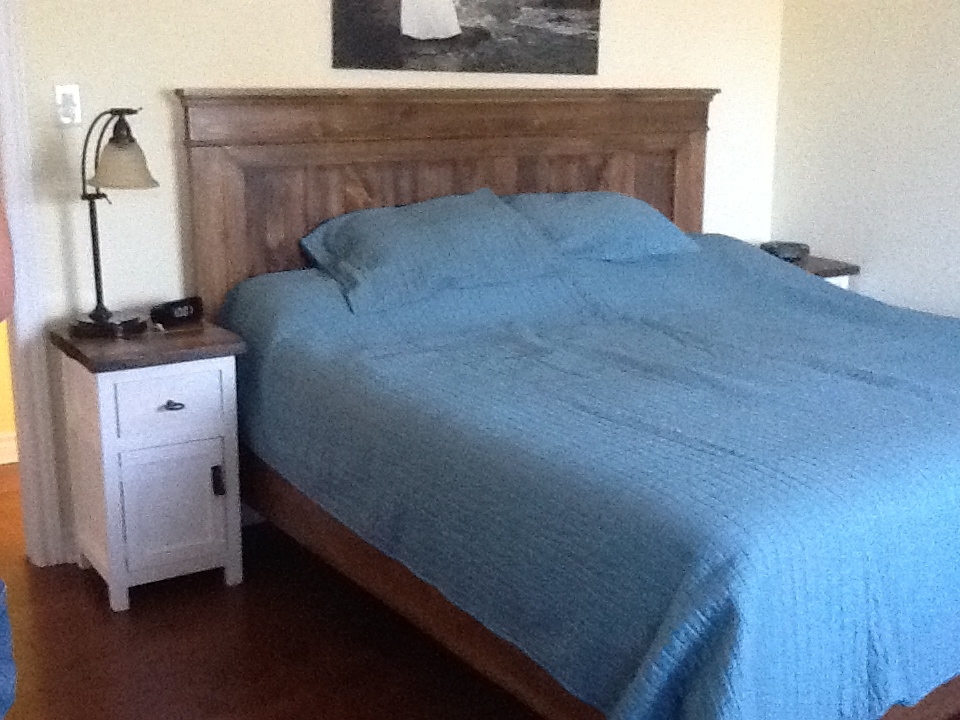
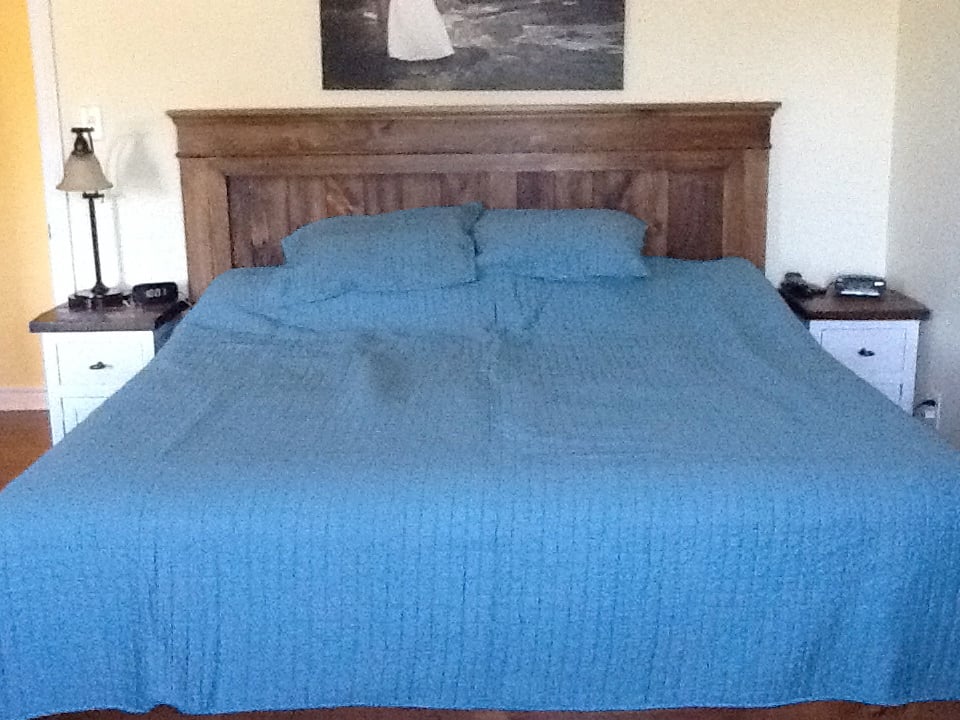
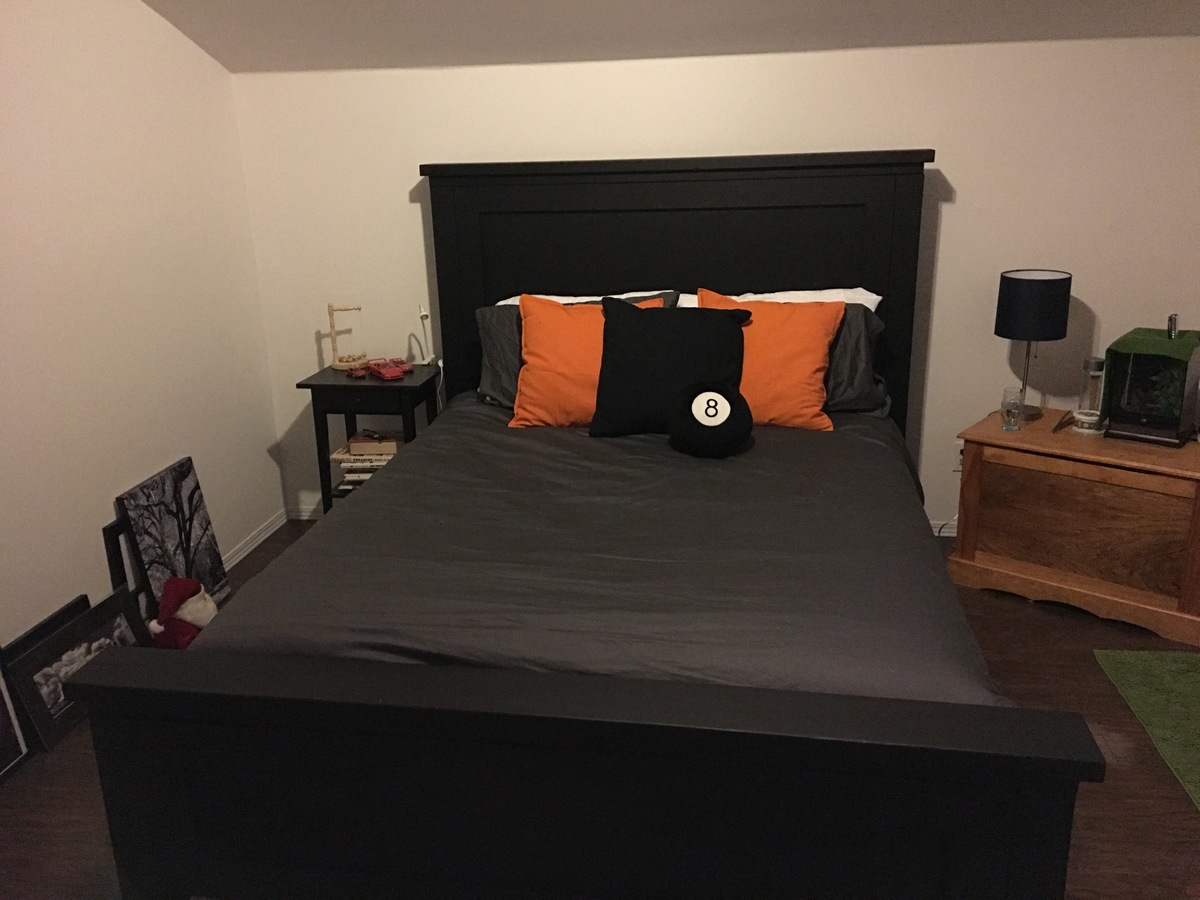
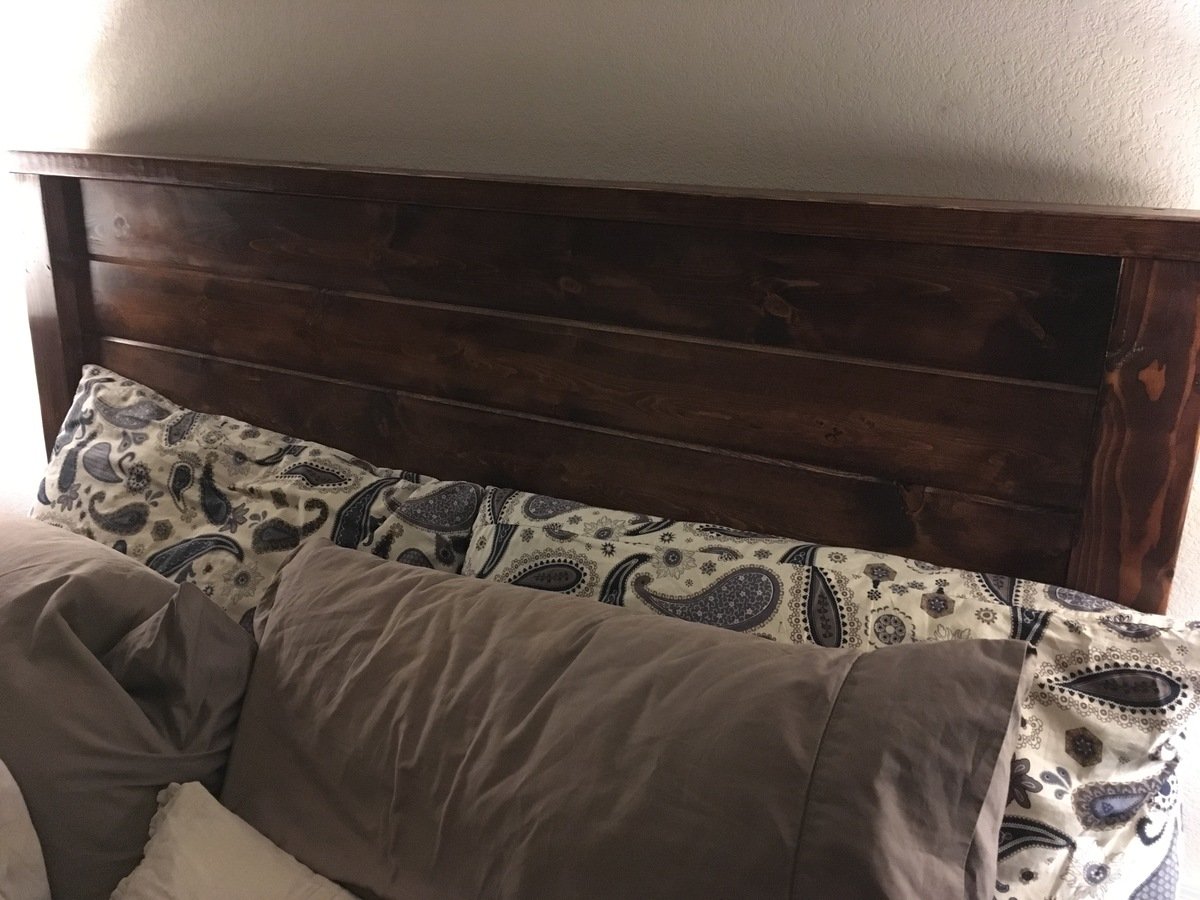
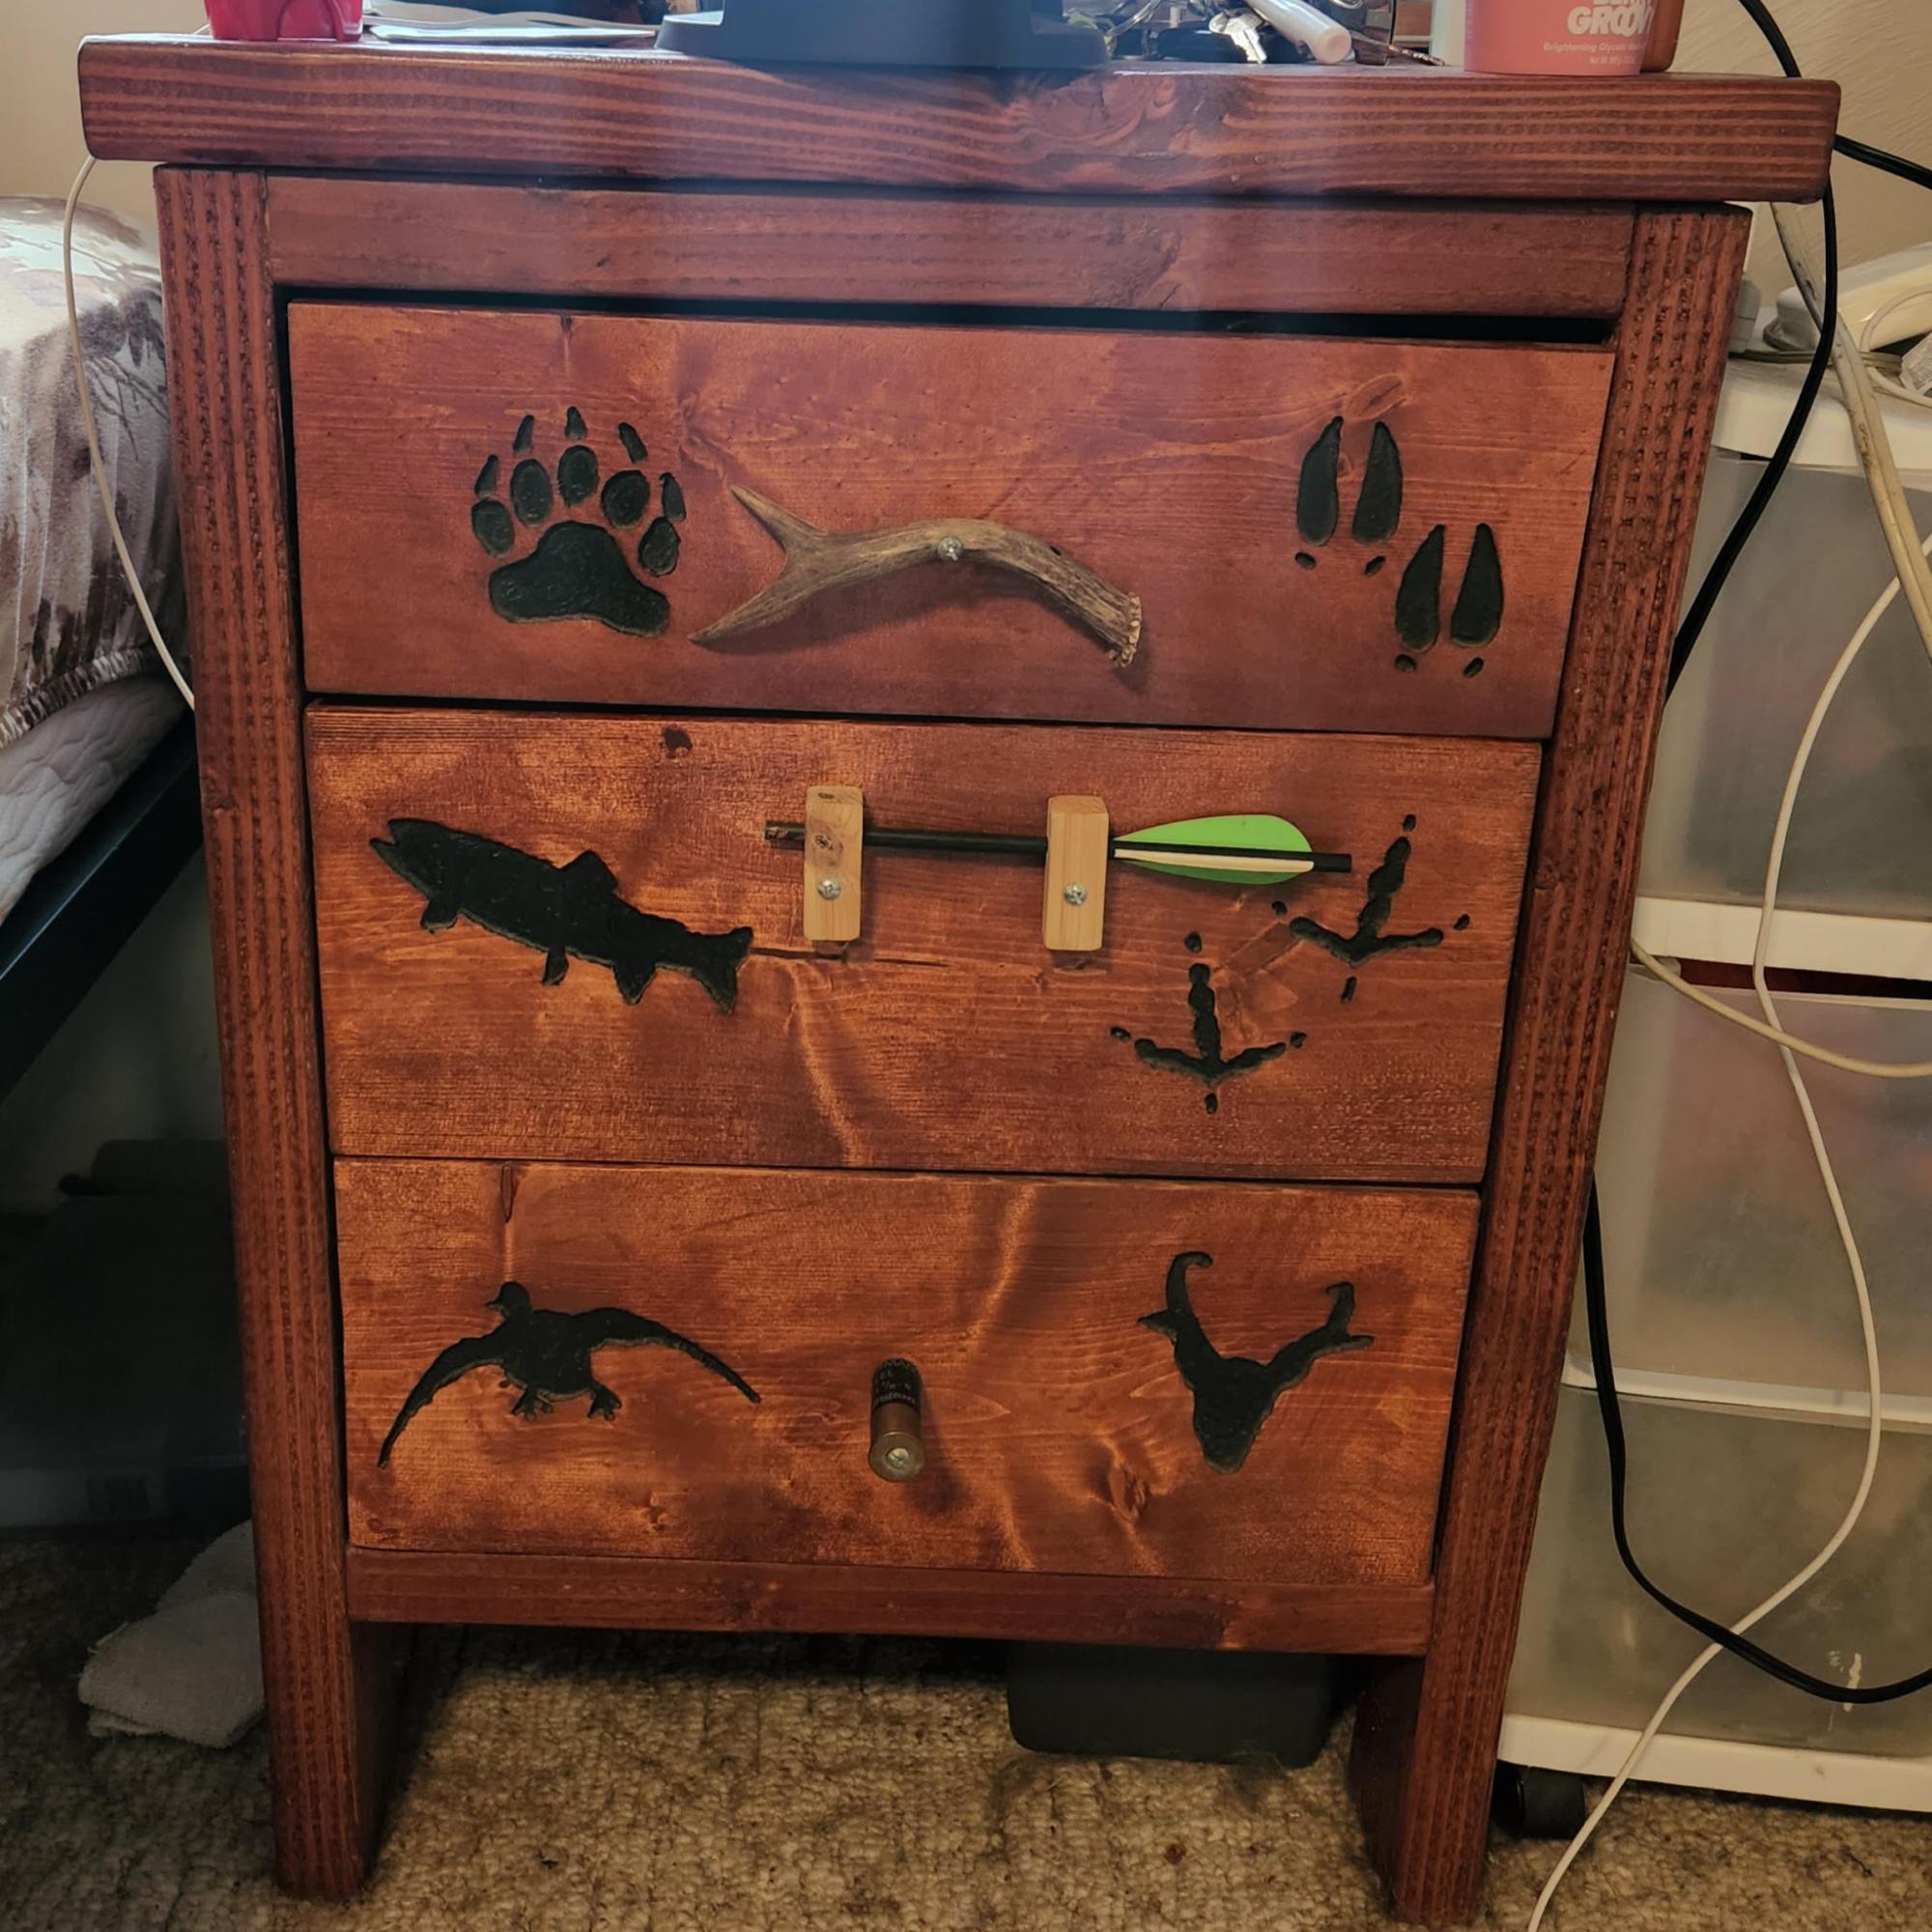
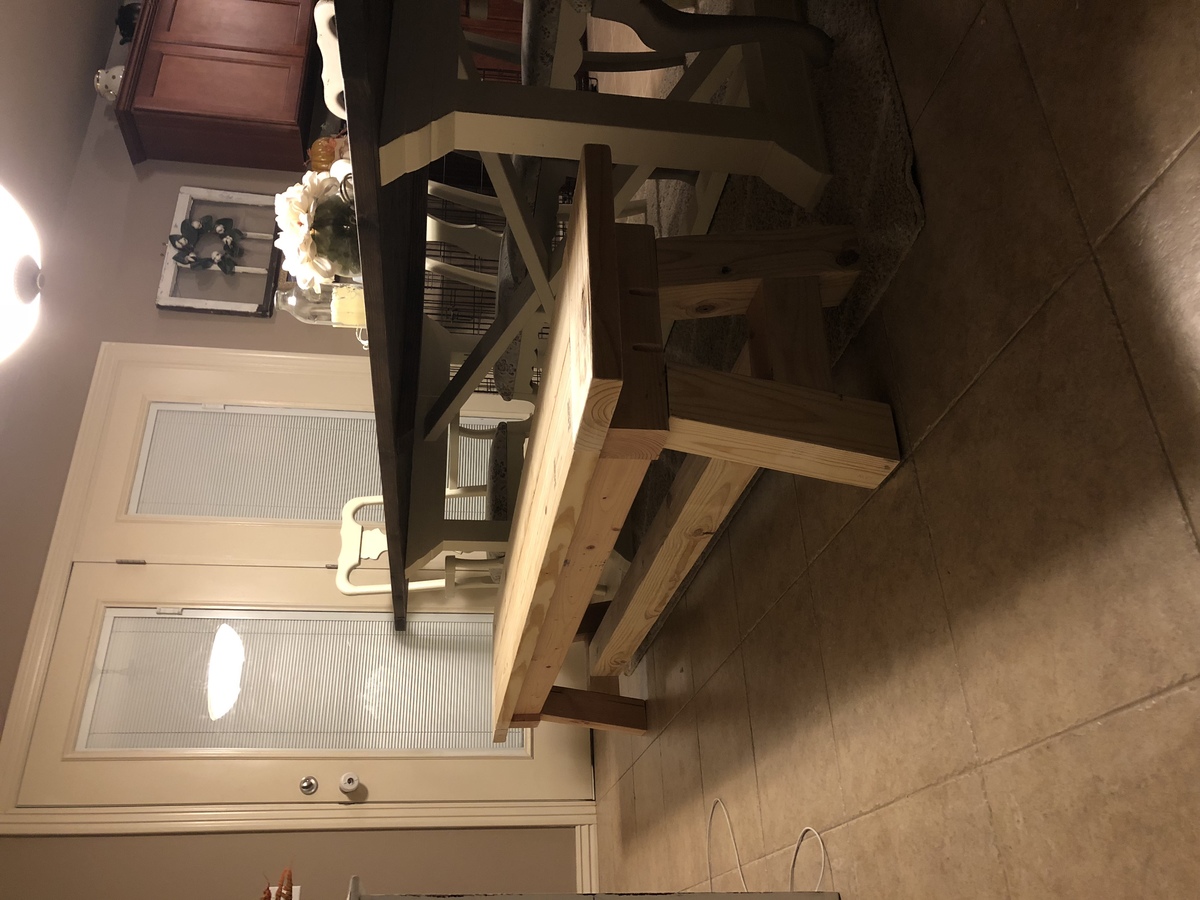
Farmhouse table
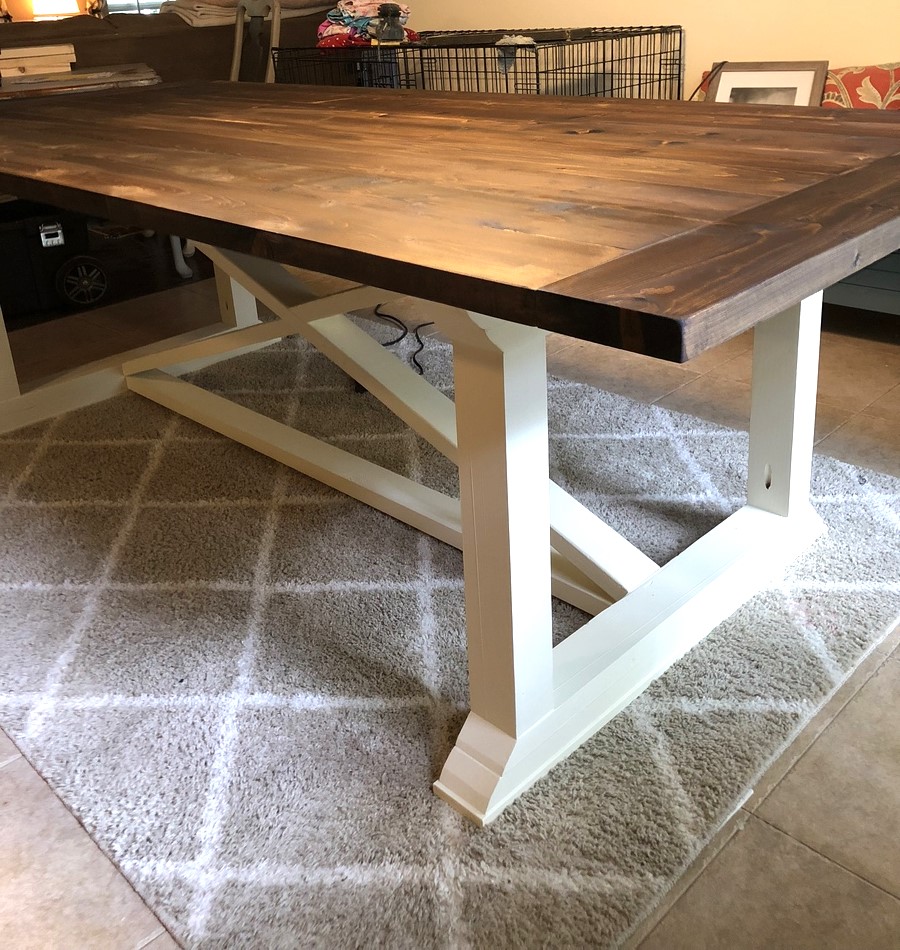
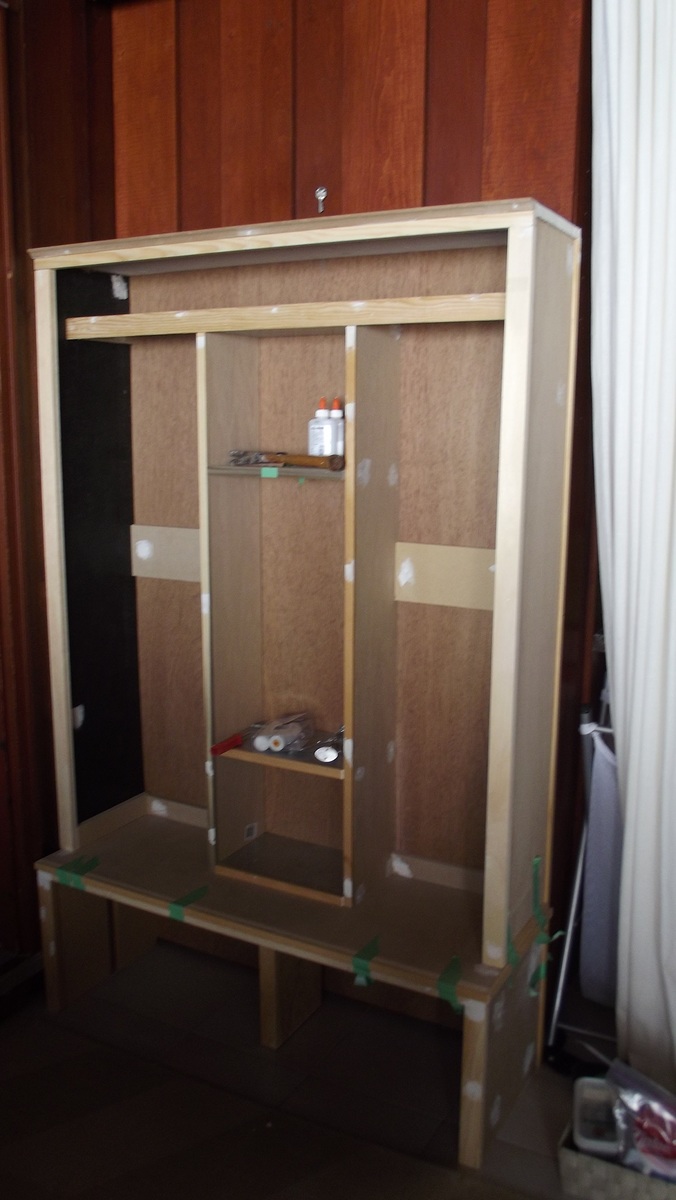
built from Ana White plans for my son and daughter in law
Built from Plan(s)
Estimated Time Investment
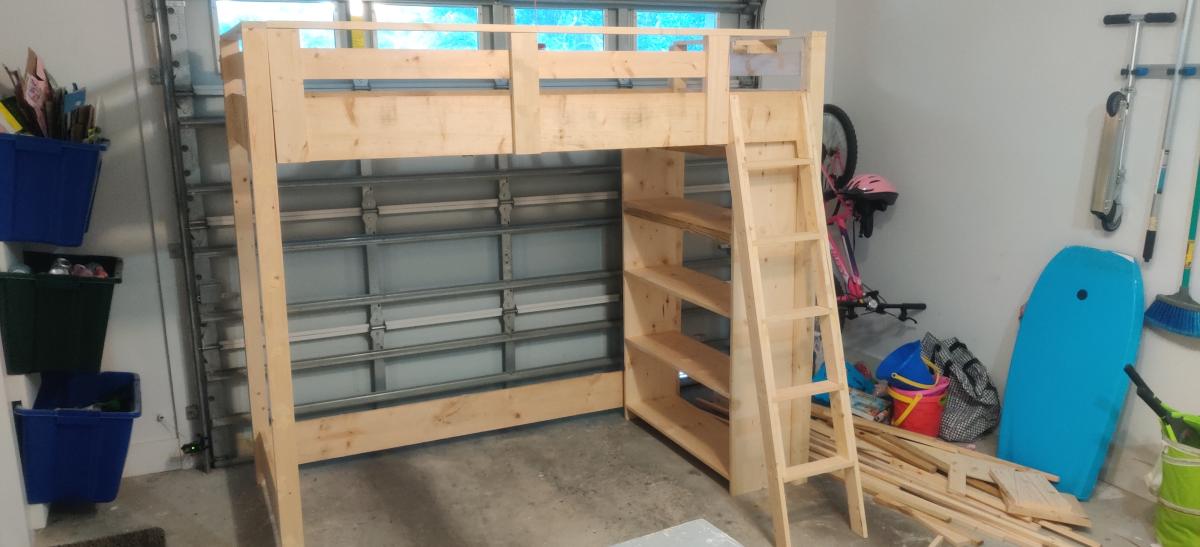
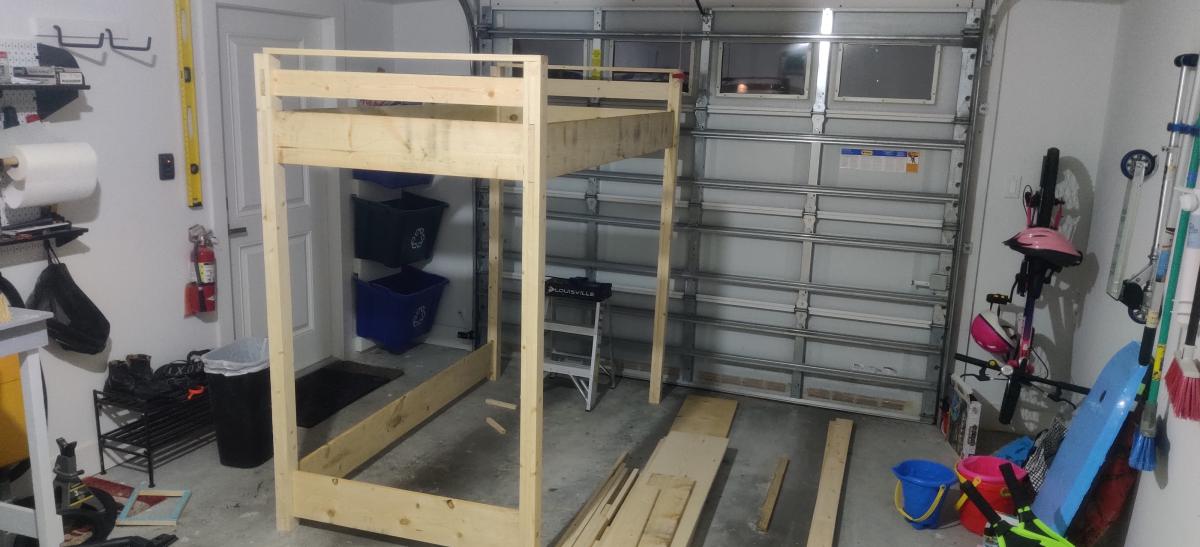
Weekend Project (10-20 Hours)
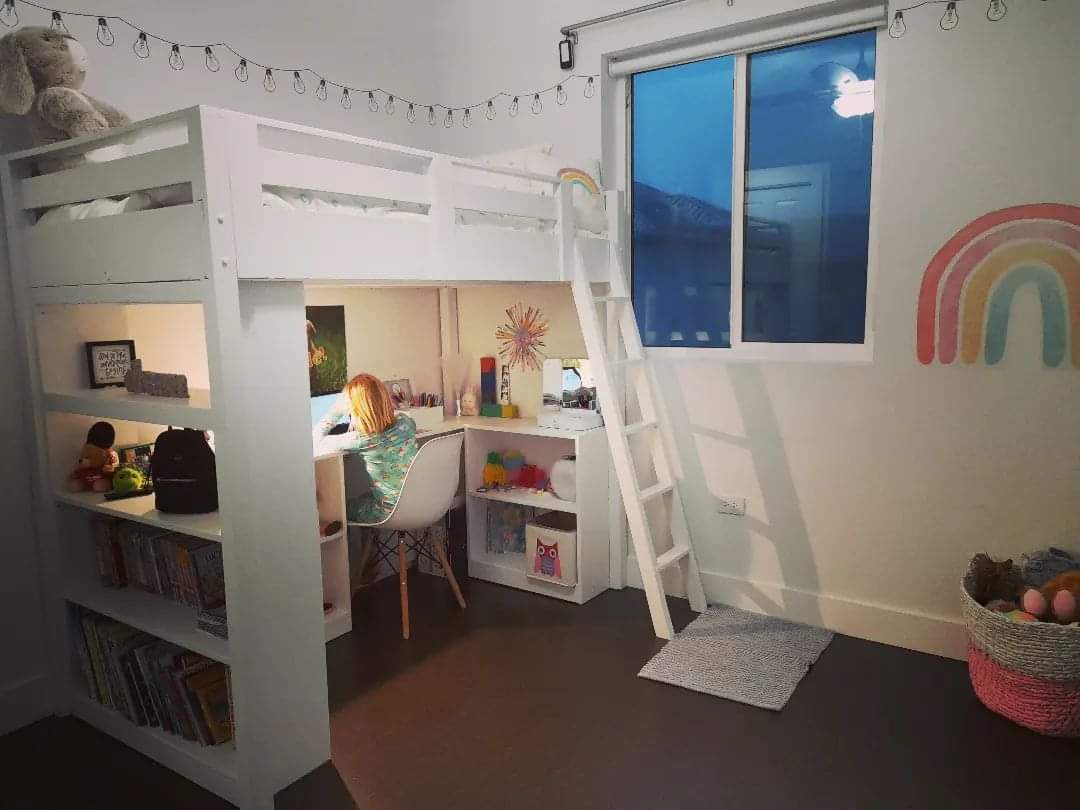
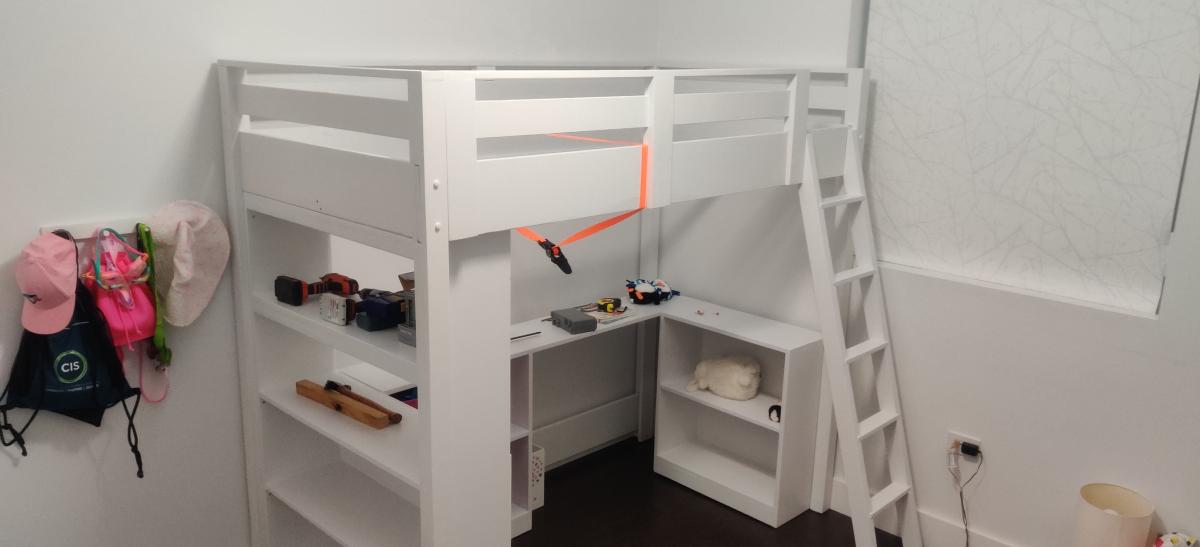
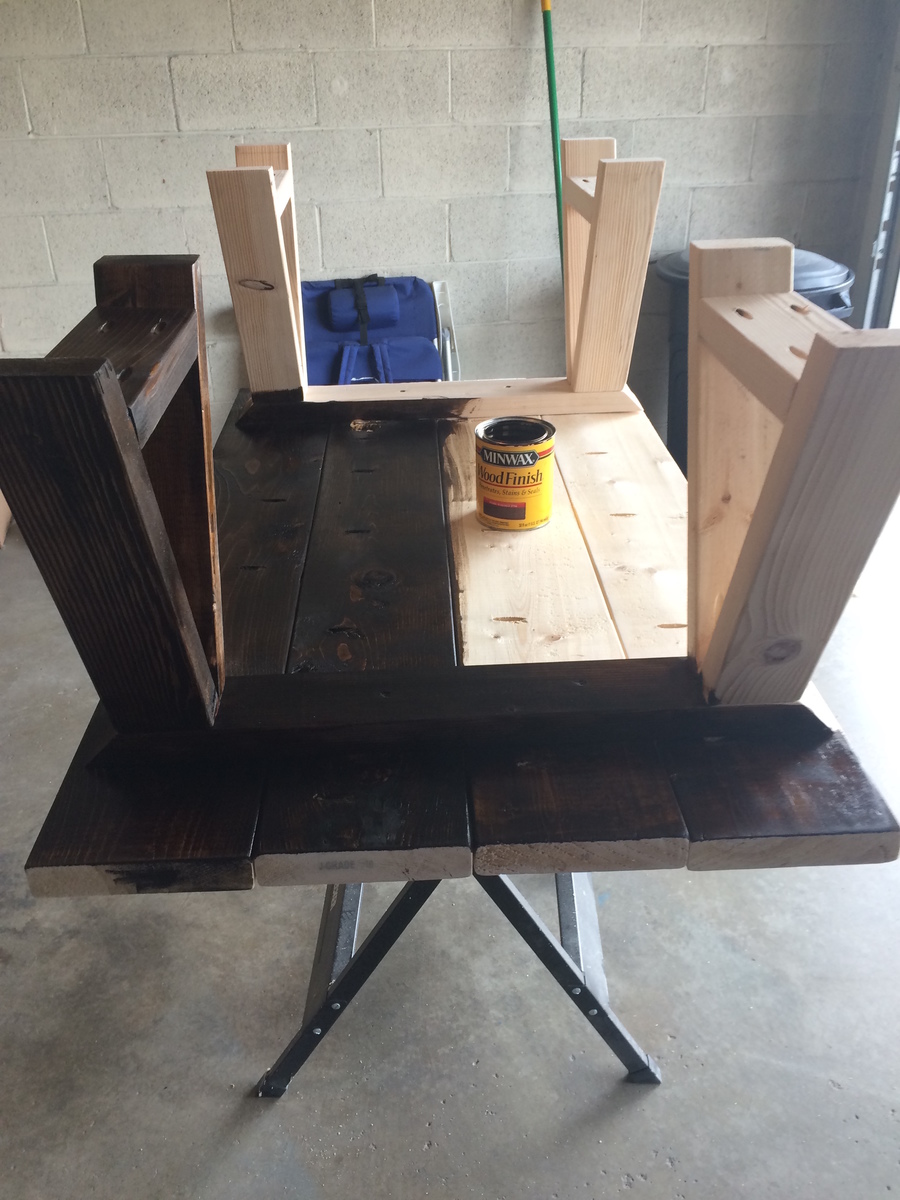
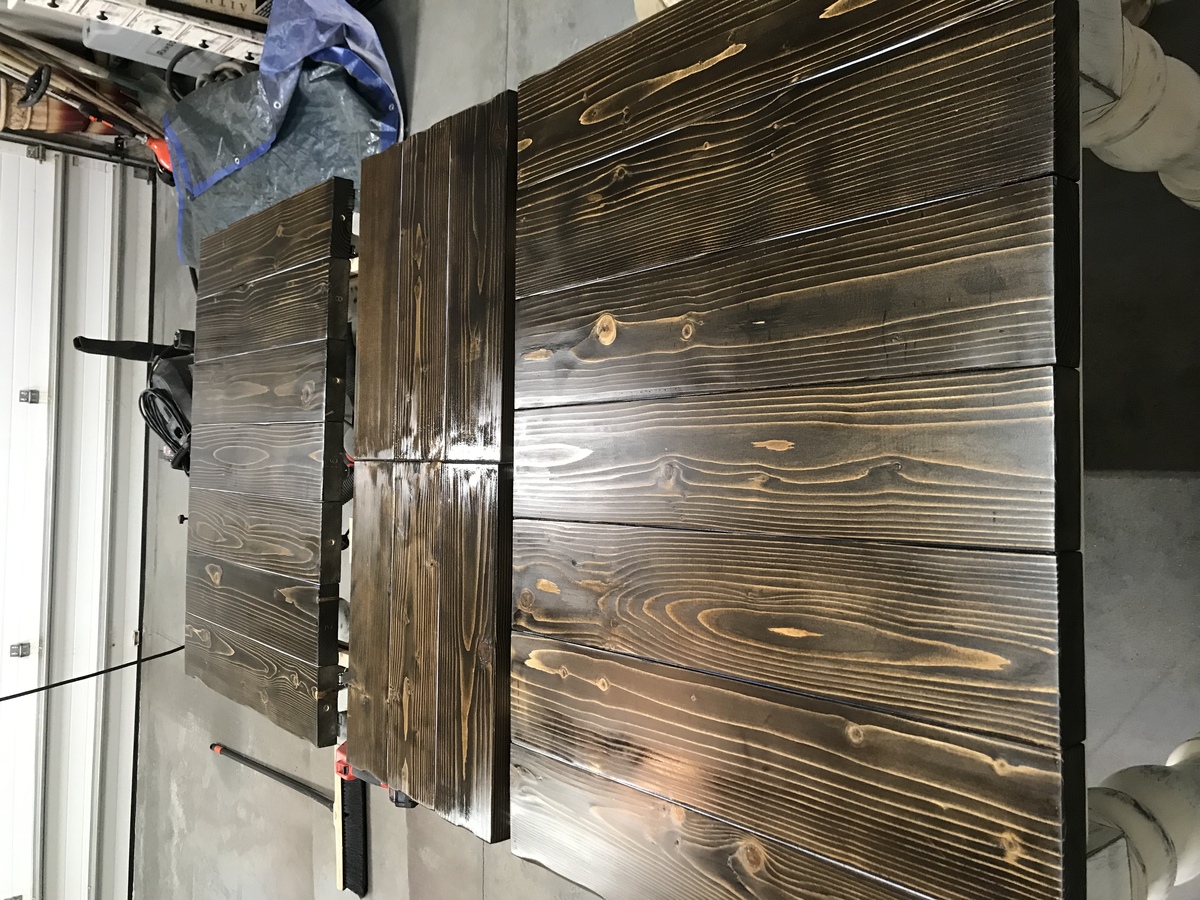
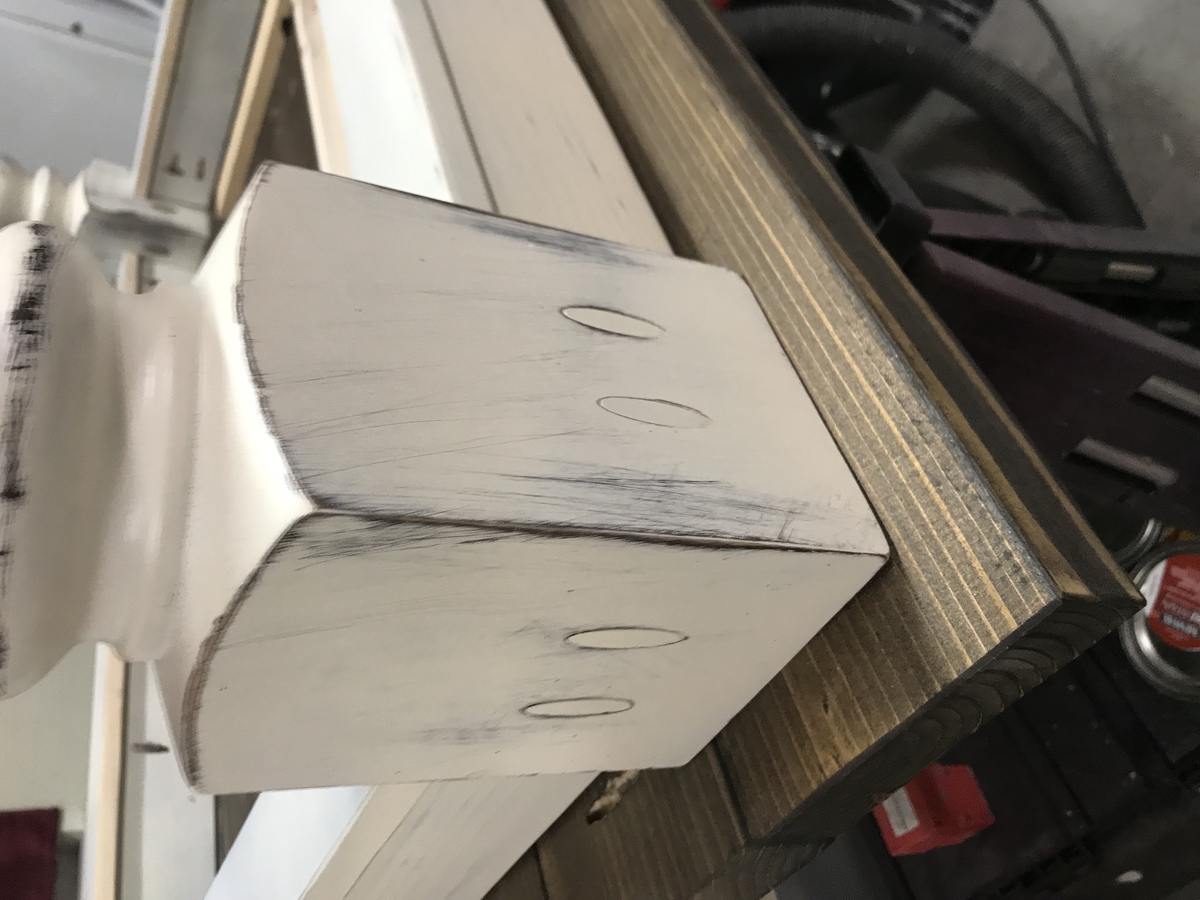
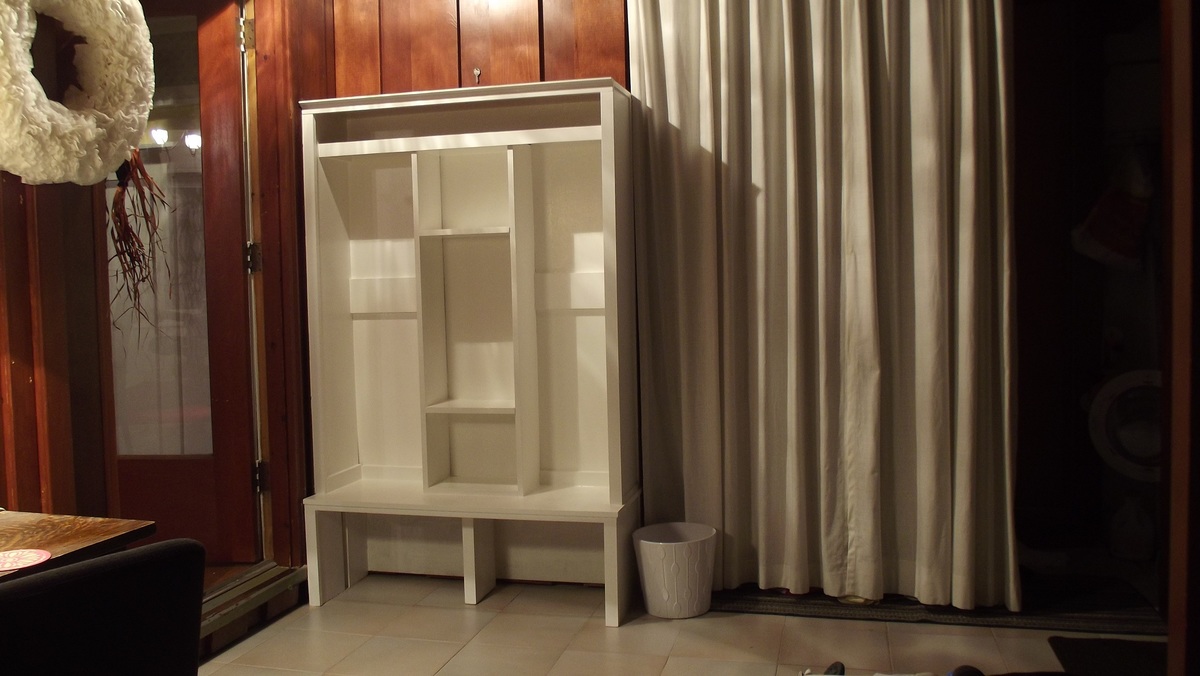
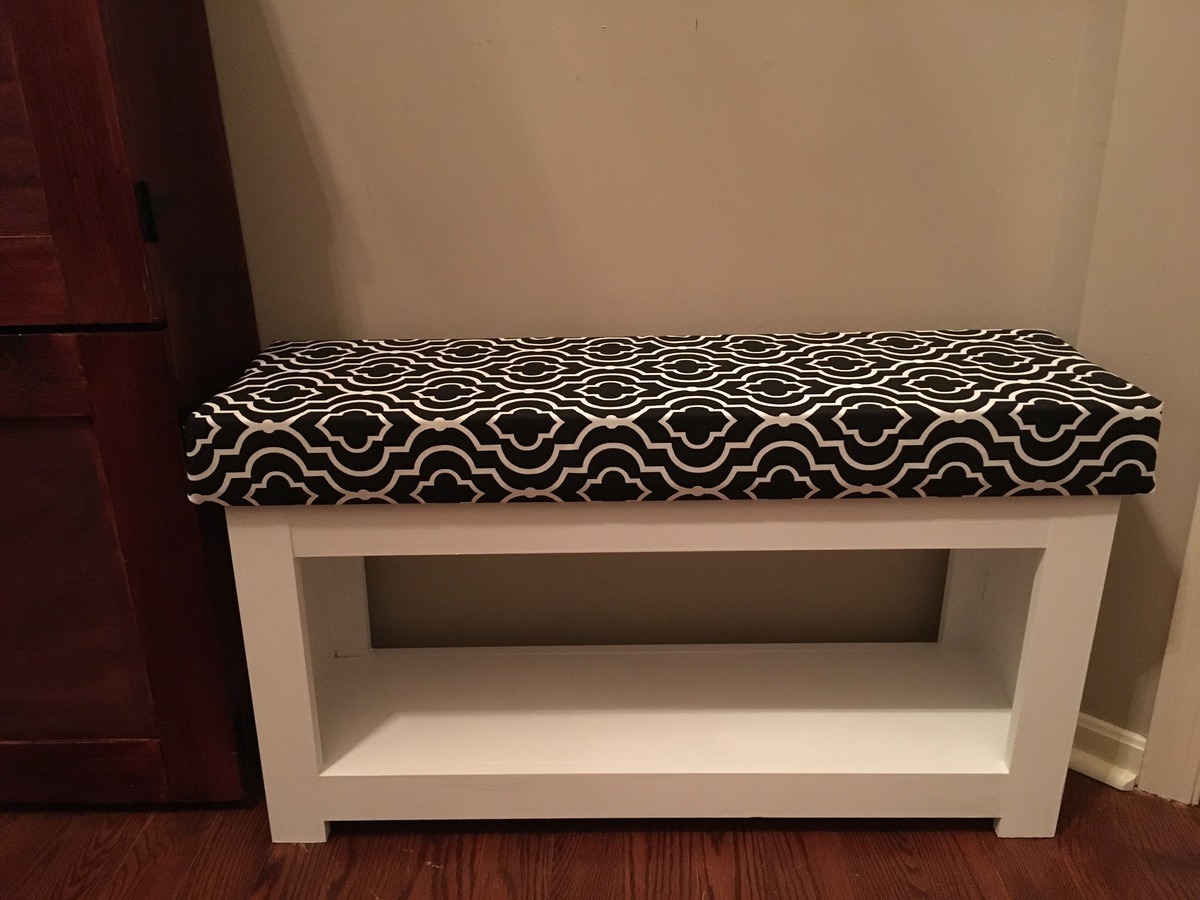
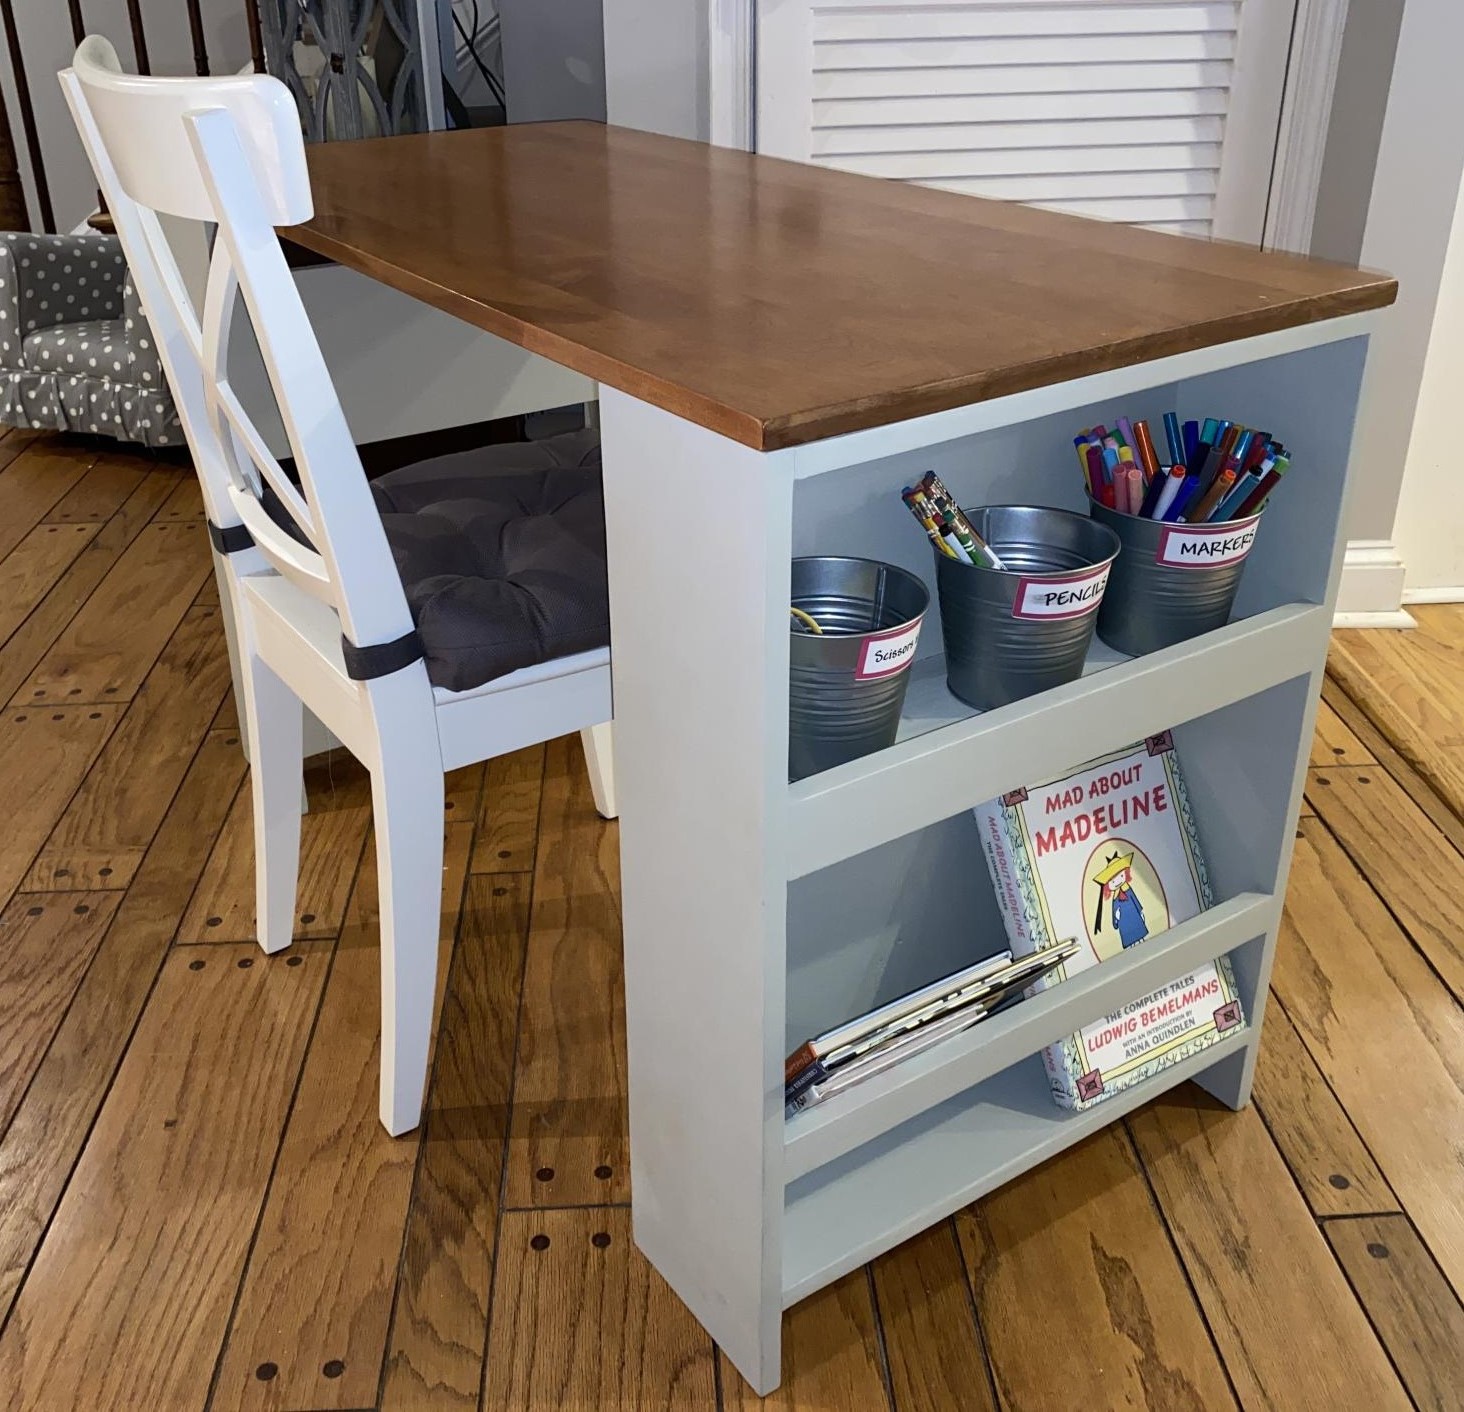
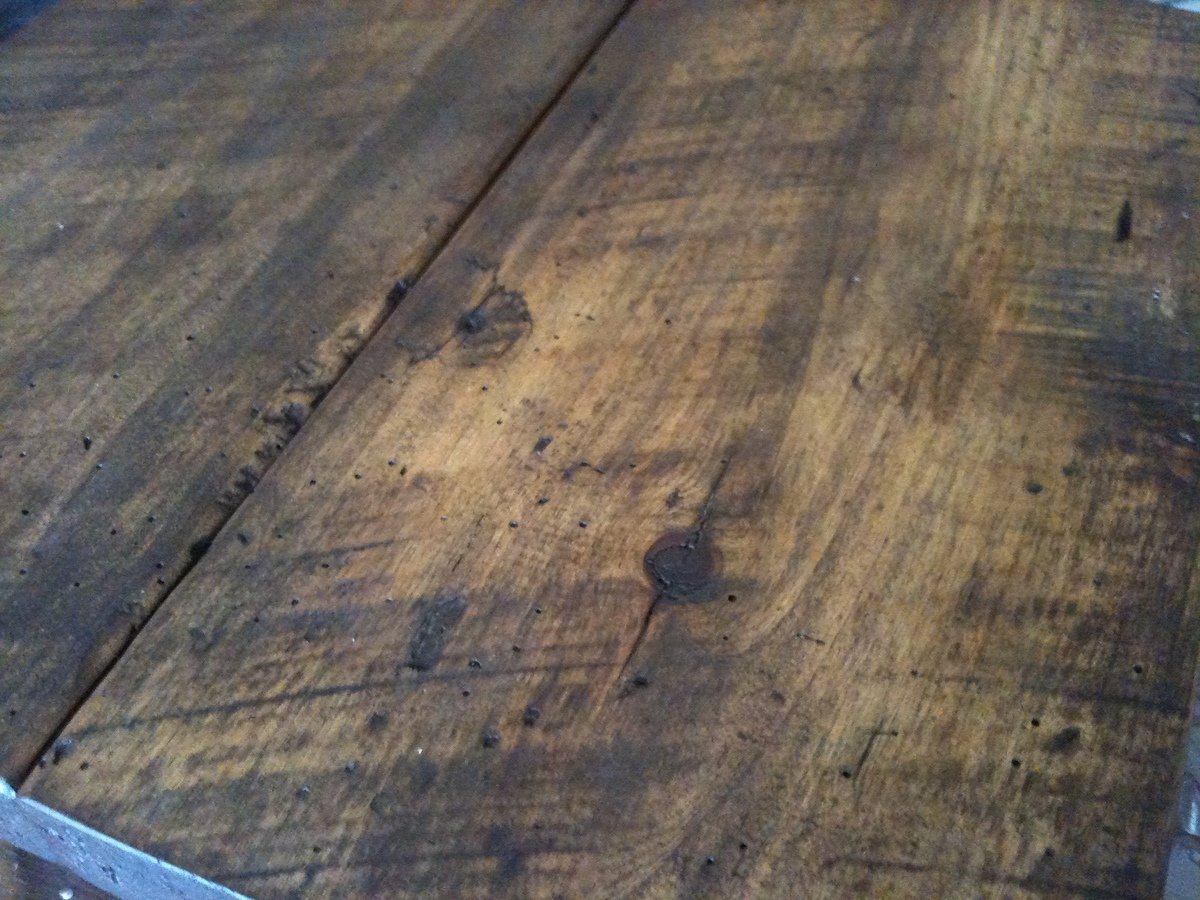
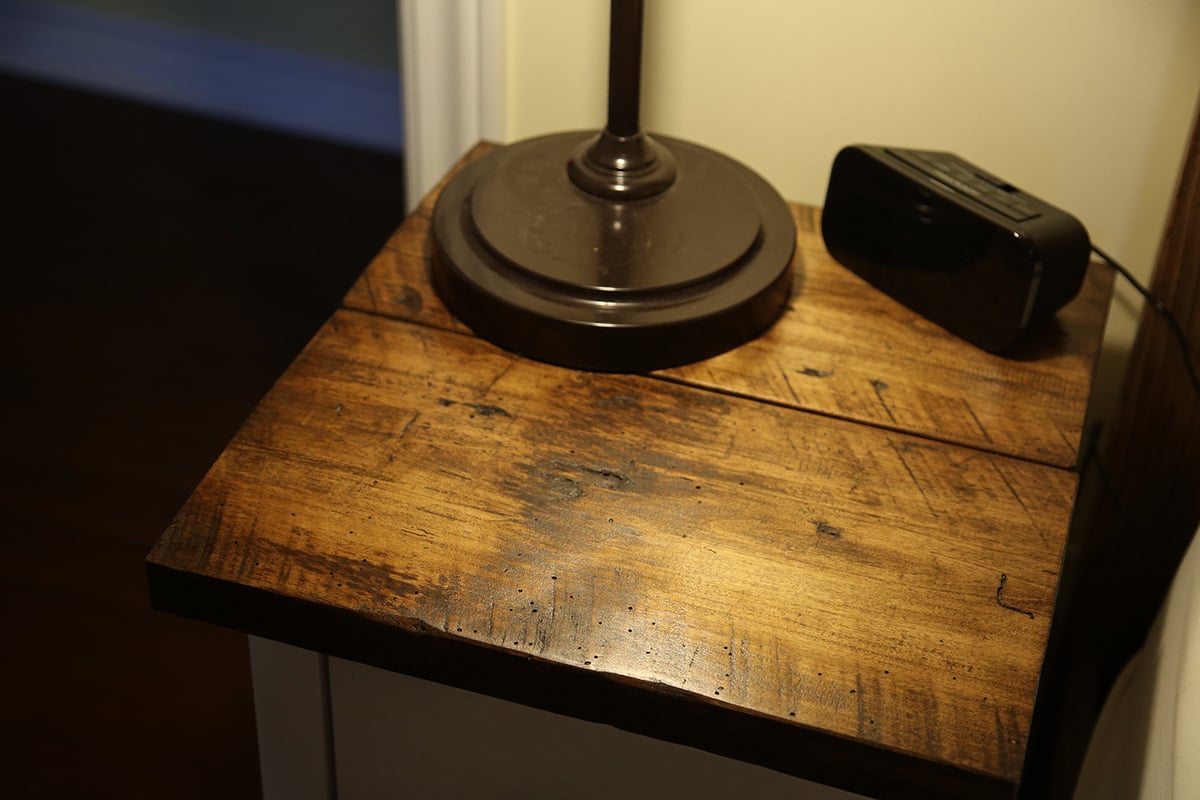
Finish Used
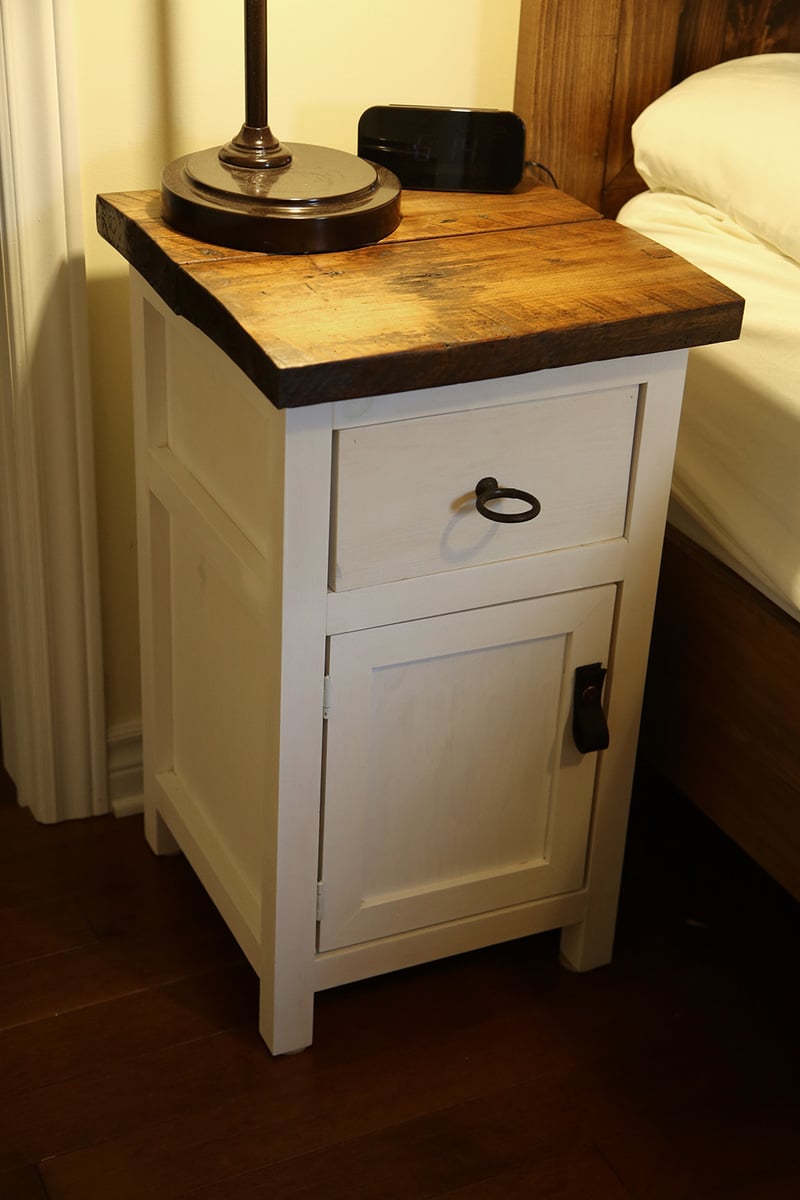
White matte paint and old English stain
Recommended Skill Level
Beginner