So in late December 2011, I asked my son if he was ready for his big boy bed. I had found a bed in a PBK catalogue that I loved. There was no way I could afford or justify the $1400 price tag plus tax and shipping so I had ventured onto ana-white.com and found a suitable option instead. His response to my question was, "No." Queue the Price Is Right losing sound. So, I waited.
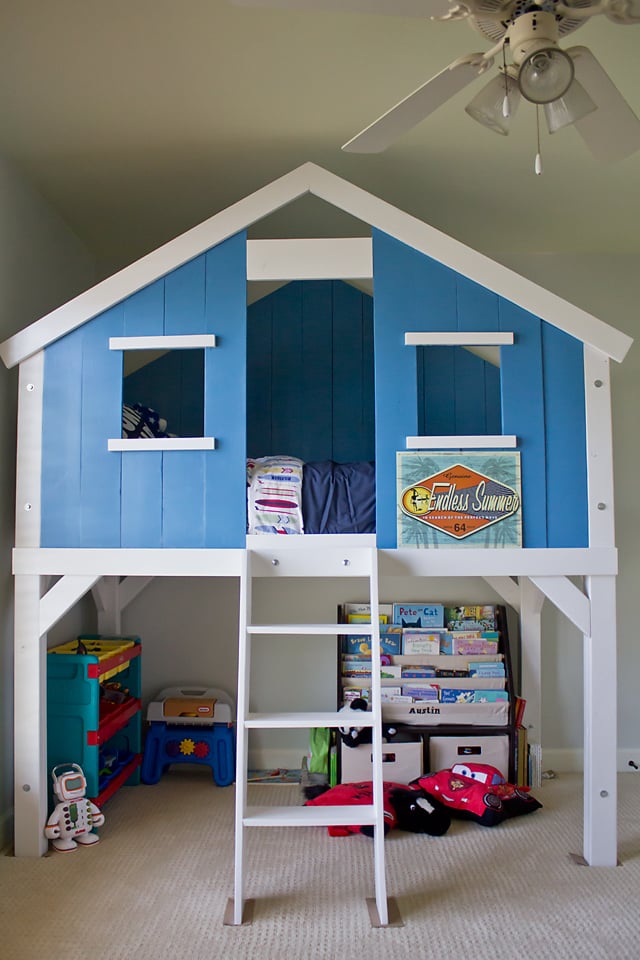
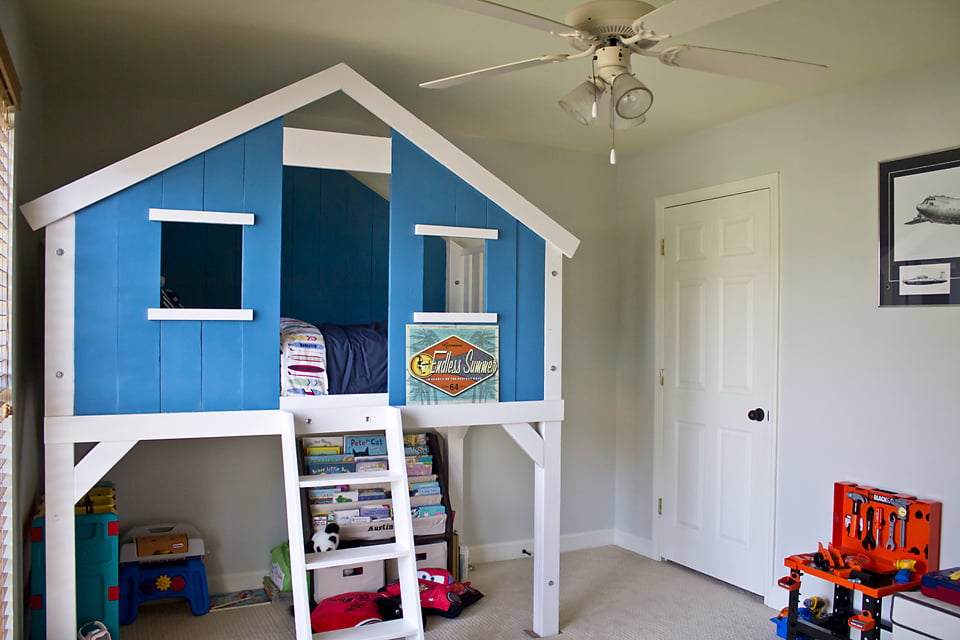
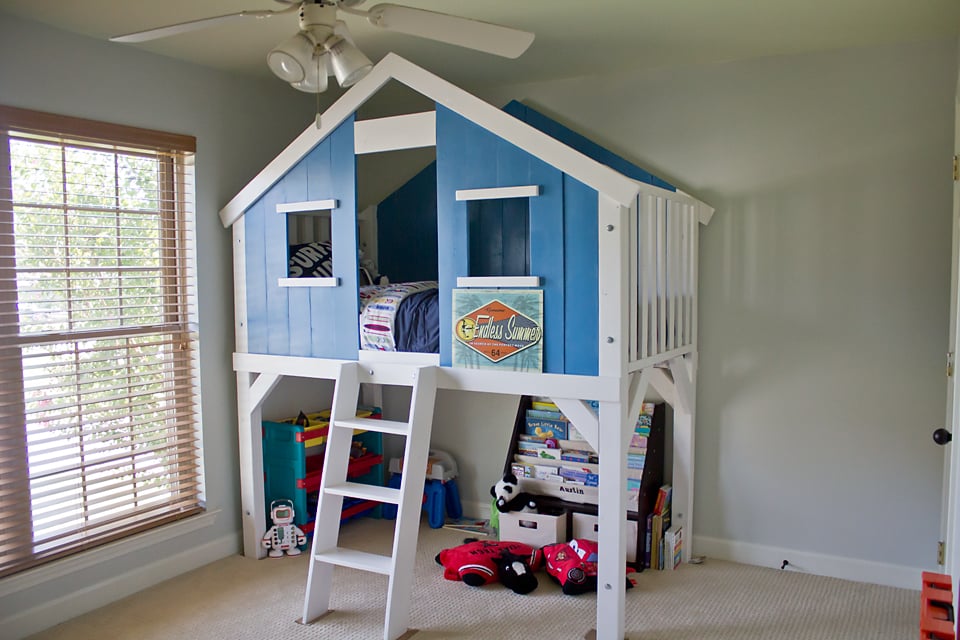
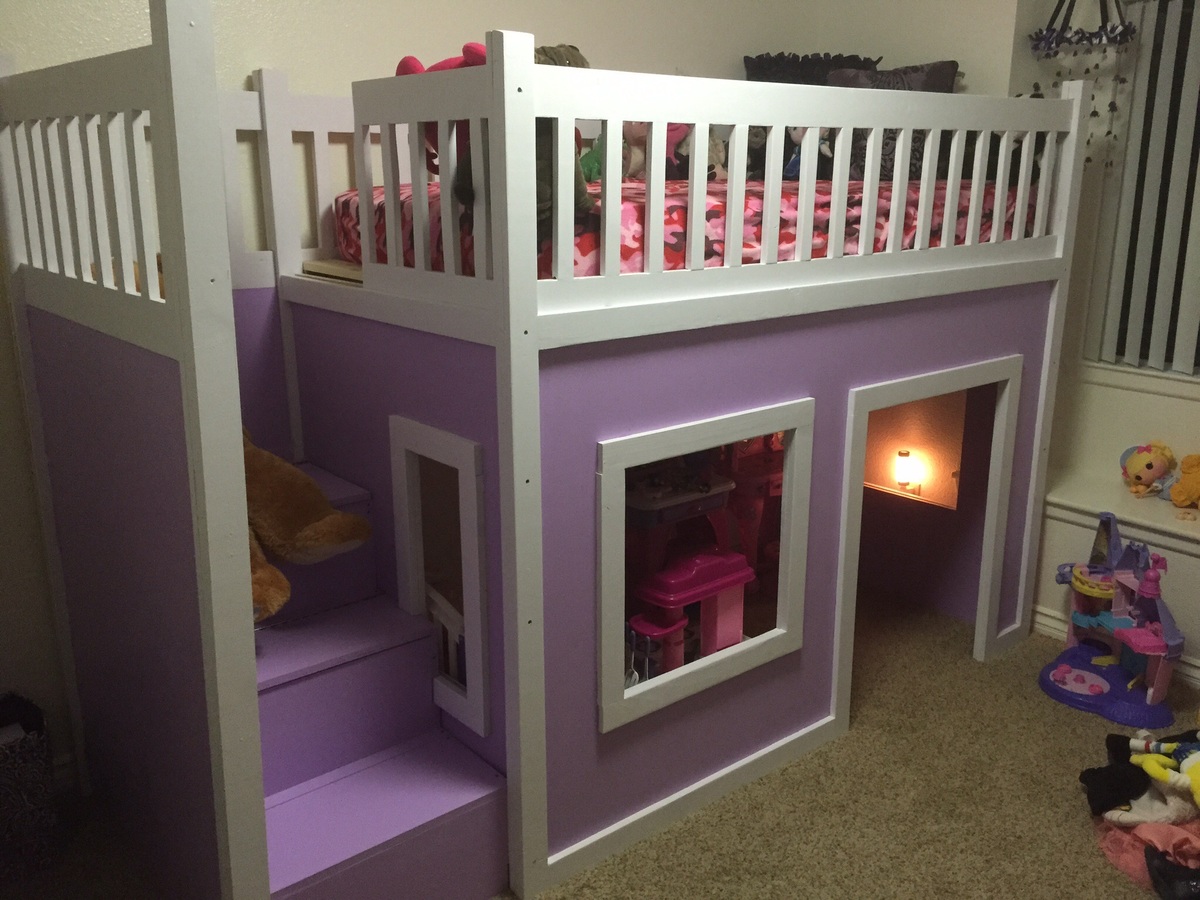
Sure enough, six months later, he tells me. "Mommy, I want you to build me my big boy bed now." I lit up with excitement. So I logged onto this wonderful website and began to search through the loft beds for the original plan. When the list of loft beds popped up, my heart almost stopped. It was June 2012 and there IT was. Posted in May 2012, the PBK clubhouse bed of my dreams! I was beyond excited. I knew that Ana wouldn't let me down!
I printed out the list and told the hubby to get the truck we were headed to my favorite blue store. Now, I have never built ANYTHING in my life, but I had drooled over enough plans on this site to know that Ana wouldn't lead me astray. So, a few hundred dollars later in lumber, we pull into the drive way with all I needed to get started. My wonderful husband unloaded everything and began organizing the garage. When I saw he was done, I said, "Thanks babe, now can you watch A while I get started on all the cuts." I saw his heart break. He thought he would be making the bed. He had no idea, that my intentions were to do this on my own. (I have OCD and my husband does NOT and we have a crooked fence to prove it)
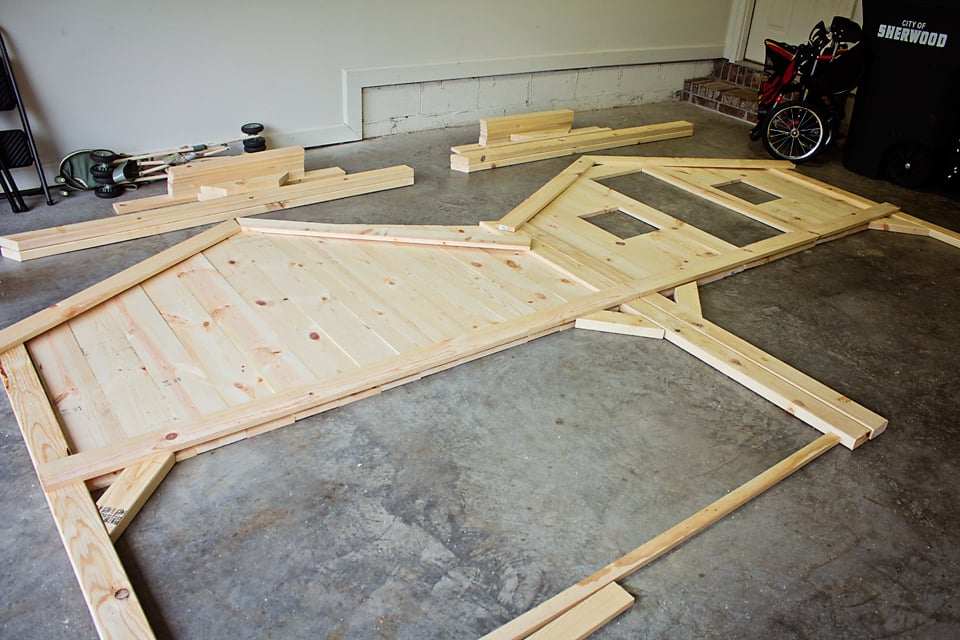
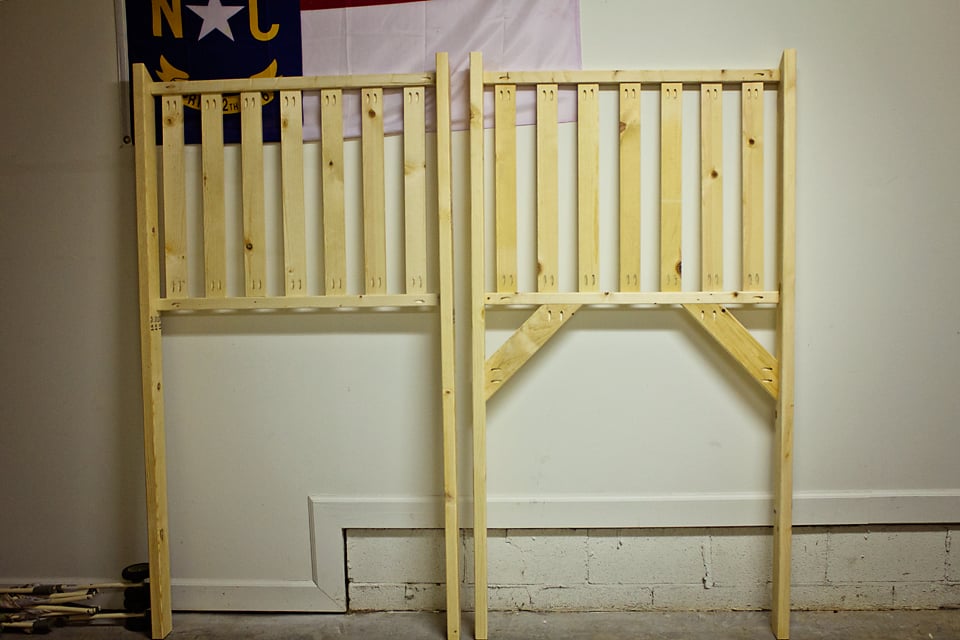
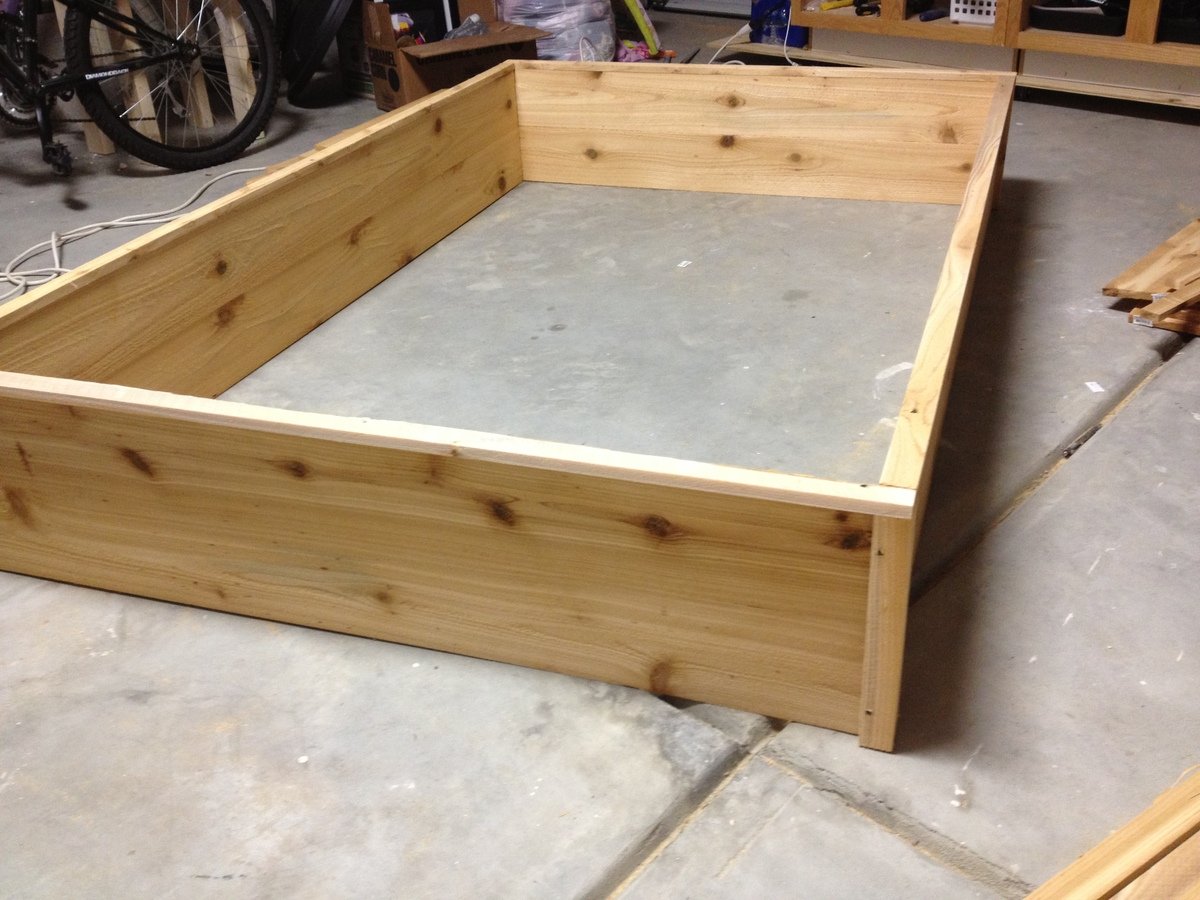
So in one night I made all the cuts and assembled the ends of the bed! Happy Dances!
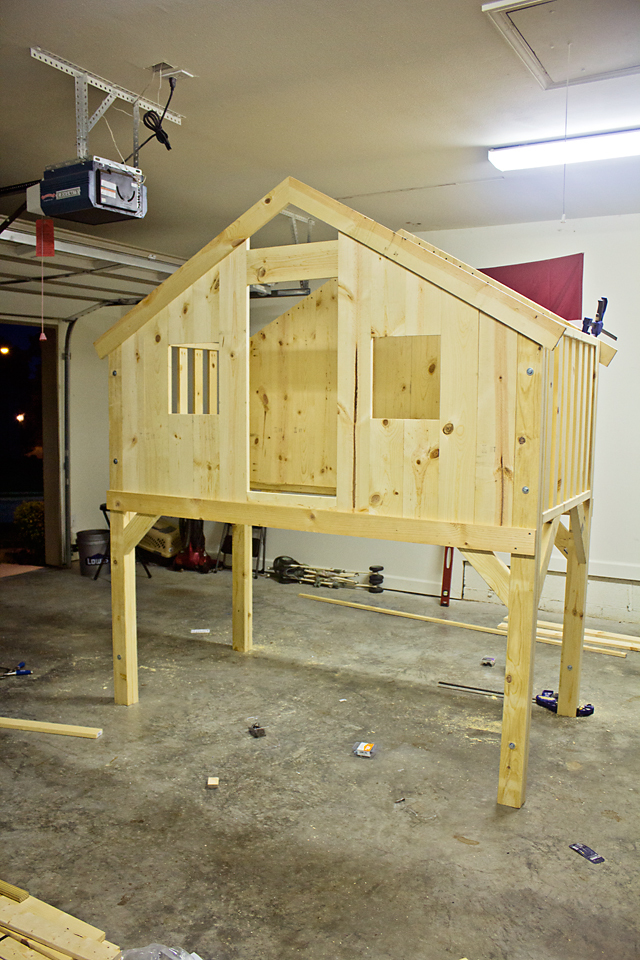
The next day, I assembled the front and back of the clubhouse and it was standing tall in my garage that night. I was fortunate to have a great baby sitter Saturday and Sunday.
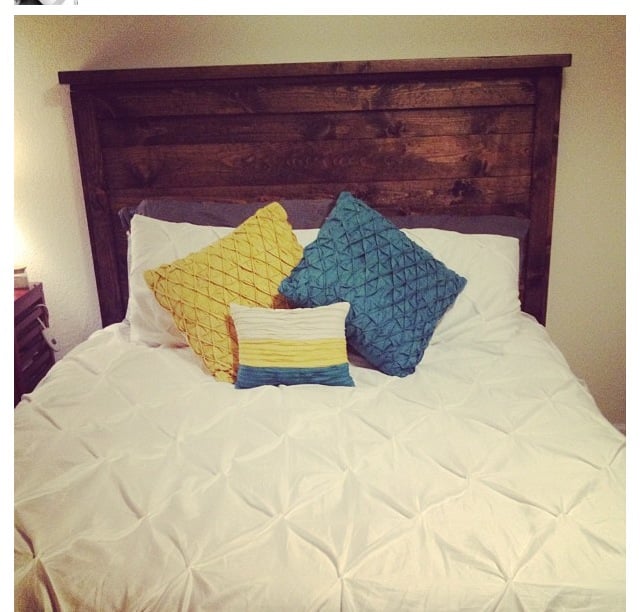
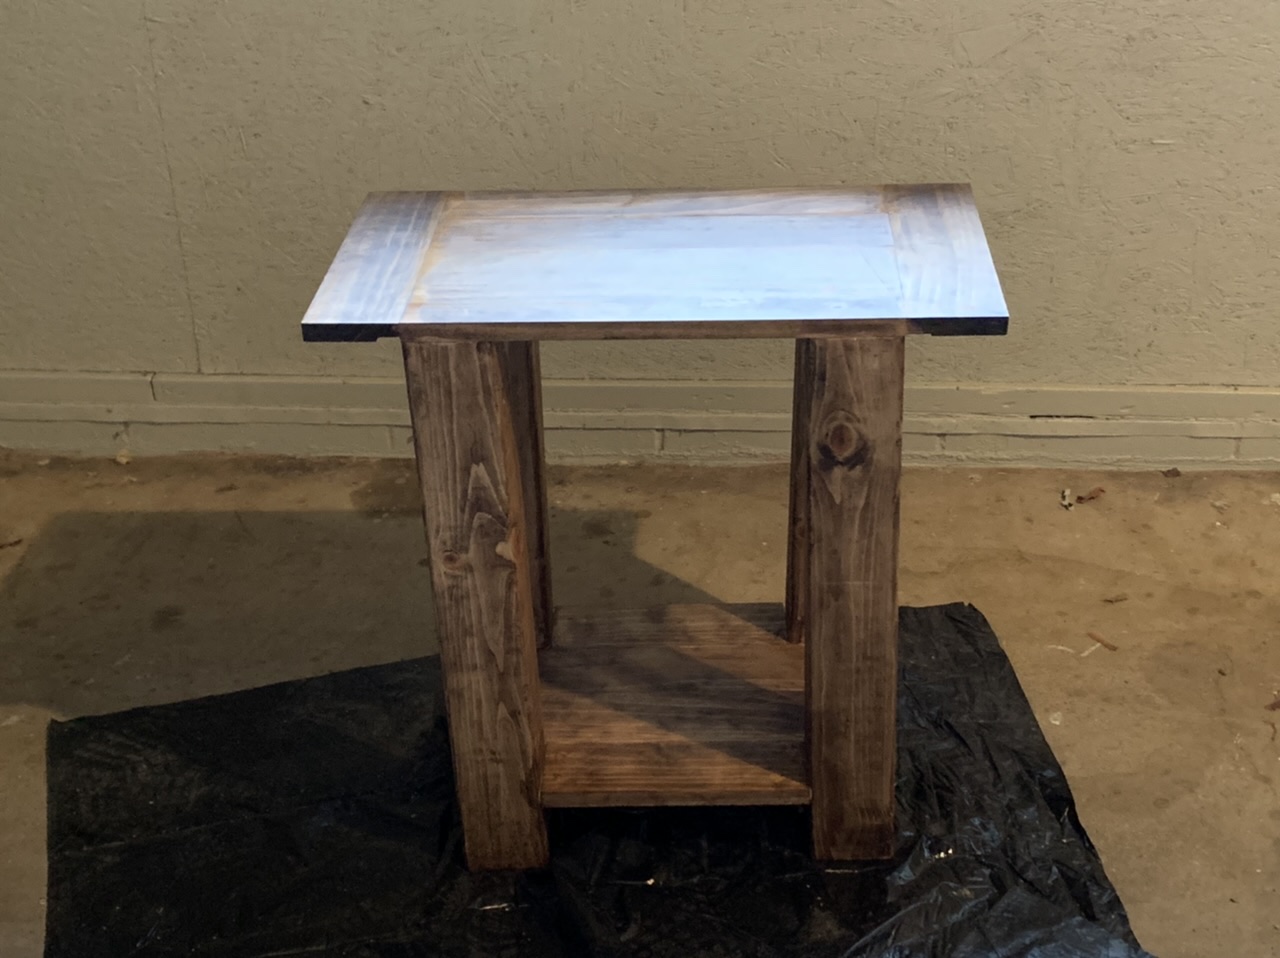
While this project could have been finished in two to three weekends, I (well, my son) chose July for this build which is not so smart so the sanding and painting had to wait until the cooler evening and night hours. Eventually, I had to set it up in my living room to paint it (I spray painted the primer on outside and sanded that before bringing it in). Once I did that, two coats of blue and white, a two full coats of the finish and the bed was DONE!
My three year-old was so proud of his new digs and he told everyone he showed, "My mommy built that for me, all by herself!" Talk about one of the sweetest things I've ever heard, praise from a three year-old.
P.S. We removed the cardboard from under the feet after the curing period for the finish. It was dry, but to be safe (my OCD) I put the cardboard there for a week. I didn't want the feet to get stuck to the carpet under the weight of the bed.


Comments
Ana White
Tue, 01/27/2015 - 15:04
Wow this is really cool! I
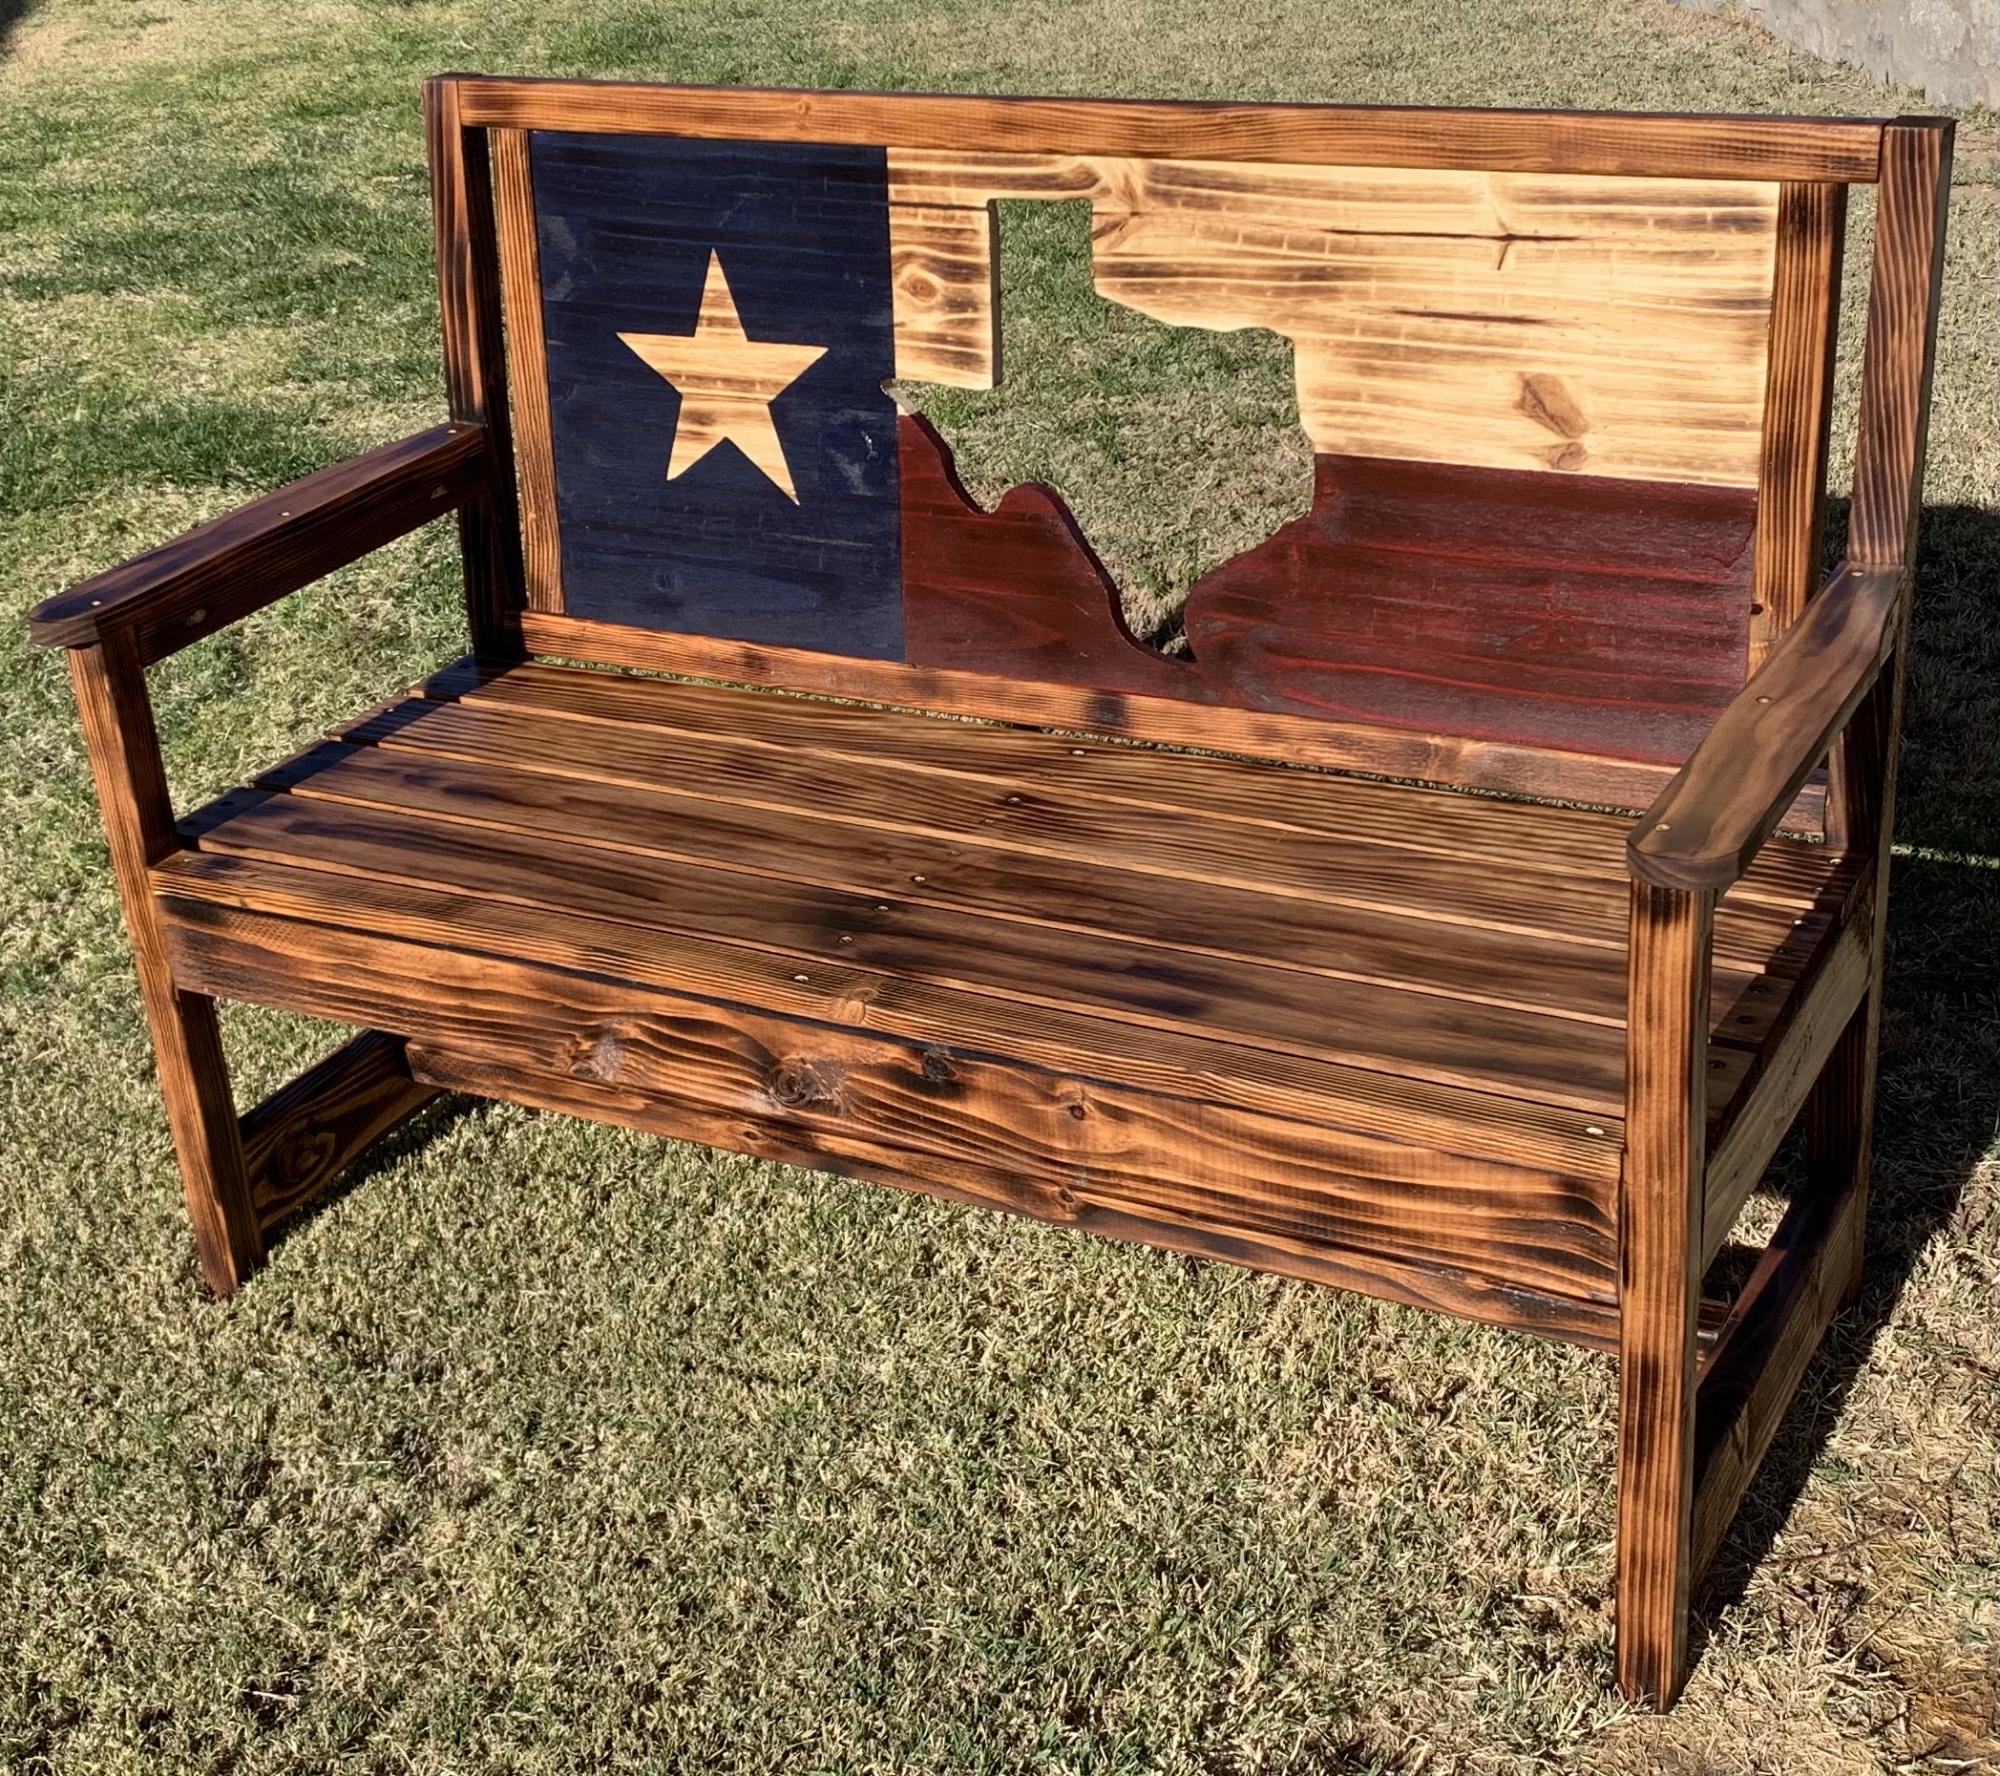
Wow this is really cool! I love the stain that you chose and this is really beautifully built!