Community Brag Posts

Adult Beach Chair

Submitted by lkey on Sun, 06/12/2011 - 15:21

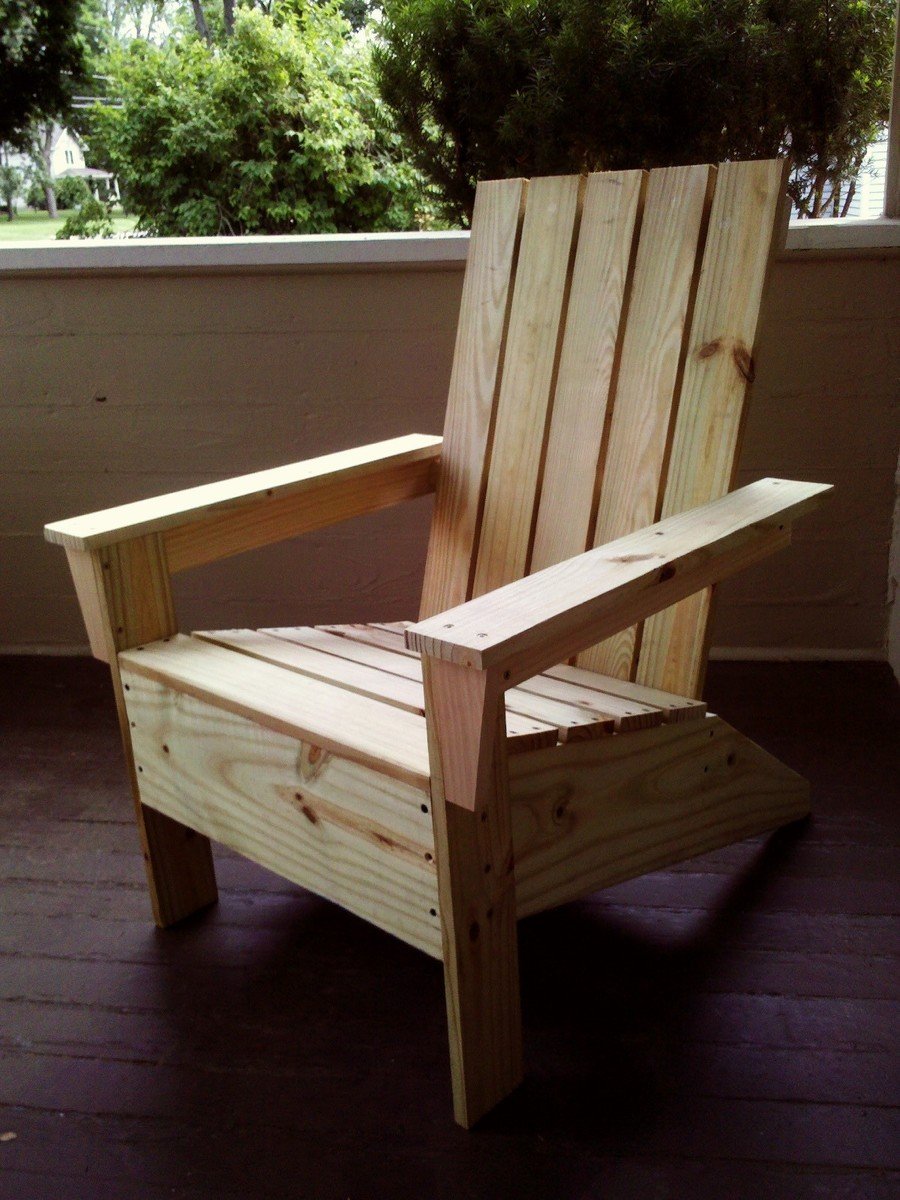
This chair is the best. We went to a specialty lumber store and picked up some Ipe wood. It was fairly expensive (about $100 for the wood alone) but well worth it! Looks awesome and is really comfortable. We also tested it out and it is very sturdy, however, we did use 2x2 for the frame. We plan on making at least one more matching one soon. Thanks for all the plans!!!

Estimated Cost
$125
Estimated Time Investment
Day Project (6-9 Hours)
Finish Used
None
Recommended Skill Level
Beginner

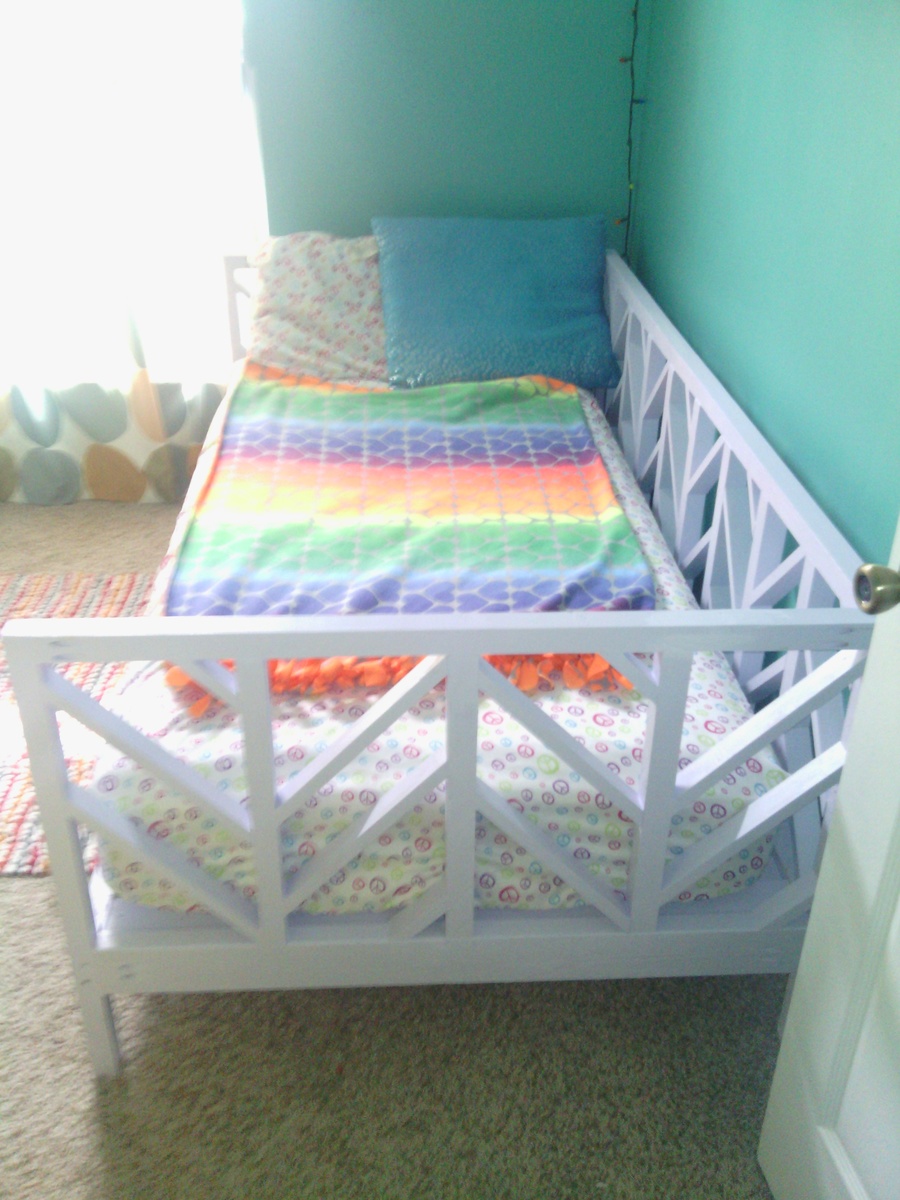
Herringbone Daybed

Submitted by sailonseas on Mon, 08/10/2015 - 10:25

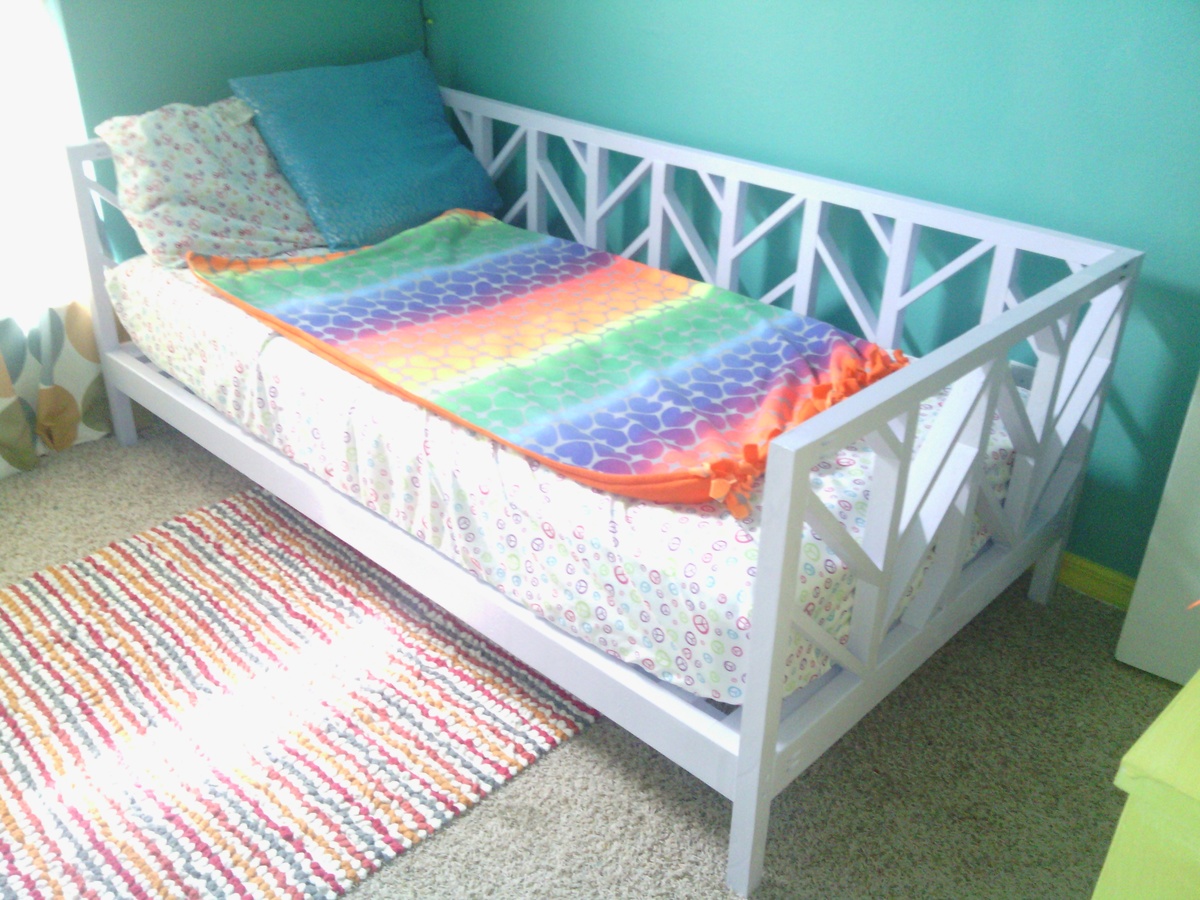
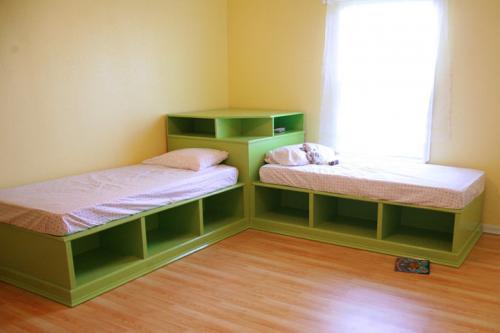
I build this last minute for my daughters room makeover.  I worked through the night, but got it completed and painted just after sunrise. (I slept good the following night!)

Built from Plan(s)
Estimated Cost
This project ran about $70 in all.
Recommended Skill Level
Beginner

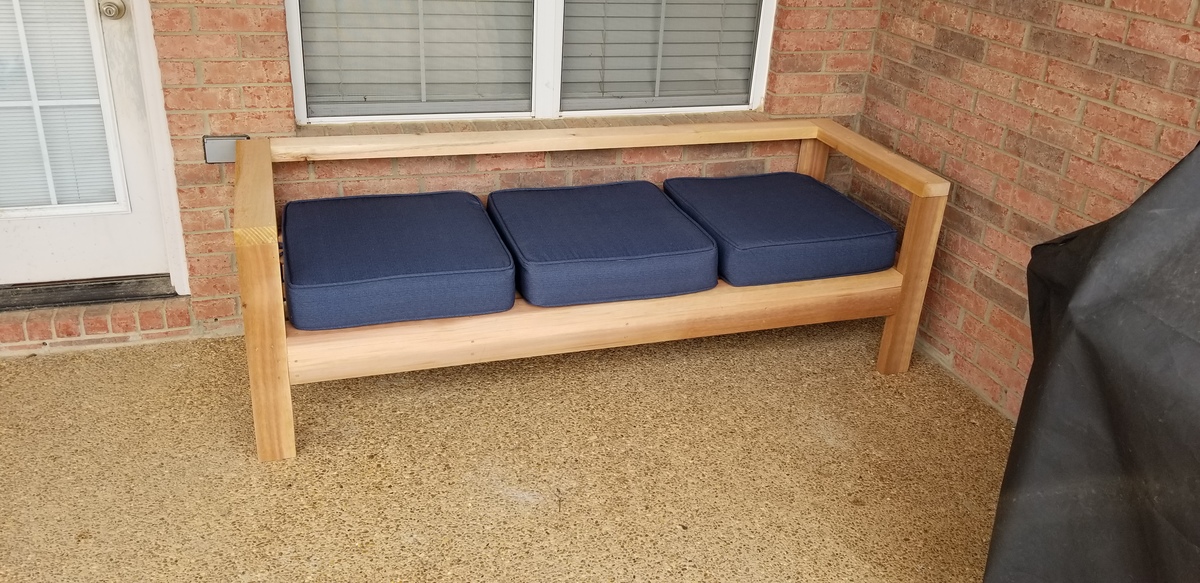
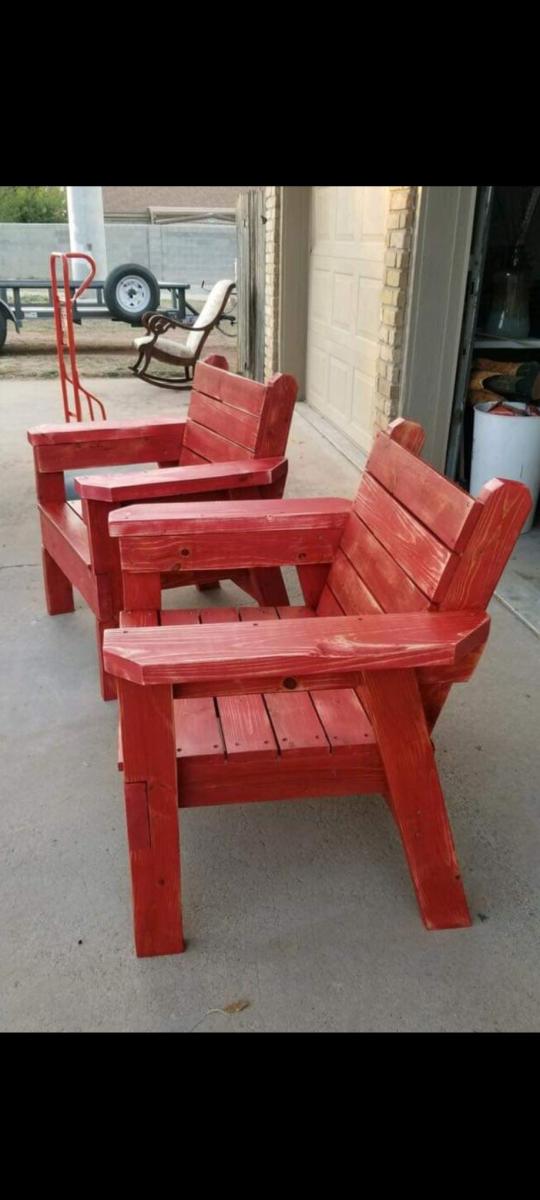
2x4 Outdoor Sofa

Submitted by Godfall47 on Sat, 03/10/2018 - 20:18

This was so easy to make and it's so sturdy and beautiful. Rough cut cedar using 3" exterior decking screws and wood glue. Had a blast making it with my wife. 

Estimated Time Investment
Afternoon Project (3-6 Hours)
Finish Used
No finish yet. Will possibly add a seal at later date.
Recommended Skill Level
Starter Project

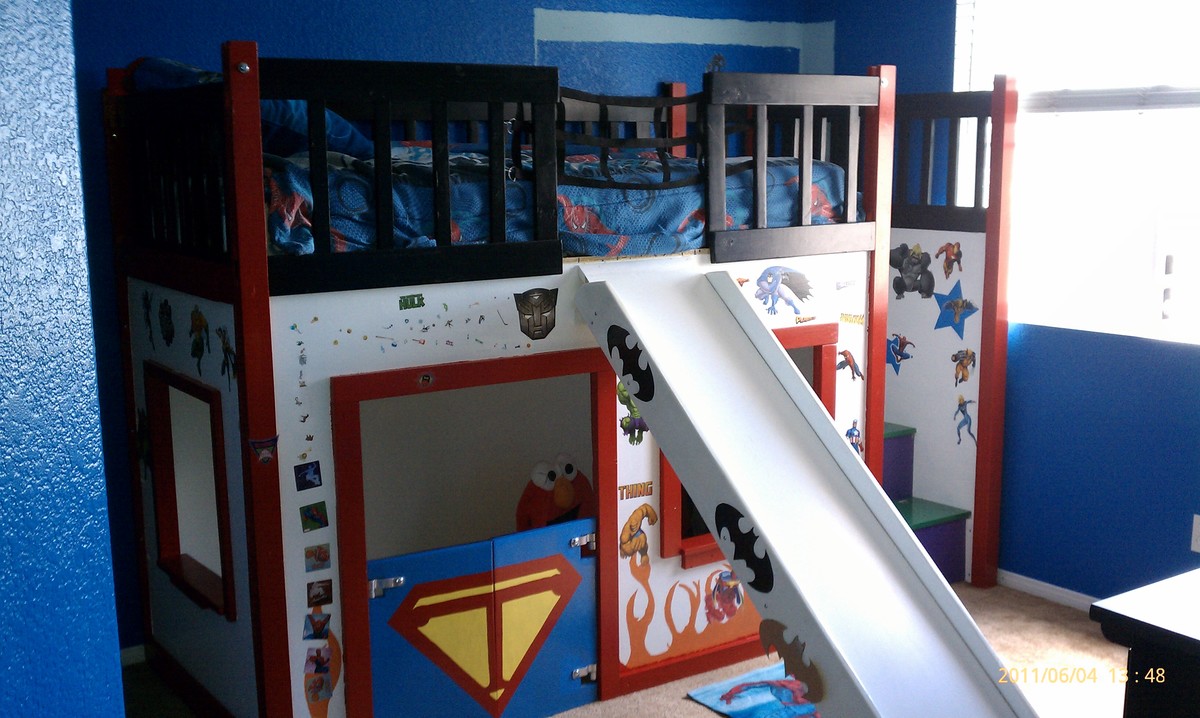
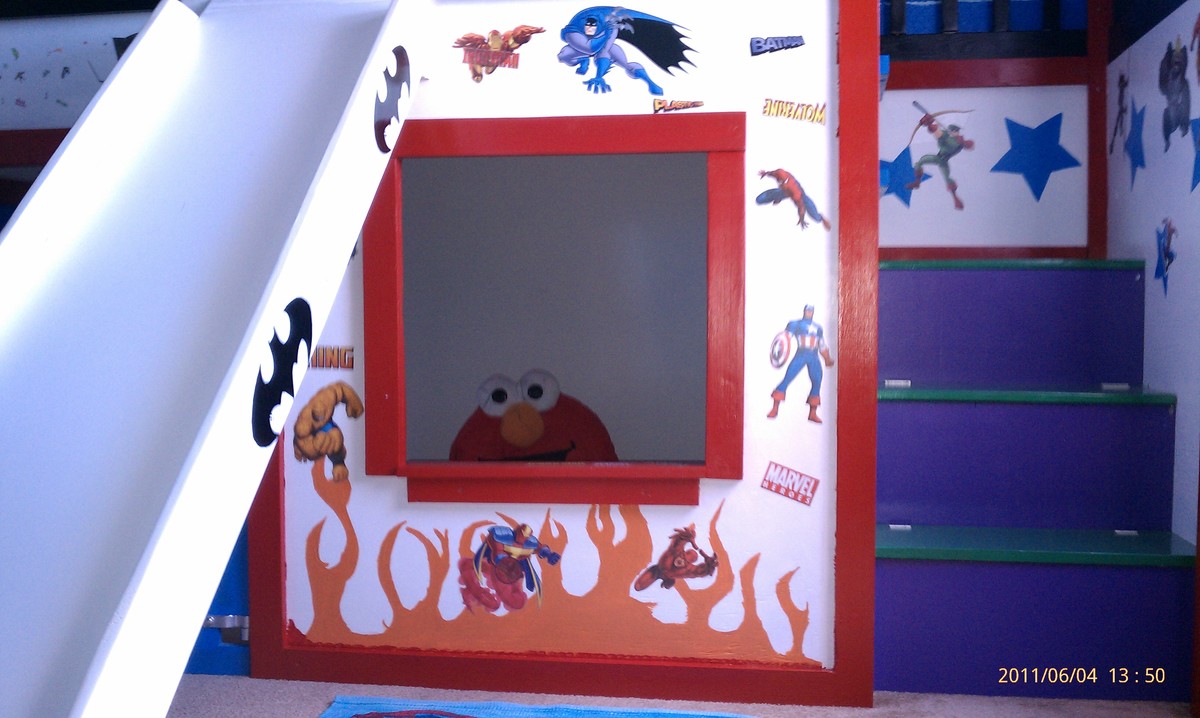
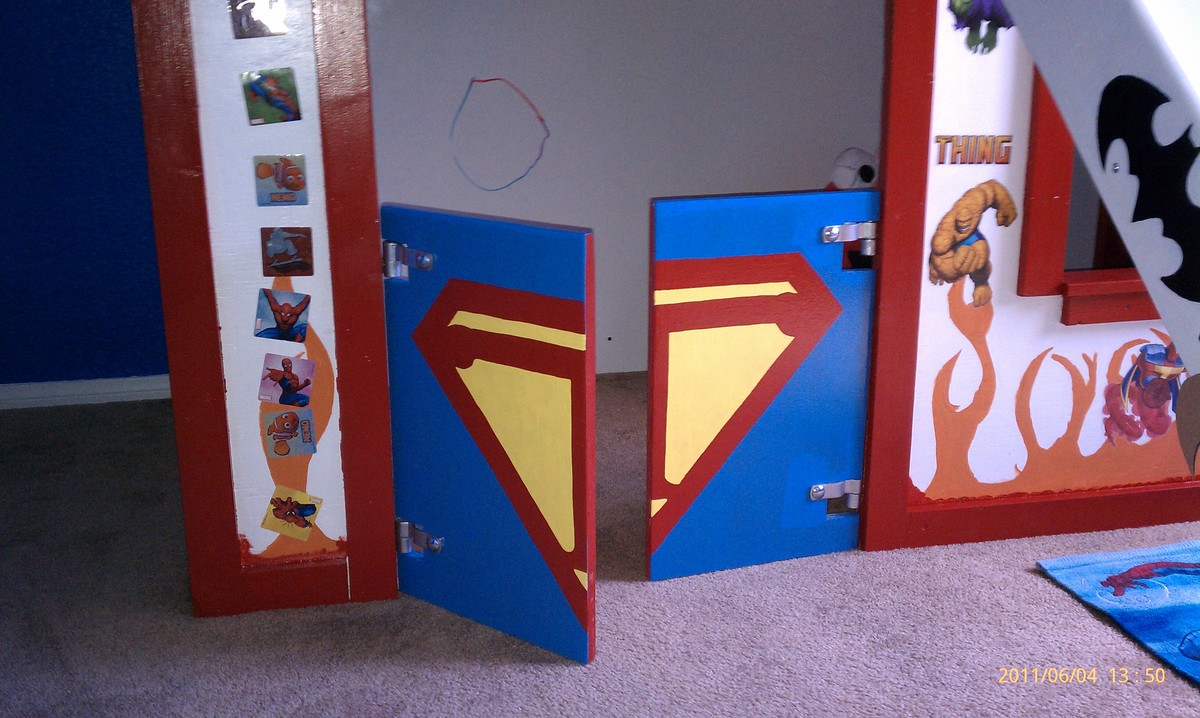
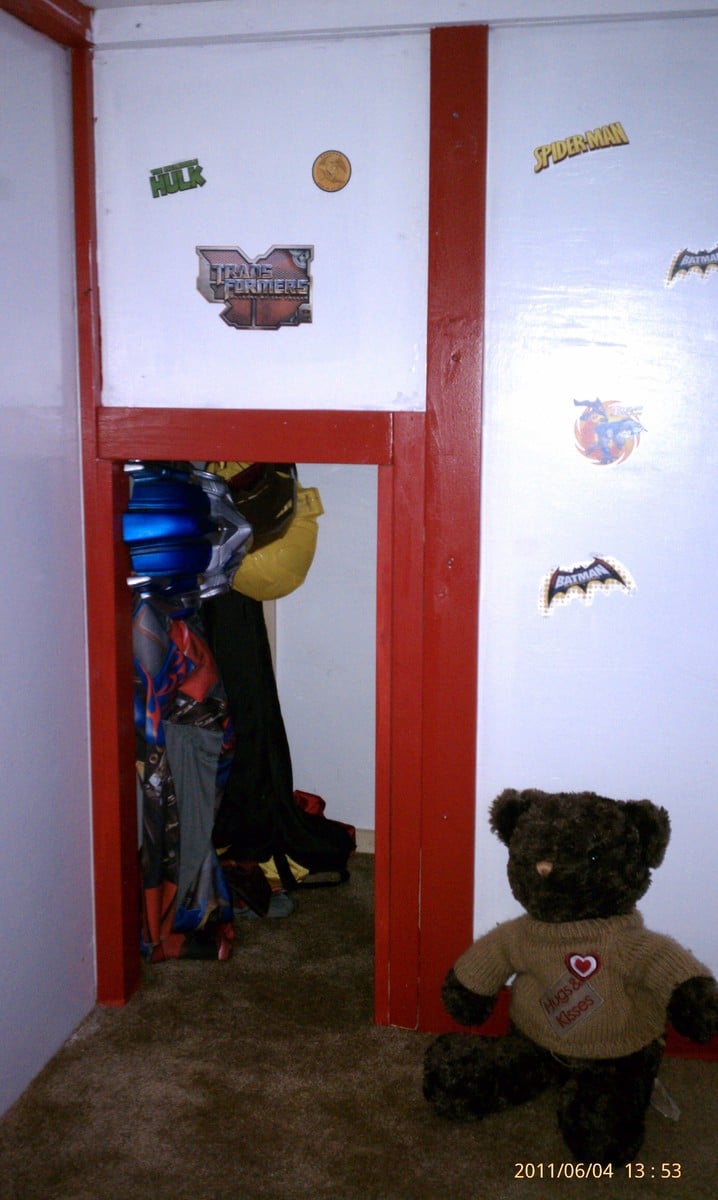
Super Hero Clubhouse Bed

My 4yr old son had been asking me to build him a Super Hero Clubhouse. He thought it was going to be outside! I added the slide and door and the back inside wall is a whiteboard. He absolutley loves it!! It took about 9 weekends, the painting was the longest task.

Estimated Time Investment
Week Long Project (20 Hours or More)
Recommended Skill Level
Intermediate

Comments

meghan humphries (not verified)

Tue, 09/27/2011 - 12:40

Hi there, sorry for the delay, I didn't know anyone had commented!

The slide is simply a piece of laminated utility shelving. The laminated surface makes it slippery like a slide and eliminates the worry of splinters. Its 3/4" thick particle board and cut to match the correct angle from the bed to the floor. I then added 1x3's to make the hand rails and there are 2- 2x4's running the length of the slide underneath to support it. The slide itself is nailed to the supports underneath and the supports are cut at an angle on both ends and screwed to the bed from the inside. Its very solid!

Thanks!

Guest (not verified)

Wed, 11/02/2011 - 11:25

Super cute....nice to see it decorated for a little boy..my son turns 4 in December and I'll be redoing his room. My only concern would be how much additional space the slide would take up? About how far from the base of the house front is the bottom of the slide.

jcmcclure77

Wed, 11/23/2011 - 09:06

From someone that has done a modified playhouse loft bed, I know how tiring and time consuming it can be! Looks great and can't show my son or he will decided he wants this one instead!

Jeff

Roxy (not verified)

Thu, 04/12/2012 - 20:13

need some more infp for the slide plase

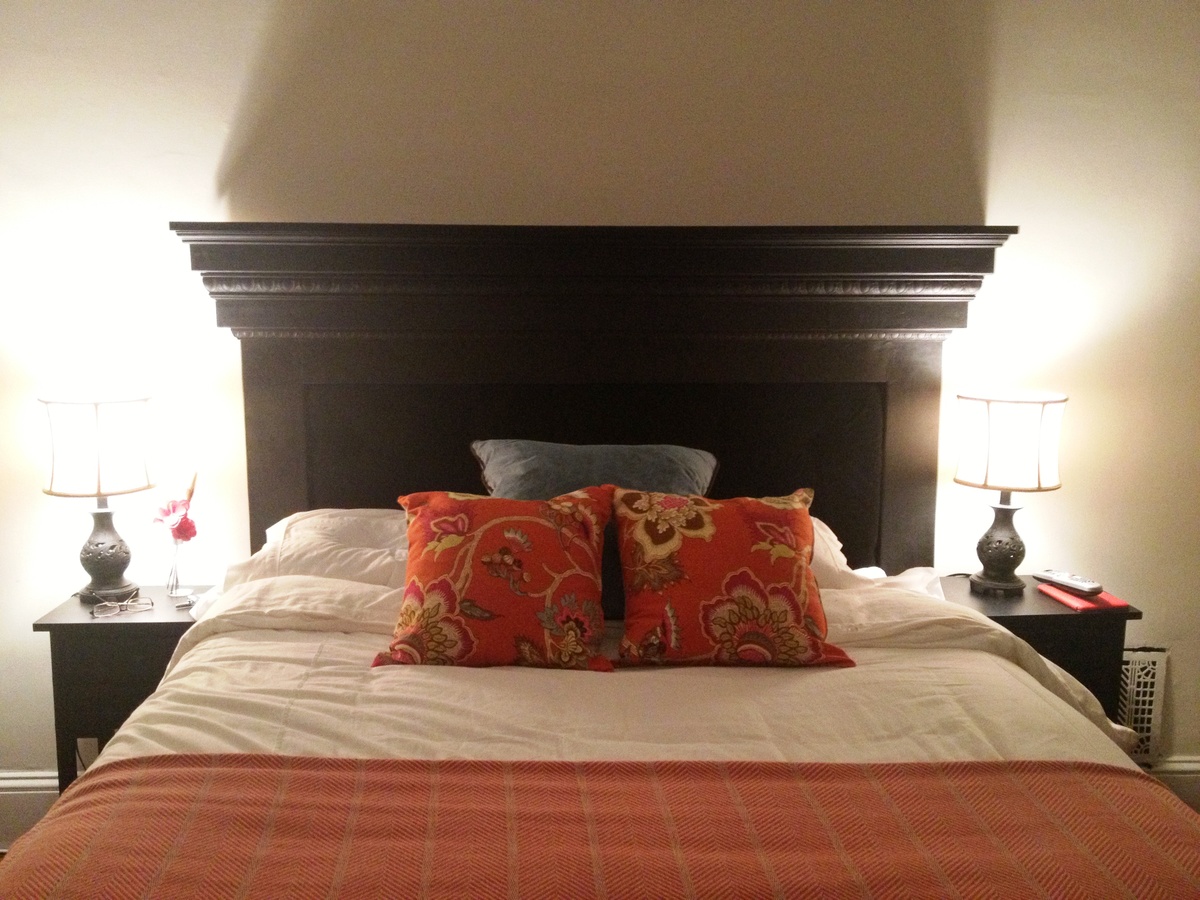
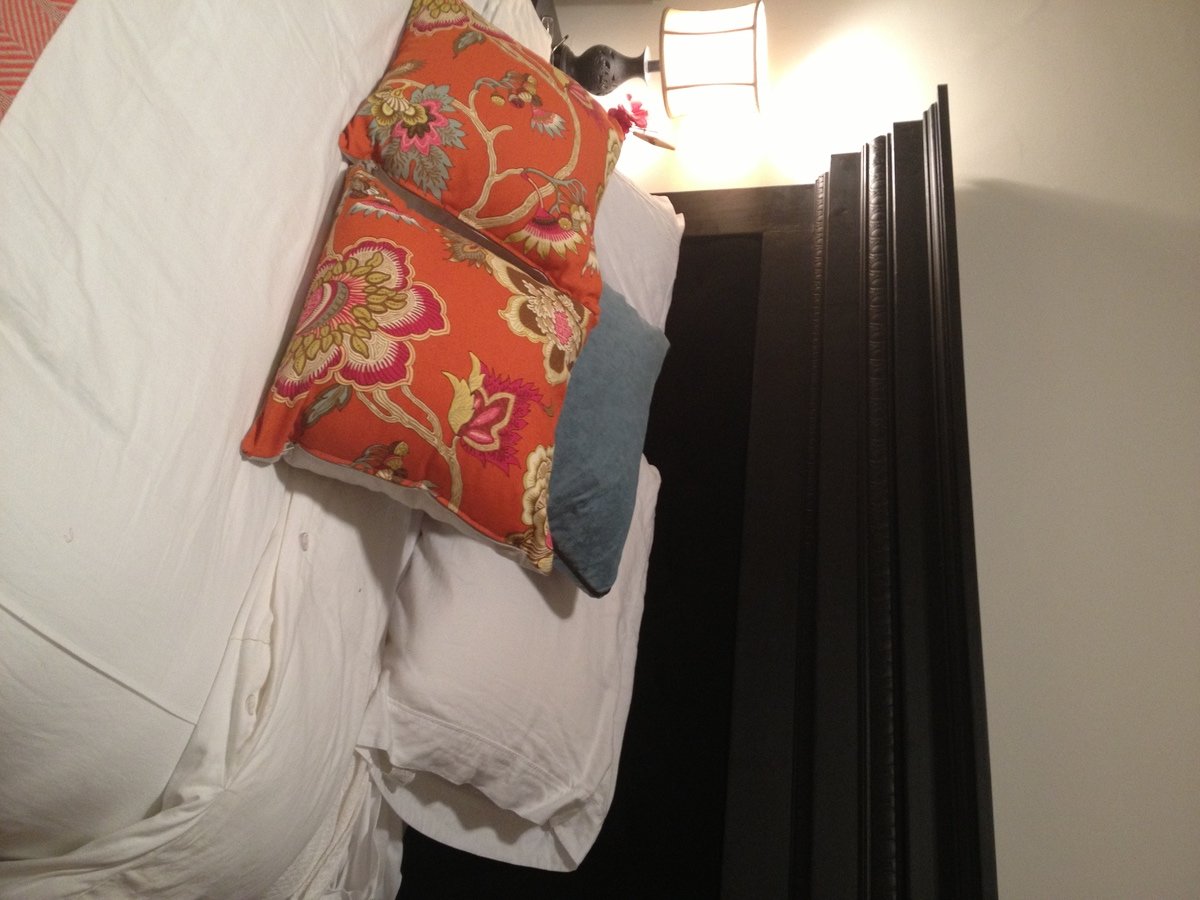
Mantel Headboard - Annie Sloan Chalk Paint and DIY Tufting

Submitted by meliss987 on Tue, 07/30/2013 - 18:56

I love this headboard :)
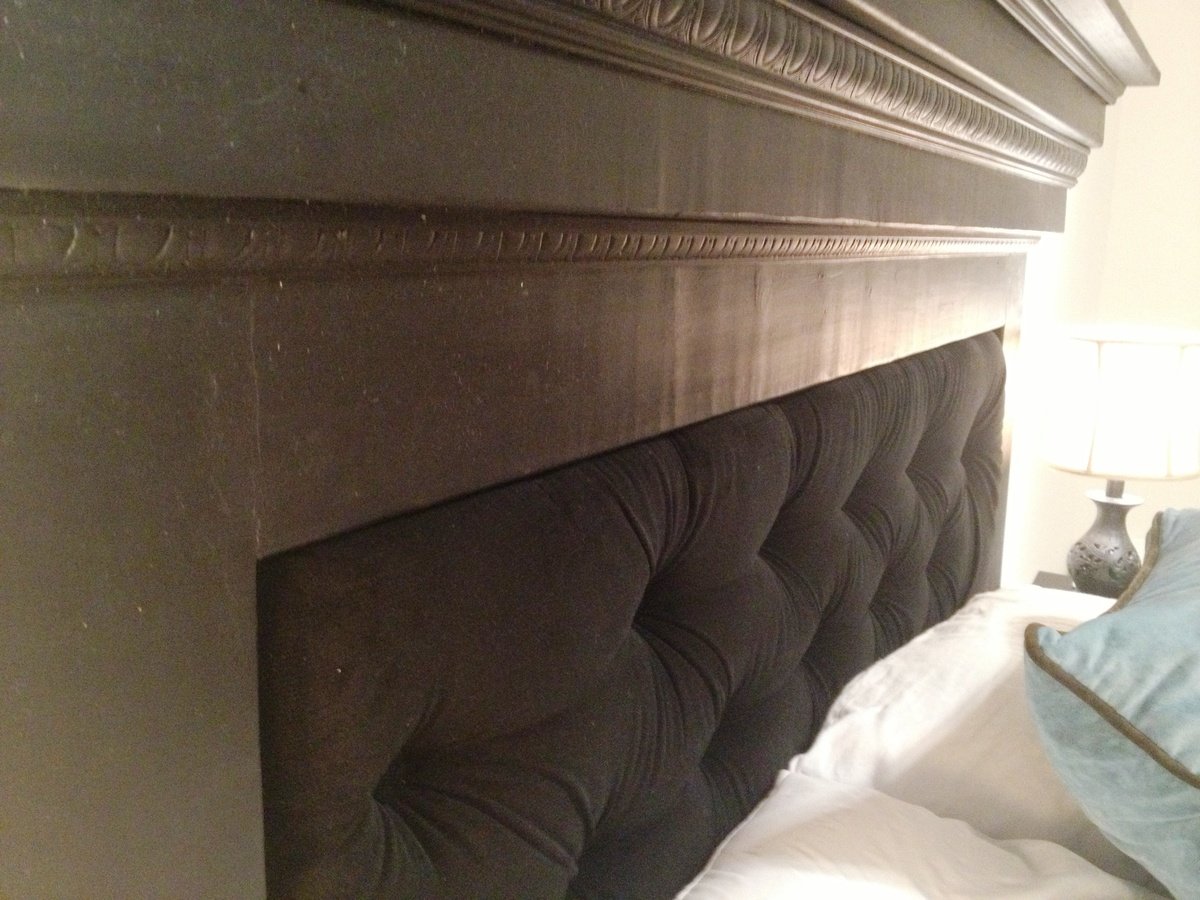
We finally completed the tufting portion of the mantel headboard tonight and it looks great! Anna's design was easy to follow and the tufting part was easier than I thought...I followed http://www.cape27blog.com/2013/03/tufted-headboard-tutorial/ for the tufting portion.

Can't wait for the next project!

Finish Used
Annie Sloan Chalk Paint with Annie Sloan Dark Wax Finish
Recommended Skill Level
Beginner

Comments

First adirondack chair!

Got a chance this weekend to do our first (good!) woodworking project. Love the chair, gotta head back to Menard's to get some more lumber for chair #2!

Built from Plan(s)
Estimated Cost
$35
Estimated Time Investment
Weekend Project (10-20 Hours)
Finish Used
Haven't finished it yet--probably going to go with a light stain.
Recommended Skill Level
Starter Project

Hailey platform bed for teenager

Submitted by daveandamy on Thu, 08/01/2013 - 11:53

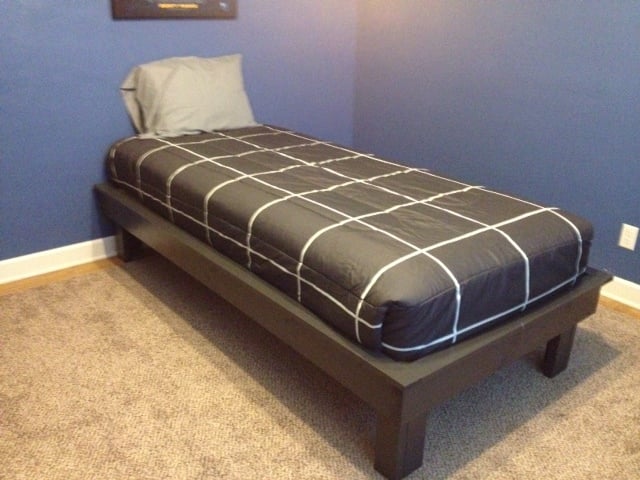
We needed a twin XL for our 17 year old grandson. This platform bed was perfect. It didn't take much to change the plans for the XL since it's the same length as a queen bed. We added the center support simply for added strength and changed the legs to make them longer so I can put wheeled drawers underneath the bed for added storage.

Built from Plan(s)
Estimated Cost
$100.00
Estimated Time Investment
Weekend Project (10-20 Hours)
Finish Used
Painted with semi gloss in charcoal gray.
Recommended Skill Level
Intermediate

Laptop Table

Submitted by brittanyj on Wed, 08/19/2015 - 13:29

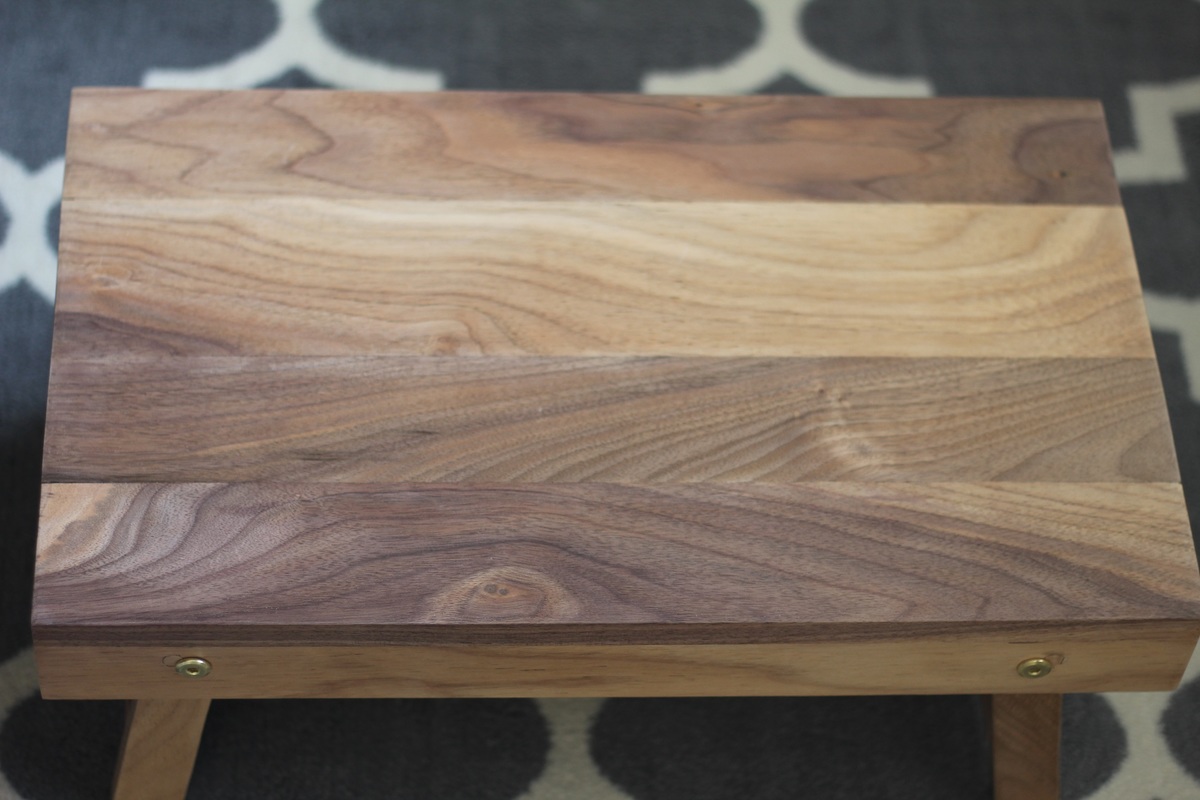
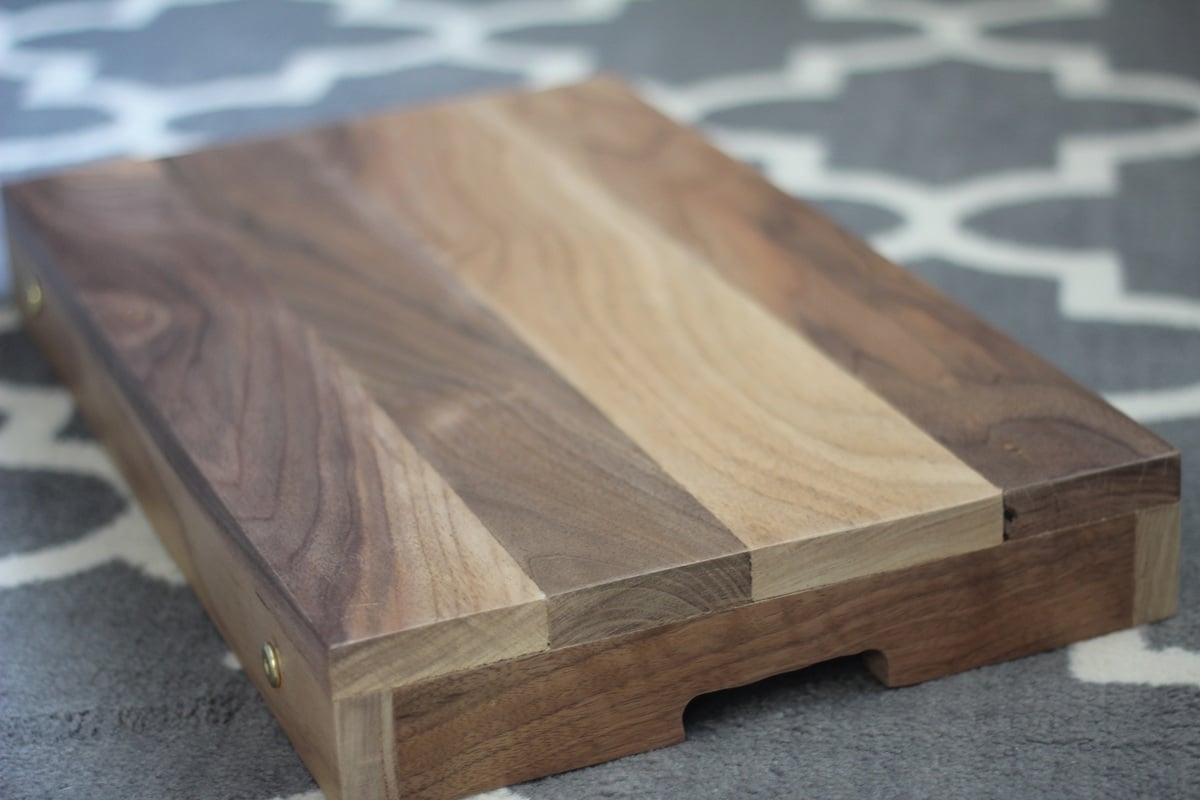
I saw Jen's one board challenge post and realized that some wood I got for free off CL a year ago included the right amount of walnut.  This seemed like the perfect plan to utilize this beautiful wood in a worthy way.  I did not have a 1x8, so I made a butcher block kind of top, which I think I like even better since the colors and grain vary.  

Placement of the connecting bolts is quite tricky and led to some misplaced holes : ( The stop blocks to the side of the legs aren't mentioned in her plan, but pictured, and are recommended in order to stop the legs from splaying too far.  I used pocket holes for all joinery and no stain, just poly for the finish.  The final coat I watered down some water based poly and wiped on for a smooth finish.  Love it!   

Built from Plan(s)
Estimated Cost
I used wood I got free off CL, so only the bolts were paid for and that was around $10
Estimated Time Investment
Day Project (6-9 Hours)
Finish Used
polyurethane
Recommended Skill Level
Beginner

Children's Toy box

Submitted by jjunge08 on Sun, 03/18/2018 - 14:03

My wife and I are expecting our first child so I wanted to make a toybox for his toys.  I liked the plan that i found on this website since the front piece had the cutout to reduce fingers getting pinched.  I also added some spring assisted hinges to make help the lid stay up and also close a little softer than just regular hinges.  

Built from Plan(s)
Estimated Cost
Total cost for lumber is about $50-70
Hinges and Spring Hinges - $15
Estimated Time Investment
Weekend Project (10-20 Hours)
Finish Used
Painted
Recommended Skill Level
Beginner

Headboard Bench

Submitted by Anonymous (not verified) on Sat, 04/23/2022 - 19:22

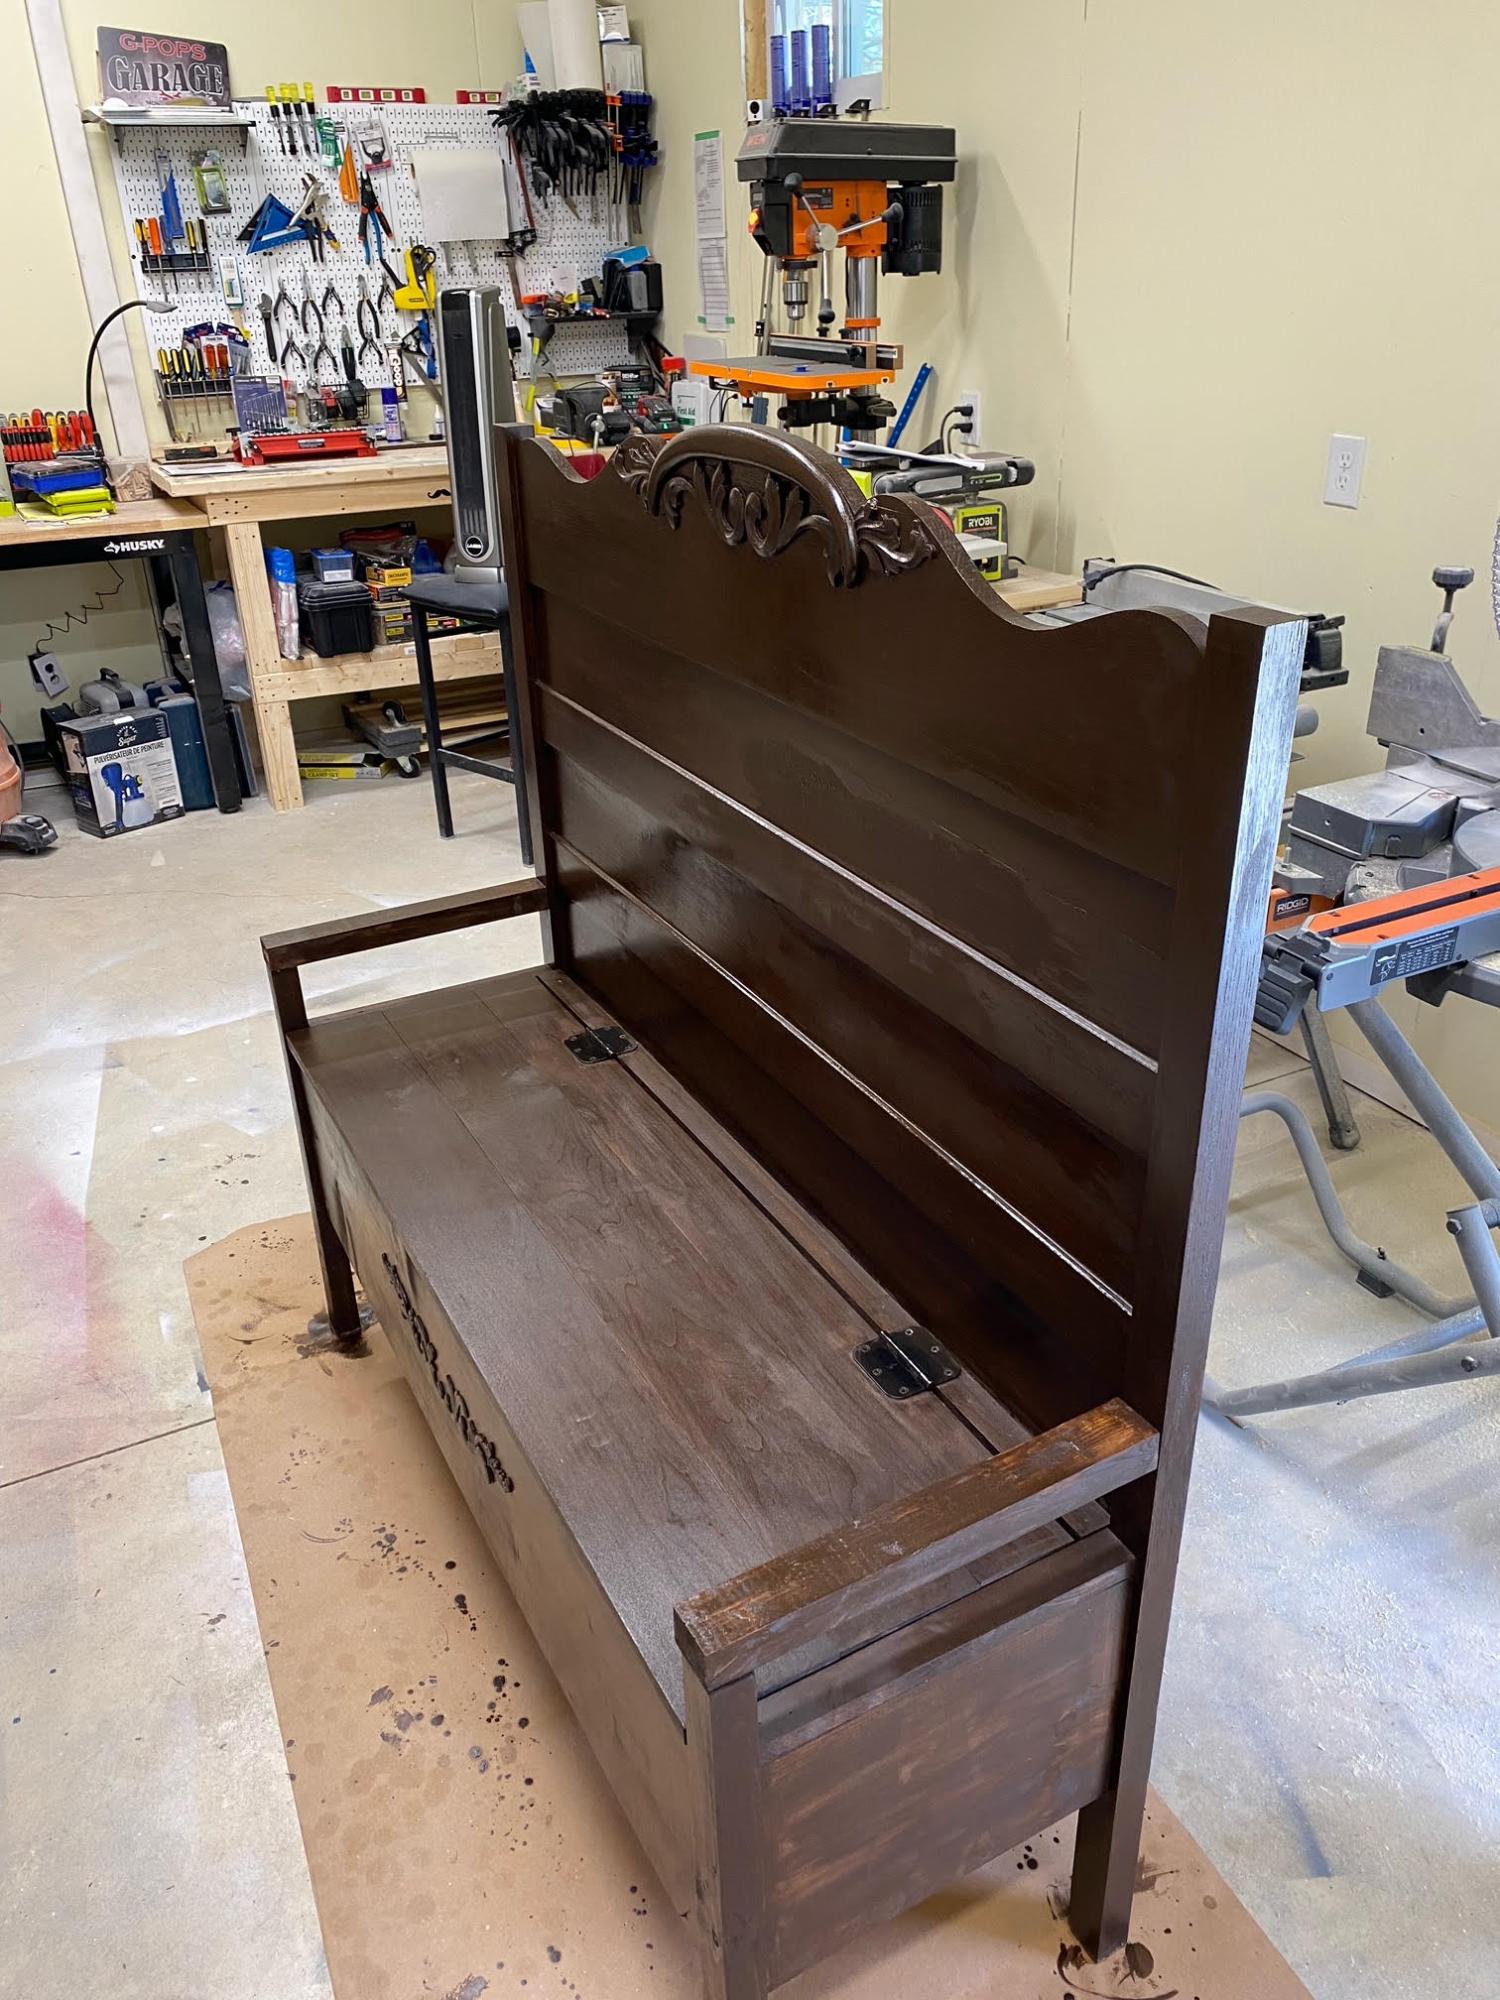
My first attempt at making a headboard bench.  

by Kent!

Sling Chairs

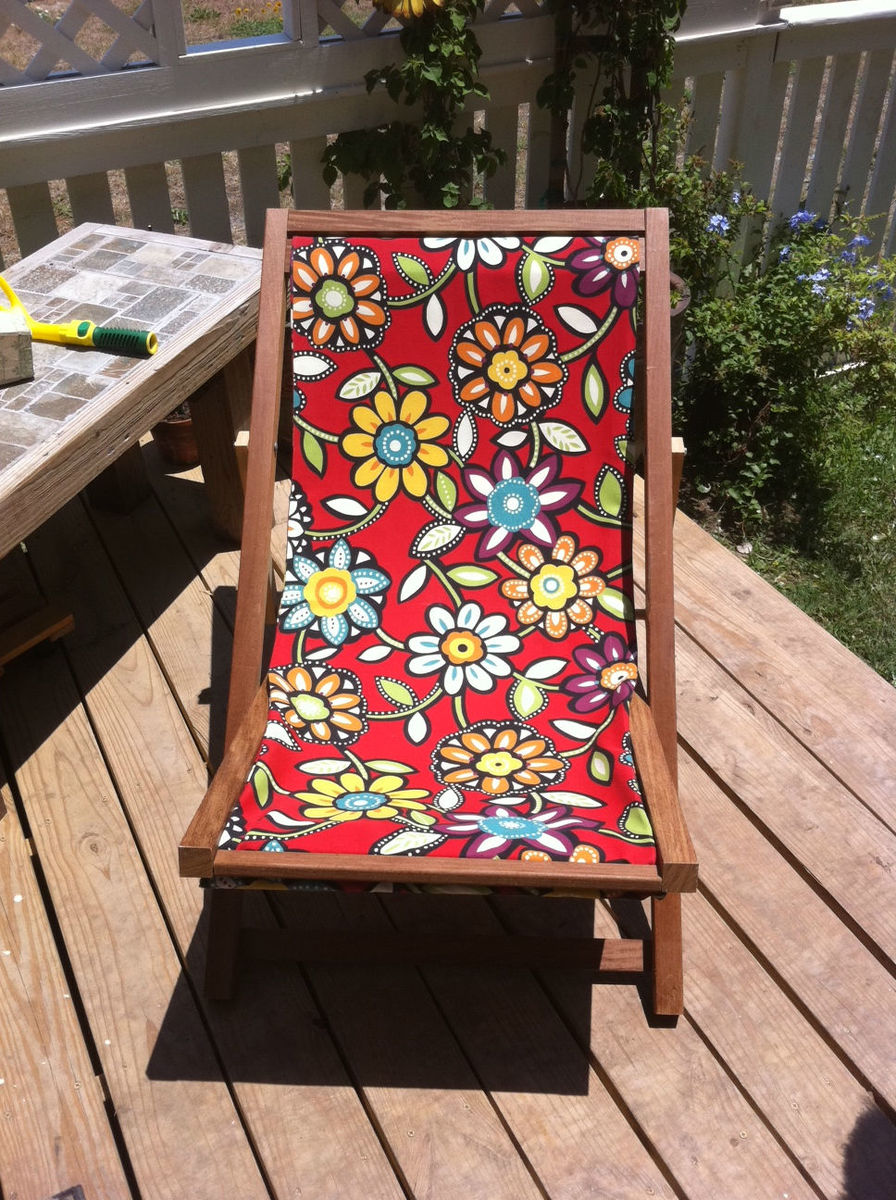
Super Cute, Super Easy & Super Affordable! Cant wait to build the adult size chairs!

Estimated Cost
$30 for both!
Estimated Time Investment
An Hour or Two (0-2 Hours)
Finish Used
Outdoor sealer
Recommended Skill Level
Starter Project

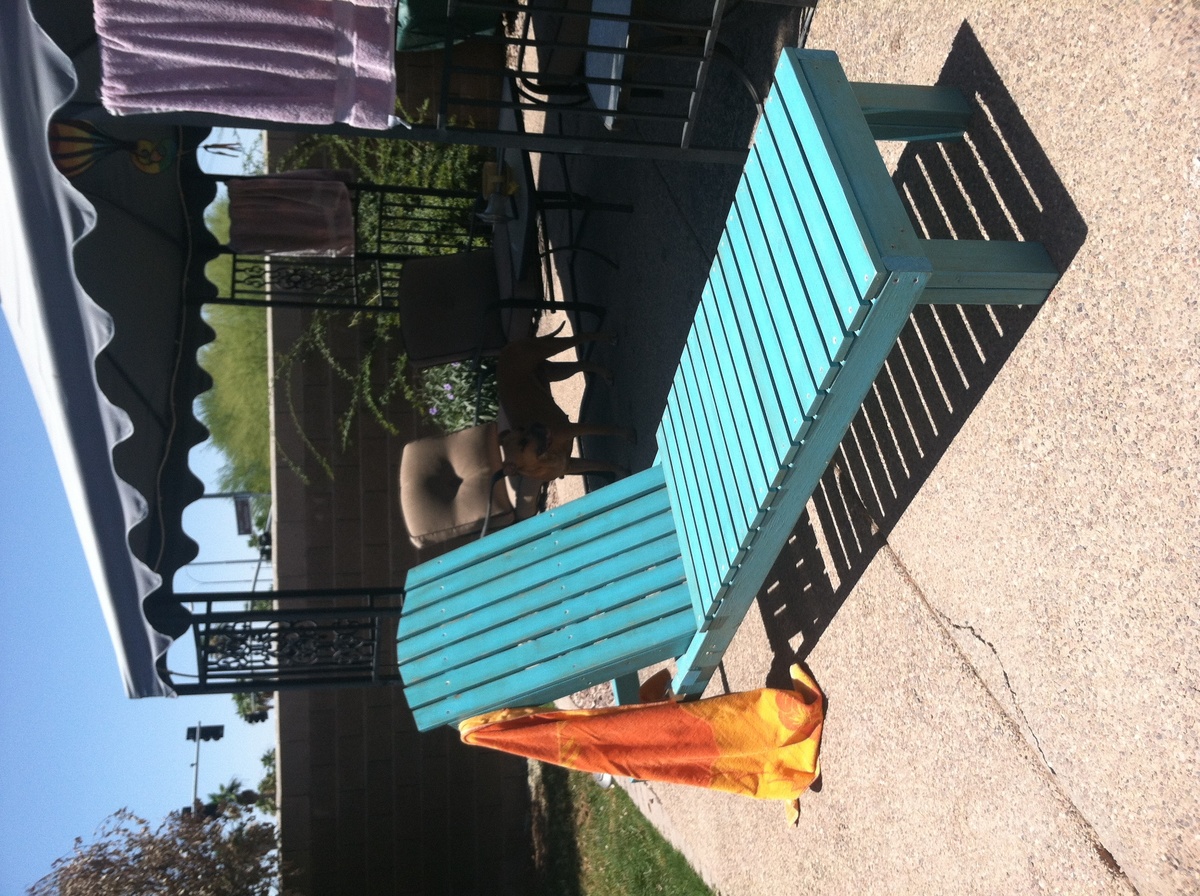
Wood Chaise Lounge from $35 plans

Submitted by gr_blake on Sat, 08/03/2013 - 07:22

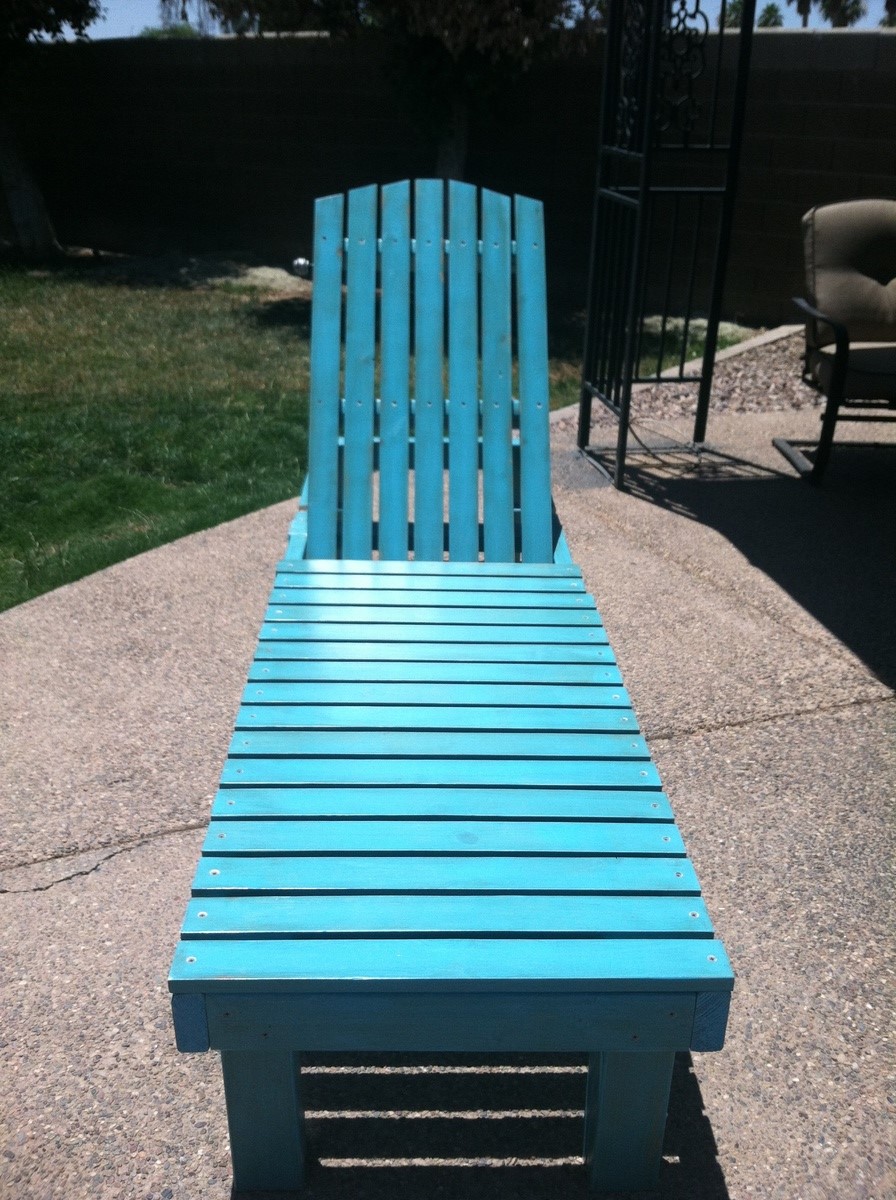
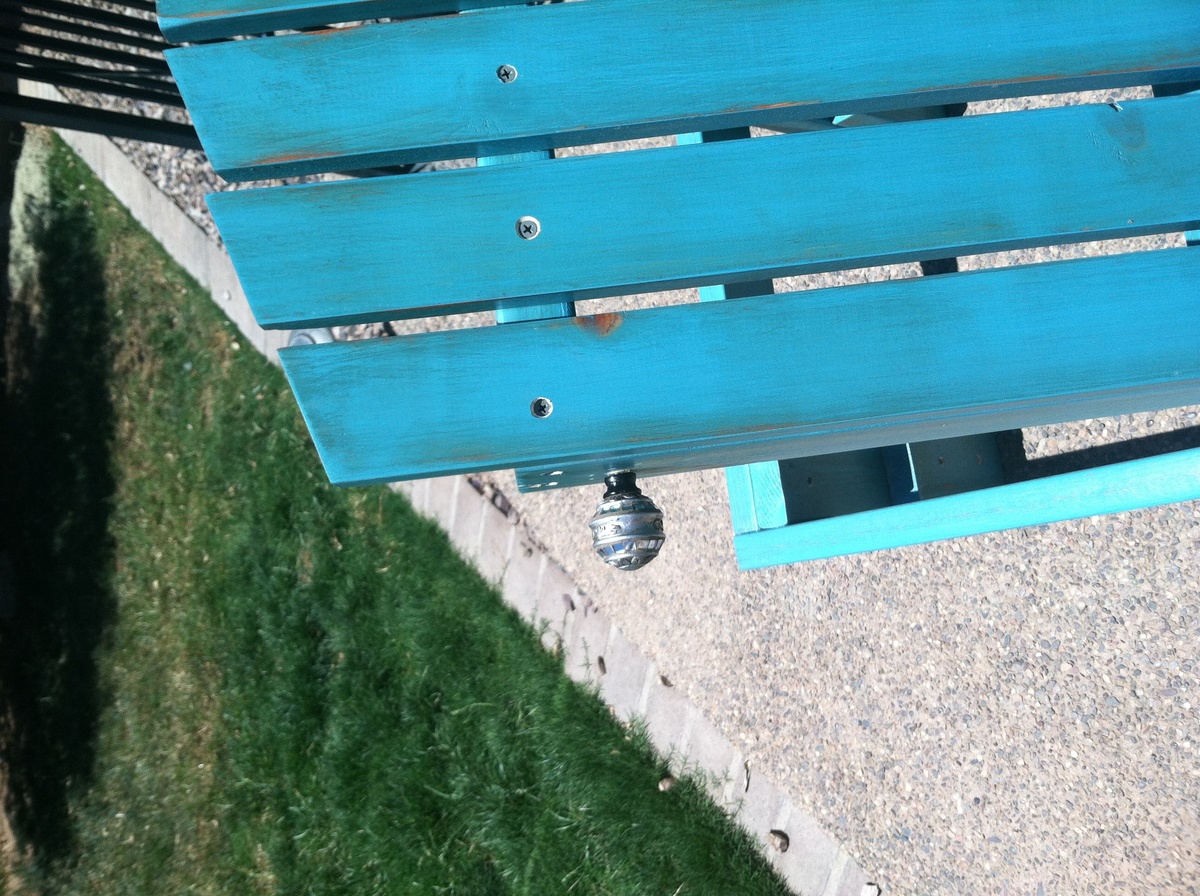
My wonderful husband helped me with this project. This was our first project from Ana White plans. This took us longer than we anticipated but I think it was due to the finish and dry time of each layer. We plan on making a second one to give us a set. I added a decorative knob on the back piece to hang a towel from or bag. This was so much fun, a huge money saver and now a one of a kind piece. Thank Ana your site is amazing.

Estimated Cost
$40
Estimated Time Investment
Week Long Project (20 Hours or More)
Finish Used
Distressed Turquoise, Gunstock Stain also from Ana White post. Embellished with a decorative knob to hang a towel, bag etc
Recommended Skill Level
Beginner

Comments

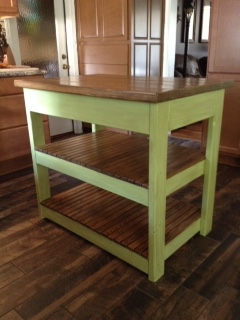
kitchen Island

Saw this table and wanted to put it in my kitchen, looks great.

Built from Plan(s)
Estimated Cost
$100.00
Estimated Time Investment
Weekend Project (10-20 Hours)
Finish Used
Min wax clear acrylic, latex paint from Lowes. color (moss) Rubbed some brown glazing over the green before putting on the clear coat.
Recommended Skill Level
Beginner

Comments

Farm House Table

I built the table and bench with the plans on this site and it turned out great.  My finace stained the top with a miniwax stain and spray painted the bases white and distressed them.  Also applied polyurethane to the stained tops.  Probably have $100 invested in this project.

Estimated Cost
$100
Estimated Time Investment
Afternoon Project (3-6 Hours)
Recommended Skill Level
Beginner

Outdoor Multipurpose Cart

Submitted by ddietz12 on Mon, 06/27/2011 - 09:05

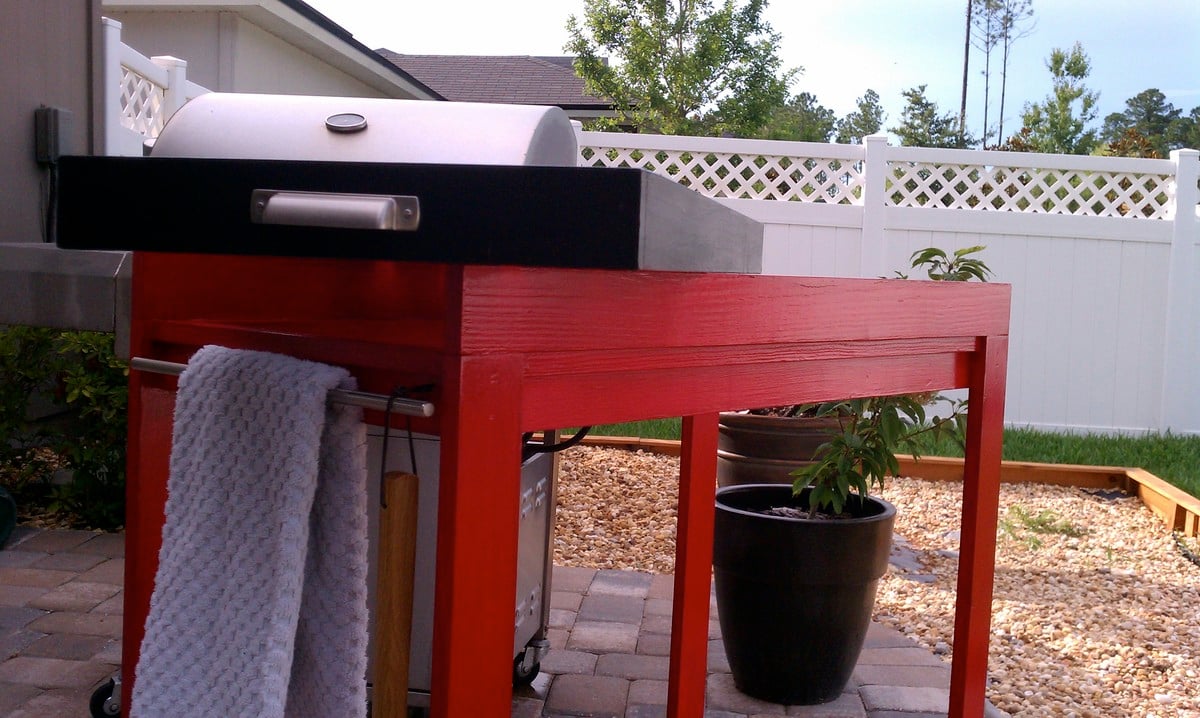
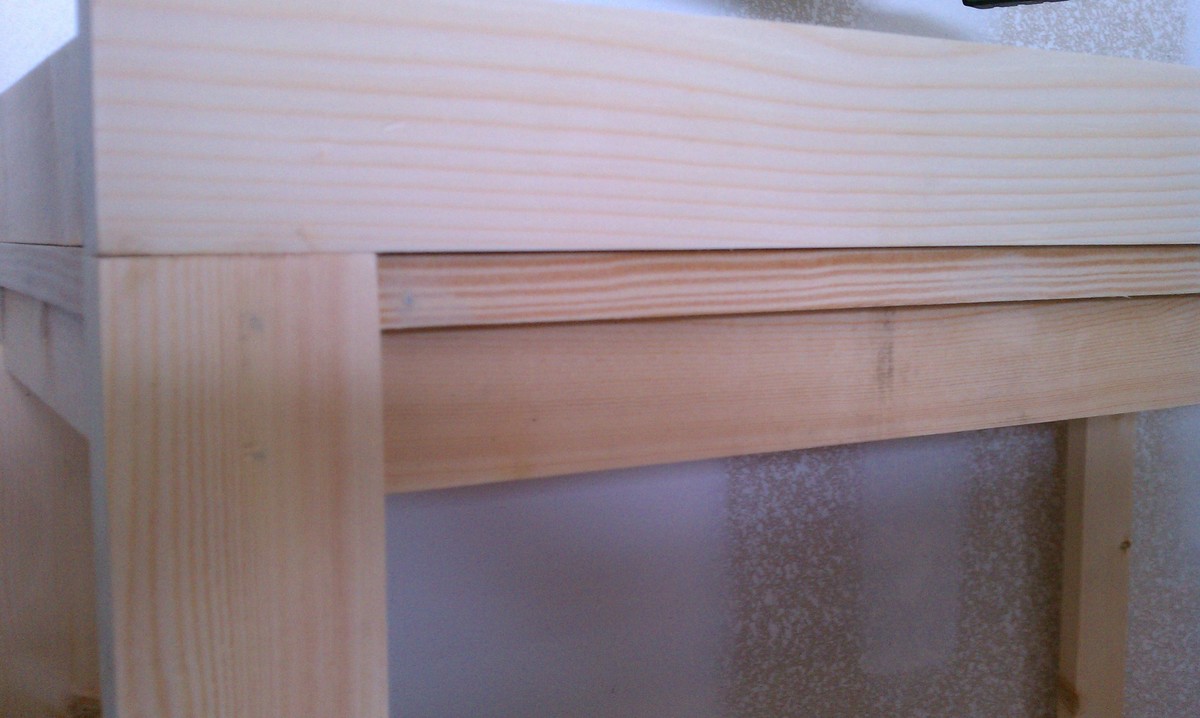
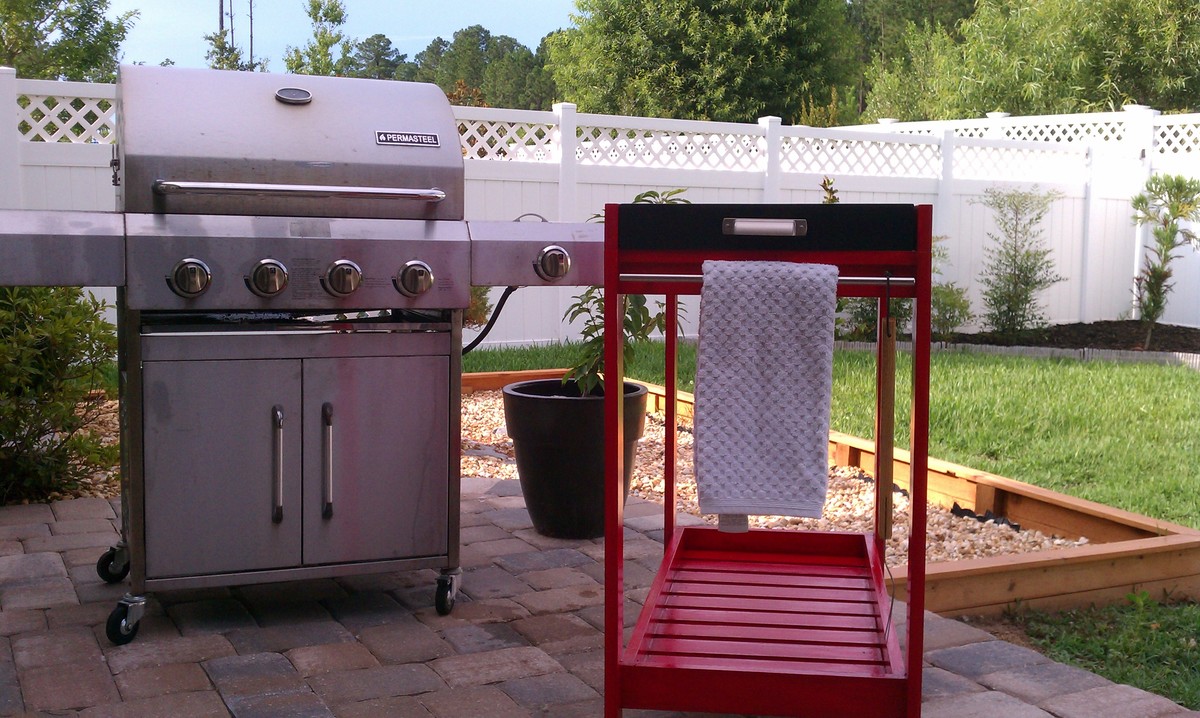
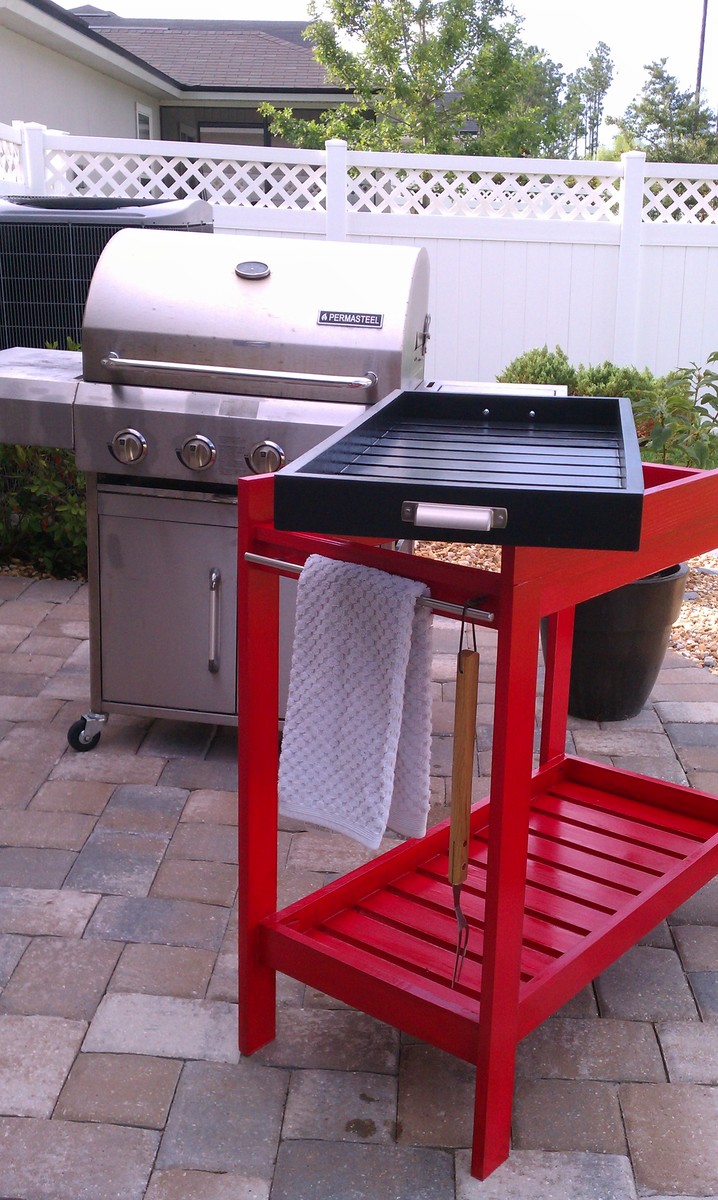
Ok, so I built this table for my Brother. He just purchased a new BBQ and I noticed he didn't have anywhere for staging his food. I was going to just build a table, but then I saw this rolling cart w/ removable tray. I thought it was a great idea. He can bring the tray inside, load it up with food and supplies, bring it to the grill, and then bring it to the table if he so desires. I made a few changes from the original . The biggest changes were that I did not put handles on it nor did I make it a rolling cart. The main reason was.....well....i just didn't feel like it. HaHa
If he decides he wants it to roll, it's a pretty easy fix to take care of that for him. Me personally, I just liked it as a stationary table. And since I built it, I can pretty much do what I want. (insert laugh) I also added an extra handle to one side of the cart. It can be used for a towel, BBQ tools, etc.
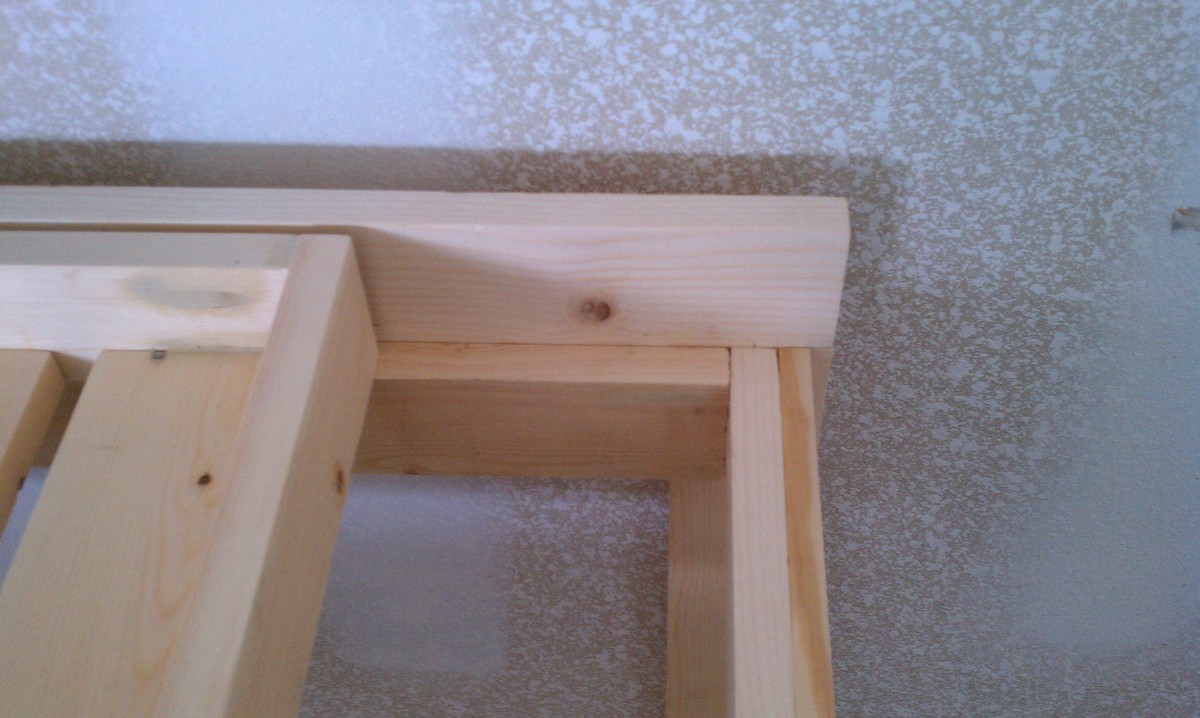
I did add extra side supports and added some additional trim to the side to take up some gaps. This aided in added strength and prevented the top tray from falling through the top. I noticed with the original plan that the tray only sat on the end pieces and there was nothing preventing it from falling right on through. Either that or I built it wrong. Either way it was an easy fix and I like the way it looks afterwards too.
Overall I am happy with the build portion of it, but extremely bummed with the finish. I tried my hand at painting it with outdoor paint and a clear outdoor top coat. For some reason I could just not get it smooth. Oh well, we live and learn. No more painting for me, I will stick to staining from now on.
I hope you all enjoy and maybe my Brother will invite you over for a BBQ. He at least better invite me over!!

Thanks Ana for another brilliant plan. Couldn't do it it without you! (or coffee)
Checkout the blog link for more pictures!
Estimated Time Investment
Week Long Project (20 Hours or More)
Finish Used
Valspar oil based outdoor paint.
Minwax® Helmsman® Spar Urethane
Recommended Skill Level
Intermediate

Comments

ddietz12

Mon, 06/27/2011 - 18:48

Stop being so hard on yourself. I think it came out awesome. Now go start building my lounge chair so I can lay out in the sun and get a tan!!!! Love, Your Wife :)

Guest (not verified)

Mon, 06/27/2011 - 19:31

That was such a funny write-up! Great job, it looks amazing and modern, and I want one!

Girl's Playhouse Loft Bed

Submitted by Lthomas on Mon, 08/05/2013 - 11:23

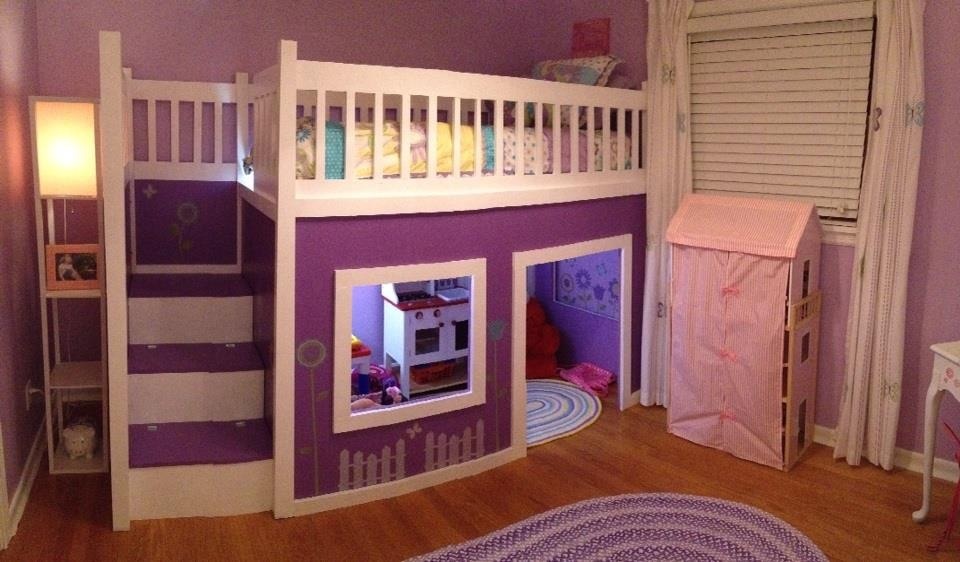
When I saw this bed plan, I knew it was a must have for my 4-yr old daughter. It was a fairly easy build as long as you have the right tools (ie Kreg Jig). Due to the size of the finished product, I built the 5 sides out in the garage, put one coat of paint on everything, and then carried them into the bedroom for assembly. I then put on a second coat of paint. Needless to say painting this bed was tedious, and if I had to do things over, I would consider a power sprayer and at least priming the entire thing before final assembly. I went with the toy boxes in the steps per Ana's plan and it is perfect for all of my daughter's "babies". We found some wall stickers at Target that fit our theme perfectly and added them to the bed. She loves it!! Thanks Ana for the plans!
Estimated Cost
$600
Estimated Time Investment
Week Long Project (20 Hours or More)
Recommended Skill Level
Intermediate

Printers Triple Console Sideboard

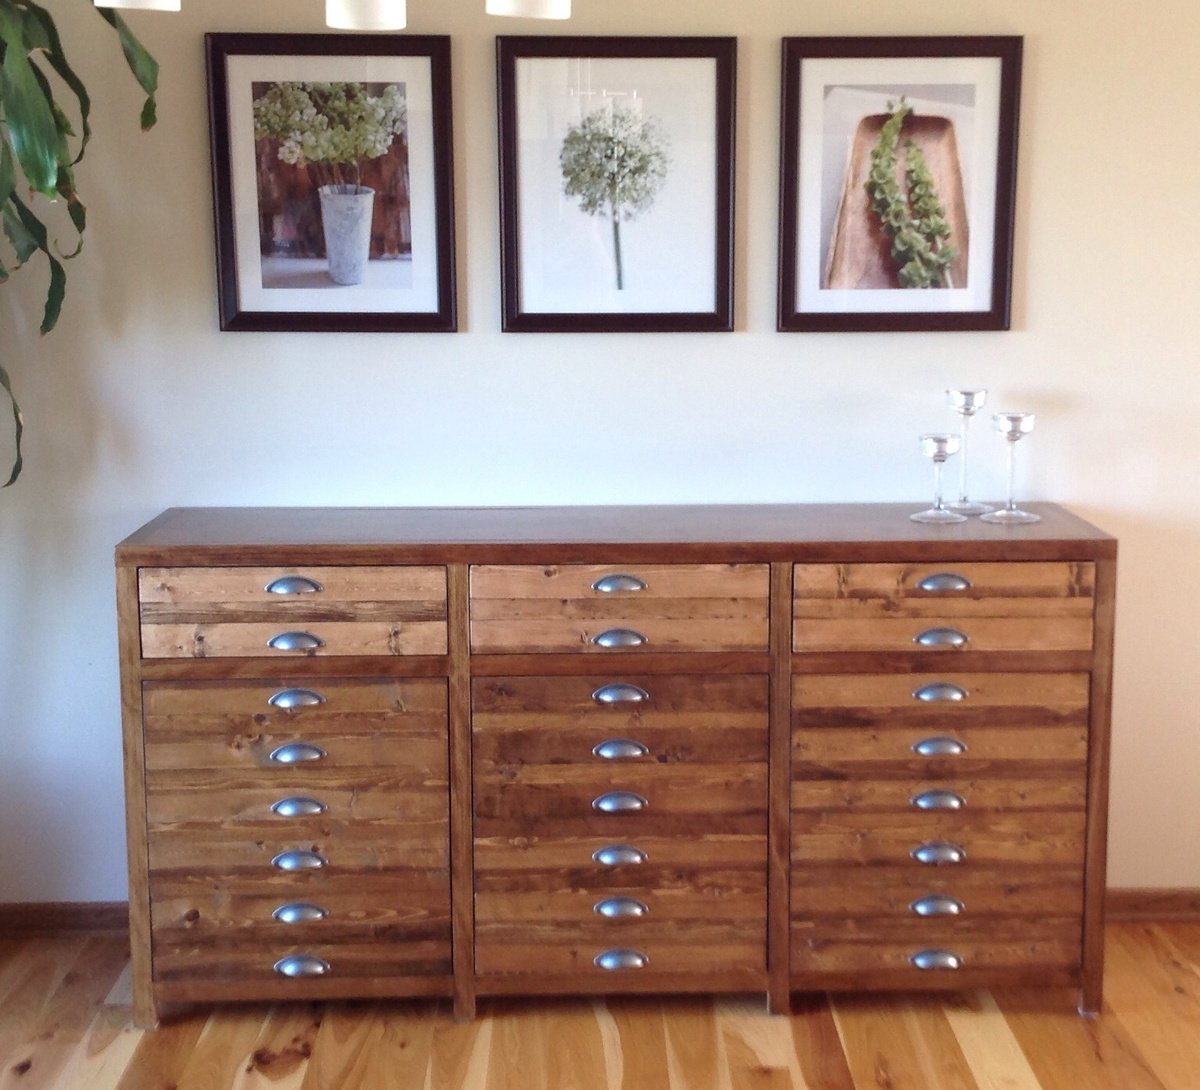
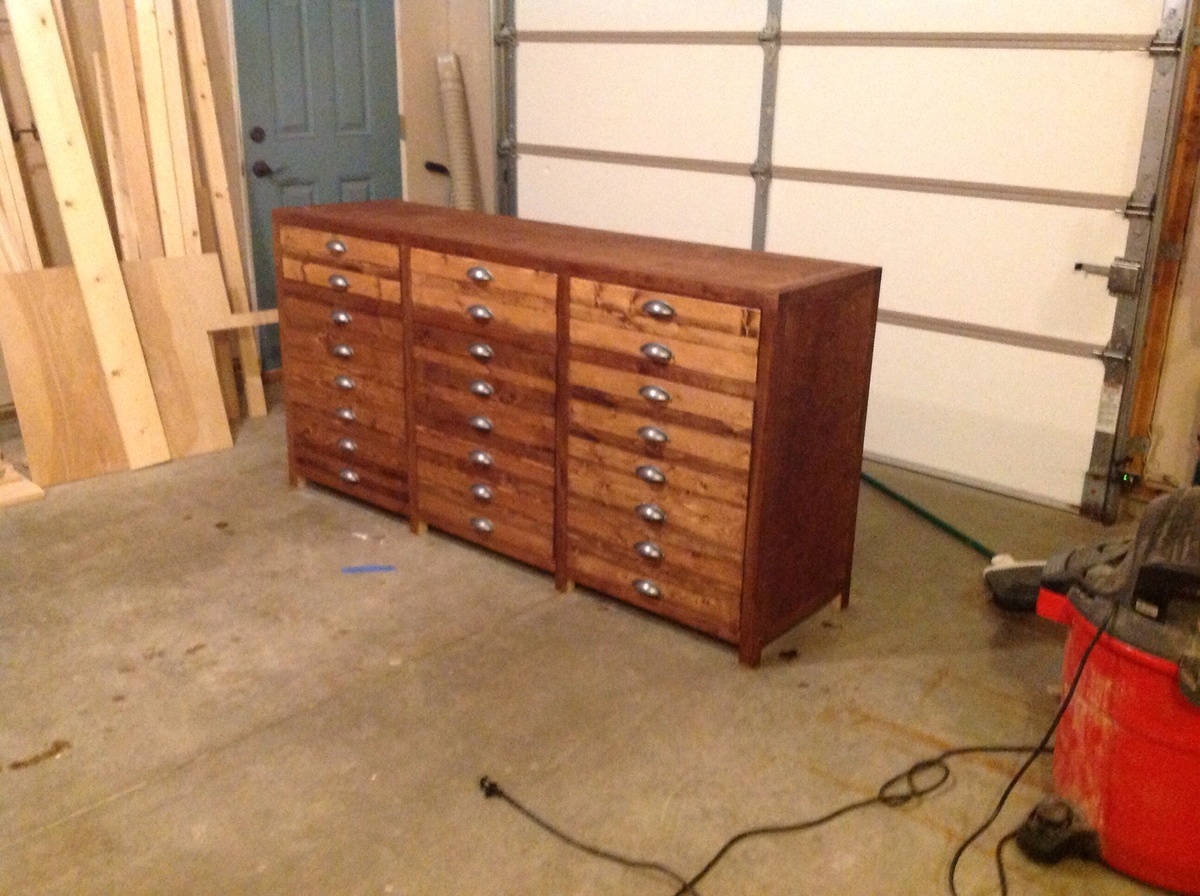
This was such a fun build!  First time working with plywood - definitely won't be the last.  Really love how it came out.
Built from Plan(s)
Estimated Cost
About $200
Estimated Time Investment
Weekend Project (10-20 Hours)
Finish Used
Early American Stain, polycrylic
Recommended Skill Level
Beginner

Comments

handmadewithash

Wed, 08/26/2015 - 20:56

this looks gorgeous!  Where did you purchase your drawer pulls?  I started this project in November and I hope to finish it before the summer is up! (heh I'm such a procrastinator!)