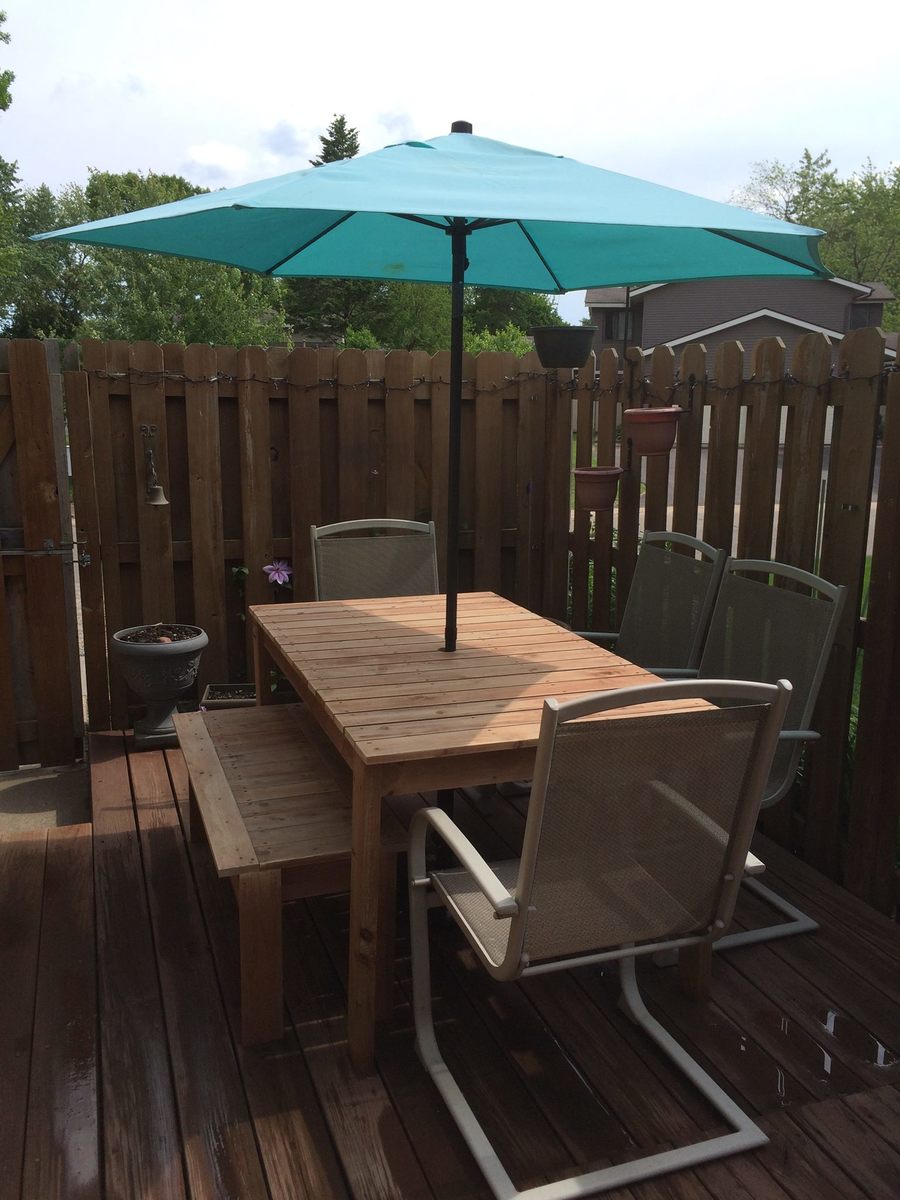
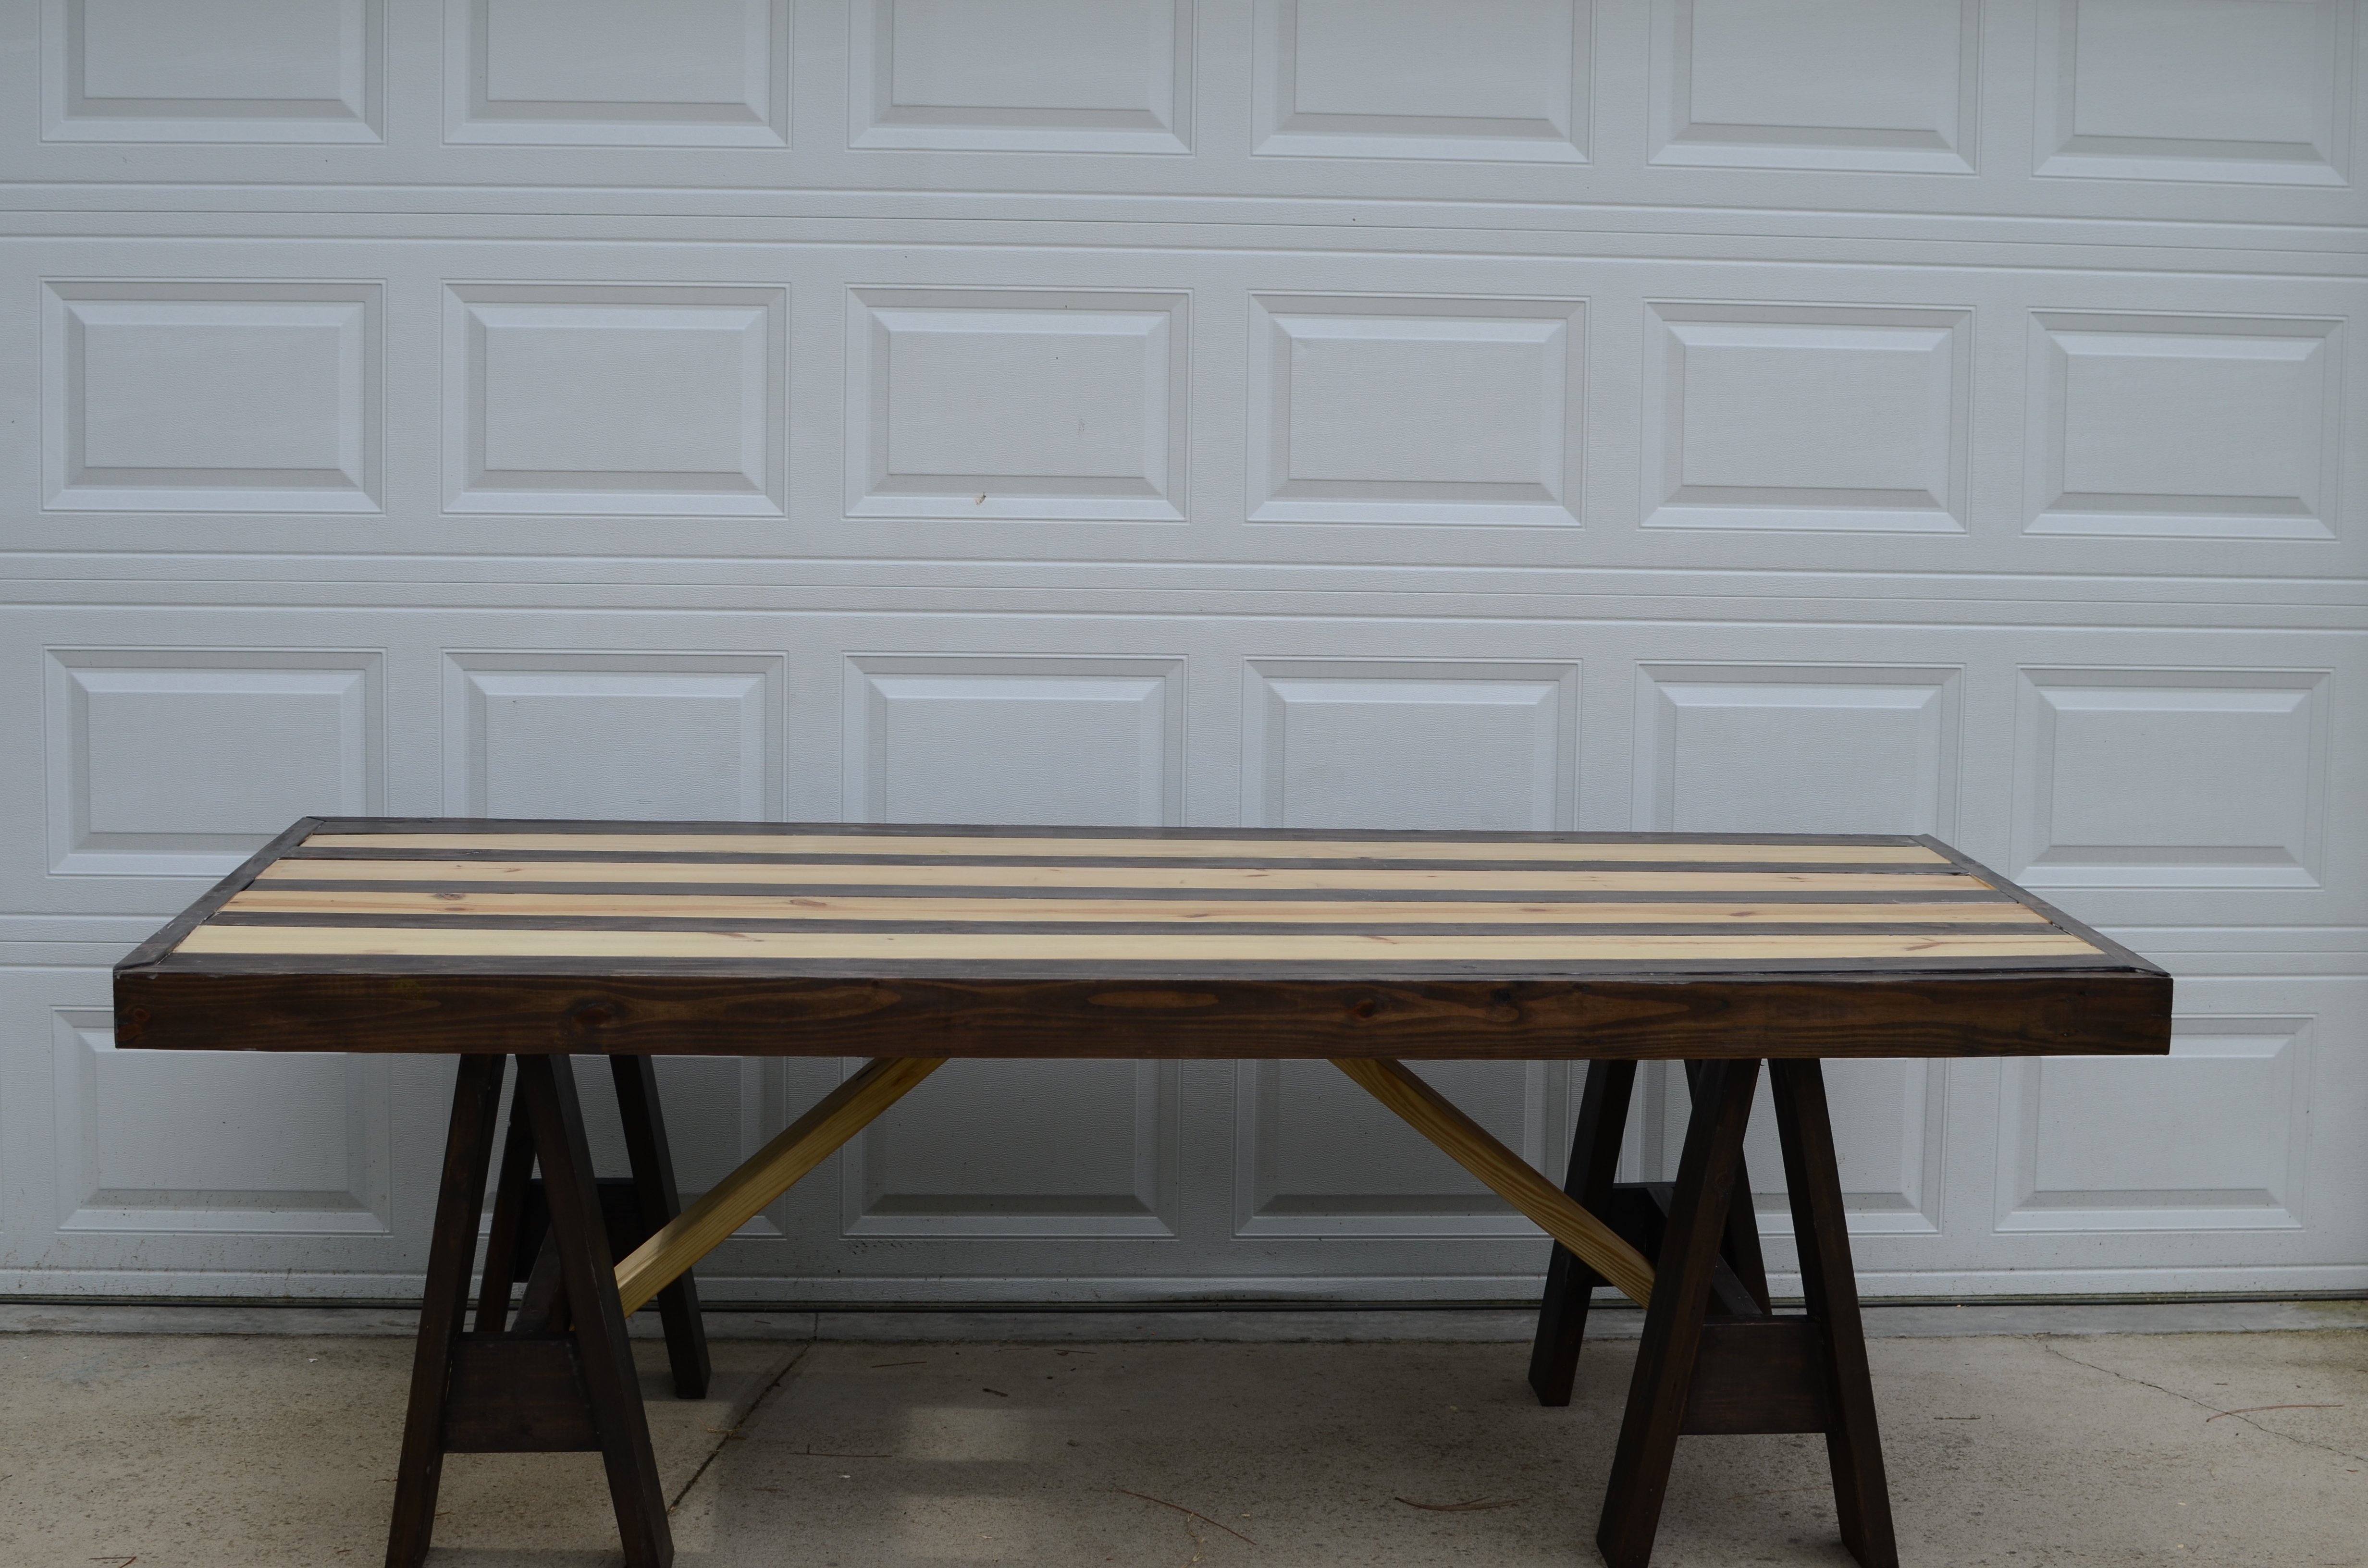
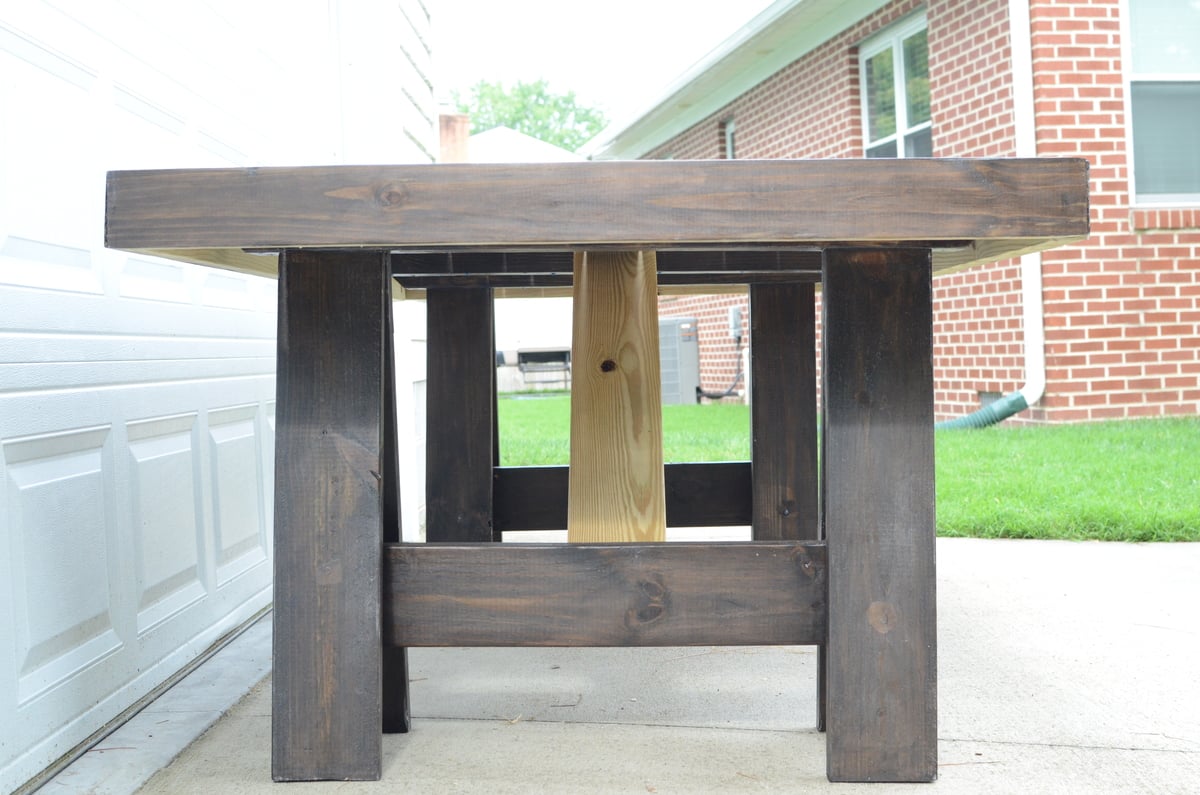
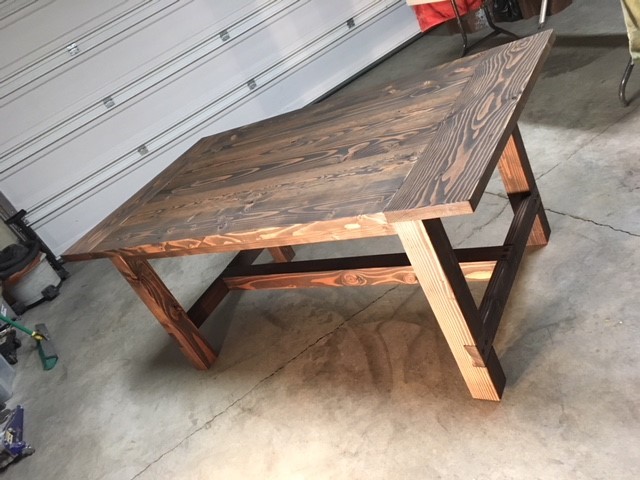
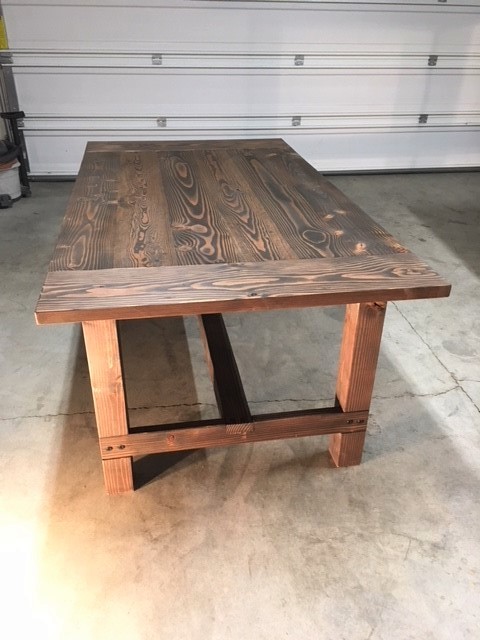
Our Farmhouse Table, Bench and Bar Stools
Our kitchen has been pretty much the same for the last 4 1/2 years but this last fall we started to undertake a huge do-it-yourself remodel. We painted our cabinets, replaced the sink and floors and even painted the counter tops! You can check out the transformation on our blog.
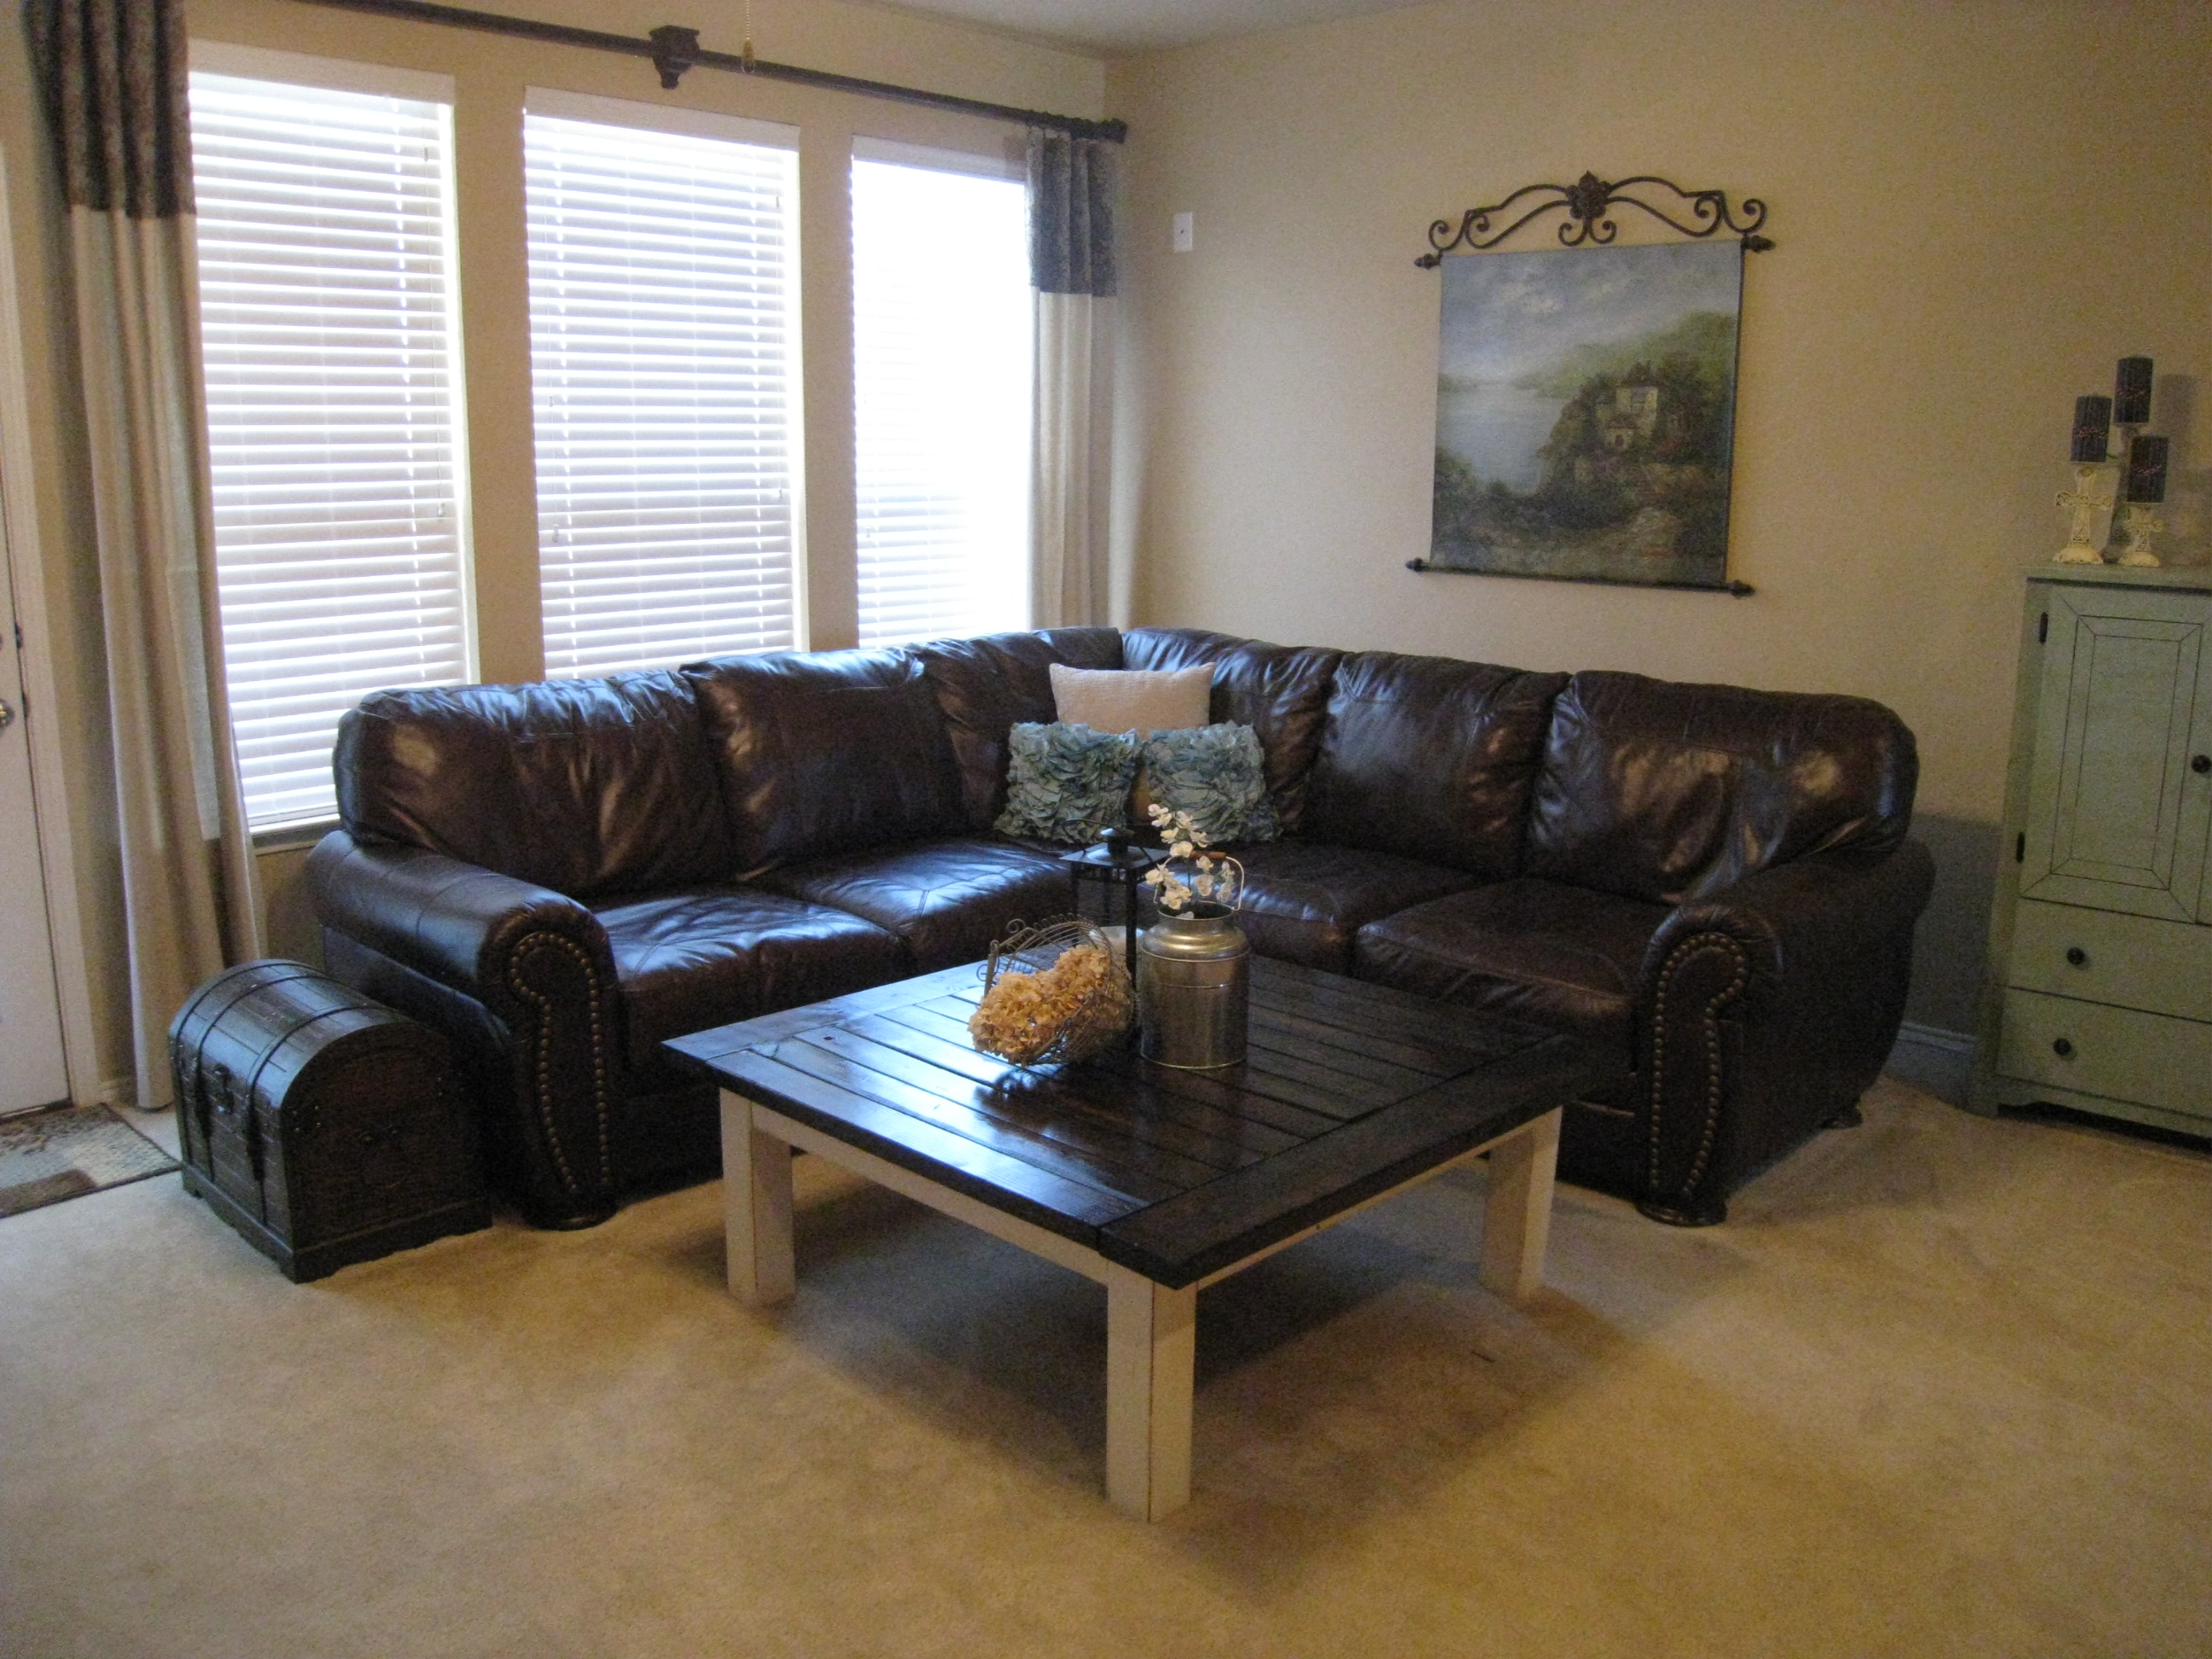
Now that our kitchen was looking so good we decided we needed some awesome furniture to match.
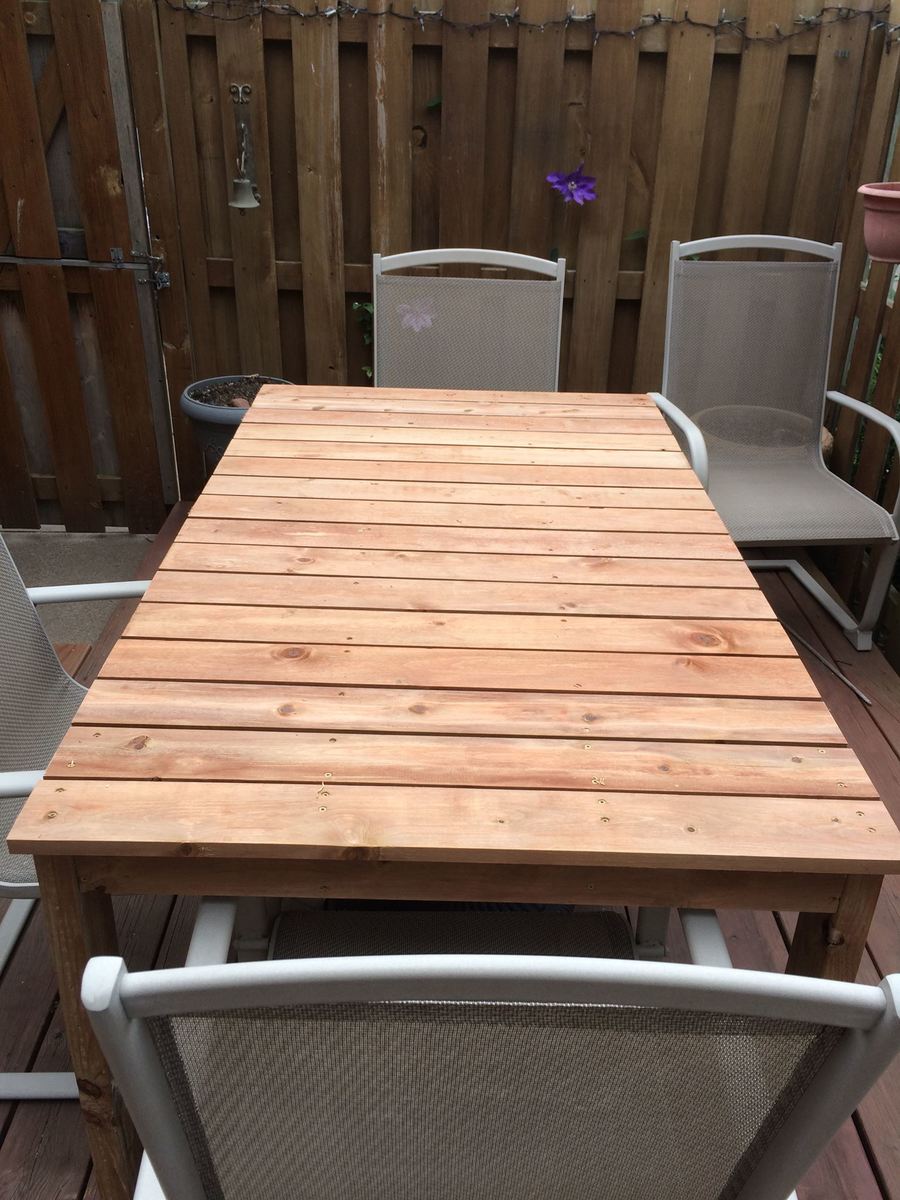
This is where the great Ana White and her wonderful blog stepped in. We were able to build some beautiful high quality furniture at an awesome price! This was the first time I actually had matching and completed furniture in my kitchen and I have loved it.
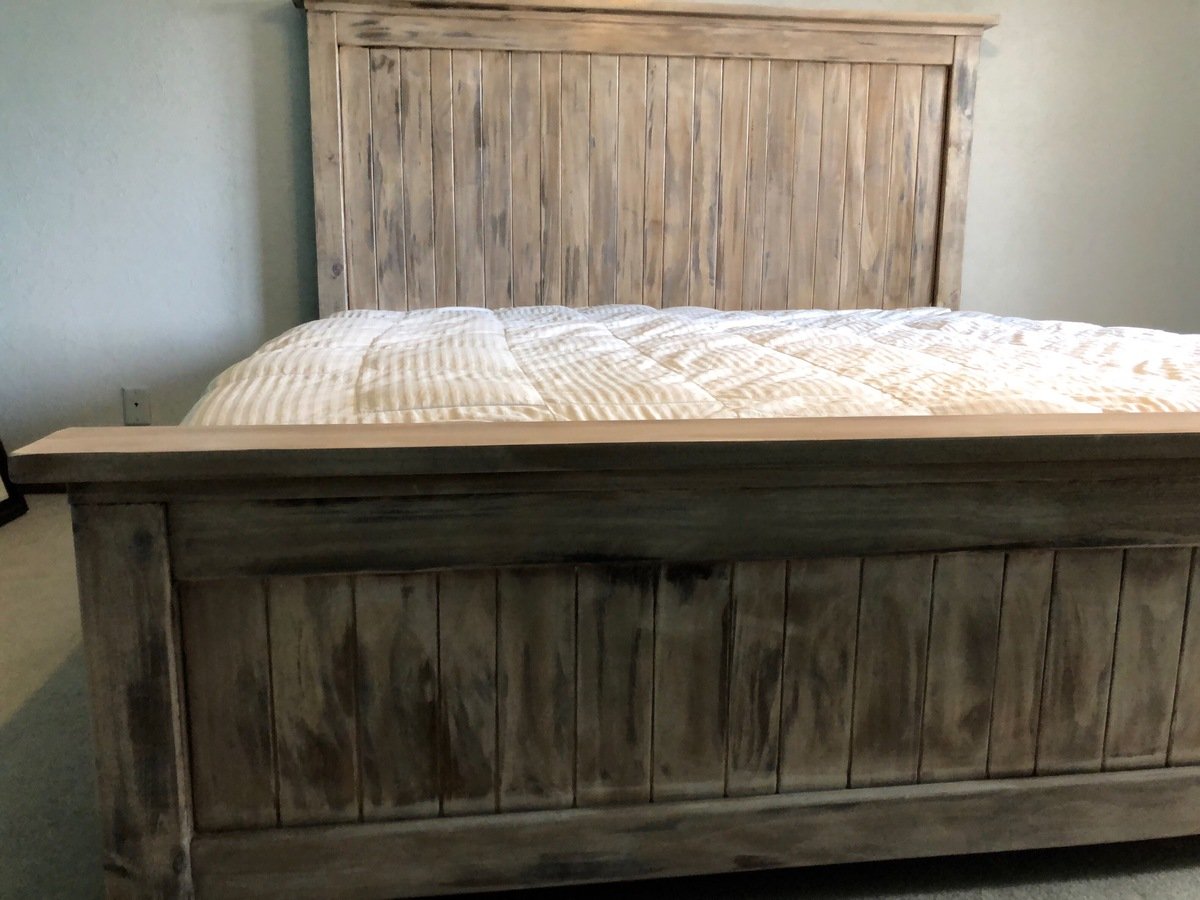
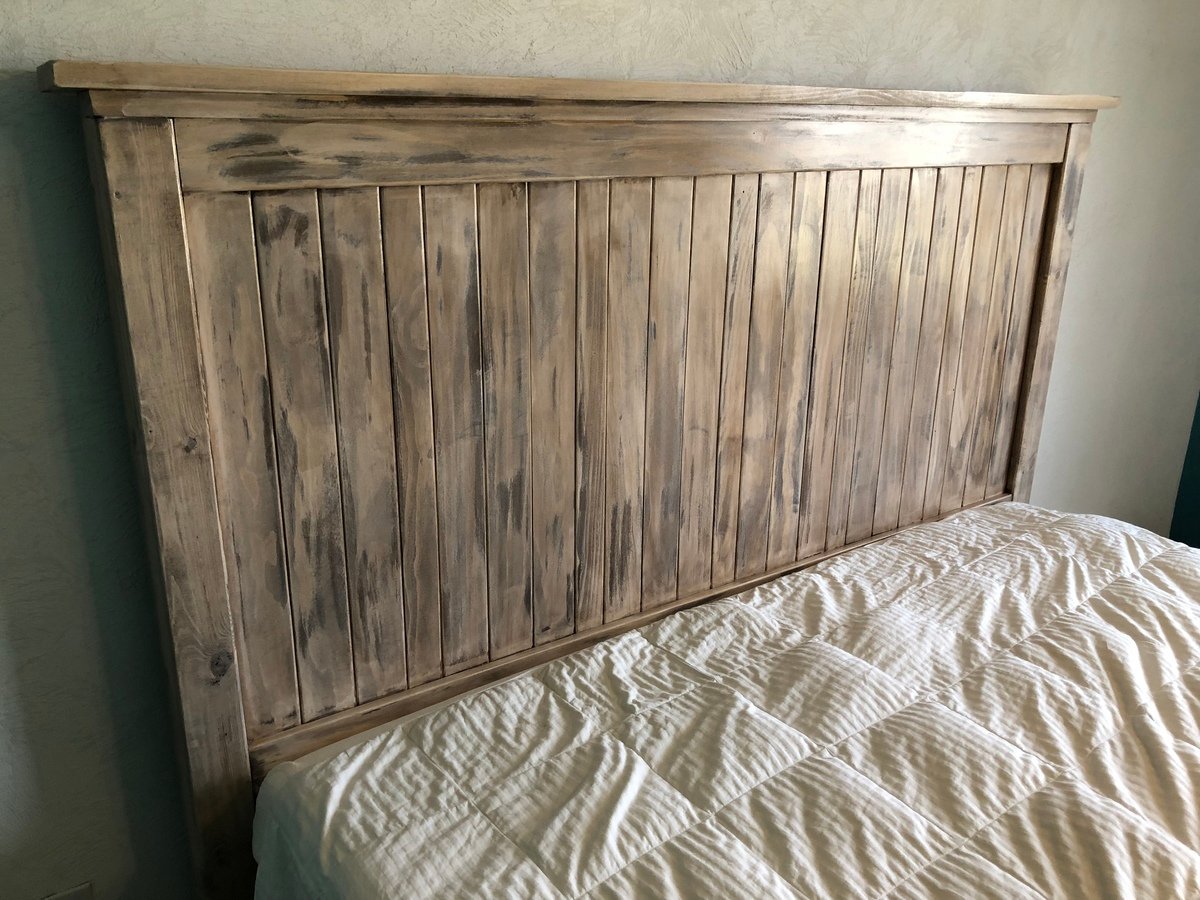
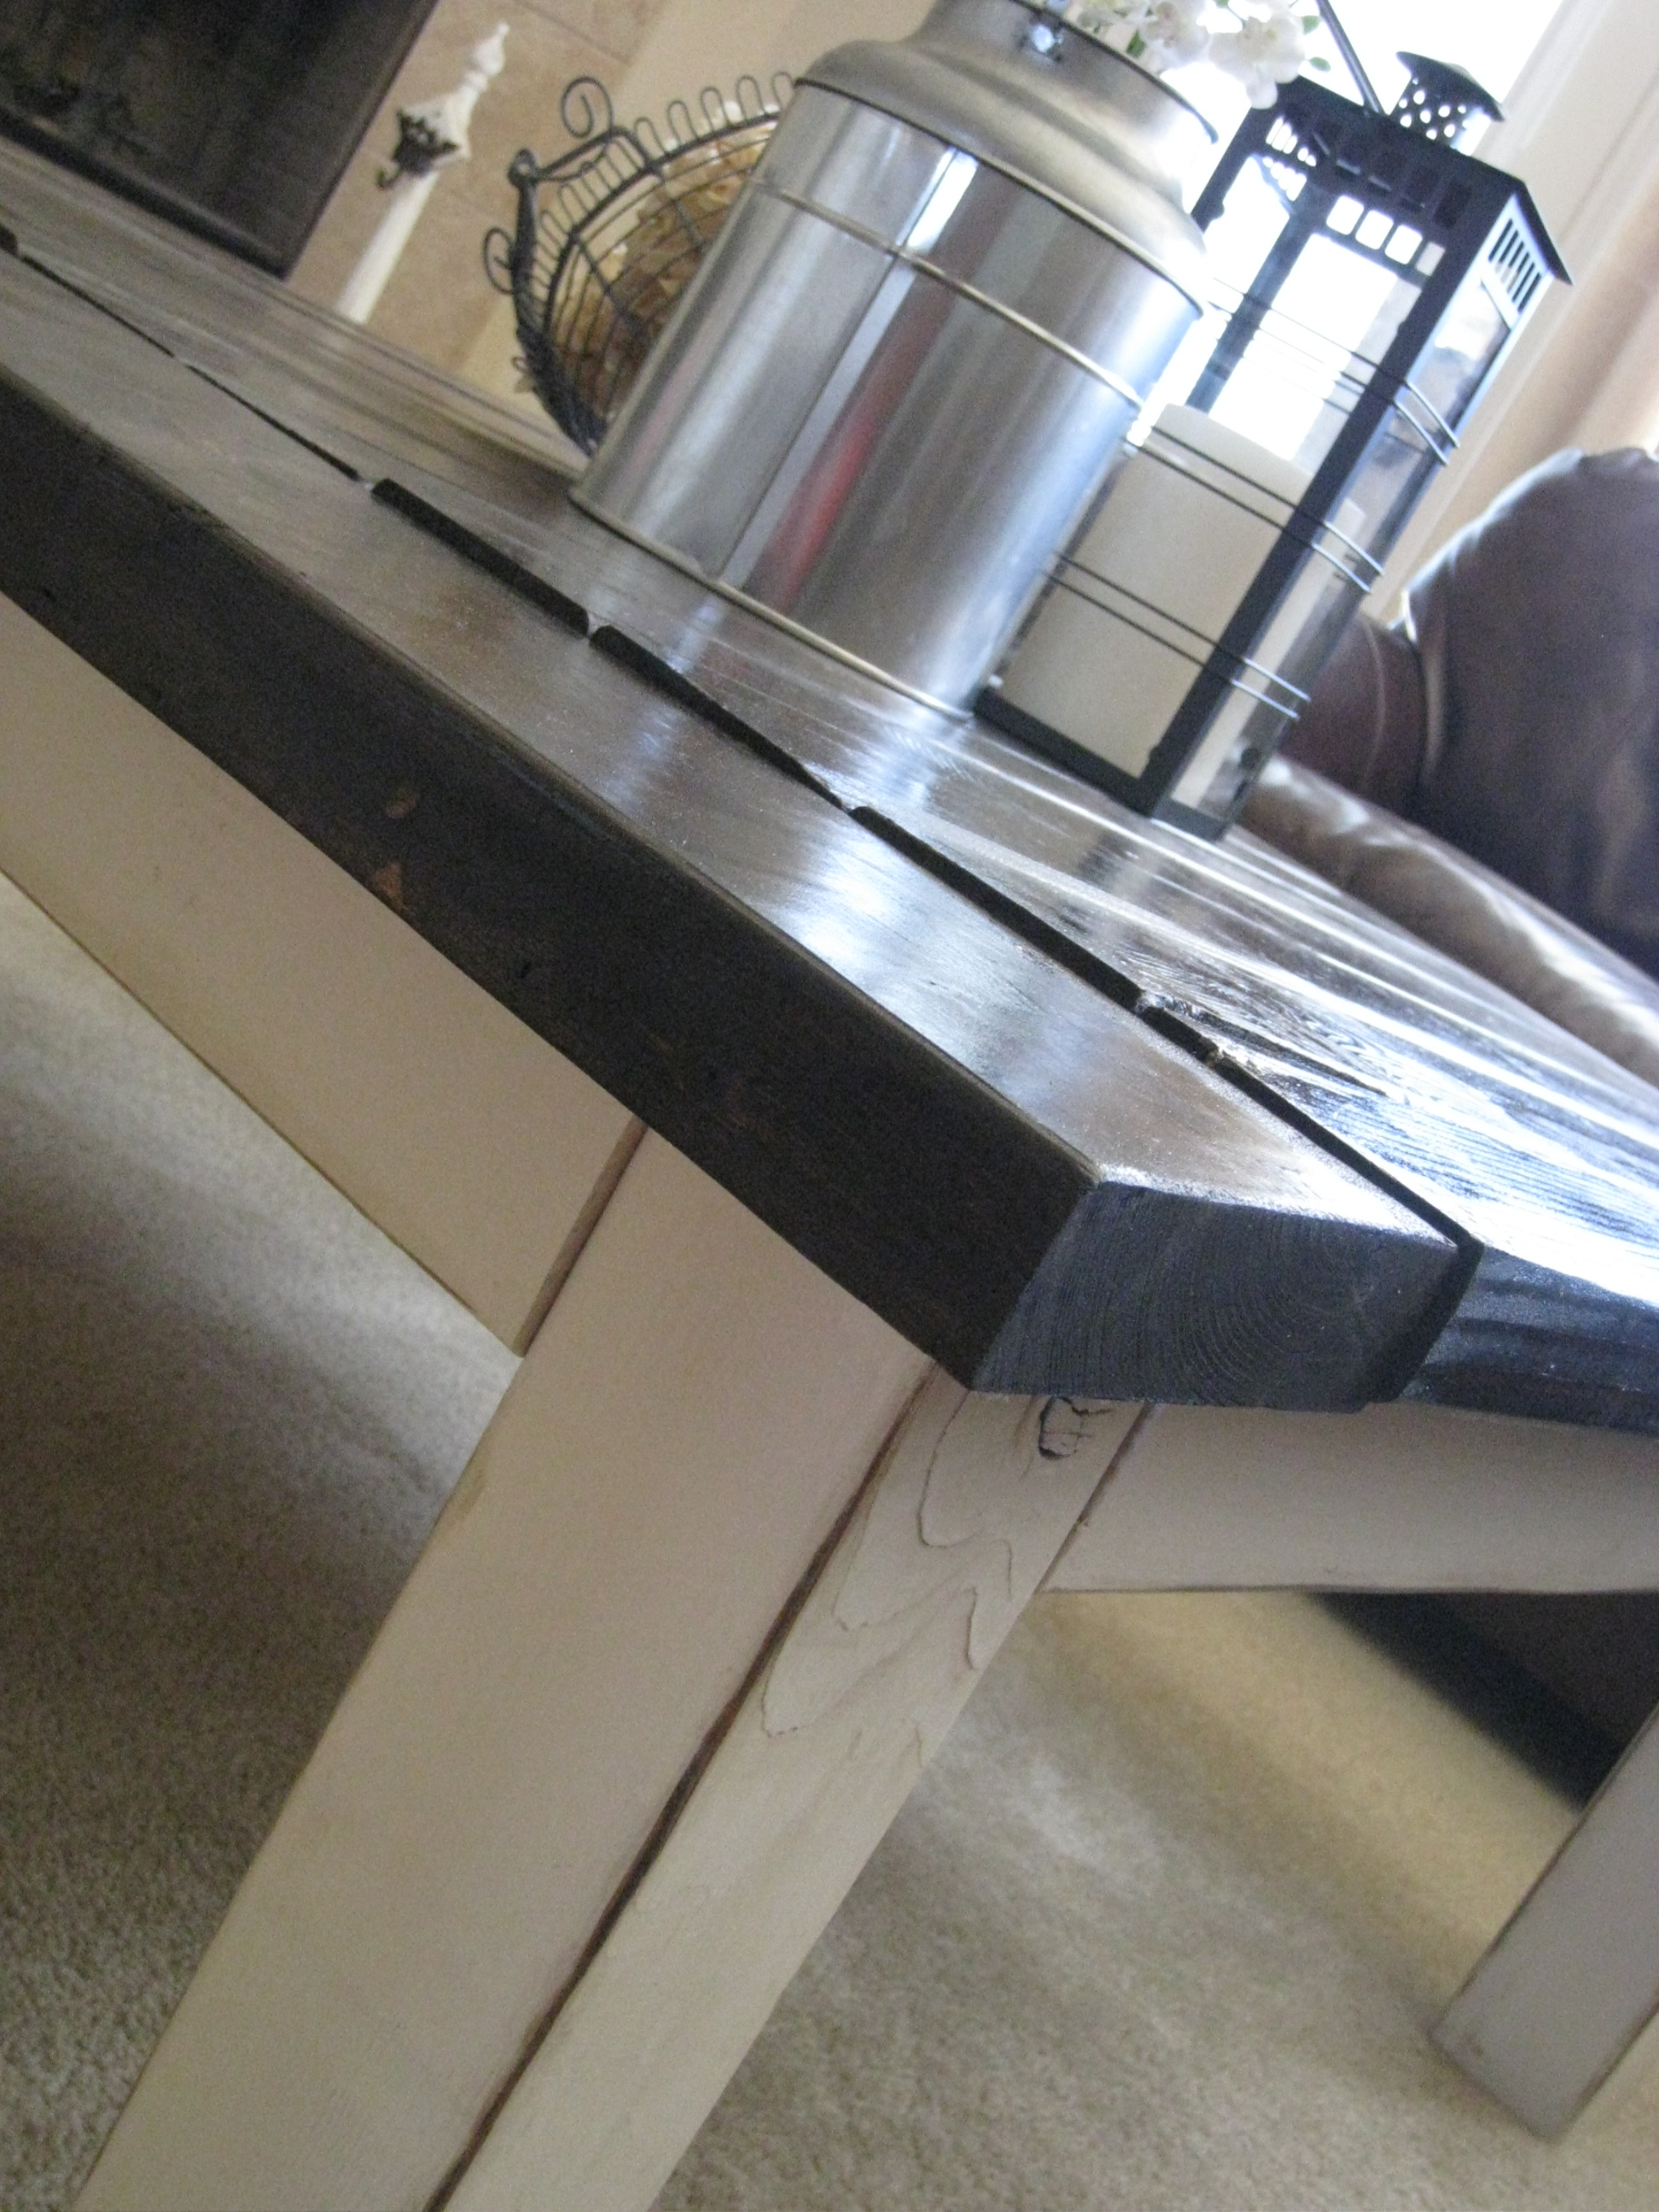
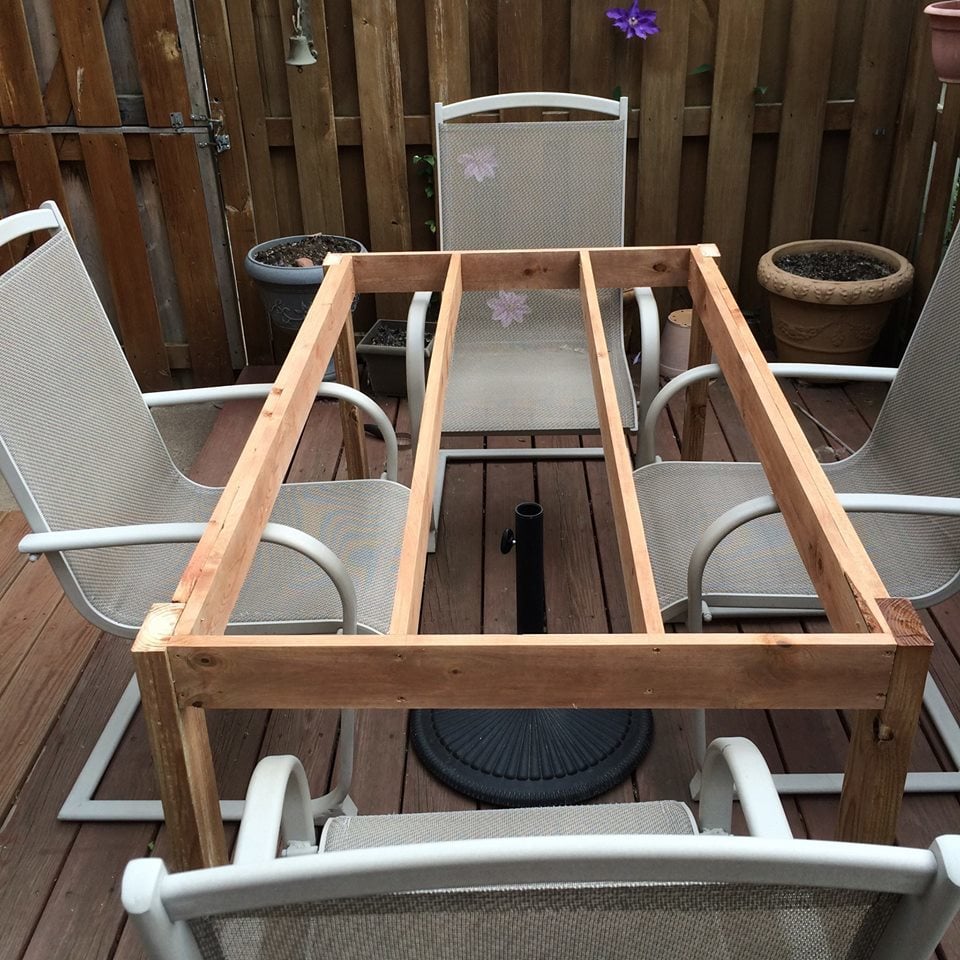
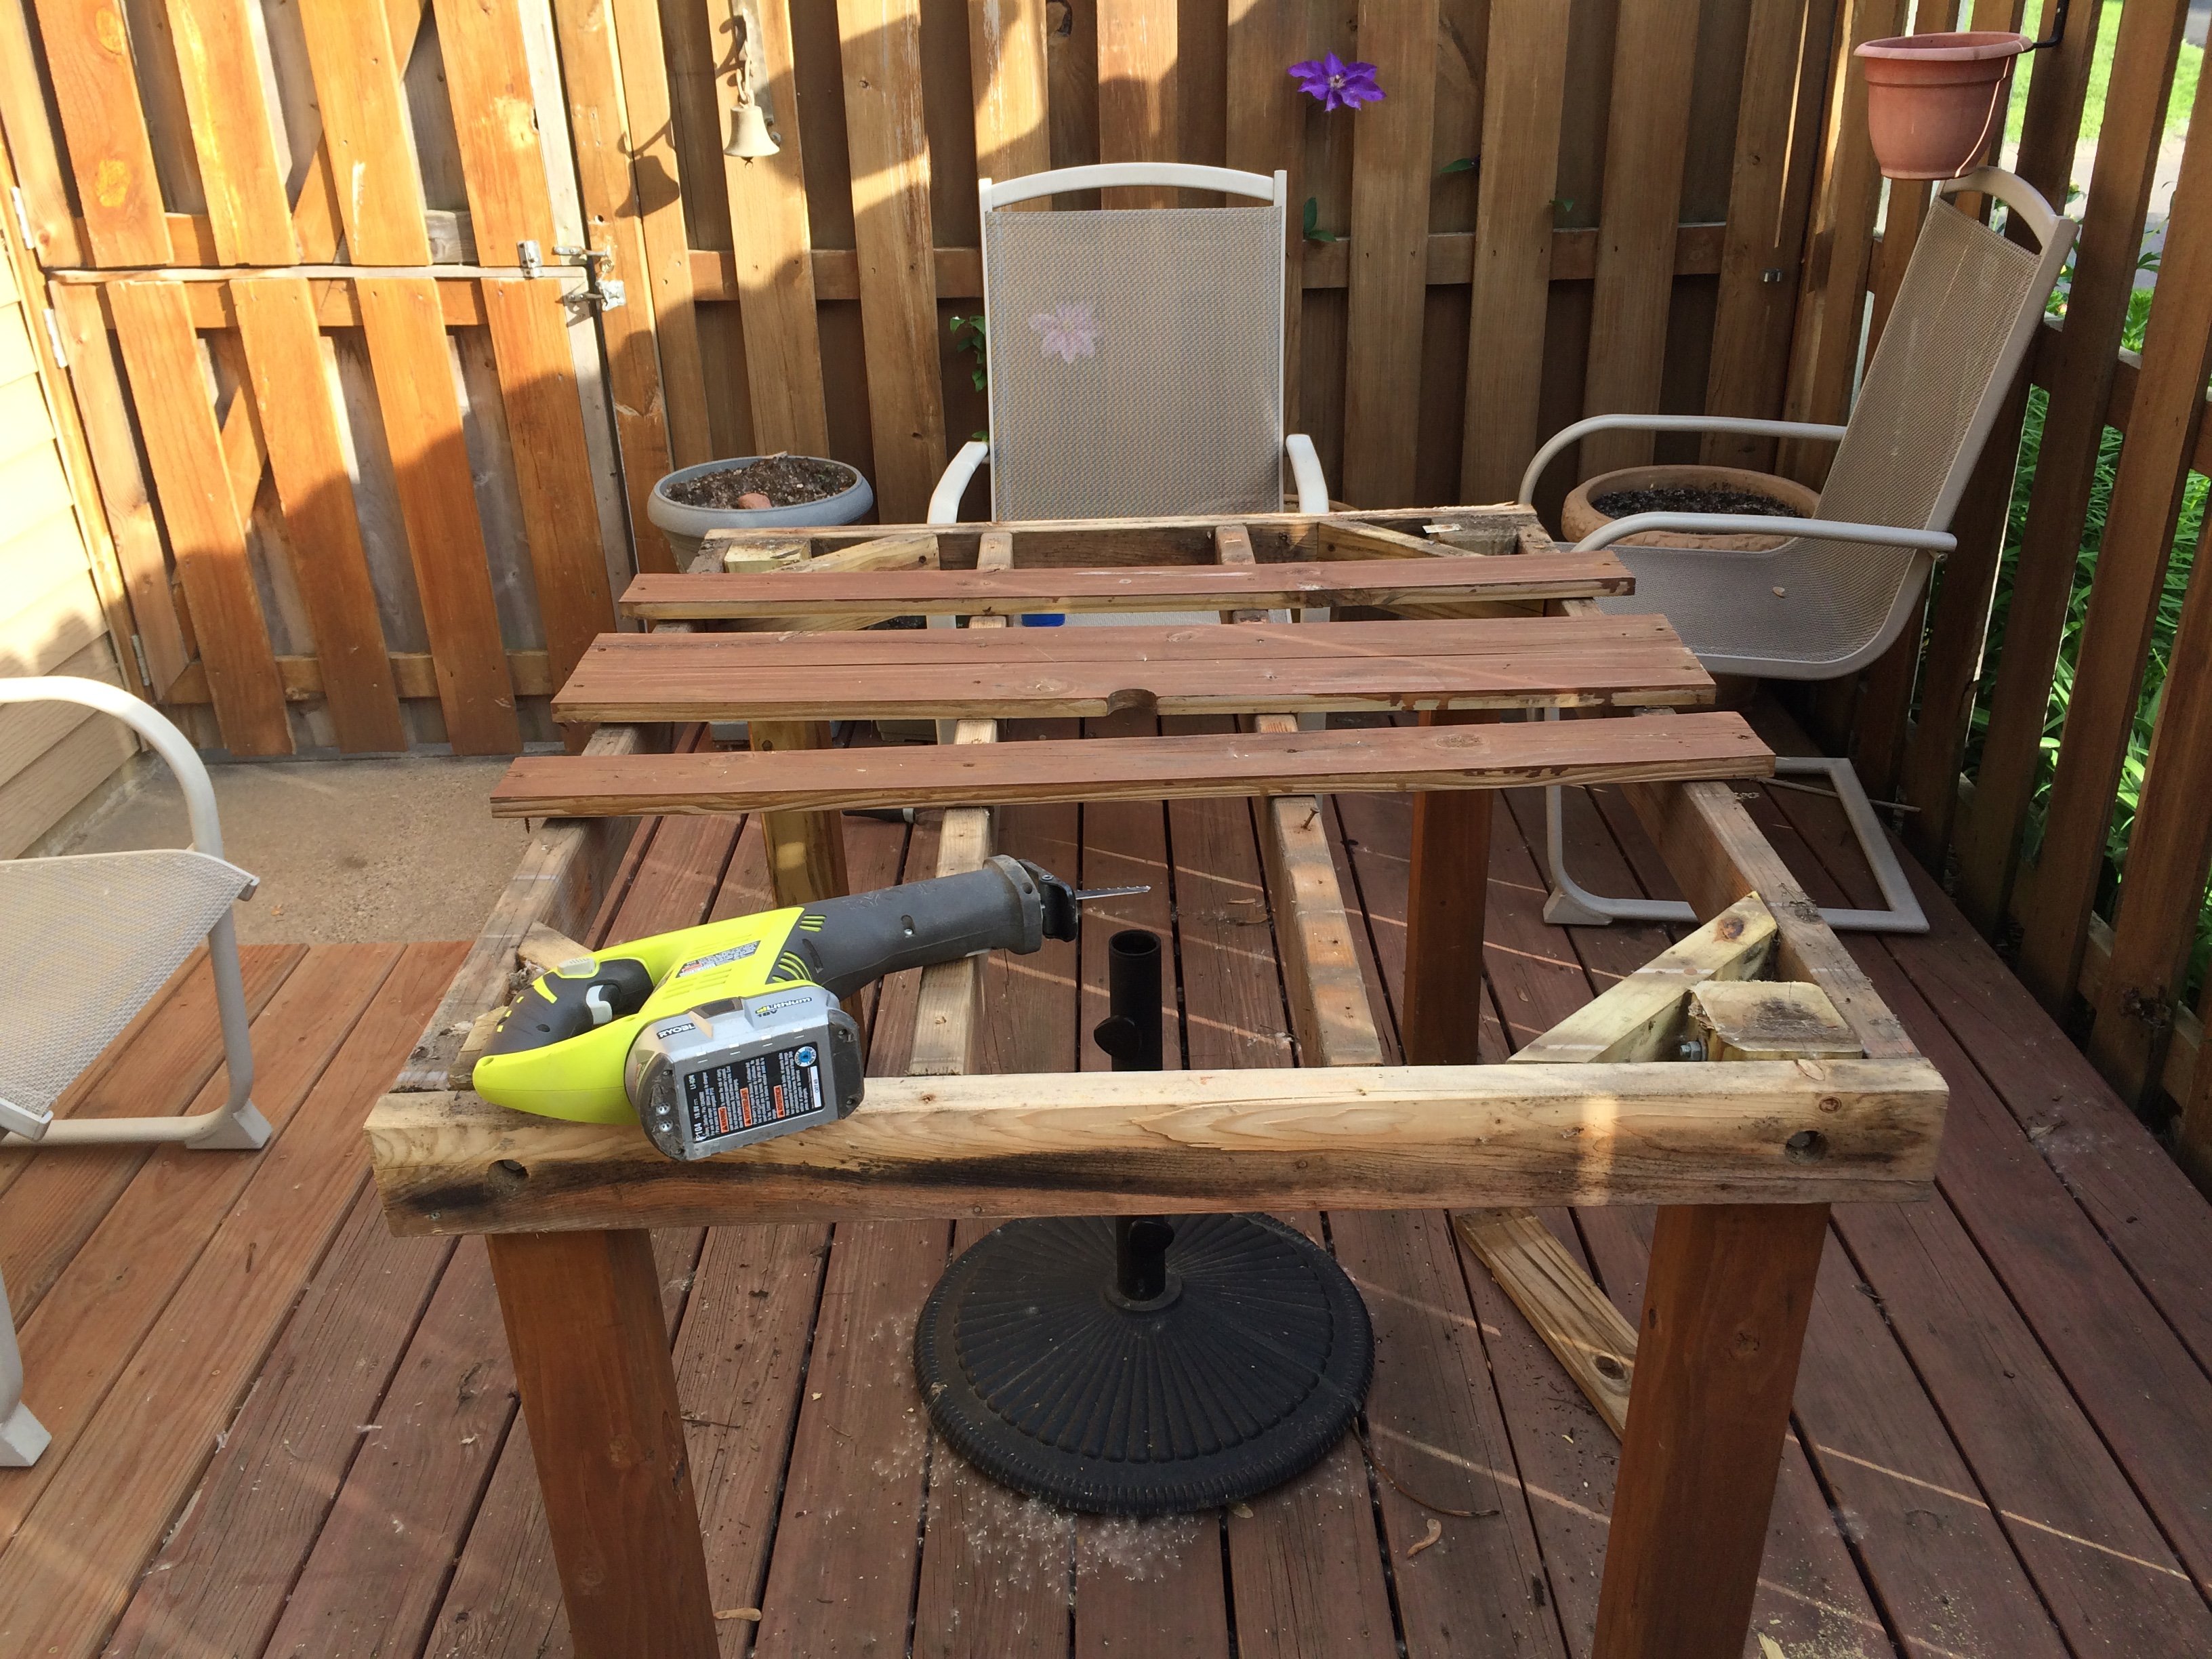
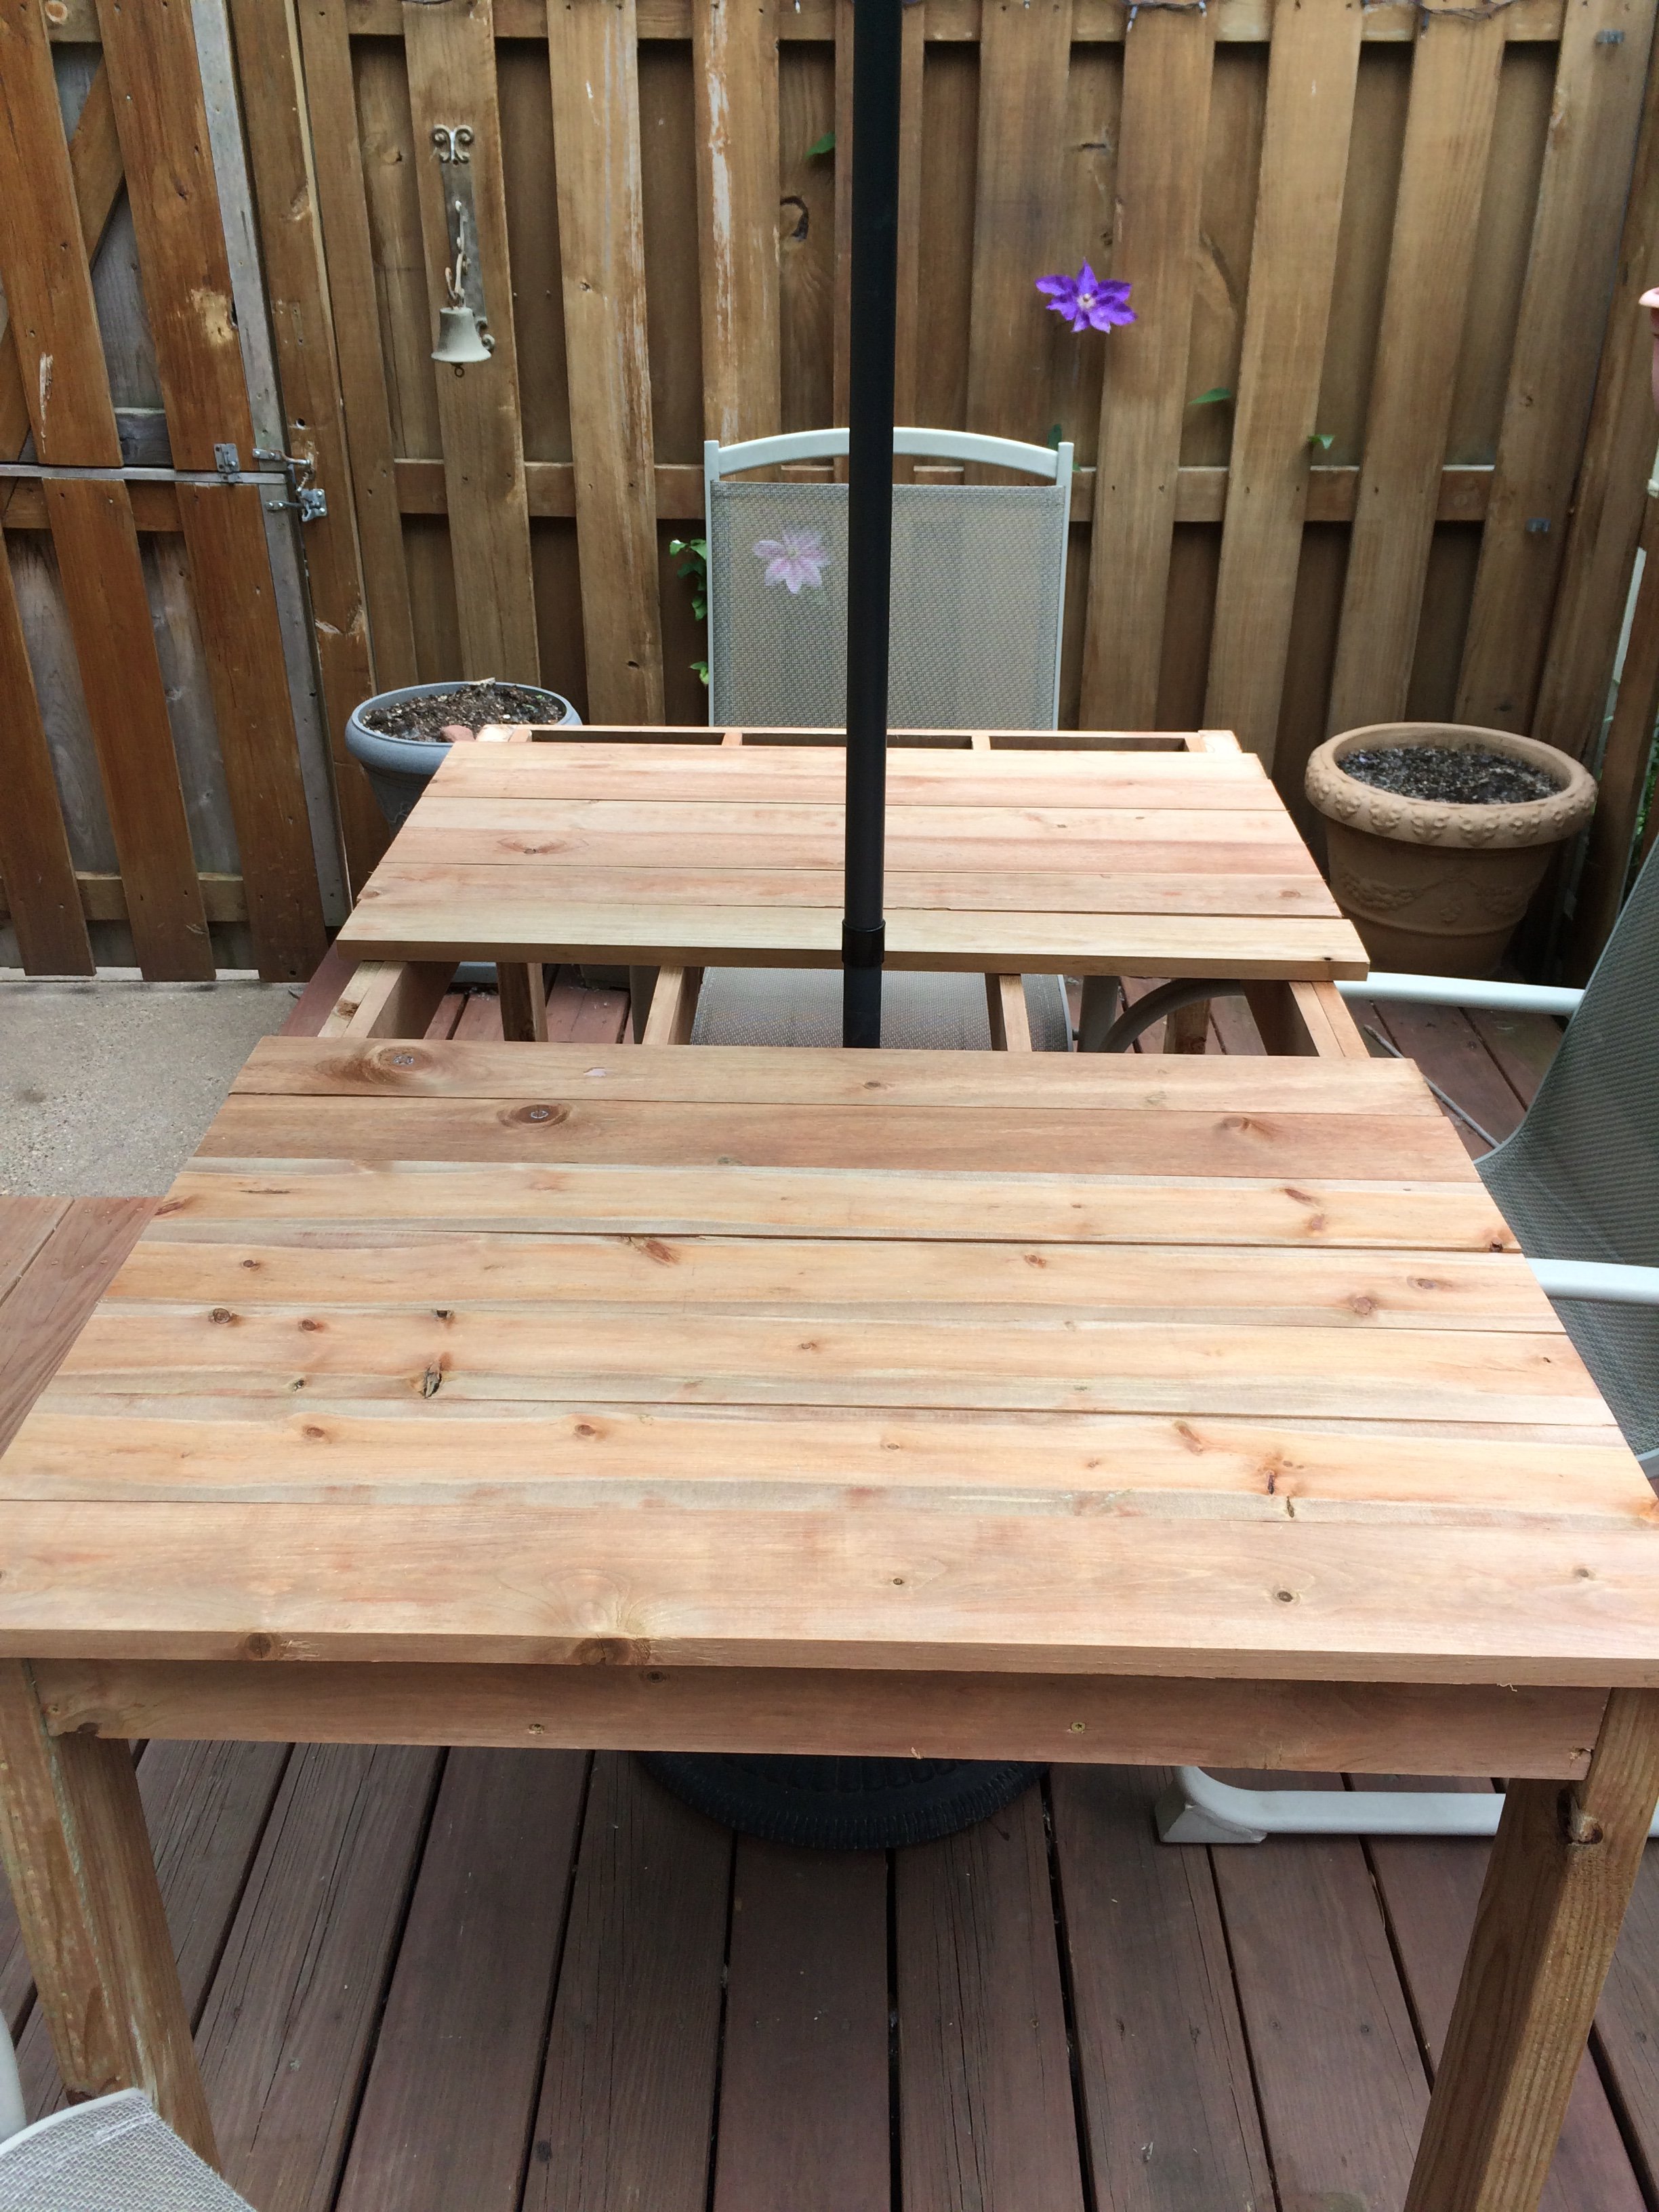
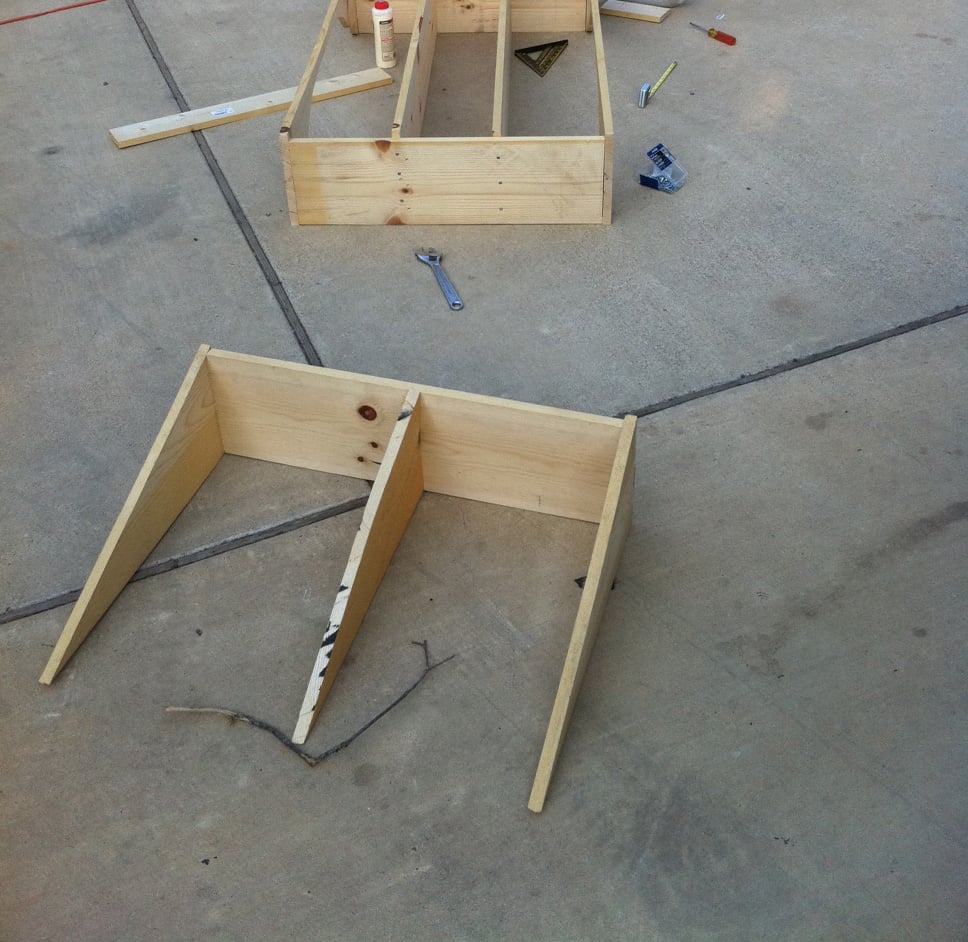
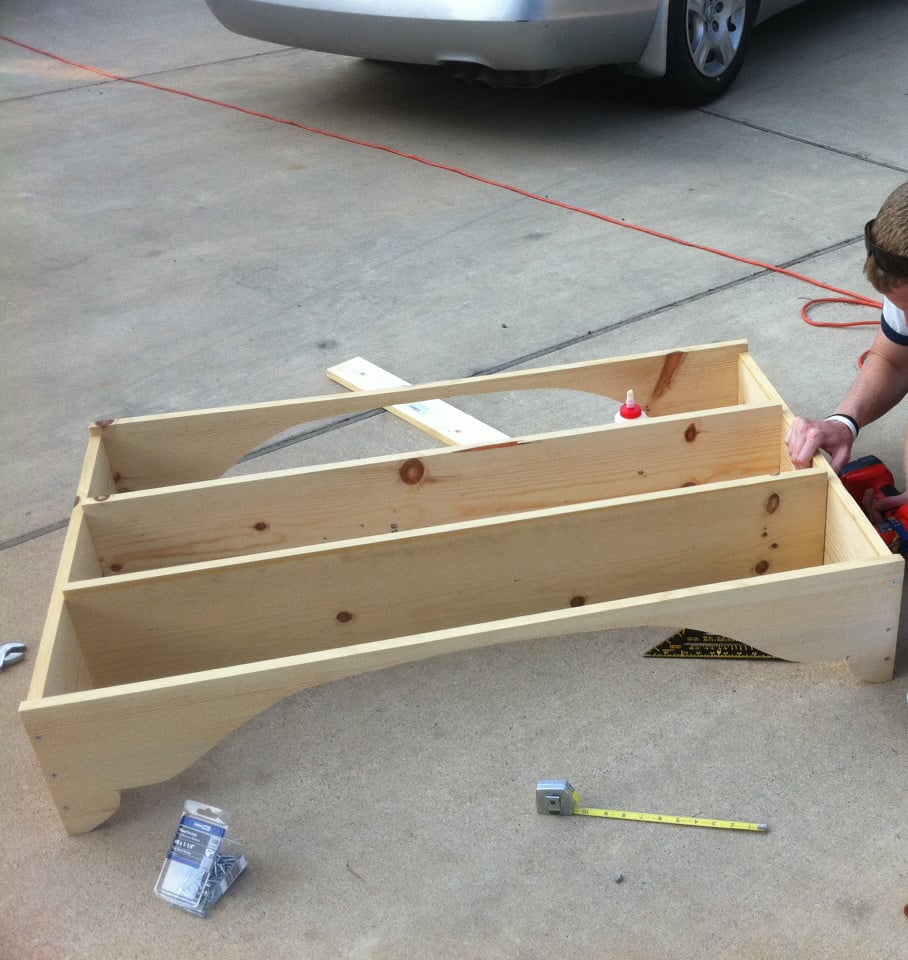
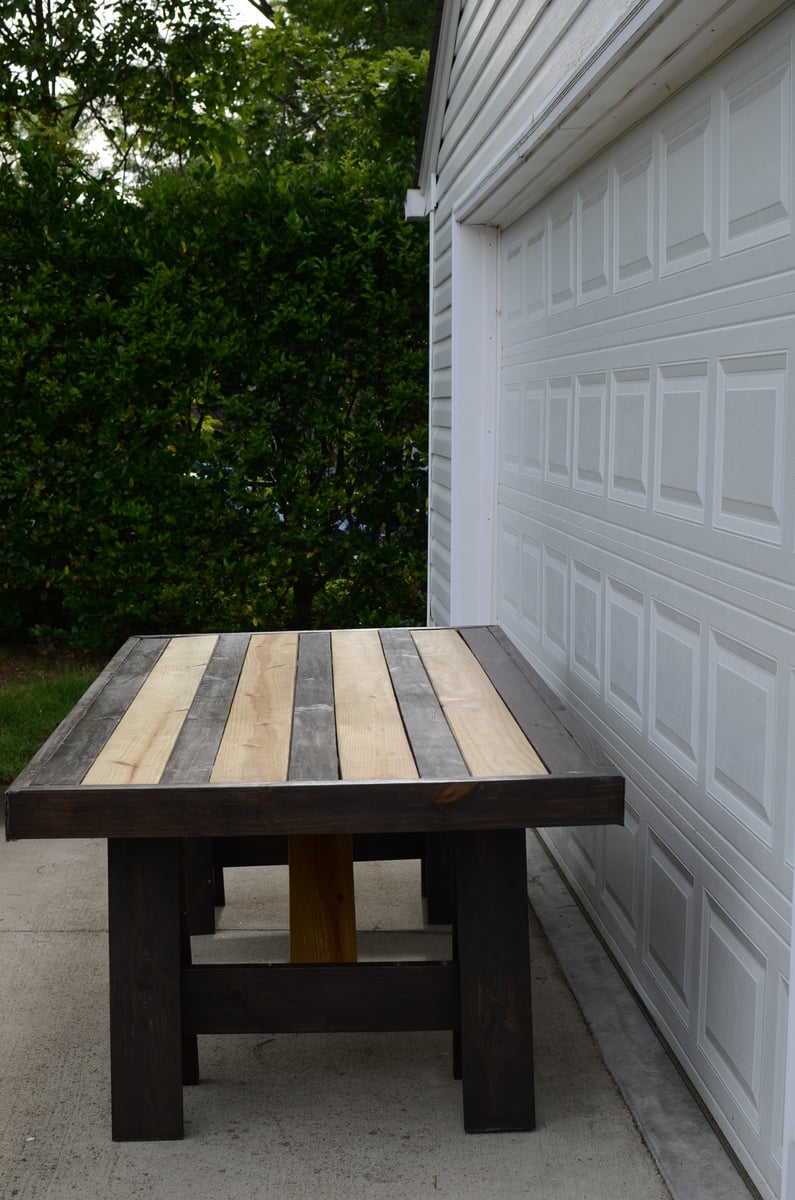
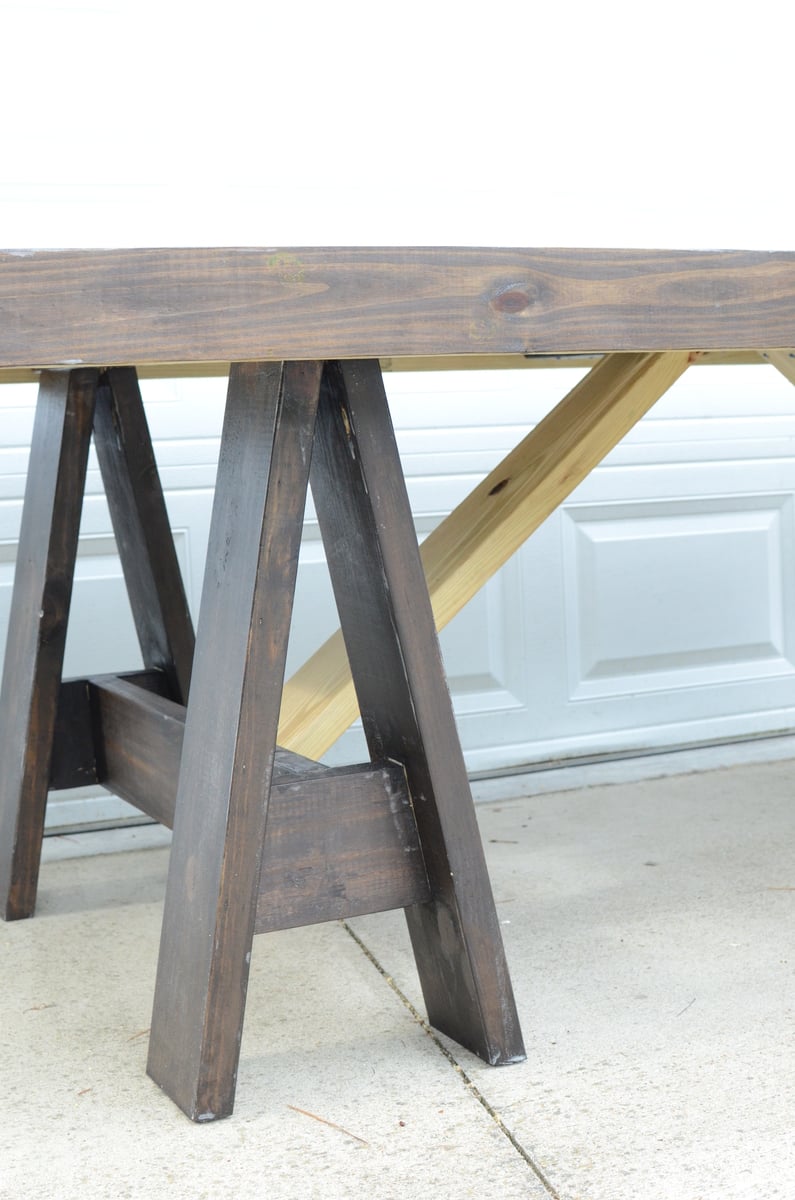
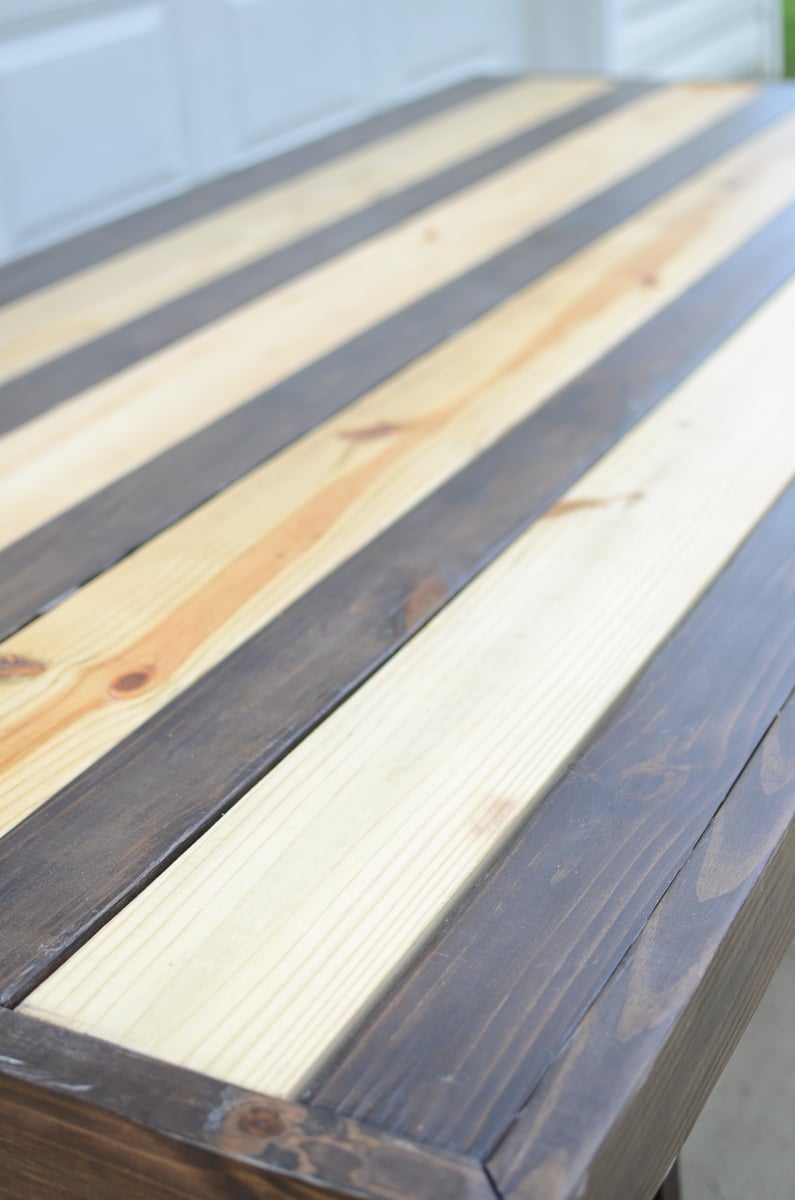
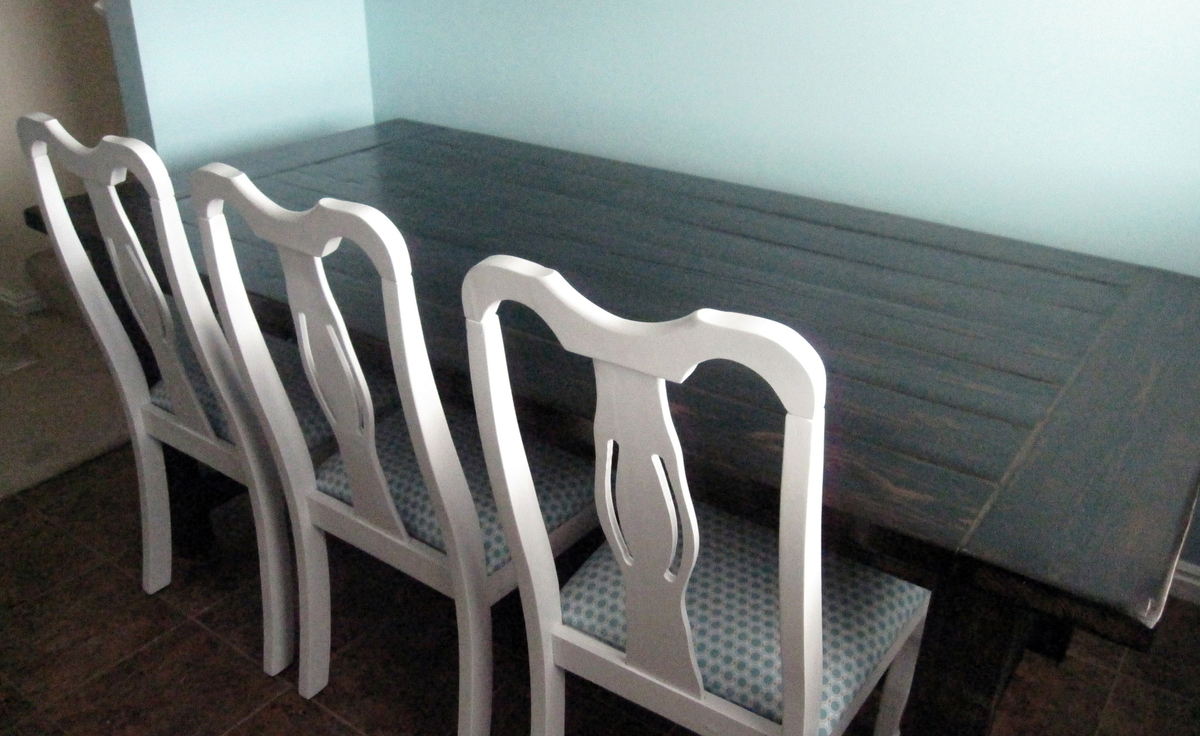
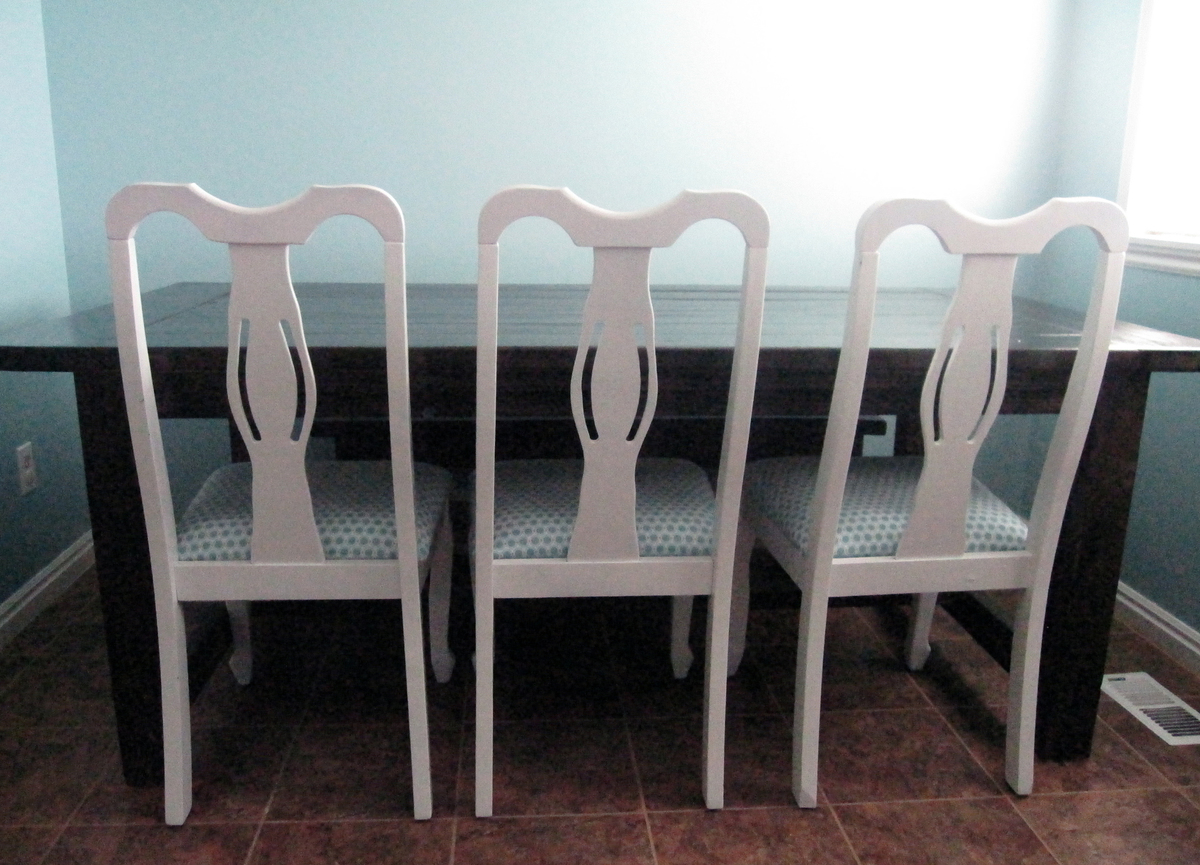
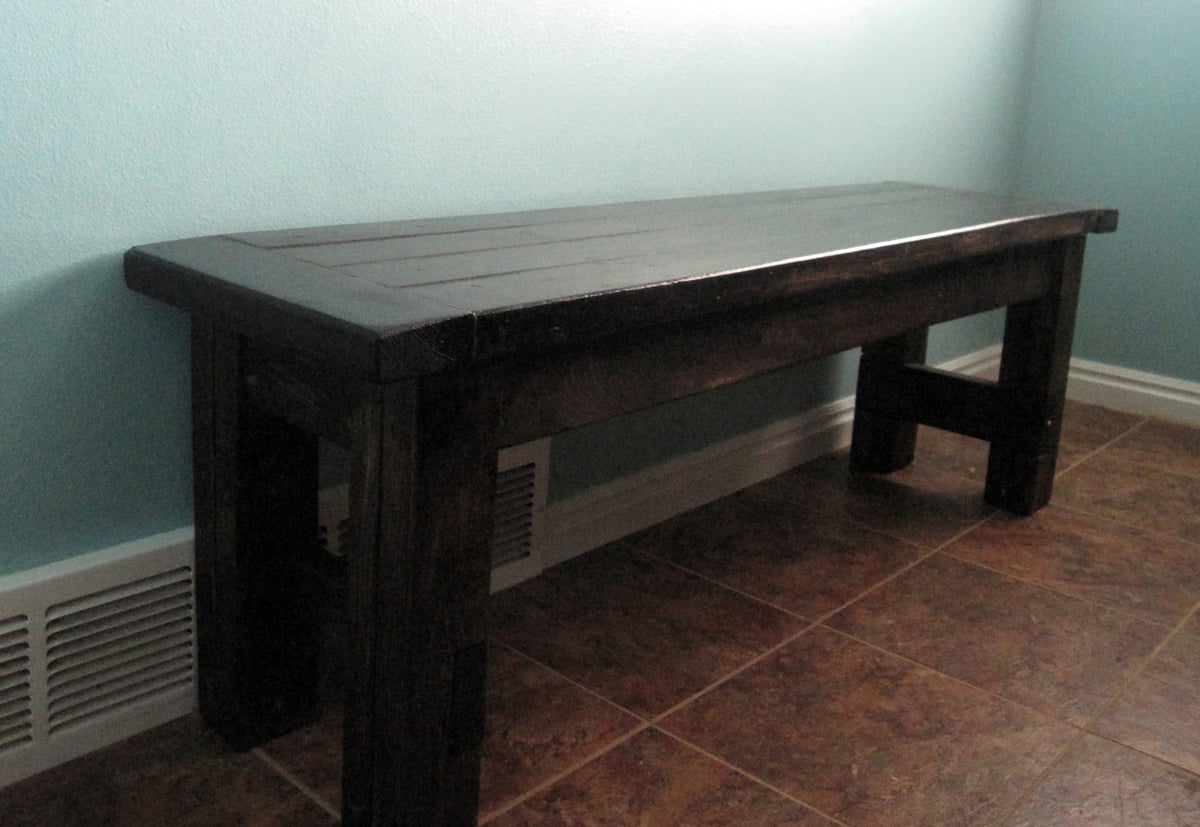
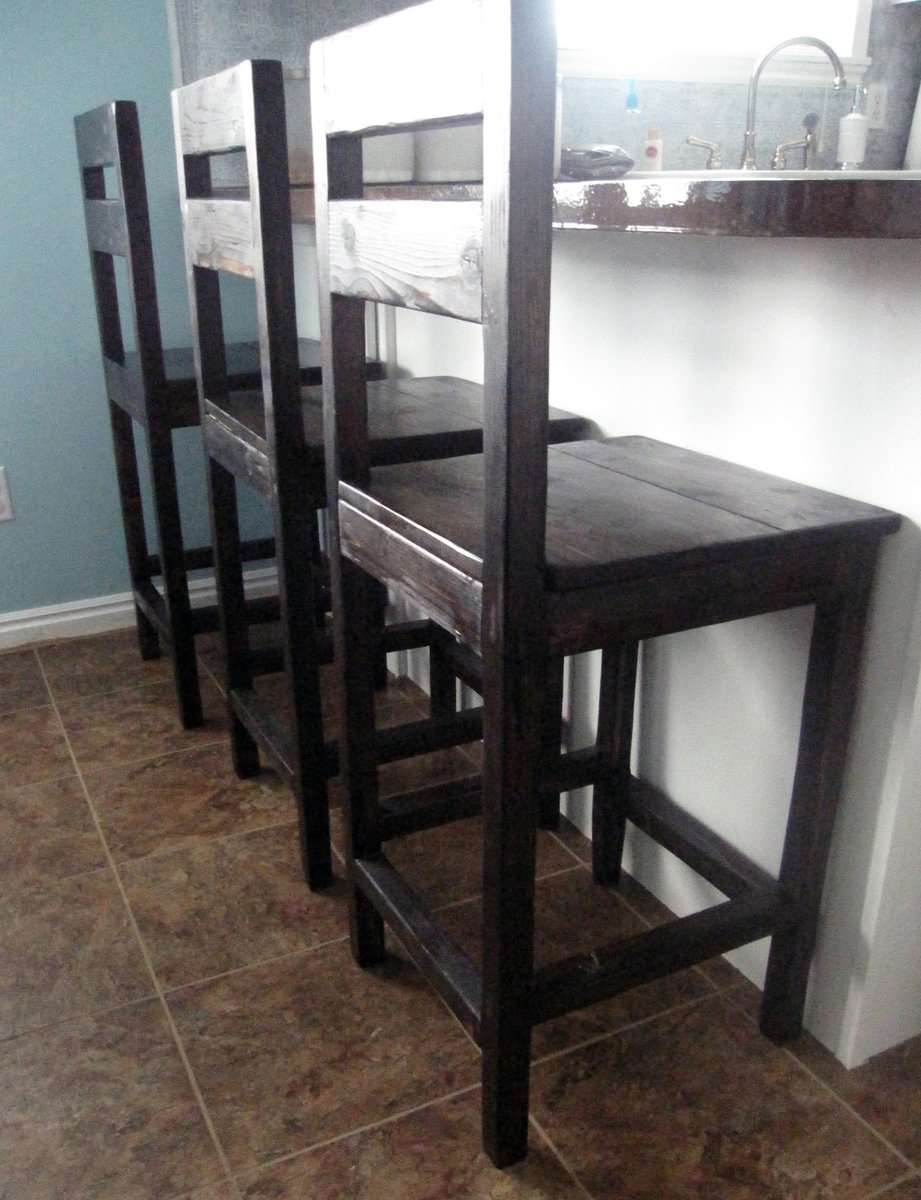
We built the farmhouse table, bench and the extra tall bar stools with some modifications.
Built from Plan(s)
Estimated Cost
We spent around $220 for all of the furniture.
Estimated Time Investment
Weekend Project (10-20 Hours)
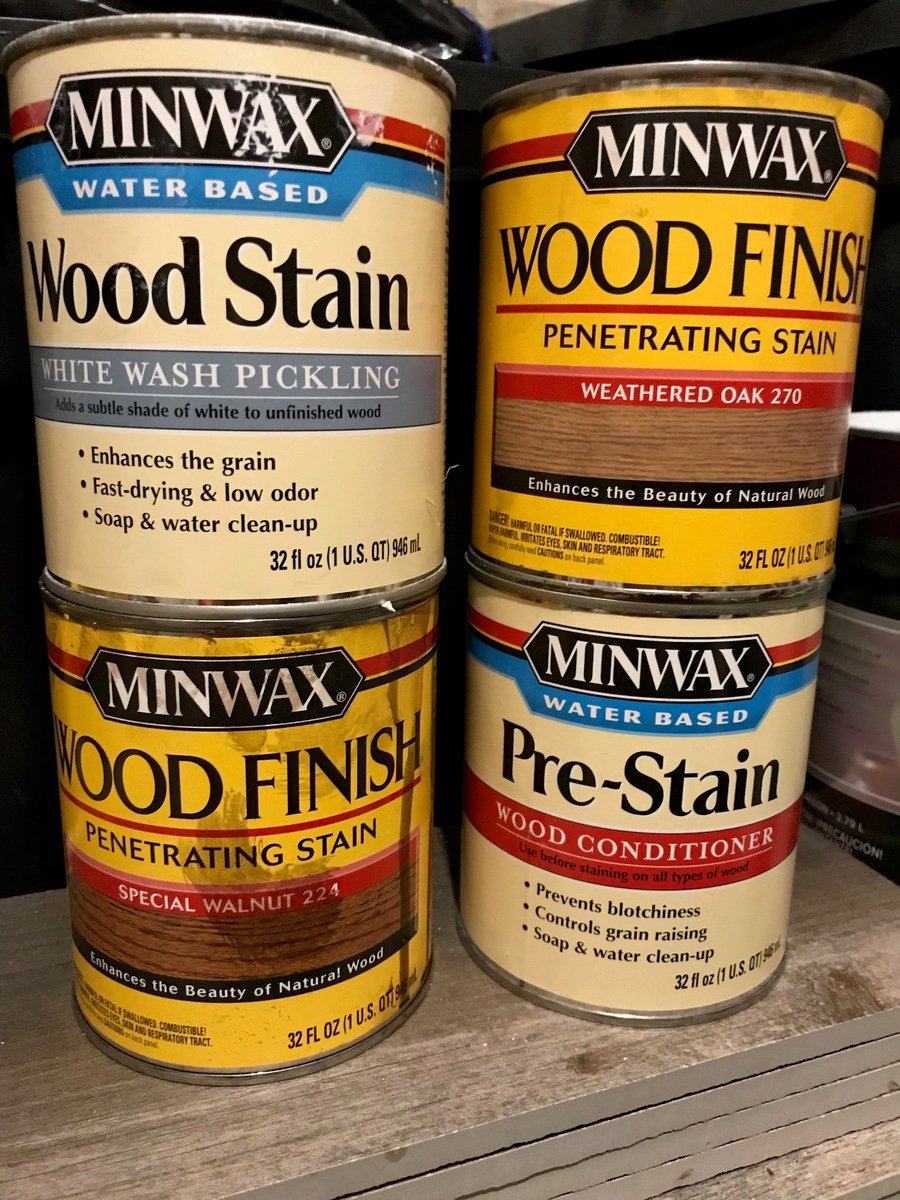
Finish Used
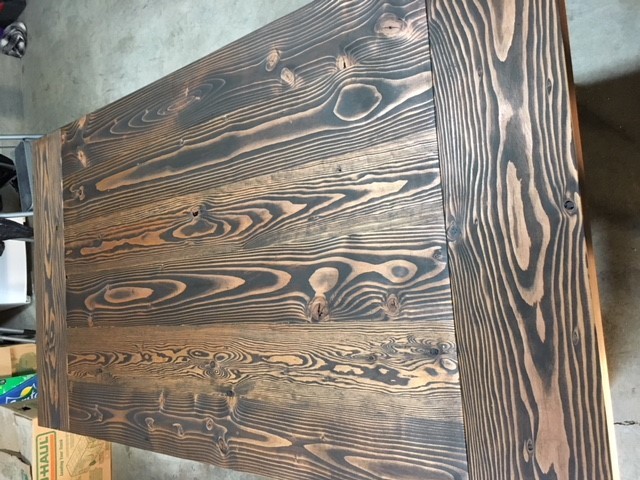
I used a wood conditioner, 2 coats of a Jacobean colored stain and two coats of a satin finish polyurethane.
Recommended Skill Level
Beginner