Community Brag Posts

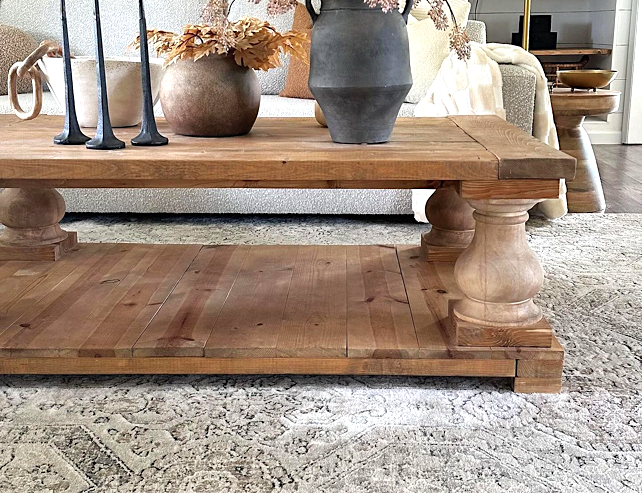
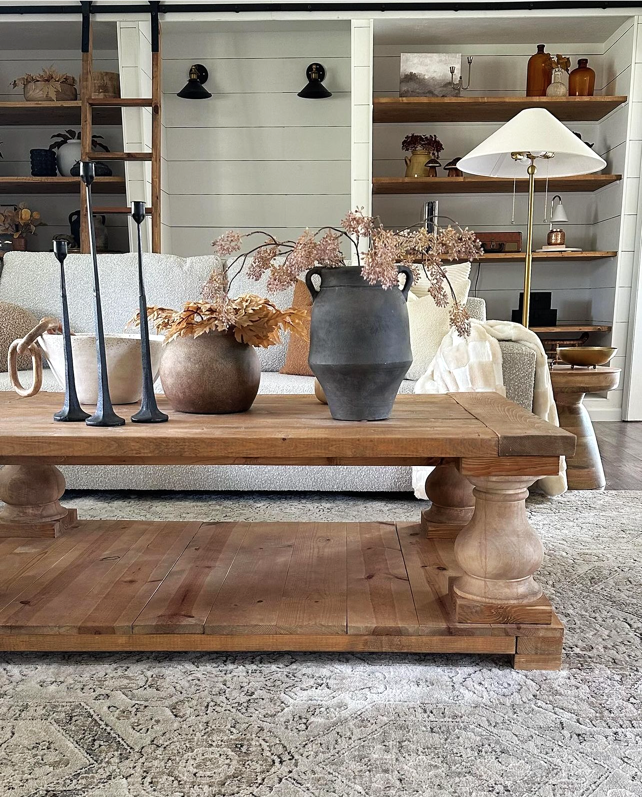
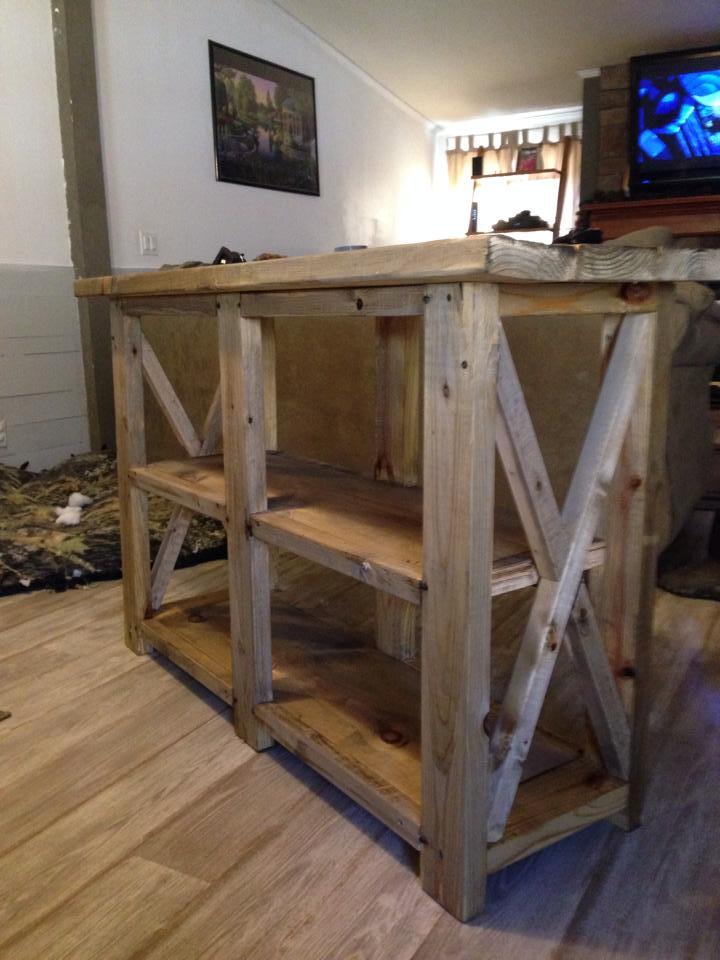
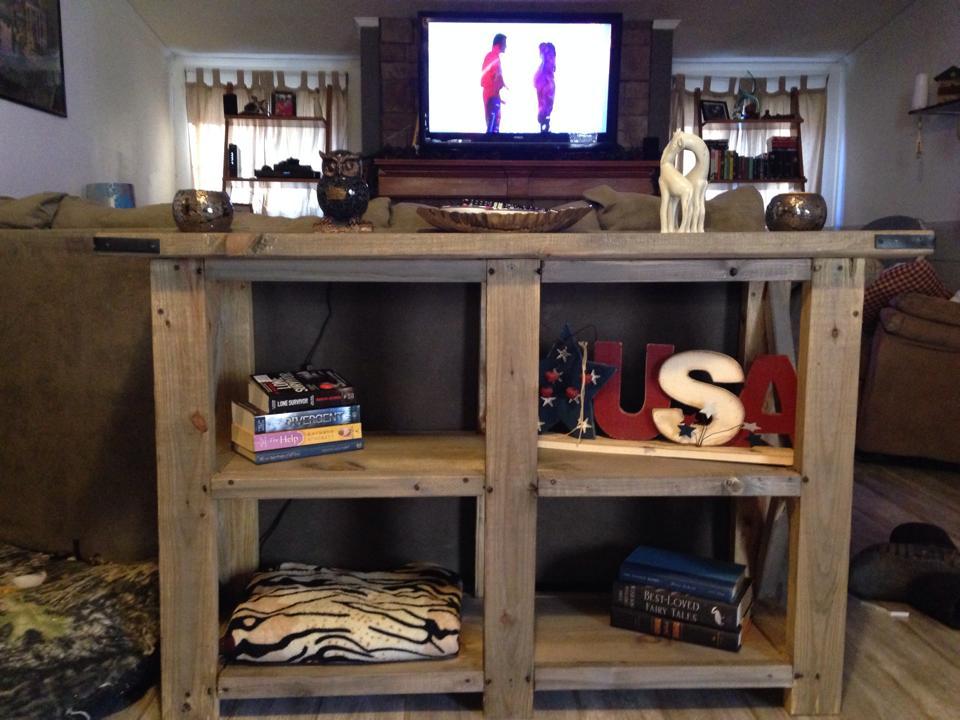
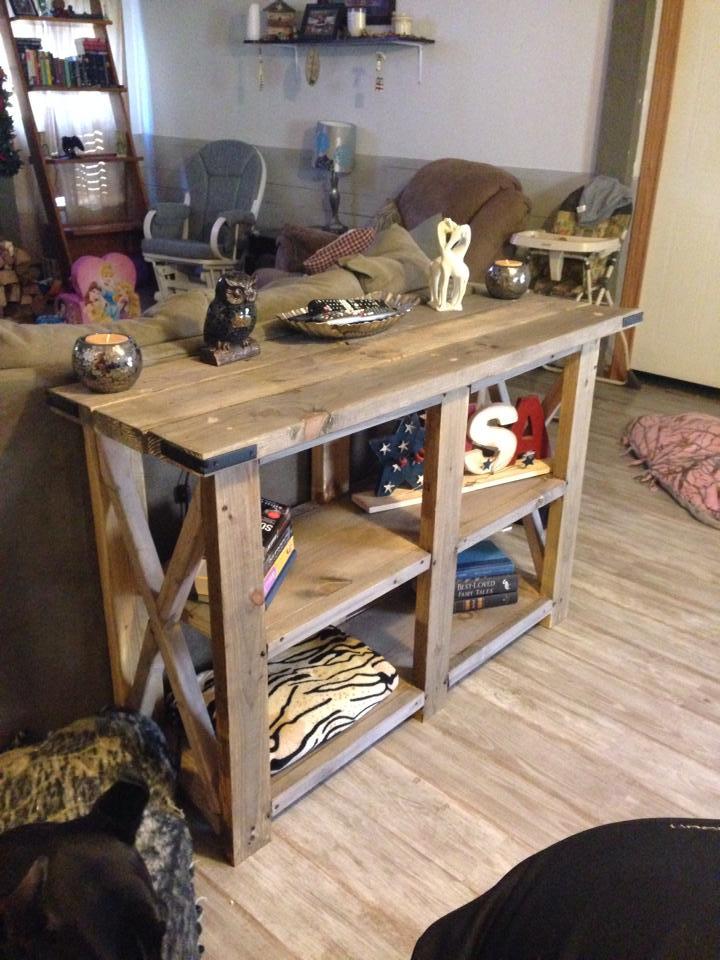
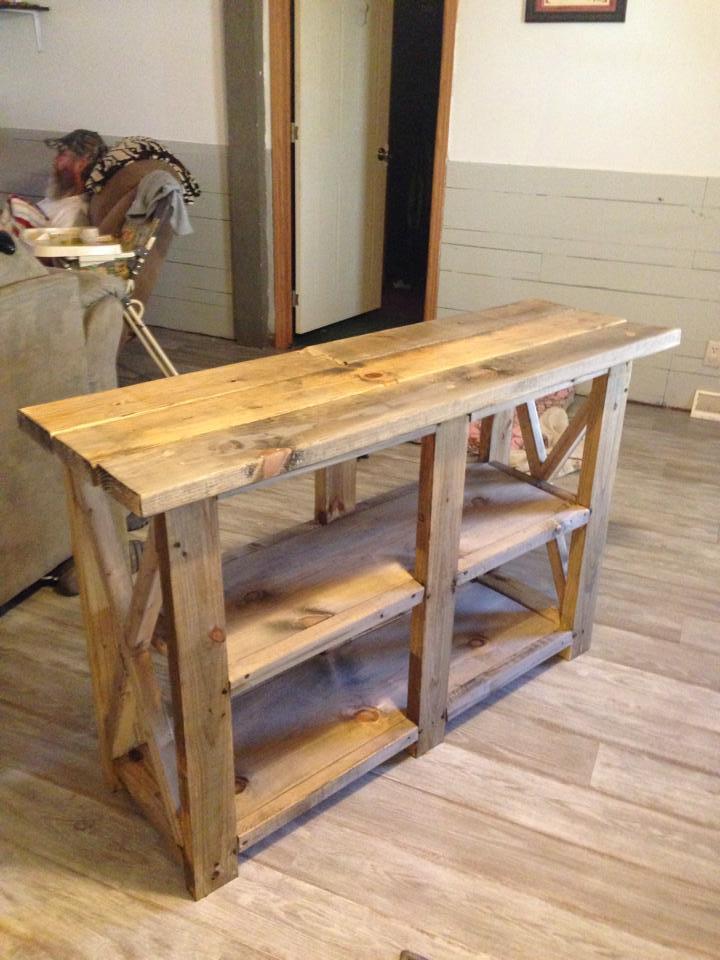
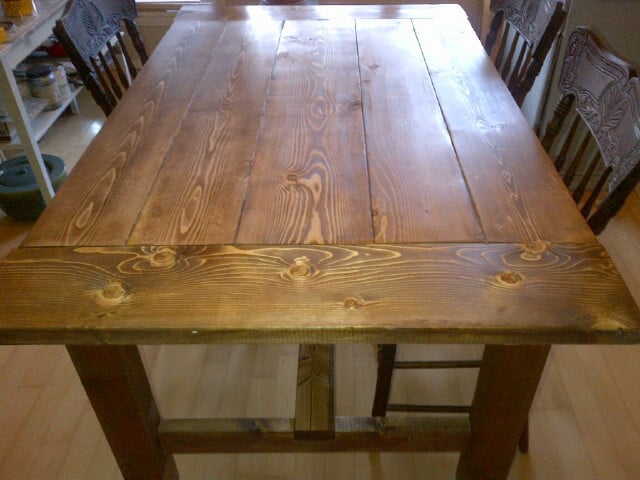
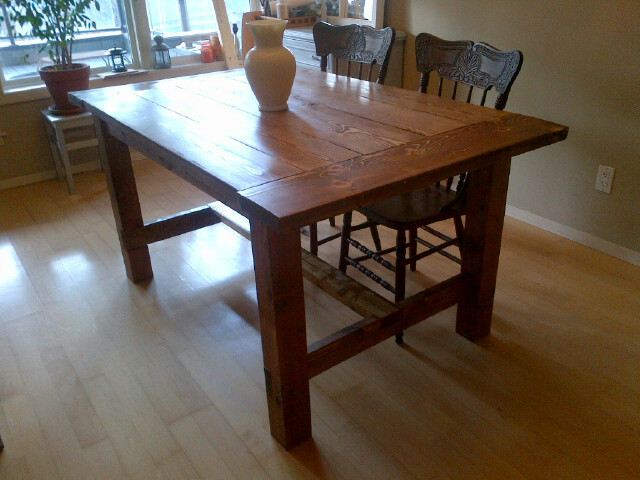
Triple Pedestal Table

Submitted by jiles95 on Thu, 05/12/2016 - 07:27

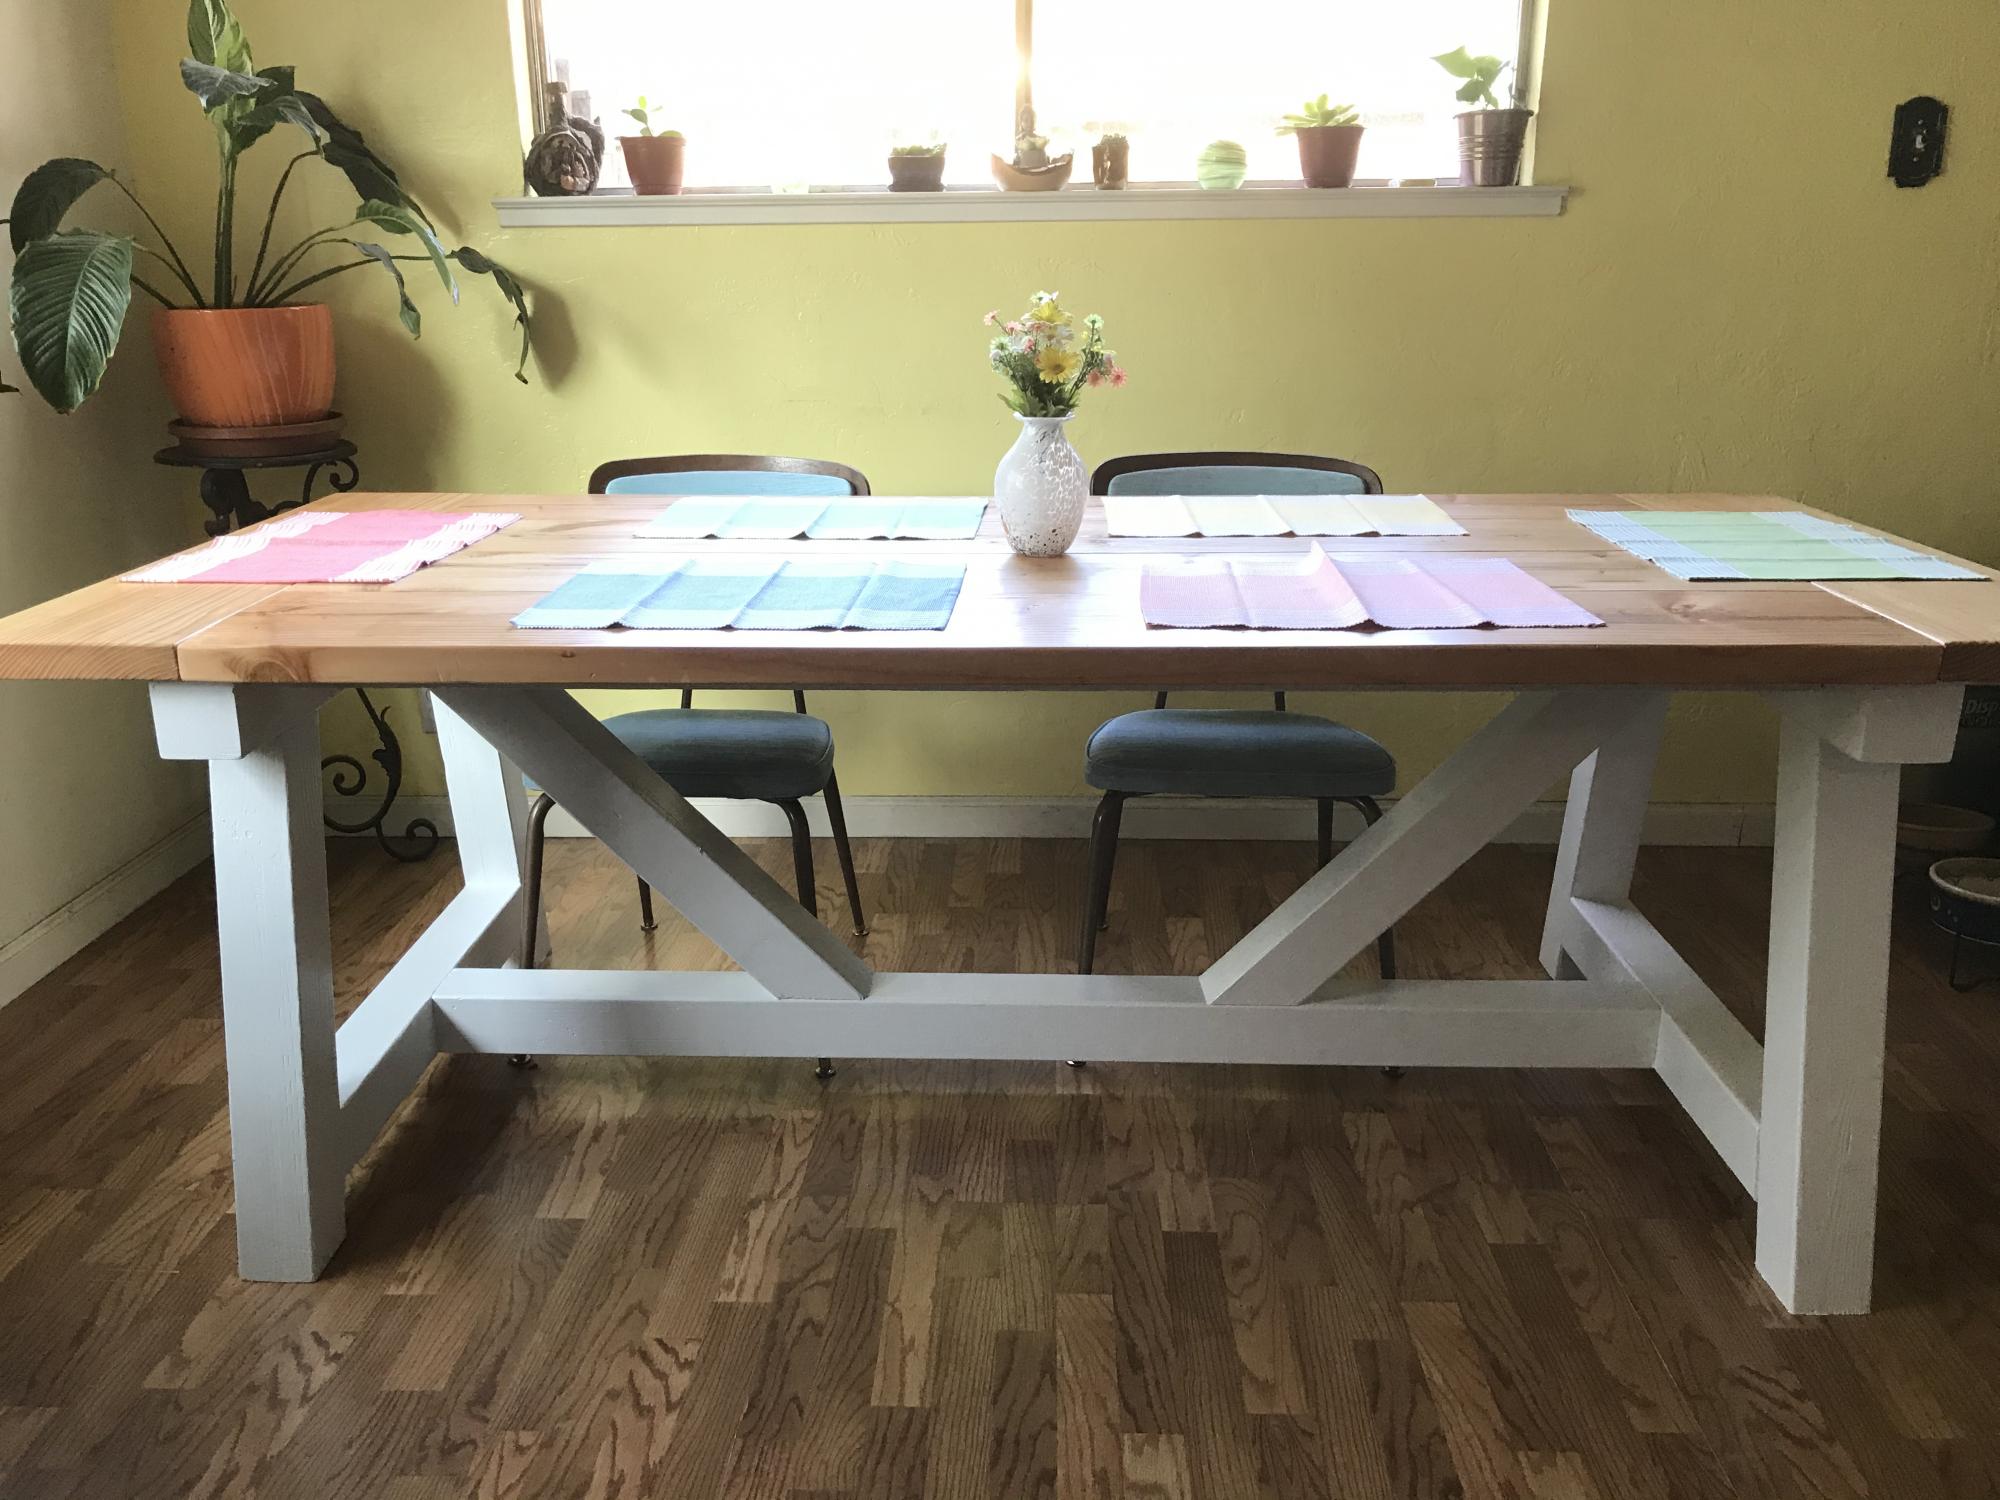
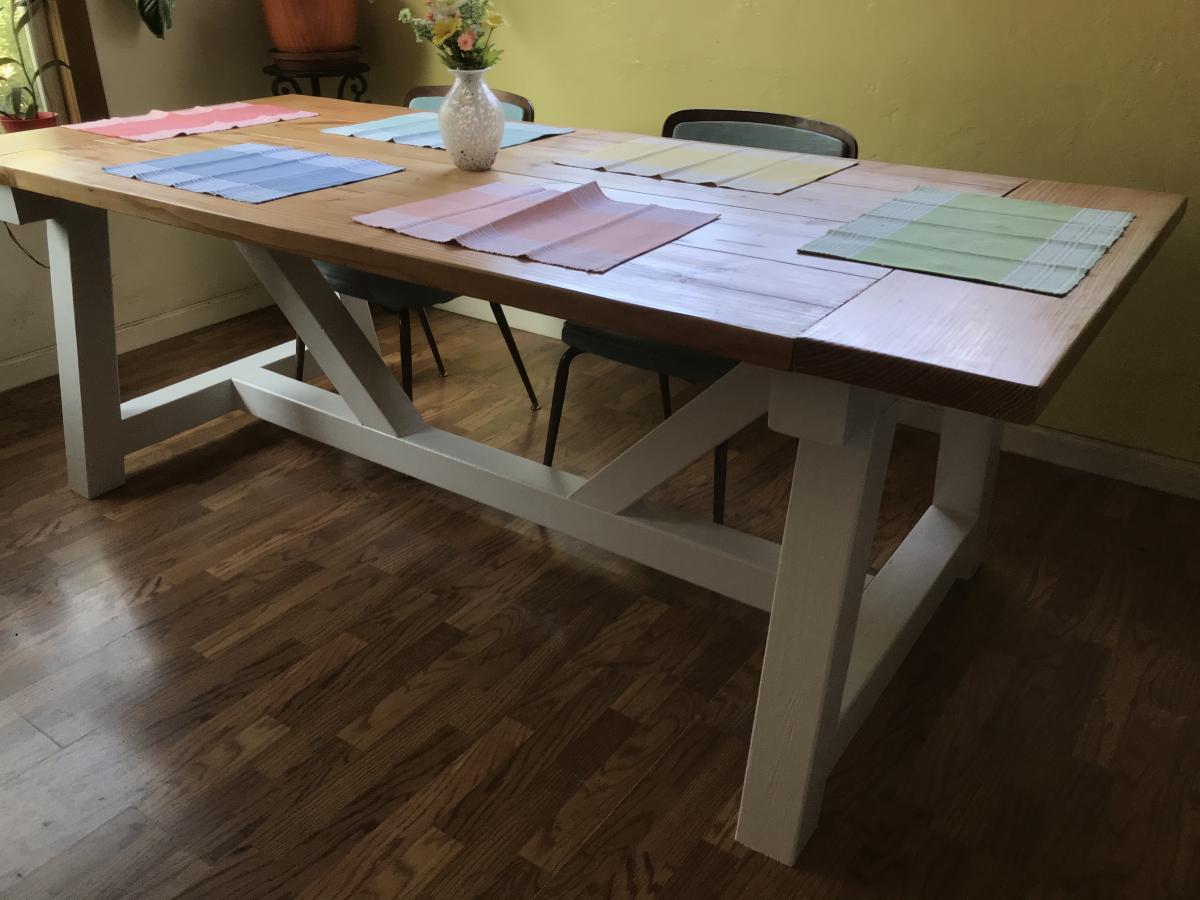
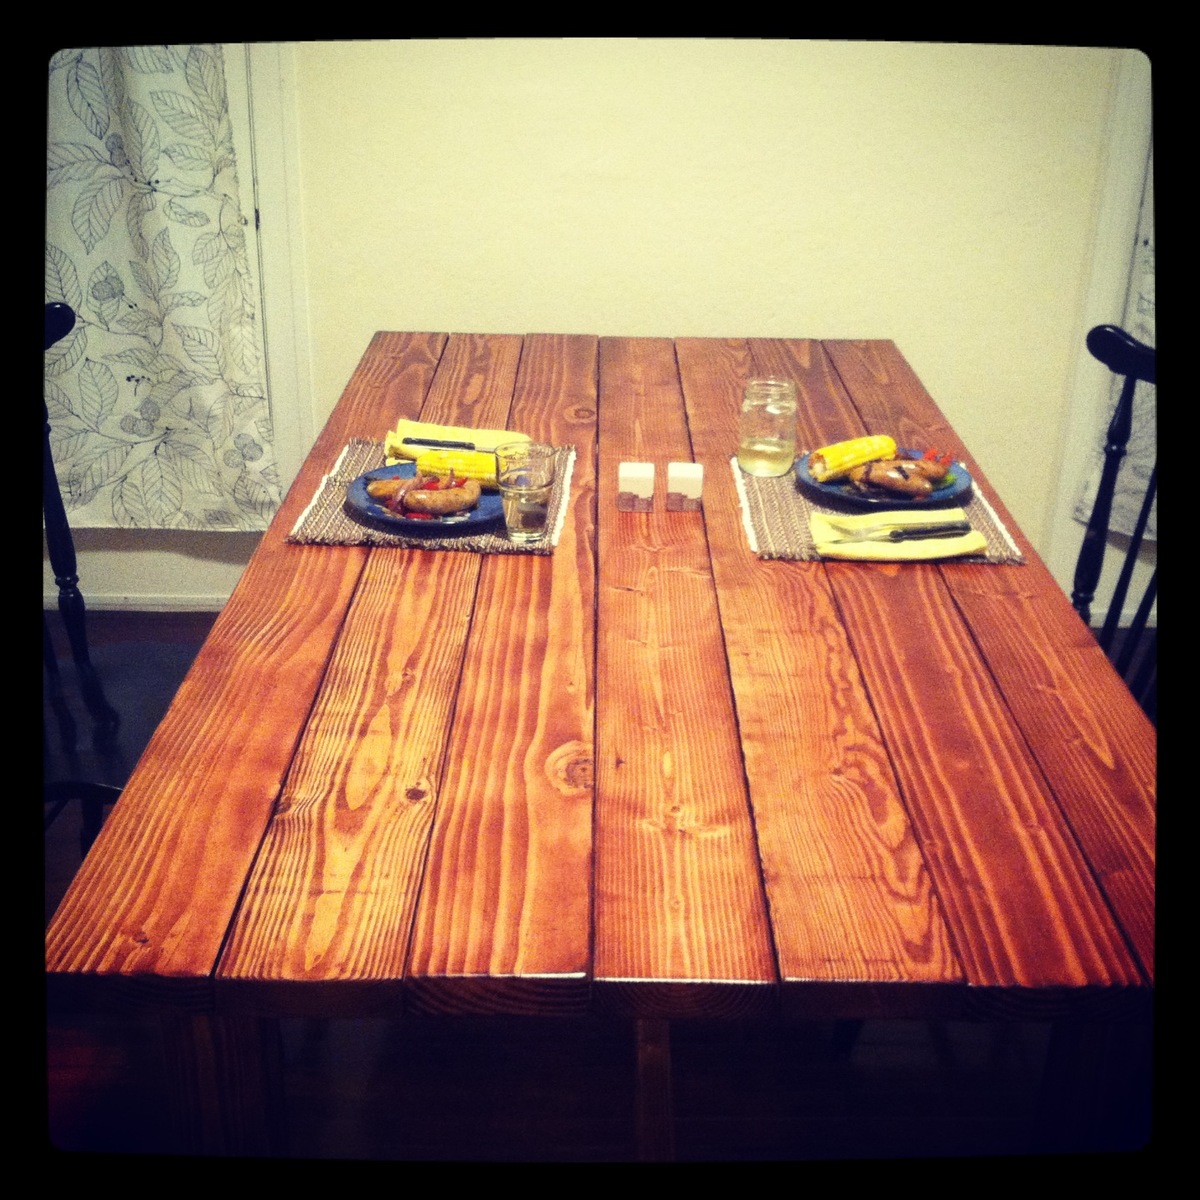
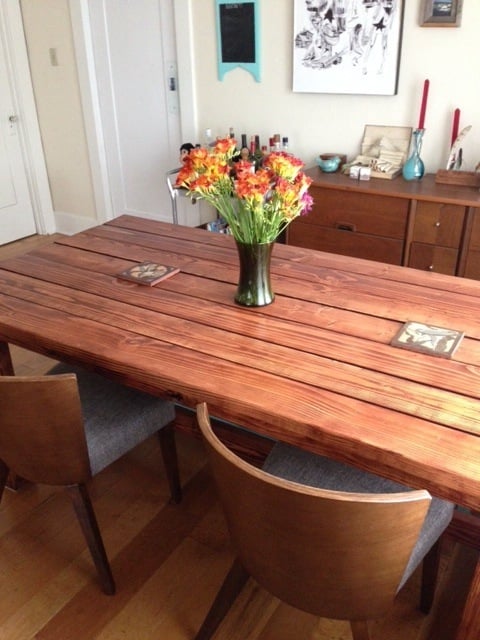
I built this for my wife for Mother's Day 2016!  Also built the centerpiece box.  If you know how to use a miter saw, jig saw, and read a tape measure....then you can build it too!!  It was a lot of fun and very rewarding!!  Took around 25-28 hours to build and finish.  Let me know if you have any questions.  My email is [email protected]

Estimated Cost
$275
Estimated Time Investment
Week Long Project (20 Hours or More)
Finish Used
Legs - one coat of dark walnut minwax, then painted with valspar project perfect satin latex enamel in white (mix of spray paint and brush), distressed
Top - one coat of early american minwax, sanded, then white washed with 1:4 ratio of same valspar white and water. 4-5 coats of poly/crylic minwax clear matte.
Recommended Skill Level
Intermediate

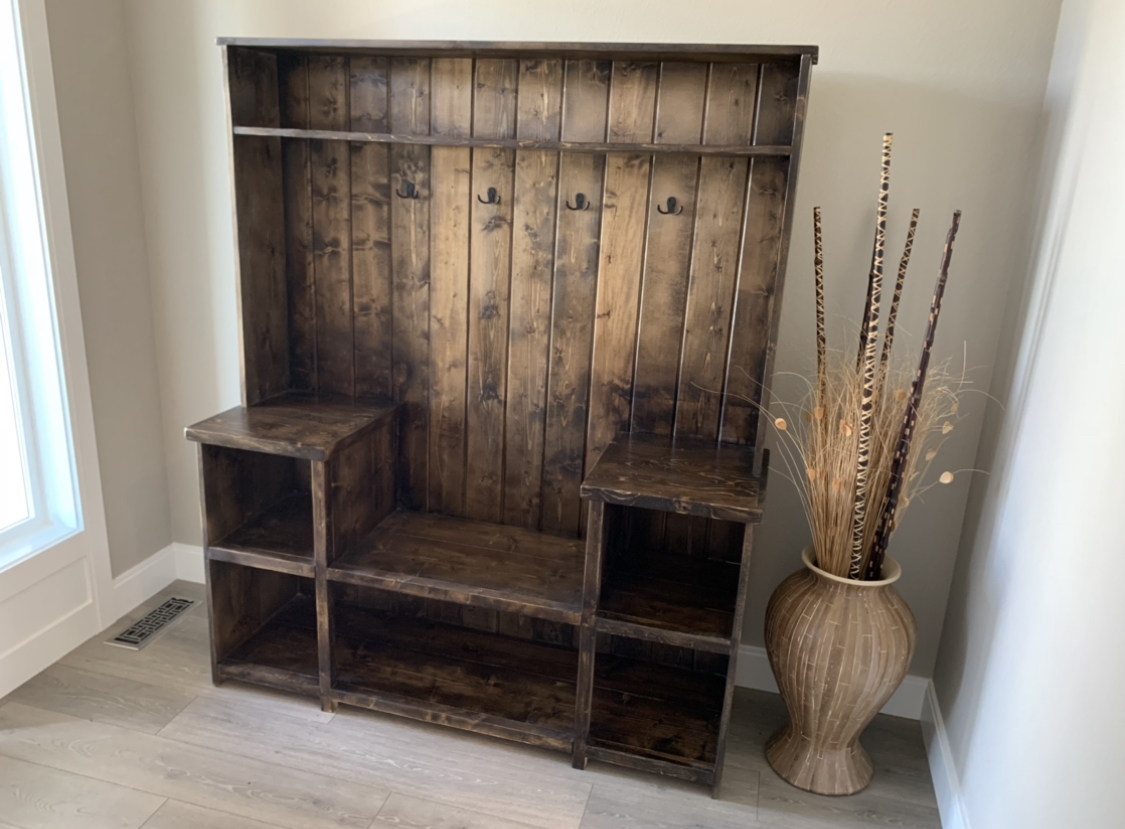
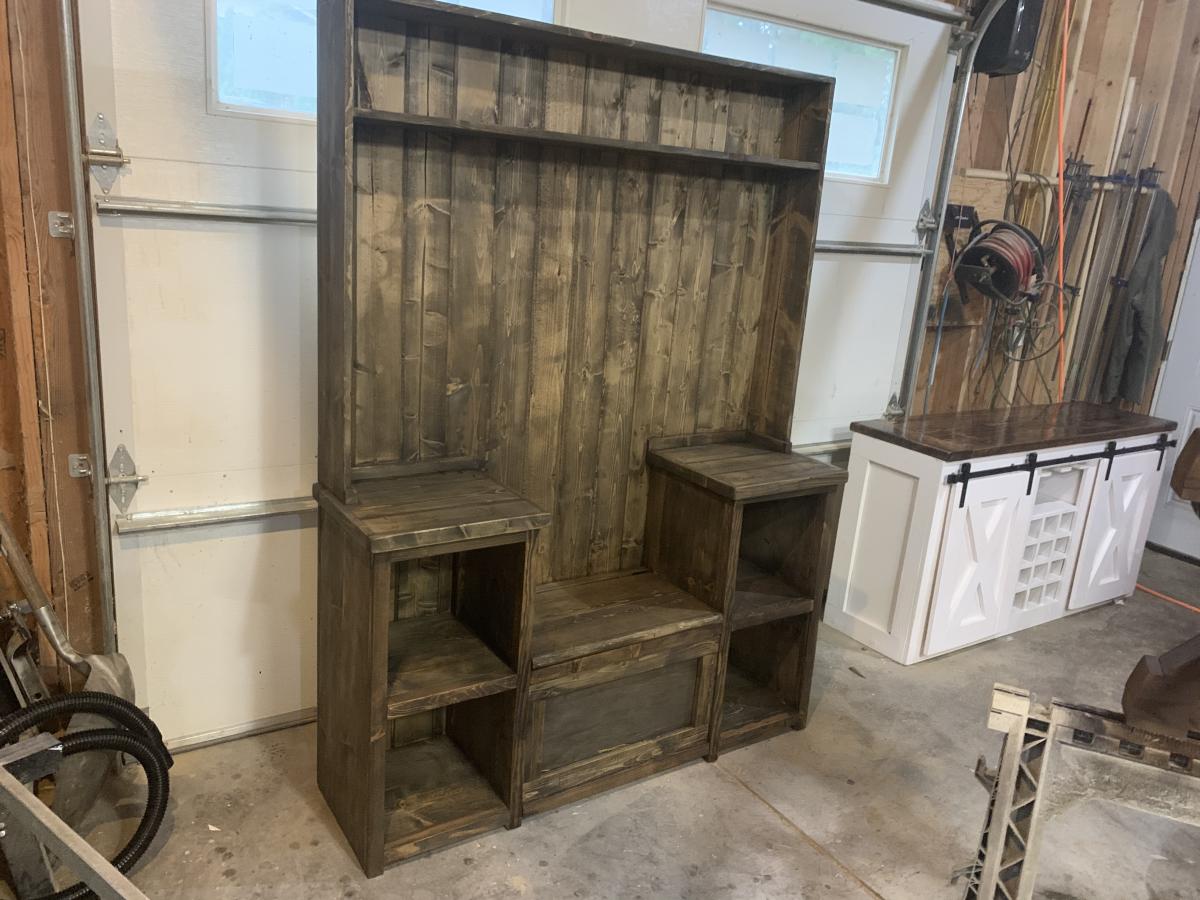
Hall tree

Submitted by Anonymous (not verified) on Sun, 02/16/2020 - 21:38

Hand made hall tree

Estimated Time Investment
Afternoon Project (3-6 Hours)
Recommended Skill Level
Intermediate

Two Story Rabbit Hutch

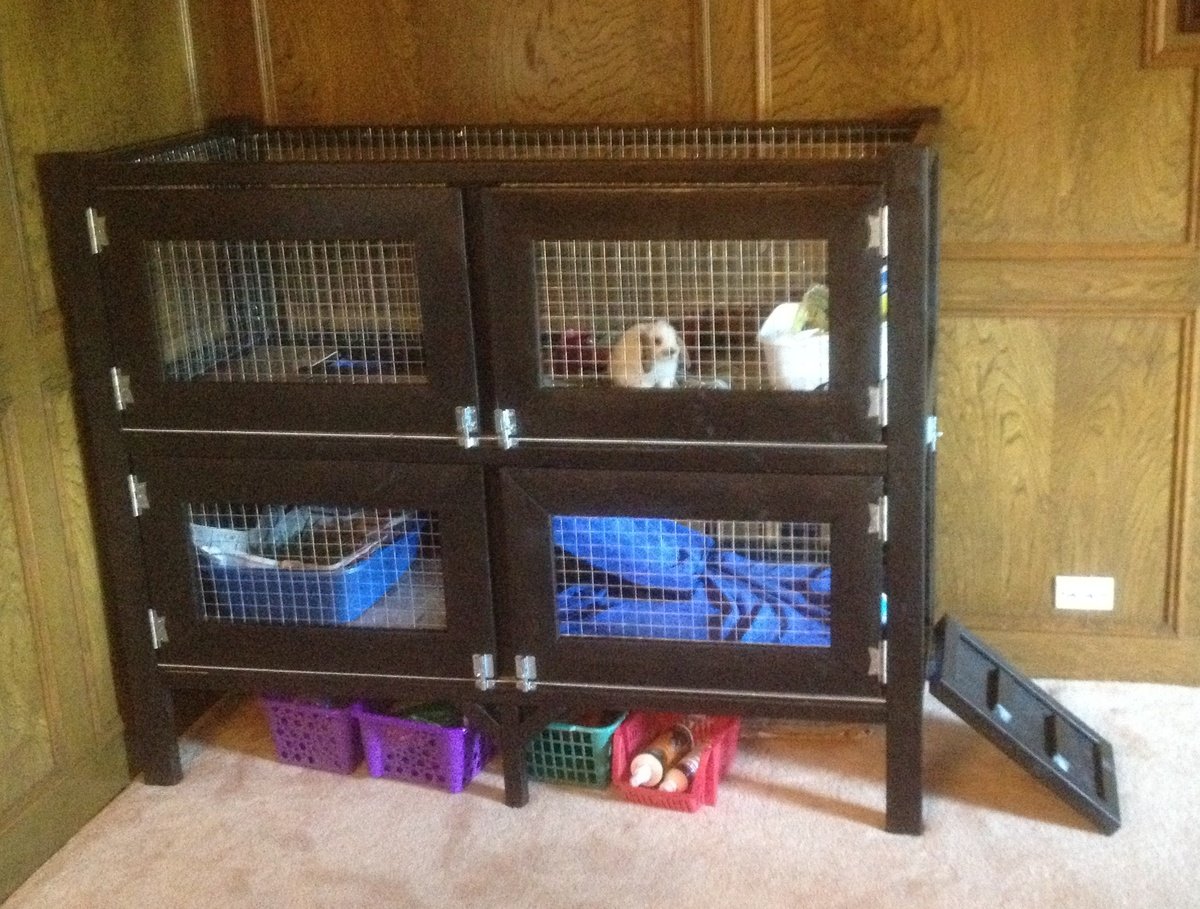
For my first woodworking project, I foolishly decided to build a rabbit hutch without plans for my daughters new Easter Bunny. So I literally scratched some ideas on my wood working bench and started going to work. I did some construction over a decade ago, but never attempted to build any furniture before, so I'm pretty happy with how this came out.

I spent a few days researching various rabbit cages and for our place we needed something that was ascetically pleasing and functional as it was going in our living room. I got some ideas from the web and decided the best thing for us would be to have an entry ramp, 2 sets of barn doors for each level (for easy cleaning) and an open roof. We went with linoleum floors since she's already litter trained. The floors could easily be modified to add 1/2" wire mesh if we decide to change things down the line. Also, we chose an espresso finish with silver hardware to accent the wire mesh

I pretty much crashed and burned on the staining as I've never done that before, but it ended up looking ok after all. I did a light sanding, but will probably invest in a planer and jointer to get my wood in better shape before assembling in the future. Also, I'll probably lightly dab some stain on ends of wood before final assembly as it made it difficulty trying to hide the white pine with the dark stain.

Other cages I saw ran around $200-$350.00 so i don't feel so bad about the cost. It's really the time that it took learning and making mistakes. I'm sure if I had plans I could of cut my time in 1/2.

Total Cost came out to around $150.00 but probably would of been cheaper if I had some plans to go by. I probably wasted a few 2x2s and accidentally mis-cut a scrap piece of 1/4"plywood which added another $16.00 to the bottom line.

Here's a breakdown of my total cost.

Hardware - $30.00
Includes 5 latches, 4 sets of hinges (8 total) and a 3' piano hinge

Stain - $8.00

Linoleum Tile @ ¢.69 sq ft - $16

Brushes, Stain Rags - $5.00

Screws - $6.00

Wire Mesh Roll $30.00
Needed 2 rolls at $15.00 each. I used 1" Wire Mesh measuring 2'x15'

Total Wood $50.00-$60
I used 2x3's for the legs - 2 @ 8' - $2.00 each ($4.00)
probably 15-20 2x2's - $1.52 each - can't remember how many I used to be honest ($30.00)
and a few 1x6's for the Doors - $2.00 each ($6.00)
Sheet of 1/4 plywood - $12.00

Estimated Cost
$150
Estimated Time Investment
Week Long Project (20 Hours or More)
Recommended Skill Level
Intermediate

Comments

ashinshaw

Thu, 05/03/2012 - 08:09

I also have been thinking with the idea of building a two story hutch for our rabbit. I love your ideas so now i have a new project to work on. Thanks for sharing!

Nicolene (not verified)

Mon, 10/08/2012 - 12:46

I LOVE your cage! We have 2 rabbits and 2 Guinea pigs which means we have 2 ugly cages in our living room. We are planning something similar, but a bit bigger (but lower if that makes sense). And we'll put a 3rd story on for our Guinea pigs. So we have everyone on the same patch of real estate so to speak. I was going to do 3 solid walls with wire "windows" too keep all the hay, poops and such contained. I am also going to put lockable wheels underneath, so I can move it to my office if I ever need to (parties and renovations).

Is there anything that you can now think of that you would like to change on yours? R my research purposes.. :) It looks awesome, I'm just picking your brain for "hindsight" tips.

Cute wall shelf for my son's bedroom

Submitted by kristyzed on Sun, 02/16/2014 - 14:10

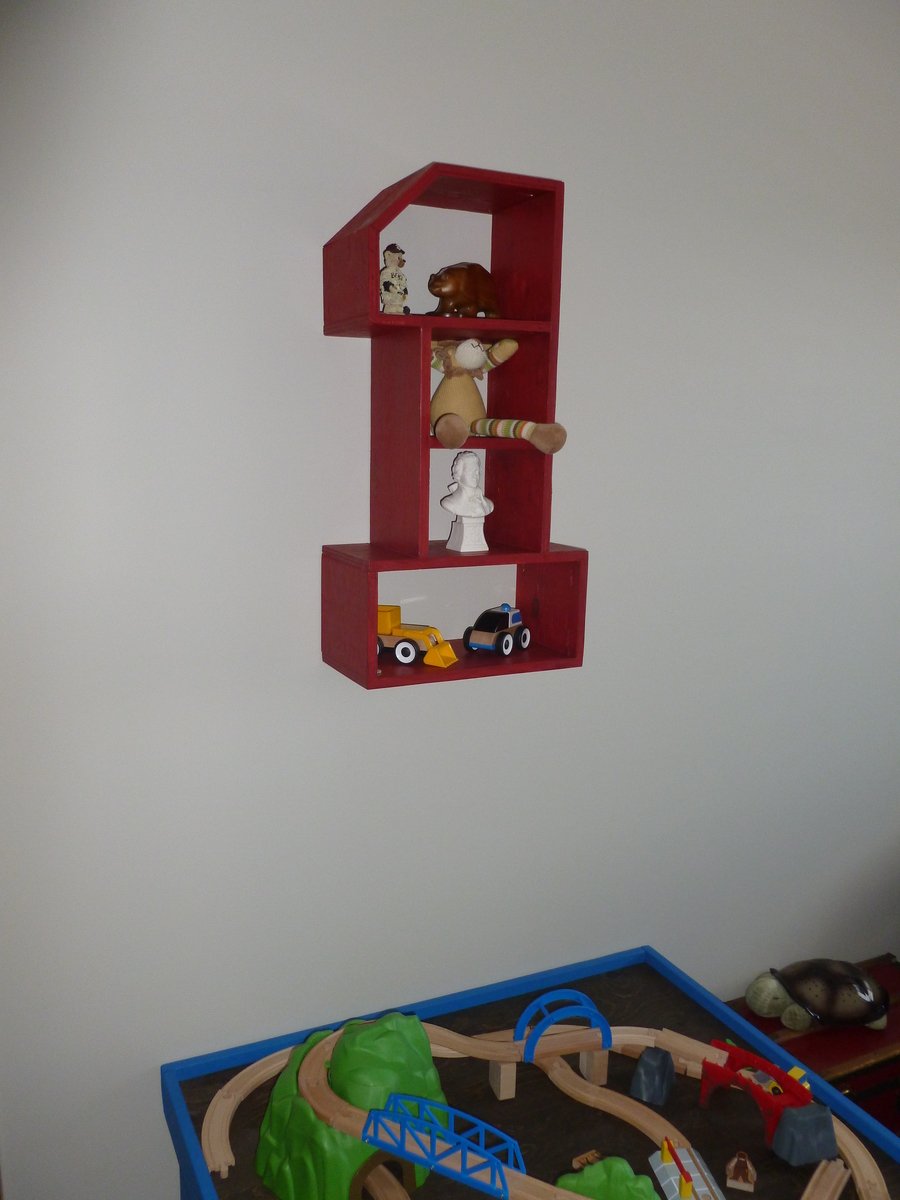
I saw this plan posted and knew I had to have it for my son's new bedroom. Most of the build was simple, it just got a bit tricky fitting in the angle piece at the top because I wasn't sure how to attach it without having a nail gun. Every time I line it up to nail it in with a hammer it would slip a bit. So I ended up using Gorilla Glue Epoxy to attach it. Since it's not hanging on the wall by the very top shelf, I didn't need it to be rock solid to support any weight, just needed it to stay in place.
I had scrap plywood laying around so it was free for me to make.

Built from Plan(s)
Estimated Cost
30
Estimated Time Investment
Afternoon Project (3-6 Hours)
Finish Used
I applied two coats of Valspar's Heirloom Red and didn't seal it. I wanted a matte finish.
Recommended Skill Level
Beginner

First build using Farmhouse Truss Kitchen Table plans

Submitted by Anonymous (not verified) on Tue, 02/18/2020 - 01:24

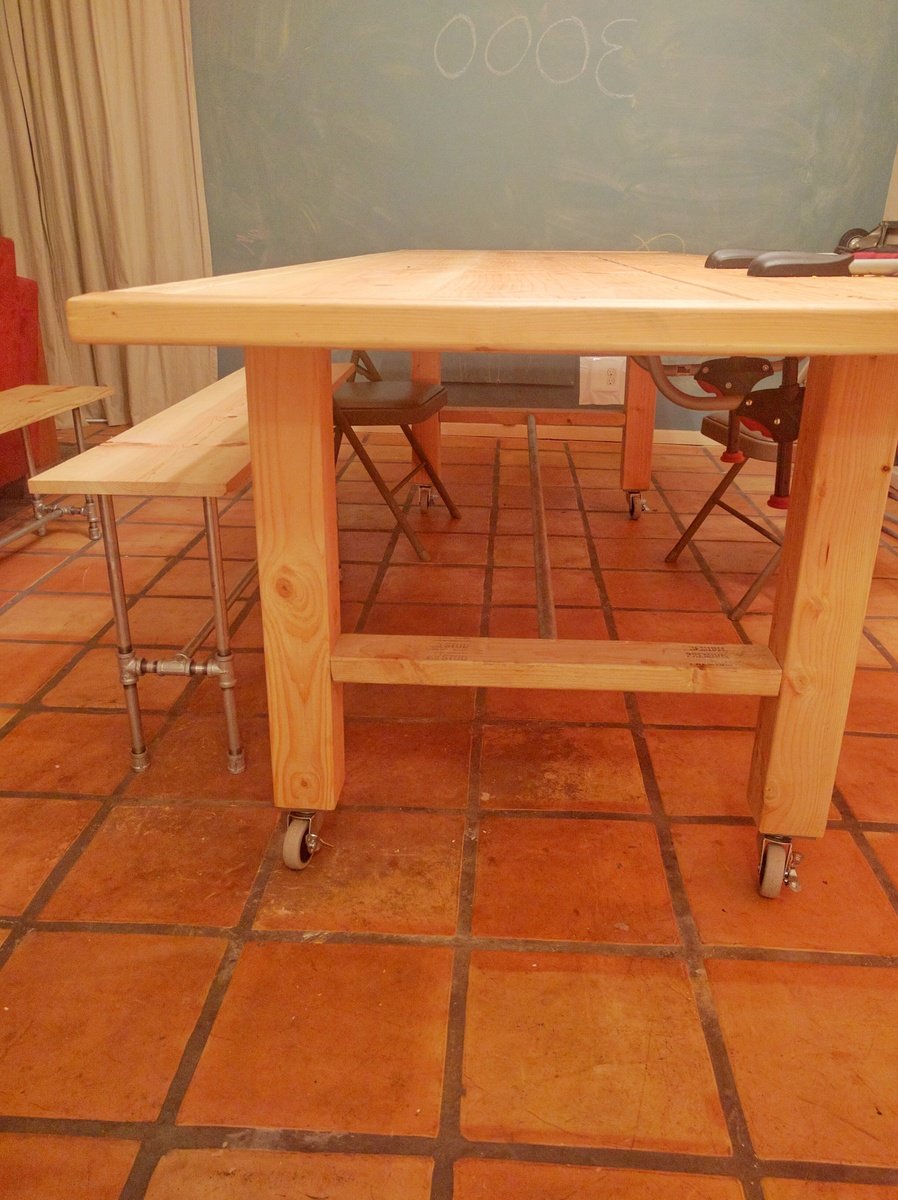
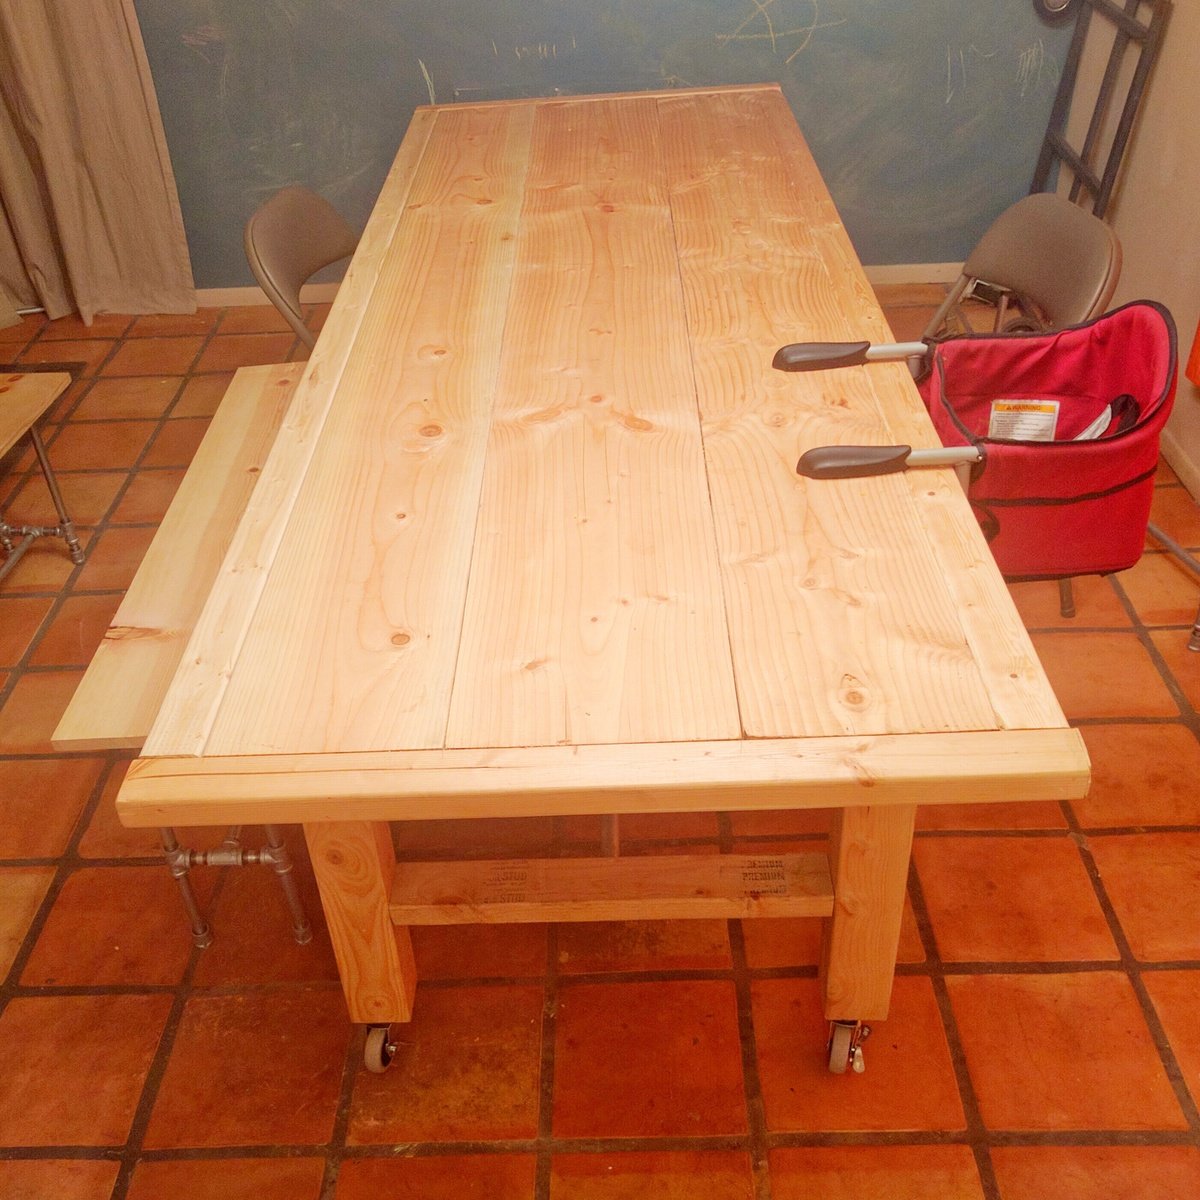
I followed the basic plans but added a couple 12x2” metal supports for each breadboard. This was a must. I used Douglas fir for the entire project from Home Depot.

My 2 kids helped me put a few screws in, otherwise I did this myself. The wife really loved it and was a bit surprised coming back from her facial spot on Valentines Day. It turned out better than I could have hoped, especially considering this was my first real woodworking build.

Great plans and nuggets of advice from everyone else made this really fun and not so scary!

Built from Plan(s)
Estimated Cost
$200
Estimated Time Investment
Week Long Project (20 Hours or More)
Finish Used
Used 2 coats of all-purpose primer and 2 coats of classic white indoor paint. For the top, I just used 3 coats of Semi-gloss polyurethane(thinned out with mineral spirits), but I most likely will be adding 2 more and finishing with a satin polyurethane to get extra protection from the kids.
Recommended Skill Level
Beginner

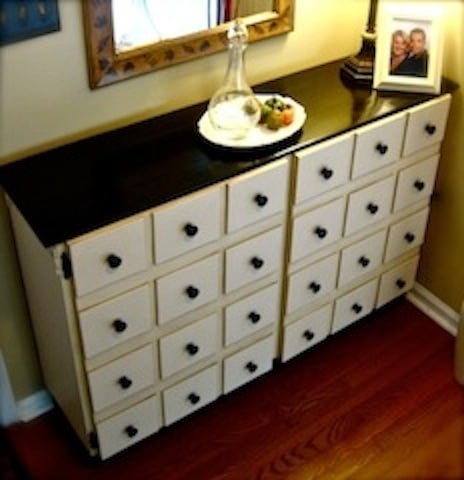
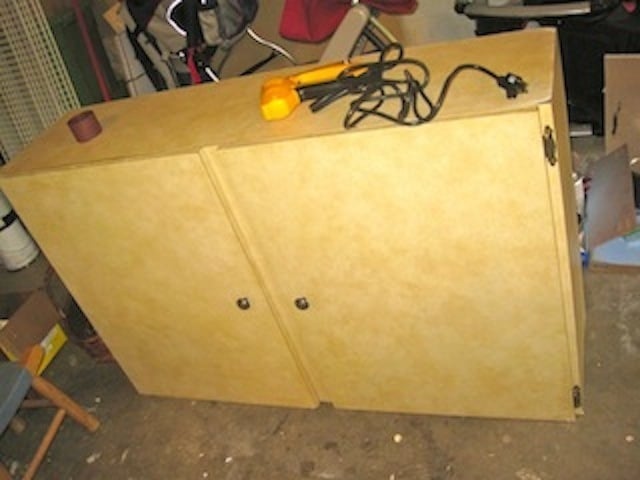
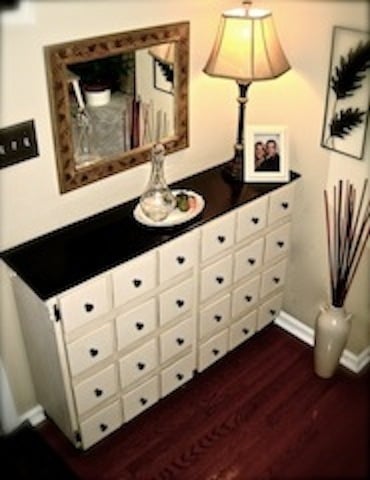
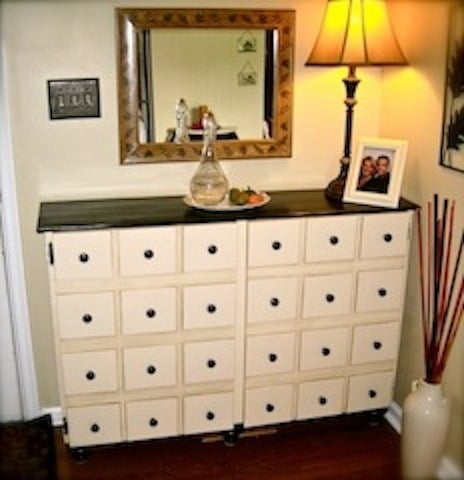
From Cast-off Wall Cabinet to Up-cycled Apothecary Cabinet Conversation Piece!

Hello, my name is Natalie Scott & this is my first Ana-White Brag Post! In the beginning, this cabinet was such a silly thing to find. I almost didn't even accept it from a neighbor, who was going to throw it out, when they offered it to me. It ended up becoming my biggest (& longest!) project yet; & the project of which I'm the most proud!

To see the complete process & transformation, go to:
http://TheVintageMagi.blogspot.com/2012/01/from-trash-to-treasure-entry…

Once I had a plan in place,
1. I went to Jo-Ann Fabrics & got a thin, plywood craft boards.They were 1/4" thick, 6" wide, & 36" long.
2. Of course, I already had the base for the cabinet whose dimensions were slightly different than the plans on Ana-white.com, so the math was up to me. After lots & lots & lots & LOTS of equations, I knew that the drawers would have to be 6" long & 7" wide, which is why I went with the 6" wide boards. Less cutting on my part would ensure more uniformity.
3. I started measuring in 7" at a time (& double-checking & measuring again) & cutting with a circular saw.
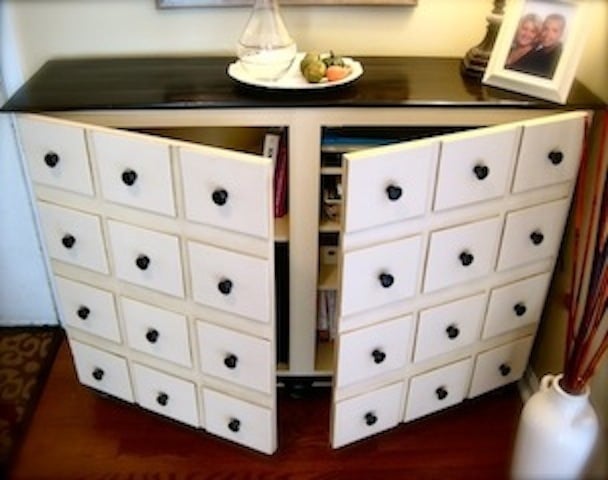
4. I used a blend of construction adhesive & wood glue to seal the plywood "drawers" to the cabinet doors. I didn't even need to clamp!
5. After drying, I filled in any large cracks that may have popped up with wood-filler & let that dry before sanding it down.

While the seal on the "drawers" was drying,
6. I painted the cabinet with Rust-Oleum's Ivory Silk Satin Finish spray-paint.
7. I also picked out wooden knobs at $0.94 a piece as well as 6 traditional-style furniture feet & spray-painted them with Rust-Oleum's Oil-Rubbed Bronze.
8. The feet had screws that allowed them to attach right in to "Heavy Duty Top Plates" that I were attached to the bottom of the cabinet.
All of these items were available at Home Depot.

9. Next, I sanded, primed & painted the doors.
10. After some careful measuring, I drilled pilot holes for each knob.
11. I added the shelves back in to the cabinet, which required more touching-up of the paint.
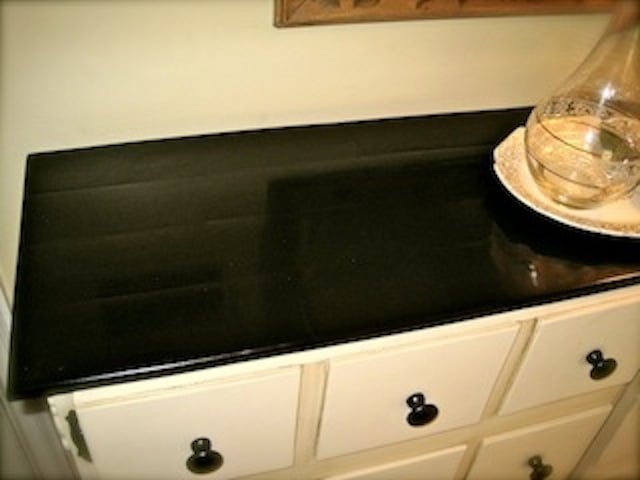
12. I had taken apart a wood pallet, measured the wood, & tried to think of a way to make it into a reclaimed wood top for the cabinet.
13. I cut the boards & made a layout, 4 rows of boards deep, on top of the cabinet, careful to remember the overhang. I added 4 little squares of wood, one in each row of planks, in flattering & uniform positions to complete the desired overhang effect.
14. I sanded the wood, rearranged it, & sanded it some more.
15. I glued the top in place, using the same mix of construction adhesive & wood glue I used before.

16. Next, I used STAINABLE wood-filler to fill in all of the cracks. Then I sanded again from 60-grit up to 200-grit,
17. & made sure by using a LEVEL that the finished surface was FLAT & EVEN.
18. Before it's final sanding, it needed to be extra secure; so I got out the finishing nails & put two nails in each board (except the little squares of wood, which only got one nail), one at each end.
19. I sanded with 220-grit sandpaper.

20. Getting the stain just right for the reclaimed wood top took awhile. Just when I was about to give up, paint & distress it instead, I had an idea. I took what was left (which wasn't much) of the little can of Minwax PolyShades stain in Espresso Brown & added some spoonfuls of Minwax Gel Stain in Hickory (which was MUCH easier to apply) straight into the little can. I shook the can & made a mixture of my own stain that was still a beautiful, dark color - but MUCH easier to apply. I applied 2 coats of stain, following drying-time instructions.
21. I touched up any mistakes on the cabinet with "Goof-Off."
22. I finish covered the stained top with a coat of hardening Minwax Paste Finishing Wax (applied in tiny circles just like waxing a car - "wax on, wax off!").
23. I added the decorative wood trim moldings on the side (using Gorilla brand wood glue mixed with construction adhesive again),
24. attached the finishing touches (like magnets to catch the cabinet doors & keep them shut),
25. & touched up all the ivory-colored paint one last time.

26. I used Rust-Oleum Transformations Decorative Glaze in Java Brown to glaze to the ivory-colored cabinet base (I did not glaze the stained wood top).
27. I coated the whole cabinet with a coat of hardening Minwax Paste Finishing Wax (the same as in step 22).
28. I attached the knobs,
29. & added these "Felt-Gard" self-leveling, heavy-duty felt pads to the bottom of the feet to protect my hardwood floors.
30. It went inside & was decorated, but is still not completely fit with it's final accessories. It looks great!

To see the complete process & transformation, go to:
http://TheVintageMagi.blogspot.com/2012/01/from-trash-to-treasure-entry…

Thank you for the inspiration & all the attention this project has brought my blog & business! Everyone has responded very well & I couldn't be more proud of myself & the accomplishment I feel. I mastered a lot of new tools & products on this project & am ready to start another one! Thank you, Ana-White.com!

"It was more than discovering something that I loved to do -
It was discovering someone I had always been."
~ Natalie ;-*
Built from Plan(s)
Estimated Cost
$50
Estimated Time Investment
Week Long Project (20 Hours or More)
Finish Used
1. Rust-Oleum's Ivory Silk Satin Finish spray-paint
2. Rust-Oleum's Metallic Finish Oil-Rubbed Bronze spray-paint
3. Minwax STAINABLE Wood-filler
4. Minwax PolyShades stain in Espresso Brown
5. Minwax Gel Stain in Hickory
6. Minwax Paste Finishing Wax
7. Goof-off
8. Rust-Oleum Transformations Decorative Glaze in Java Brown
Recommended Skill Level
Intermediate

Comments

Jasika's (First) Farmhouse Table

This was the first piece of furniture we ever built and it was a big success, although knowing what I know now, I certainly would have done a few things differently. Luckily for me, following Ana's plans don't require a very steep learning curve if you have read The Handbuilt Home! Instead of investing $1500 into the brand new table I wanted from Pottery Barn, I decided to invest that money in power tools, equipment and materials for the table, which I acquired for about $900 (I had no tools in my possession at all so was basically starting from nothing). The price of this table decreases every time I make a new piece of furniture from scratch, and in the year that I began making furniture, I have made the farmhouse bench that accompanies this table, a coffee table, an upholstered vanity seat, a kitchen island, a book shelf, lots of shelves and small tables, and I am currently in the process of making a bathroom vanity for our newly renovated master bathroom. Each project I make from Ana's plans is easier than the one before it, and I continue to feel more confident in the work and in my understanding of how furniture is built. I feel so grateful to Ana for sharing her work and for inspiring so many people, both men and women alike, to reach a bit outside of their comfort zone and develop new hobbies that they never would have imagined having.

Estimated Cost
$115 for materials
Estimated Time Investment
Week Long Project (20 Hours or More)
Finish Used
Can't remember.
Recommended Skill Level
Beginner

Comments

Rustic American Flag

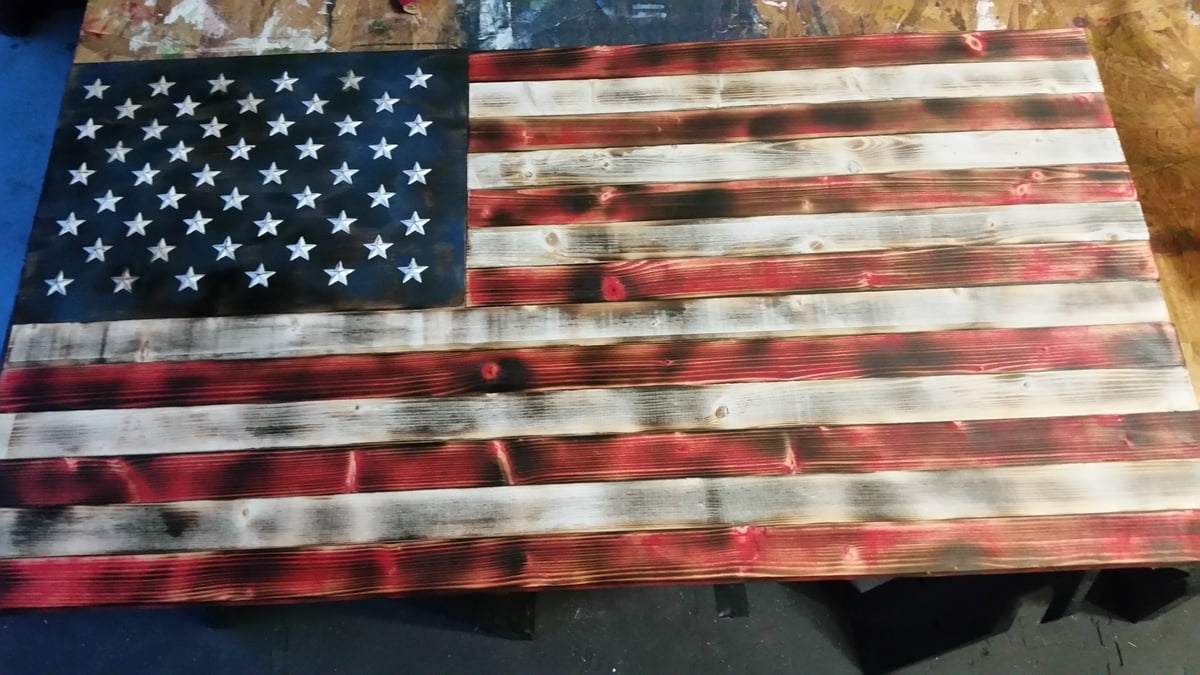
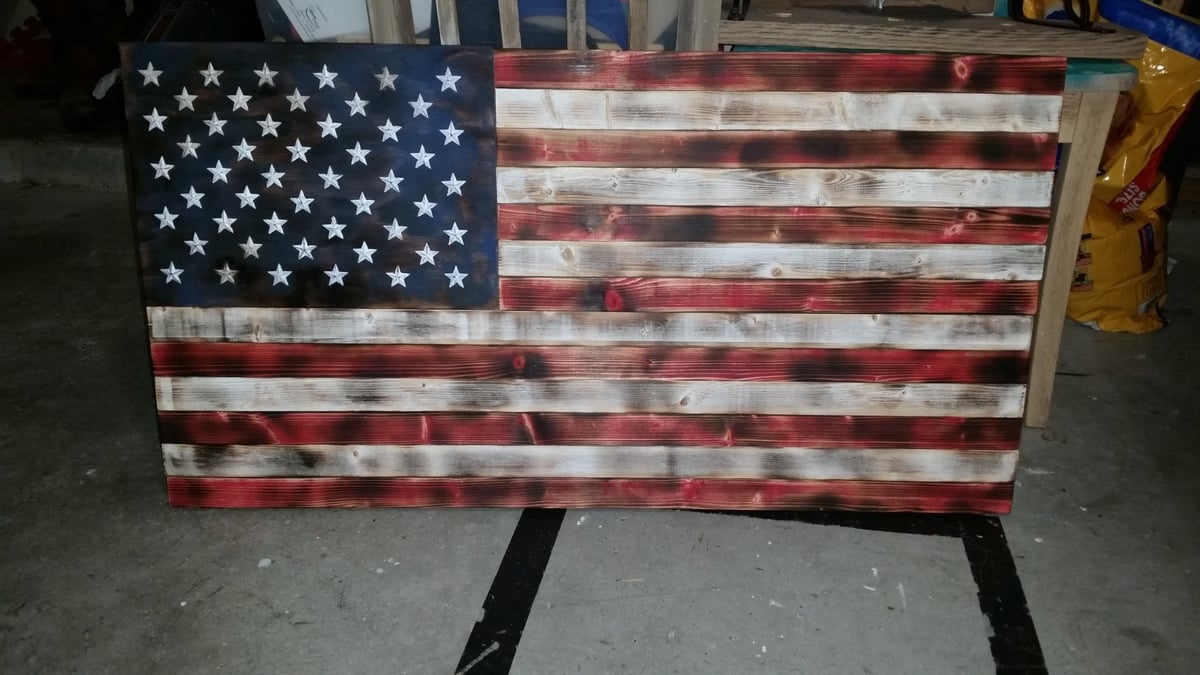
This was a fun build.  I used common board for the the stripes and a left over piece of cabnet grade plywood for the union.  Whole thing is 37 x 19.5.  The stripes are 1.5 wide.  I painted all the pieces then sanded then down to expose the grain and give it a worn look.  Then I took a handheld propane torch to it.  I used small 1 in tin stars which were the most challenging and expensive part of it. I painted them then distressed them with sandpaper.  I attached the stars with super glue.  All in all a fun project.

Estimated Cost
Wood and paint 30
Tin stars 30
Glue 10
Estimated Time Investment
Afternoon Project (3-6 Hours)
Recommended Skill Level
Beginner

Comments

In reply to by trojan24man

Tony Garcia

Fri, 05/20/2016 - 05:49

Thank you. This was a gift for my Fath in Law, I think he is going to put it on his patio.  I added a lip a the top on the back so it can rest on some anchored screws. Depending on where he puts it though I might add a wire across the back so it will hold a little tighter outside with the wind.

Tony Garcia

Fri, 05/20/2016 - 05:46

It was a gift for my Father in Law.  I think he is going to hang it on his patio.  When I built it I added a lip rail along the top so you can rest it on an anchor. If it does go outside I might add a wire across the back so it can catch and won't blow off in high wind.

Ornament Tree Decor

Submitted by Anonymous (not verified) on Sun, 10/15/2023 - 19:32

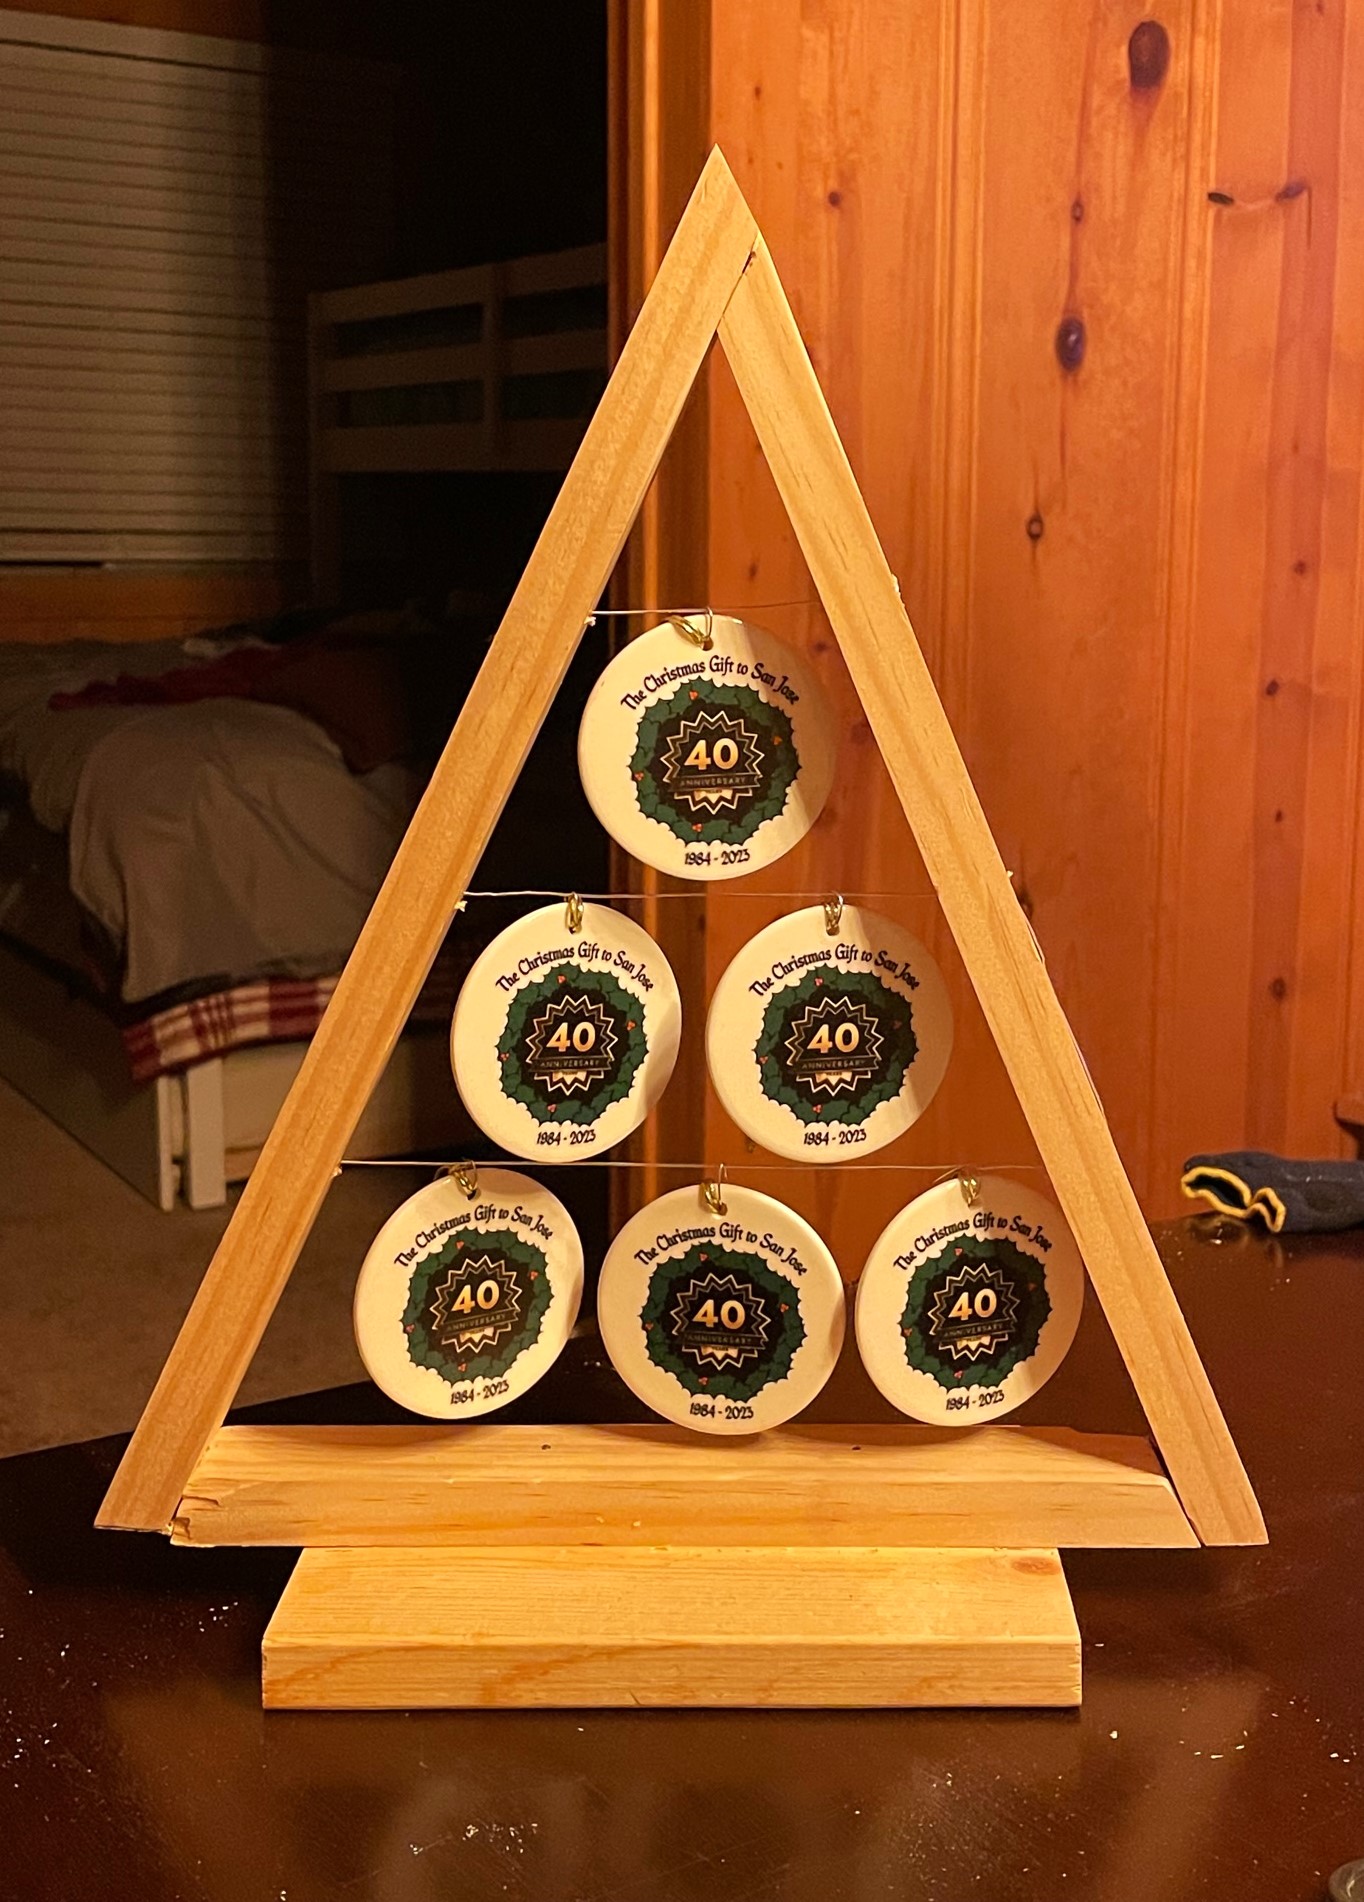
I made 15 of these ornament trees for our church's Christmas banquet. We adjusted the height to 14". I locked the wire in place with 8 x 3/4 screws that were countersunk. I plan to paint the trees gold.

Don Fugate

Seasonal And Holiday

Let's go play on the see-saw!

Submitted by mamahowell on Tue, 05/08/2012 - 15:50

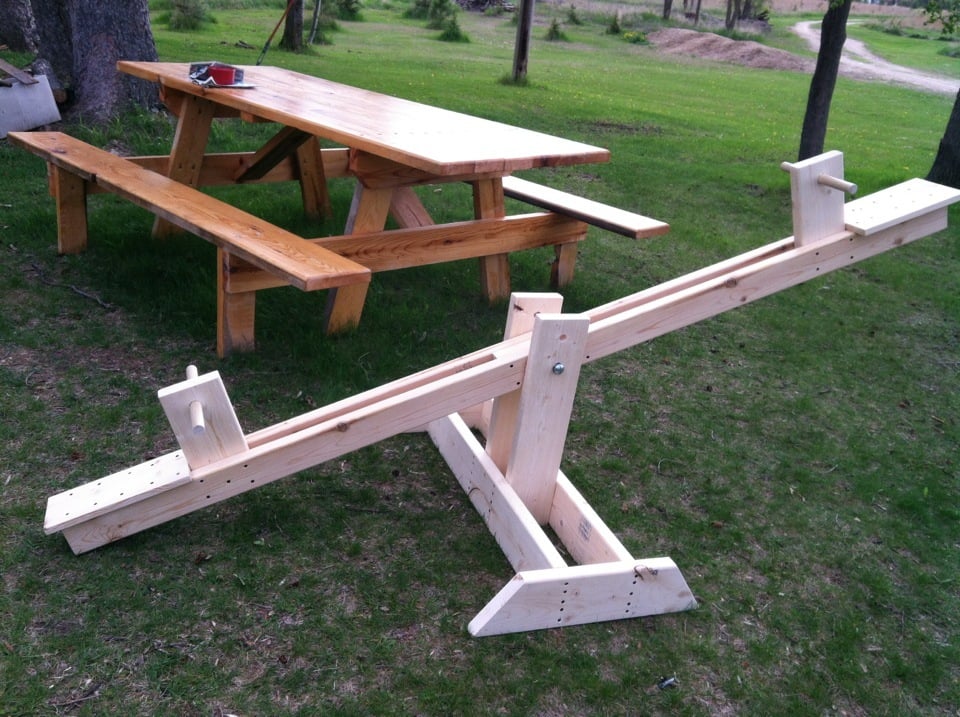
Super easy project....and already, hours of enjoyment by my kiddos!!

Thanks Ana for another awesome plan!

Built from Plan(s)
Estimated Cost
$22
Estimated Time Investment
Afternoon Project (3-6 Hours)
Finish Used
Haven't painted it yet....
Recommended Skill Level
Beginner

Comments

Rustic X table

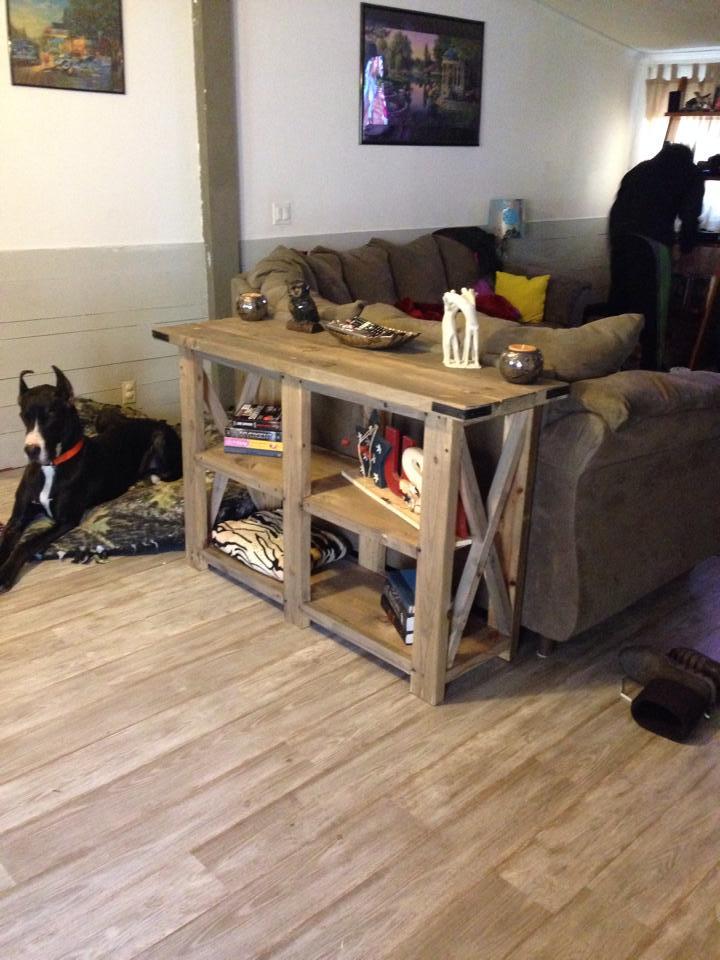
I saw this project and fell in love with it. Ive never done a wood working project before and wanted to do this all on my own so i wouldnt let anyone help just to know if i could do it. It didnt turn out perfect but i CAN NOT stop looking at it. Ana thank you somuch for theses plans!

Estimated Cost
$70
Estimated Time Investment
Weekend Project (10-20 Hours)
Finish Used
I didnt really use a finish just used coffee and vinegar and rubbed a small sbount of orange essential oil on the top to give it a better smell.
Recommended Skill Level
Beginner

Comments

CreativeChaos

Mon, 02/24/2014 - 11:22

Looks amazing! I'm dying to build this also and am nervous about trying out that finish. Where did you get the corner hardware?

kennasmomma

Wed, 04/30/2014 - 20:44

Sorry I got locked out of my account but I got plain silver corner pieces from walmart and spray painted them with a matte black.

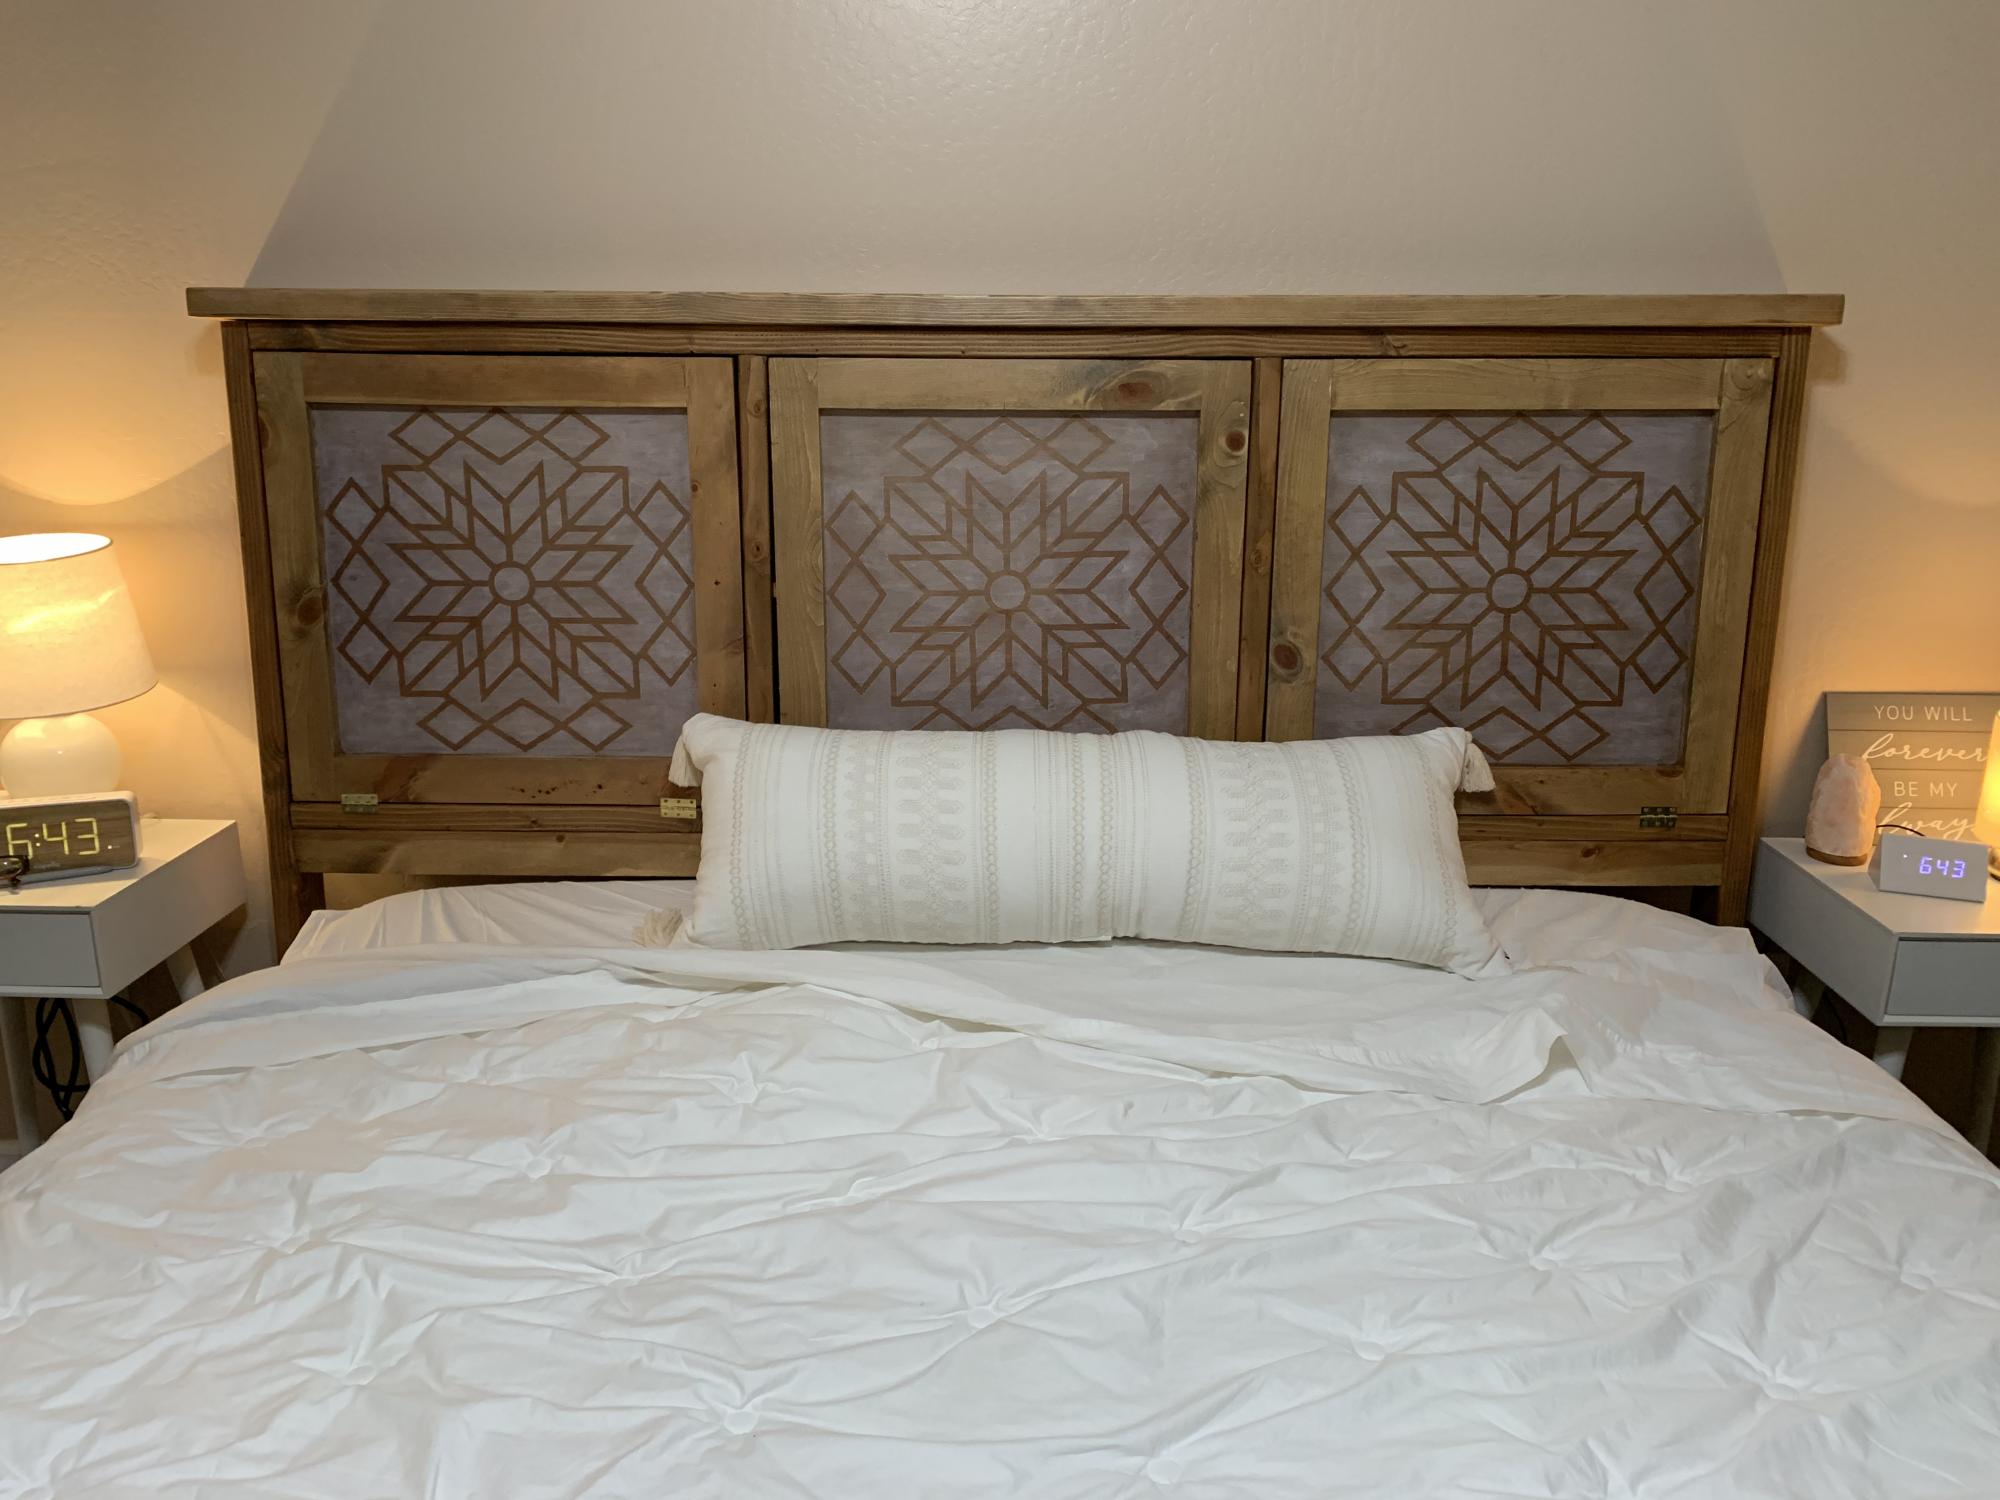
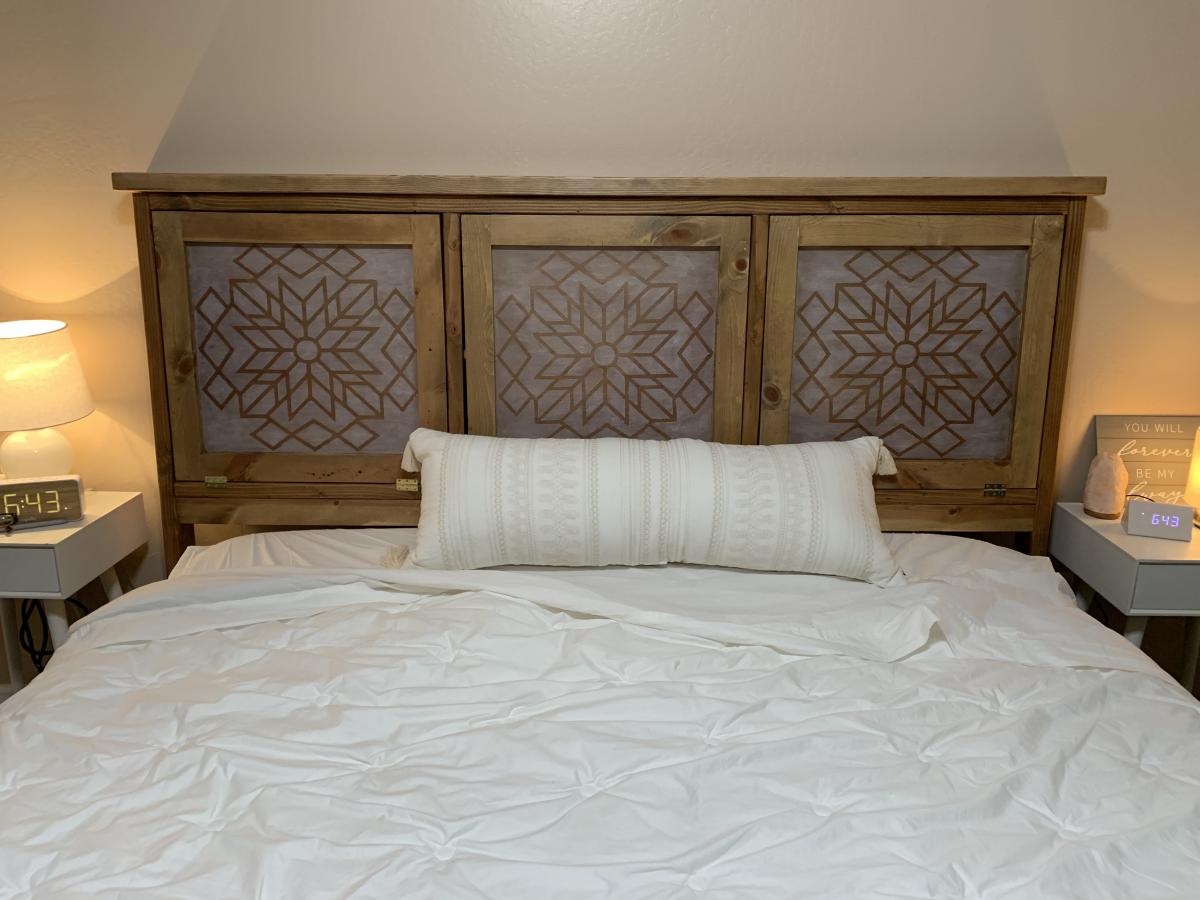
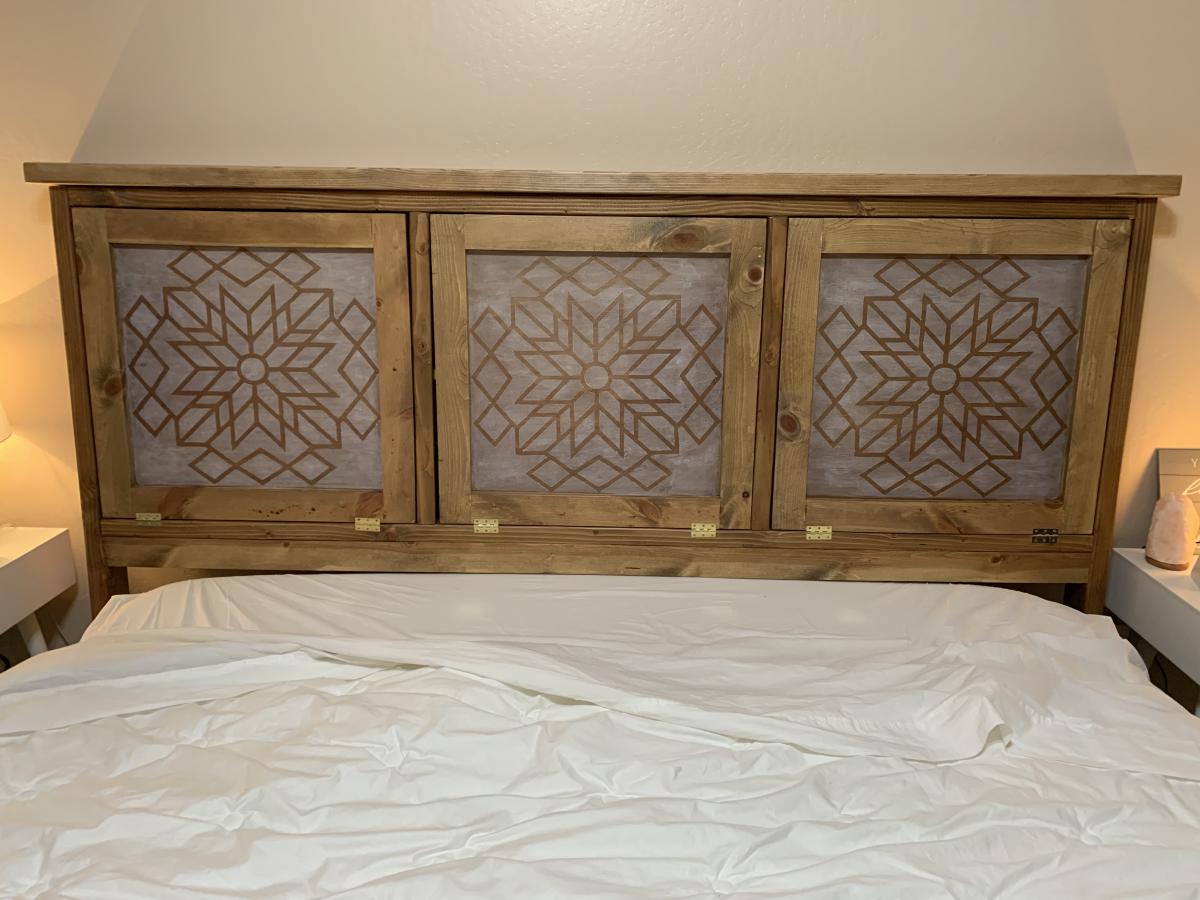
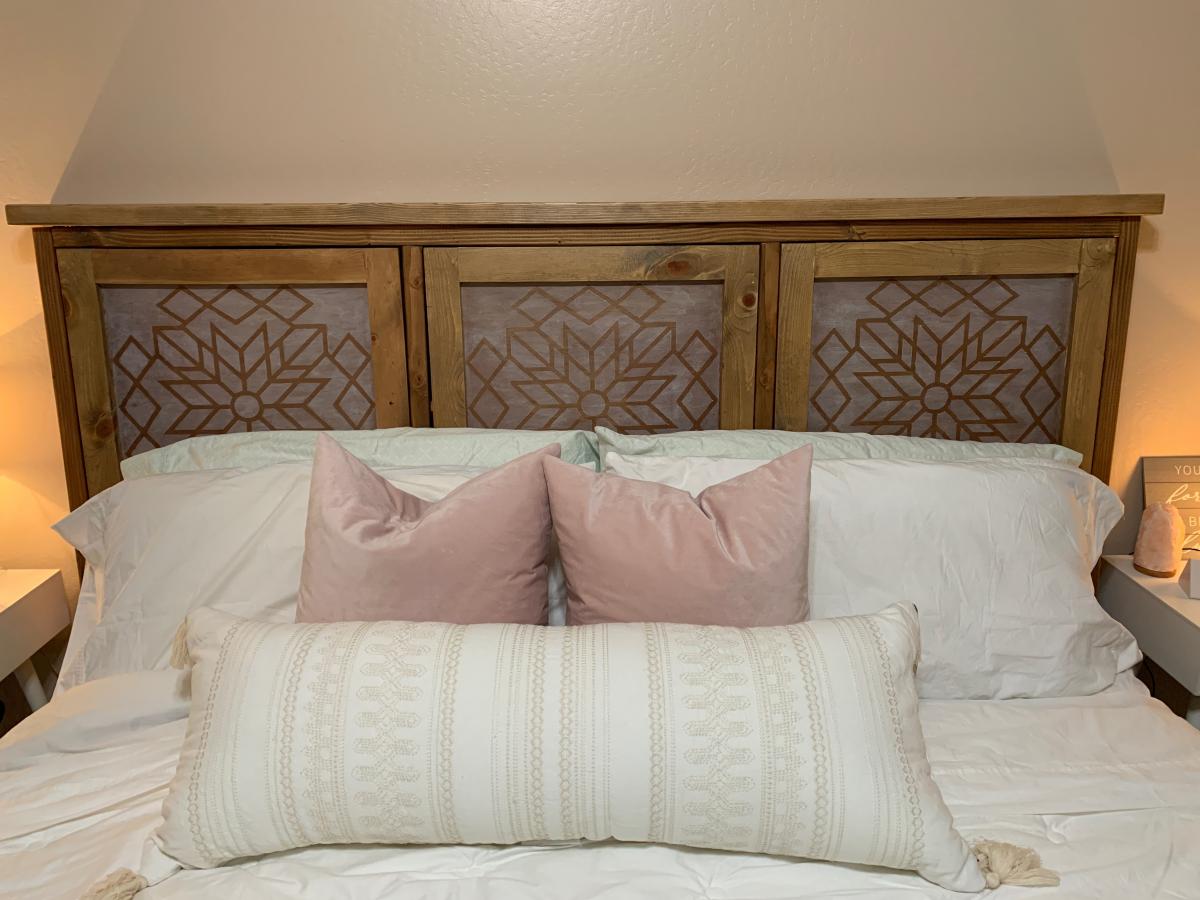
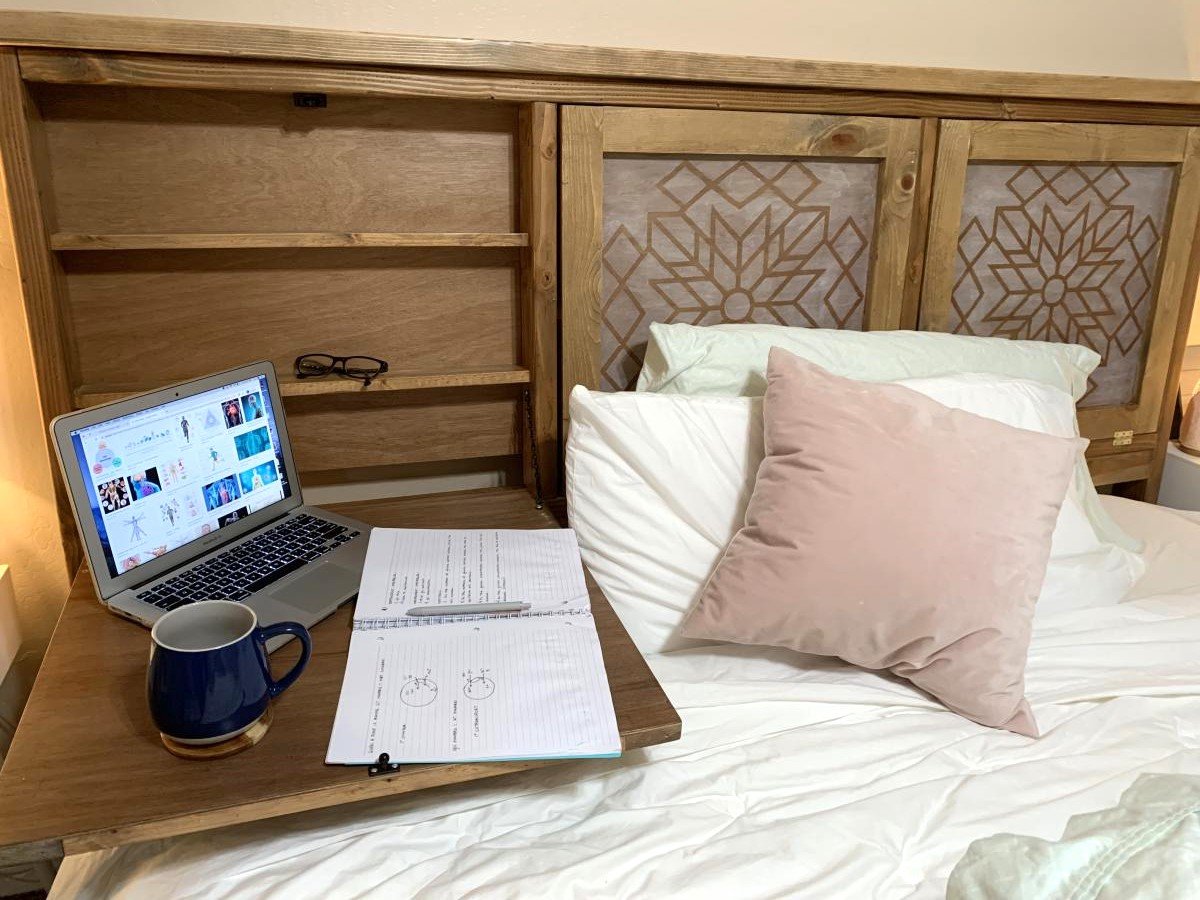
Stenciled Fold Down Headboard

Submitted by Jaime04285 on Wed, 02/26/2020 - 11:11

I made the fold down headboard to fit a California King bed and added a design to the panels using my vinyl cutter. The last picture continues to be flipped when I try to post it here sorry.

Estimated Cost
$75.00
Estimated Time Investment
Weekend Project (10-20 Hours)
Finish Used
mixture of stains then a slight white wash followed by a top coat of polyurethane. The designs were cut on my vinyl cutter and stenciled in with a white wash.
Recommended Skill Level
Intermediate

Comments

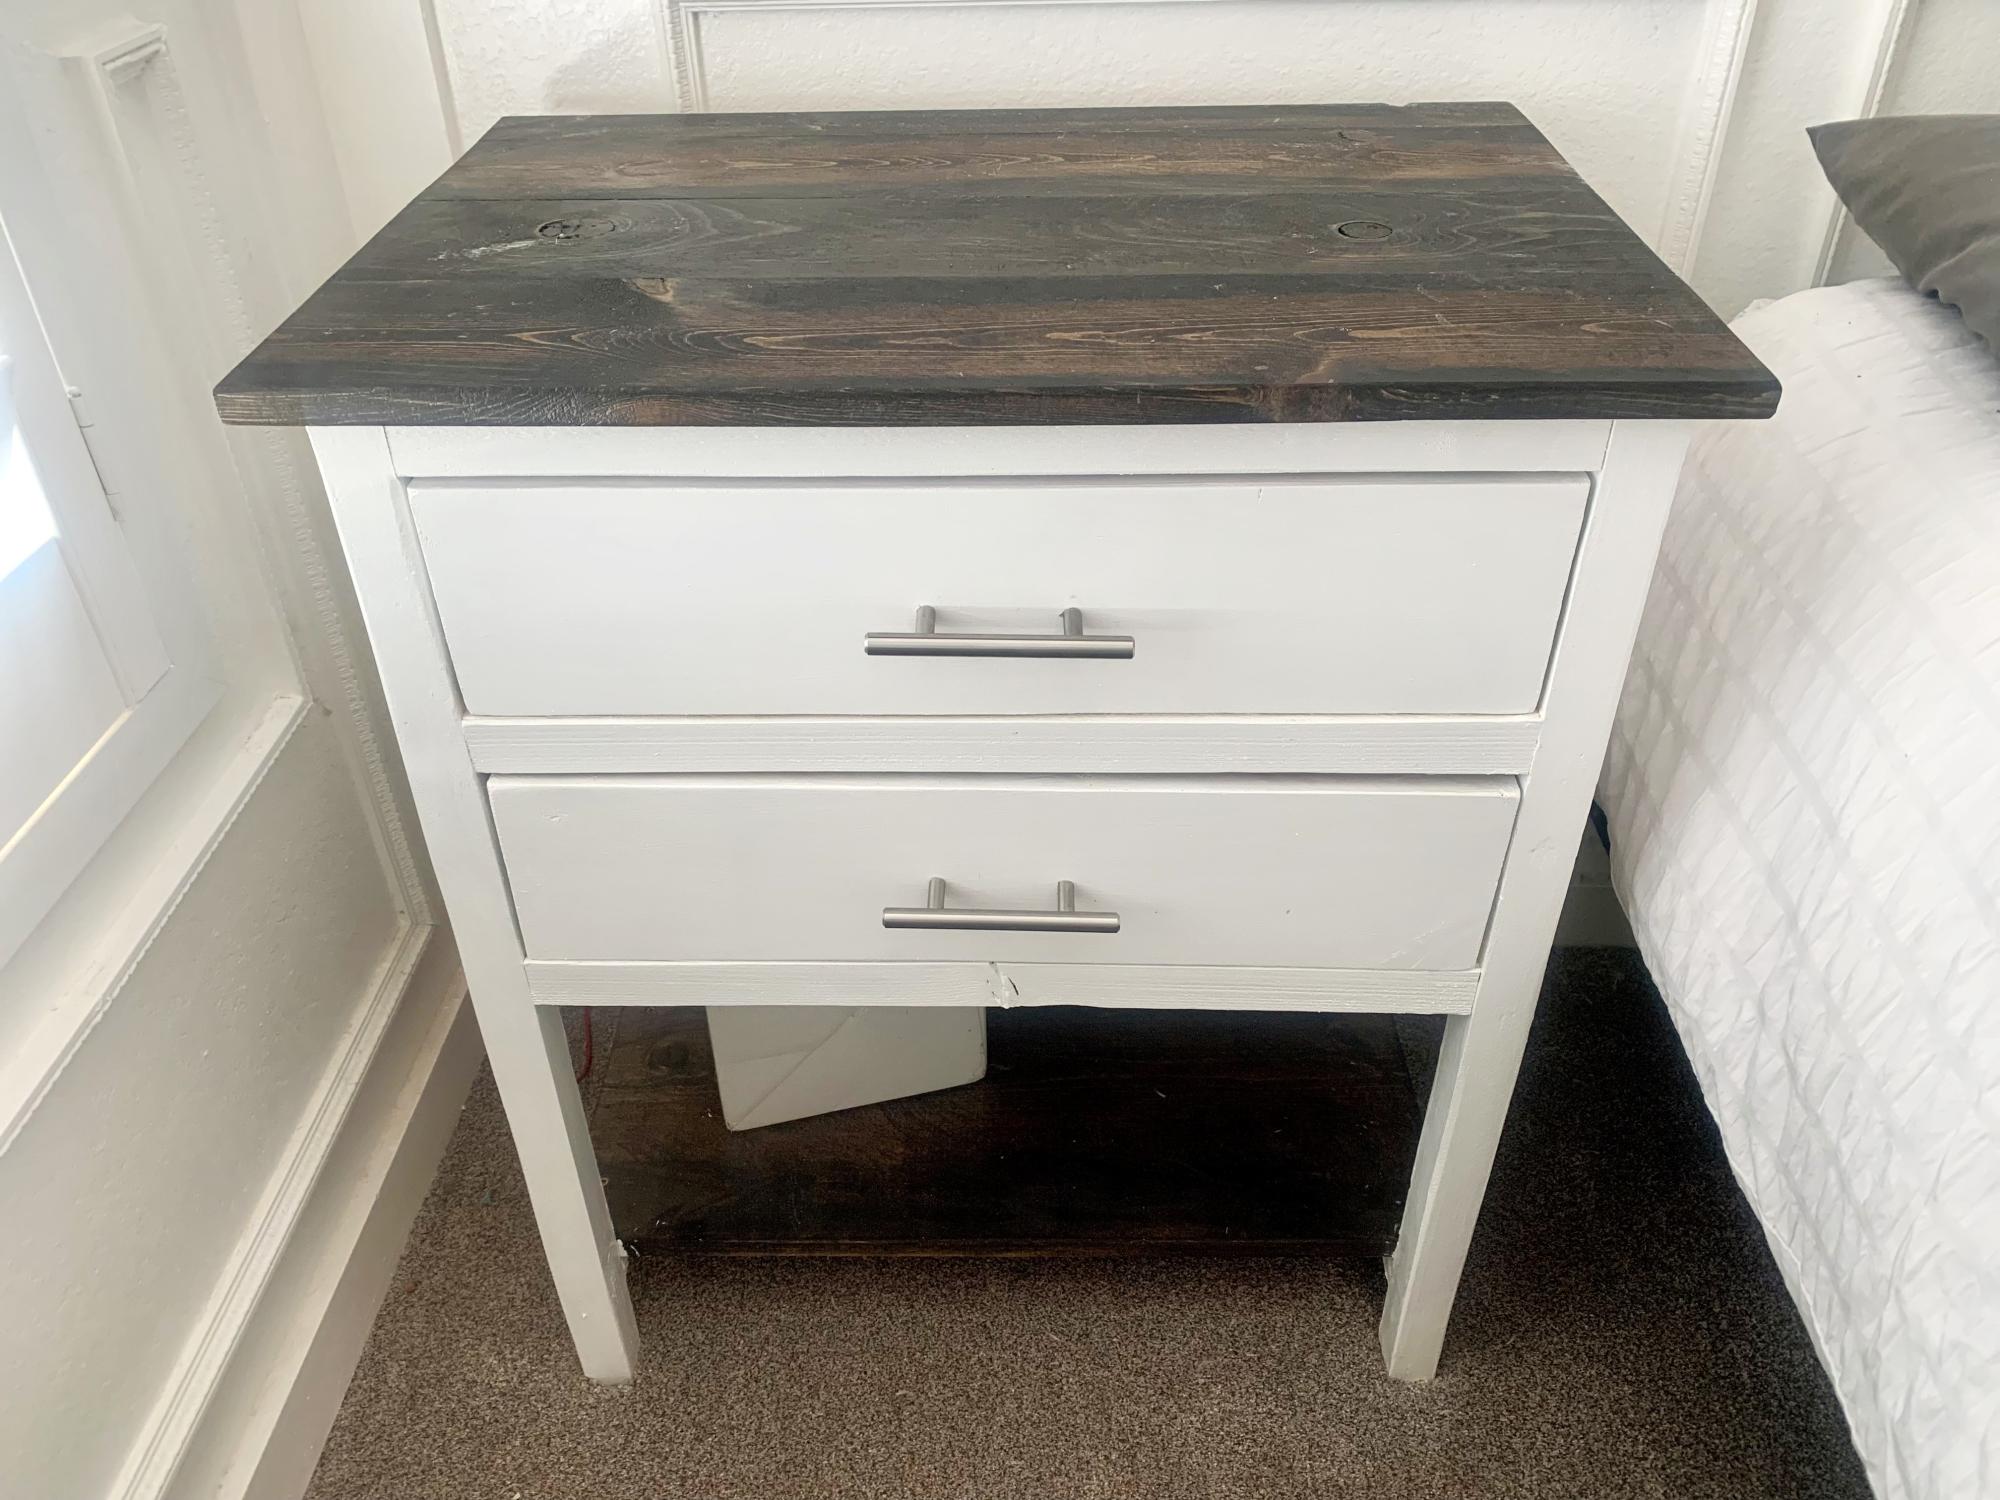
2 Drawer Farmhouse Nightstand

Submitted by Anonymous (not verified) on Wed, 10/18/2023 - 09:28

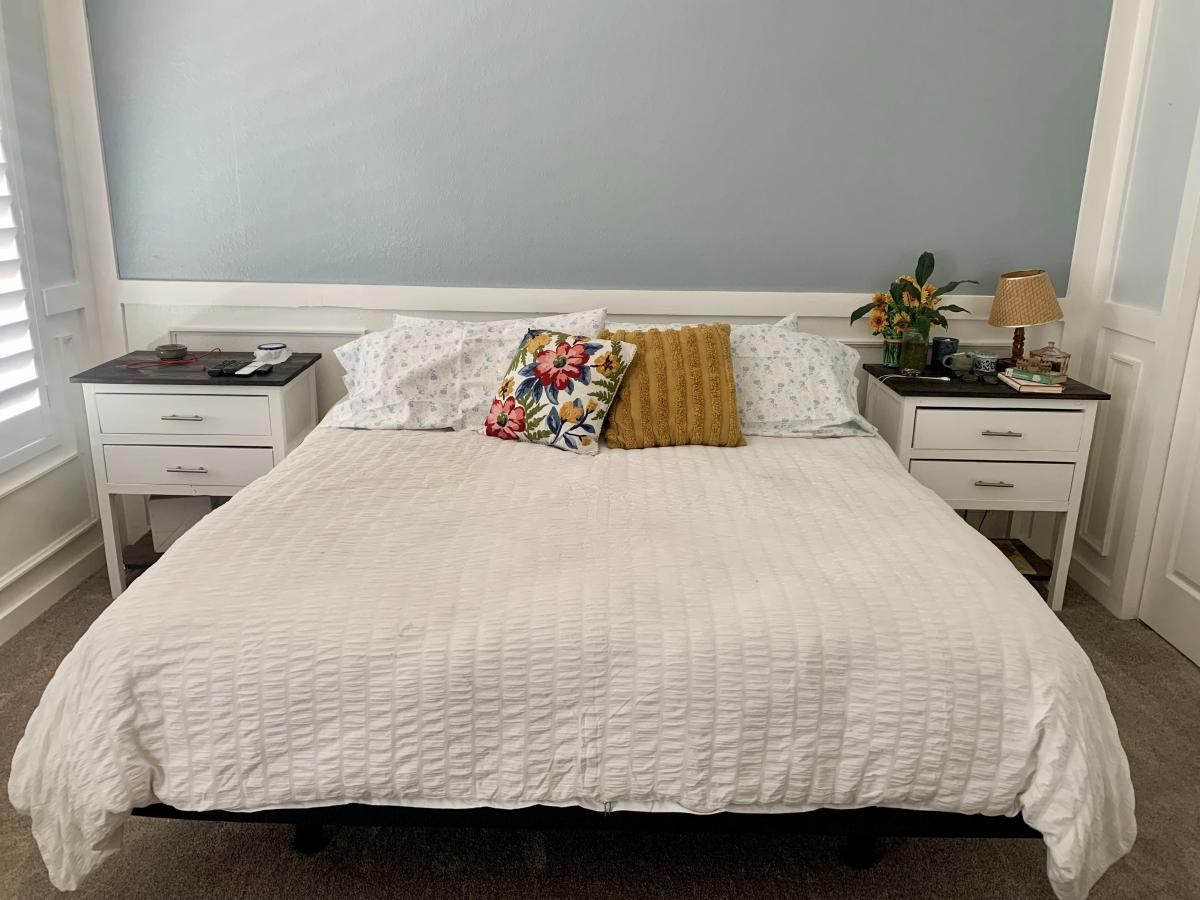
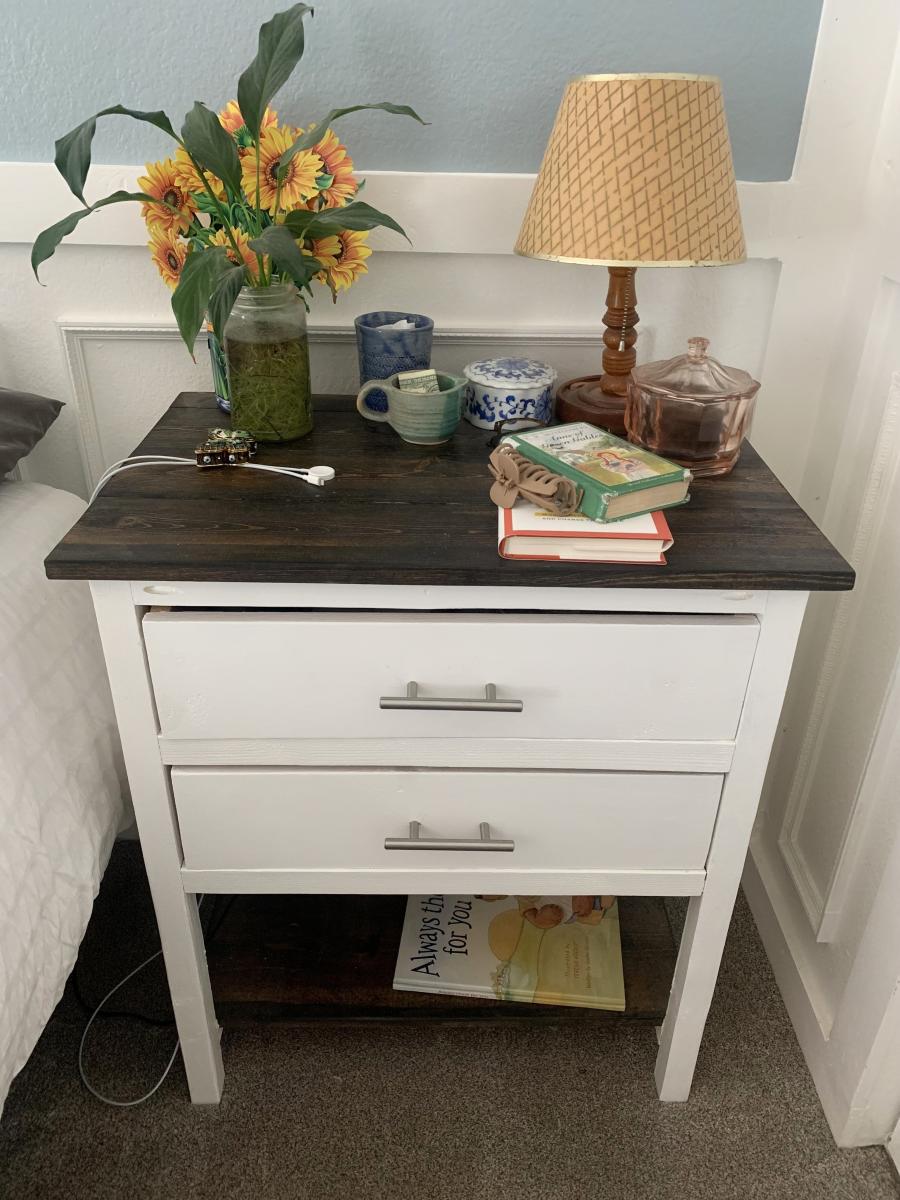
I have always wanted to build some furniture. So, when we were looking for some nightstands for our bedroom and couldn’t find any we liked I found your Farmhouse Nightstand plans and decided to build them as a surprise gift for my husband for Valentine’s Day. I personalized them by adding an extra drawer and making them a little taller and wider to fit the space we had. We absolutely LOVE them! Thank you, Ana, for helping to make a dream of mine come true!

Toni Imlay @ toniimlay.com

Built from Plan(s)

Computer Desk and Chair

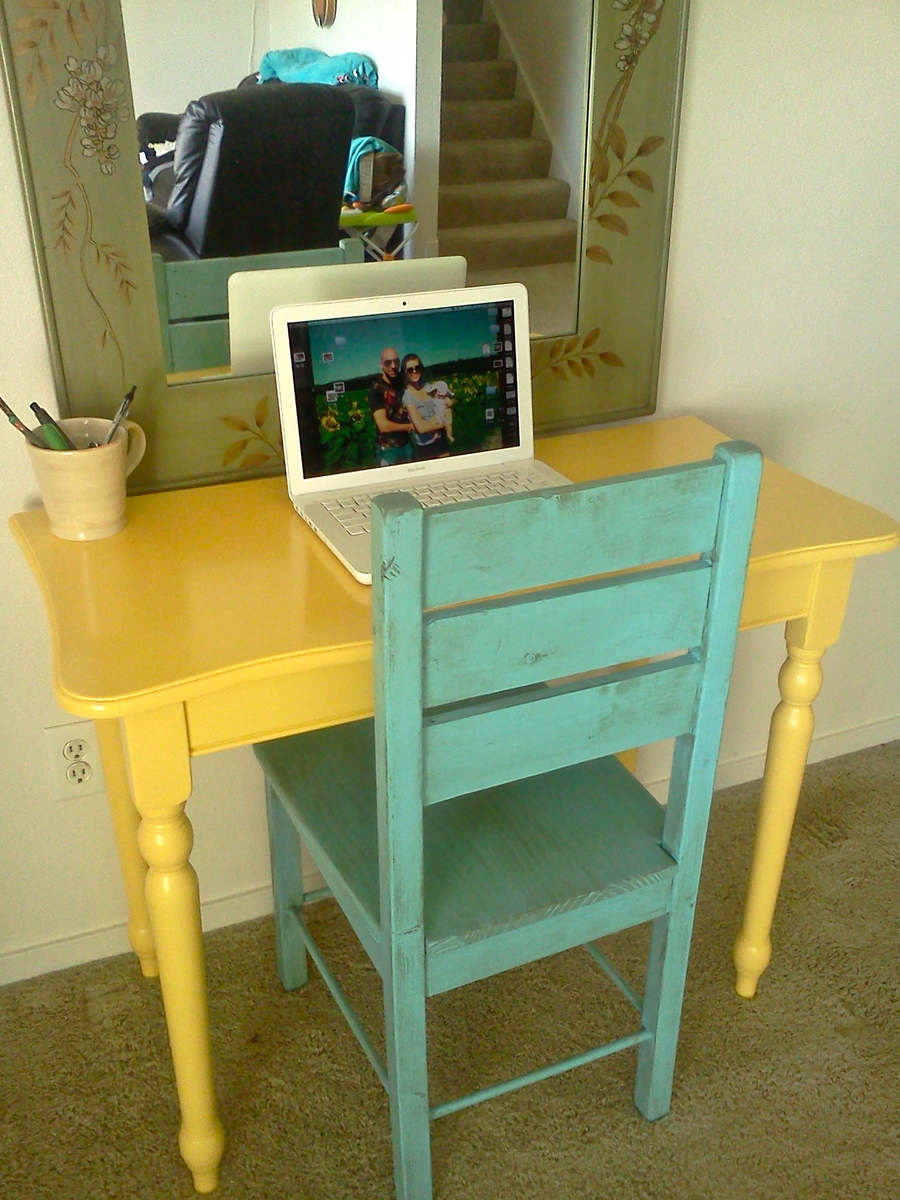
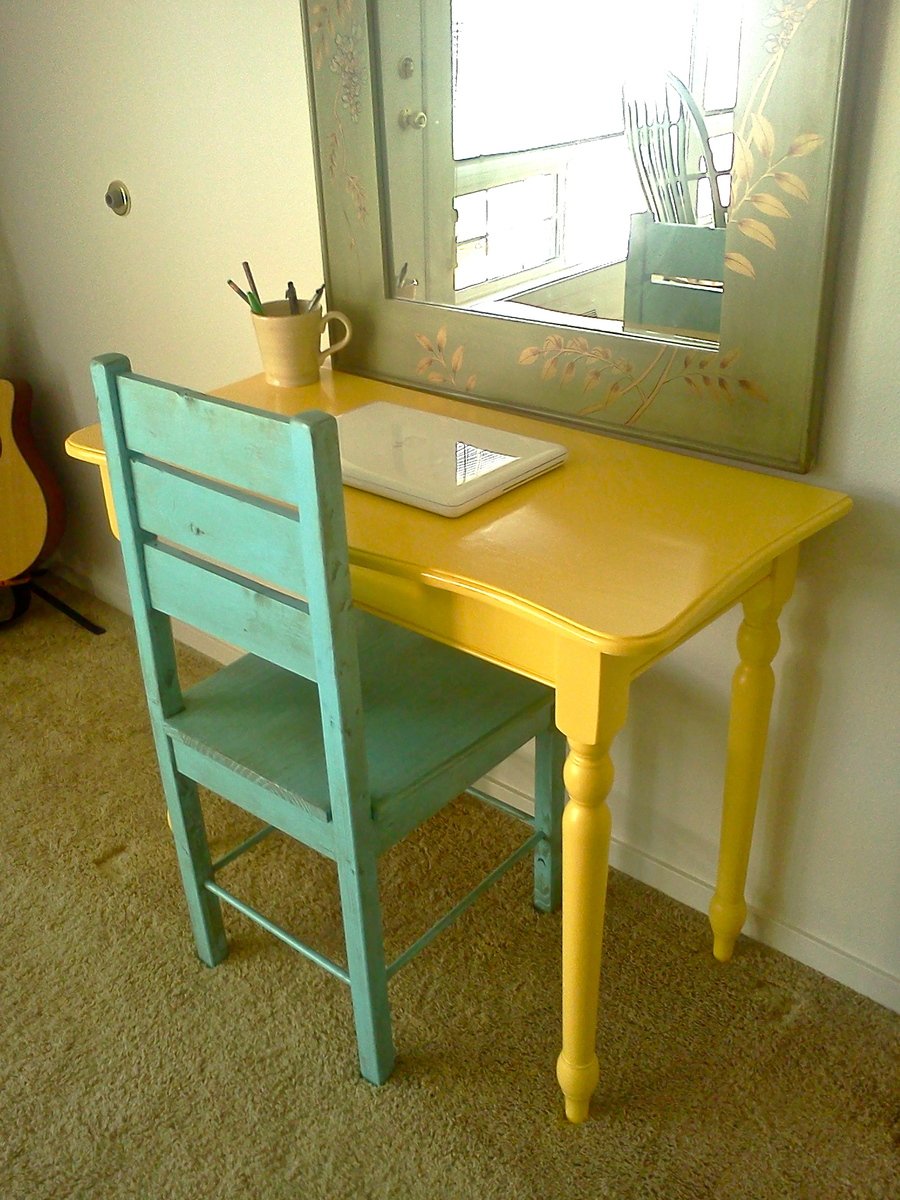
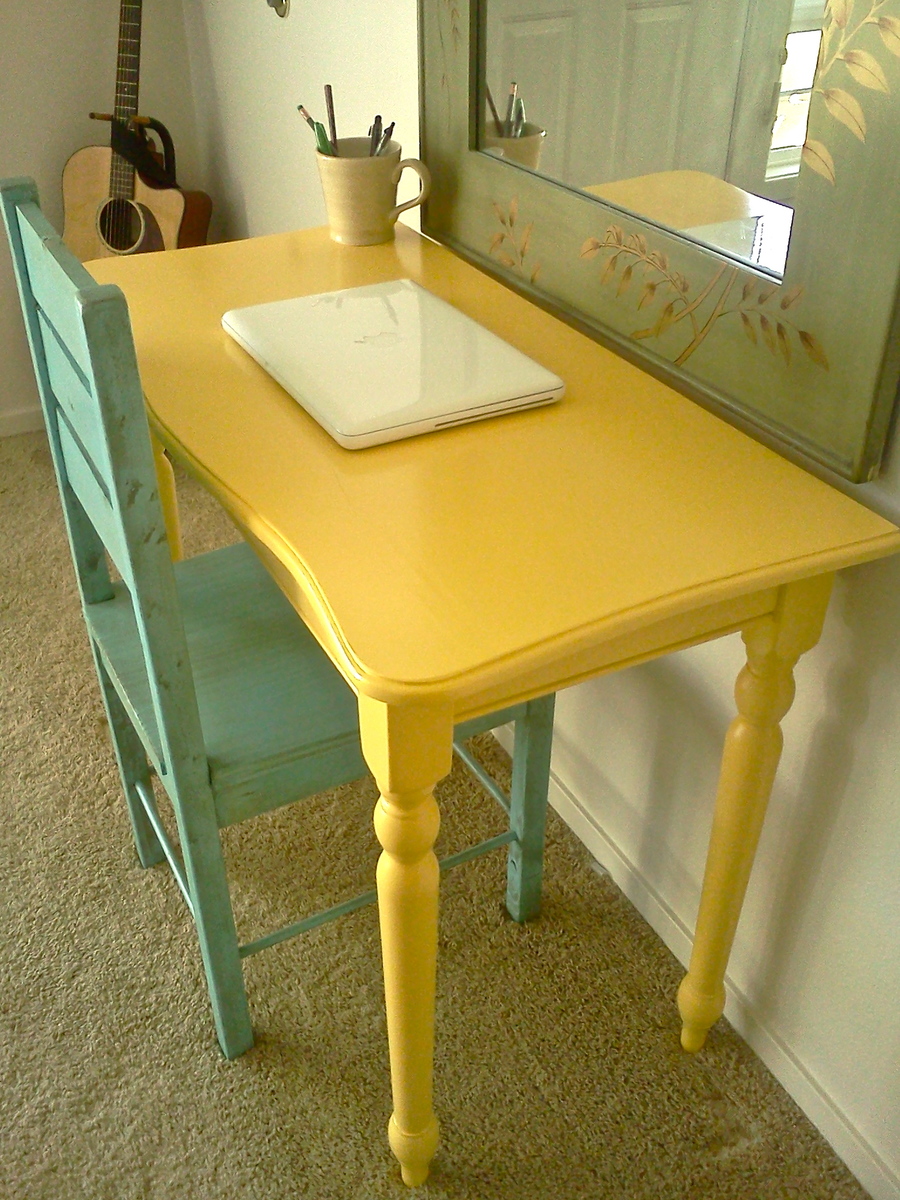
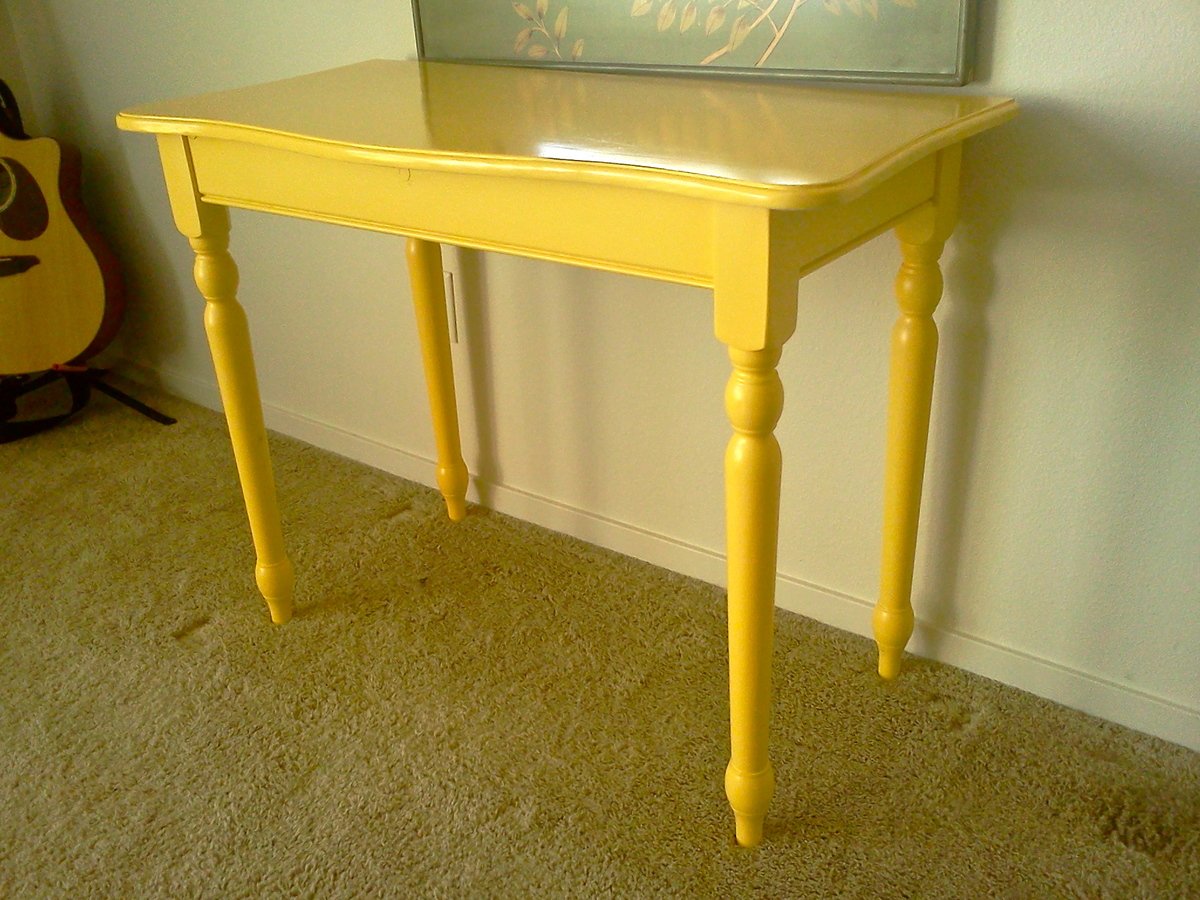
I bought a dining table set just for the chairs a while ago and the table legs have been sitting there ever since. The rest of the materials were scraps from the shop. I never worry about matching wood types if I'm planning on painting it. Everything matches when you paint over top of it.

The chair is something I made a while ago. I realized I didn't want to make 3 more after hours of just making one. That's why I bought that dining set in the first place.

Estimated Cost
Free if you have scraps. $50 if not.
Estimated Time Investment
Afternoon Project (3-6 Hours)
Finish Used
Spray primer and paint
Recommended Skill Level
Starter Project

Comments

Greg (not verified)

Sat, 06/30/2012 - 18:41

How tall are the legs? I'm thinking about making something like this for my daughter's room.

In reply to by Greg (not verified)

patrickhosey

Wed, 07/11/2012 - 15:01

They are 29" tall. I got those legs at Home Depot for $12 a piece.

Flower Storage Table with Thumb Chairs

Submitted by pde00311 on Mon, 02/24/2014 - 22:32

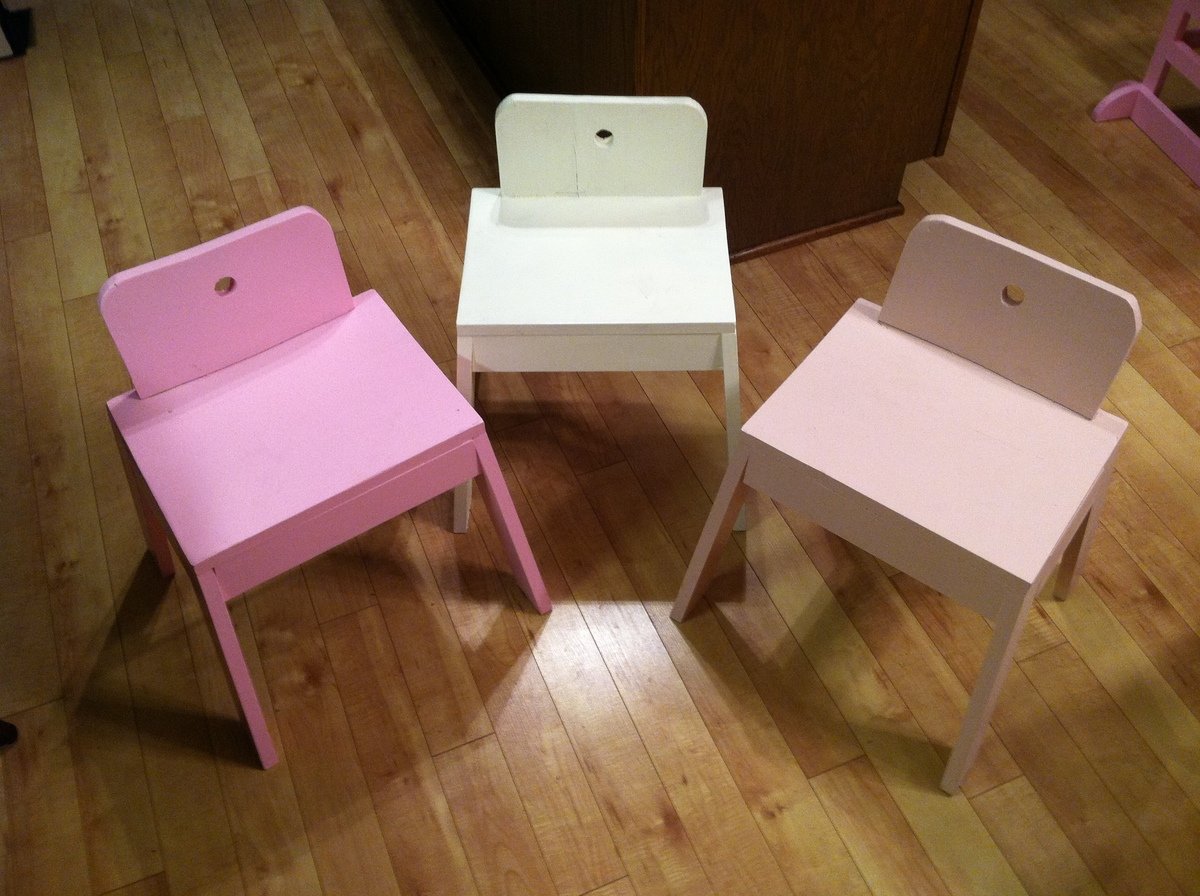
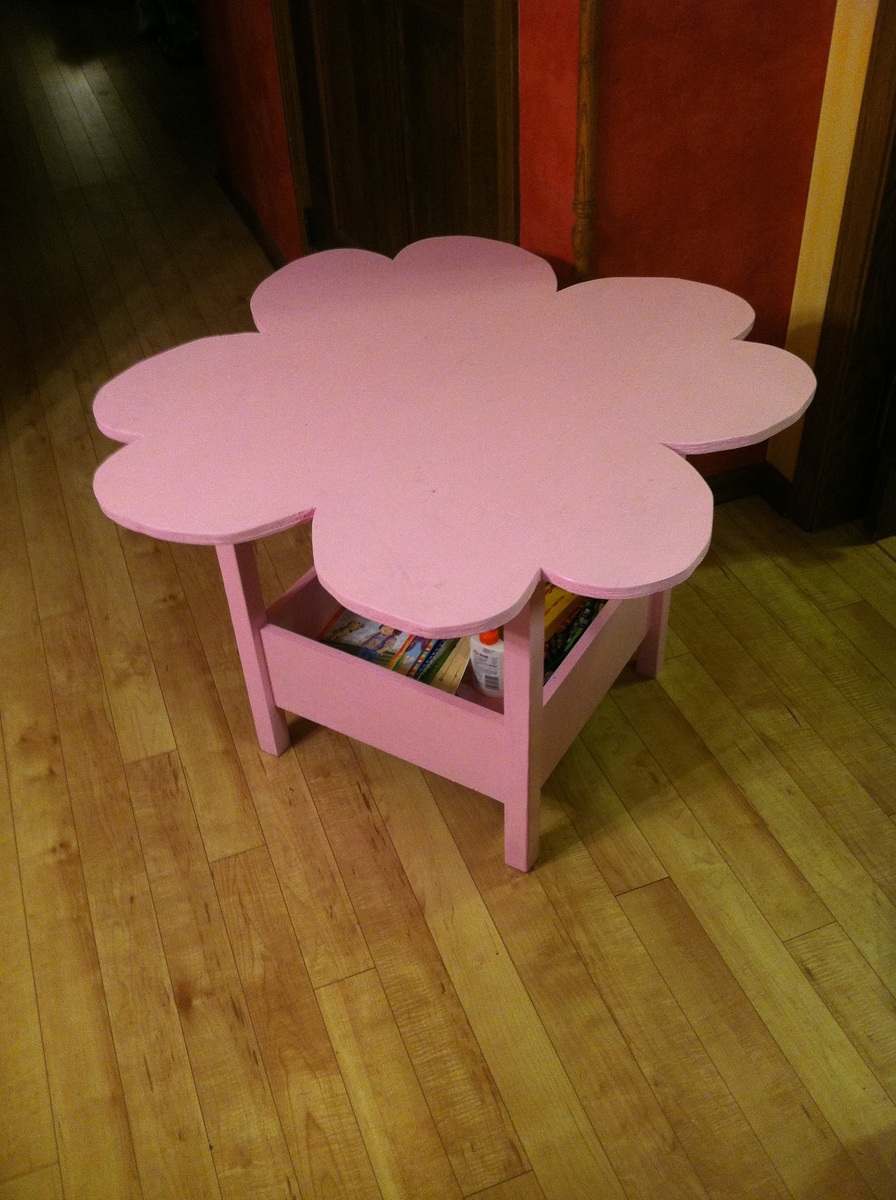
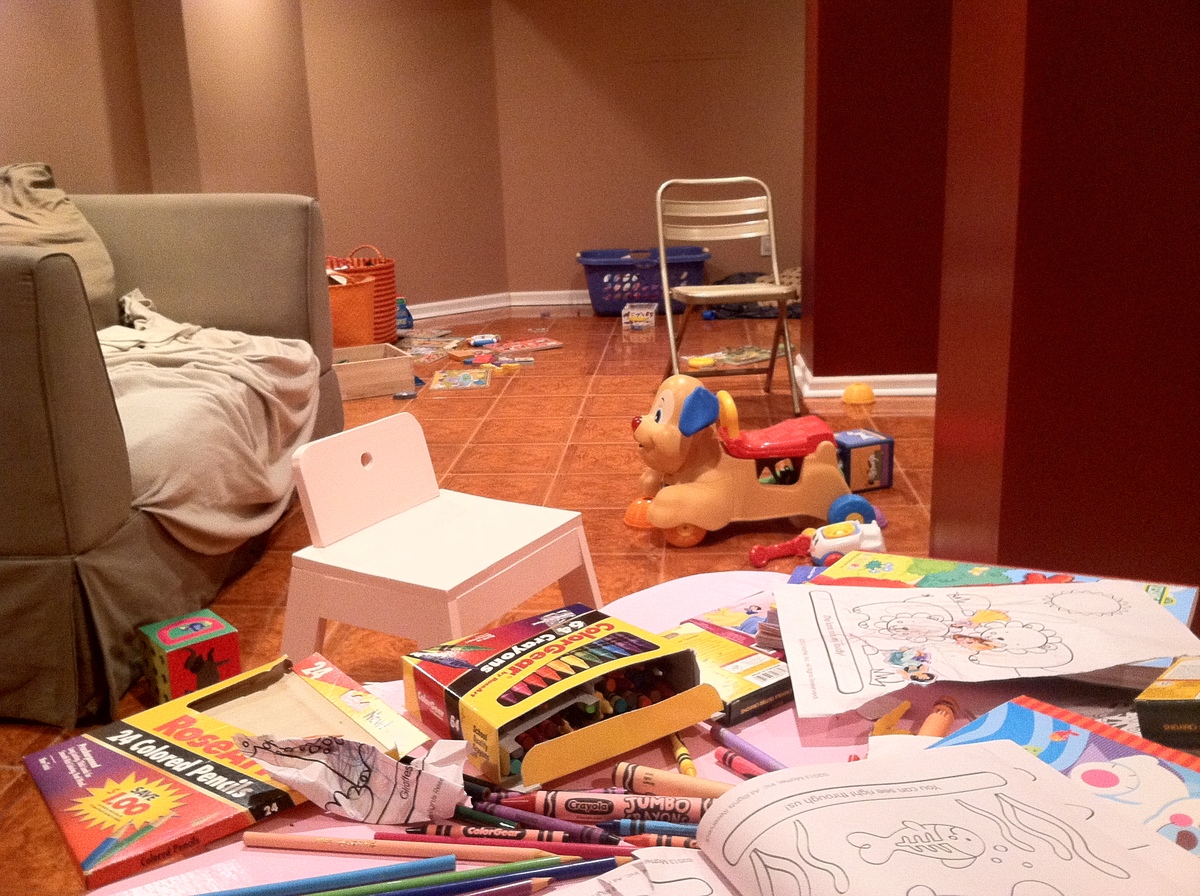
I put together the flower storage table and the thumb chairs during the week leading up to our daughter's first birthday party. With a lot of older toddlers/kids at the party, the table served as a perfect coloring station in our basement (as you can see from the mahem/aftermath photo below). In any event, as my daughter is about to turn two, she has really grown into using the table and chairs for completing her own arts and crafts projects.

Estimated Cost
100
Estimated Time Investment
Day Project (6-9 Hours)
Finish Used
Behr Sweet Taffy, Camembert and Kashmir pink paints with a couple coats of polycrylic
Recommended Skill Level
Intermediate
Back