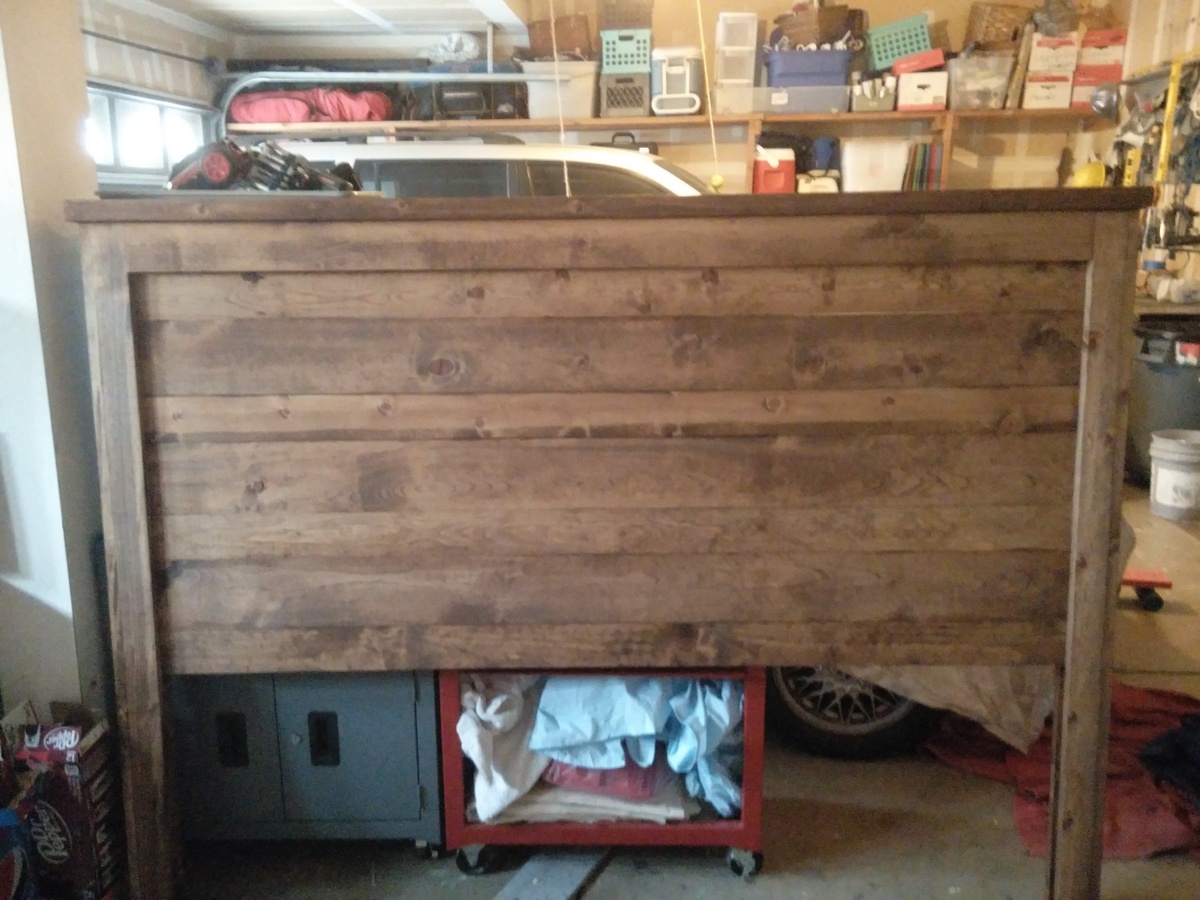
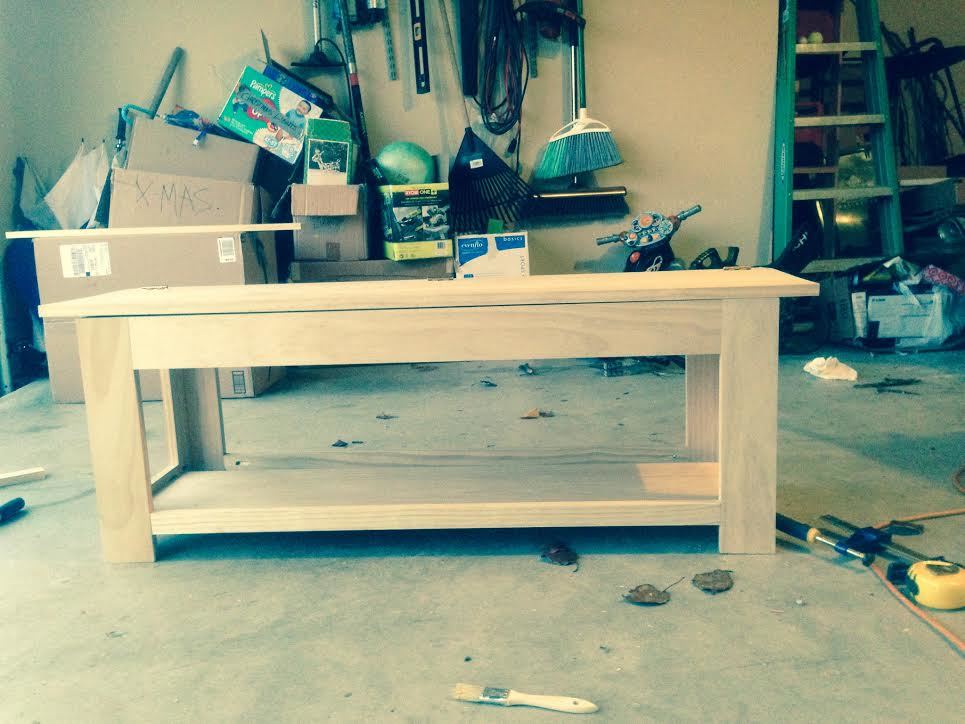
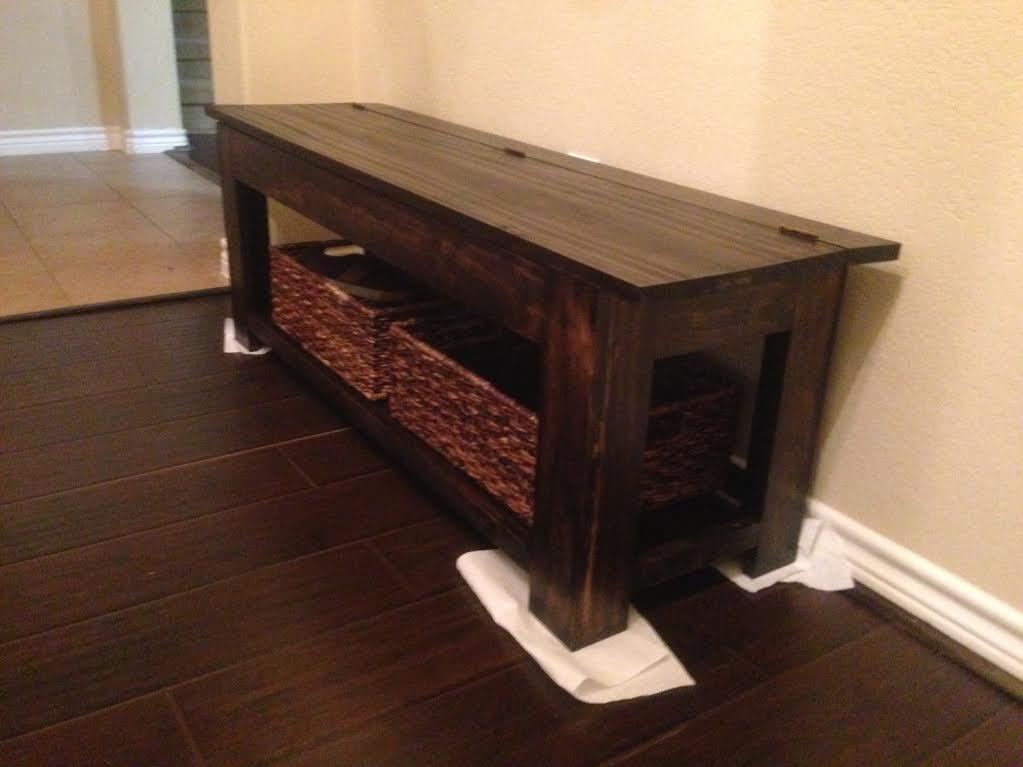
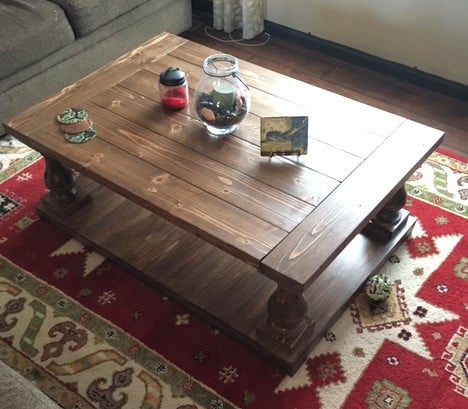
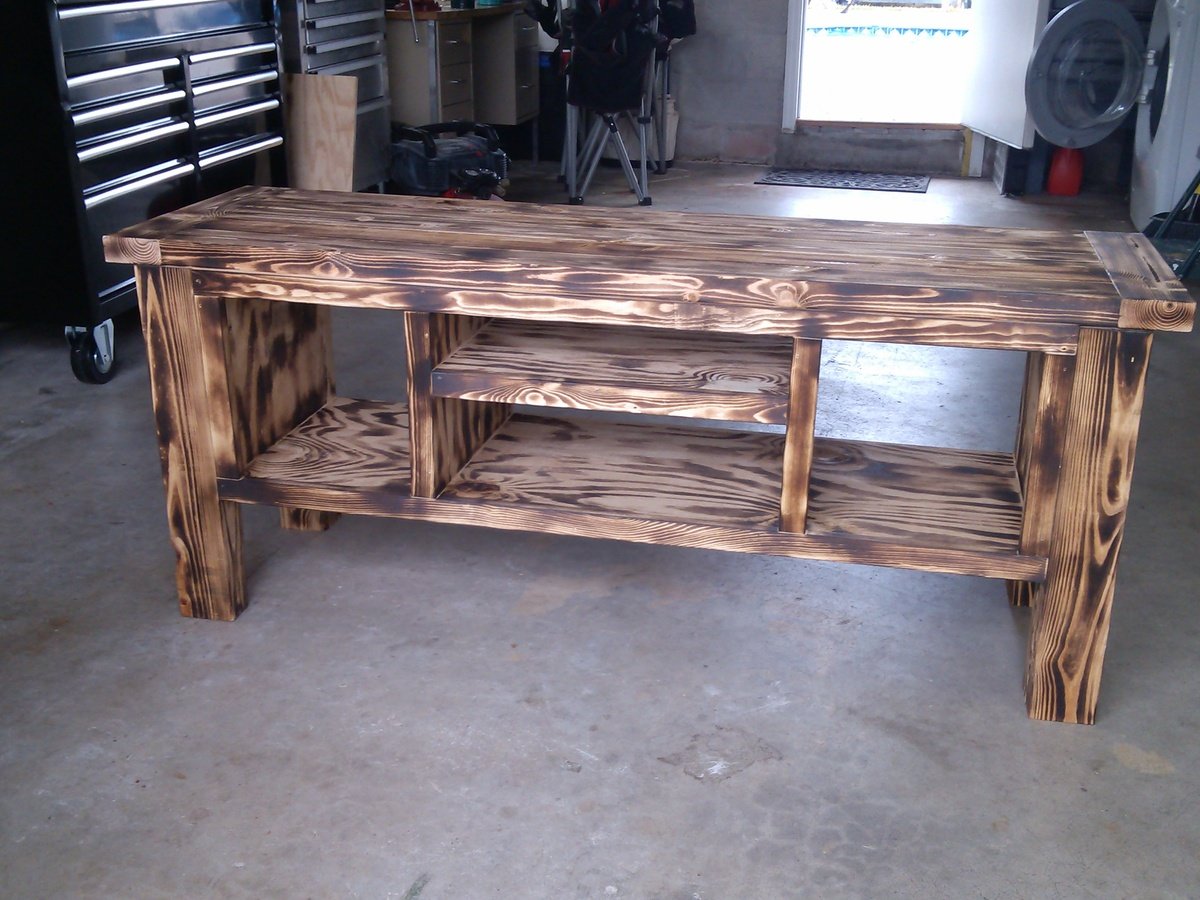
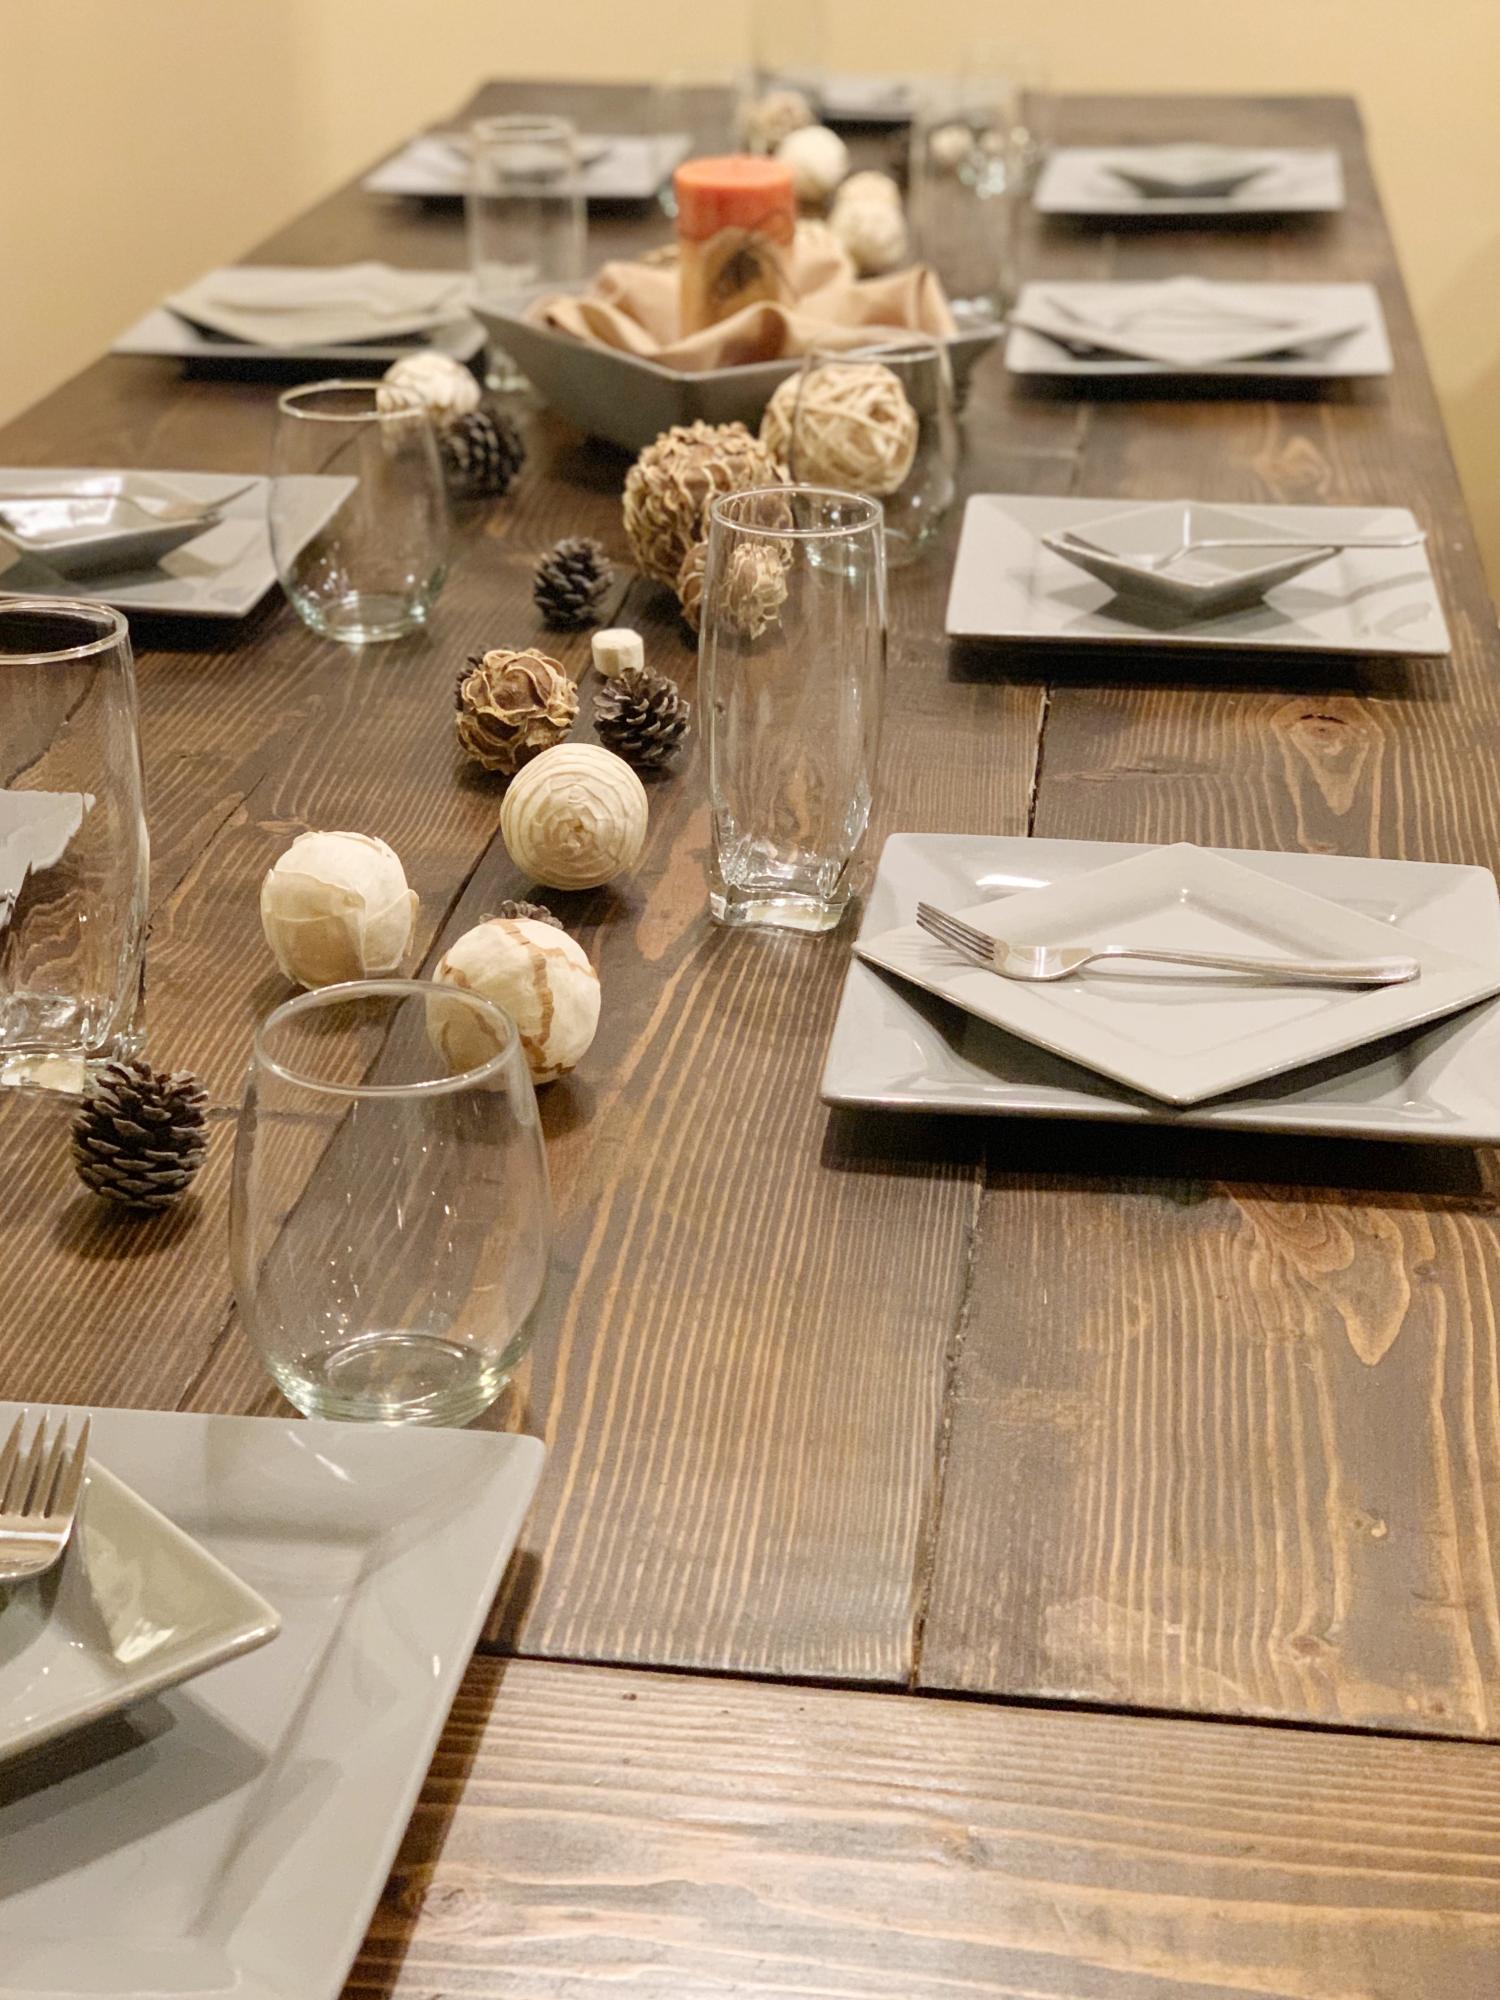
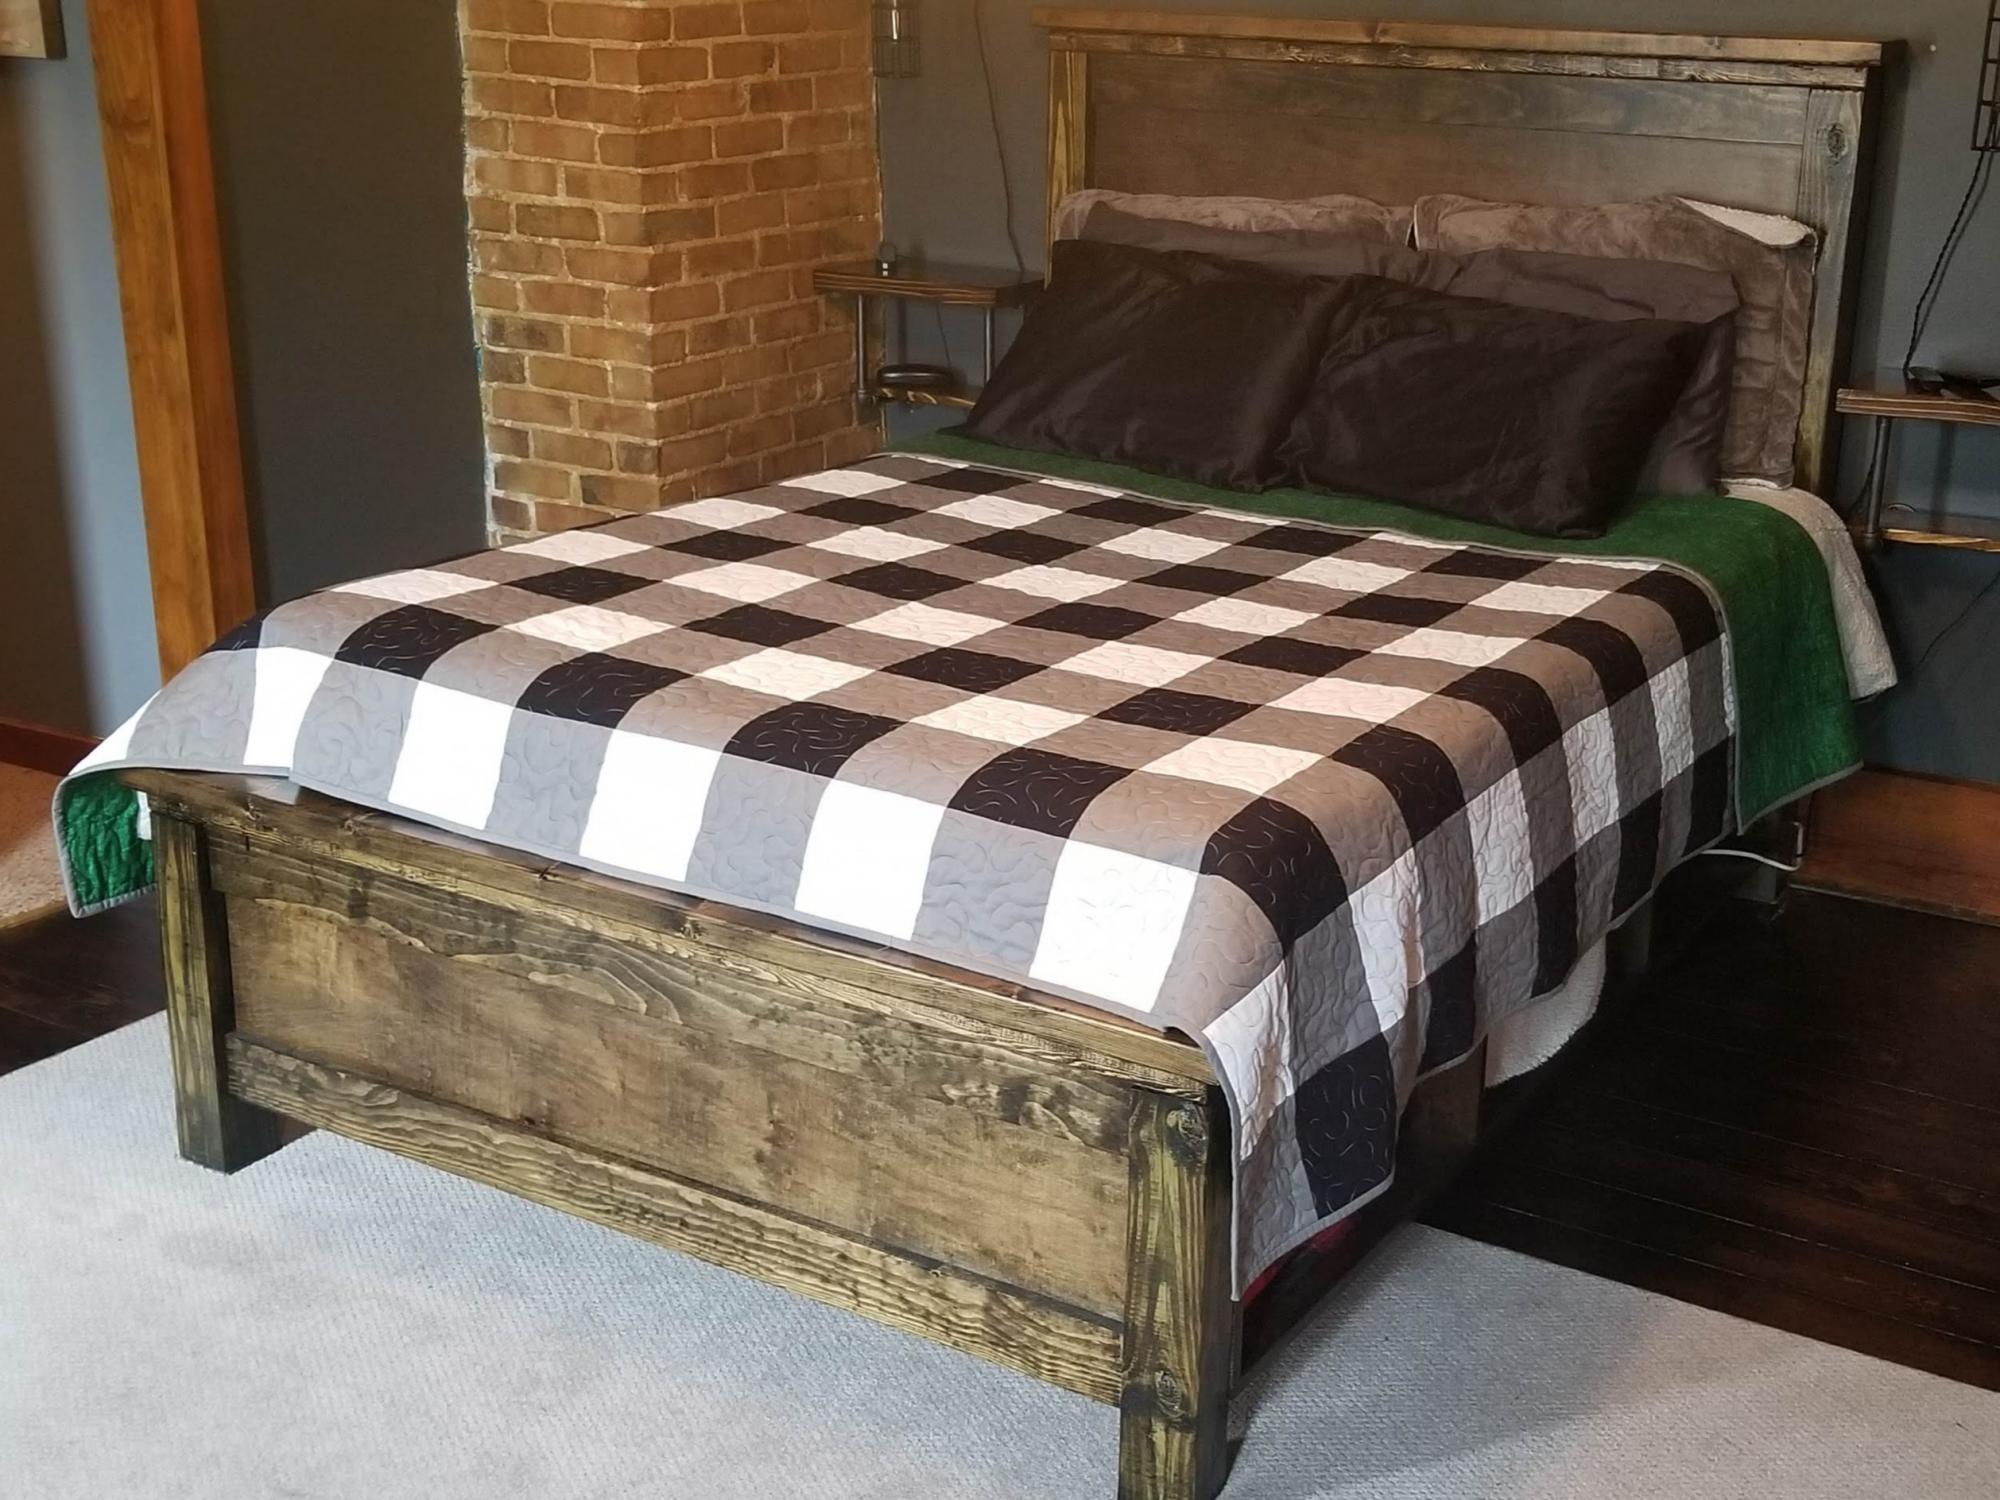
This is my first made-from-scratch table, and I'm really proud of the result!
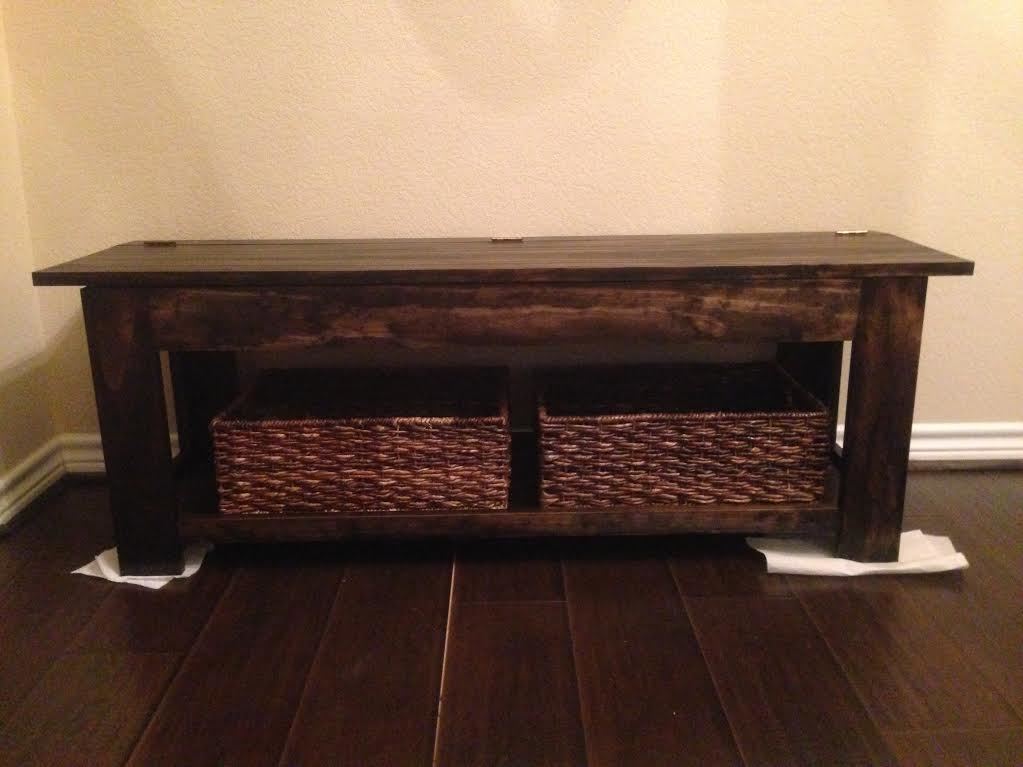
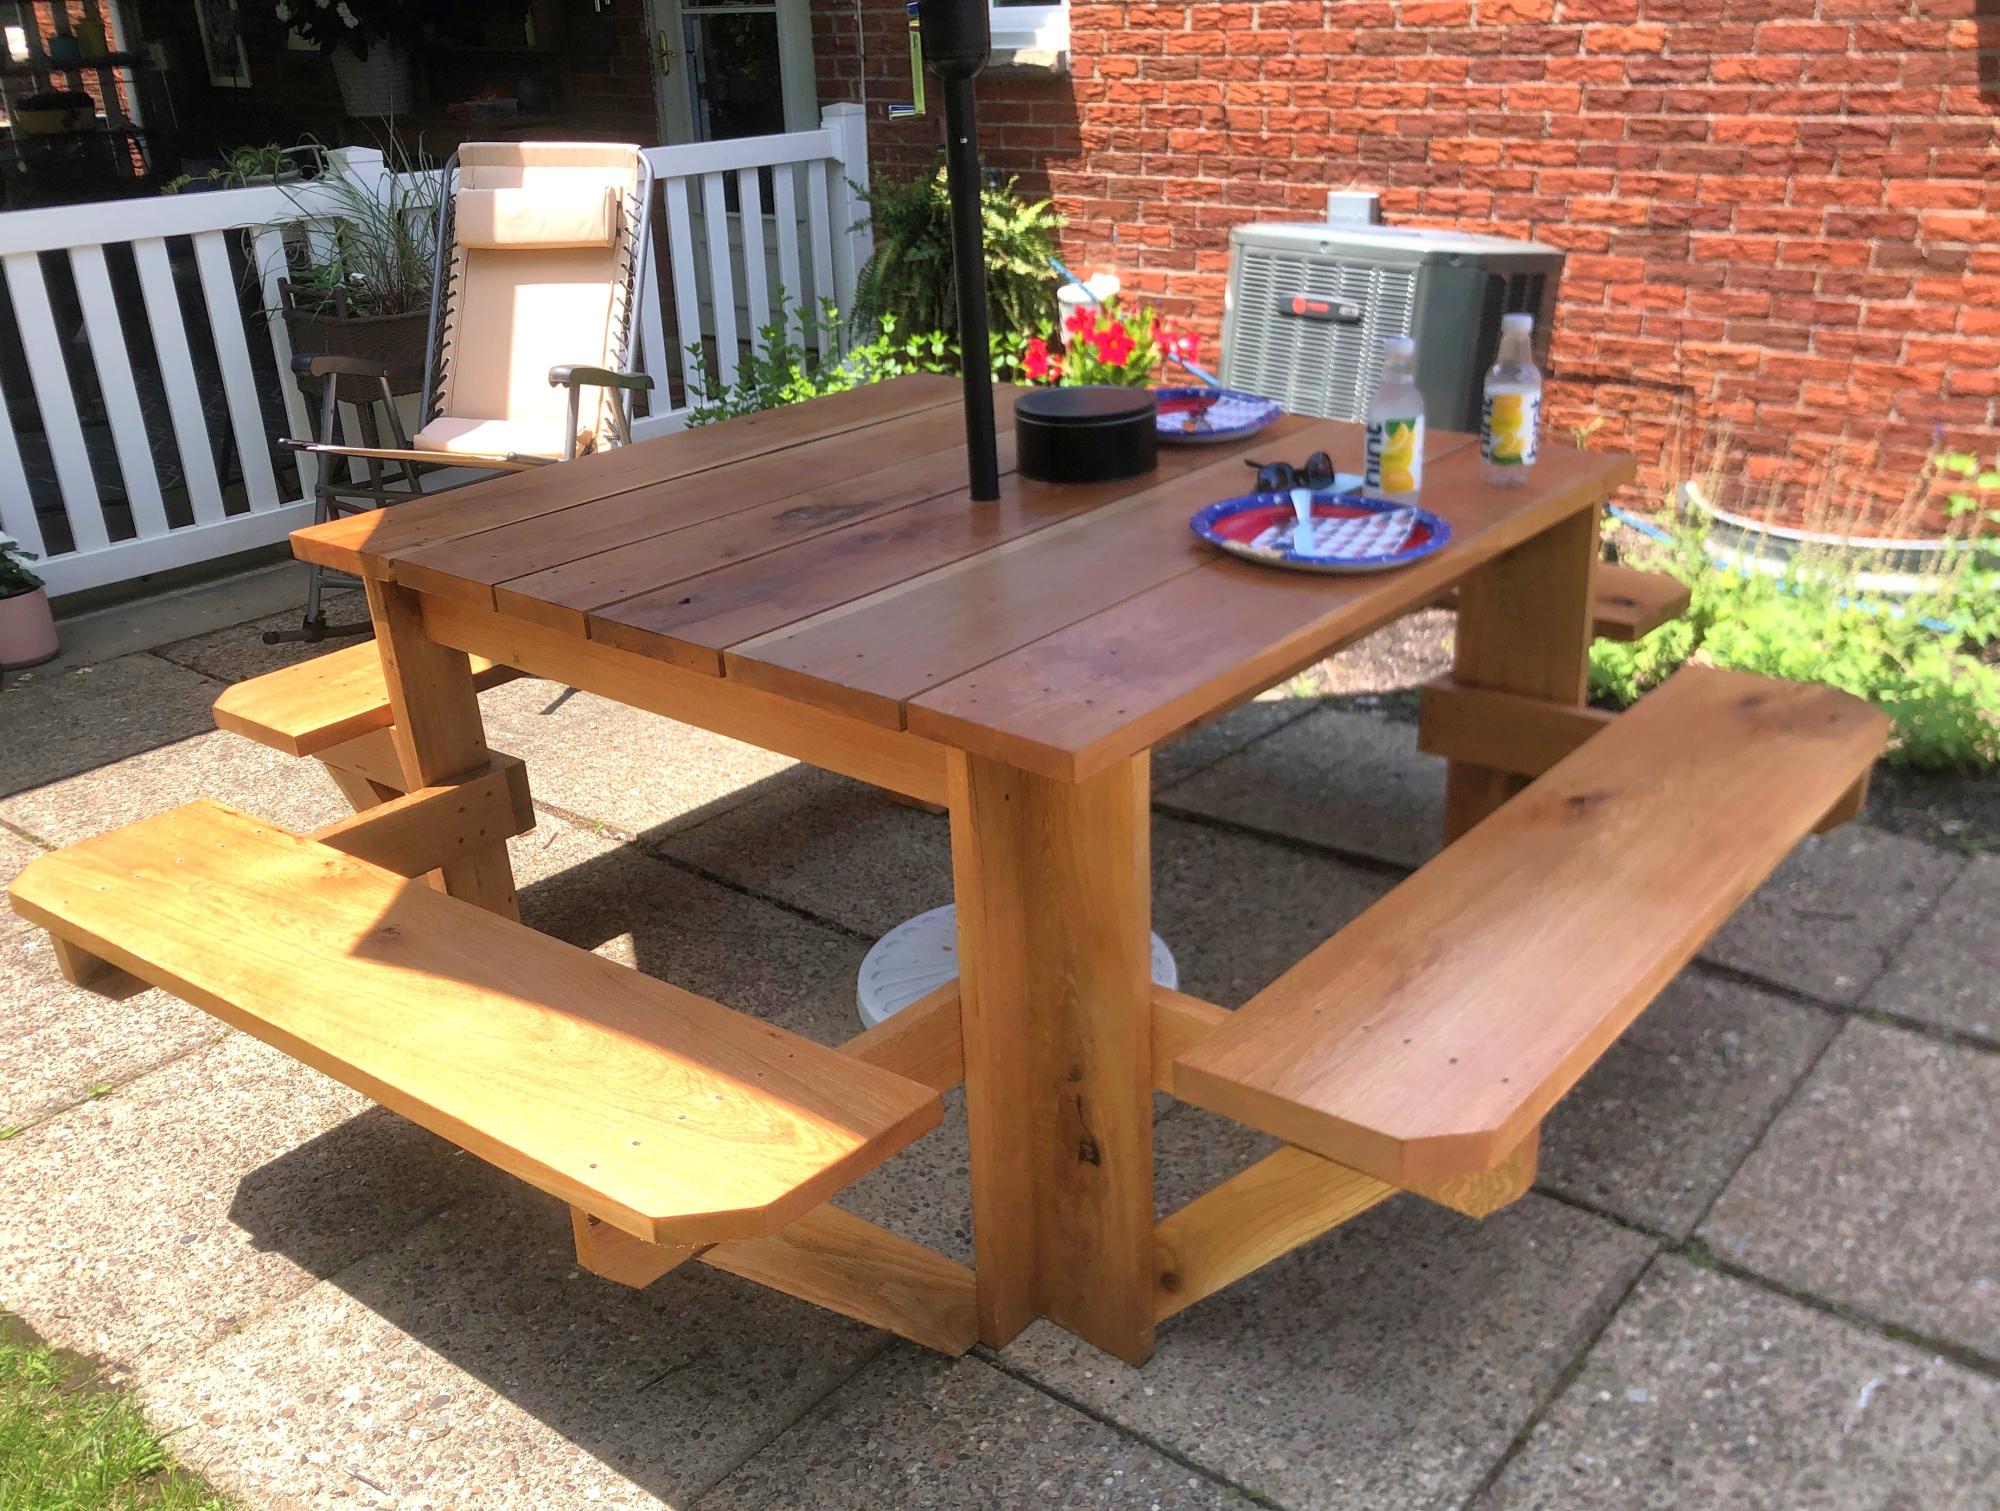
I made this table for my amazing in-laws. They just moved into a beautiful new home with a spacious, open dining area, and they've been looking for a large table that our growing family can gather around.
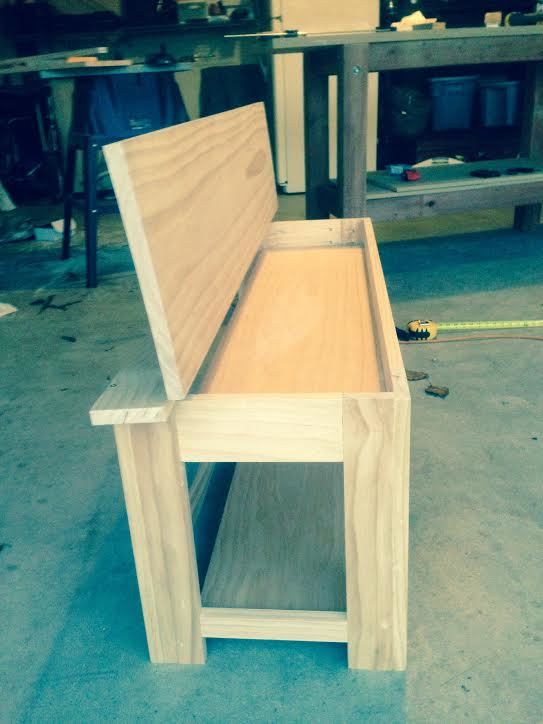
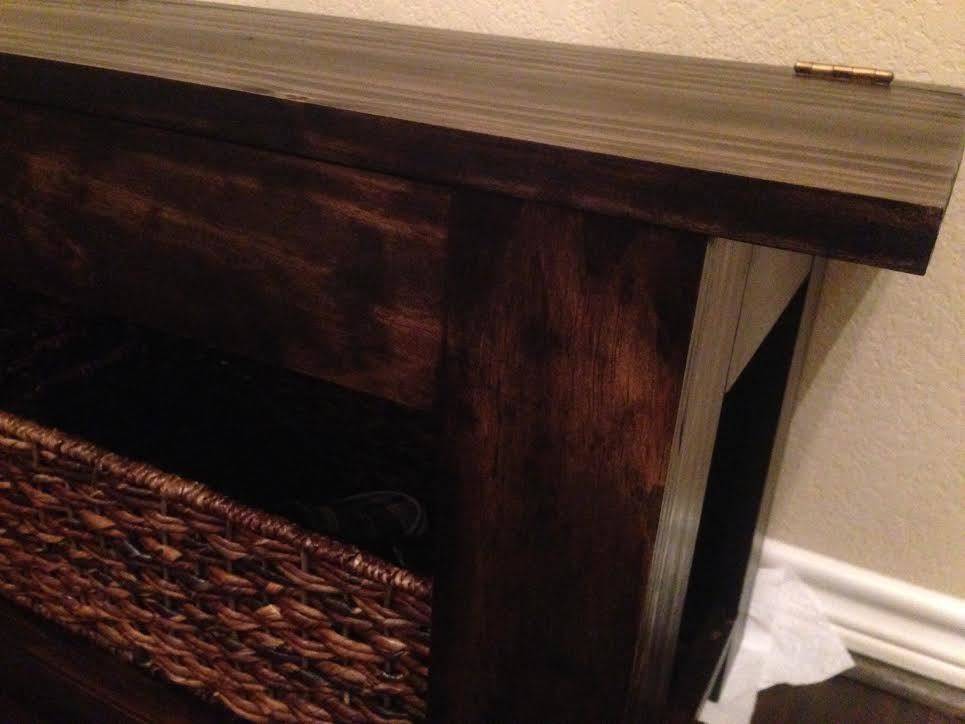
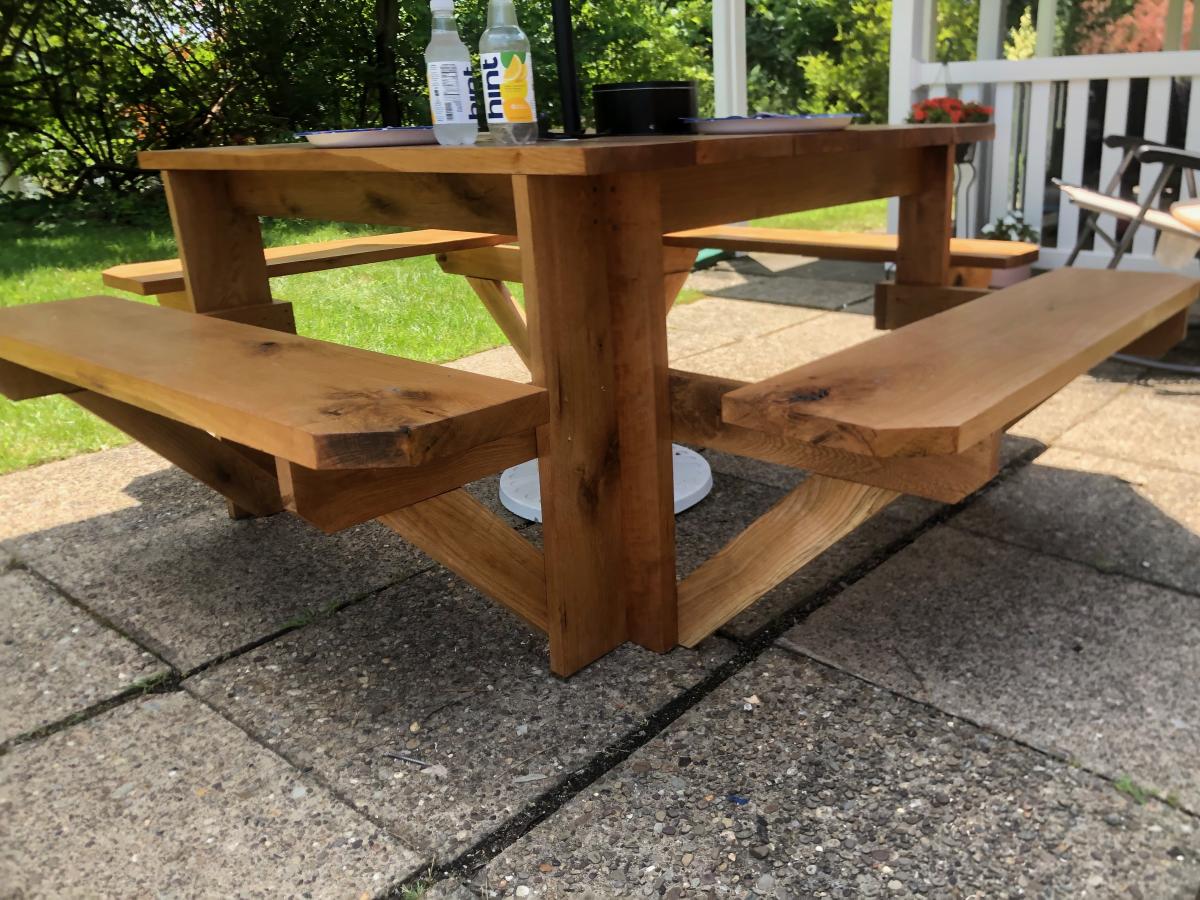
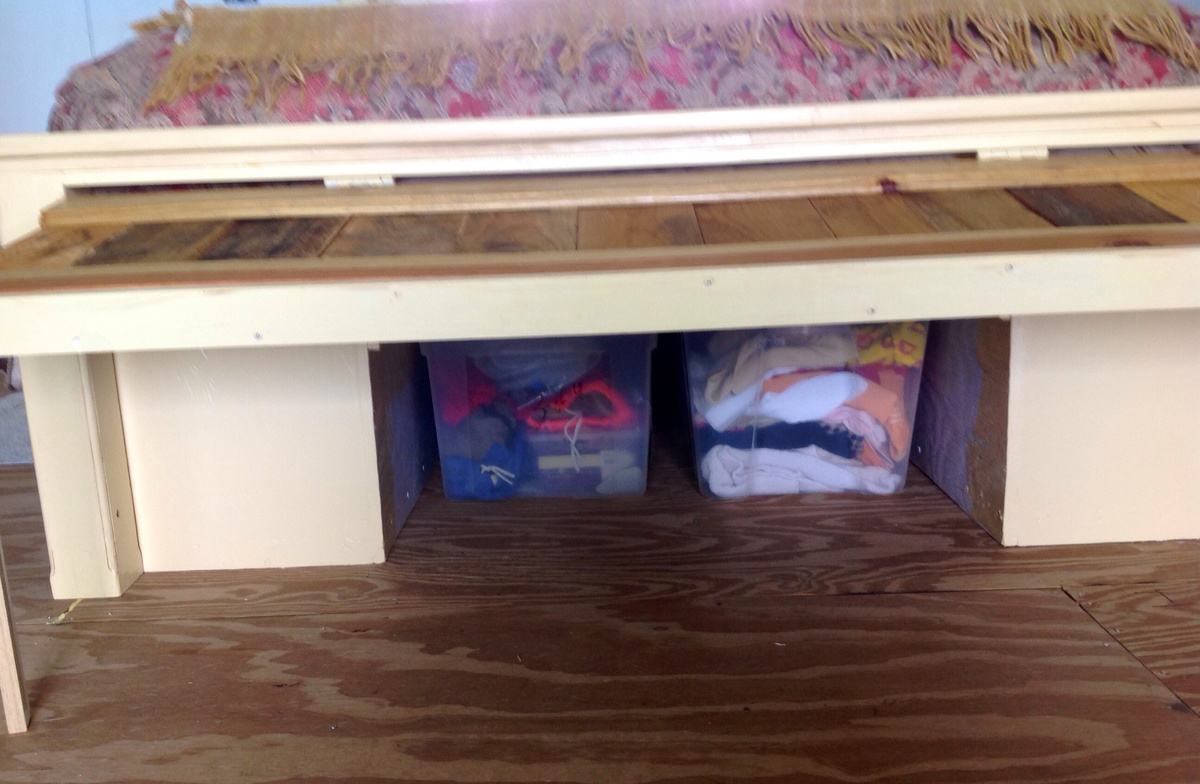
We customized Ana's design by making the table larger and by transforming the ends of the table into extendable 10" table leaves.
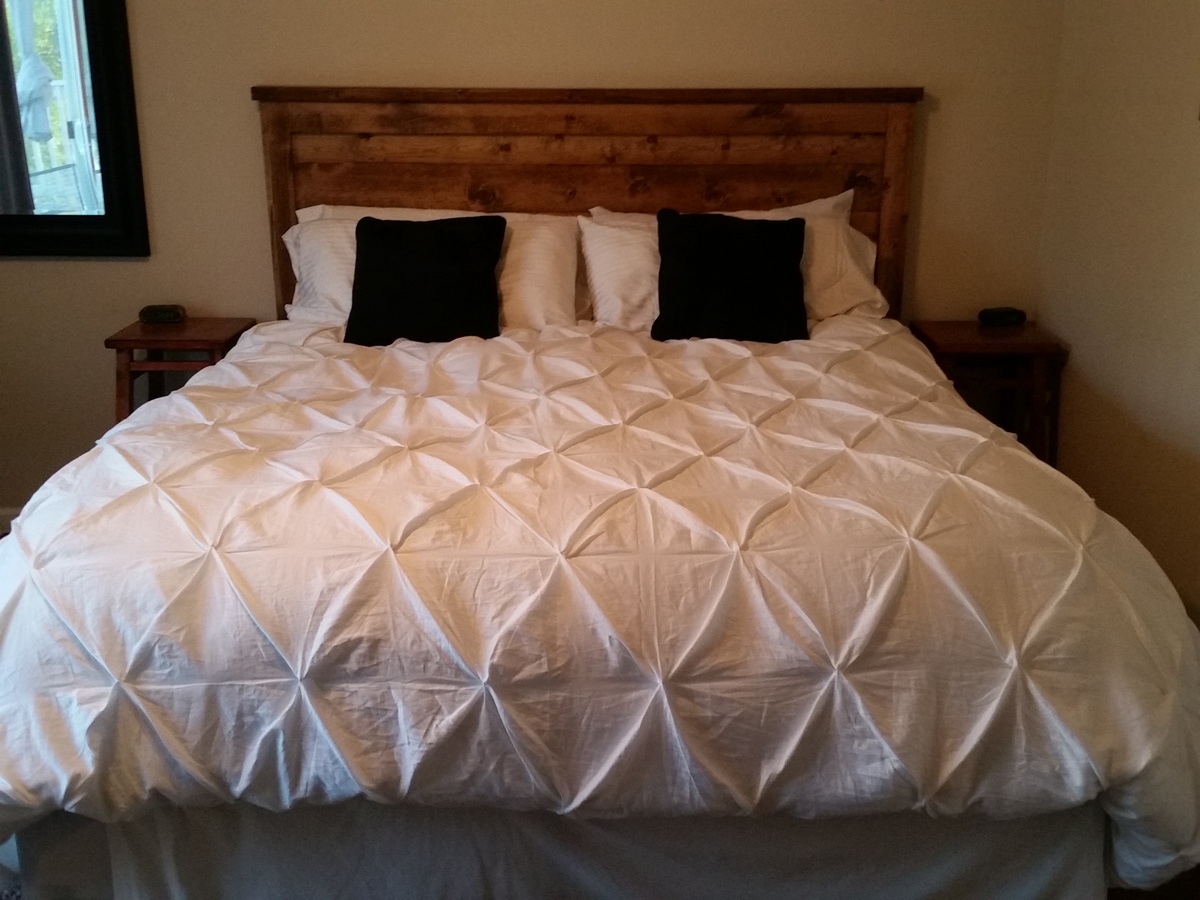
The final dimensions are:
Height: 2.5'
Width: 3.4'
Length (fully extended): 10'
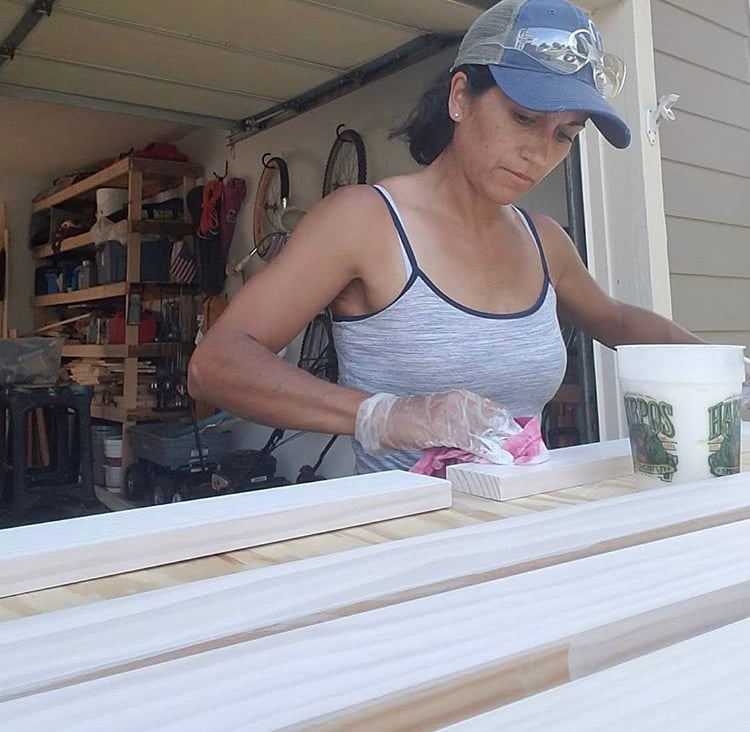
It took two weeks to make, predominately evenings and weekends, and/or whenever my baby girl was asleep!
Estimated Time Investment
Week Long Project (20 Hours or More)
Finish Used
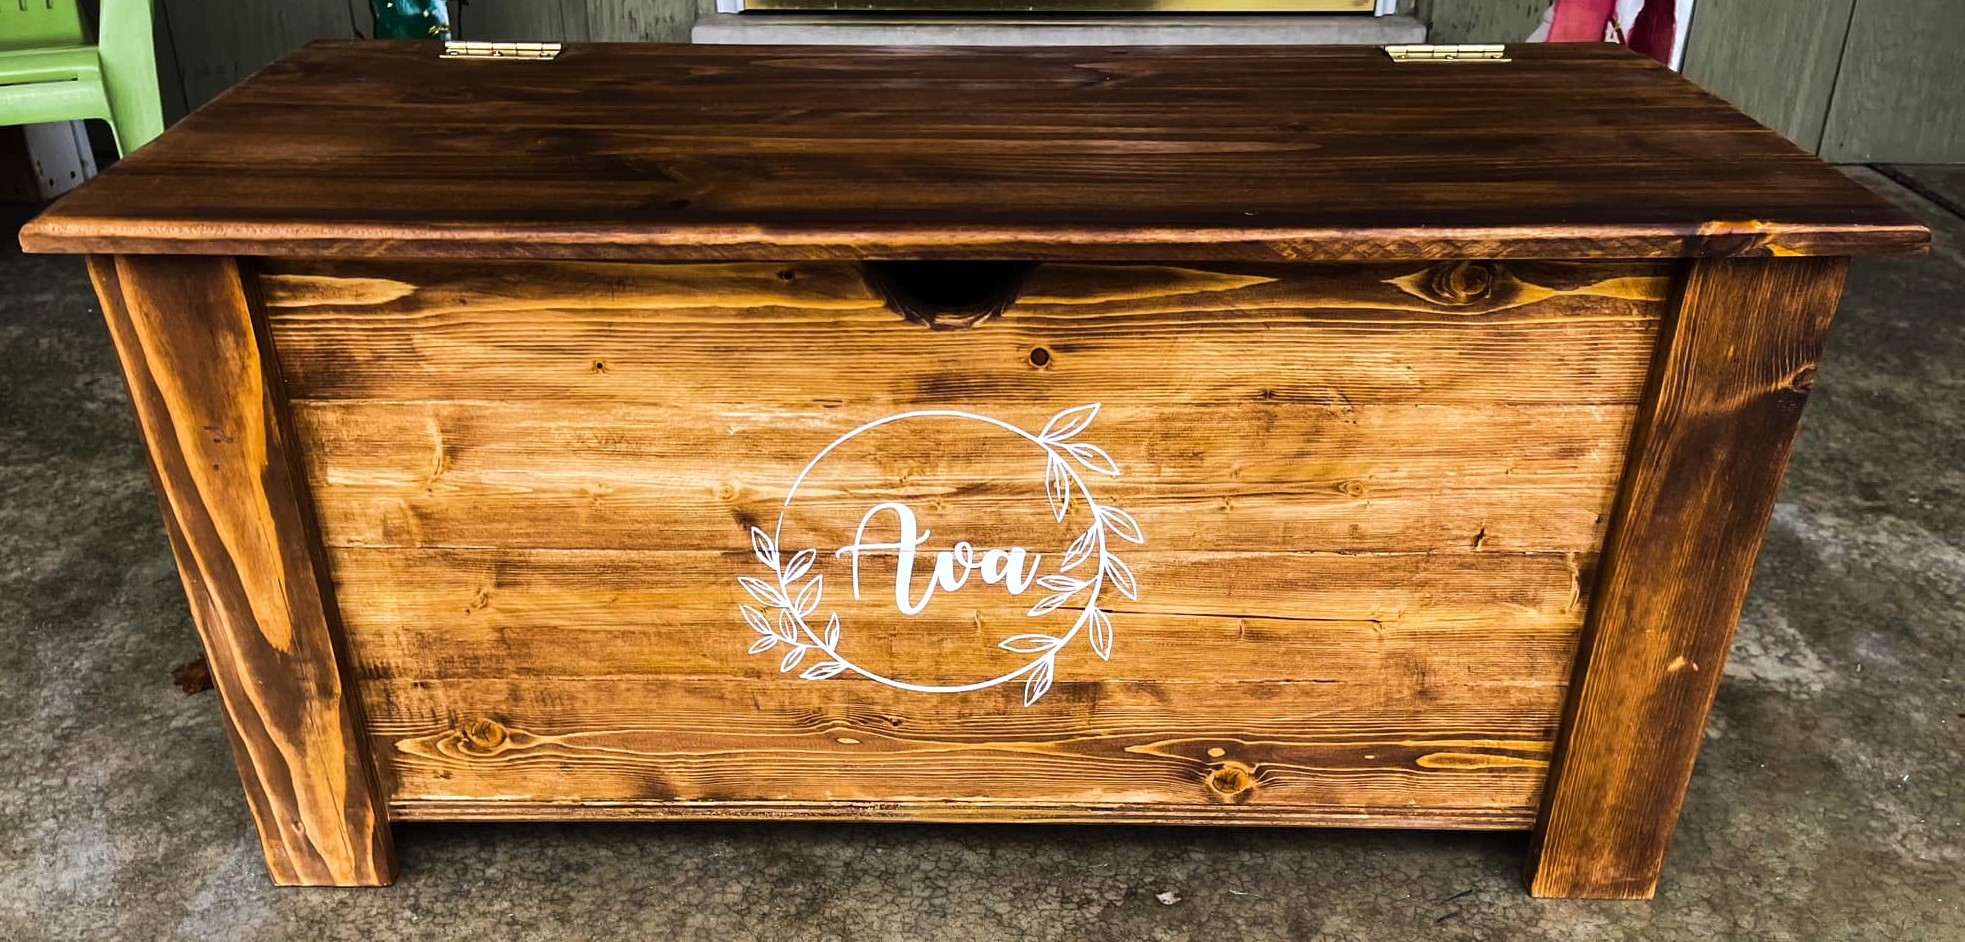
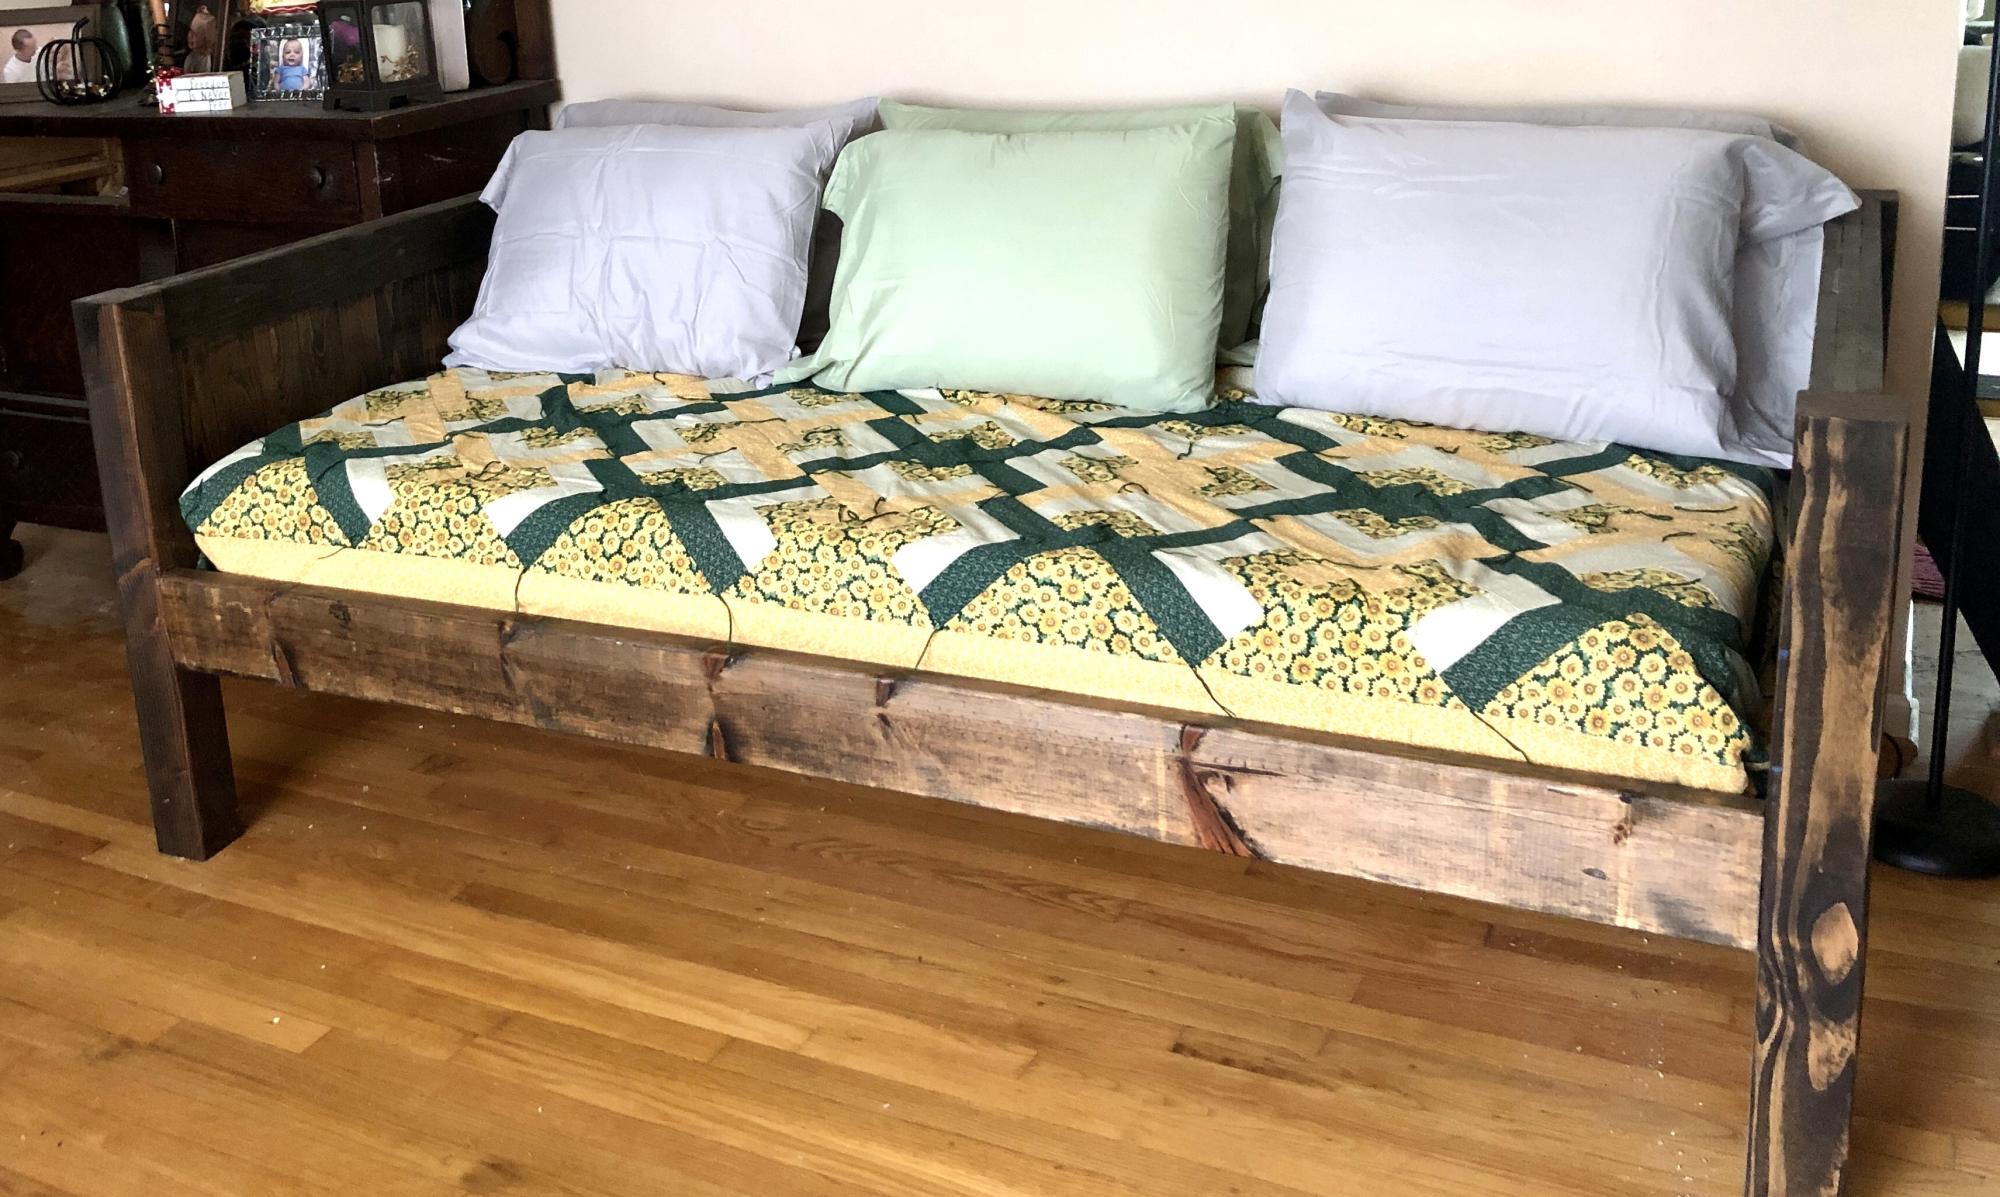
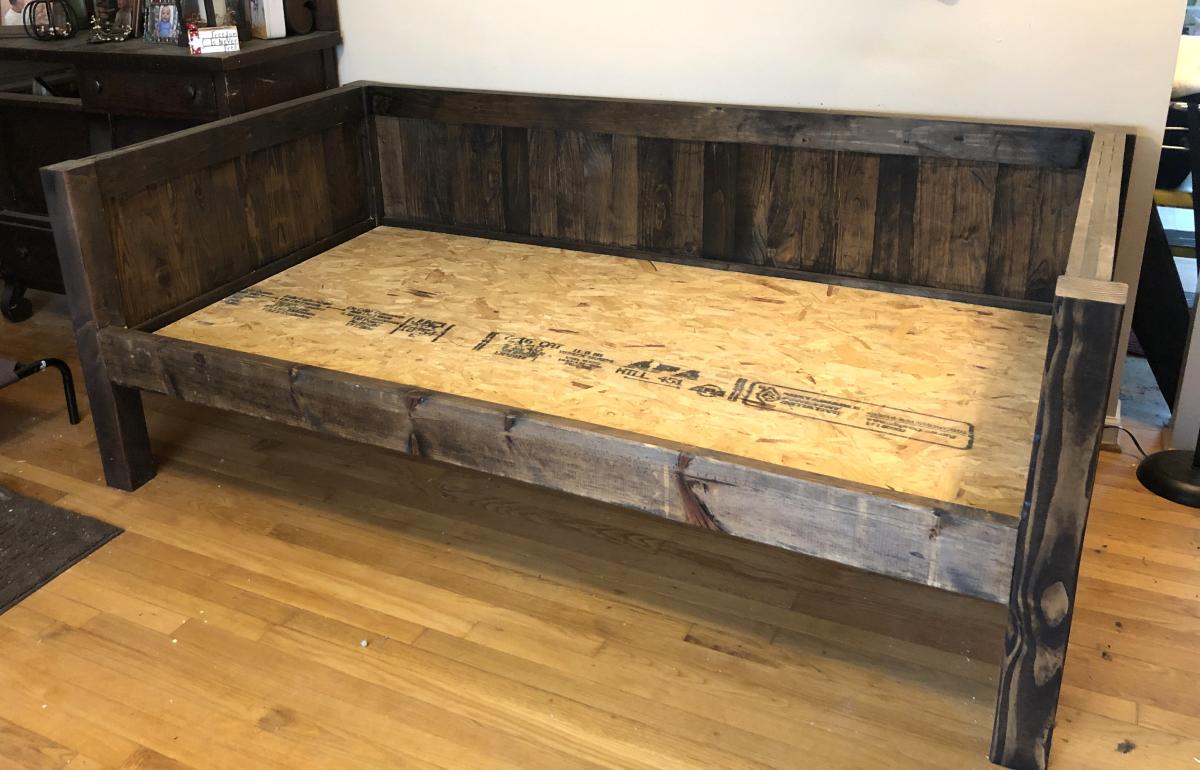
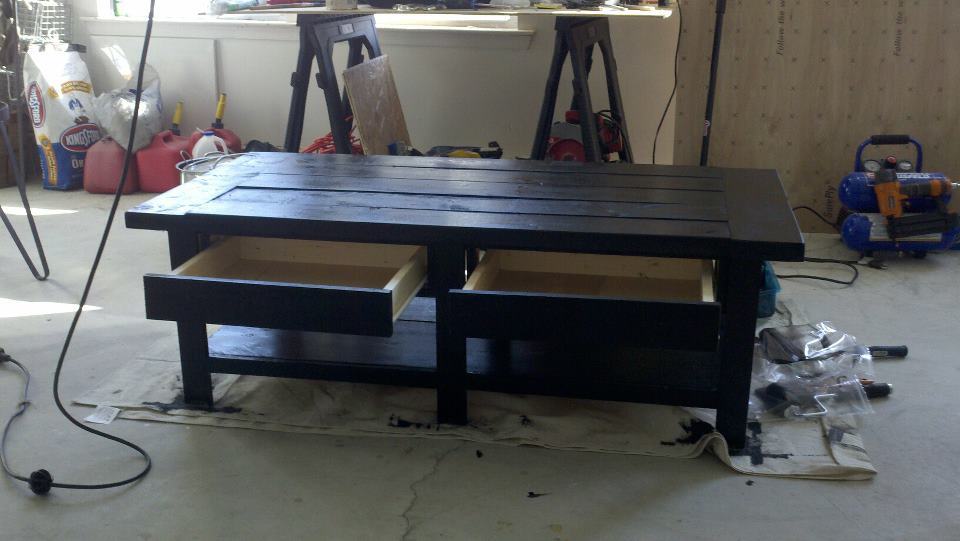
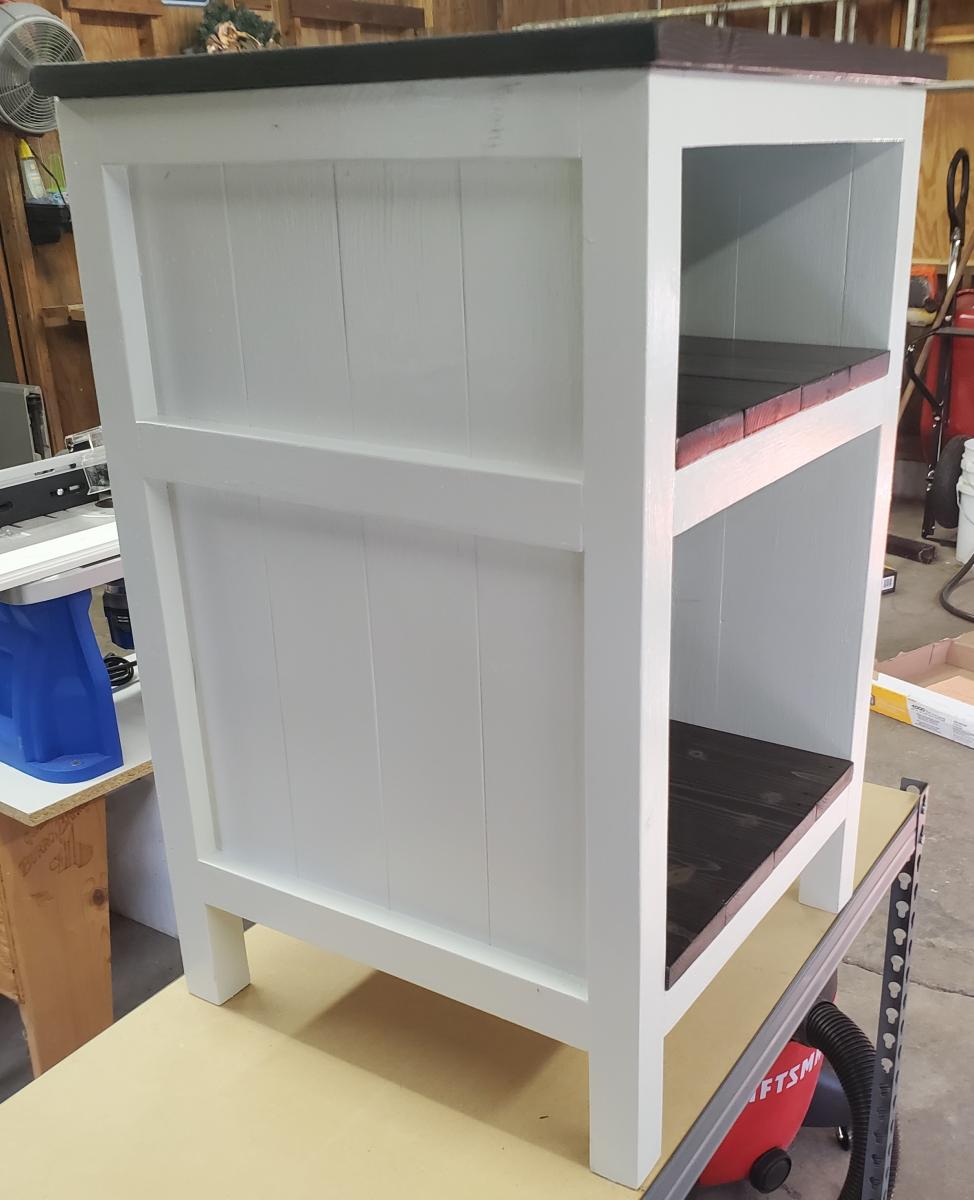
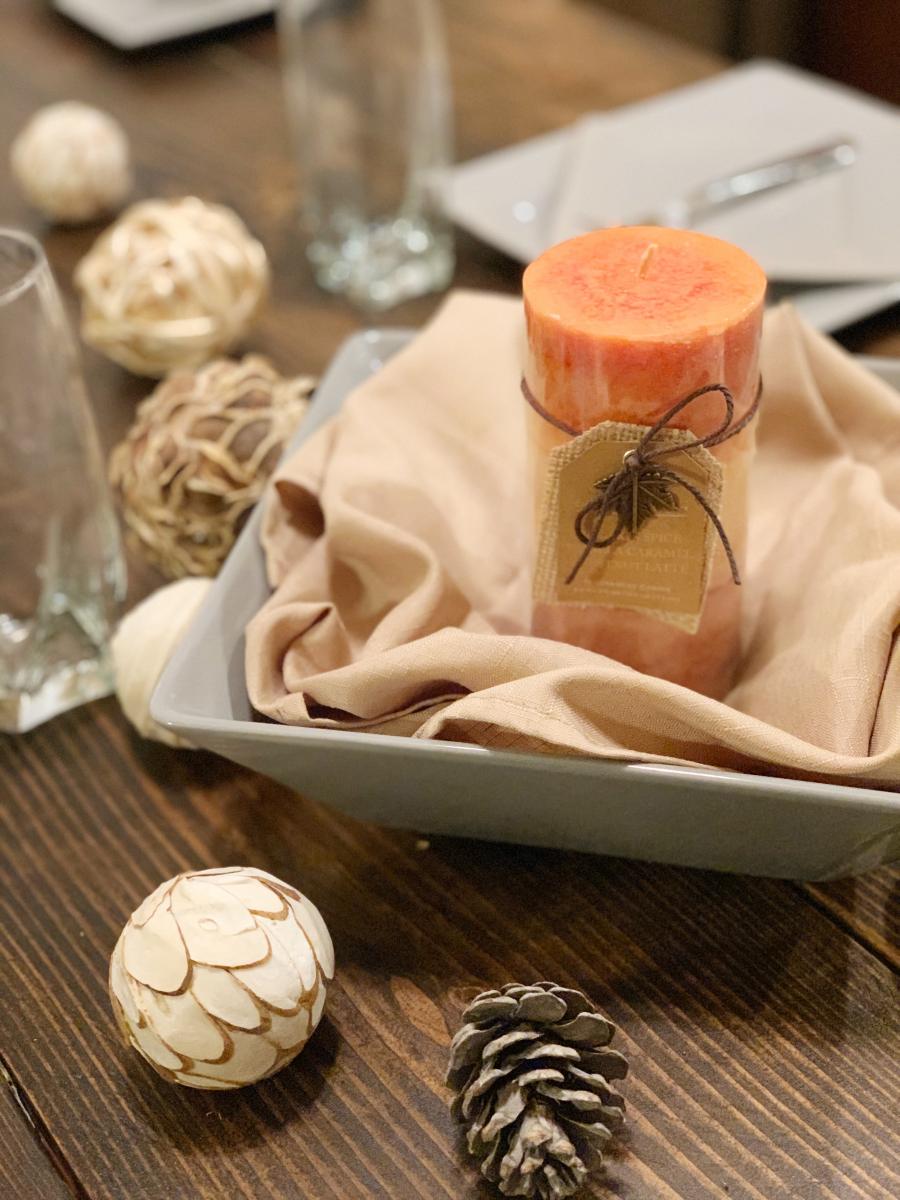
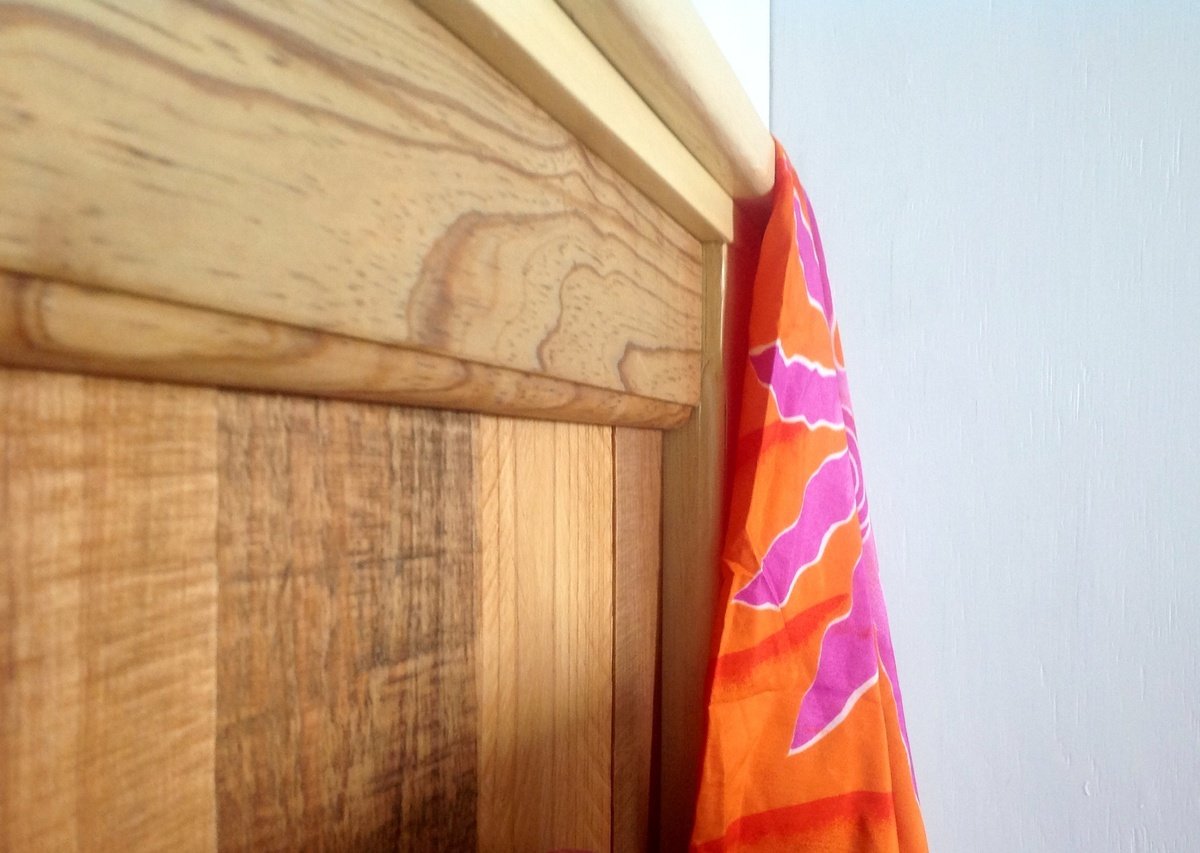
I used an Espresso-colored stain with a water-based satin sealer. The water-based sealer provides a crystal-clear finish so that the Espresso color is untainted, and since the sealer is thin, the table retains the natural feel of the wood, (though the whole table was sanded so there aren't any splinters. Don't want it THAT natural!)
I let it air dry outside for 48+ hours to ensure the stain was completely dry before being sealed, and to detract from the stain smell.
Recommended Skill Level
Intermediate