Octagon Picnic Table
I just finished this octagon picnic table as per your plans
the 2x6 are all clear Western Red Cedar and the skeleton is
Douglas Fir. I think it turned out astonishingly excellent.
Thanks for the inspiration Ana.
I just finished this octagon picnic table as per your plans
the 2x6 are all clear Western Red Cedar and the skeleton is
Douglas Fir. I think it turned out astonishingly excellent.
Thanks for the inspiration Ana.
I have been wanting a toy box for my kids, for a while...problem is... I didn't print the plan, still love it though!!!!
Sun, 06/30/2013 - 08:43
Wow, that was very fast to make that! I made one similar out of Northern Red Oak and it took me about 80 hours. I spent more than two hours just driving and selecting my wood. Very nice!
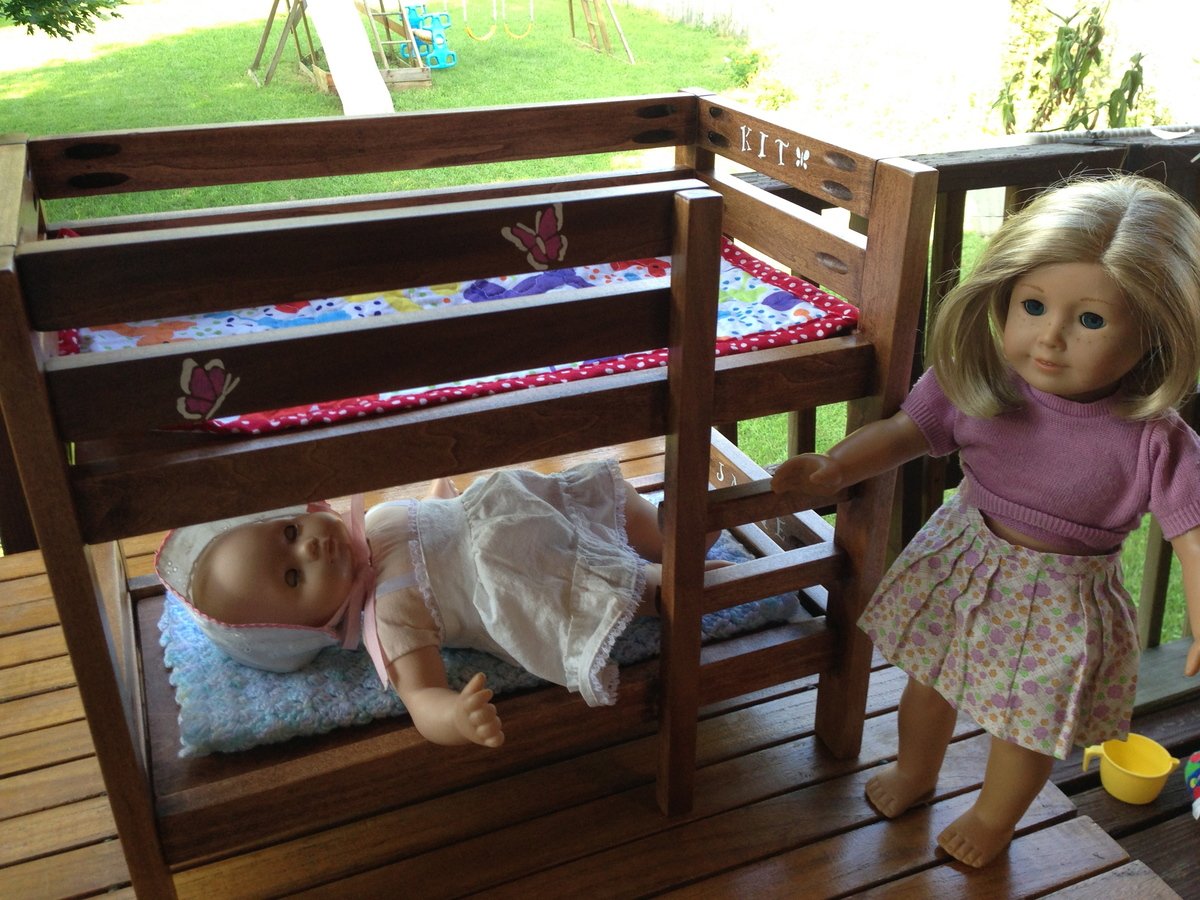
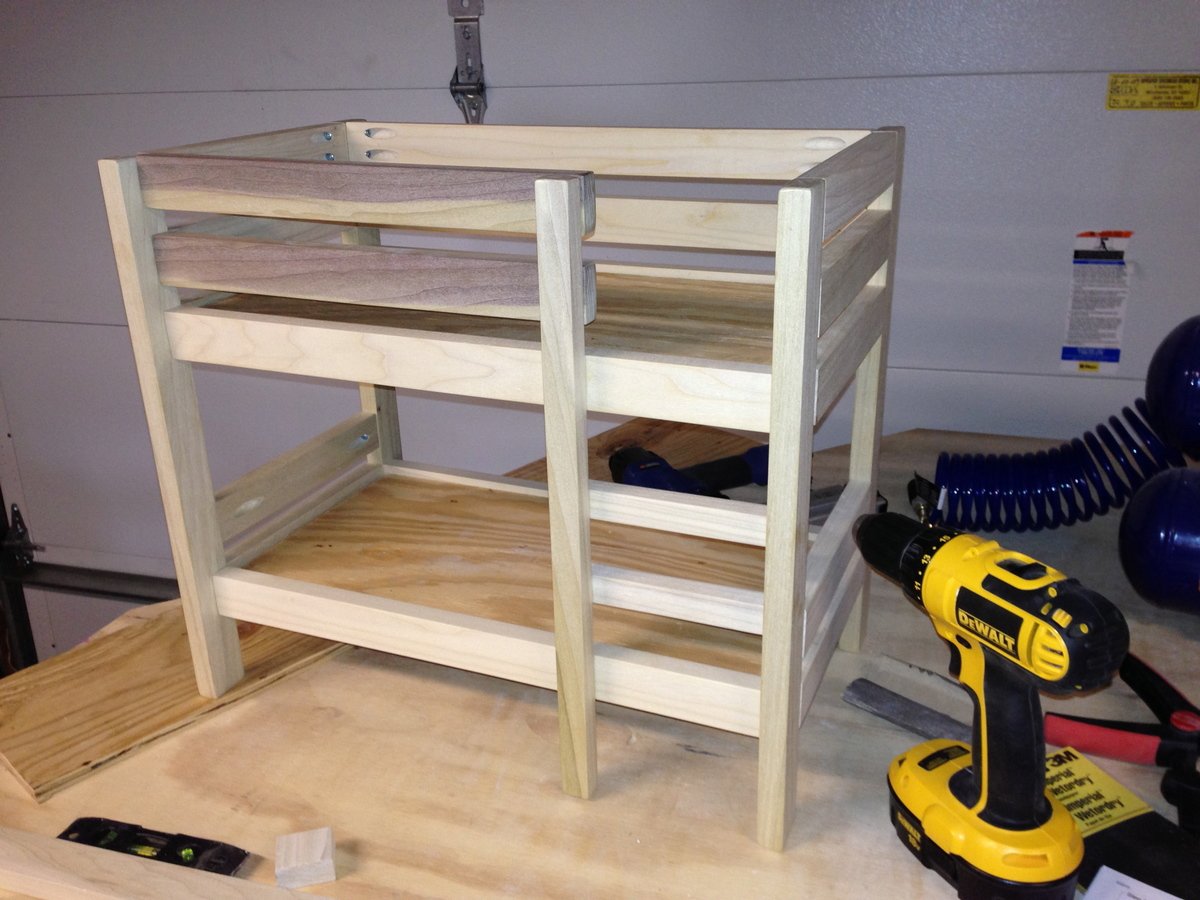
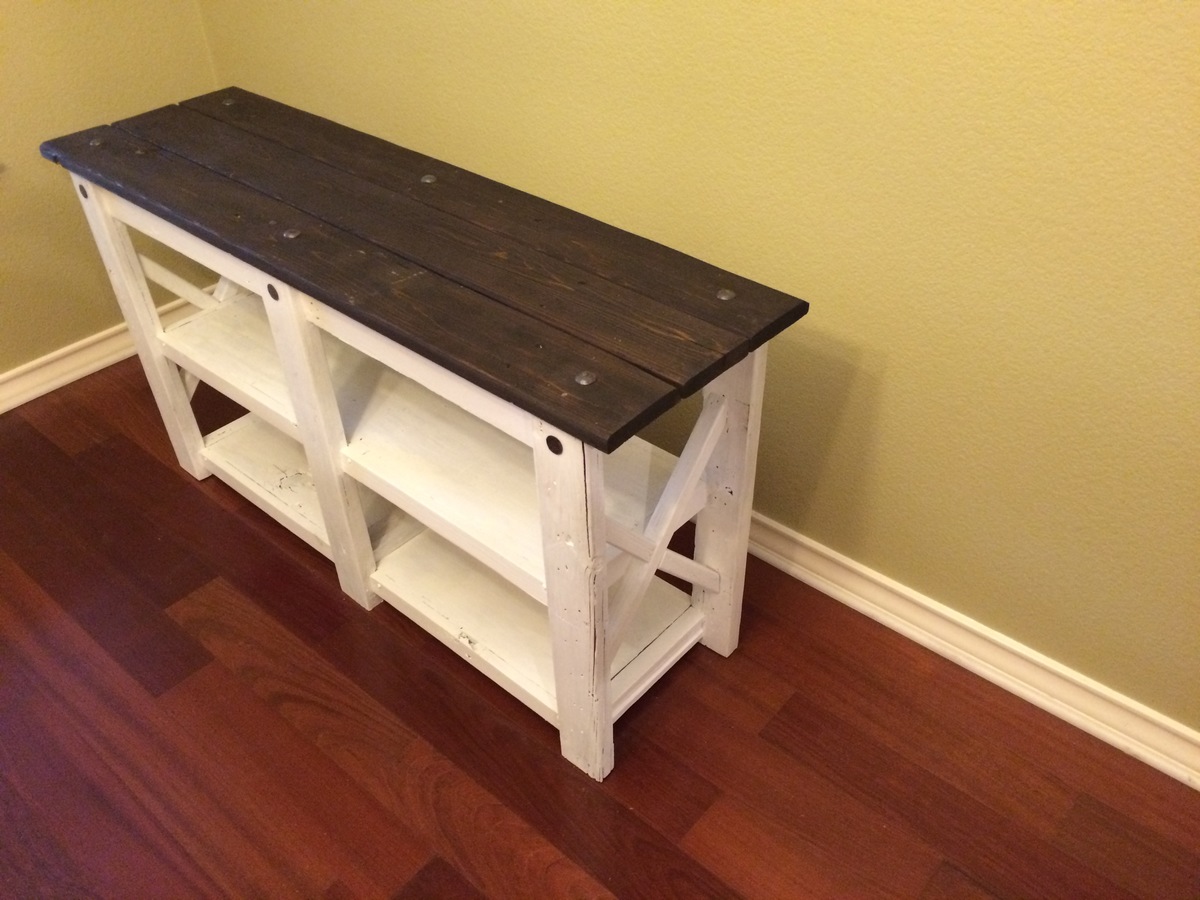
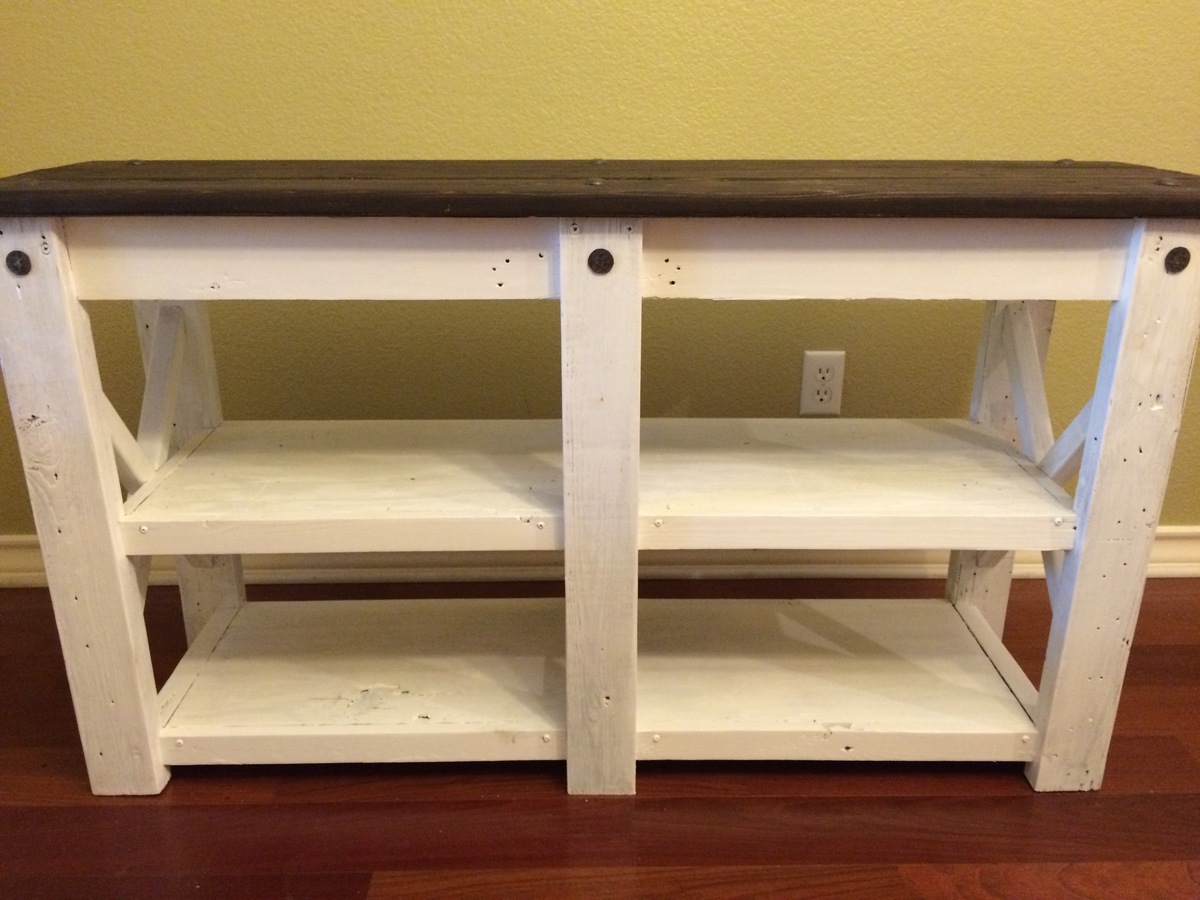
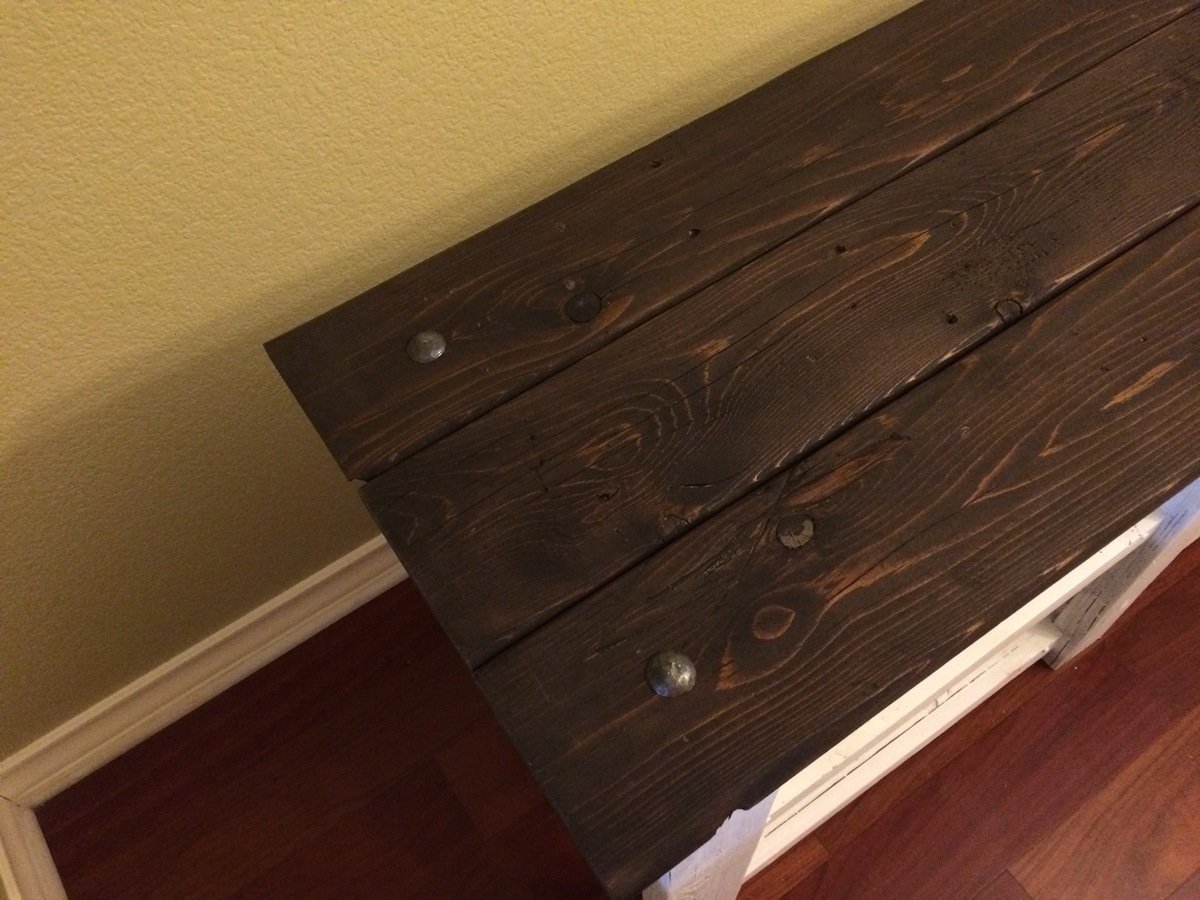
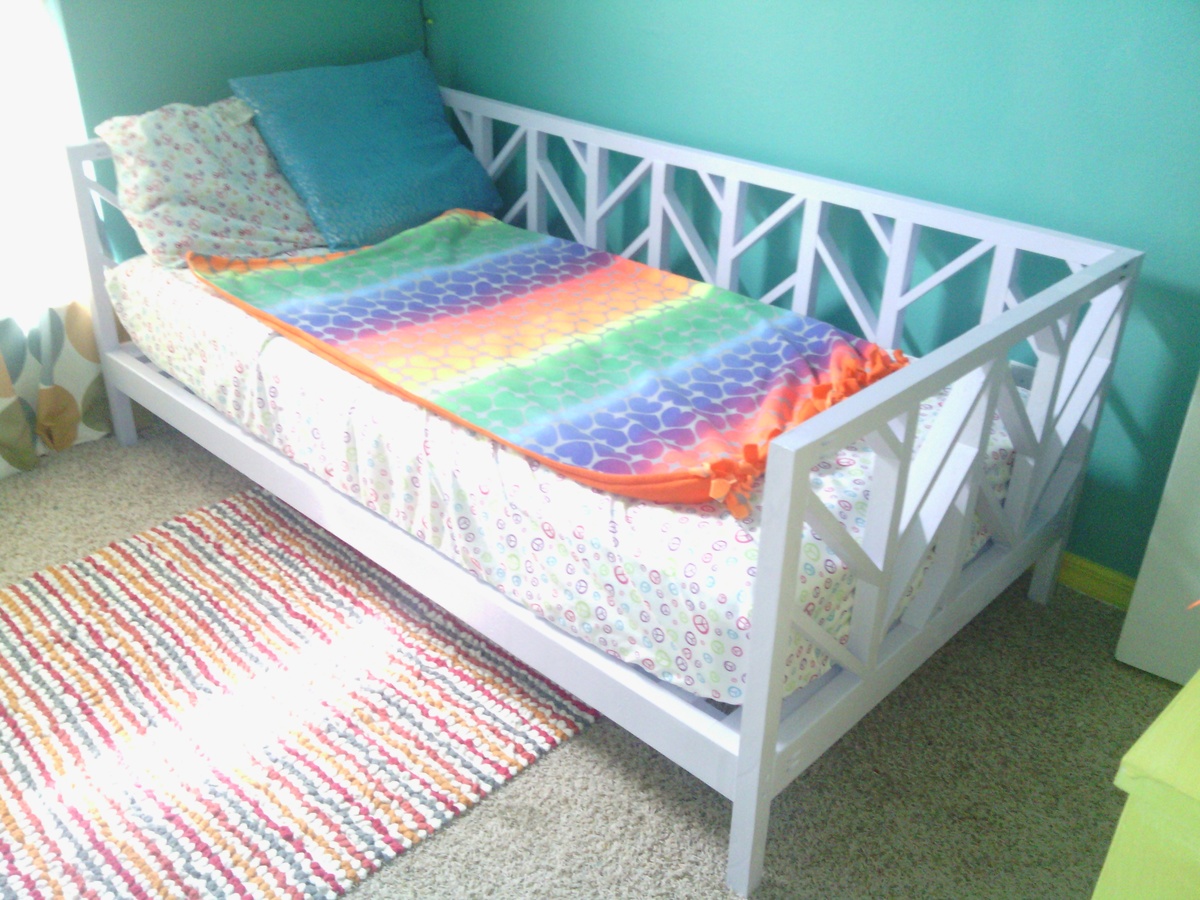
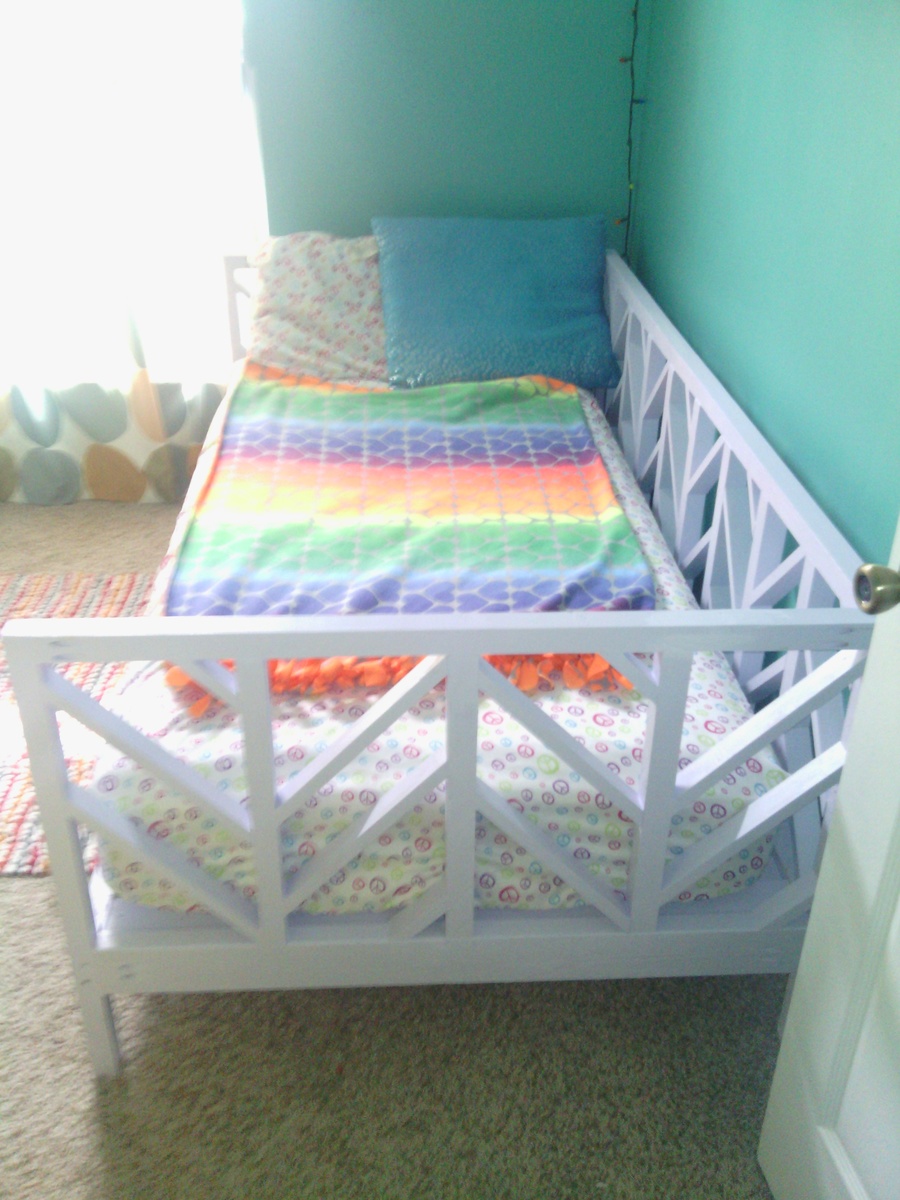
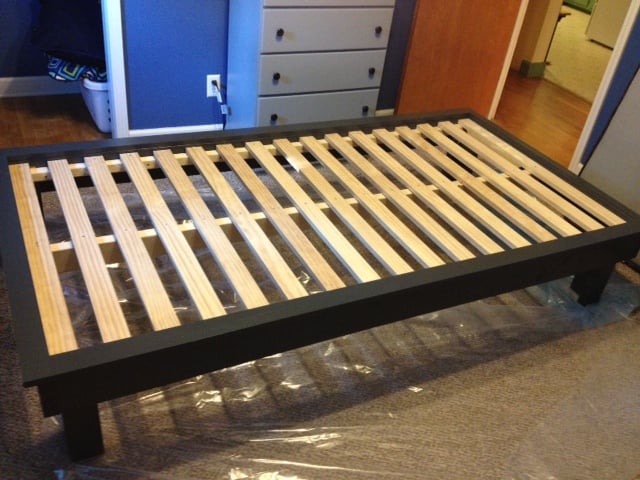
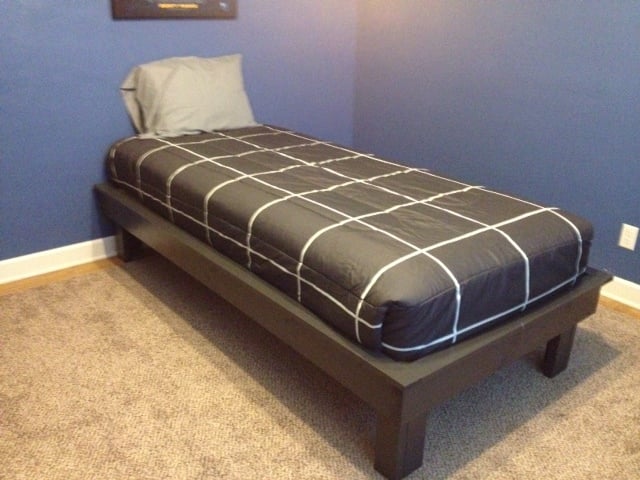
I made this bed for my daughter's birthday using poplar wood. Since I can only work at night after the kids are in bed I think it took me about 3 nights working an hour or two each night to build it and then a Saturday afternoon to finish it. I finished it using a Miniwax pre-stain, Miniwax English Chestnut stain, and then completed it with a couple coats of polyurethane.
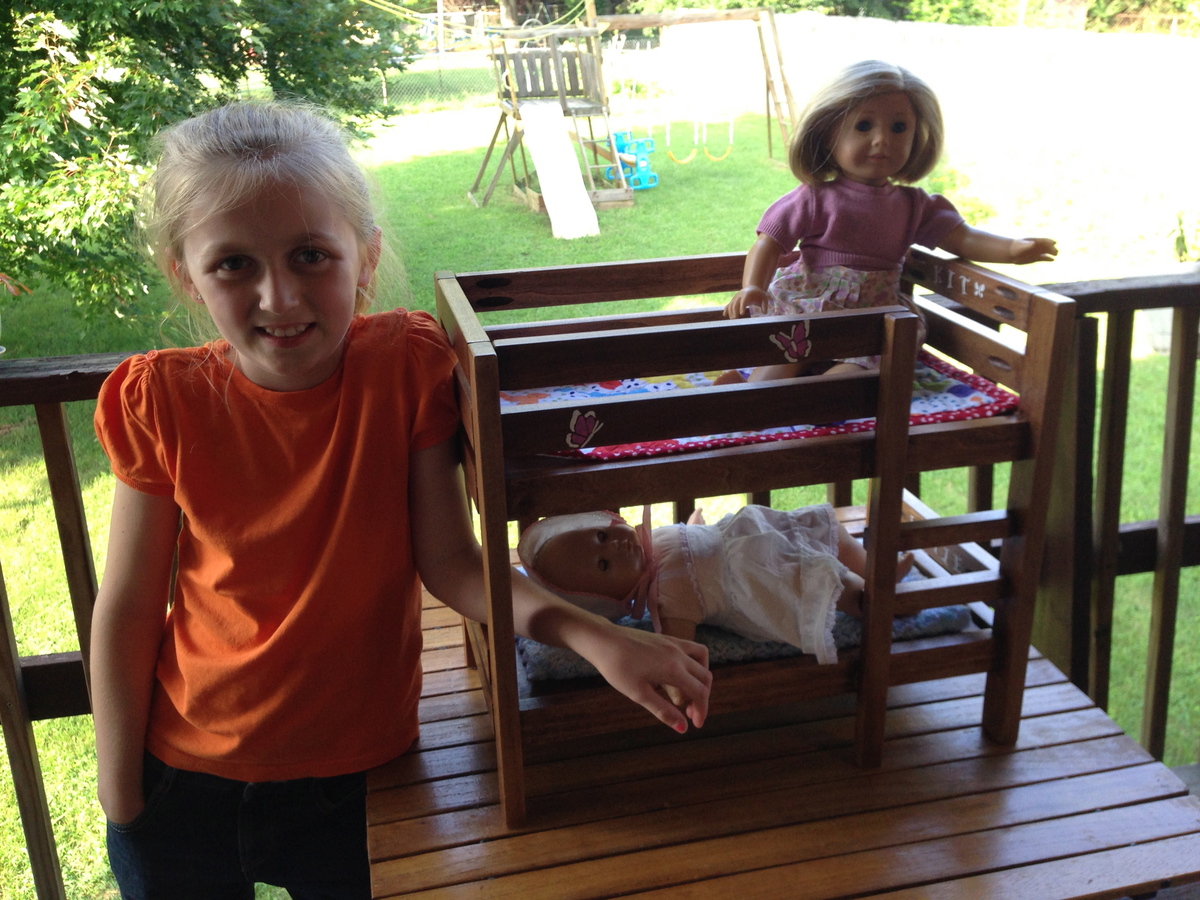
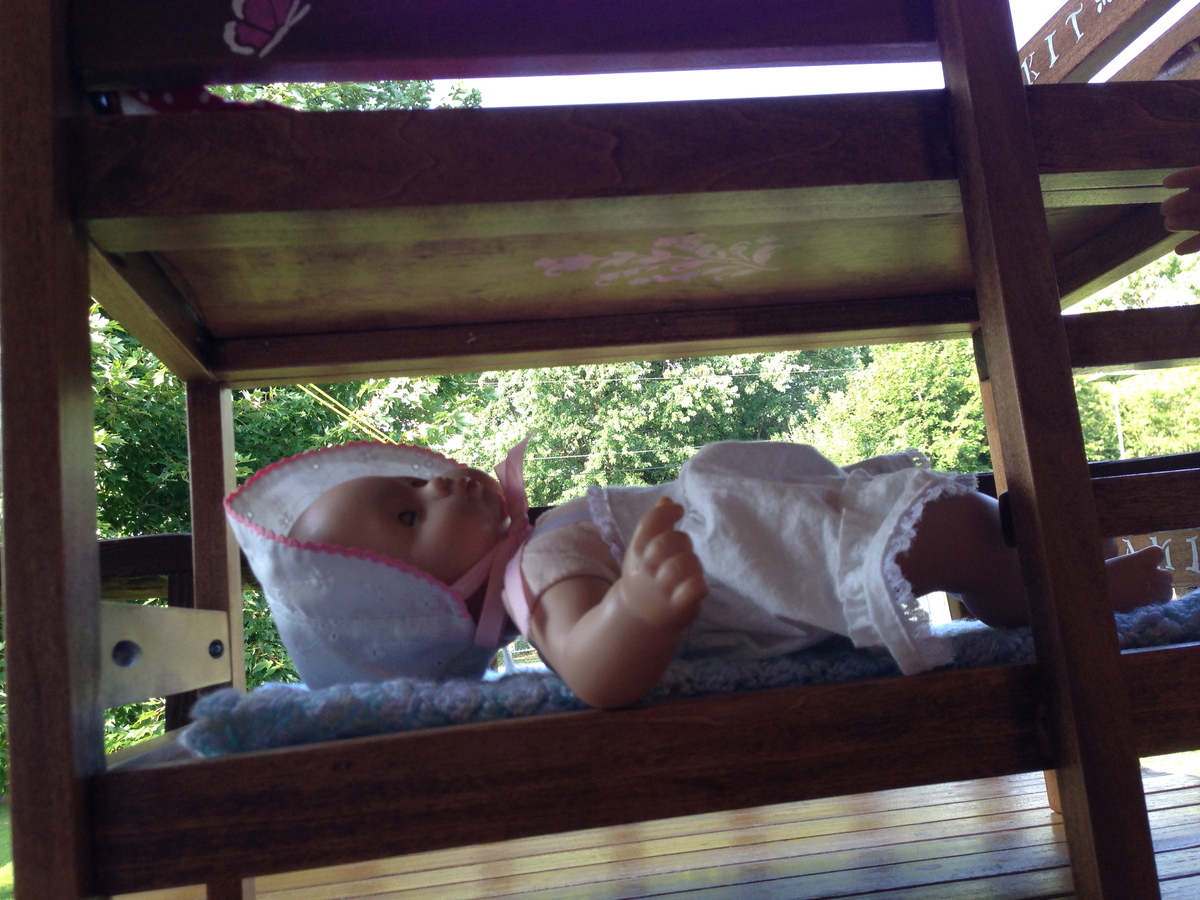
She actually helped me at the end to stencil on the names of her dolls, a couple butterflies and a flower on the bottom of the top bunk so her baby had a pretty picture to look at while she slept :). She loves the bed.
We also worked together to make her cousin a single bed that I will share photos of also. Thank you so much for sharing the plans with us!
We modified the size slighly 54x16x29 and added a 1" reveal at the front. The top is made of 1" cedar planks. All the wood we used for this project was free recyled wood. The top color is expresso satin and the support structure is pure white.
Another fun build! I increased the size to 4’W x 7’T and added some drawers! Thanks for your detailed plans.
I built this bench way back in the winter (which really has barely ended) and finally today got it outside for a photo shoot! Notching out the legs was a new thing for me but turned out wonderfully. I look forward to making some for my mother for her gaggle of grandchildren.
Oh and best of all, mine was free to make since I had nasty ol' 2x4's on hand! PERFECT!
Mon, 06/20/2011 - 16:40
Beautiful work! I love the finish on it, with the contrast between the top and legs
Went a little crazy on the pipe project, but love it. My favorite thing is the bench. My husband loves the toilet paper holder.
I modified these plans a little. I added some tongue and groove breadboard ends, and used Rockler table top fasteners to attach the top. I worked on it in my spare time after work a couple days a week for about a month. I'm happy with the overall outcome!
This chair is the best. We went to a specialty lumber store and picked up some Ipe wood. It was fairly expensive (about $100 for the wood alone) but well worth it! Looks awesome and is really comfortable. We also tested it out and it is very sturdy, however, we did use 2x2 for the frame. We plan on making at least one more matching one soon. Thanks for all the plans!!!
I build this last minute for my daughters room makeover. I worked through the night, but got it completed and painted just after sunrise. (I slept good the following night!)
This was so easy to make and it's so sturdy and beautiful. Rough cut cedar using 3" exterior decking screws and wood glue. Had a blast making it with my wife.
Barn Door Console by David!
My 4yr old son had been asking me to build him a Super Hero Clubhouse. He thought it was going to be outside! I added the slide and door and the back inside wall is a whiteboard. He absolutley loves it!! It took about 9 weekends, the painting was the longest task.
Sun, 07/03/2011 - 15:26
How did you make the slide? What materials did you use to make it "slidey?"
Thanks
Tue, 09/27/2011 - 12:40
Hi there, sorry for the delay, I didn't know anyone had commented!
The slide is simply a piece of laminated utility shelving. The laminated surface makes it slippery like a slide and eliminates the worry of splinters. Its 3/4" thick particle board and cut to match the correct angle from the bed to the floor. I then added 1x3's to make the hand rails and there are 2- 2x4's running the length of the slide underneath to support it. The slide itself is nailed to the supports underneath and the supports are cut at an angle on both ends and screwed to the bed from the inside. Its very solid!
Thanks!
Wed, 11/02/2011 - 11:25
Super cute....nice to see it decorated for a little boy..my son turns 4 in December and I'll be redoing his room. My only concern would be how much additional space the slide would take up? About how far from the base of the house front is the bottom of the slide.
Wed, 11/23/2011 - 09:06
From someone that has done a modified playhouse loft bed, I know how tiring and time consuming it can be! Looks great and can't show my son or he will decided he wants this one instead!
Jeff
Wed, 11/23/2011 - 14:10
I agree with the above comment: I can't let my sons see this! :)
I love this headboard :)
We finally completed the tufting portion of the mantel headboard tonight and it looks great! Anna's design was easy to follow and the tufting part was easier than I thought...I followed http://www.cape27blog.com/2013/03/tufted-headboard-tutorial/ for the tufting portion.
Can't wait for the next project!
I built this for the three little ones to get ready for school and have a place to hang their backpacks.
This was a piece made by my husband for our outdoor living/patio area! Love how it turned out--and the walnut top was worth the extra money. Same wood that he used to make a fireplace mantle in the same outdoor area. The plank doors were leftover pieces we used to cover a ceiling, and created a great result. Found the Annie Sloan paint (Parisian Grey, I believe) and wax on a Buy/Sell Facebook site in our neighborhood and saved a little money.
Cute play stove!
by Larry
Got a chance this weekend to do our first (good!) woodworking project. Love the chair, gotta head back to Menard's to get some more lumber for chair #2!
We needed a twin XL for our 17 year old grandson. This platform bed was perfect. It didn't take much to change the plans for the XL since it's the same length as a queen bed. We added the center support simply for added strength and changed the legs to make them longer so I can put wheeled drawers underneath the bed for added storage.
I saw Jen's one board challenge post and realized that some wood I got for free off CL a year ago included the right amount of walnut. This seemed like the perfect plan to utilize this beautiful wood in a worthy way. I did not have a 1x8, so I made a butcher block kind of top, which I think I like even better since the colors and grain vary.
Placement of the connecting bolts is quite tricky and led to some misplaced holes : ( The stop blocks to the side of the legs aren't mentioned in her plan, but pictured, and are recommended in order to stop the legs from splaying too far. I used pocket holes for all joinery and no stain, just poly for the finish. The final coat I watered down some water based poly and wiped on for a smooth finish. Love it!
My wife and I are expecting our first child so I wanted to make a toybox for his toys. I liked the plan that i found on this website since the front piece had the cutout to reduce fingers getting pinched. I also added some spring assisted hinges to make help the lid stay up and also close a little softer than just regular hinges.