Community Brag Posts

Built-in Bookshelves

Submitted by brittanyj on Mon, 11/04/2013 - 11:51

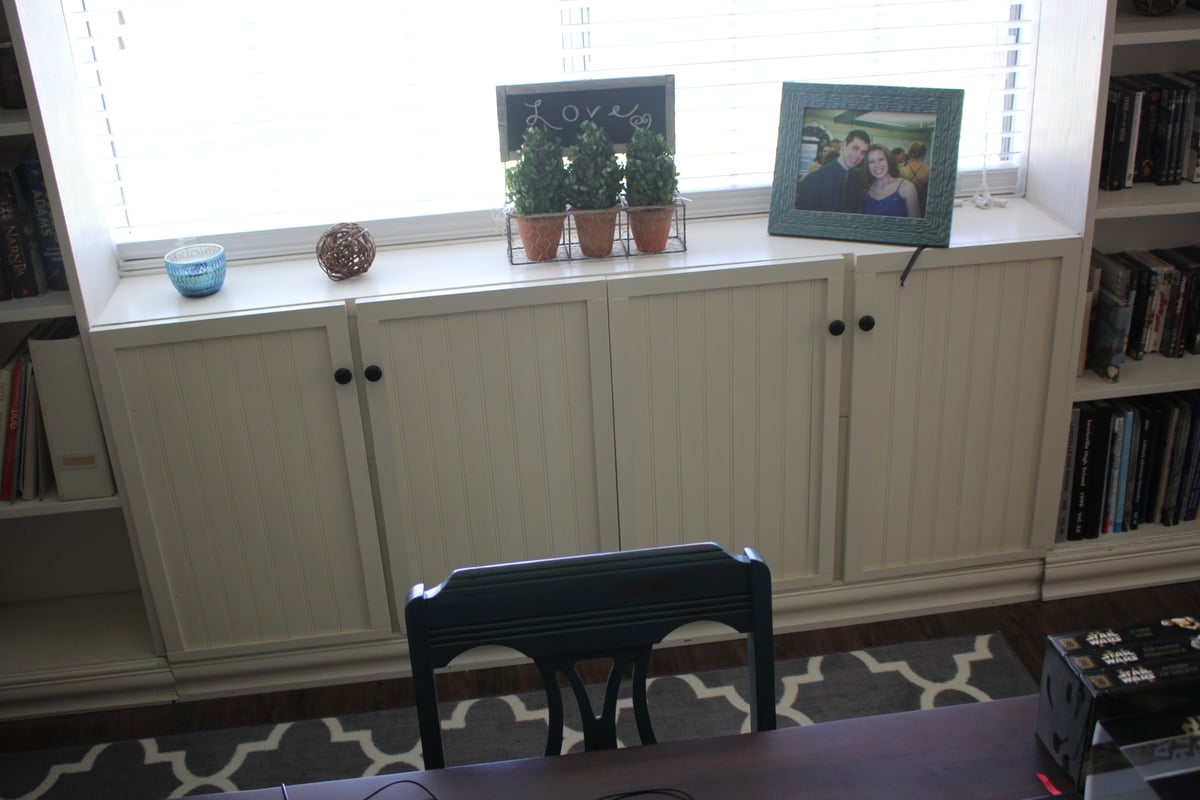
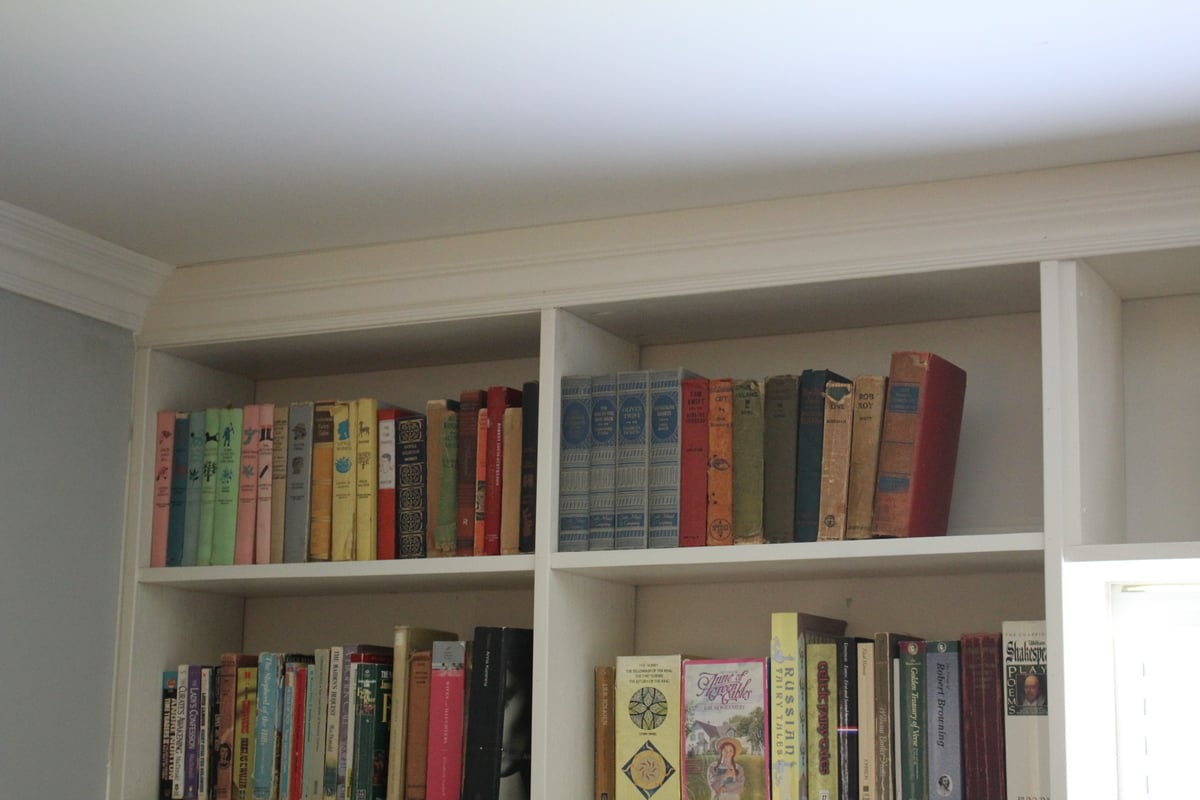
My summer-long project (admittedly, I was lazy about getting it done) was to make built-in bookshelves for our huge family room. For the bookshelves themselves I cobbled together plans from different sites, and modified them all to fit our space/needs, and the cabinets are built after Ana's cabinet plans, modified to be as thin in depth as the bookshelves. Doors on the cabinets were a pain, but they are also my favorite part of the whole shebang with their beadboard inserts. Moulding at top and bottom finishes out the look, and caulking in all the gaps helps give it cohesion.
I could not be happier with my built-ins. I feel like I have a library now, and it got all of our books out of boxes and onto shelves. Yay!

This entire project cost around $80-$100 because I acquired quite a bit of free wood off Craigslist. I also got wood from the scrap bin at Home Depot for great discounts. Since this would've likely cost near 1k to buy, I am quite pleased.
Anytime you are making projects without real plans, it take quite a bit longer and more mistakes are made. But, to have something completely customized to your needs and space is better than any price tag/time you can put on it!

Tools used: drill, kreg mini pocket hole jig, orbital sander, countersink bit, miter saw, jig saw, HPLV paint sprayer, clamps, circular saw
Estimated Time Investment
Week Long Project (20 Hours or More)
Finish Used
Primer, white latex paint, poly top coat
Recommended Skill Level
Intermediate

Comments

Handmade by [email protected]

Submitted by Anonymous (not verified) on Wed, 01/20/2016 - 04:31

This is our first time building this awesome table.  My husband used Ana's plans with the greatest of ease and then I was able to do the fun part, paint it! Did I mention that our table SOLD the very day we finished it? Yes, the same day.  We are in the process of building another table as we speak.  I am so excited!

Built from Plan(s)
Recommended Skill Level
Intermediate

Original Farmhouse King Bed

Submitted by Nor on Fri, 06/14/2019 - 10:05

I made this bed to house the new standard king mattress that my husband bought. The hardest part is probably picking the straightest lumber possible. Straight lumber would eliminate having to wrestle with the boards to line up/square and minimize power tools used. I had to ask my husband help with the screwing bowed boards together, but other than that I did everything by myself. 

Estimated Cost
220$
Estimated Time Investment
Week Long Project (20 Hours or More)
Finish Used
gateway grey behr marquee. foam roller and angle brush
Recommended Skill Level
Beginner

An adaptation of the Rustic Bookshelf!

Submitted by Anonymous (not verified) on Tue, 03/28/2023 - 16:44

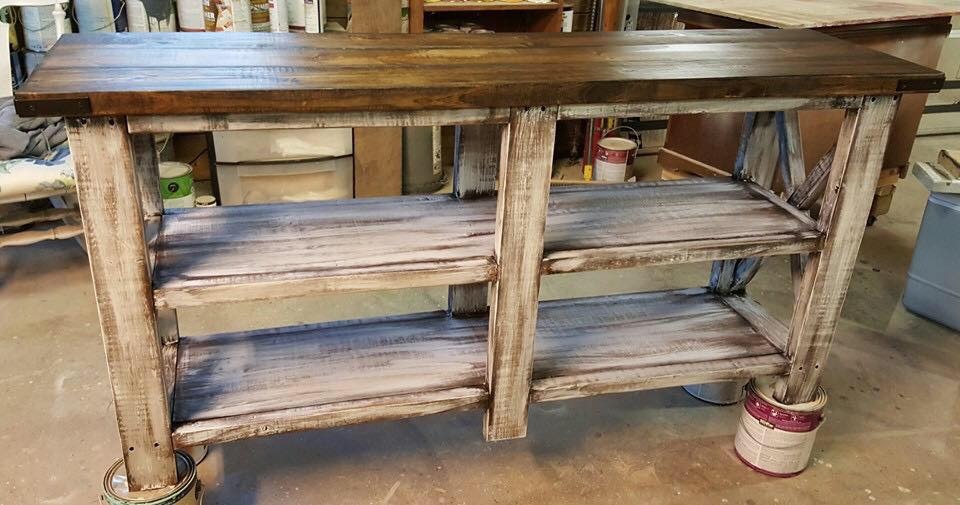
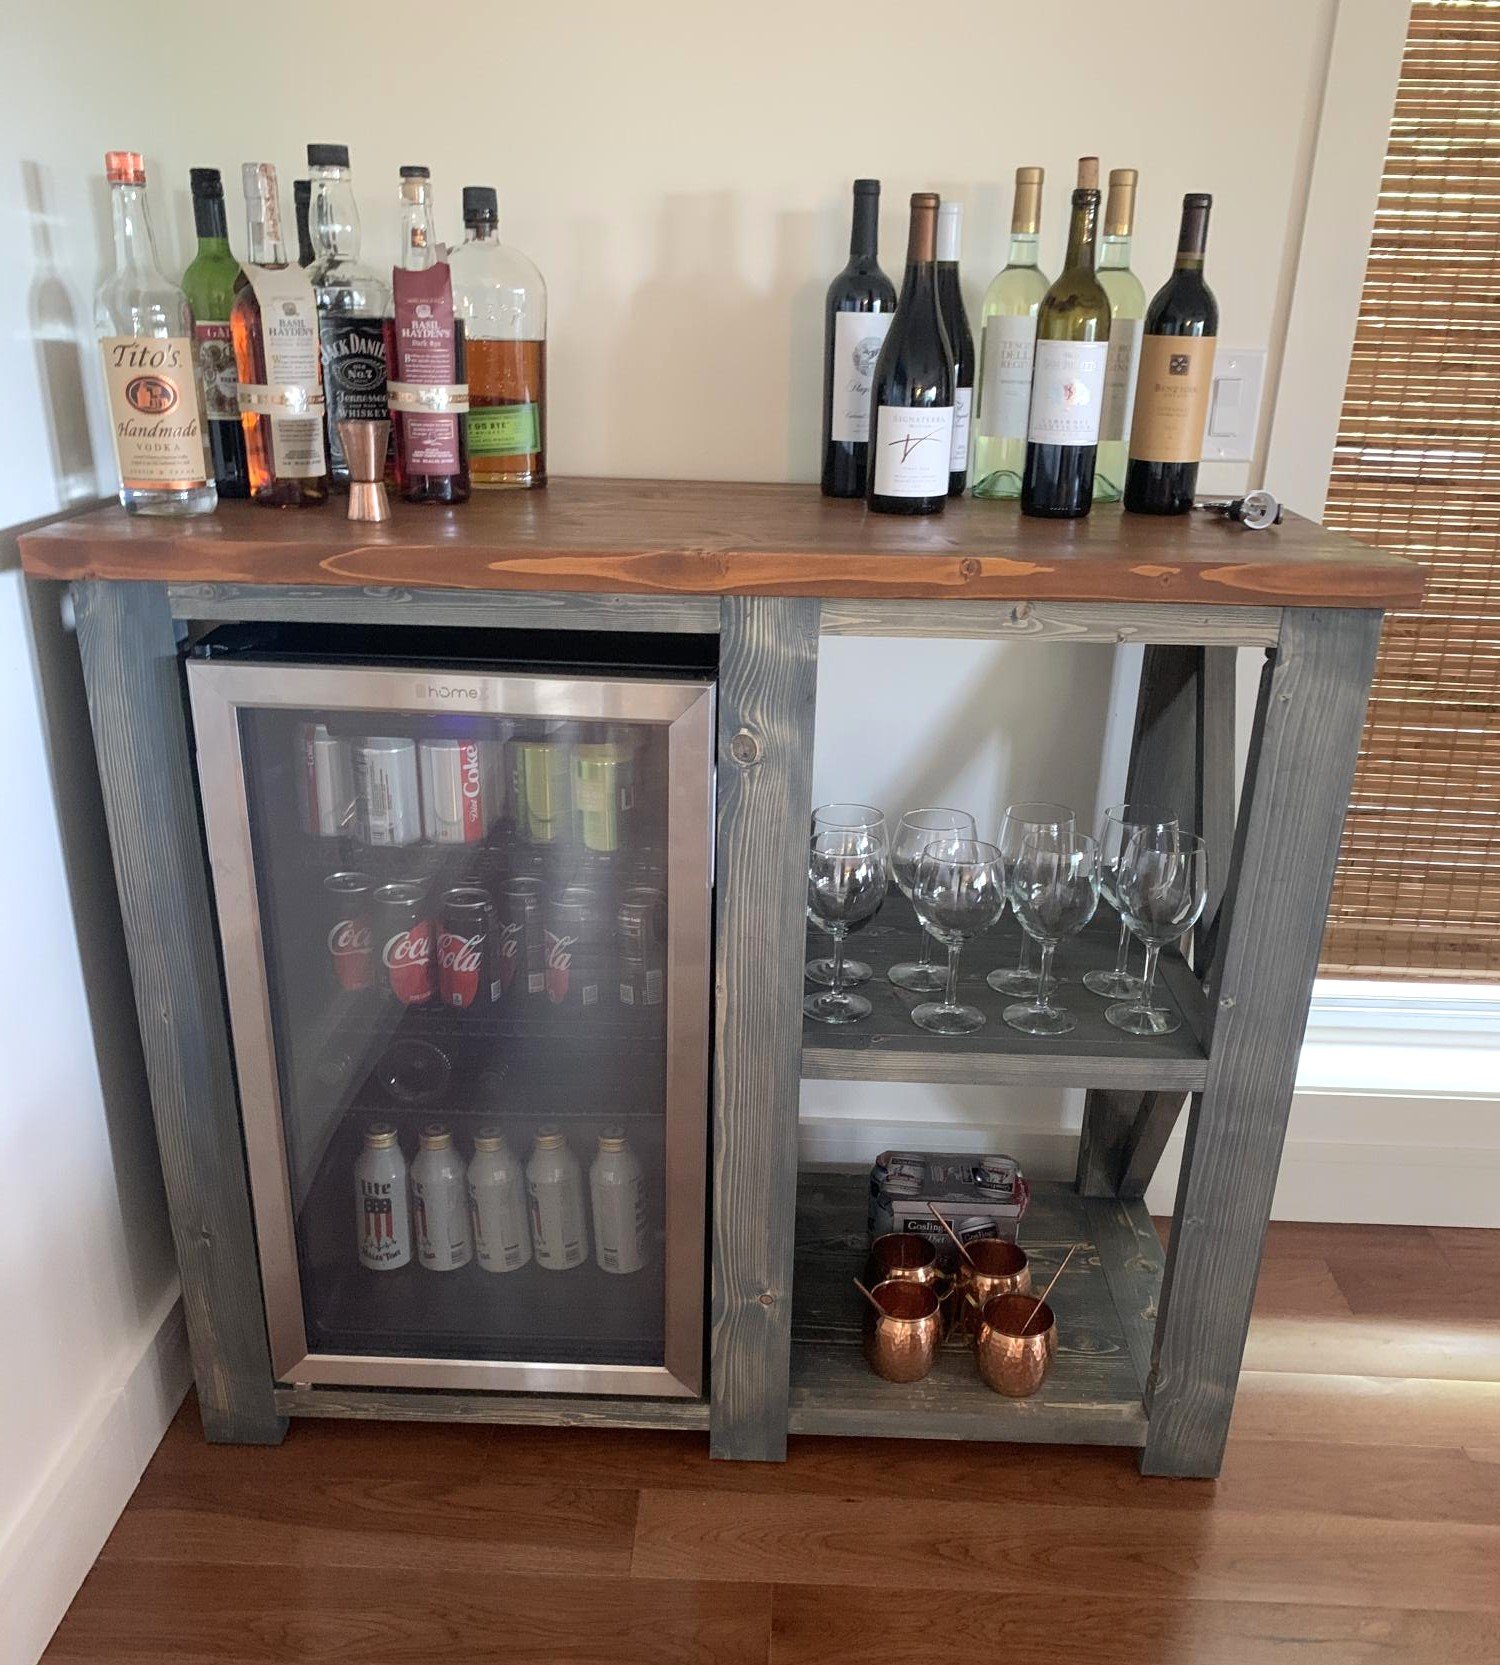
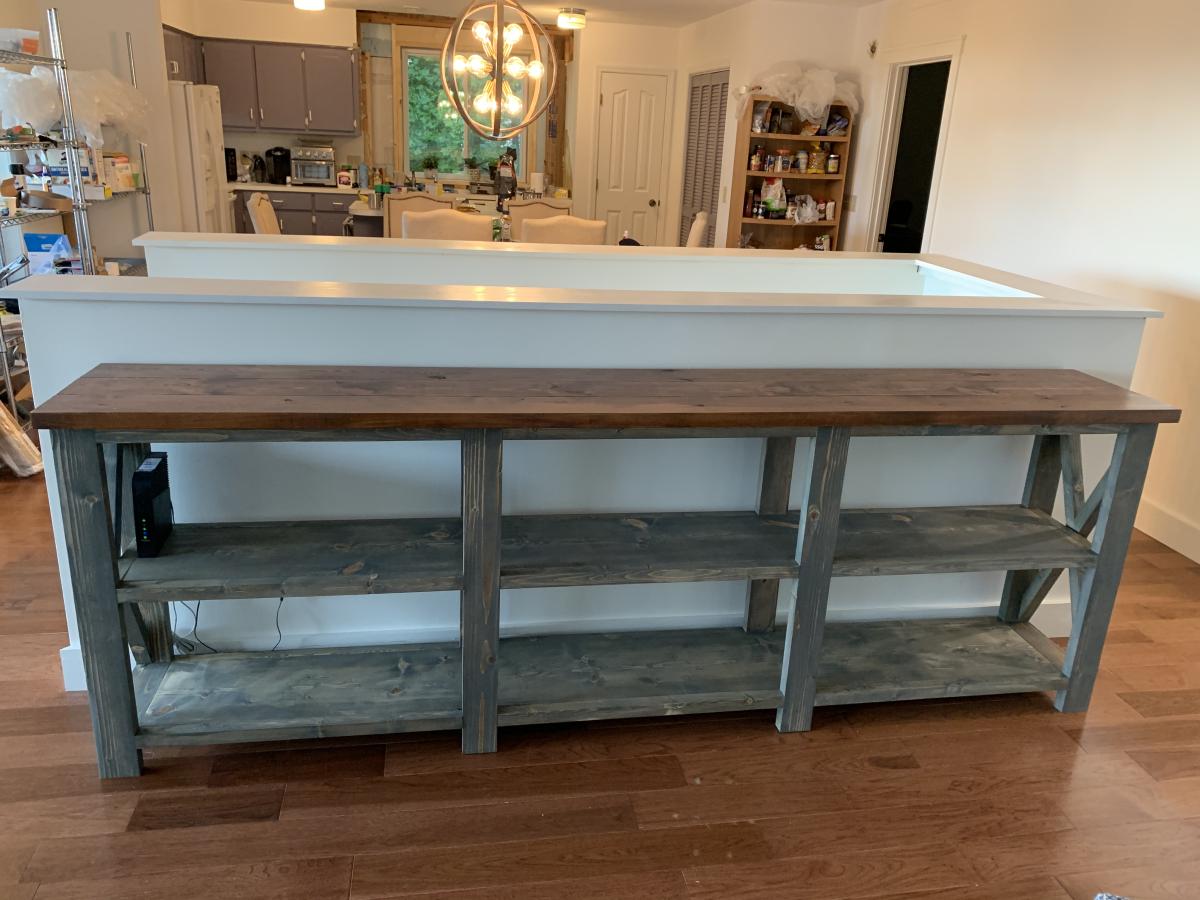
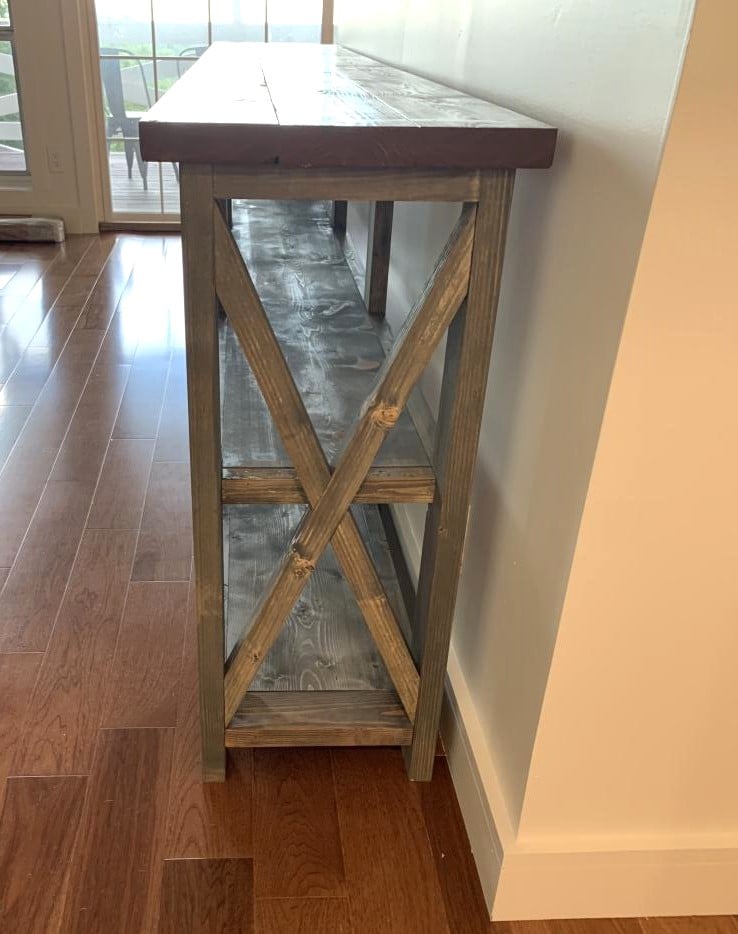
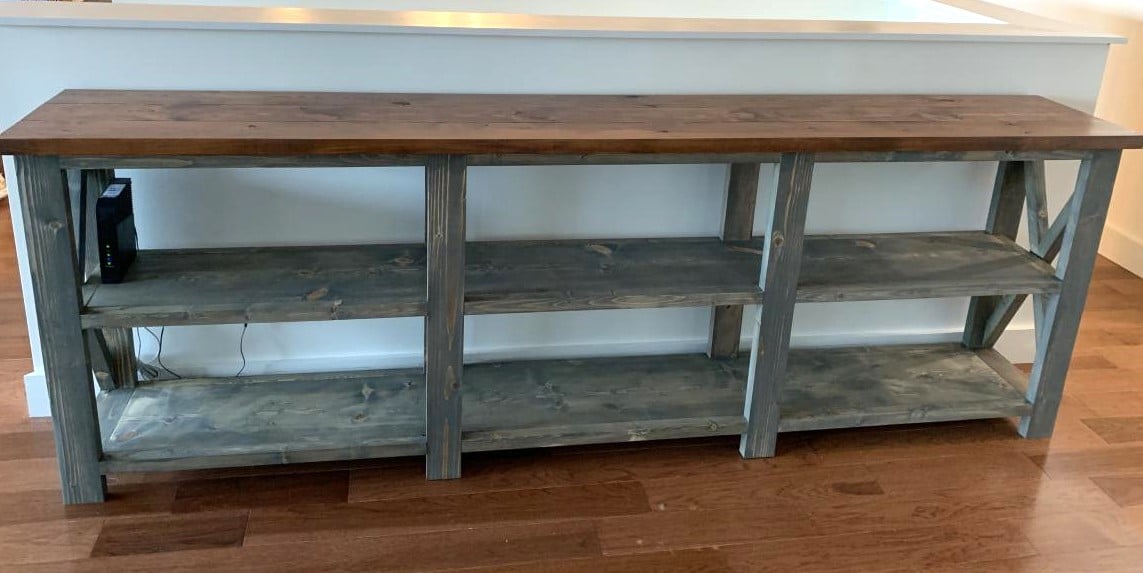
During Covid, my husband and I renovated our mountain house. After taking down a wall enclosing a staircase, we were left with awkwardly long pony wall. Originally we planned to do built in bookshelves, but then I decided the x bookshelves would look good and be a lot easier. So we customized the measurements and built them. Then I decided we really needed a bar space, so we built another x bookshelf around the measurements of an inexpensive bar fridge and voila! They look great and we get lots of compliments on both!

Built from Plan(s)

Comments

Kids Play Kitchen

Submitted by julievic on Wed, 12/14/2011 - 11:28

Christmas 2010 my husband and I made our little girls a kitchen using Ana's plans. We used the materials on her cut list, and used paint for the finish. Used fabric scraps to sew the sink skirt, found the knobs at hobby lobby and habitat for humanity, and small bar faucet at Home Depot. It turned out amazing!

Estimated Cost
$100
Estimated Time Investment
Weekend Project (10-20 Hours)
Finish Used
Paint
Recommended Skill Level
Beginner

Comments

julievic

Tue, 12/20/2011 - 16:04

Thanks so much for the compliment! Means SO much coming from you! I love your site and your plans, Ana you are amazing! Thank you for making me your featured builder this month, I had no clue until someone saw my face on your blog! I feel like a rock star now ;)
Rekourt Farmhouse Table

Submitted by ajwechter on Wed, 11/06/2013 - 17:32

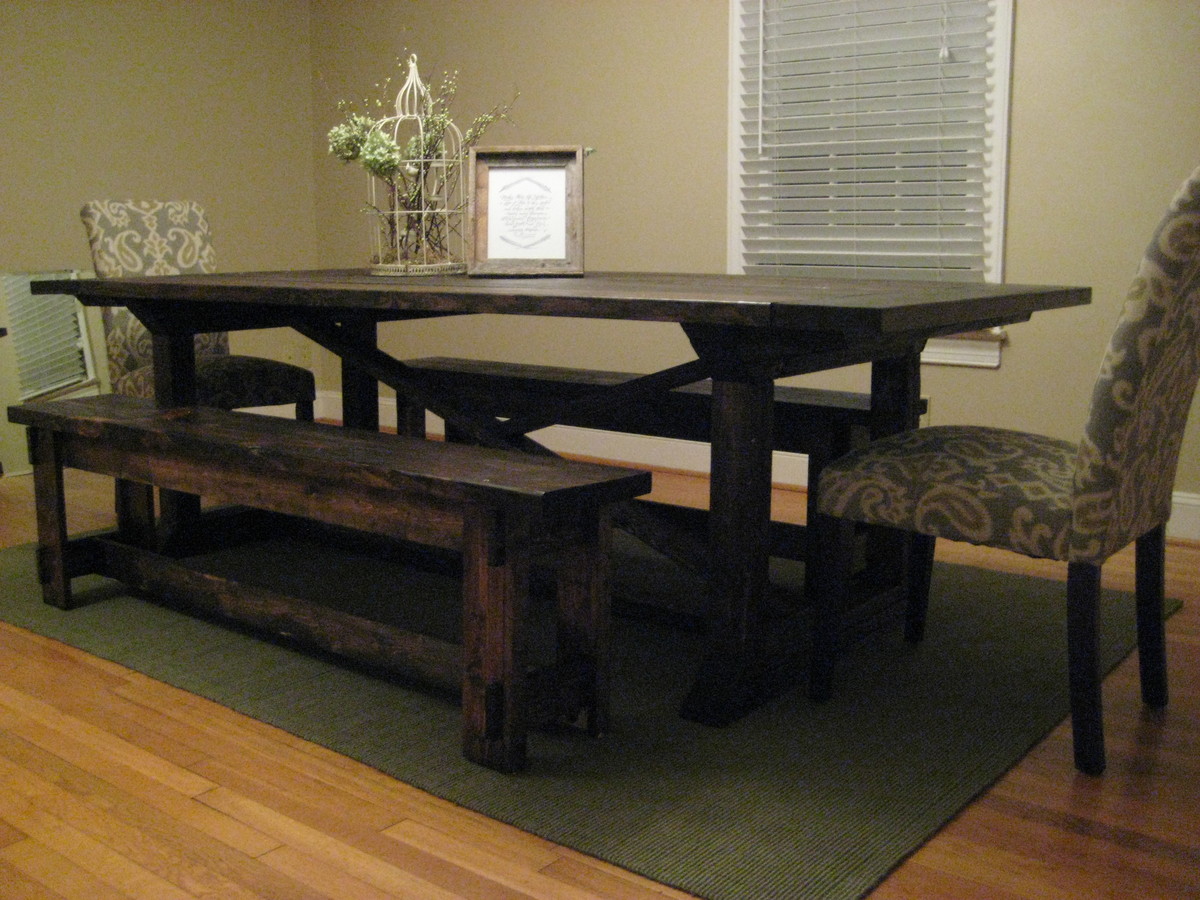
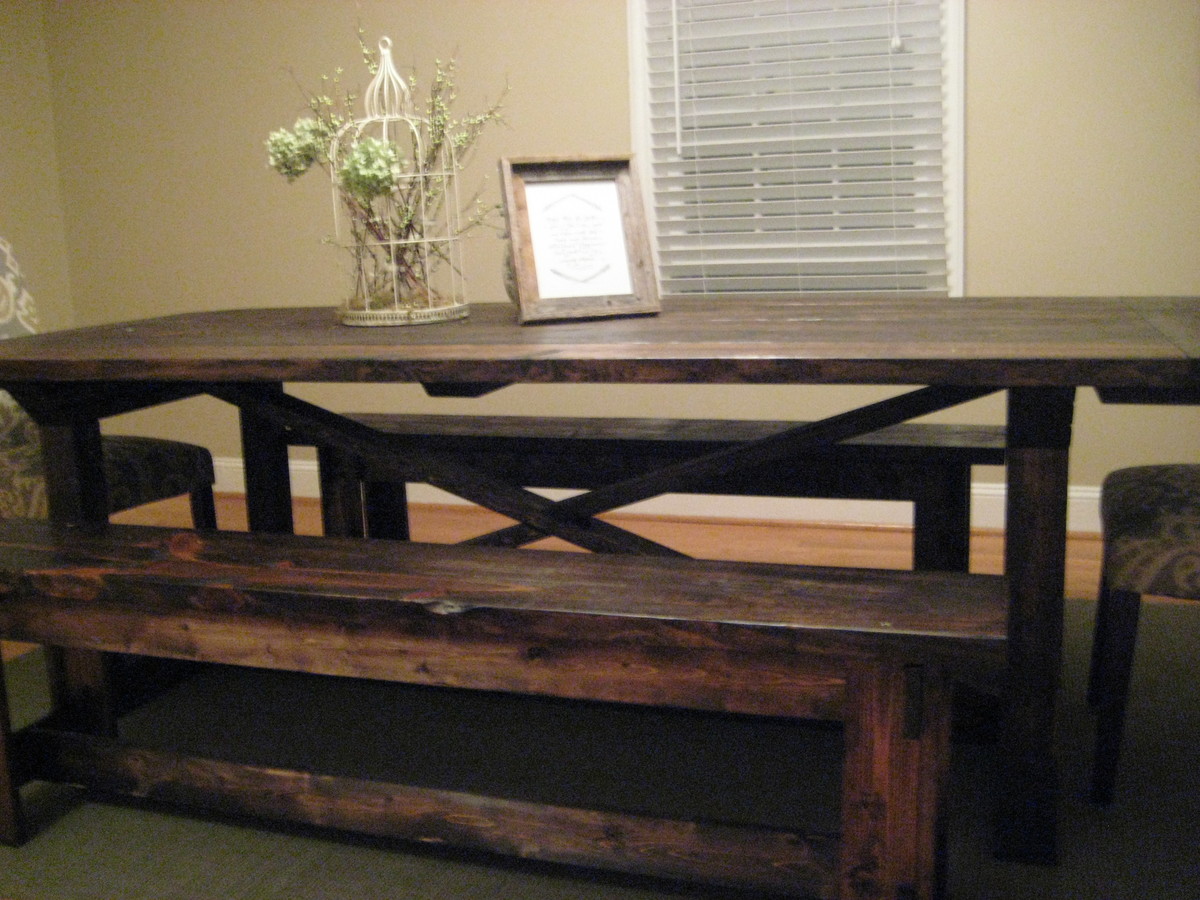
We made this table using the Rekourt Farmouse table plan. We used wider boards for the table top and simplified the angles on the legs a bit. We also built benches for each side of the table and dressed the ends with formal dining chairs. Used Dark Walnut Minwax stain and a clear satin epoxy to coat the top and bench seats. Had issues attaching the breadboards even with a Kreg Jig, Would probably do better if we did it all over again but totally happy with how it turned out.

Estimated Time Investment
Weekend Project (10-20 Hours)
Finish Used
MinWax Dark Walnut
Recommended Skill Level
Intermediate

Comments

Reclaimed coffee table

Submitted by Anonymous (not verified) on Thu, 01/21/2016 - 10:31

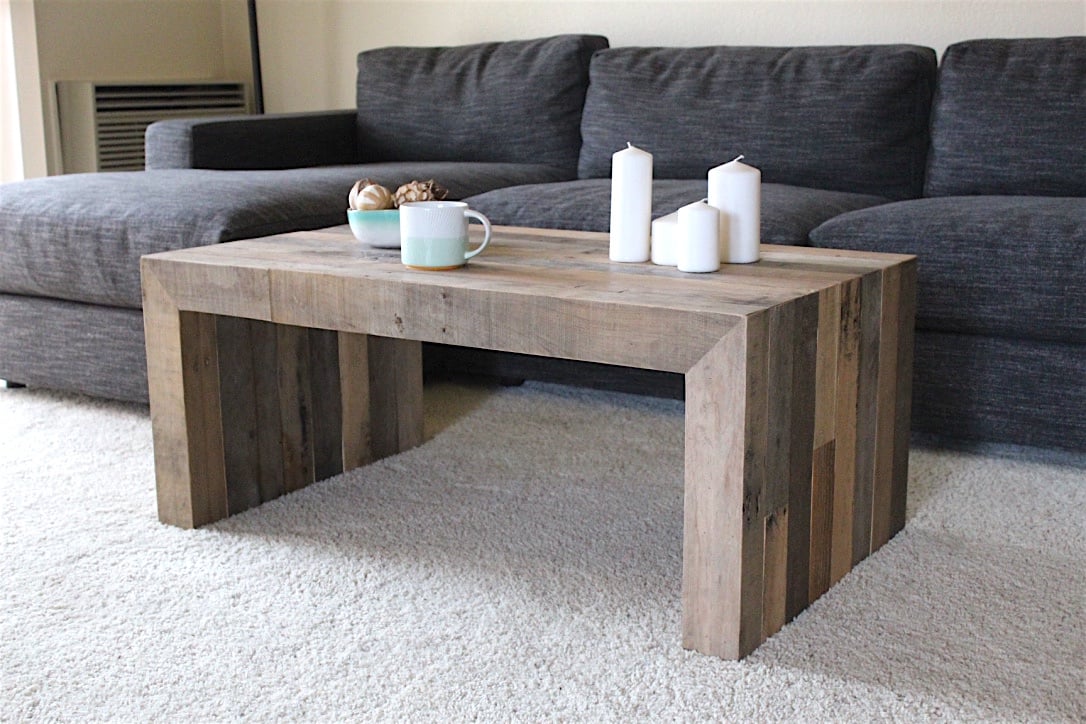
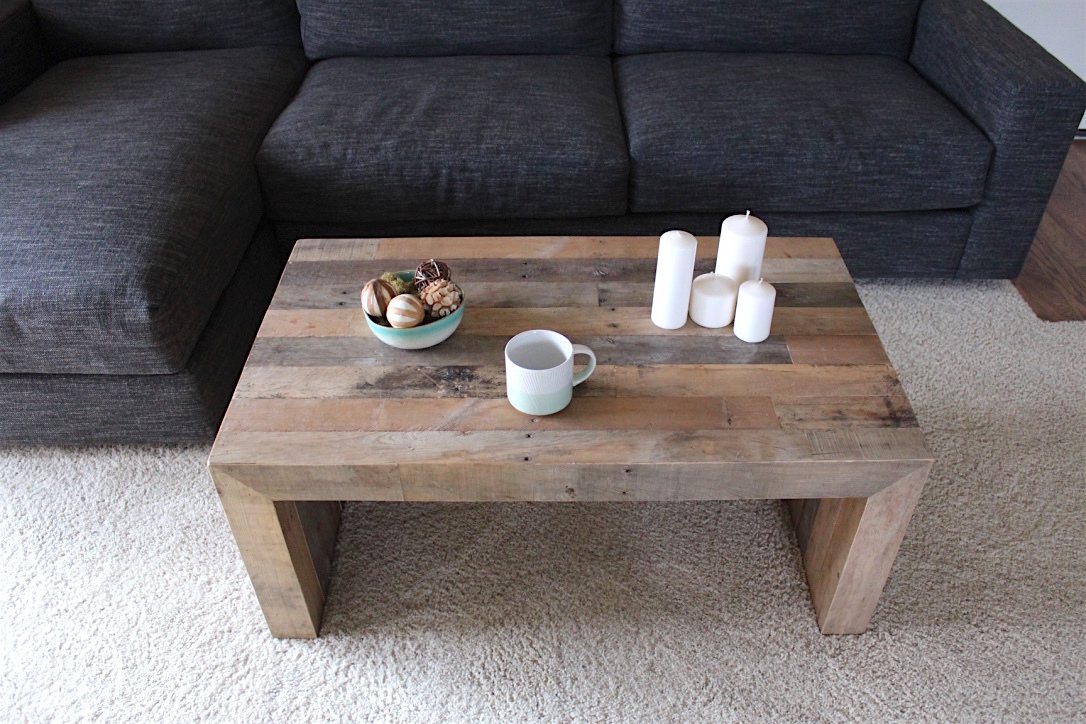
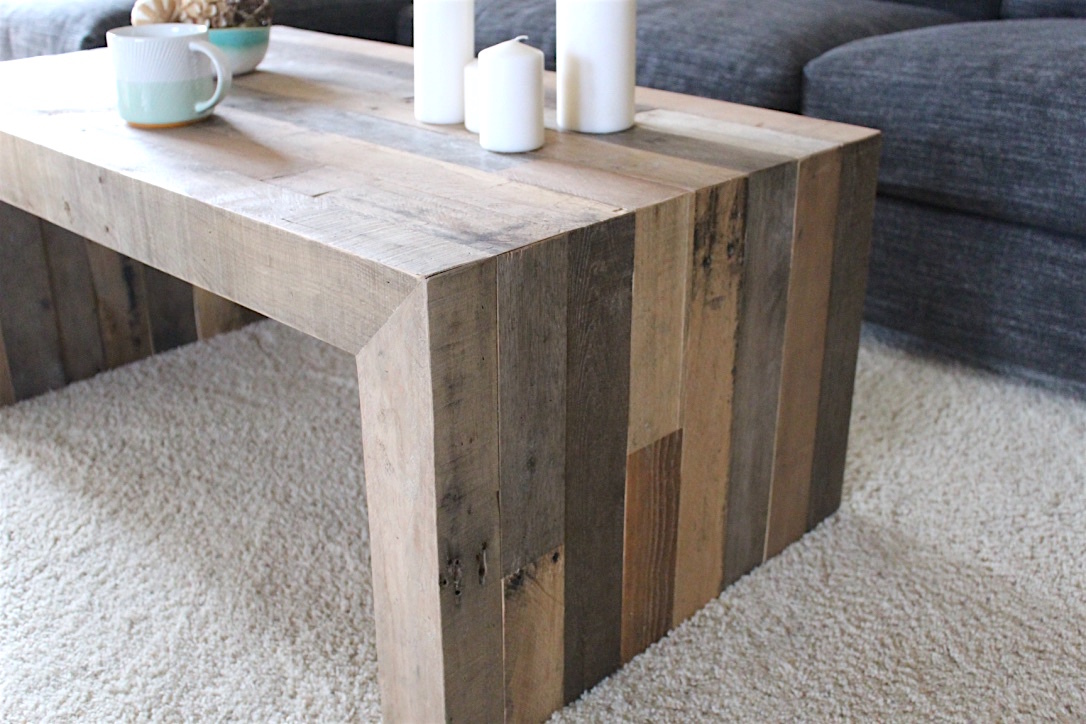
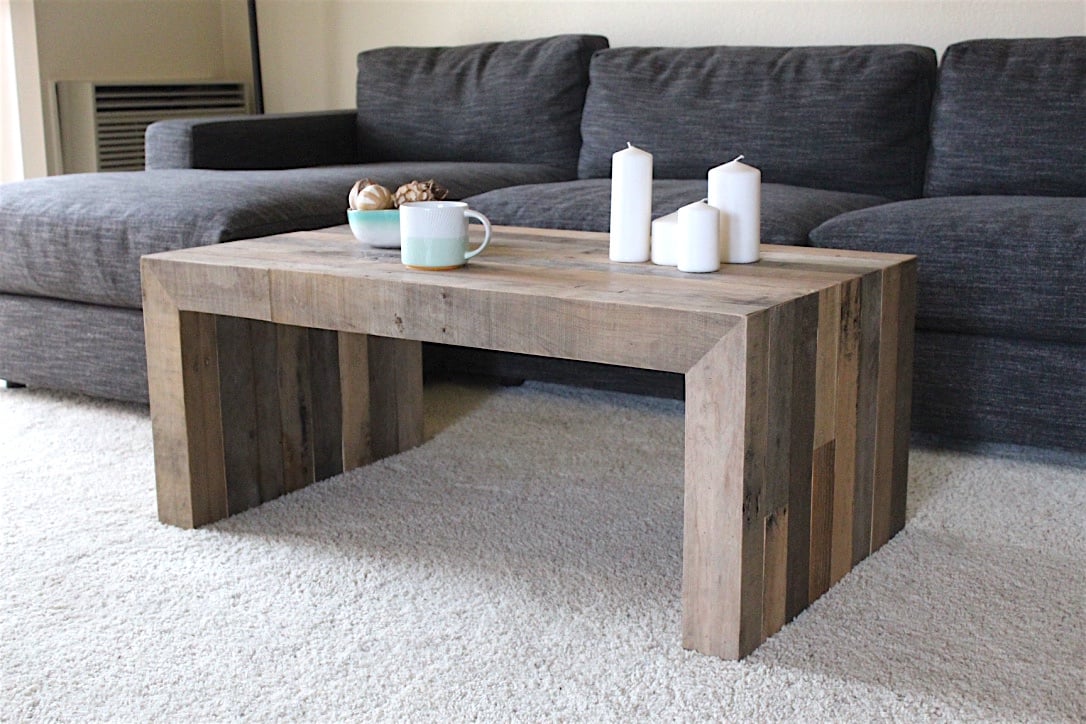
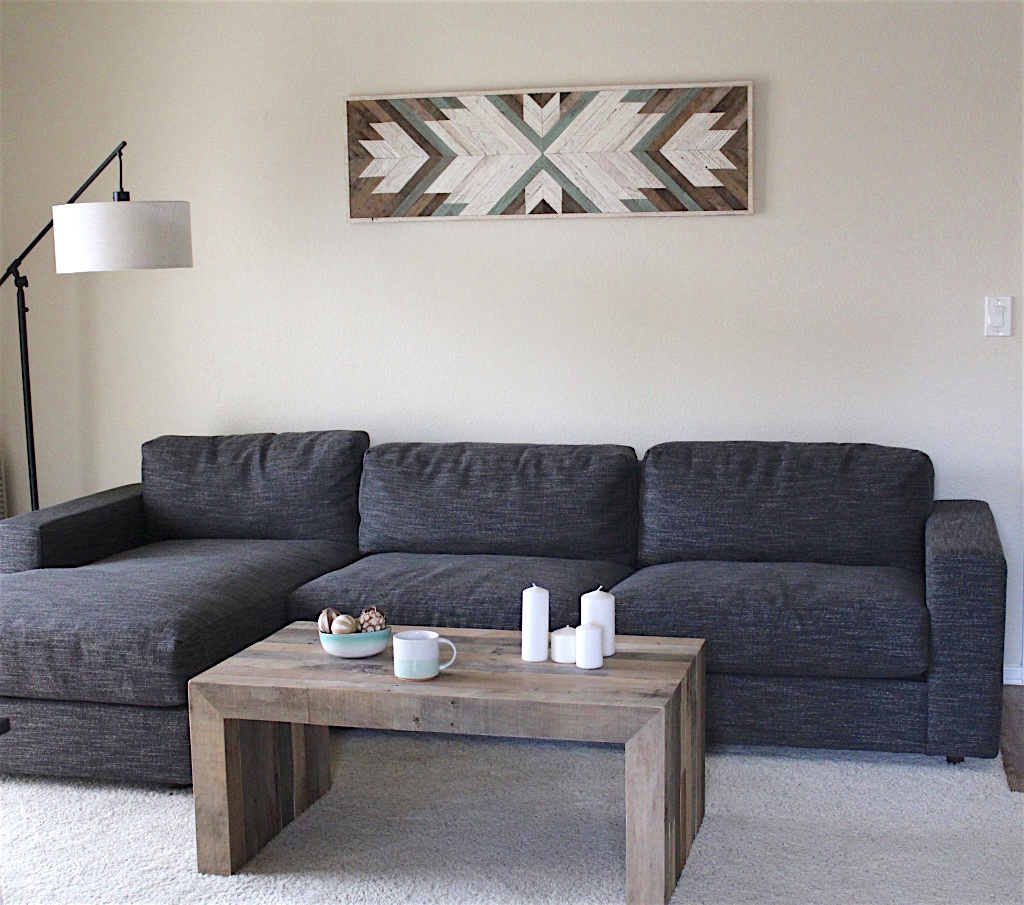
I built this coffee table from reclaimed pallet. The design is based off of the West Elm Emmerson line.

Estimated Cost
$50.00
Estimated Time Investment
Day Project (6-9 Hours)
Finish Used
Hand rubbed clear wax
Recommended Skill Level
Advanced

Comments

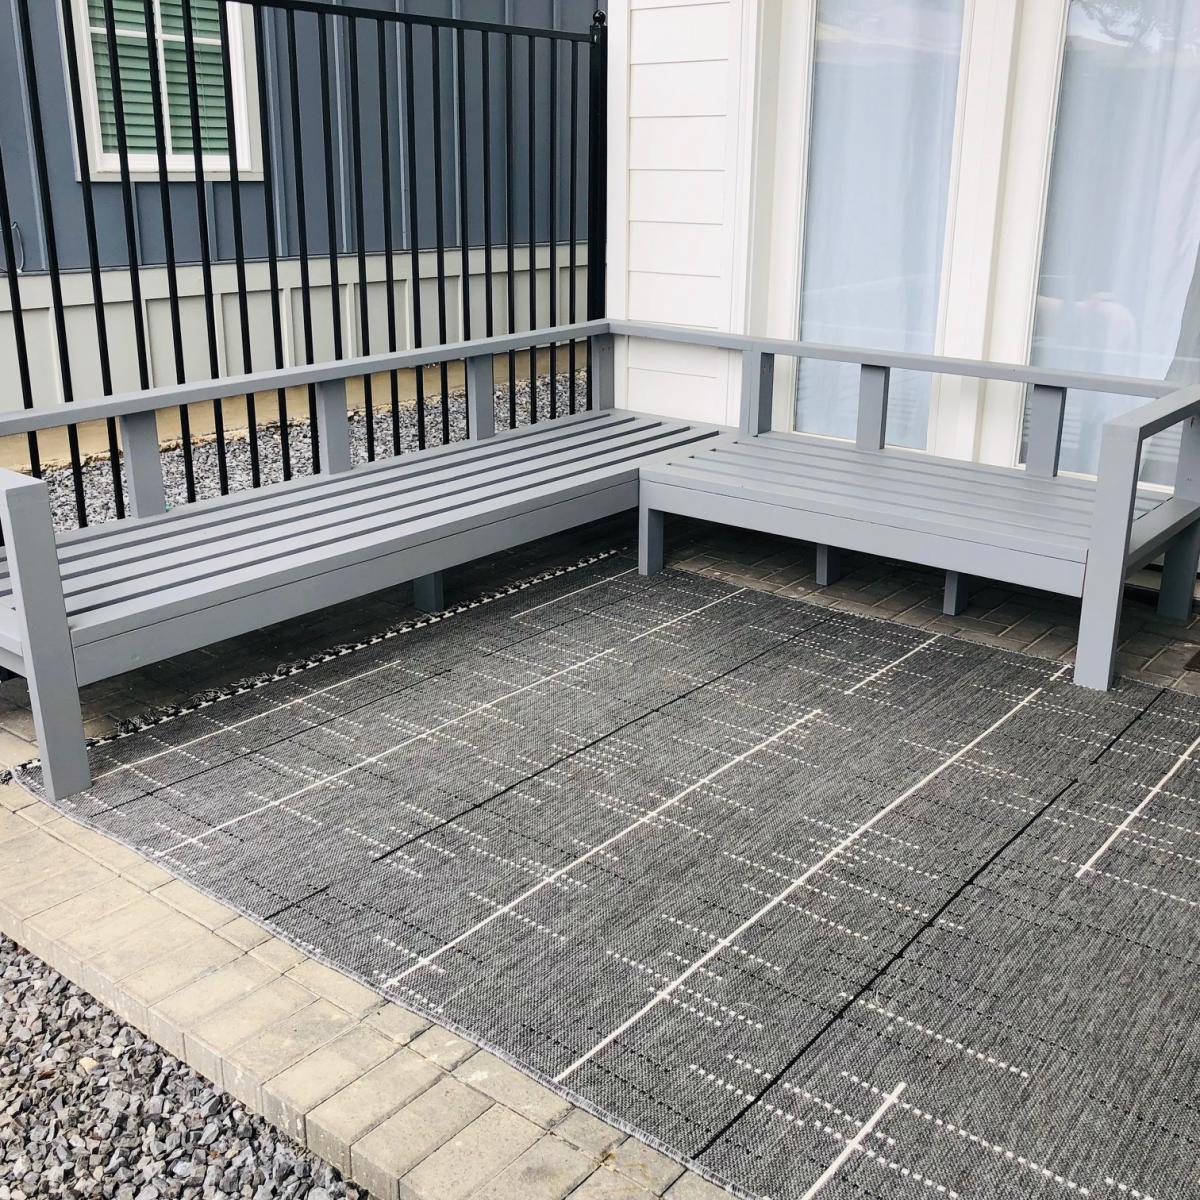
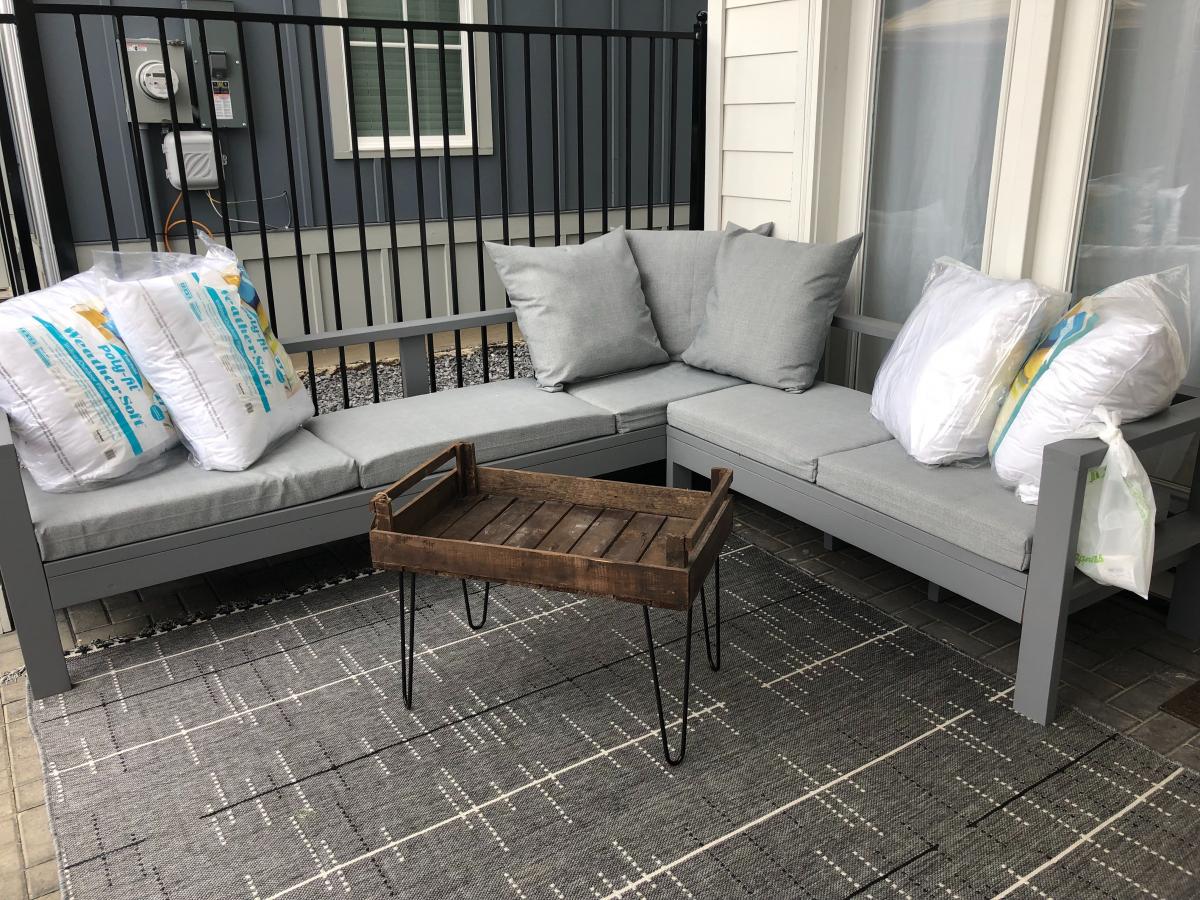
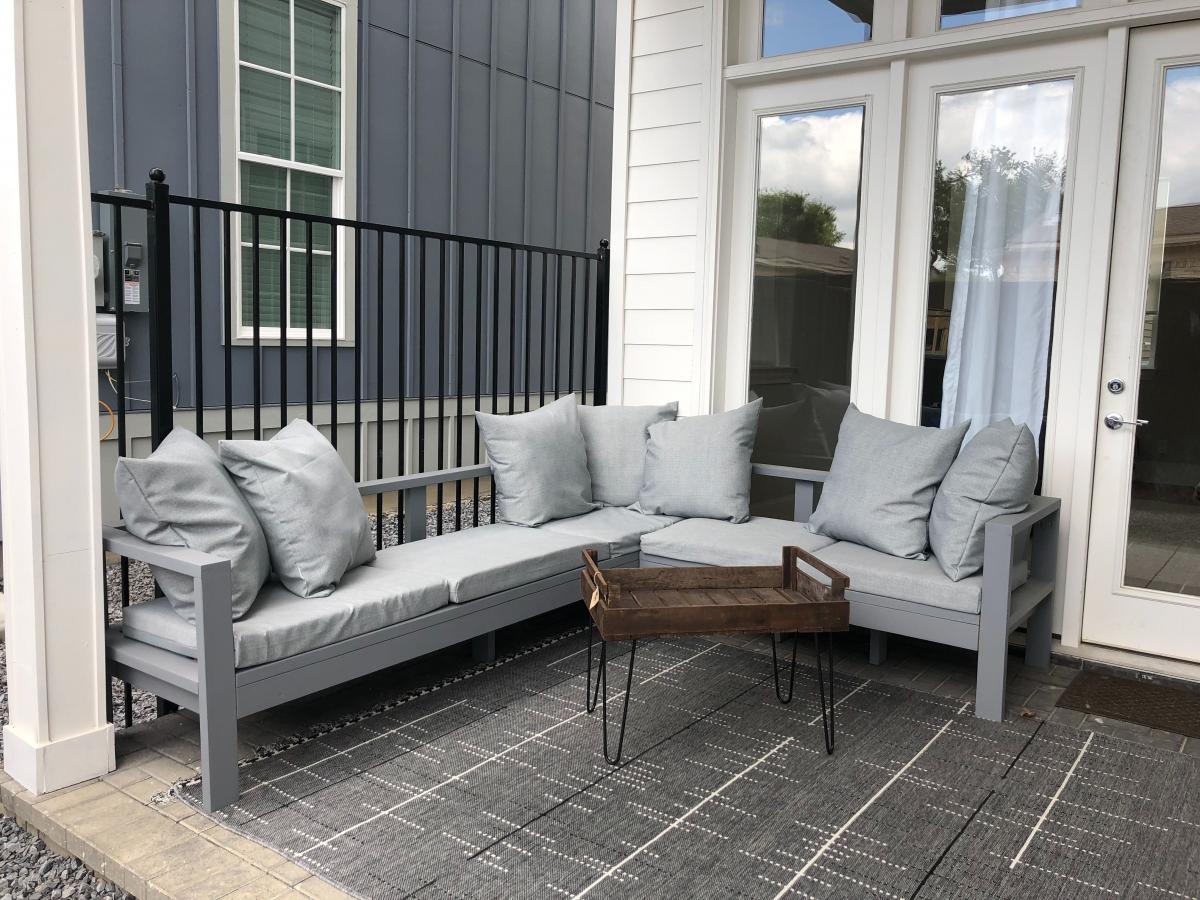
Outdoor sectional, my 2nd diy project

Submitted by SuperKiki on Fri, 06/28/2019 - 09:41
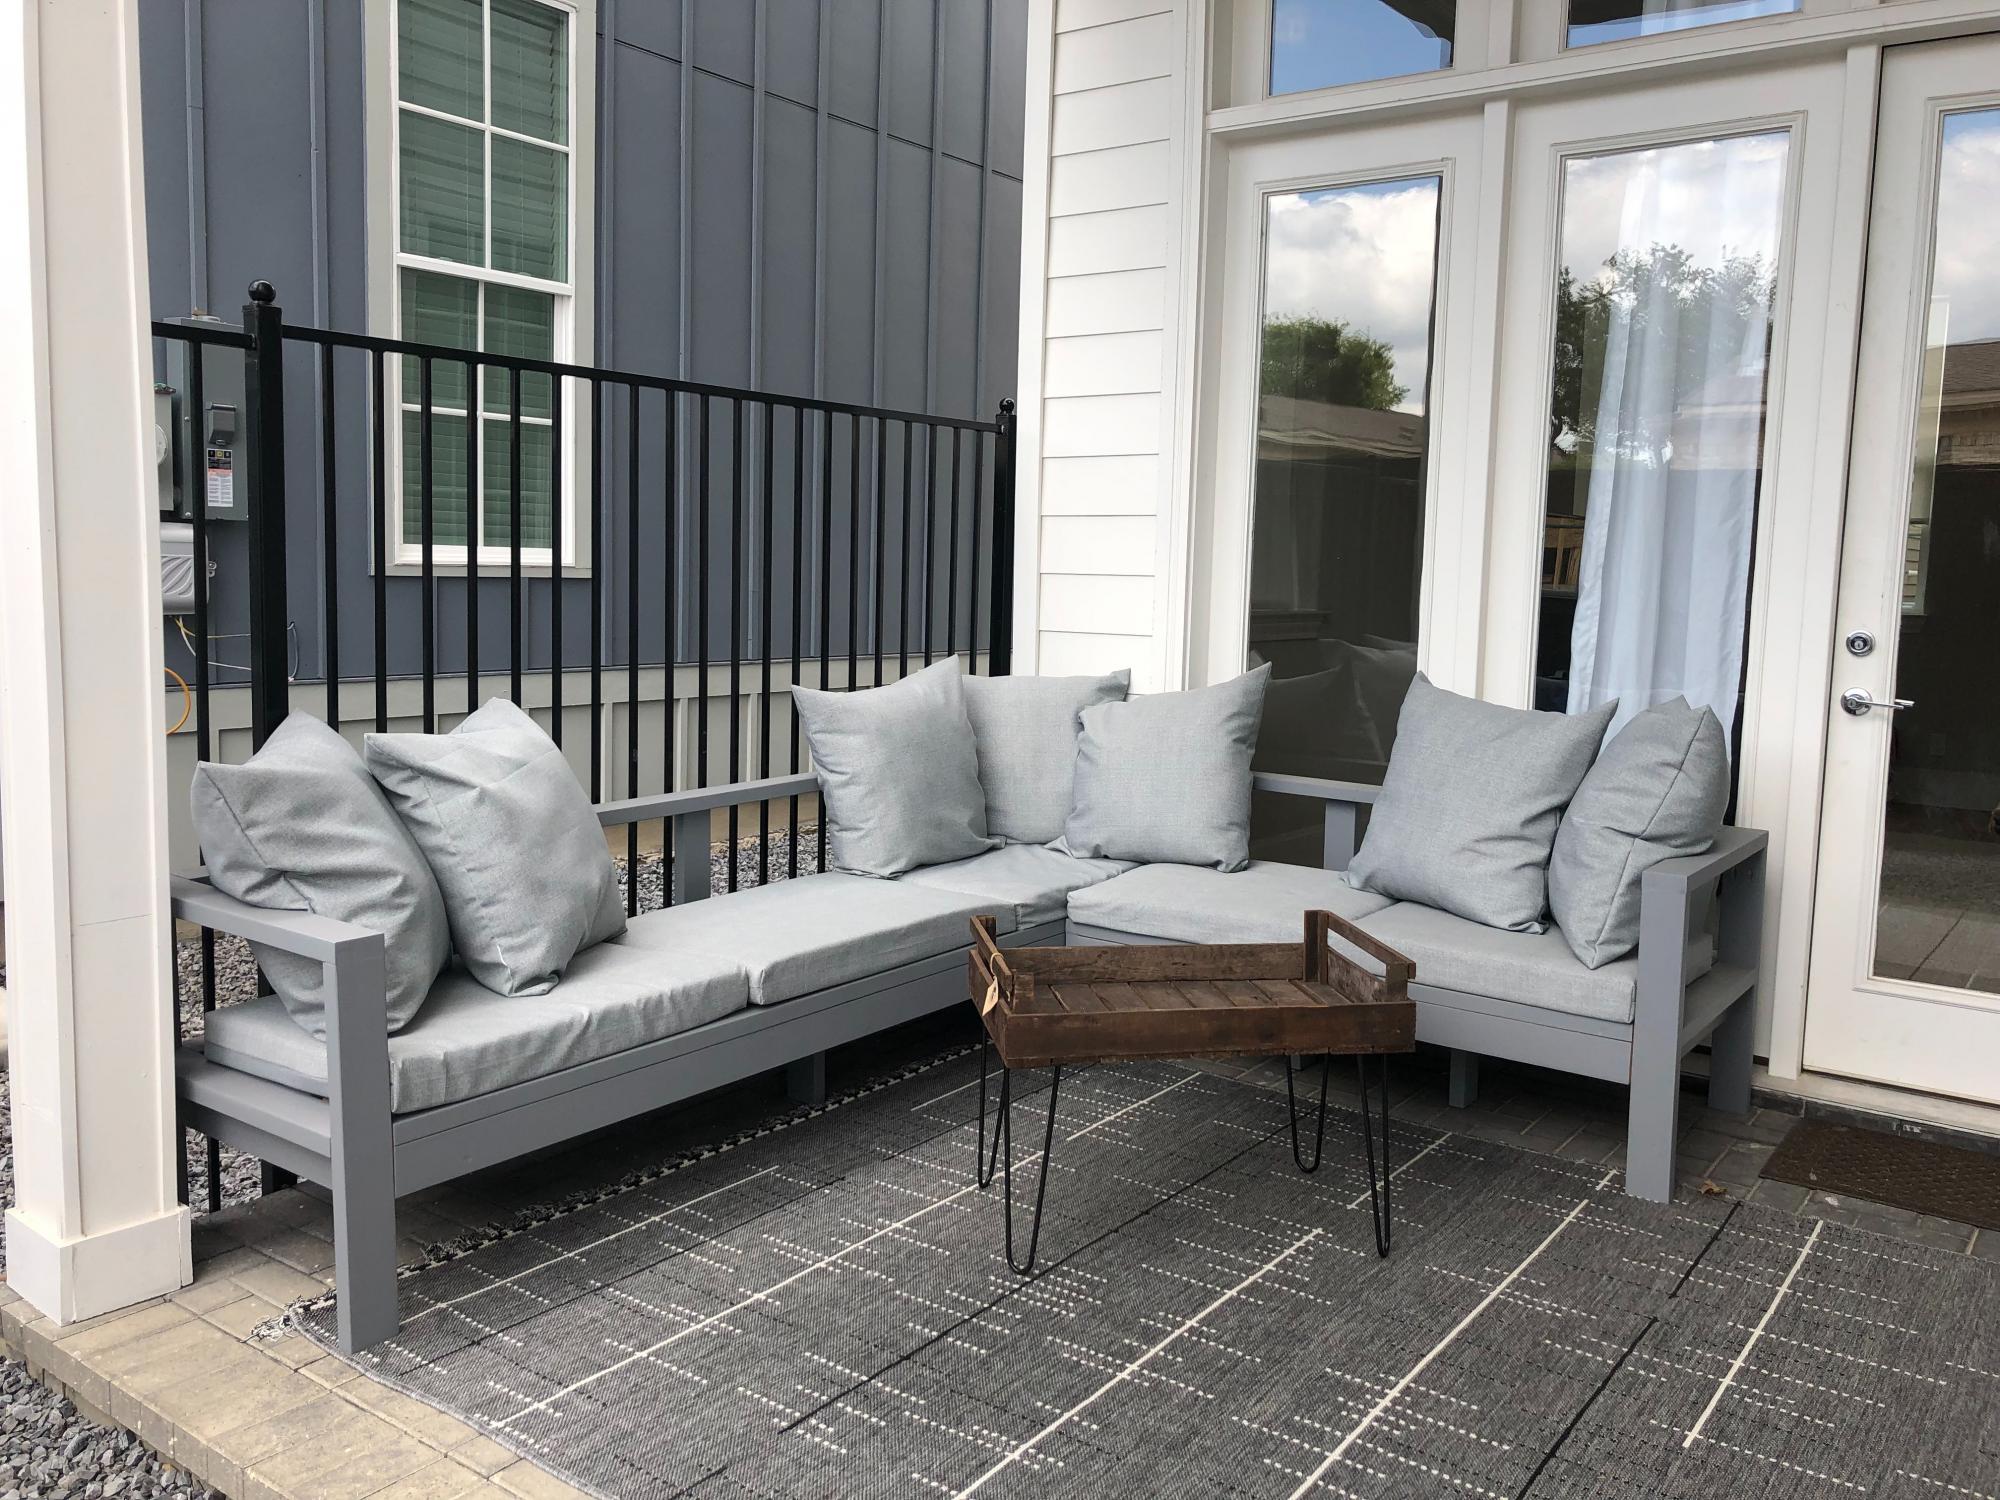
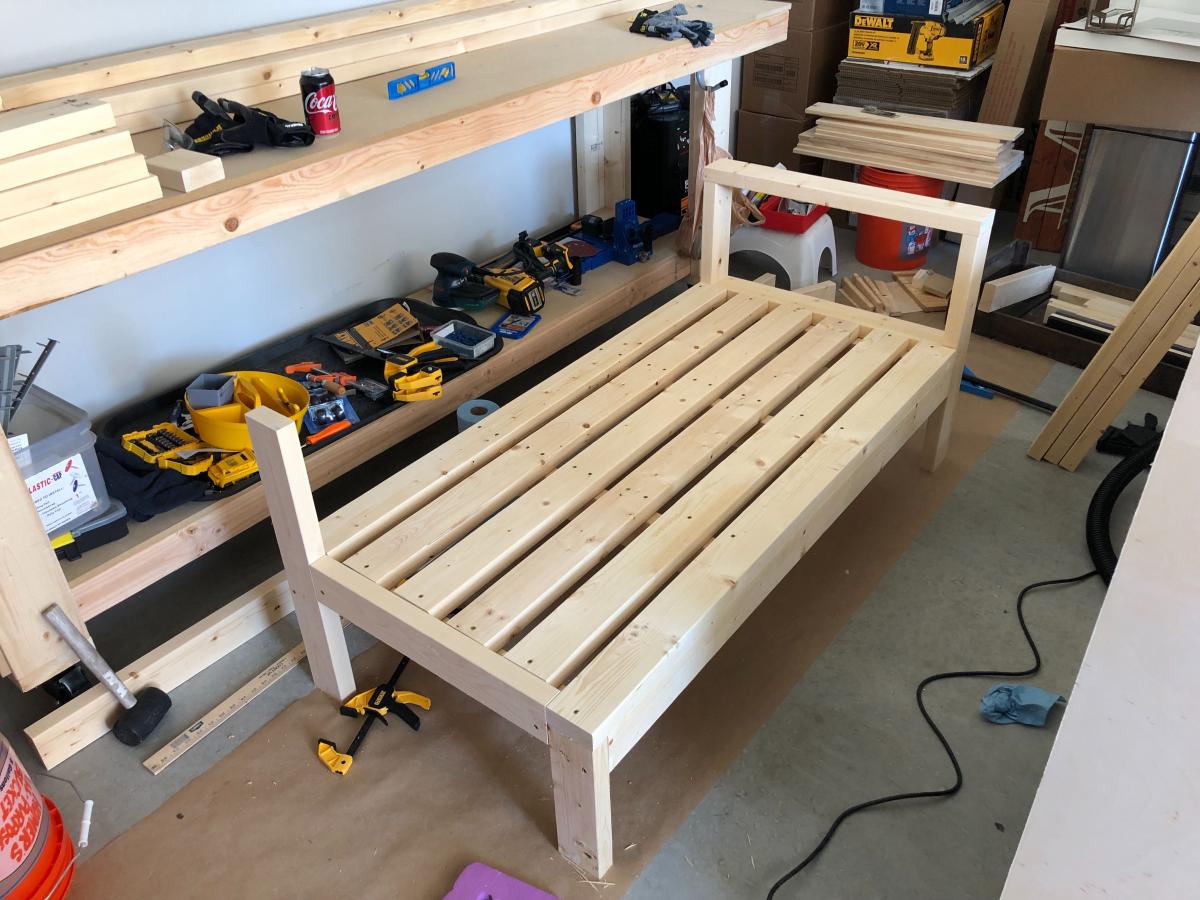
  • I pretty much followed the instructions for each plan. I customized the length to fit my space.
  • There was some bowing on the back rest so I added some vertical supports.
  • Because the sectional is quite long I added some legs in the middle.
  • I stained the sectional twice and had to sand off the stain twice before I decided to paint it. I highly recommend that you test your stain on a cut off piece and pick what you're doing before putting it on your furniture. If I had done this it would have saved me a lot of hours and sanding.
  • I had planned to buy Target cushions for my sectional but I forgot to build the sofa with the cushions I wanted to purchase in mind. I ended up having to make my own in order to get a good fit.
  • I have a tiny patio area and this design really worked amazing to give me a lot of seating and still make it feel spacious.
  • You can definitely build and paint this sectional in a day.
Estimated Cost
$300 for outdoor cushion foam and outdoor fabric.
$150-$200 for wood and supplies
Estimated Time Investment
Day Project (6-9 Hours)
Finish Used
The paint is outdoor matte paint from Home Depot and it worked marvelously, very streak free.
Recommended Skill Level
Starter Project

Comments

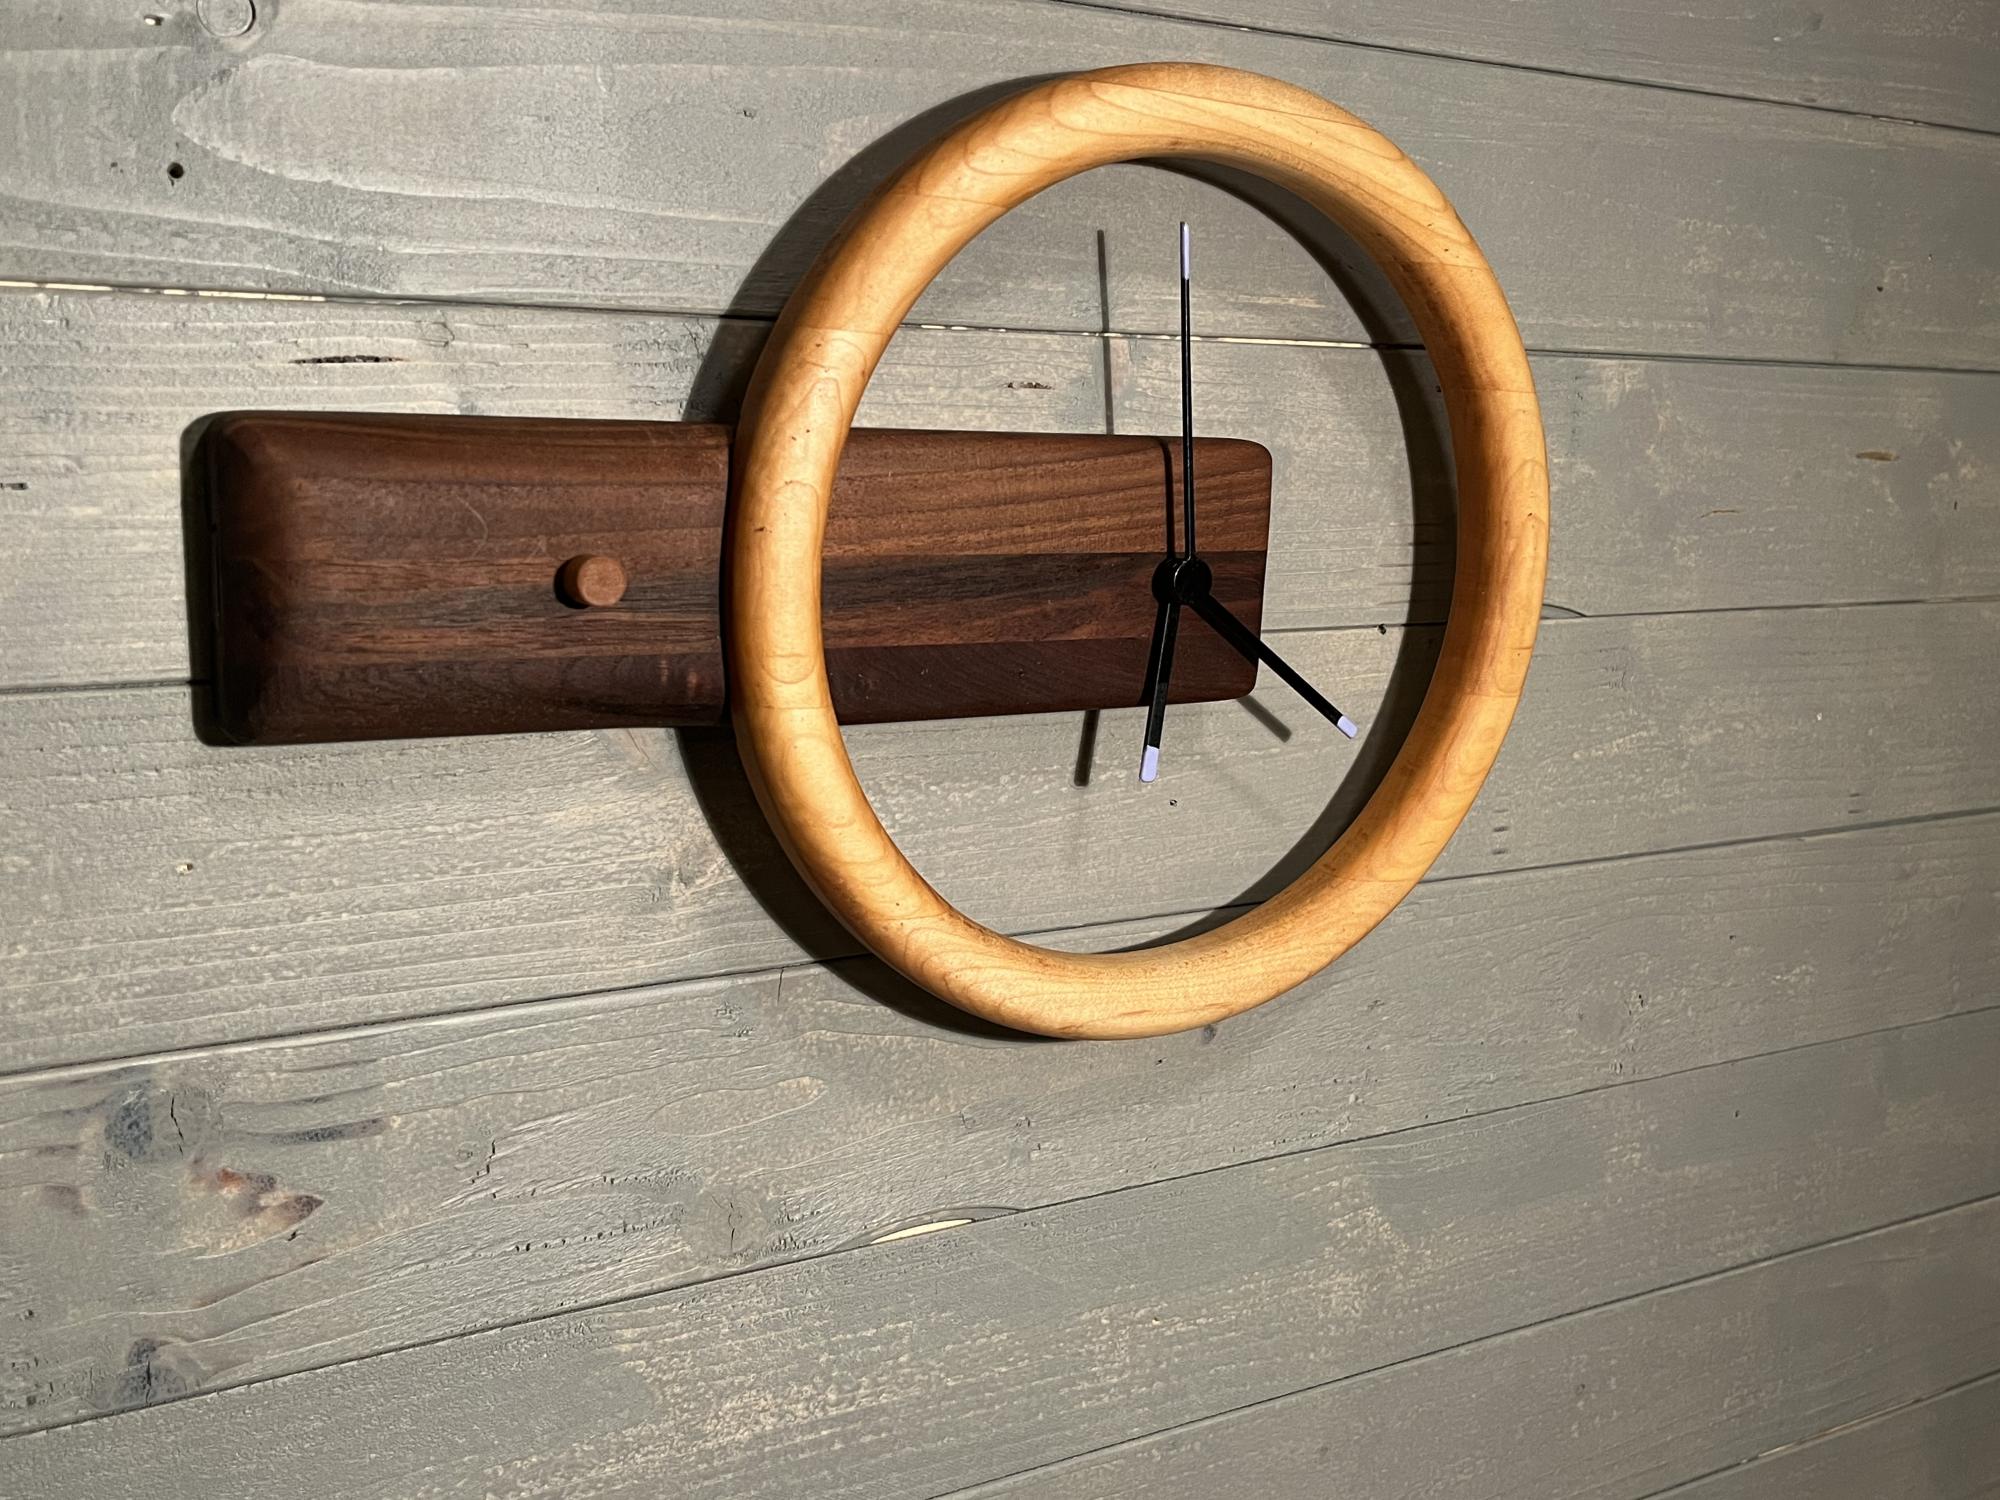
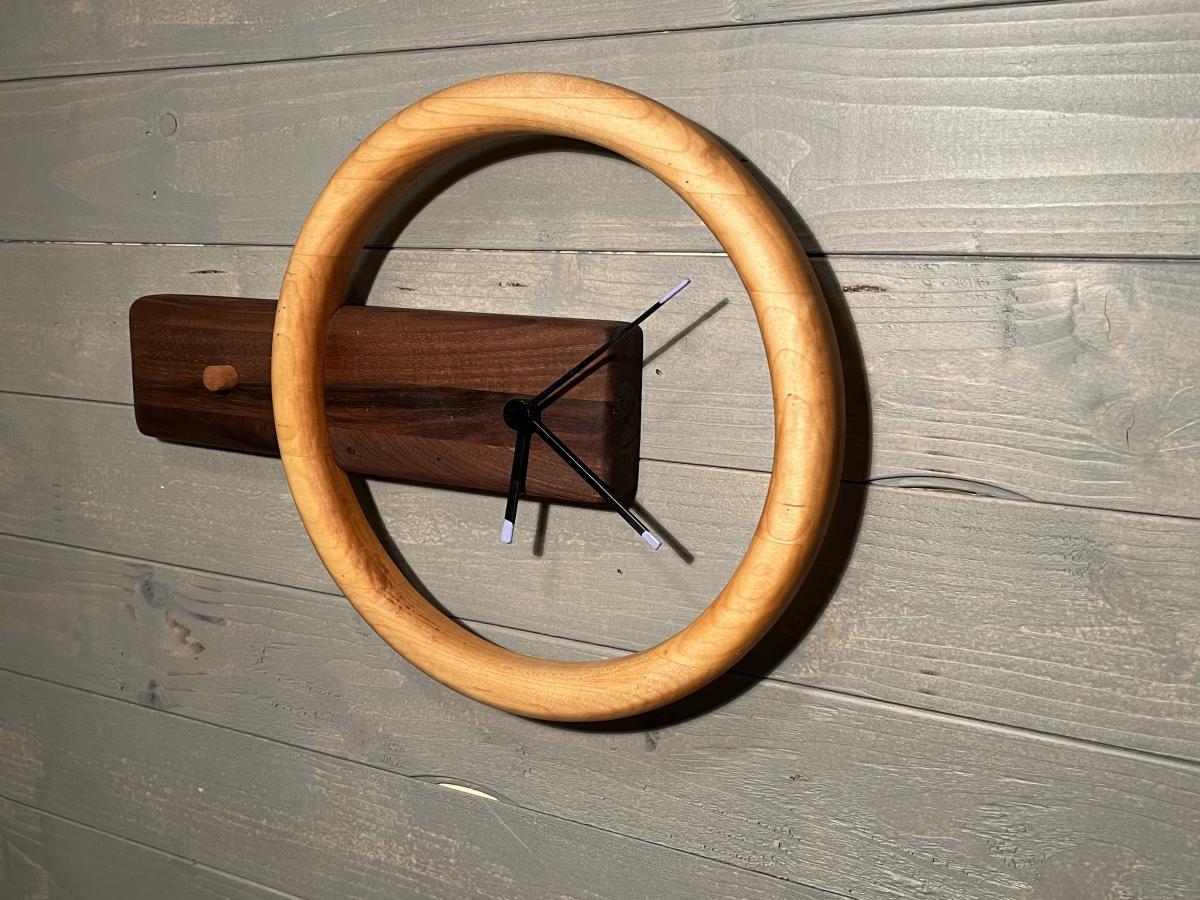
Modern clock

Submitted by Anonymous (not verified) on Fri, 04/07/2023 - 13:51

From a picture I found on Pinterest

Comments

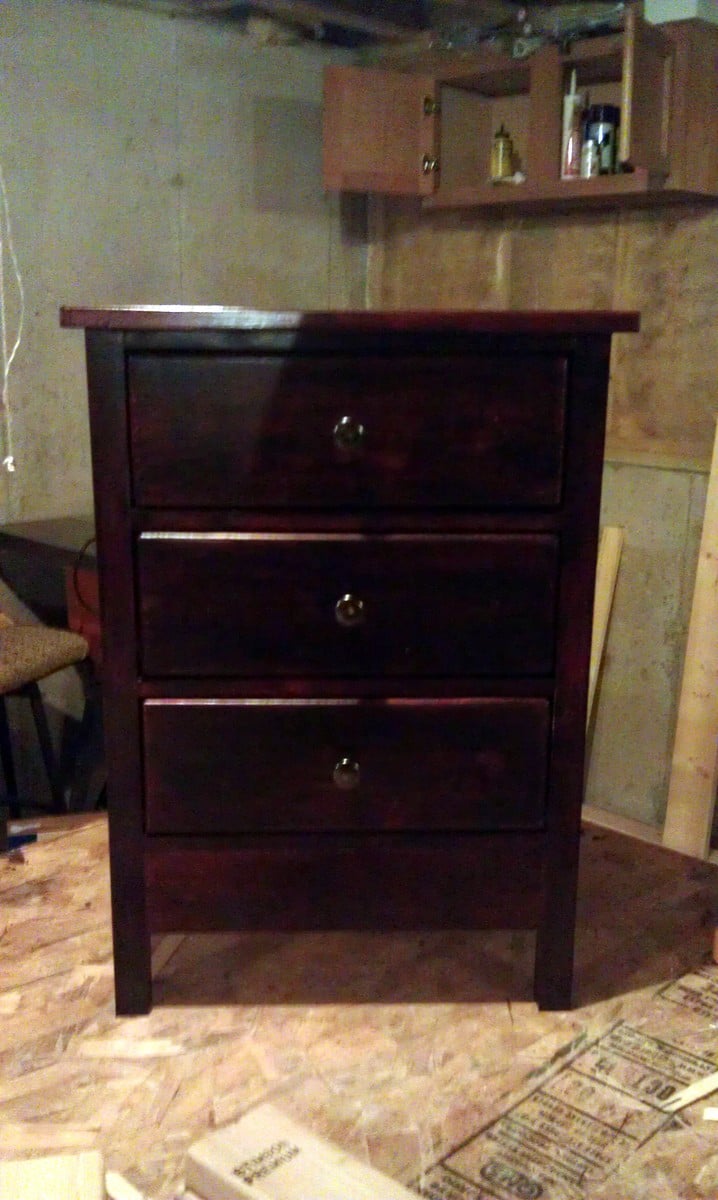
Nightstand

Submitted by Klem413 on Sun, 12/18/2011 - 18:05

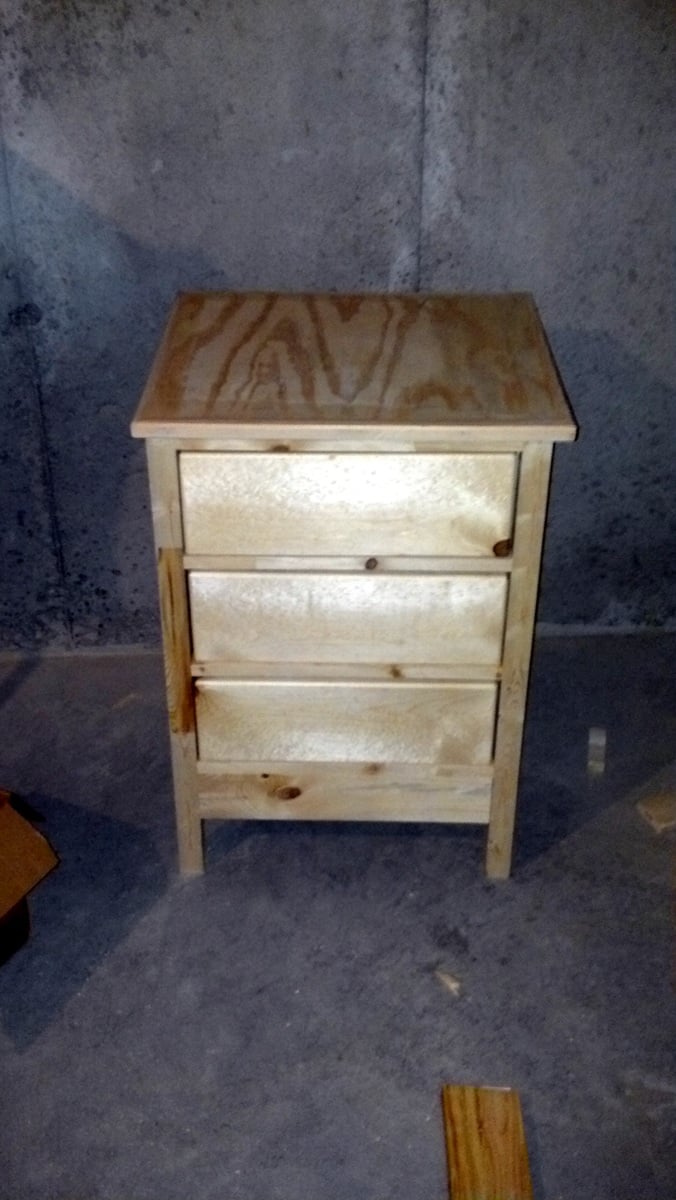
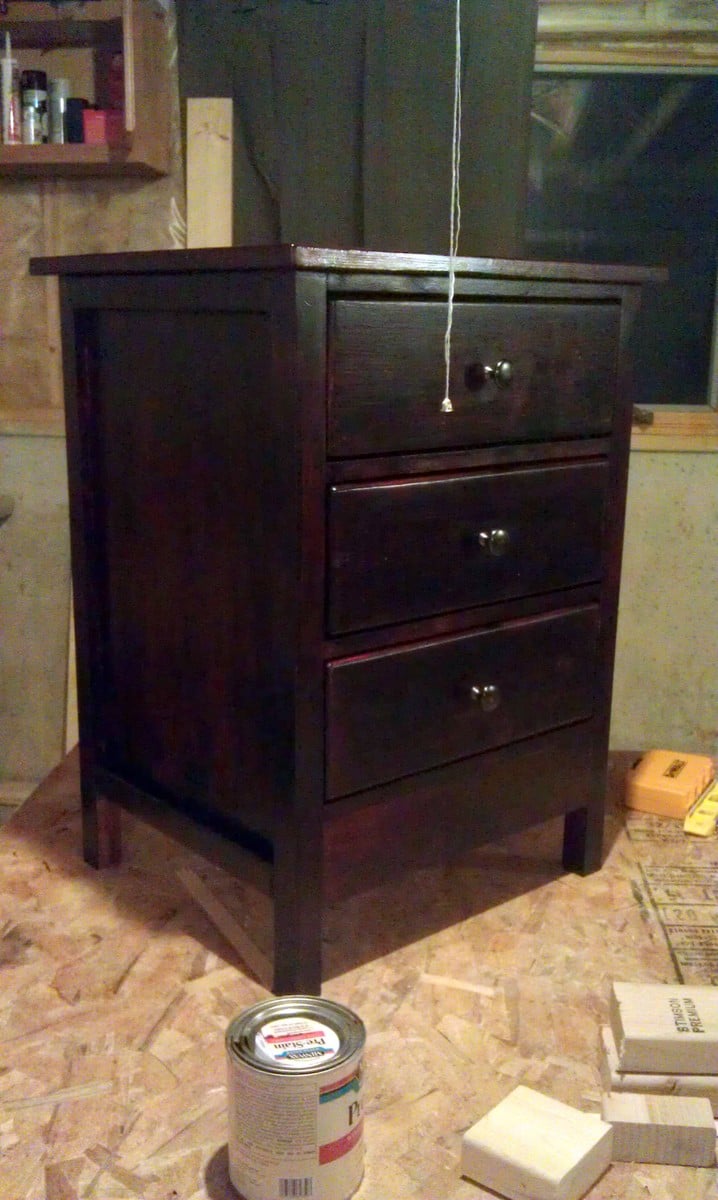
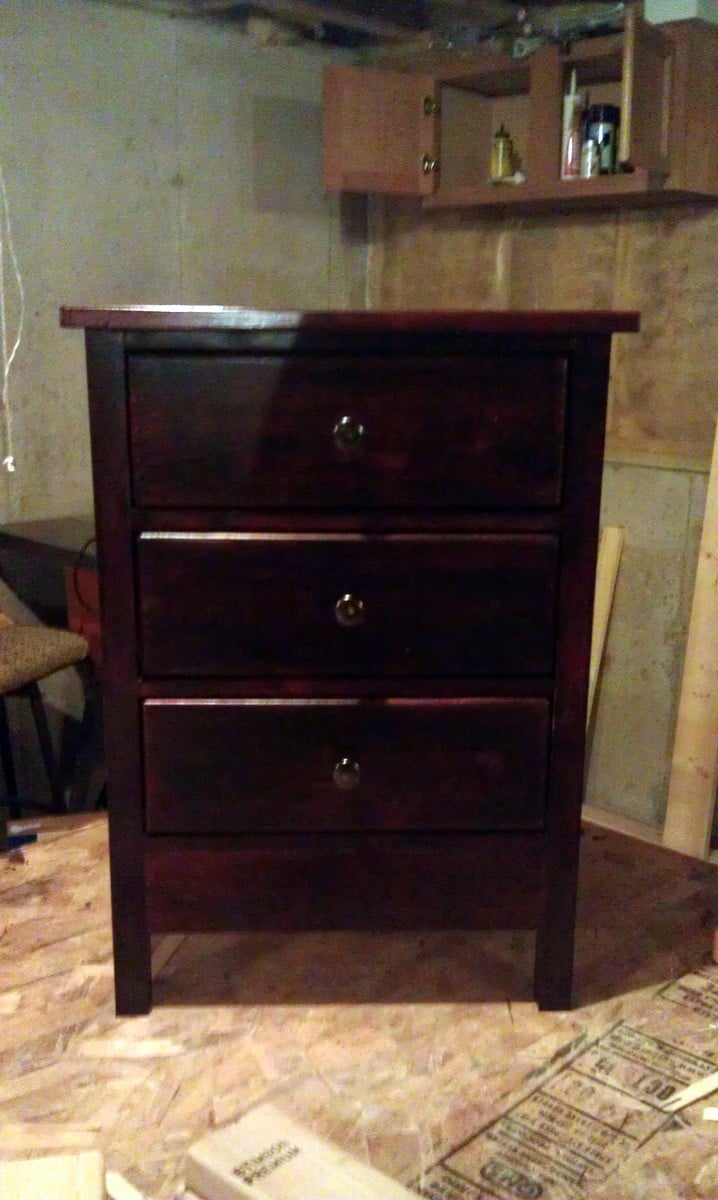
Another project my husband worked diligently on! It took him forever because he's a perfectionist, but he finally got one done. He used a piece of 3/4" plywood framed with mitered wood instead of the planks for the top. Now, on to the other one.

Estimated Cost
20.00 each
Estimated Time Investment
Week Long Project (20 Hours or More)
Finish Used
Minwax Poly Shades Bombay Mahogany
Recommended Skill Level
Beginner

Comments

Debbie440

Wed, 01/22/2014 - 07:51

I love the way the top is done.......... I made a bed and stained it with the same stain as you used. I'm hoping my nightstand turns out like yours.

Toy storage

Submitted by Anonymous (not verified) on Sun, 01/24/2016 - 14:09

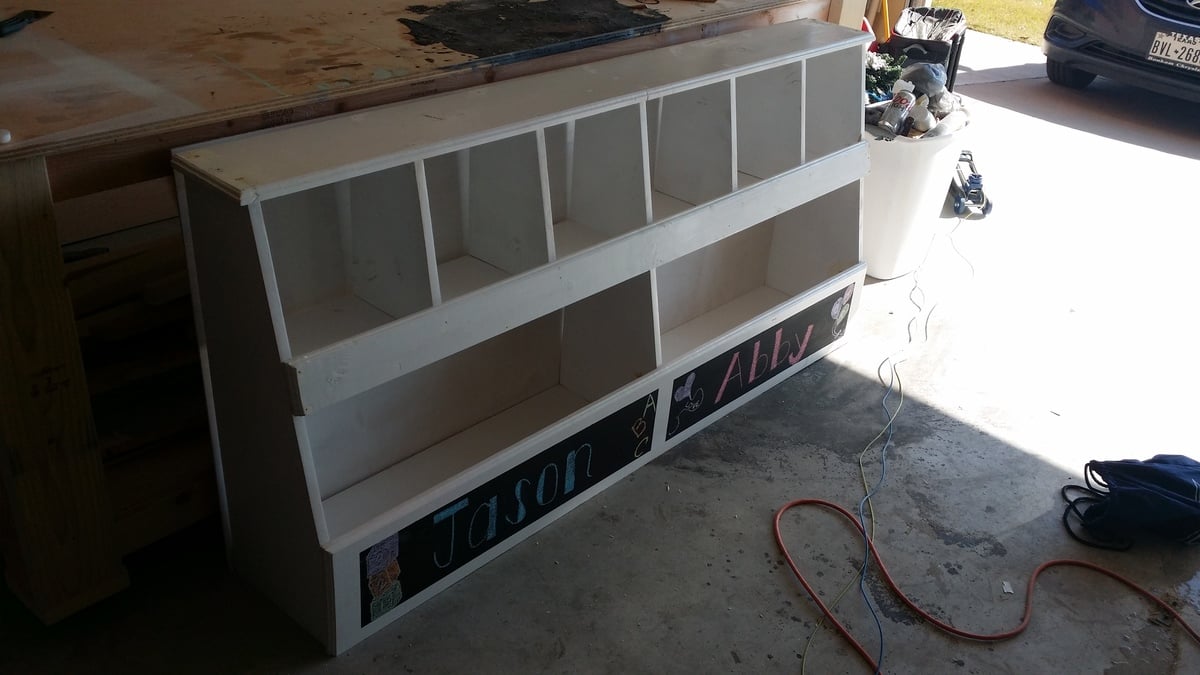
Doubled the size of Ana's toy storage to accommodate my niece and nephew.

Built from Plan(s)
Estimated Cost
135
Estimated Time Investment
Weekend Project (10-20 Hours)
Recommended Skill Level
Beginner

Comments

Fancy X Farmhouse Table

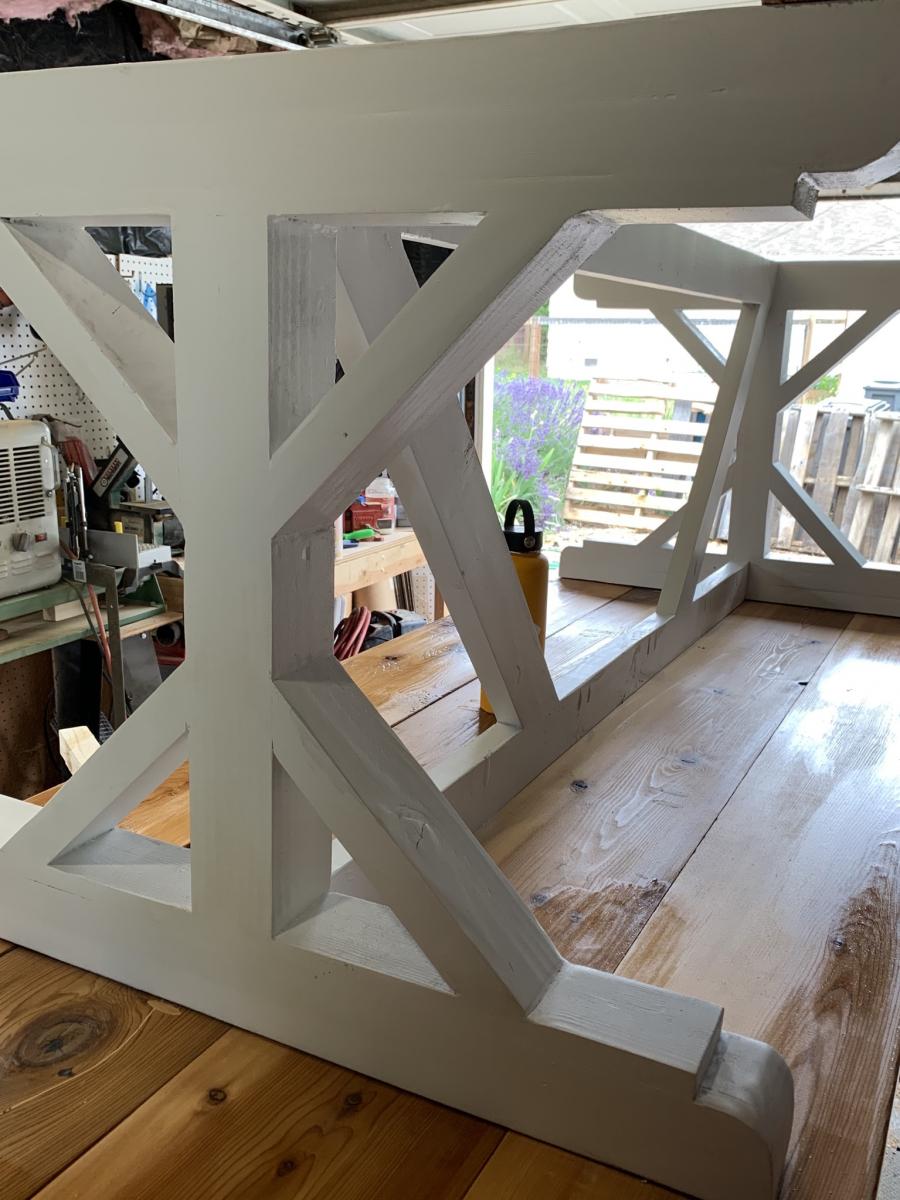
Submitted by melbuckner on Mon, 07/08/2019 - 15:30

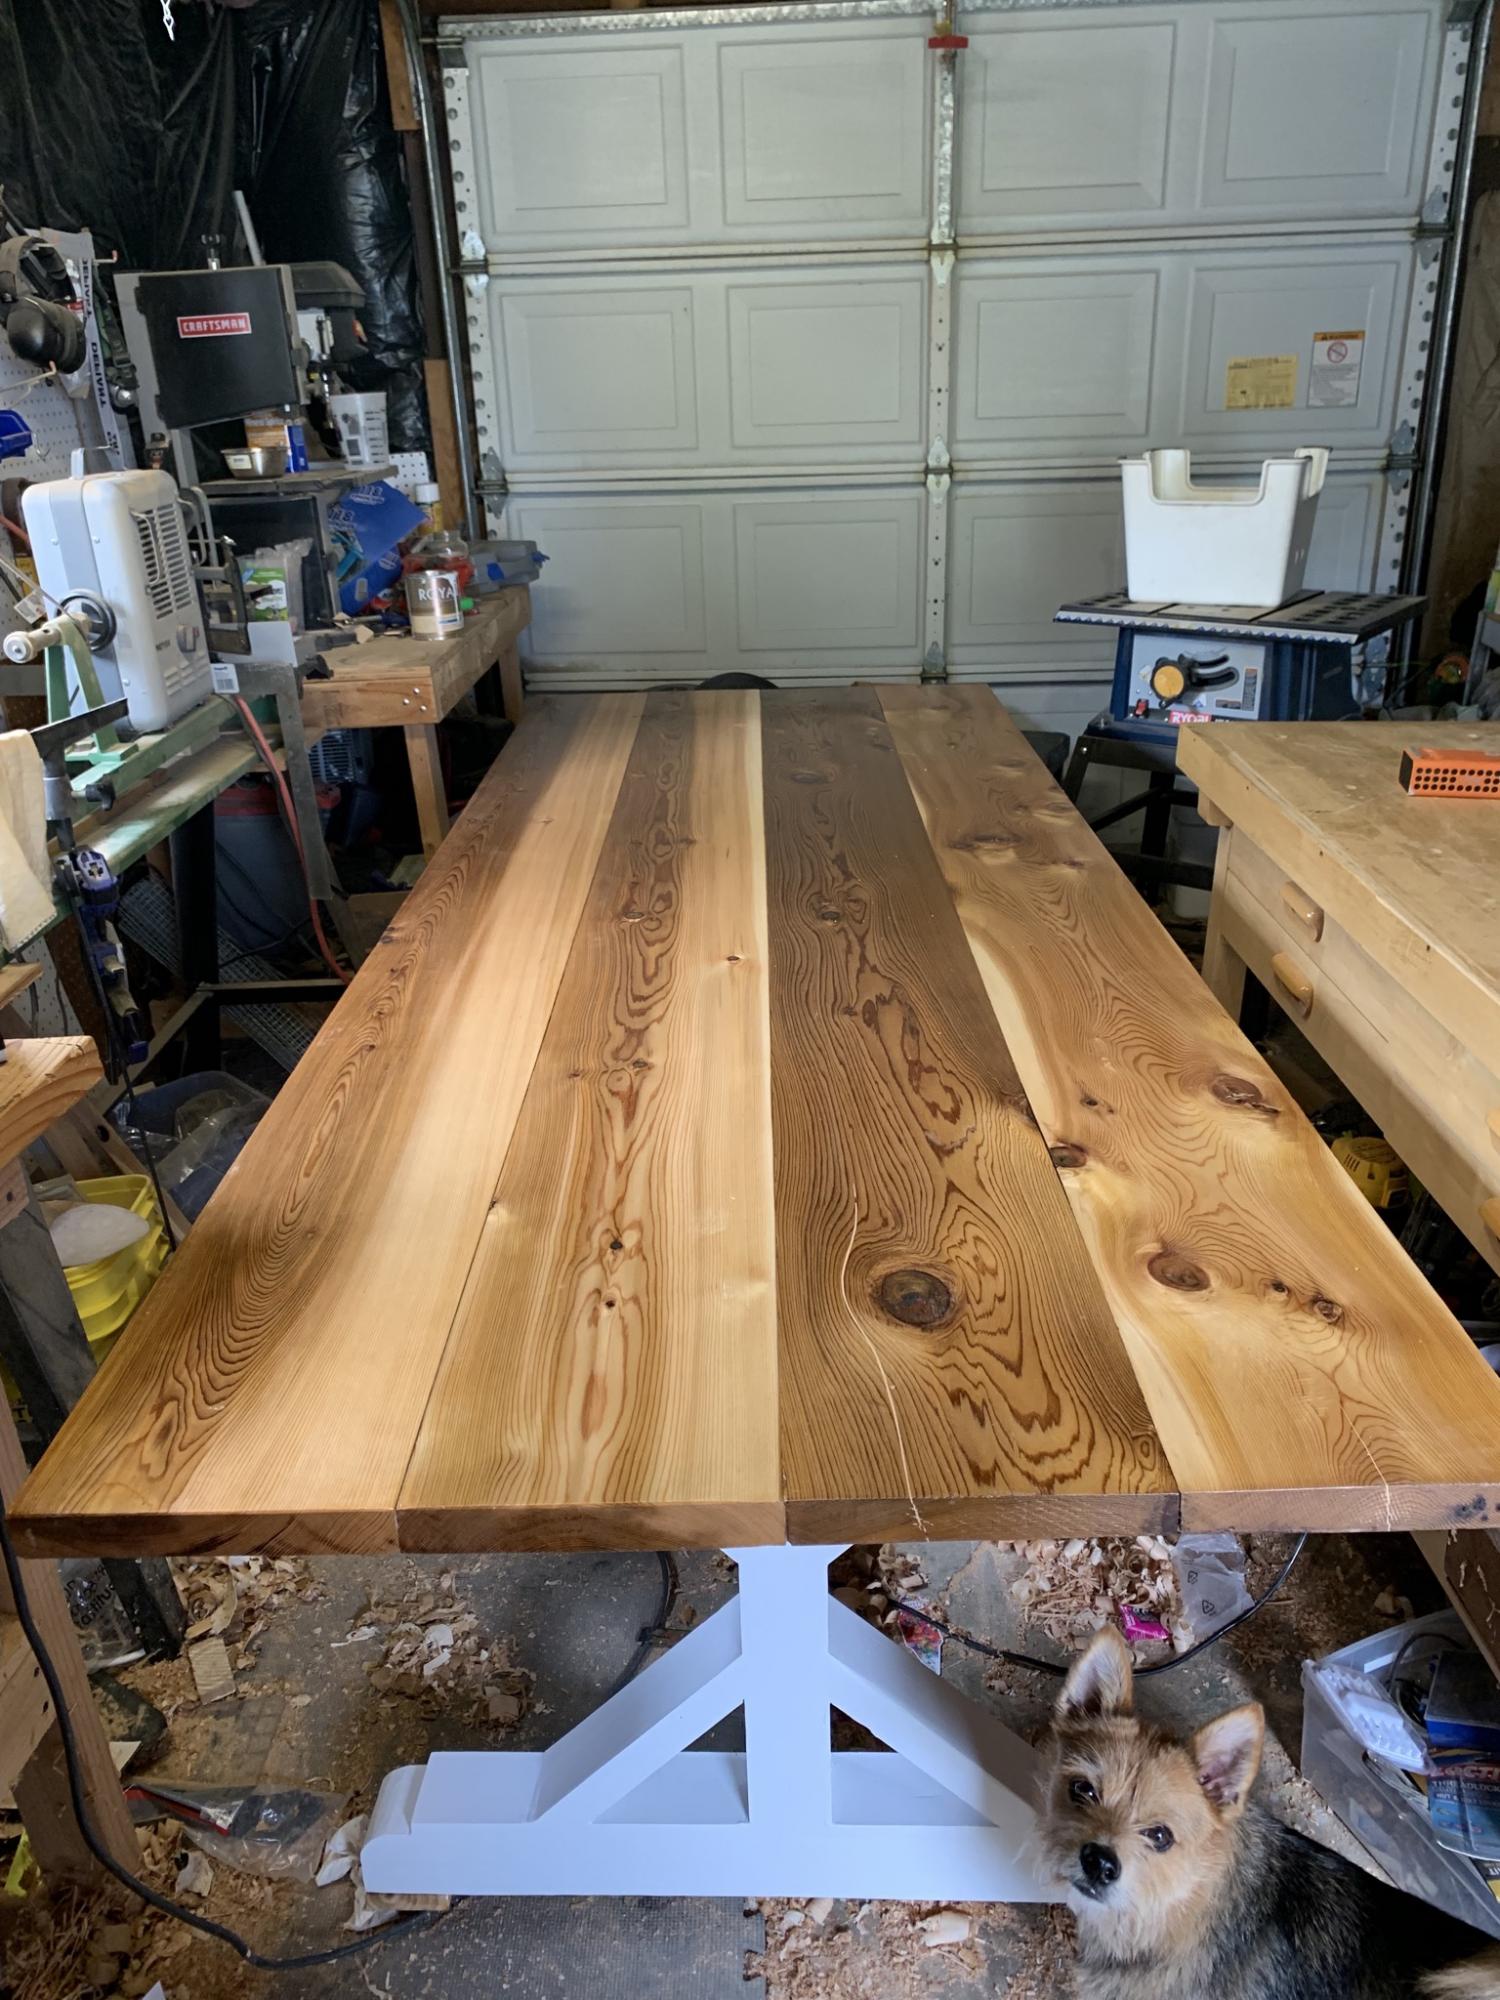
Table top is tight knot cedar, sealed with ship n shore, 7 coats spar urethane.

Base is fir, sealed and painted in latex outdoor paint:

Estimated Cost
225 (cedar was 150).
Estimated Time Investment
Week Long Project (20 Hours or More)
Finish Used
Spar Urethane
Recommended Skill Level
Intermediate

Comments

melbuckner

Fri, 10/09/2020 - 16:19

aww this is so sweet~ for some reason I didn't see this comment till now! Thanks! I'm all star struck now :)

Also, my wife subsequently gave the table to her best friend - so now I need to make another one lolol.

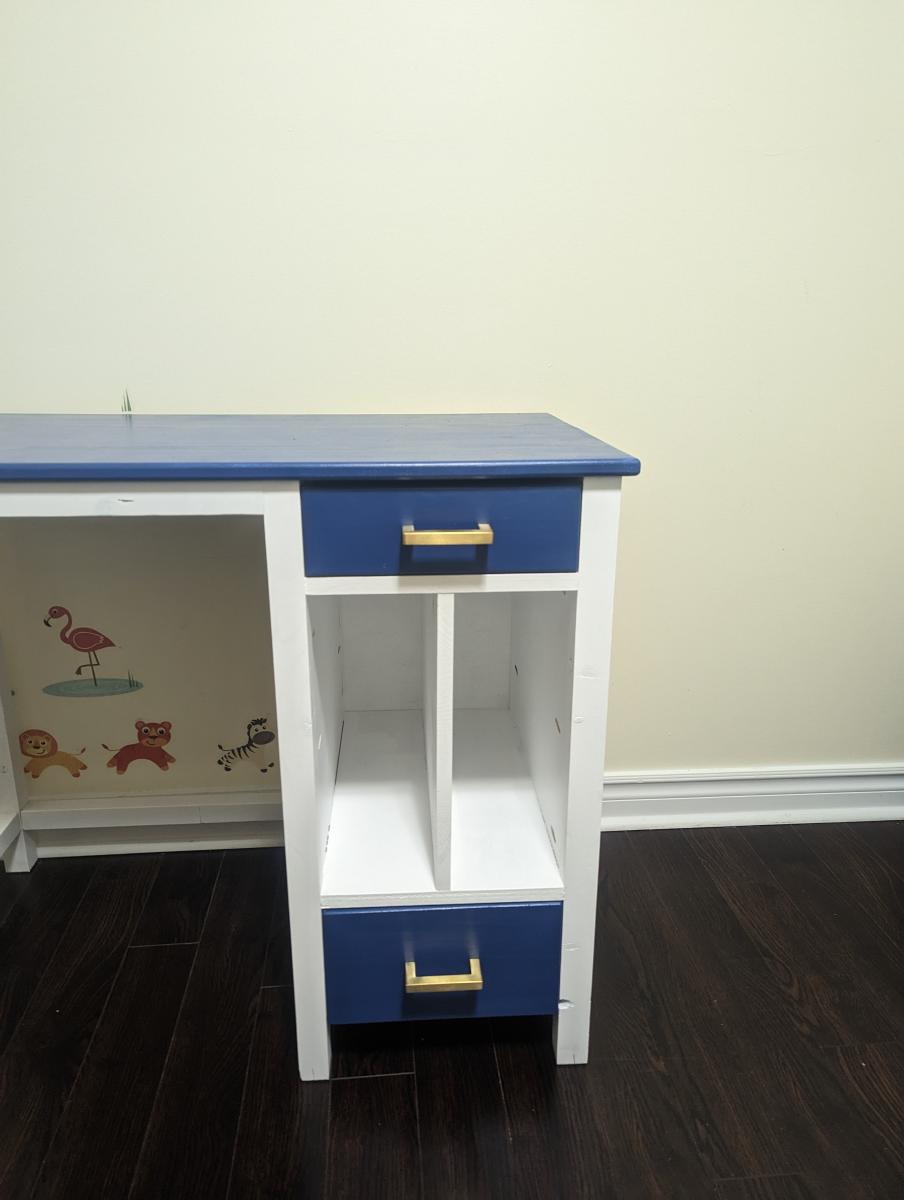
Kids desk

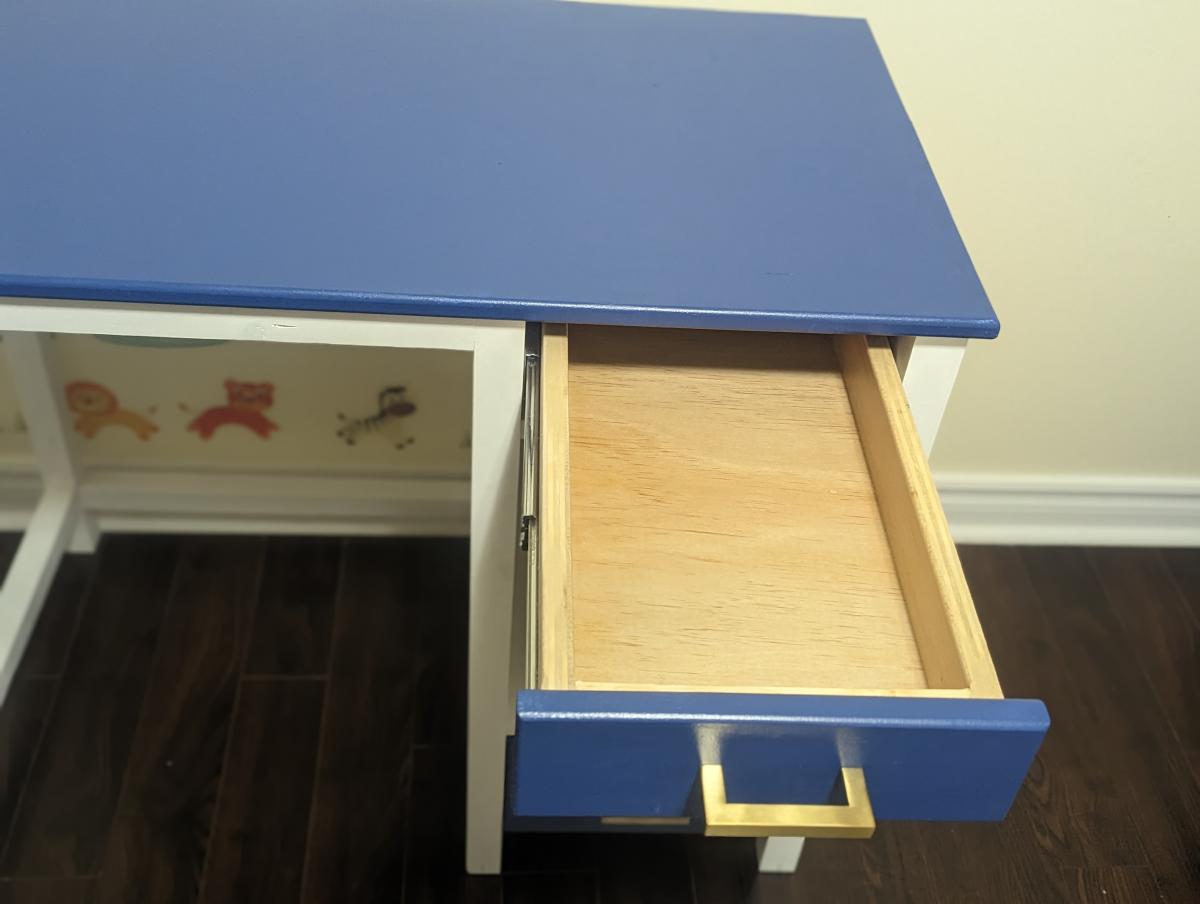
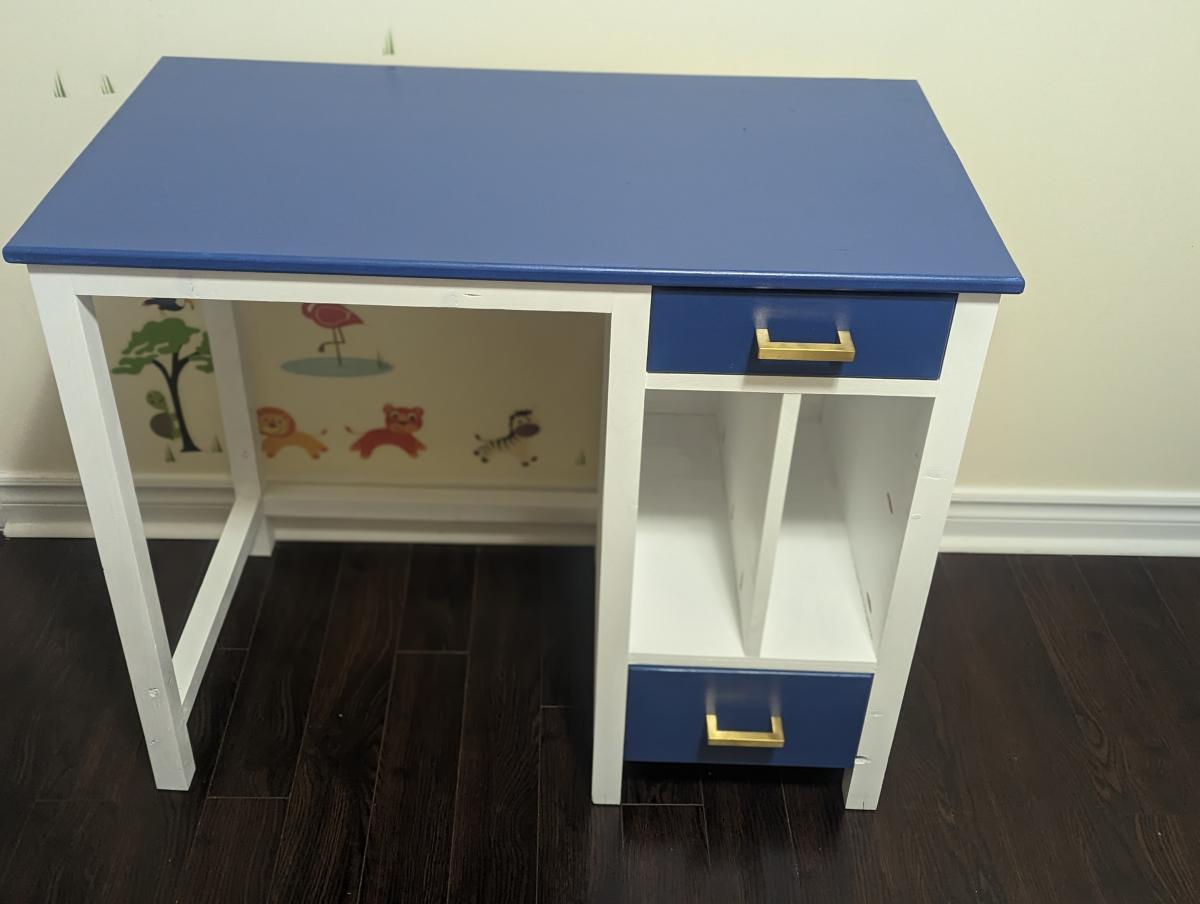
Submitted by shruti on Wed, 04/12/2023 - 13:13

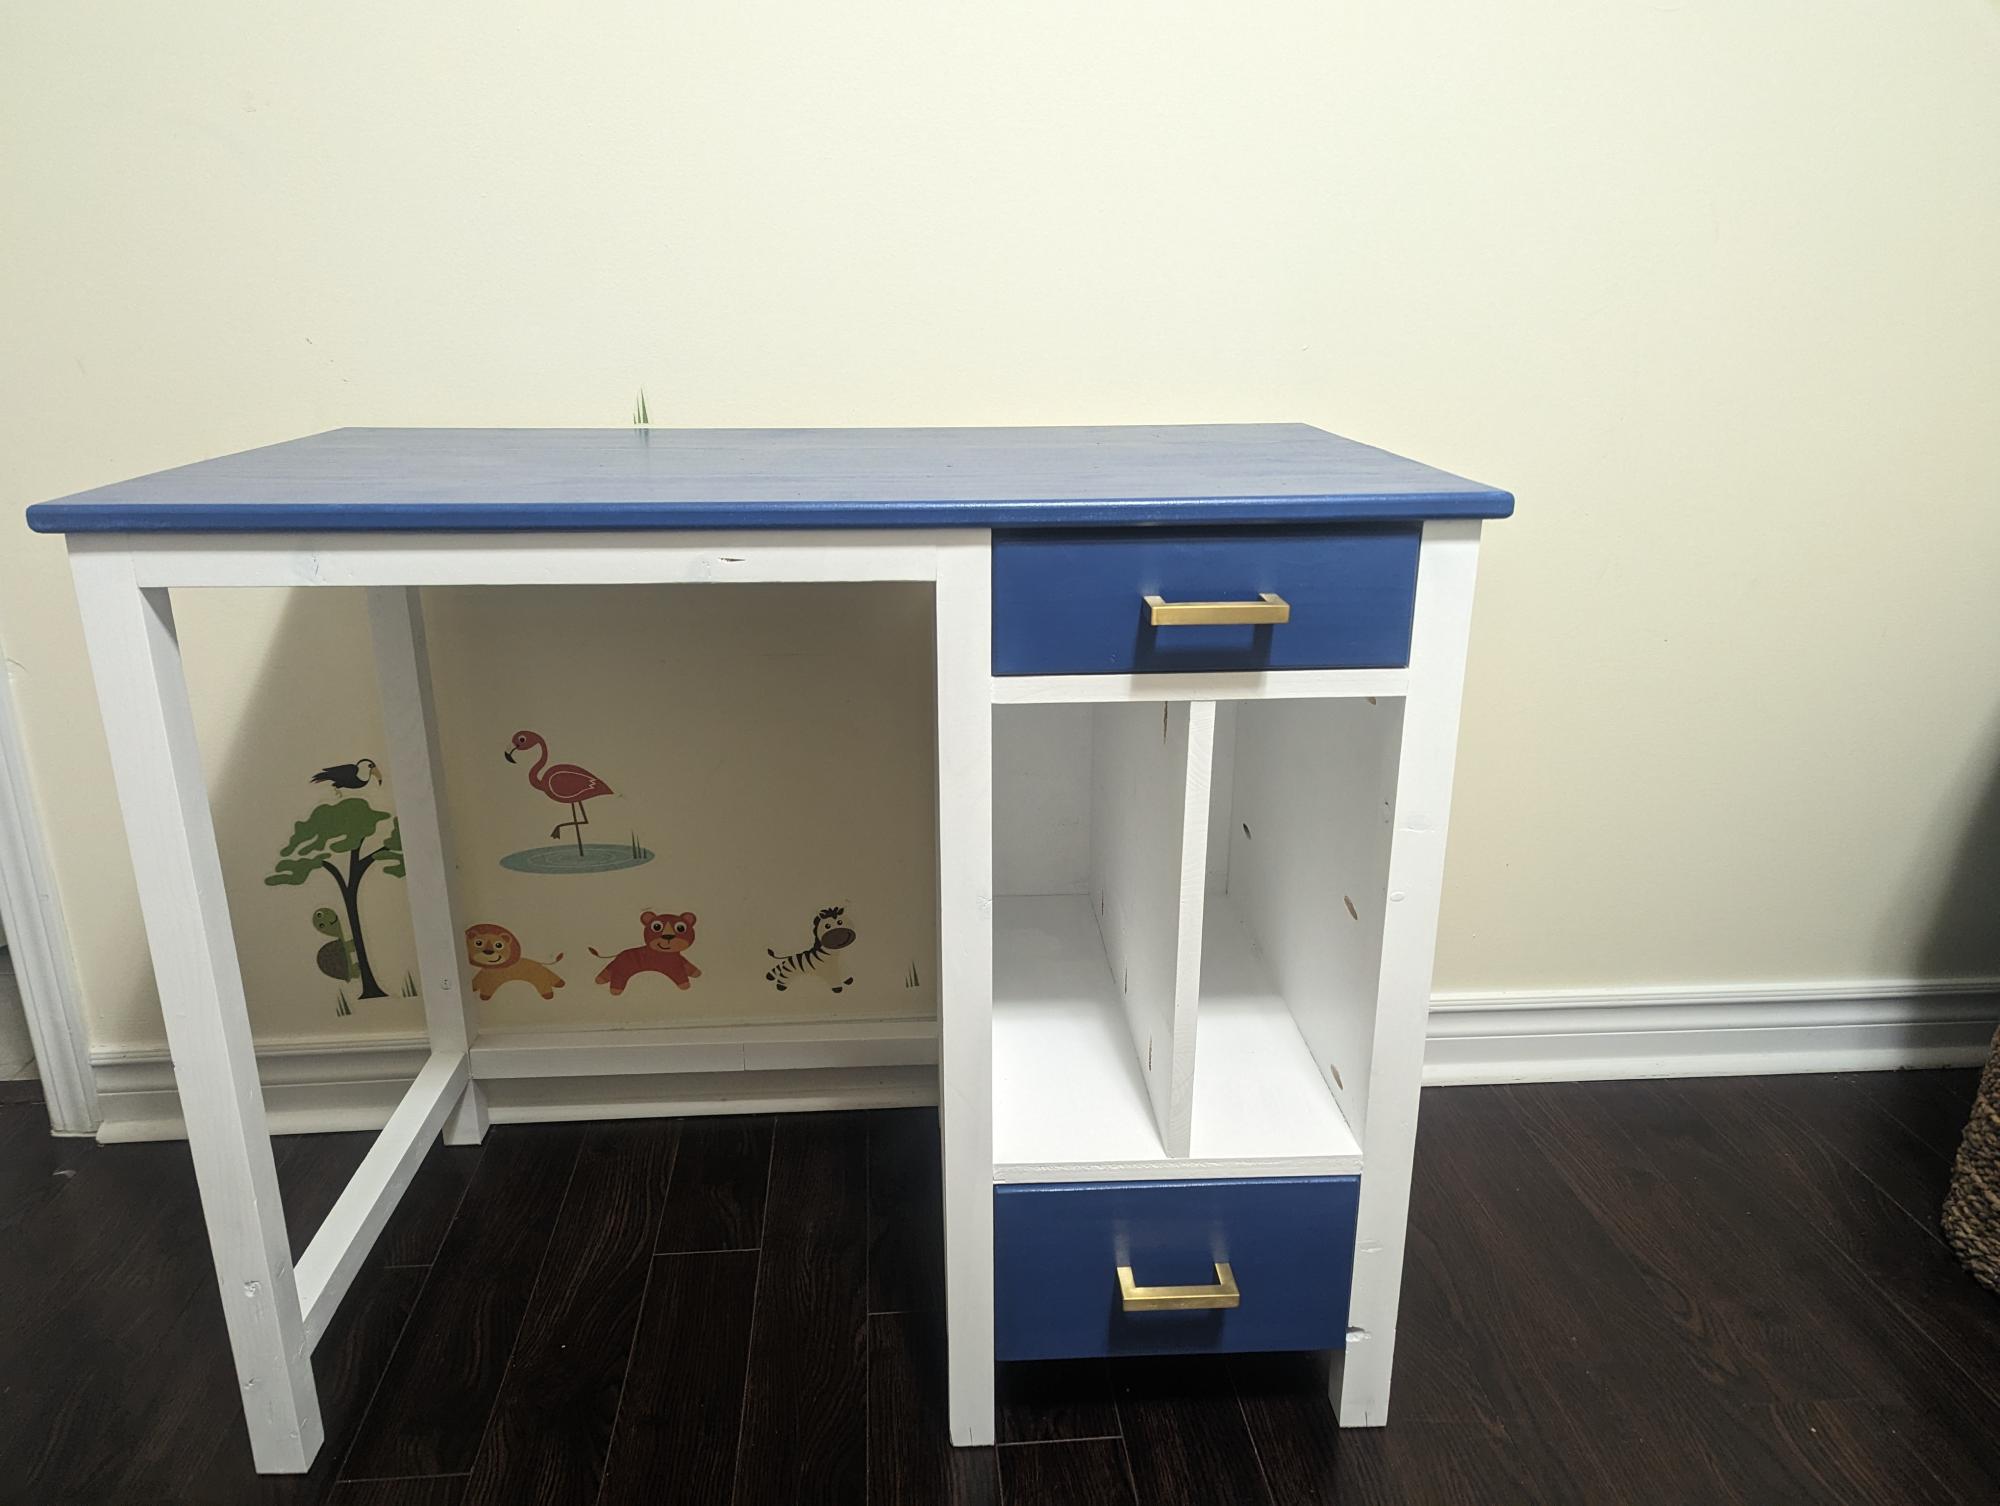
My daughter wanted a desk from a long time and this was a perfect plan!! I tweaked it a little as per our requirement and it came out be awwsome!! My daughter loves it :) Thanks Ana for the plan..

Comments

Kitchen Table

I couldn't find an exact plan for the kitchen table I wanted, so I used a combination of the farmhouse table and pub table to create the perfect table for my space. I liked the look of the 4x4 legs, but my local lumber store did not have a good selection of 4x4 boards. So I used a 1x4 and 1x3 kreg jigged together in an L shape to get the look of the 4x4 legs. The overall table dimensions ended up 44" square by 31" tall.

Estimated Cost
$100
Estimated Time Investment
Weekend Project (10-20 Hours)
Finish Used
Well, I asked for charcoal gray minwax stain. However, it turned out VERY blue, so I believe the paint machine must have made a mistake. I havent decided if I like the color, perhaps it will grow on me, if not, I'll be sanding it down and restaining it this spring. I used minwax satin polyurethane over the stain.
Recommended Skill Level
Intermediate

Comments

Erinski3 (not verified)

Mon, 04/16/2012 - 18:48

Great make, will you help with the dimensions and size of boards you used? What did use use for the top and aprons? 2x6? Any info would help. This would be a perfect fit for my place

MarioM

Sun, 10/27/2013 - 01:02

Is it necesery to drill holes on angle and what does it help (picture 3, under the table) ? Thank you

suedrakewest

Sun, 07/13/2014 - 05:43

Love the way the color of the table turned out and the size boards you used on top. Where did you find the matching chairs? This is the exact color scheme of my dining room remodel. Thanks!

Coffee Table

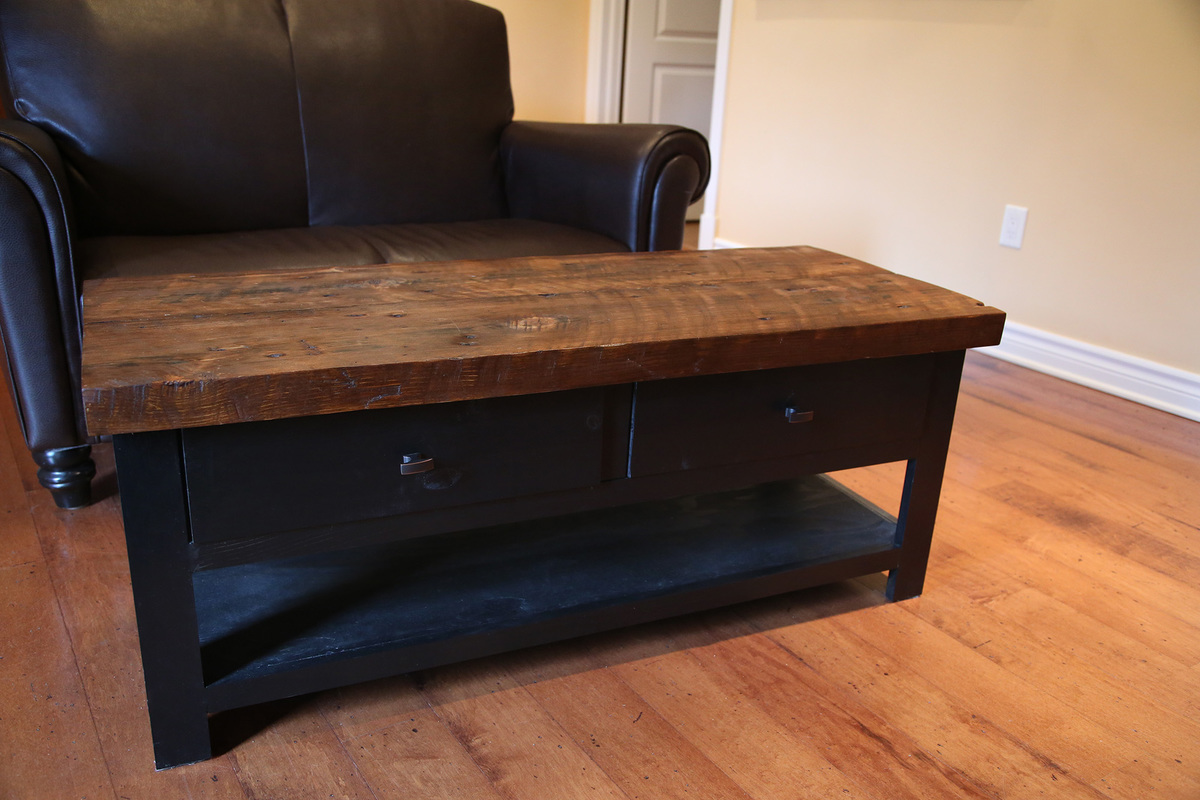
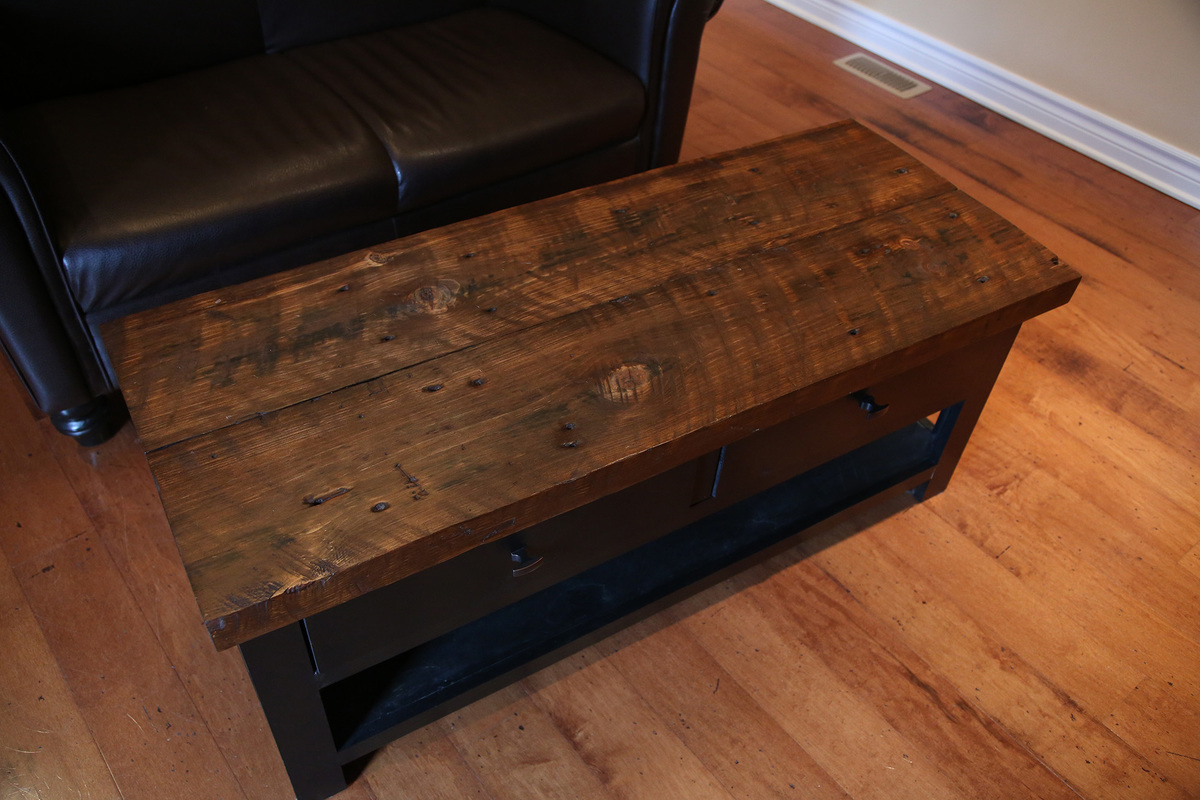
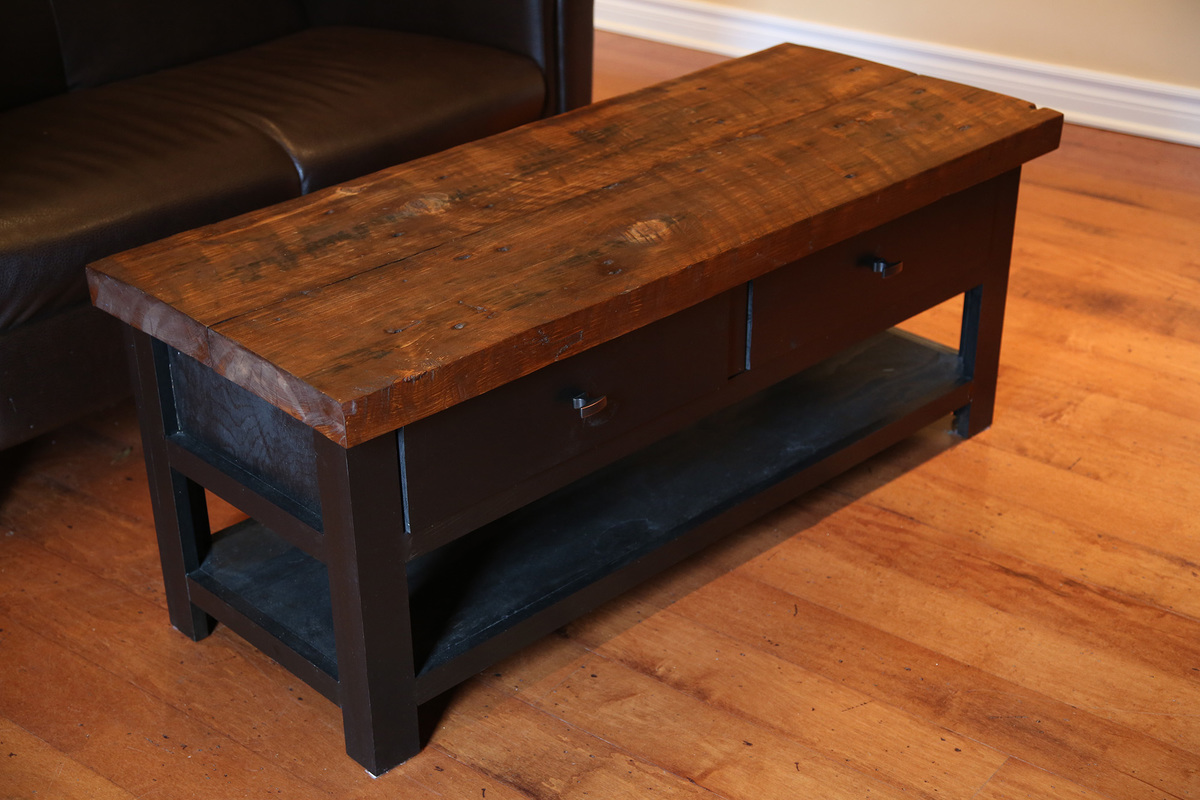
I tweaked the console plans to work best for my space, and to work with the reclaimed barn threshing floor boards that I used for the top.

I love how it turned out and it works wonderfully in my space.

Estimated Cost
60
Estimated Time Investment
Weekend Project (10-20 Hours)
Finish Used
I painted the bottom with a melamine paint.
The top was stained with a walnut gel stain, and finished with a wipe on poly.
Recommended Skill Level
Beginner

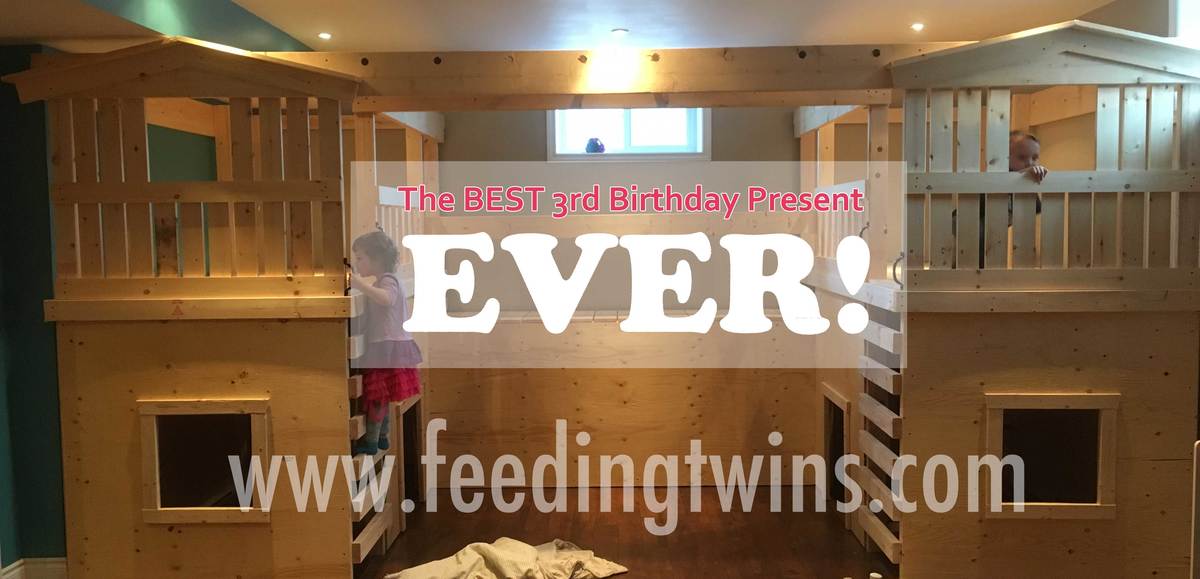
The BEST 3rd Birthday Present Ever!

Submitted by Anonymous (not verified) on Wed, 01/27/2016 - 09:37

Hi Ana! Thank-you for the detailed instructions on how to build the indoor playground! We had our contractor build this for our twins' 3rd birthday present. The kids absolutely LOVE the playground and use it every day. I'm planning to paint it, reinforce and install a rock climbing wall up to the bridge, and install some easels in the bottoms of the playhouses. You can see more pictures of the kids playing and the construction here: http://feedingtwins.com/body/the-best-3rd-birthday-present/ Thanks again! Julie

Estimated Time Investment
Weekend Project (10-20 Hours)
Recommended Skill Level
Intermediate

Little Cottage Loft Bed

Submitted by BGBuild on Tue, 07/16/2019 - 07:14

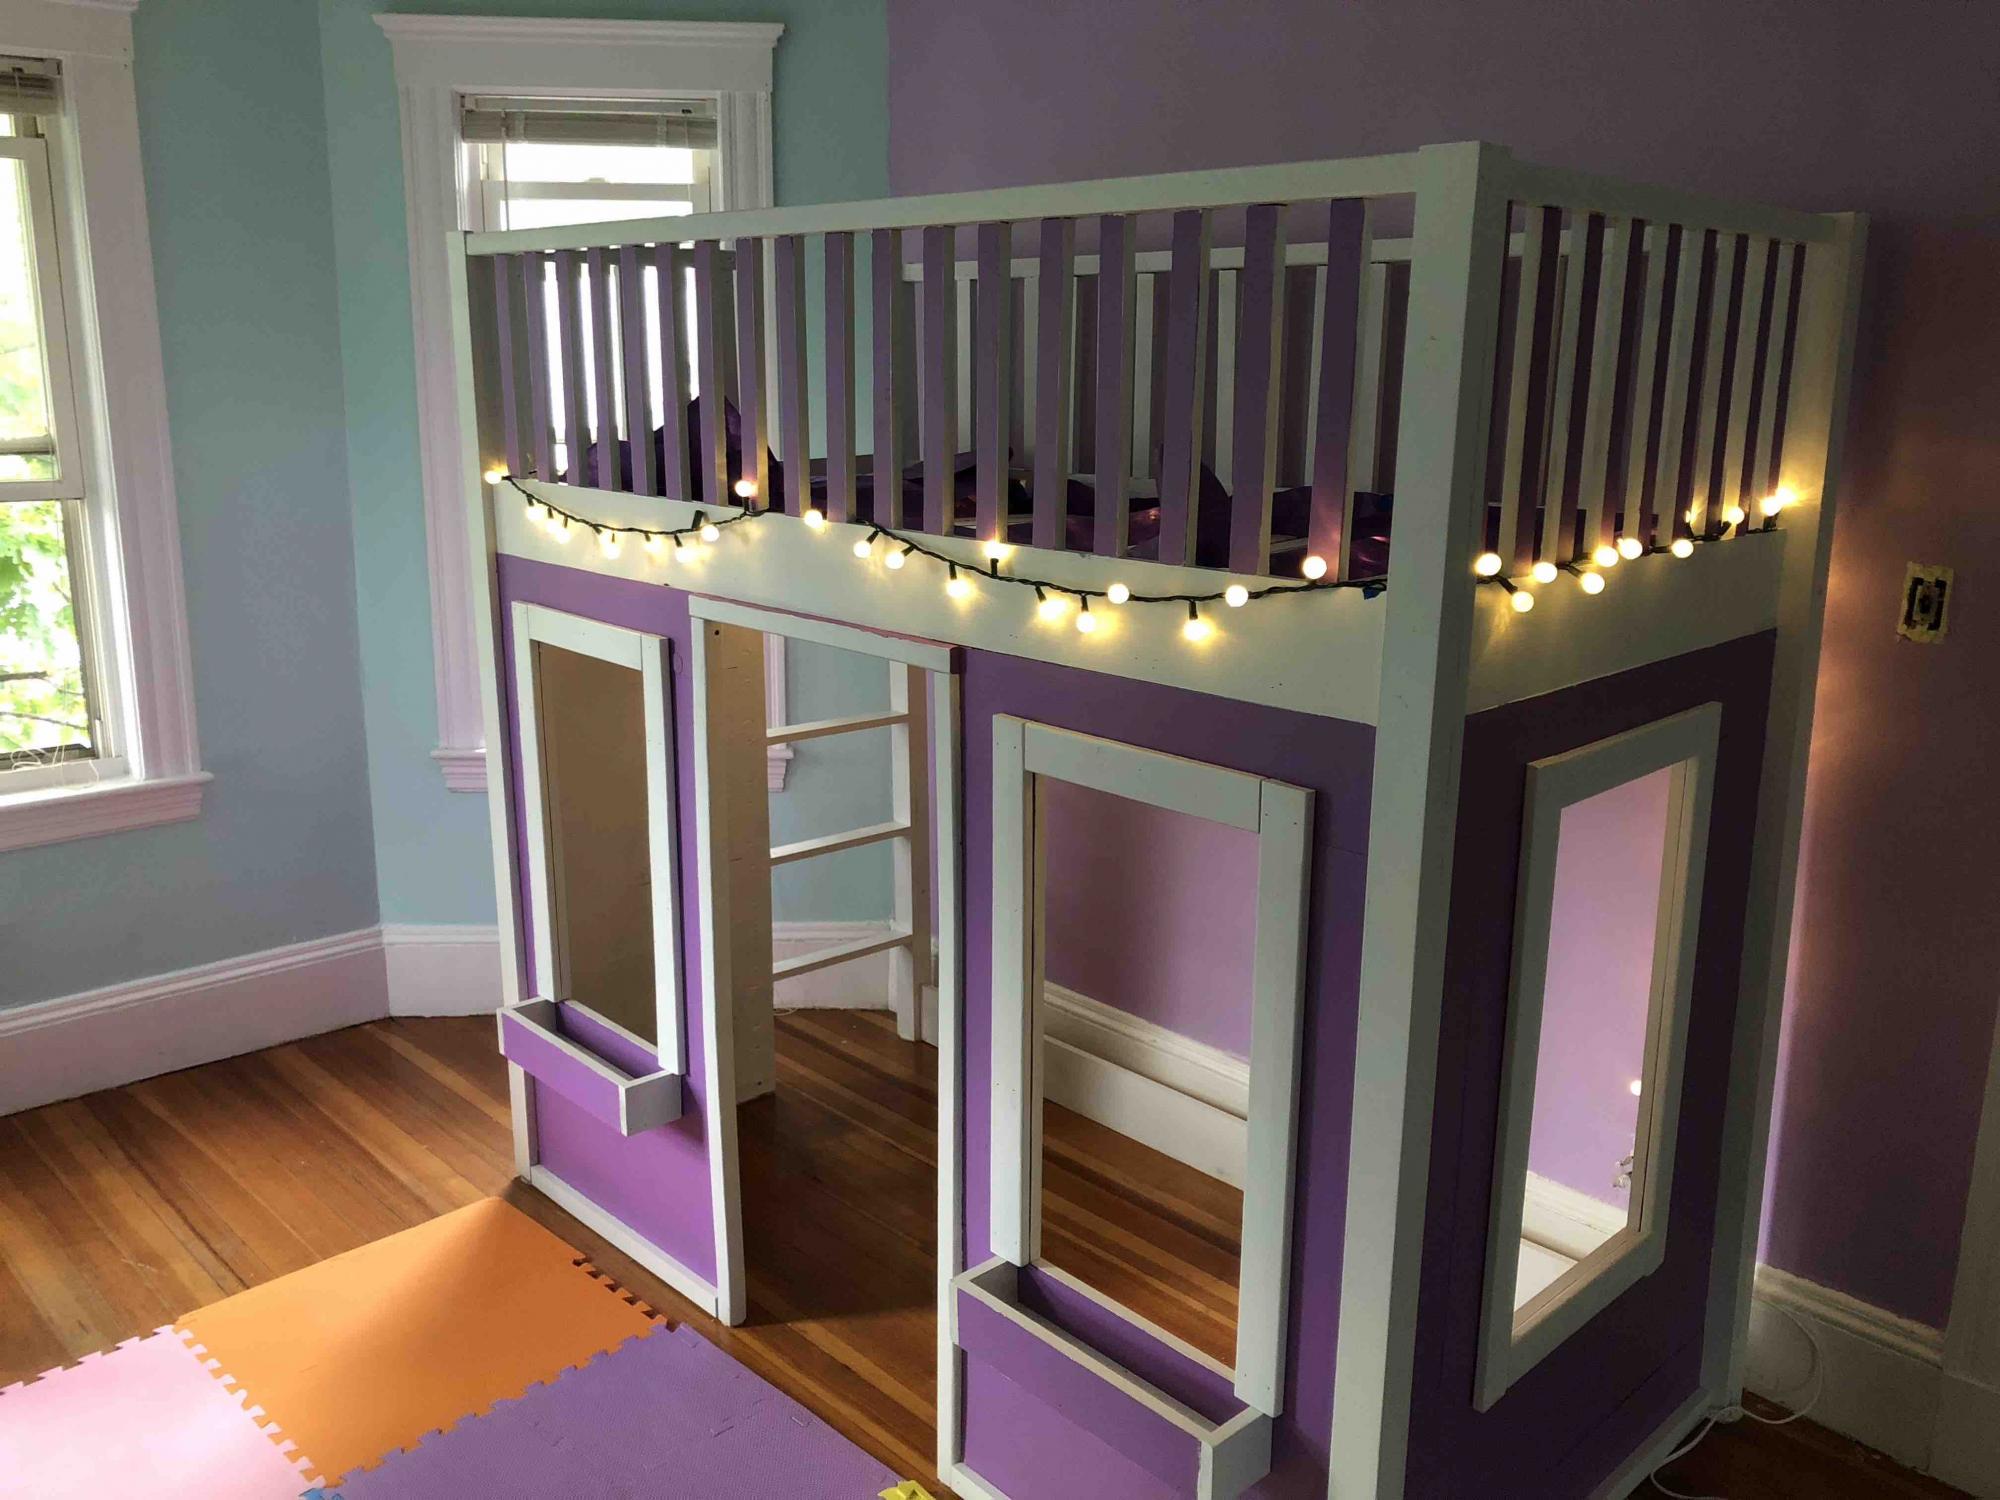
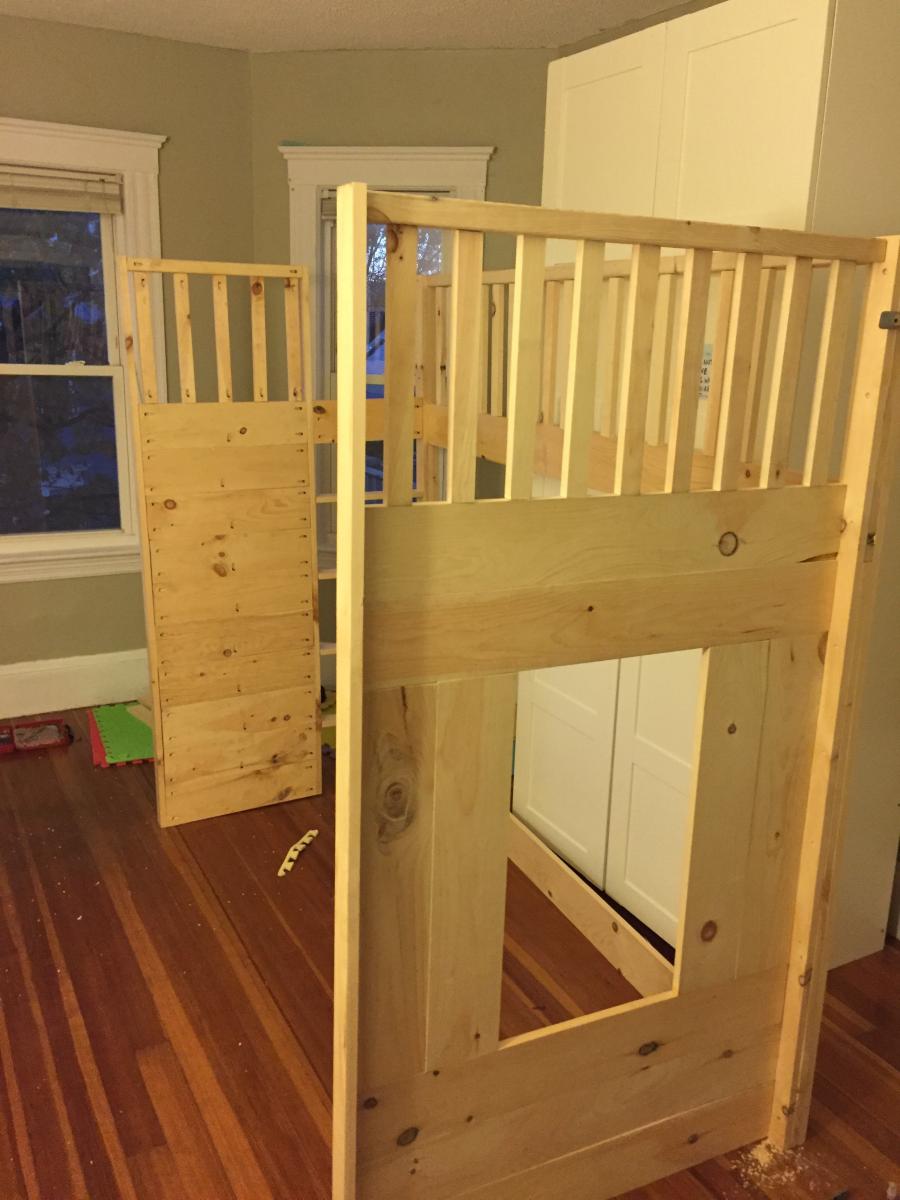
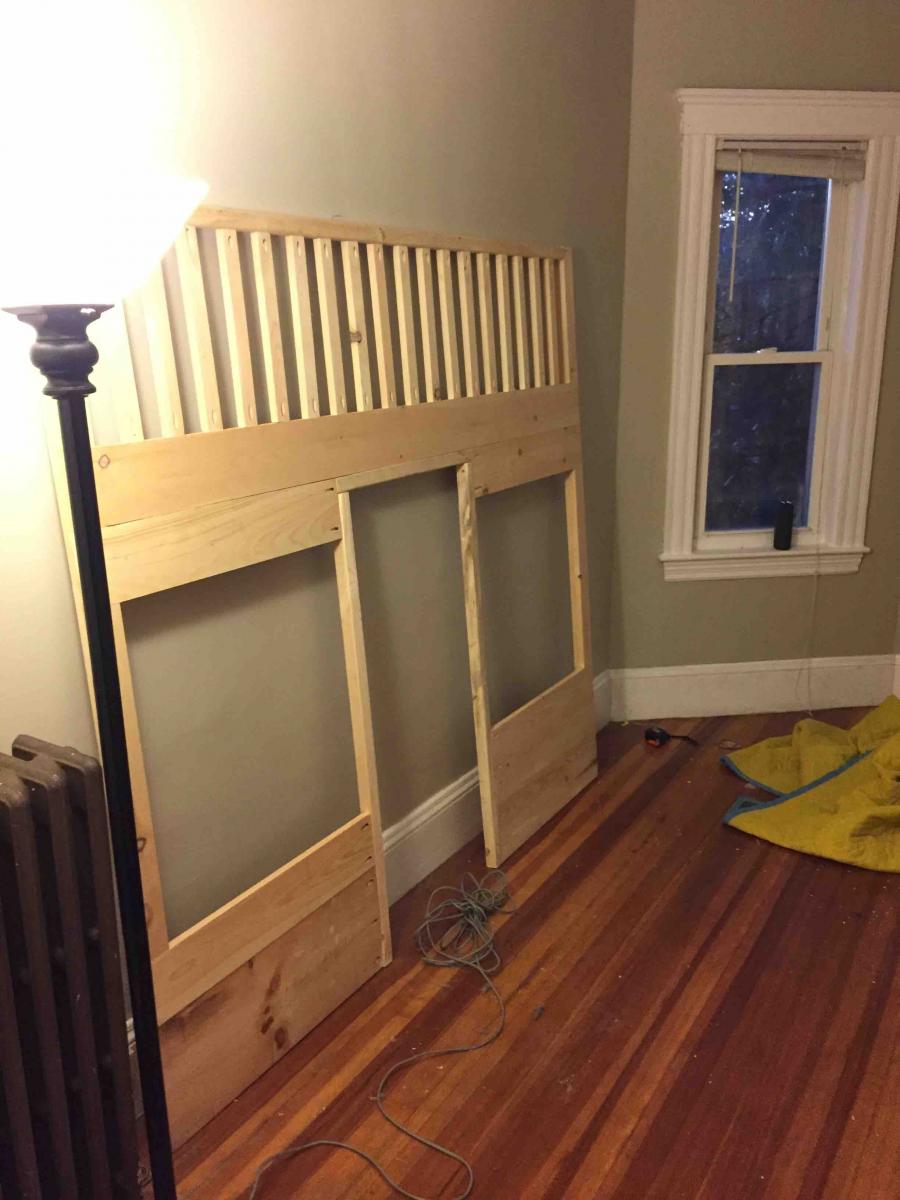
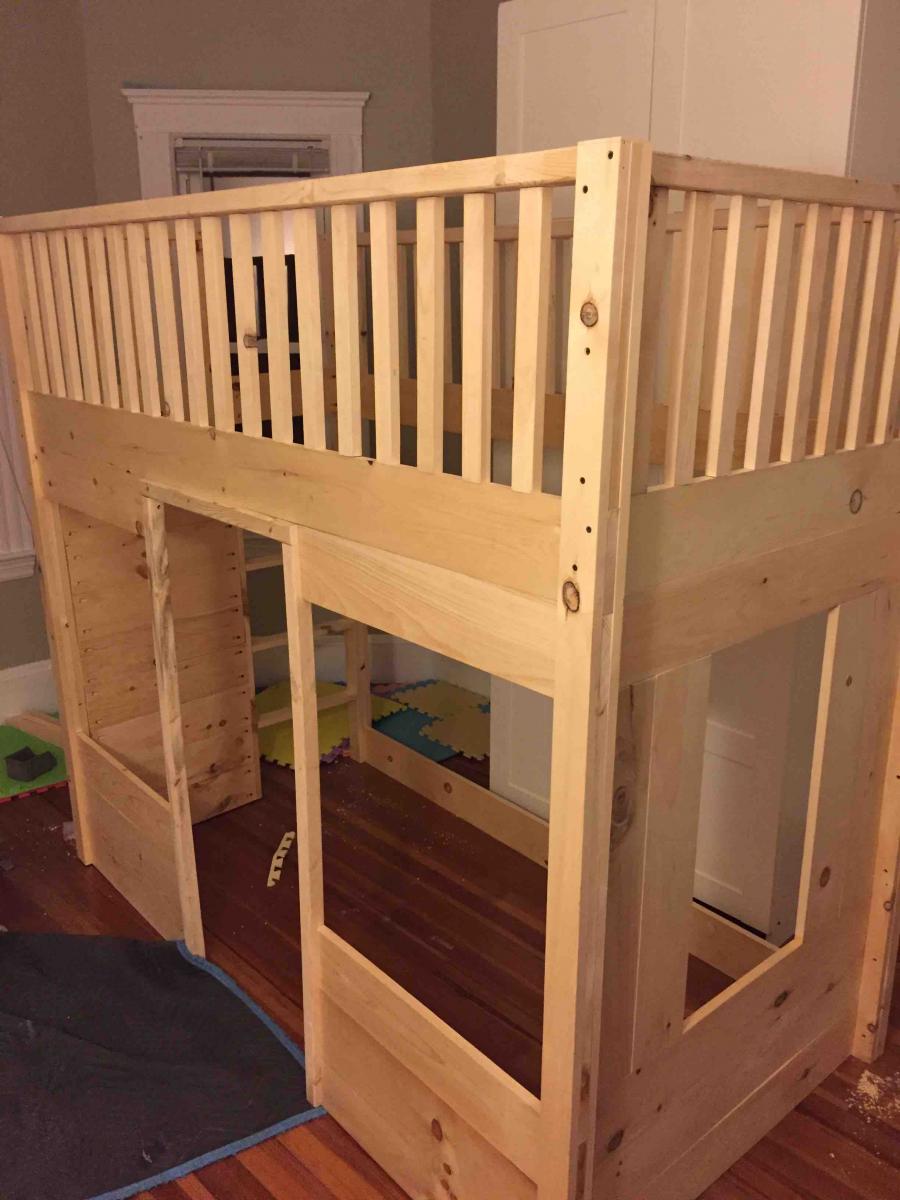
My daughter absolutely loves this bed, and everyone who comes over can't help but to compliment it. I was able to build it in 4 pieces in the basement then carry them up to our apartment and put them all together. It was not an easy build especially since I kept making little mistakes and had to go back and fix them. For example I did not use wood glue at first for the bars so after I screwed them all into place i relaxed they wobbled and twisted so I had to unscrew all of them, add glue and screw them all back in. But overall the instructions were pretty simple to follow and I am very happy with the way it came out.

Built from Plan(s)
Estimated Cost
$300
Estimated Time Investment
Week Long Project (20 Hours or More)
Finish Used
Chalkboard paint
Recommended Skill Level
Intermediate

Comments

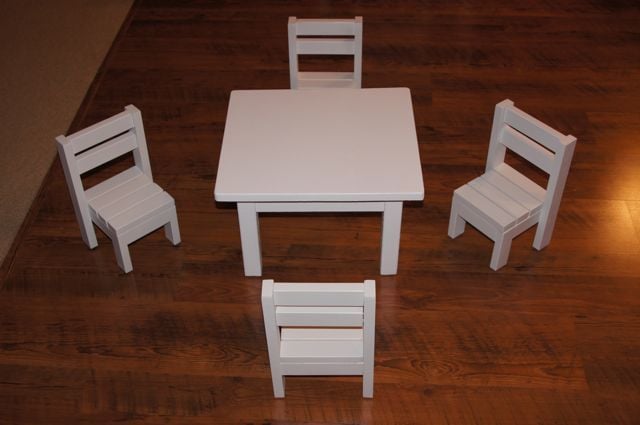
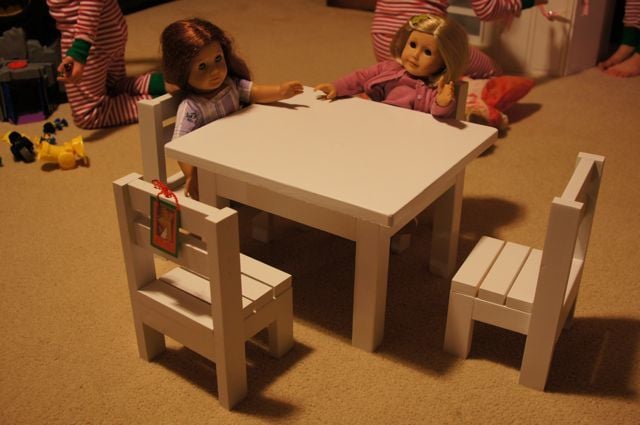
Claras Table and $4 stackable chairs sized for 18" Dolls.

Submitted by pjhaan on Mon, 12/26/2011 - 07:48

I decided to make the Clara table and the $4 stackable chairs for my daughters for Christmas. They were not for them though but rather for their American Girl dolls. I had to modify the plans to work for standard 18" dolls.

The Table:
It is a little taller than it should be but it allows the doll to fit under the table/apron while sitting in an appropriately sized chair (5" seat).

I also changed the length from 18" to 15 1/2" so the cuts could be made from a 4ft board.

3 - 1 x 6 @ 15 1/2" (Top) (1 @ 4ft)
4 - 2 x 2 @ 10" (Legs) (1 @ 4ft)
2 - 1 x 3 @ 10 1/2" (End Apron) (1 @ 4ft)
2 - 1 x 3 @ 9" (Side Aprons)

The apron is 1 1/2 inches. a 1x2 would probably work for the aprons too. You could then shorten the table legs by about an inch.

The Chairs:
The over all dimensions are now 12" H (back), 5 1/2" H (seat) X 6" W X 6 1/2" D

Cut List:
2 - 1×2 @ 4 1/4" (Side Aprons)
2 - 1×2 @ 5" (Side Supports)
3 - 1×2 @ 4 1/2" (Front Legs and Front Apron)
7 - 1×2 @ 6" (4 Seat Slats, 2 Back Slats and Back Apron)
2 - 1×2 @ 12" (Back Legs)

Built from Plan(s)
Estimated Time Investment
Week Long Project (20 Hours or More)
Finish Used
White paint. I used some Valspar paint on the table and one chair then decided it would take too long to get all the cracks and crevices. On the other three chairs, I used Krylon Spray paint. I put two coats of the spray paint on the first chair for better coverage.
Recommended Skill Level
Beginner

Comments

KAD050209 (not verified)

Tue, 10/09/2012 - 17:19

For the dimensions you have for the chairs... Is that to make one chair only? I so0o0o wanna make this for my DD! She'll love it!

Storage Bench

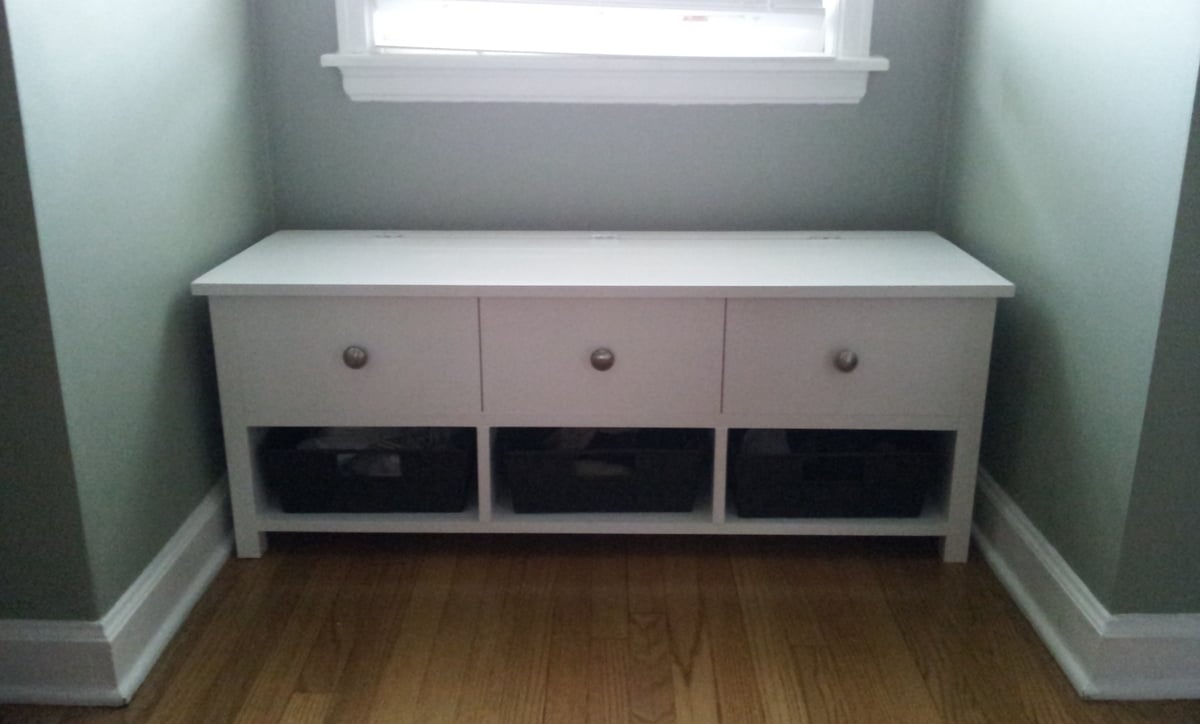
I followed the plans and everything went really well. Th bench was built to match a Farmhouse Bed and nightstand that I built. I added fake drawers and knobs to make it match the nightstand. The top of the bench is made from boards screwed together rather than plywood, to add a little character.

Estimated Time Investment
Afternoon Project (3-6 Hours)
Finish Used
White paint with a clear acrylic on top.
Recommended Skill Level
Intermediate

Comments

DIY Closet Conversion

Submitted by Anonymous (not verified) on Sat, 01/30/2016 - 20:23

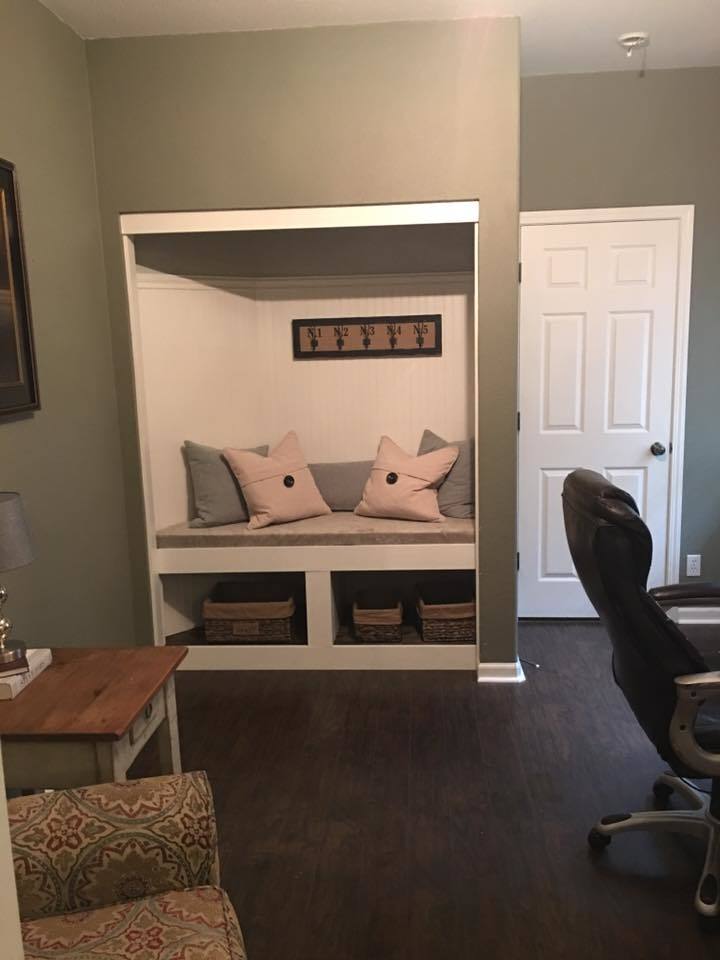
We built and designed this as we went while working within the existing closet.

Estimated Cost
$250
Estimated Time Investment
Weekend Project (10-20 Hours)
Recommended Skill Level
Intermediate

Salad bar with handles

Submitted by Sara on Sun, 07/21/2019 - 11:18

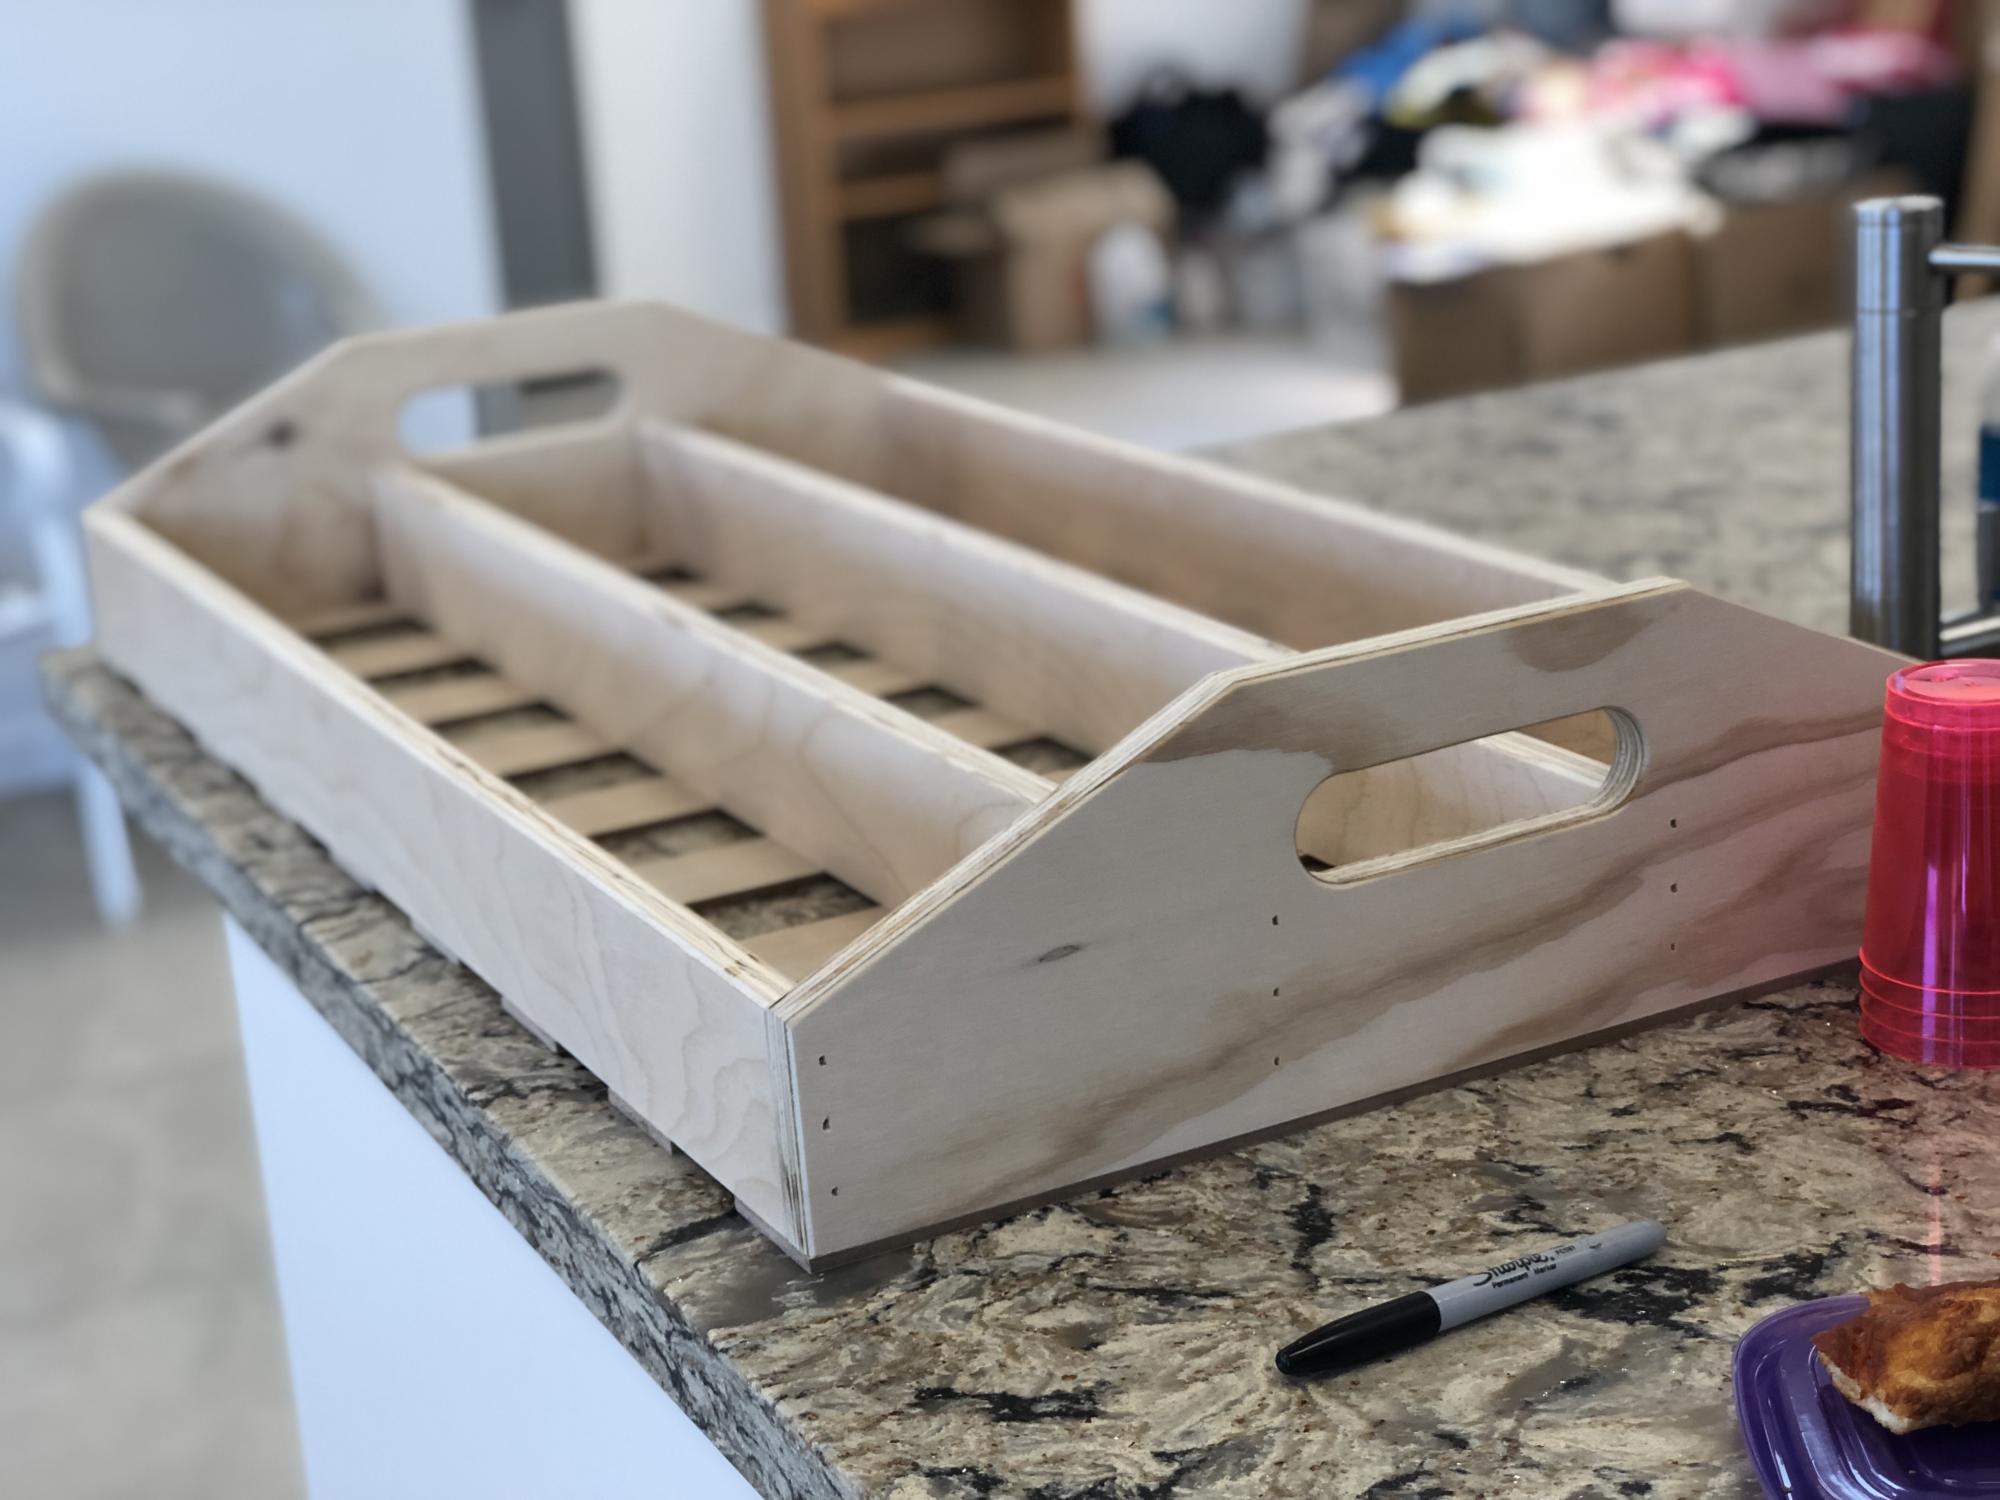
My husband made this with a few tweaks: taller dividers to be even with the sides, smoothing of edges, and handles! It was perfect for our salad bar and pizza party!

Estimated Cost
$0 (used scrap plywood)
Estimated Time Investment
Afternoon Project (3-6 Hours)
Finish Used
none, but we plan to use butcher block oil/sealer
Recommended Skill Level
Beginner

Comments