Community Brag Posts

Smith Media Wall Build

Submitted by rbgreene04 on Mon, 07/27/2015 - 21:19

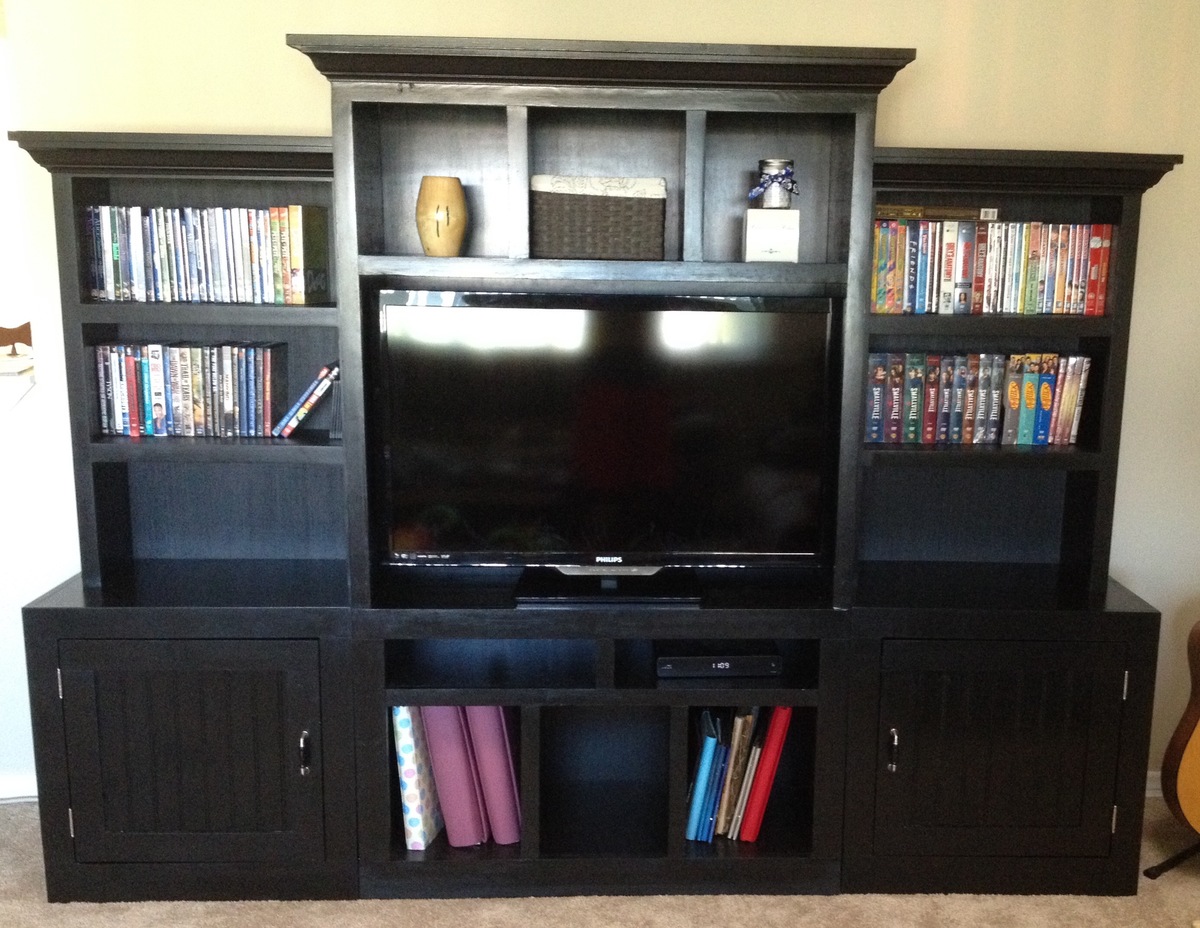
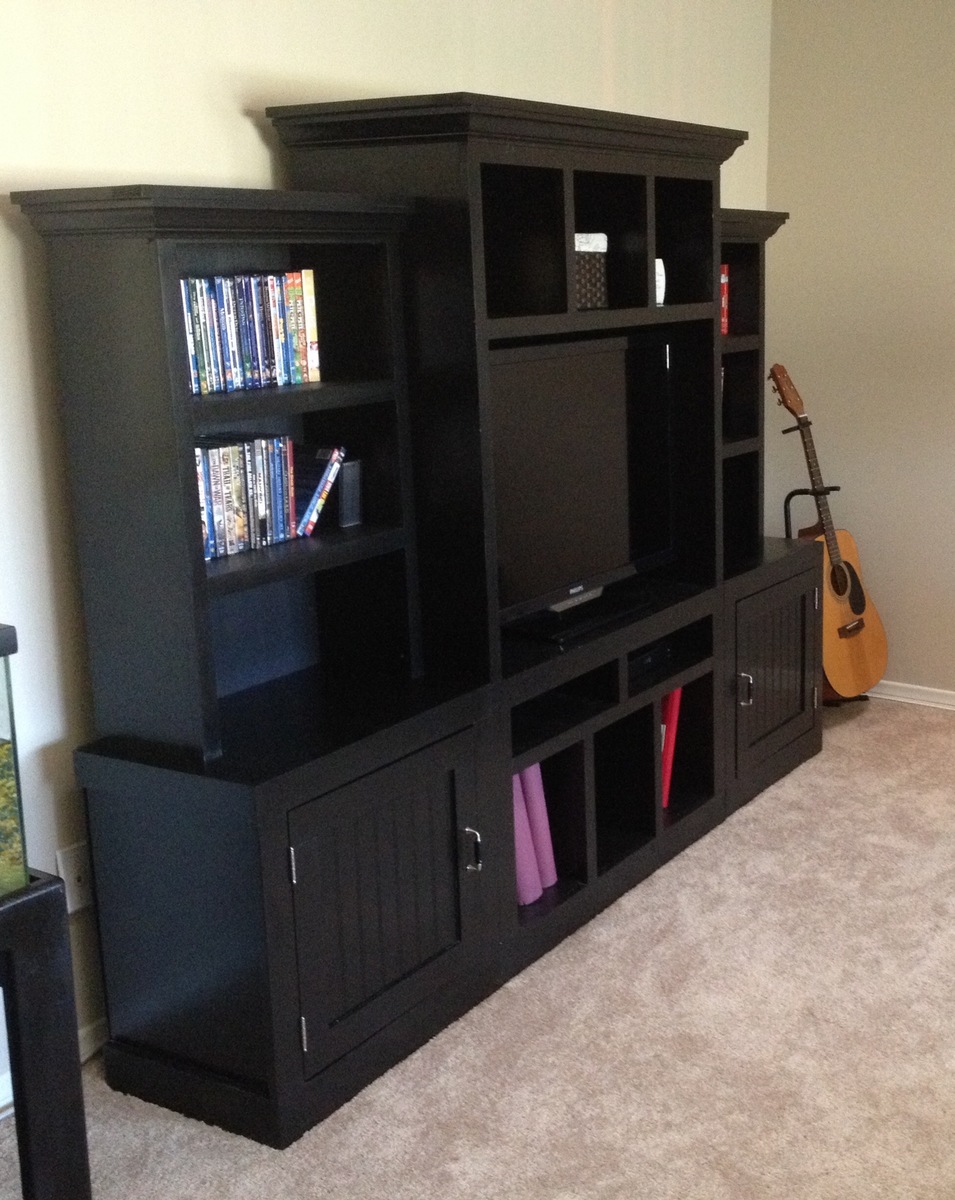
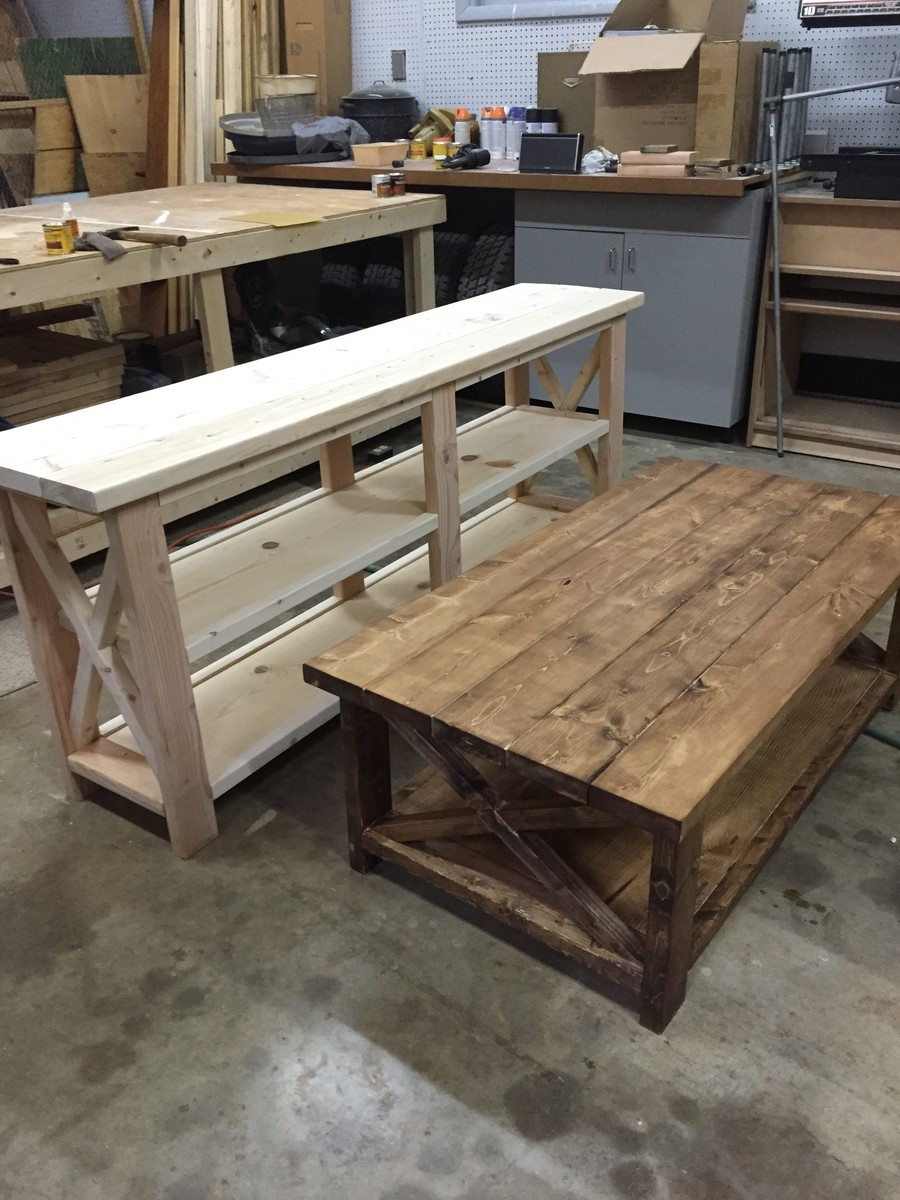
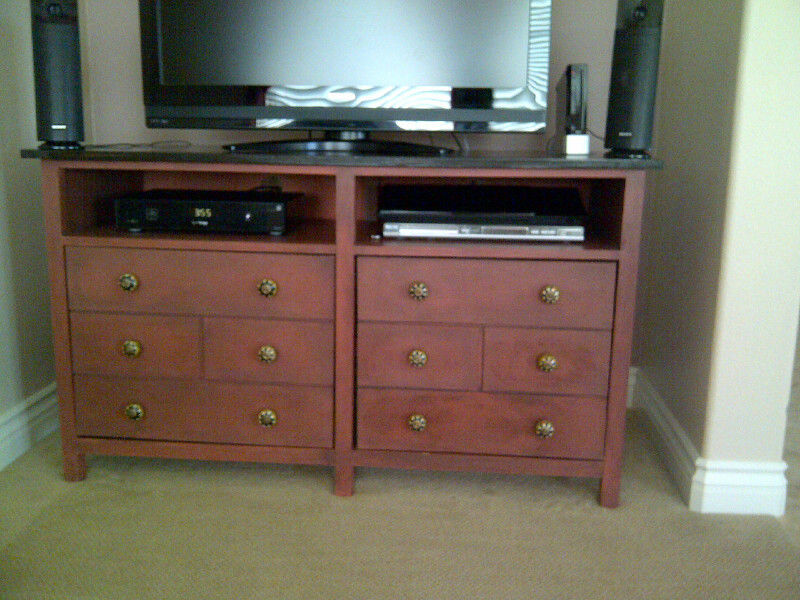
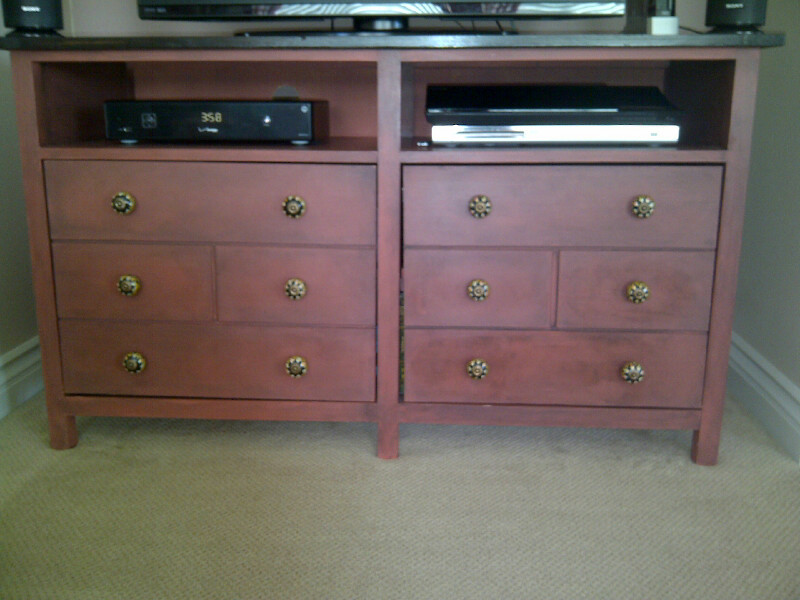
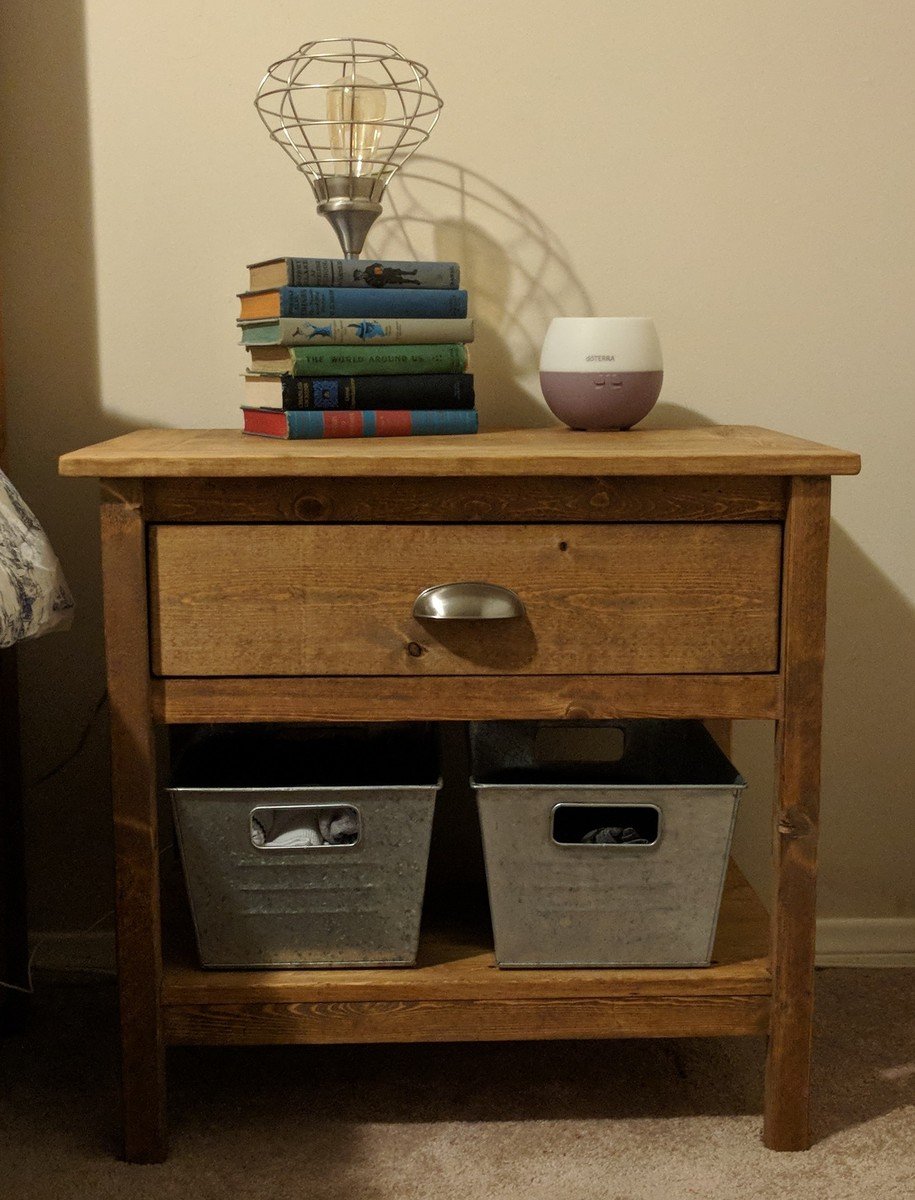
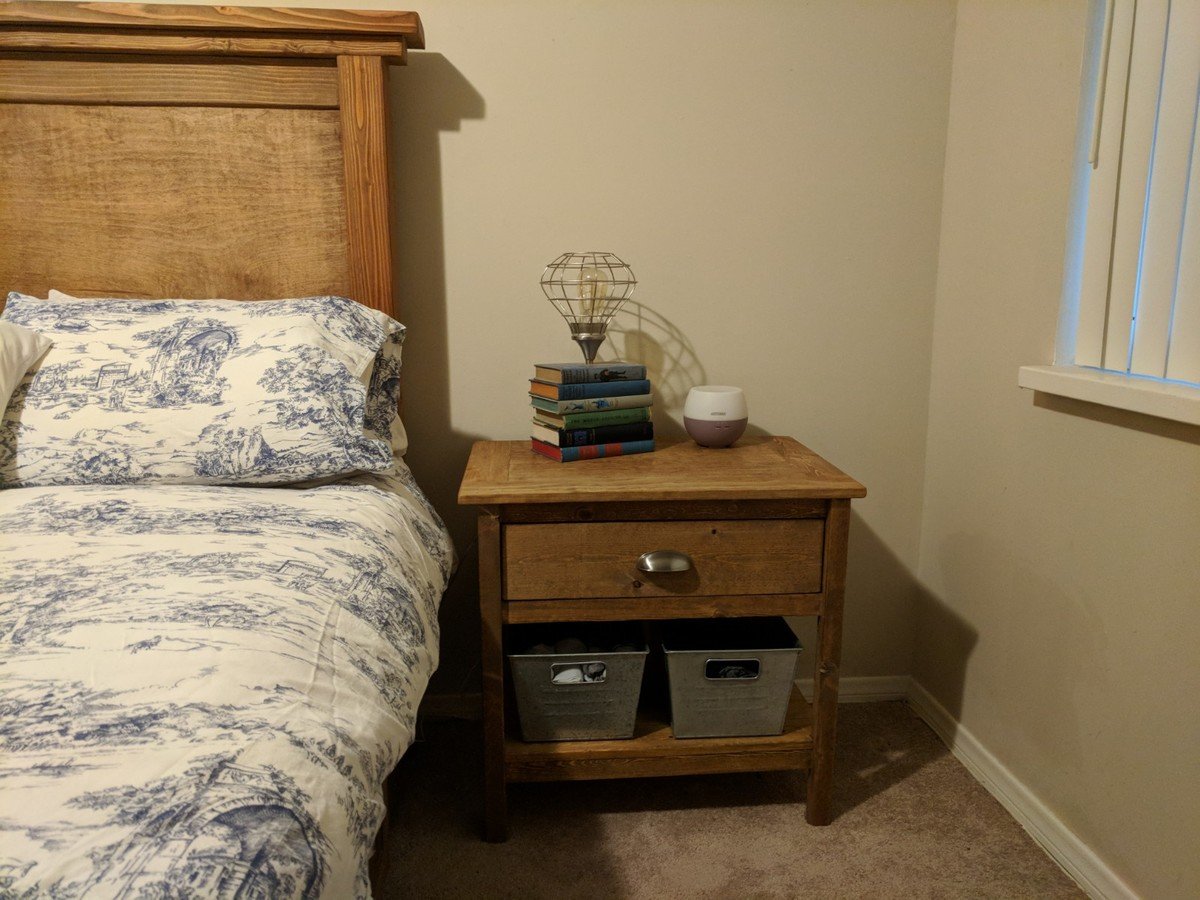
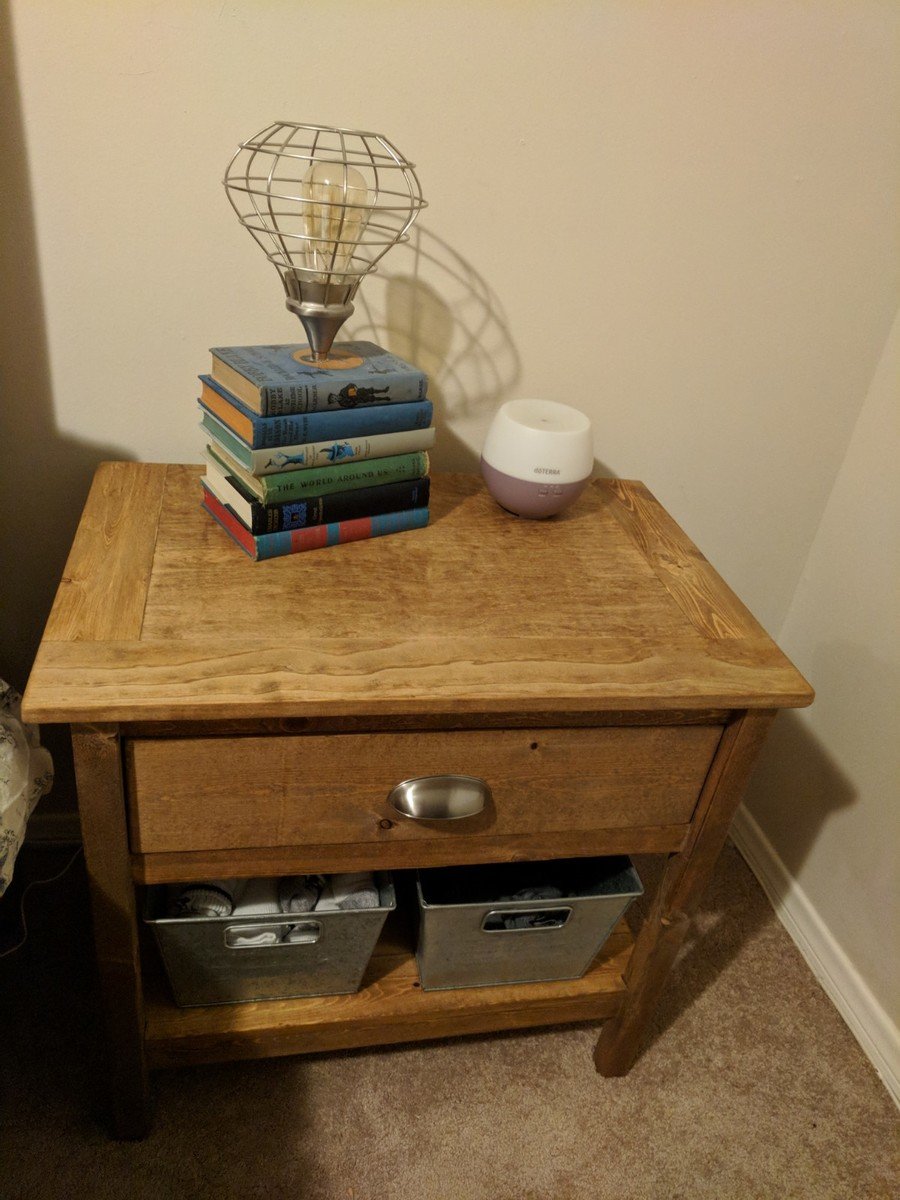
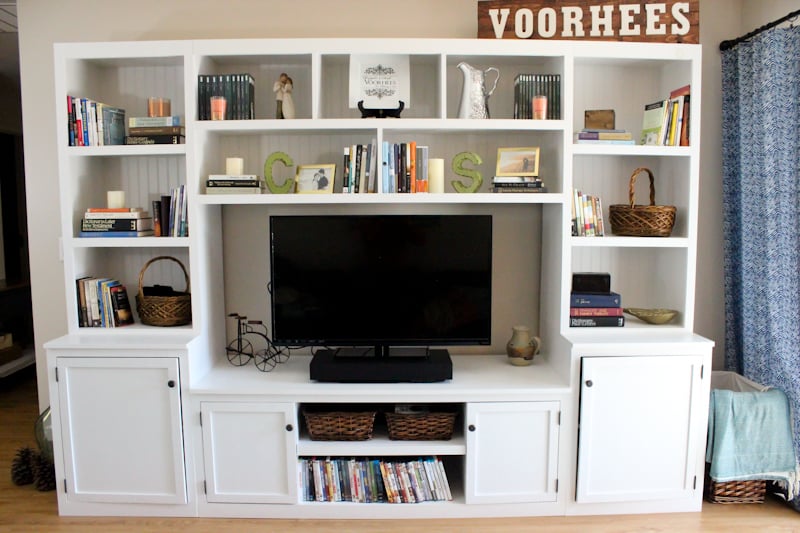
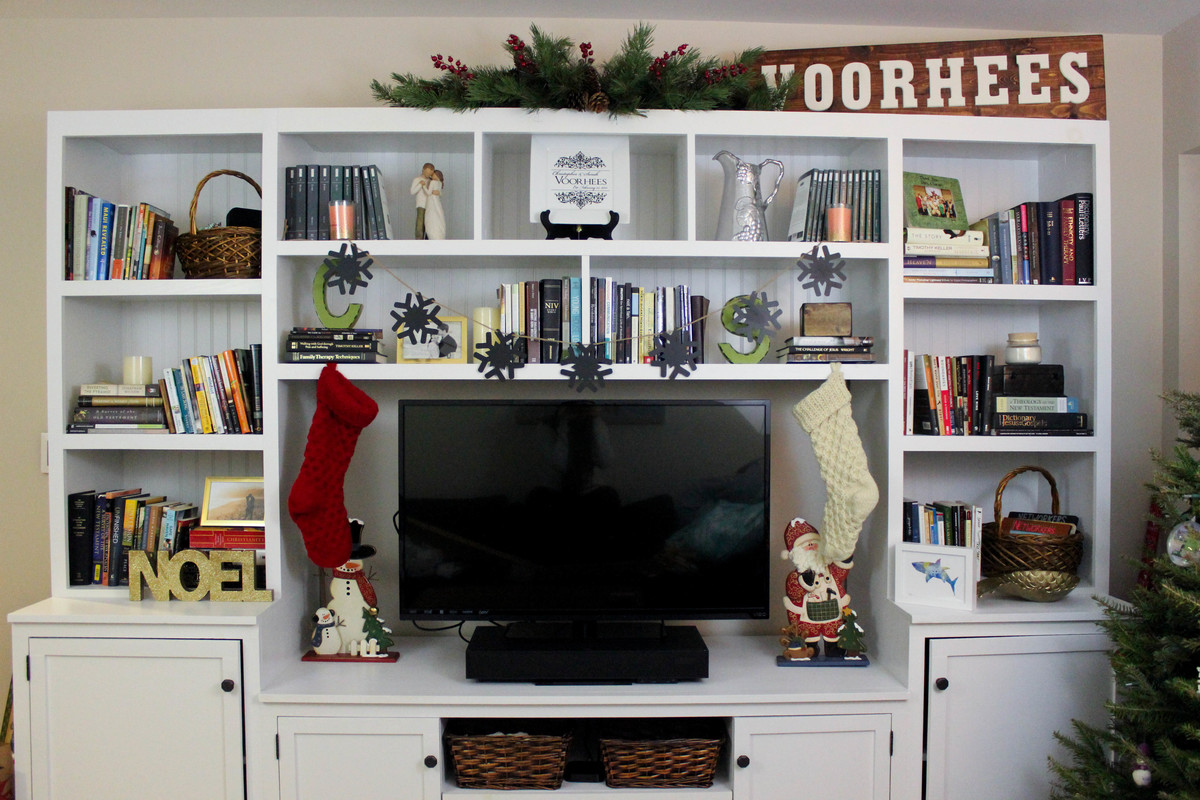
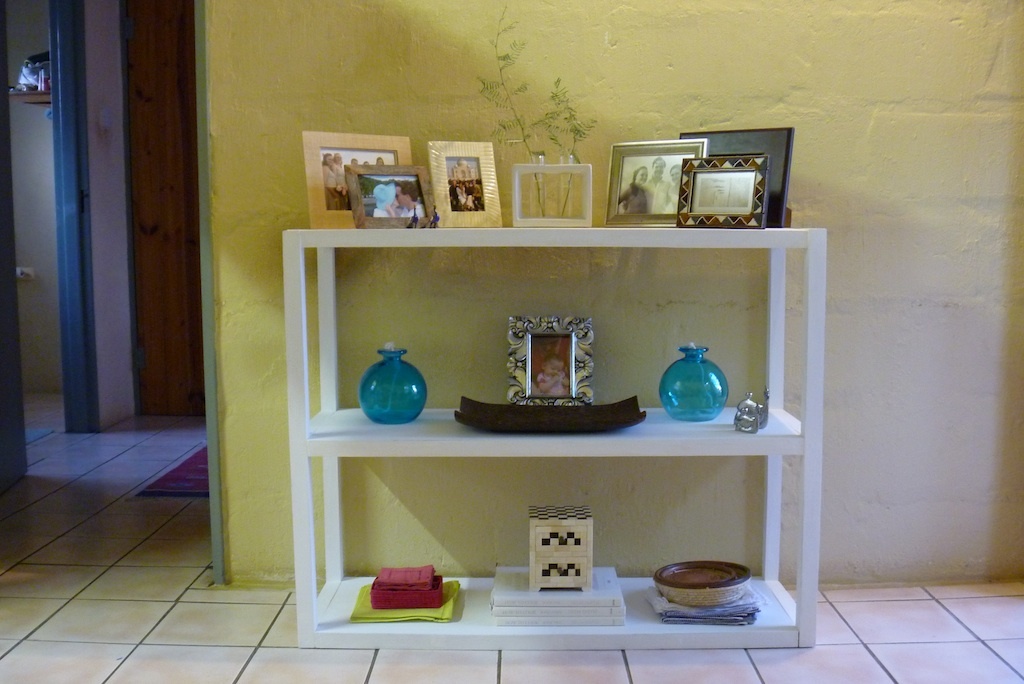
After moving to our new home, we needed an entertainment center to house our TV. I had build a DVD/Bookcase several years ago and I wanted the entertainment center to match design-wise. I was amazed how similar the Smith Media Wall is to the bookcase I built years ago--simple, clean lines with the moulding along the top.

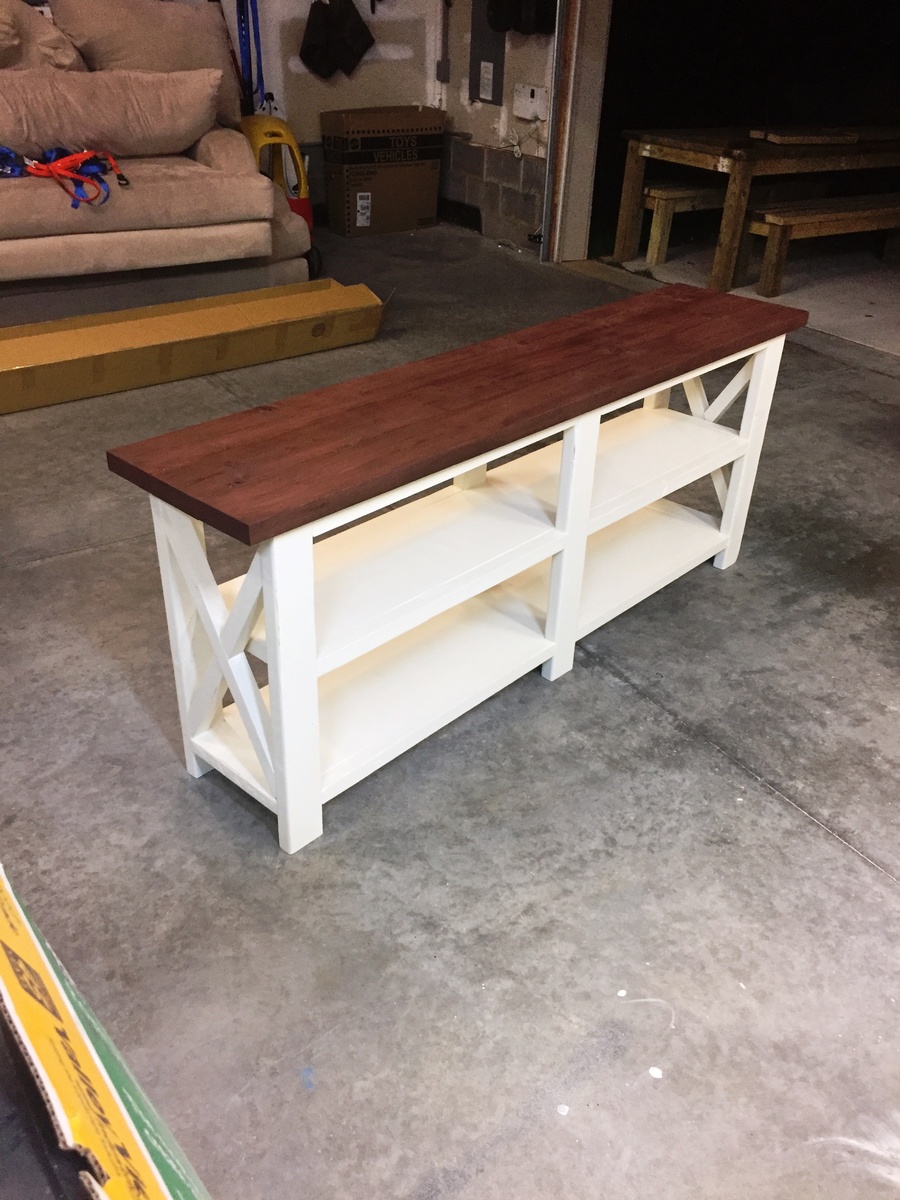
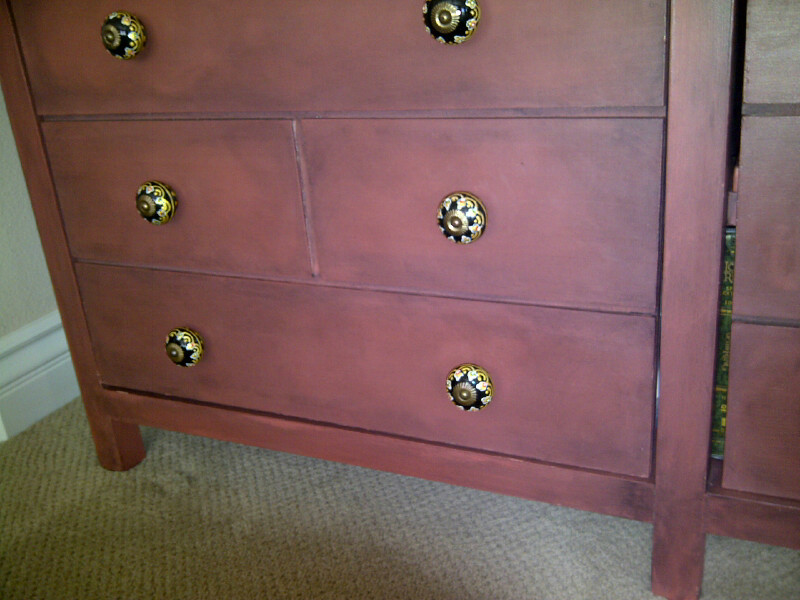
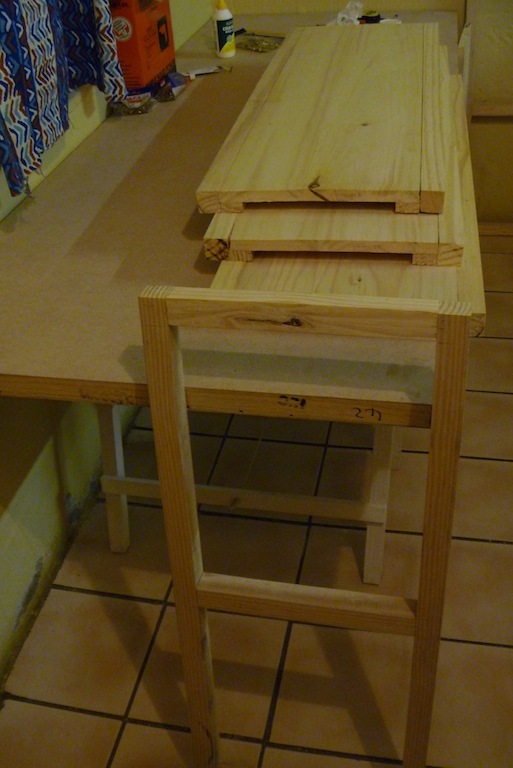
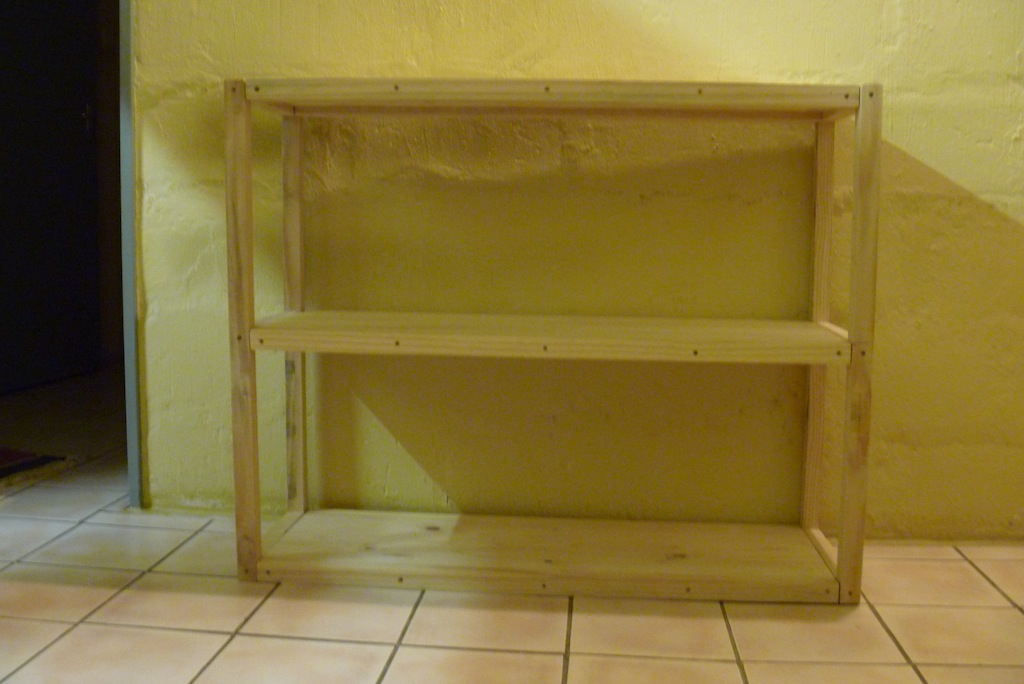
I adjusted the plan to fit our TV and went with one cabinet door on each side instead of two. I also used some leftover beadboard for the cabinet panel inserts. I broke the first rule of carpentry and in a rush to finish, mismeasured the side hutch in comparison to the side base cabinet. (I actually had the correct measurements, I just made a calculation error when reading the plans I quickly drew up. Usually, I'm meticulous with plans, but with so many projects to do, I rushed these plans and hopefully learned from my mistake)

Estimated Cost
It probably cost just under $200 to build. I'm horrible at keeping track of project costs because I try to use scraps from other projects when possible.
Estimated Time Investment
Week Long Project (20 Hours or More)
Finish Used
To finish, I used Rustoleum Ebony Stain followed by several coats of lacquer.
Recommended Skill Level
Intermediate

Comments

Linda7

Tue, 07/28/2015 - 16:43

This is a beautiful build, and if you hadn't mentioned the measuring error, I doubt if I would have noticed it. Good job!


Adult Slingback Chair

I originally started making this for a friend, but I think I may decide to keep it! I didn't purchase any wood or paint for this project - I had a lot left over from a previous project and was able to rip down other boards to 1x2s. The fabric was another left-over... I bought WAY too much to make cushions for the outdoor sofa as I decided I didn't need so many sofa pieces in the end. The only elements I purchased for this chair were the hardware and 1 can of primer... so it turned out to be under $10!

Estimated Cost
Under $10
Estimated Time Investment
Afternoon Project (3-6 Hours)
Finish Used
Primed with Killz spray primer and used less than a bottle of Rustoleum dark grey spray paint. (I ran out before doing the adjustable height piece, so I just used some old black I had sitting around.)
Recommended Skill Level
Beginner

American Girl Doll Bed

My daughter and I made this bed together for her cousin. She helped me every step of the way with the exception of the cutting. It was her first time sanding, drilling and painting (well at least painting furniture). I also let her pick out the paint color which she put a tremendous amount of thought into.

I truly enjoyed my time making this project and especially since it allowed my daughter and I to work together to make someone else very happy.

Her cousin seemed to love the bed, and my daughter definitely loved working on it and bringing it out to her.

Thank you so much for the plans and making this experience so easy!

Built from Plan(s)
Estimated Cost
$10
Estimated Time Investment
Afternoon Project (3-6 Hours)
Finish Used
I first primed the wood, and then bought a little paint sample of Rasberry Sorbet at Lowes to paint it with. I think the sample was a couple dollars and there is still plenty left for another bed.
Recommended Skill Level
Starter Project

Comments

Annie Casselman

Sat, 03/07/2015 - 17:32

This is a very confusing website, +I cannot get the plans for the doll bed+ I would like to build with my daughter. I guess i have to give up.

Rustic X Console

Submitted by aelliott on Fri, 03/02/2018 - 09:24

Had a blast doing this project! Wife was skeptical at first but it's found a great spot in our home as an entry way table! Thanks for the plans!

Recommended Skill Level
Beginner

Hailey's Bed - Avery's Edition:)

Submitted by brguad on Thu, 06/09/2011 - 17:54

My wife and I had another baby girl and Avery was moving out of her crib into a big girl bed. Definitely didn't want to buy cheap so after seeing some amazing plans on Ana-White.com, I had to build it myself. I loved the storage this bed had to offer and the simple look of the large headboard and footboard. I got started, and because of my scheduling i had this built in two weekends but total of about 10-12 hours. Very glad I did it. My daughter loves it, wife was impressed and now one crib free for little baby Vida!

Estimated Cost
$100
Estimated Time Investment
Weekend Project (10-20 Hours)
Finish Used
120 grit Sand paper, Wood filler, primer, White paint
Recommended Skill Level
Beginner

Comments

Amber R. (not verified)

Sat, 06/11/2011 - 21:37

I've been begging my husband to help me make these beds for my daughters :( Your wife and daughter are lucky

brguad

Sat, 06/11/2011 - 22:13

Thanks again Ana! I think I'm the lucky one. My wife has been supportive of me doing little projects and my daughter loves the bed. So, I built the bed but haven't found an applique like on Hailey's bed that is appropriate for a 2 1/2 year old or one that I like. I thought about different things to spice up the headboard but don't want it to look tacky. Any ideas?

Amber R. (not verified)

Sat, 06/11/2011 - 22:18

Hmm not sure I could suggest anything specific but personally I think it should be something the child won't grow out of. I have a 2yo and a 3yo and they like a different character color etc almost every day. So make sure its something your daughter won't grow out of too quickly.

redhead_61

Wed, 06/15/2011 - 20:52

I am about to paint my daughters storage bed. I too designed and added a footboard and hope the headboard she has looks ok. Yours turned out great. Good job!

brguad

Wed, 06/15/2011 - 22:08

You're too nice. Thanks for the feedback. I read some posts prior to building and added 3 inches to the footboard to keep the mattress from sliding off as easily. Hope to see your bed on here soon. I'm looking forward to it.

slsmith (not verified)

Sat, 03/03/2012 - 14:34

We were thinking about putting a cork board on there so that our daughter could pin her work on there. It probably wouldn't happen until much later, but it's definitely an option. Maybe some vinyl letters?

Table that hubby love :)

Submitted by mrszee on Thu, 07/25/2013 - 13:07

I wanna replace the wobbly coffee table that we just bought a couple years ago. I hate factory made furnitures because they don't last long plus they are so expensive and poorly made. For a military wife that just graduated, saving money is a big deal for me. Hubby don't have any clue that I wanted to buy a rustic sturdy coffee table. I ask my friend to give me a lift to go to the store since I don't have my own car. And bought stuff that I needed after I researched and came across this website. Hubby came home with a finished product and he was so happy with it. Its very sturdy and now he requested to have a kitchen table with a matching hutch or china cabinet. Thank you Ana for giving us plans that can help us save money and high-end looking furnitures! God bless you and your family.

Built from Plan(s)
Estimated Cost
$80
Estimated Time Investment
Day Project (6-9 Hours)
Finish Used
3 coats of Rust-oleum Early American
2 coats of Minwax Polyurethane Clear Semi-Gloss
Recommended Skill Level
Beginner

Playhouse Loft Bed

This project was well worth the time and money invested. It is very sturdy. I expect that it will last for many years.

Built from Plan(s)
Estimated Cost
$300
Estimated Time Investment
Week Long Project (20 Hours or More)
Recommended Skill Level
Beginner

Comments

Version of the Rustic Desk

Submitted by Anonymous (not verified) on Thu, 04/21/2022 - 14:13

I’ve built 2 of these and on my 3rd now. This is the 2nd one and isn’t a desk obviously but a bench for my Weber BBQ and storage underneath

Built from Plan(s)

Comments

Marlee's Table and Chairs

Submitted by Laura Fama on Sun, 06/12/2011 - 20:46

I modified the Clara table and a few of the chair plans to come up with Marlee's new set. I had scrap 2x2s, 1x6s and 1x3s from the Lydia Toddler Bed and so I modified the dimensions a bit and used 3 boards 1x6 and 2 1x3 to make up the table top. The chairs are a combination of the Four Dollar Stackable Chair and the Classic Chairs Made Simple. I kept splitting the wood on the legs for the Four Dollar chair, so I modified the plan to have the legs 2x2 like the table and bed. It was a lot of trial and error but I finally got it right... The only thing was I had already cut the seat slats to size so I used them as the seat supports and so I only had to purchase two 2x3x6, other wise every thing else was scrap.

She was so excited to see it... we already had 3 tea parties!! Thanks to you Ana for your inspiration. I so can't wait to start the doll high chair for Marlee's next surprise!!!

Built from Plan(s)
Estimated Cost
Only spent $12.
Finish Used
3 coats of paint and 3 coats of poly. Pink is Sherwin Williams Azalea Flower, Green is Sherwin Williams Rye Grass. The same colors on her walls.
Recommended Skill Level
Beginner

Comments

Modified Benchmark media console

Submitted by venus_xyz on Sun, 07/28/2013 - 16:32

The plans were totally wonderful! 

This was the first major build since building the clara table and chair. So I am pretty much a novice. Toughest part was keeping things square. Even though it is far from perfect, we just totally love it. 

I left the top shelf open for media requiring remotes and changed the doors to look like apothecary doors. 

I ended up having to make the doors twice because the first time I used 3/4" plywood with 1/2" strips for the faux doors. The door was so thick - I couldn't find hinges anywhere that would work. So I redid the doors with 1/2" plywood and 1/4" strips. Used the same hinges Ana suggests. 

Built from Plan(s)
Estimated Cost
$250 including paint
Estimated Time Investment
Week Long Project (20 Hours or More)
Finish Used
Home made chalk paint from Behr Baked earth, Glaze using Martha Stewart tintable glaze mixed with black acrylic paint, Johnson's paste wax.
Table top - Rustoleum Kona with Minwax poly in semi gloss.
Knobs are from Hobby lobby.
Recommended Skill Level
Beginner

Comments

Outdoor sofa

Submitted by Biodunf on Mon, 08/10/2015 - 10:31

sofa

Estimated Time Investment
Afternoon Project (3-6 Hours)
Finish Used
Teak oil
Recommended Skill Level
Beginner

Comments

Farmhouse Nightstands

Submitted by rbgreene04 on Sat, 03/10/2018 - 20:30

I had made the farmhouse bed from Ana a while ago and finally got around to building a pair of these bedside tables to match. I love how much bigger the top is than my previous nightstand's top. The bins on the bottom shelf are relatively cheap from Walmart, and I like the galvanized look with the wood. 

Built from Plan(s)
Estimated Cost
About $120 for a pair
Estimated Time Investment
Day Project (6-9 Hours)
Finish Used
I wiped on two coats of dark walnut Danish oil; I love how quick and easy Danish oil goes on. Being that they are only bedside tables, I don't foresee much wear and tear and thus I didn't need a more durable finish.
Recommended Skill Level
Beginner

A "Kitchen Island" For our Deck

Submitted by LinzFritz on Wed, 06/15/2011 - 16:49

We needed a prep area for our BBQ, so I decided to use the plans for the Simple Kitchen Island. I made it a little bit narrower (20 inches rather than 24), and added drawer pulls to hang up our BBQ tools. It's coming in very handy!

Built from Plan(s)
Estimated Time Investment
Weekend Project (10-20 Hours)
Finish Used
Mildew resistant stain (natural colour), and 3 coats of polyurethane
Recommended Skill Level
Beginner

Comments

Mantel Headboard - Annie Sloan Chalk Paint and DIY Tufting

Submitted by meliss987 on Tue, 07/30/2013 - 18:56

I love this headboard :)
We finally completed the tufting portion of the mantel headboard tonight and it looks great! Anna's design was easy to follow and the tufting part was easier than I thought...I followed http://www.cape27blog.com/2013/03/tufted-headboard-tutorial/ for the tufting portion.

Can't wait for the next project!

Finish Used
Annie Sloan Chalk Paint with Annie Sloan Dark Wax Finish
Recommended Skill Level
Beginner

Comments

Logan Entertainment Center

Hello everyone! I built the Logan entertainment center for our apartment and it is amazing! I used Ana's plans with a few modifications. This was the first projected I finished and while it's not perfect, I love it and I learned a lot in the process. Because I was learning to build as I went, it might have taken me longer than someone who has more experience. I built this project over several months and it took a long time, but it was totally worth it. Check out more details about my experience over at my blog. 

Estimated Cost
$300-400
Estimated Time Investment
Week Long Project (20 Hours or More)
Finish Used
I did one coat of primer and two coats of Benjamin Moore Advanced paint in Decorator's White.
Recommended Skill Level
Intermediate

Laundry Pedestal

I took this plan from www.Ana-White.com Home Depot cut my wood and I was off and running. I added a few ball feet on the bottom to give it a little pizzaz. I felt so accomplished after my first project... especially after the install guys told me it wouldn’t fit and it DID and it was level. I’m getting ready to make a coffee table now. Thanks for the inspiration, confidence and help!!

Estimated Cost
$150
Estimated Time Investment
Afternoon Project (3-6 Hours)
Finish Used
Satin Furniture paint
Recommended Skill Level
Beginner

Parson's bookshelves in white

This is our first project! My Husband did most of the work but was a team effort in places. We wanted shelves that we could easily make with the very limited selection of cuts available in Botswana (really only construction lumber around). We modified the width of the shelves to what was available, increased the height a bit so more of a console and shortened it to get the best use of timber. I did not want it looking too modern so went with white and distressed edges to keep it comfortable. Construction did not take very long but finishing took a while due to 3 coats needed.

Built from Plan(s)
Estimated Cost
$60
Estimated Time Investment
Weekend Project (10-20 Hours)
Finish Used
We started by staining whole shelves but then decided it coloured paint too much so applied stain to edges of shelves and legs only. Painted with pure white acrylic water based paint (3 coats) and then lightly sanded edges of legs and shelves to distress.
Recommended Skill Level
Starter Project

Comments