Brag Posts Submitted for This Month's Contest


brag post contest

Want to enter this contest?  Click here for all the details.


Modified loft bed from cabin bed

Submitted by Stewart77 on Sat, 10/19/2019 - 12:00

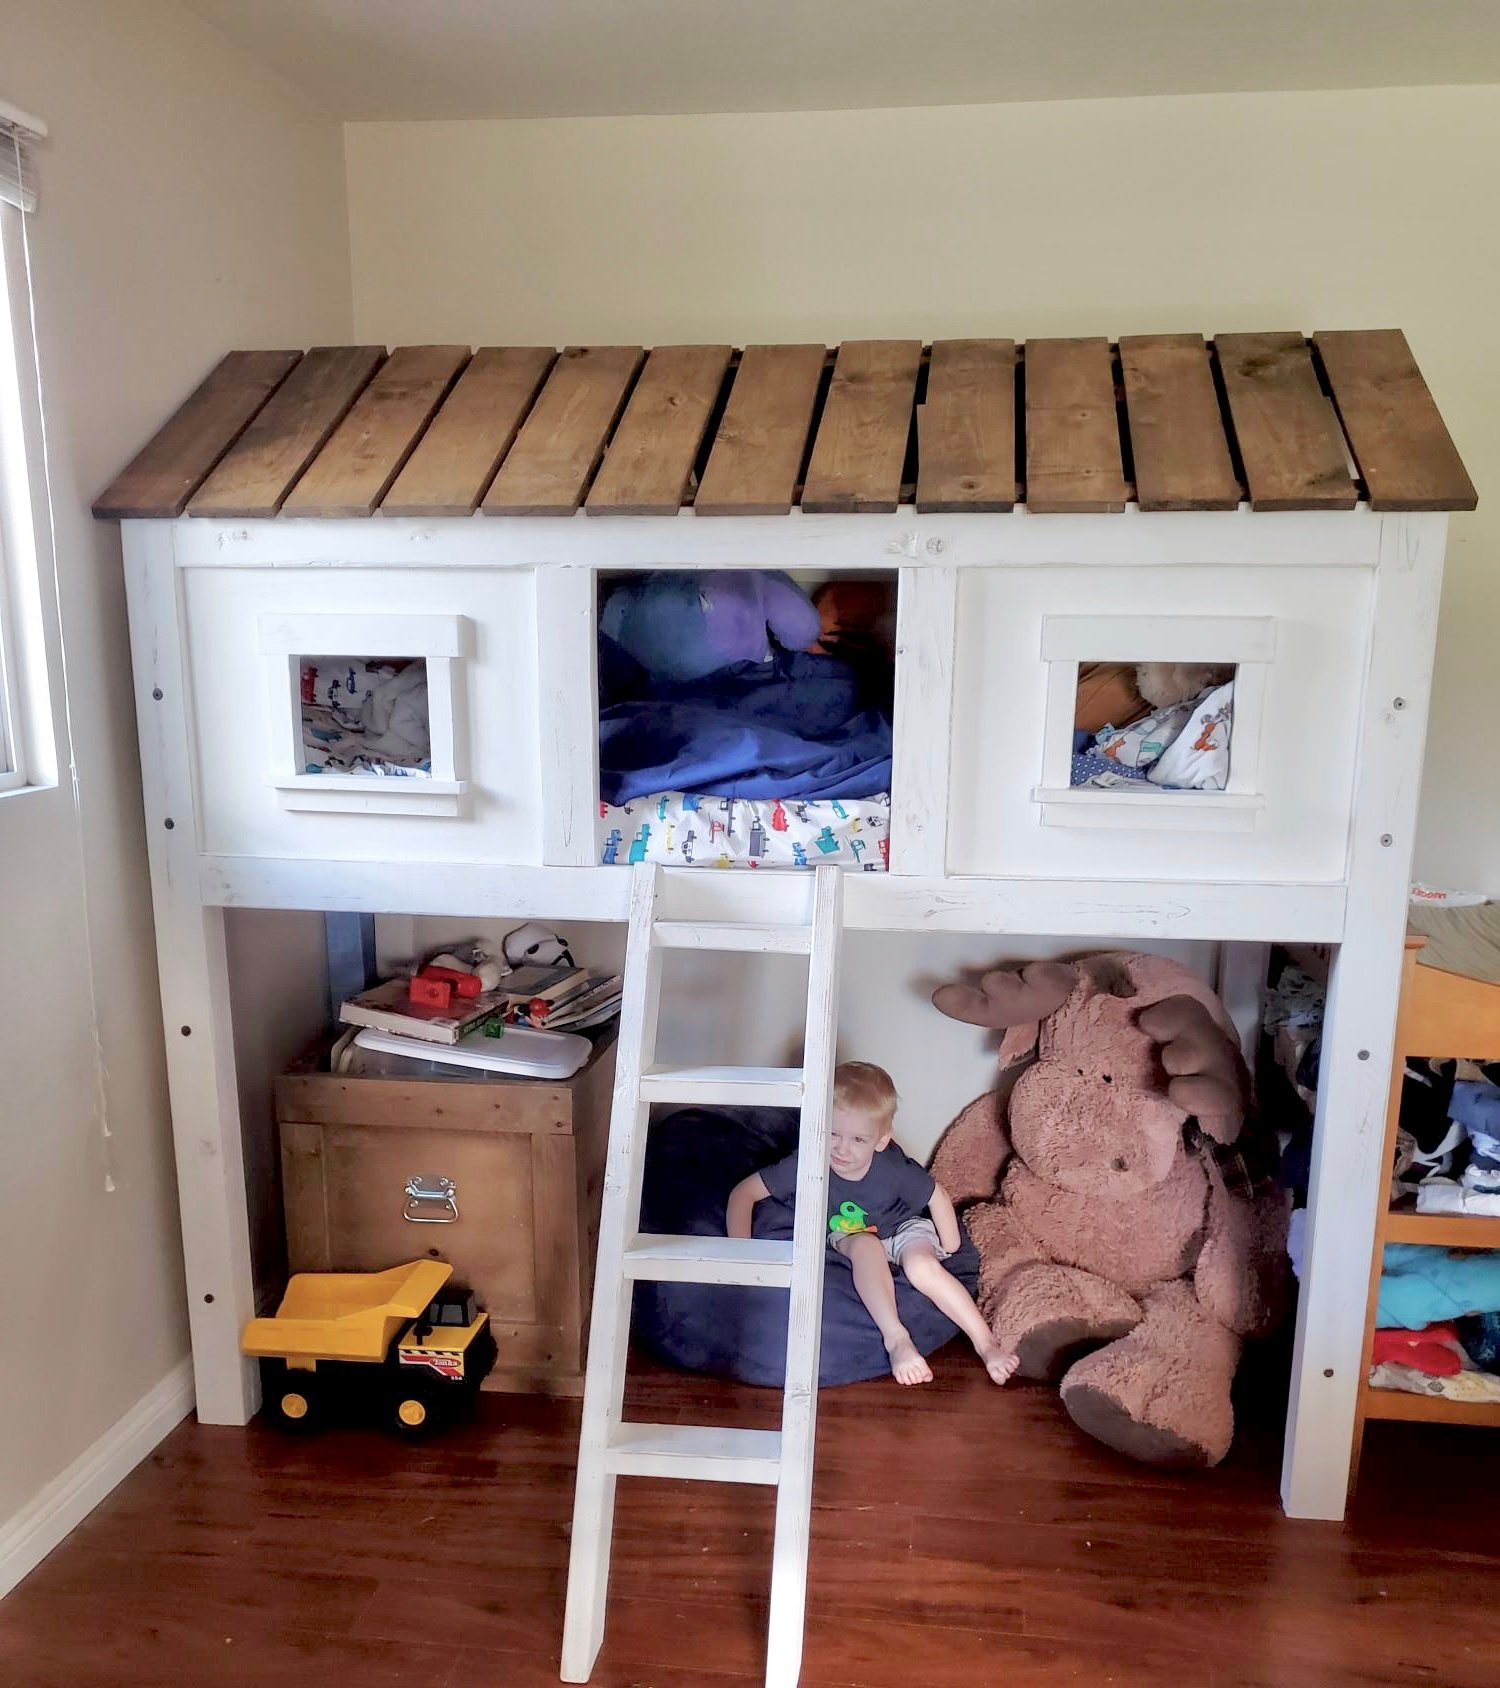
We modified the cabin bed plans to a loft bed. This created a space for little man to have all his own area. We also made the roof on a hinge so that we could open up the roof for easy bedding changes. Also used Jen's modifications so we can take the bed apart and move it easier.

Built from Plan(s)
Estimated Cost
300
Estimated Time Investment
Weekend Project (10-20 Hours)
Finish Used
White flat paint, dark walnut roof
Recommended Skill Level
Intermediate

Bed for my teen princess

Submitted by Anonymous (not verified) on Wed, 10/02/2019 - 10:27

I built this bed for my daughters new “teen” room!! She loves it and I loved the cost and look if it ;)...

Built from Plan(s)
Estimated Cost
$130
Estimated Time Investment
Day Project (6-9 Hours)
Finish Used
Stain
Recommended Skill Level
Intermediate

Comments

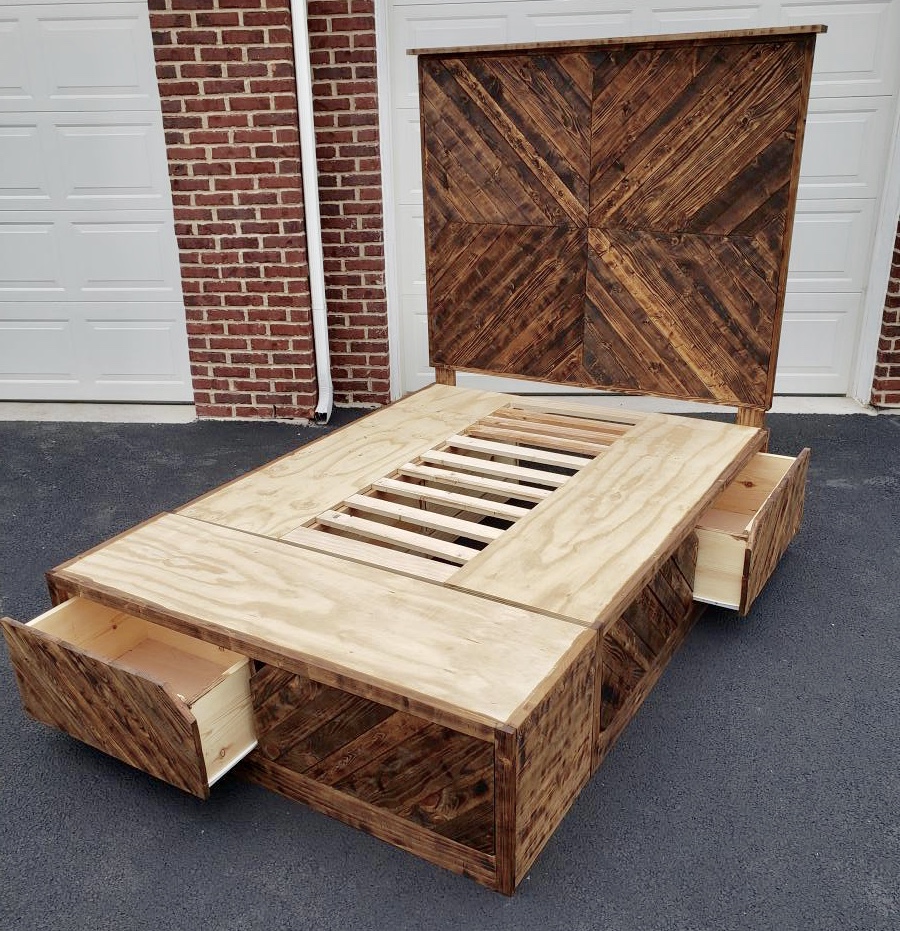
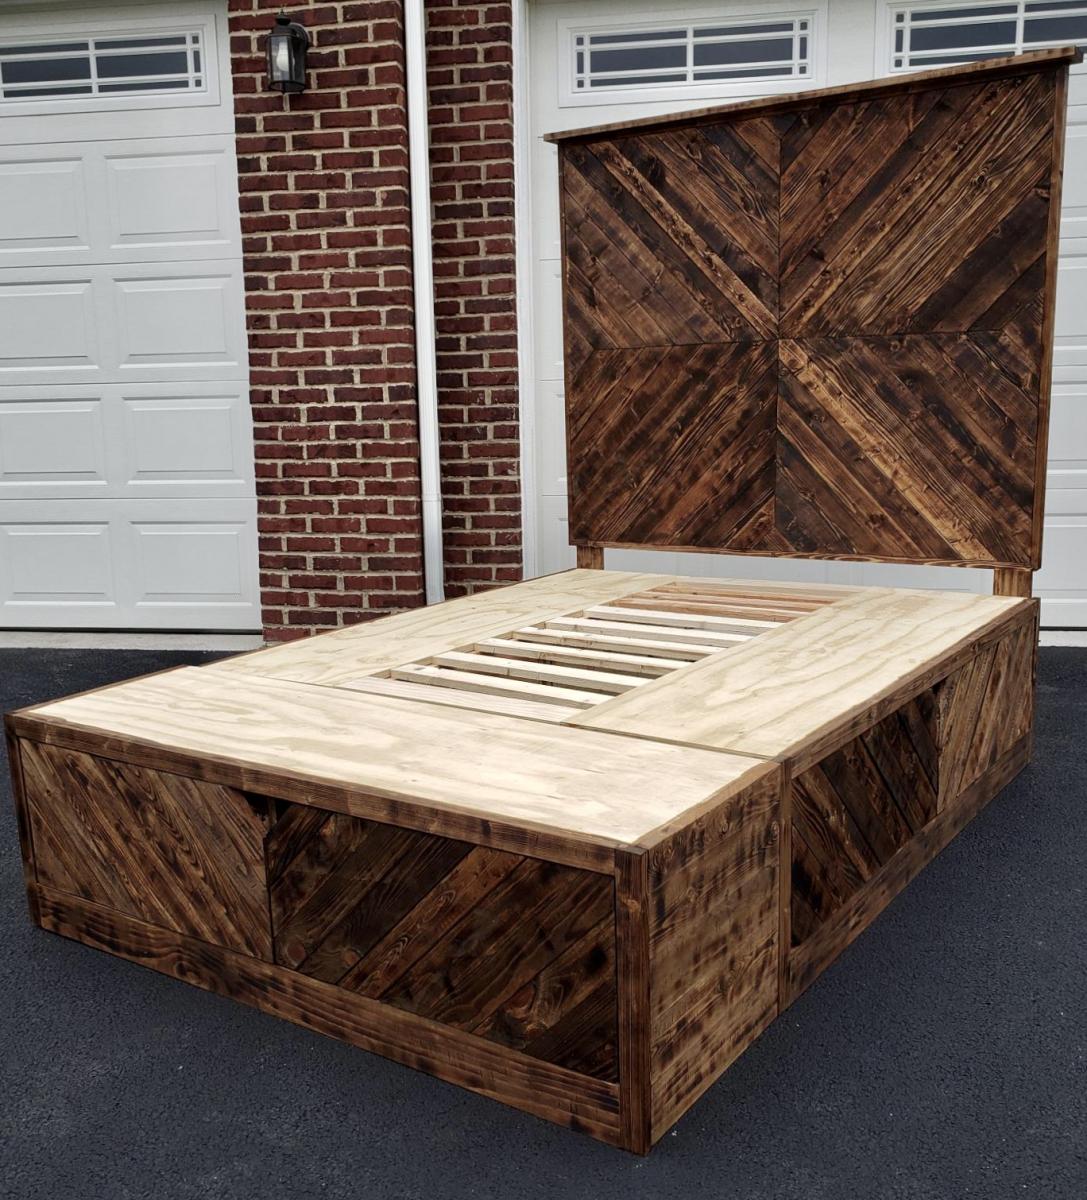
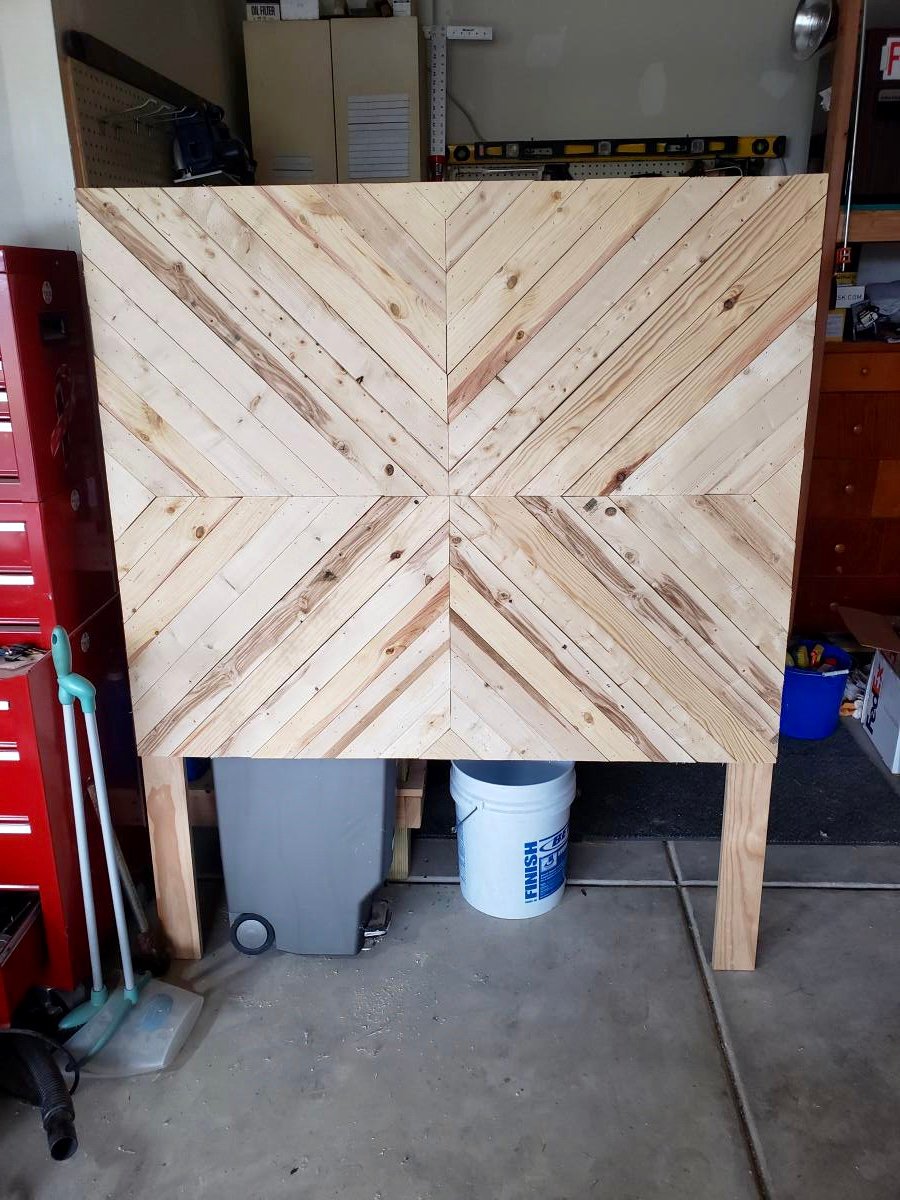
Cheveron Headboard Full size storage bed

Submitted by Anonymous (not verified) on Wed, 10/02/2019 - 19:34

This project was fun but at the same time difficult. Taking king size plans and adapting down to full size posed a challenge but i worked through ot and turned out a fantastic piece of furniture! I have never attempted this size project before but i am glad i did it. I literally put blood sweat and tears into this. Nothing says great project like a trip to the emergency room!

Estimated Cost
$450
Estimated Time Investment
Week Long Project (20 Hours or More)
Recommended Skill Level
Intermediate

Comments

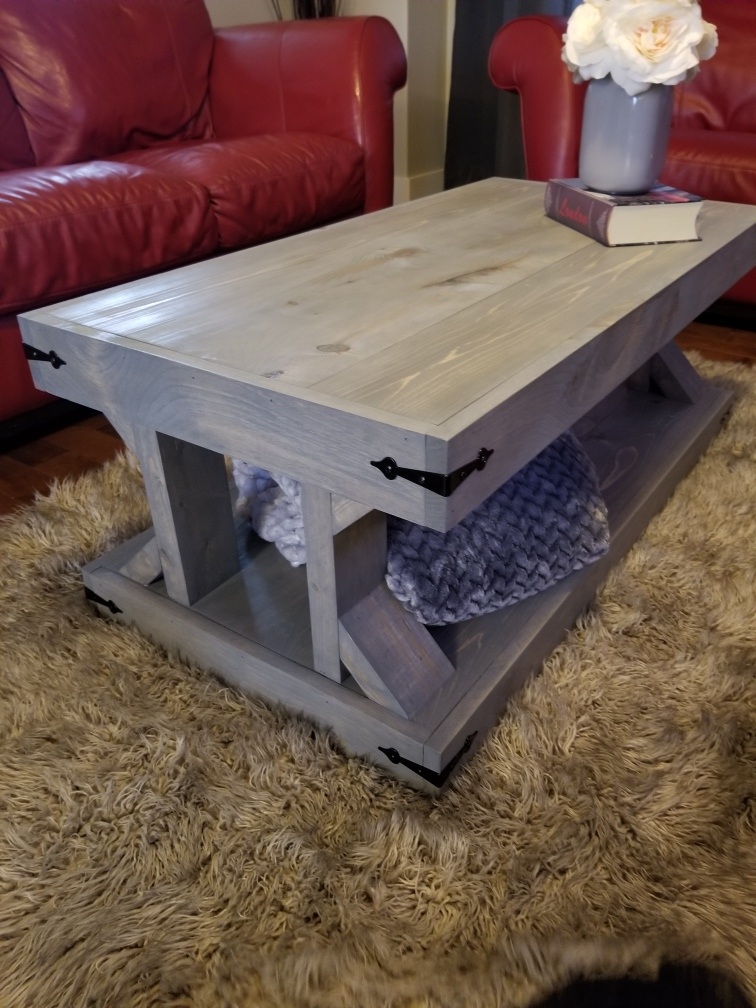
Coffee table

Submitted by Anonymous (not verified) on Wed, 10/02/2019 - 16:02

My first build

Estimated Cost
80
Estimated Time Investment
Afternoon Project (3-6 Hours)
Recommended Skill Level
Beginner

Comments

How to Quit Woodworking in 8 Simple Steps (Almost) - Coffee Table Edition

Submitted by Anonymous (not verified) on Tue, 10/01/2019 - 19:42

First off, I appreciate you for taking the time to click on my project. Rest assured, this project didn't make me quit woodworking, I know the title was a little "click-batey". I don't want to discourage you from replicating this table because of the title of this post, as this has been my favorite project I've done to-date. The struggles that made me want to quit were laughably self inflicted and by my own doing, they weren't due to the instructions online. That being said, it did make me second guess whether I bit off more than I could chew. I promise not to disappoint with the story behind this build, so lets get into it.

My wife and I moved into a new home in the suburbs of Chicago and like many first time homeowners thought to ourselves, "We'll have no problem filling the house with all of our stuff." Then after settling in we had the realization of, "Wow...we really don't own that much furniture, this is going to get expensive FAST!" So after a decent amount of DIY and woodworking "research", I decided to give furniture building a shot. It all started with a desk...or so I thought it would. I fell into the hobby first by thinking that I needed to build an L-Shaped desk for my office. After having a few meals in our new home, I realized a new dining table would have to take precedent. After building the dining table, I was ready to tackle the desk, but then quickly realized that we didn't have anywhere to sit and eat. So I ended up doing more "research" and found a beautiful design based upon a Williams Sonoma box-joint bench. Following the bench build, I was ready to build the desk for my office...WRONG again! I was getting quite good at building furniture now, so the new couch we just purchased required a new coffee table that wasn't 30 years old and purchased 11 years ago at a garage sale for $5.

After finding the coffee table design on Ana White's site, I knew the build would not only be a challenge, but rewarding in the long run. About a day into the build I thought to myself, I really need to get the office desk done. So *Enter* a really terrible idea, "I'll do both the coffee table and the desk at the same time, it'll be no problem!" Hind sight is 20/20, because I was a moron for thinking that. We're fortunate enough that space wasn't an issue, I have about a 20' x 12' workshop that was able to accommodate both projects simultaneously. Unfortunately, I gave myself a deadline and the 3-4 days a week of traveling for work wasn't helping. I don't suggest doing that. I had all the pieces joined after the first week, but wanted to stain and finish each piece before putting the table together. This was due to the fact that I didn't want to be crawling on the ground and under the table trying to stain and finish. Finishing each individual component was painstaking to say the least, but glad I built the table the way I did. Luckily, the coffee table along with the L-Shaped desk took about 2 weeks total, and I could't be happier with both project.

Thank you again for taking the time to view my post, the story was a bit long winded but hopefully entertaining and insightful. I would appreciate you adding this as a pin or engaging the post socially and sharing. Please feel free to reach out if you have any questions, I'll do my best to respond in a timely manner.

Sincerely,

Jeff G.
Built from Plan(s)
Estimated Cost
$250 USD
Estimated Time Investment
Week Long Project (20 Hours or More)
Finish Used
The stain utilized:
1. One coat of Minwax English Chesnut (Sand to 220, apply stain and wipe off after 10 minutes)
2. One light coat of Minwax Weathered Oak (Paint on a light coat of stain and wipe off after 3 minutes)

Finish:
1. Three coats of General Finishes Arm-R-Seal Satin (Oil Based)
2. Lightly sand after each application of finish, thoroughly clean before next application
Recommended Skill Level
Intermediate

Comments

bird Feeder

Submitted by Anonymous (not verified) on Mon, 10/14/2019 - 02:52

Bird feeder aksed by my mother. I used rest of IPE wood used for a deck. The thickness is a little big! 22mm but its strong and 30years waranty :) I changed a little bit the dimensions to convert in mm.

Estimated Cost
0
Estimated Time Investment
An Hour or Two (0-2 Hours)
Finish Used
not necessary this wood very smooth
Recommended Skill Level
Starter Project

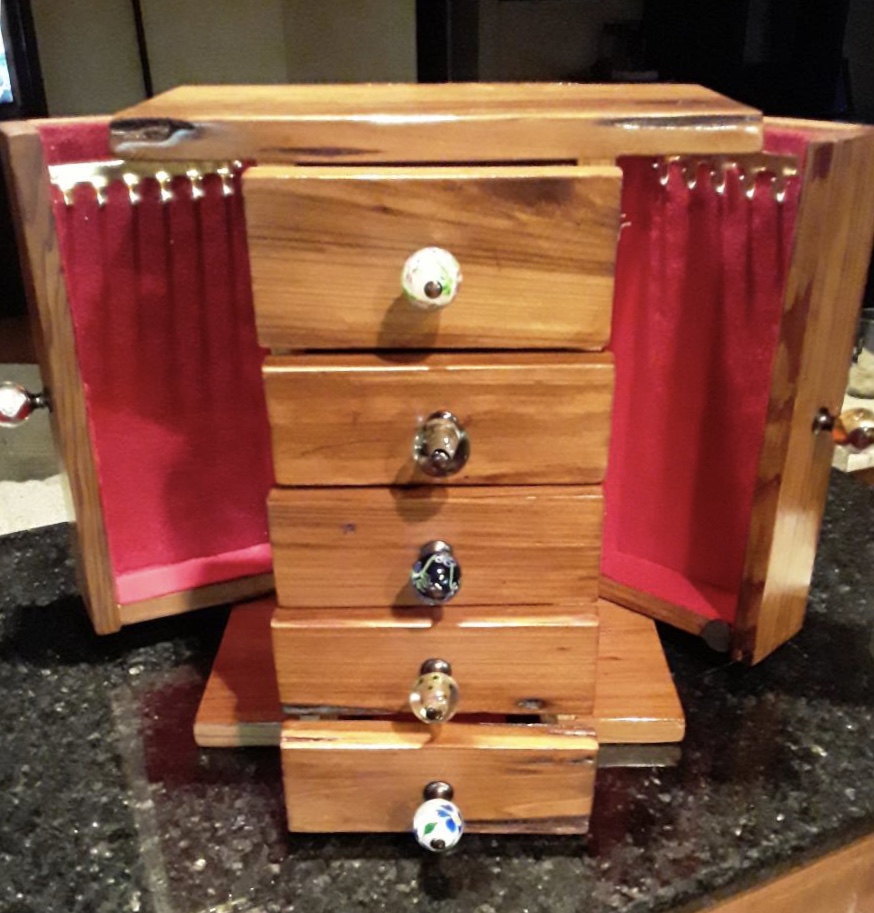
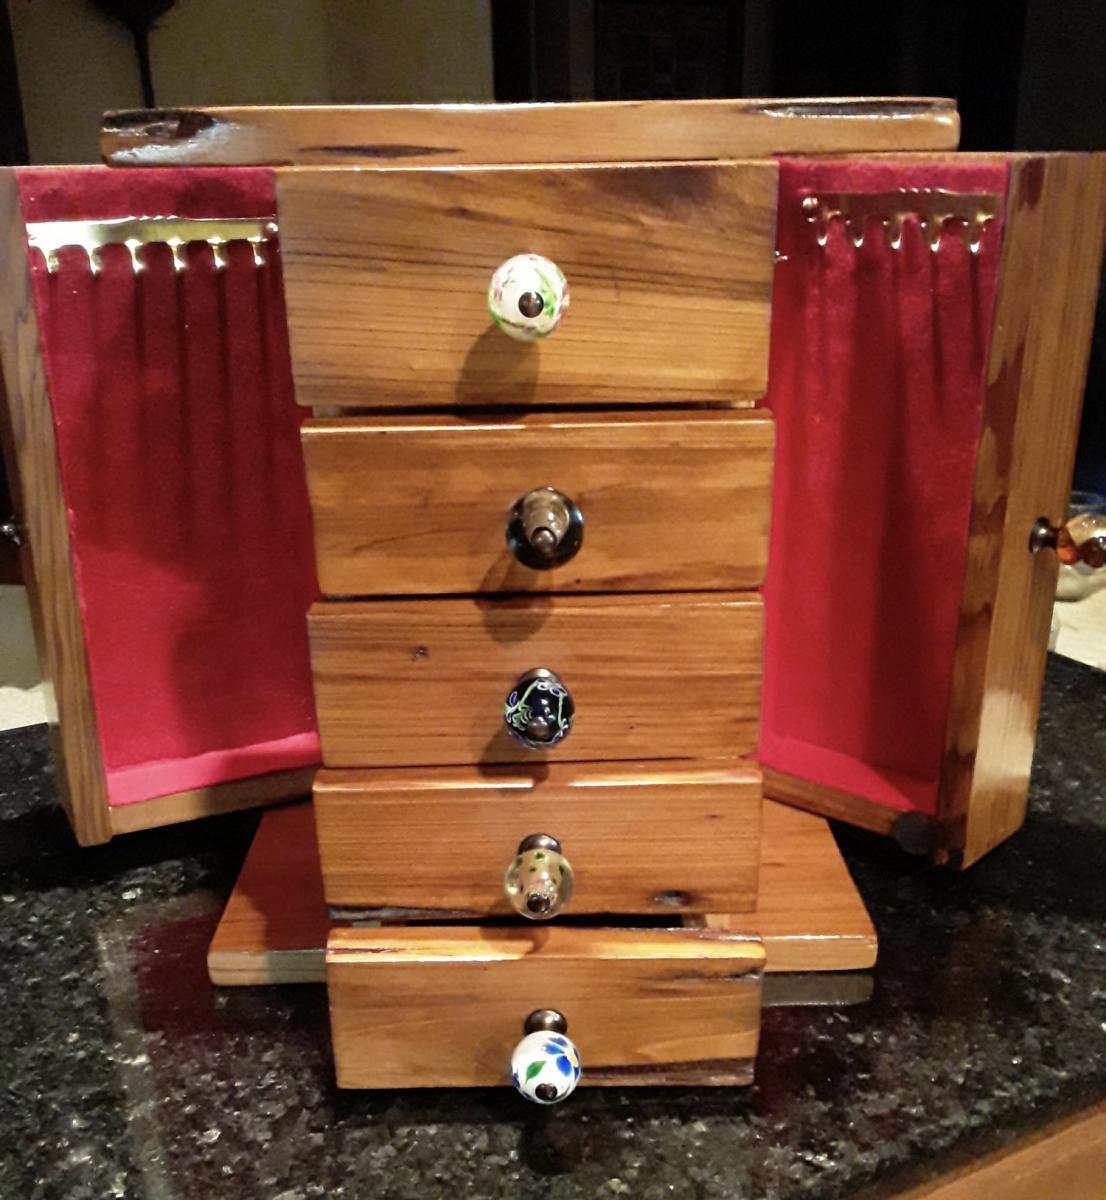
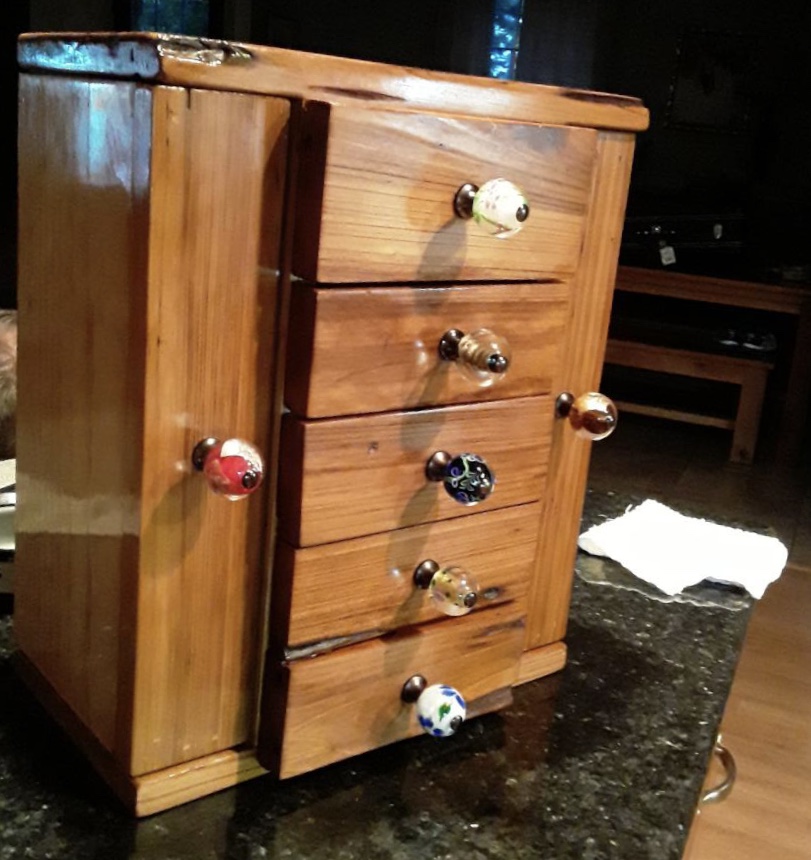
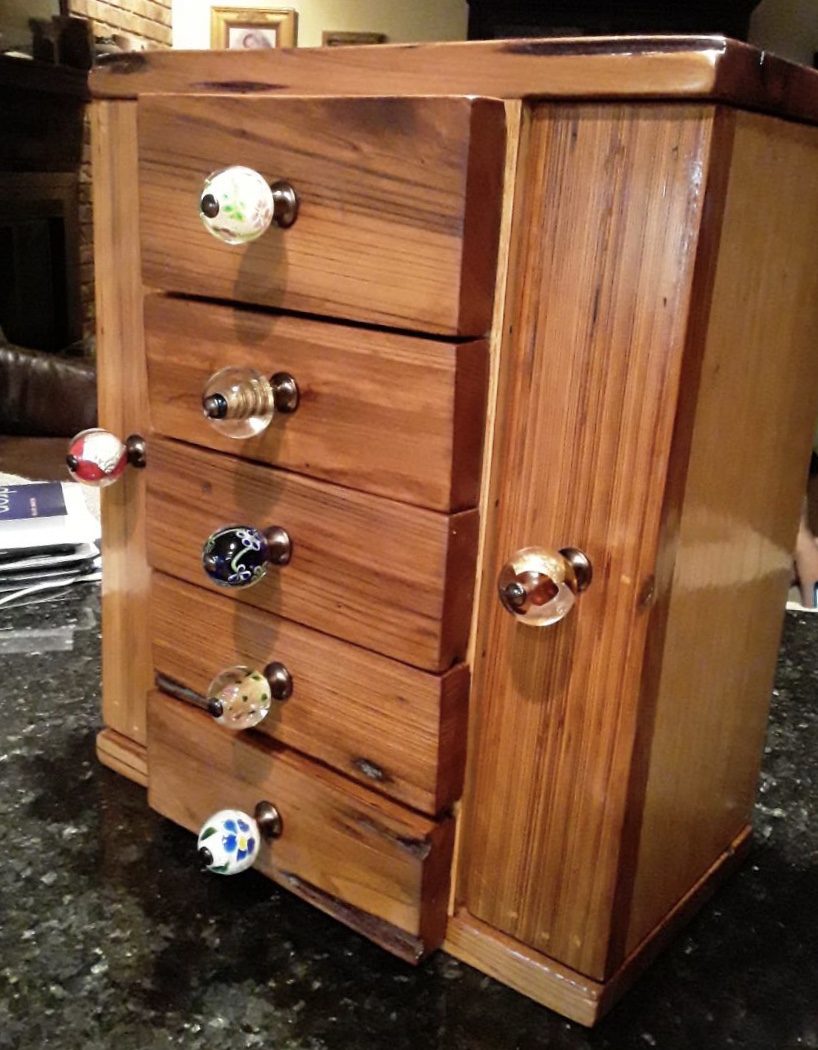
fancy jewelry box

Made this with my brother as a gift for my daughter 20th birthday . Wood is from reclaimed cypress and hand rubbed shellac finish

Built from Plan(s)
Estimated Cost
$100
Estimated Time Investment
Weekend Project (10-20 Hours)
Finish Used
Shellac
Recommended Skill Level
Beginner

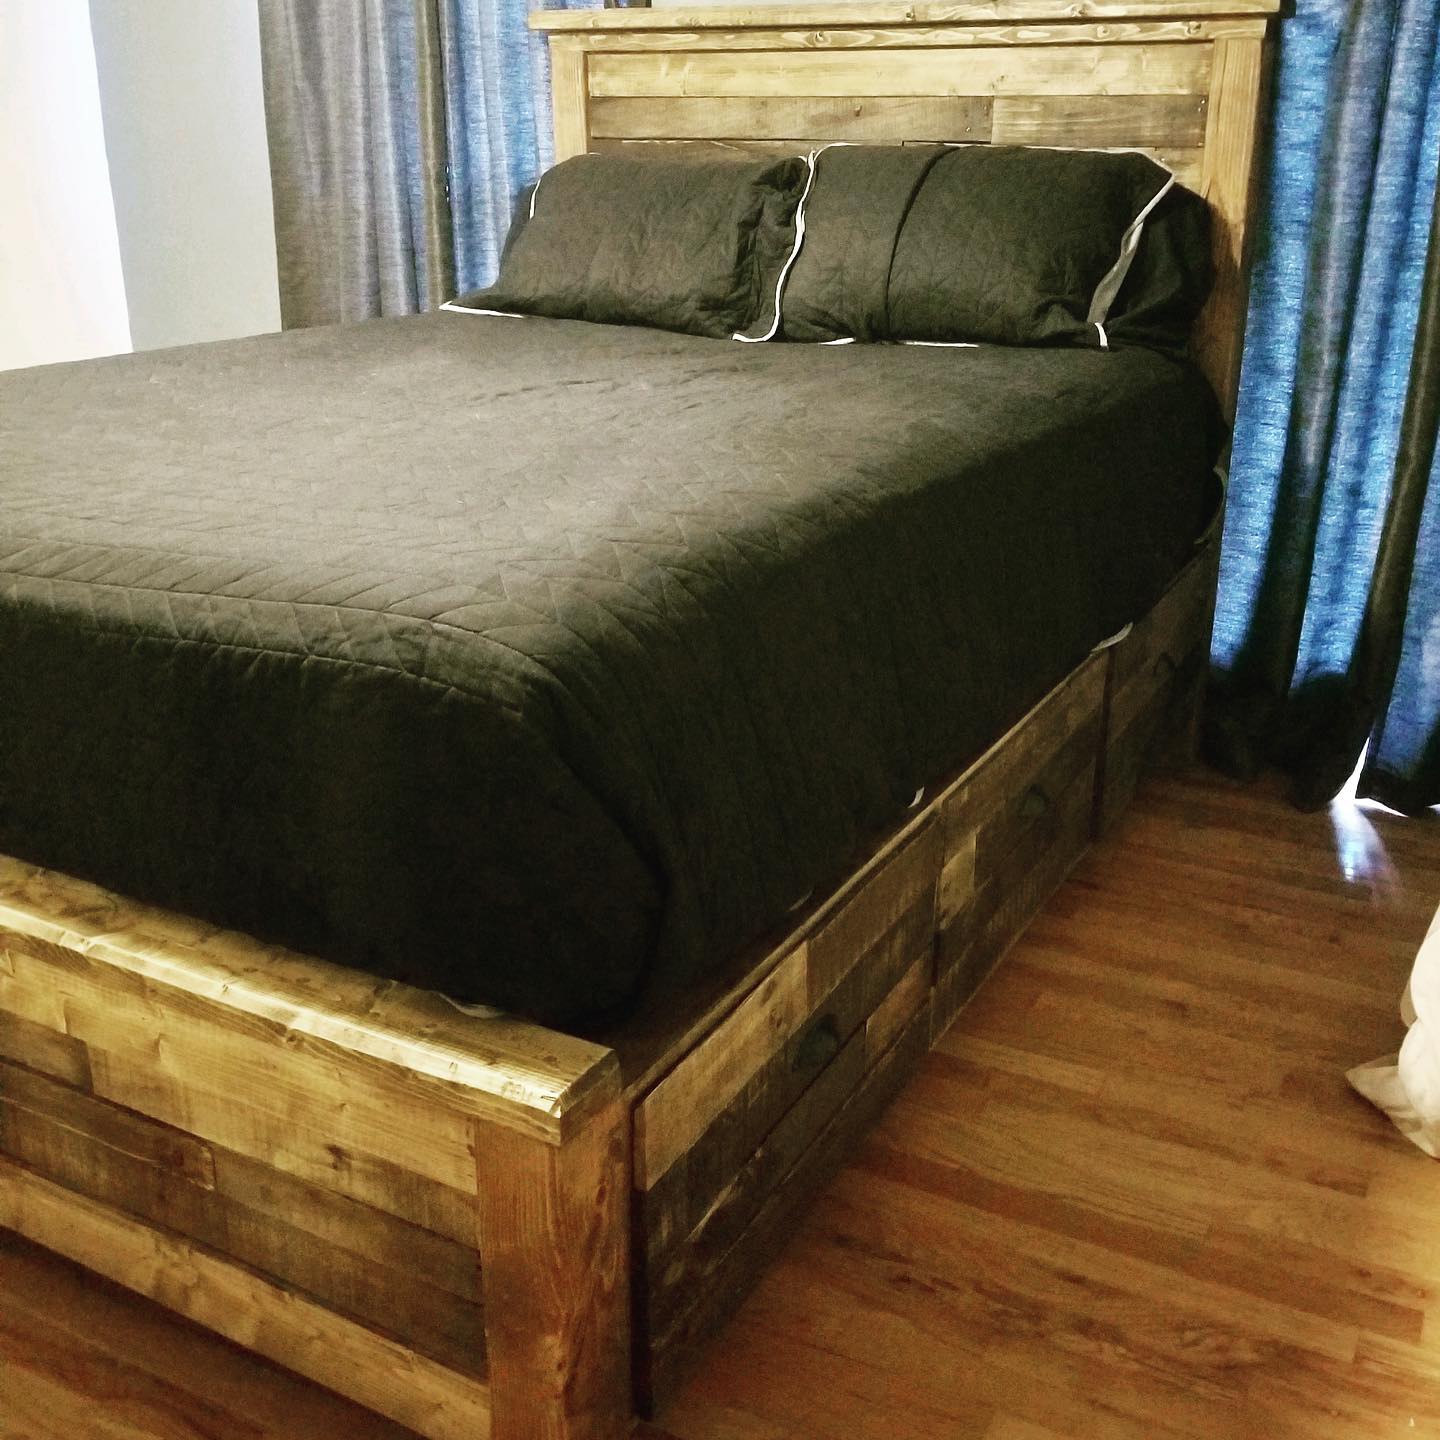
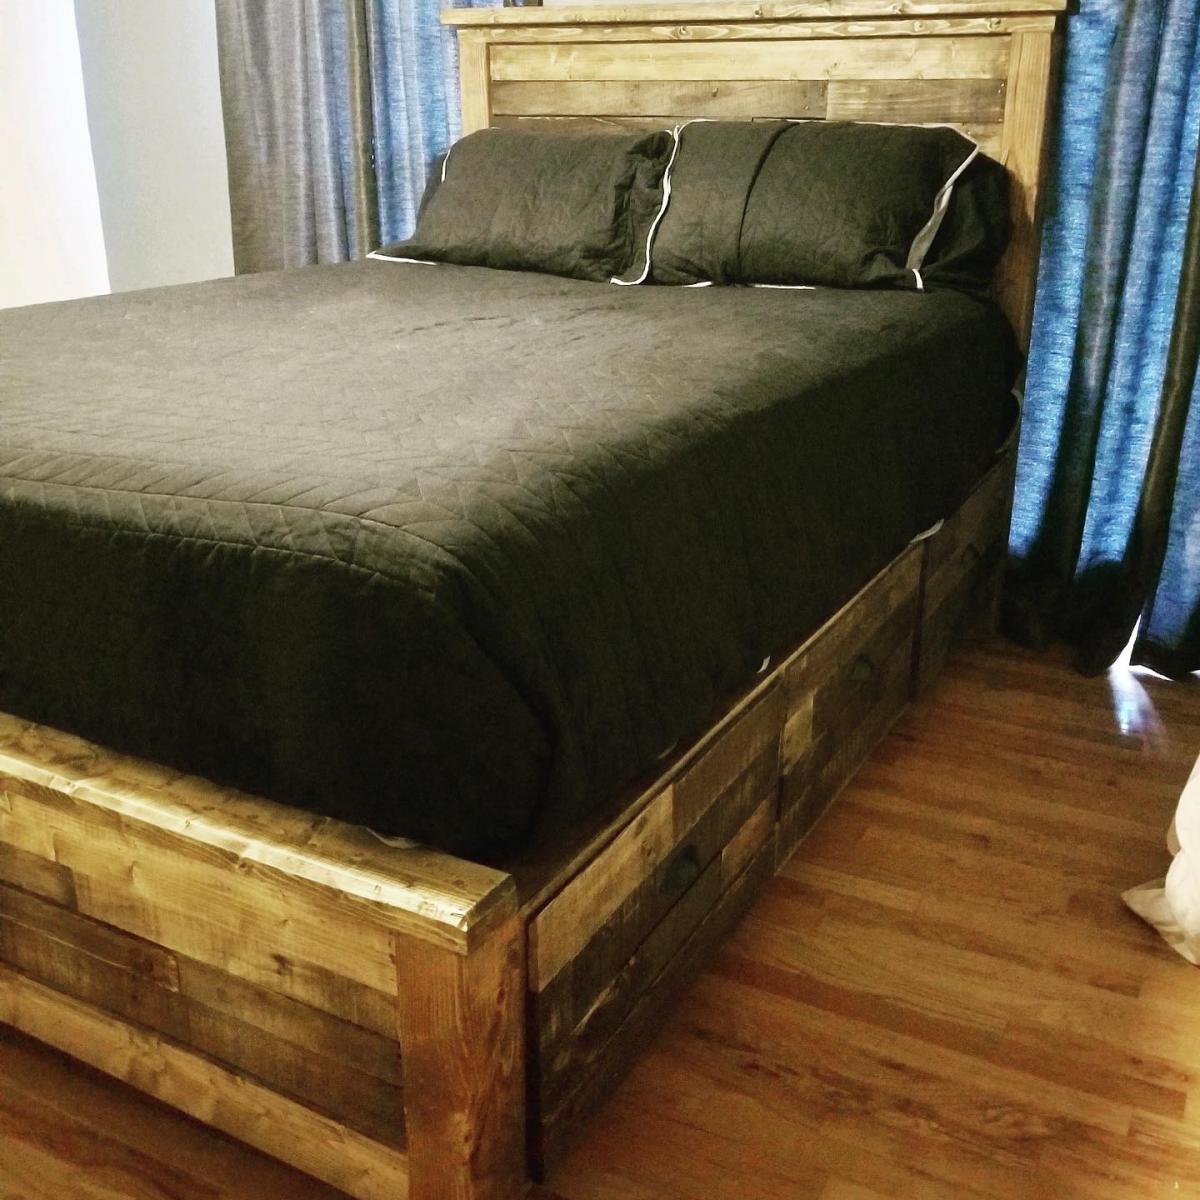
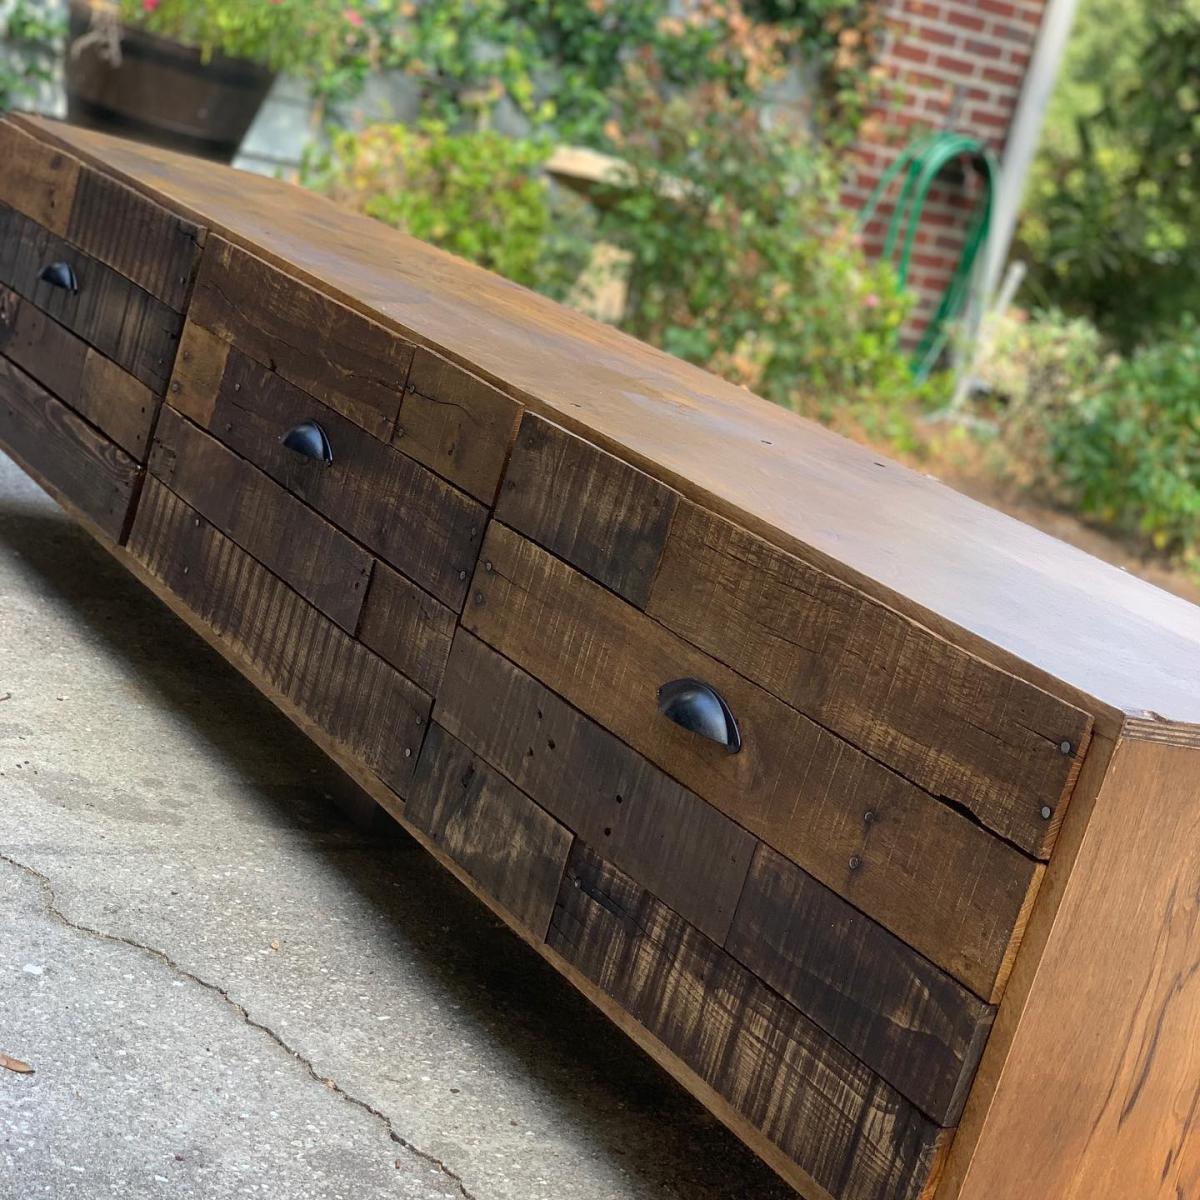
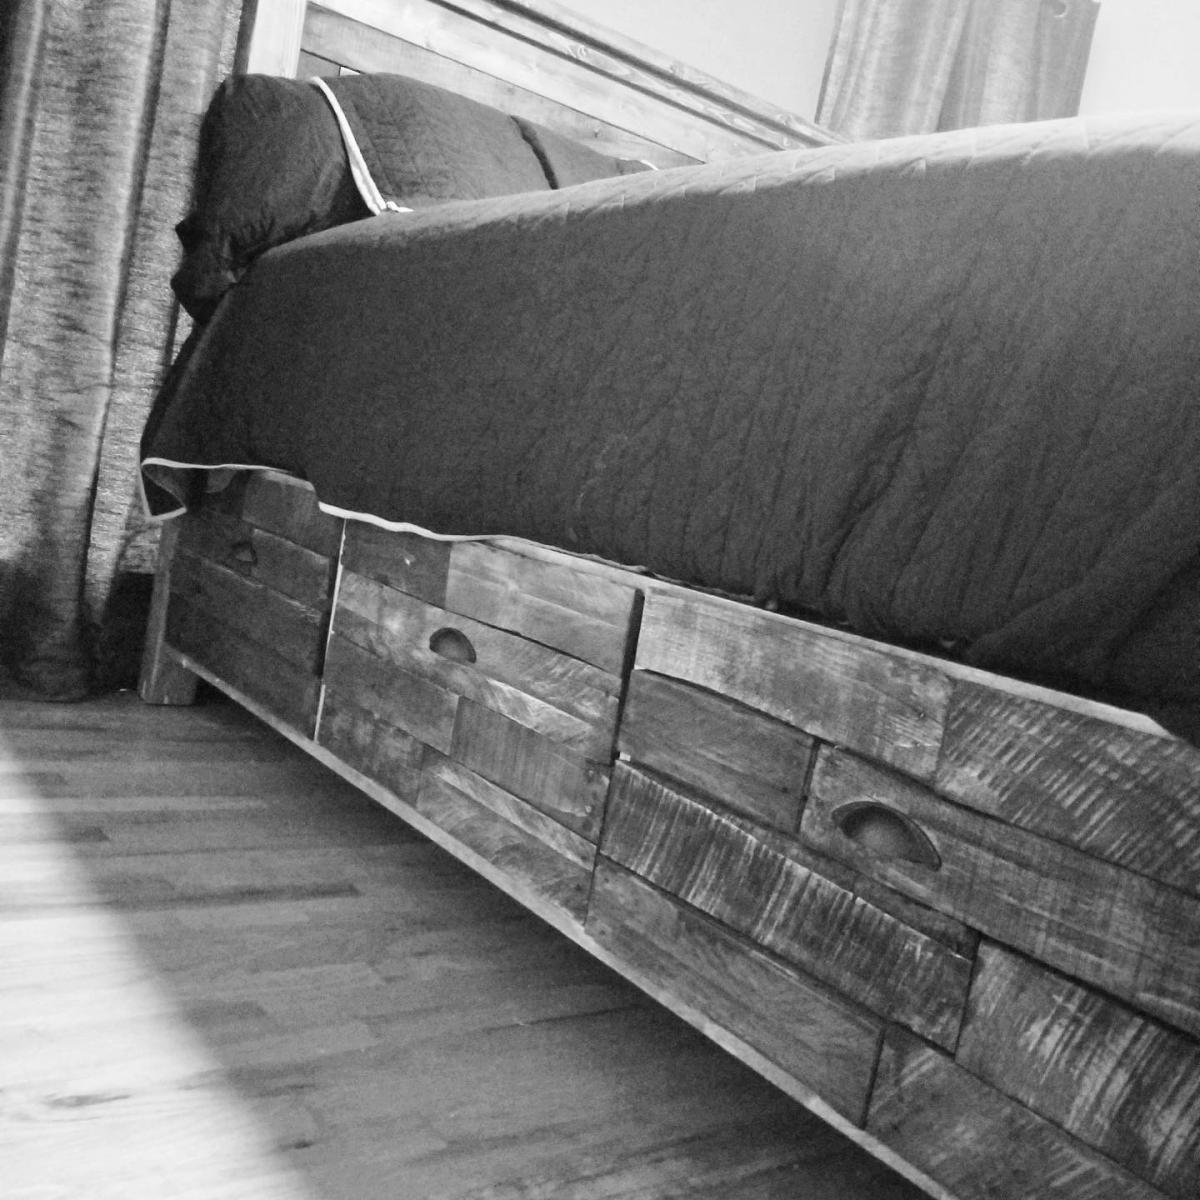
Captain's Storage Bed with Pallet Veneered Headboard/Footboard

This piece was one I recently created for a customer using the plans provided in the Queen Storage Bed with Drawers from Anna's site. It was created using 3/4" birch plywood and 3/4" pine common board. 

I chose to cut dado's when building the boxes for stability's sake. I was able to leave out much of the construction screws by using strong, but relativity simple joinery techniques with dado's and rabbets. 

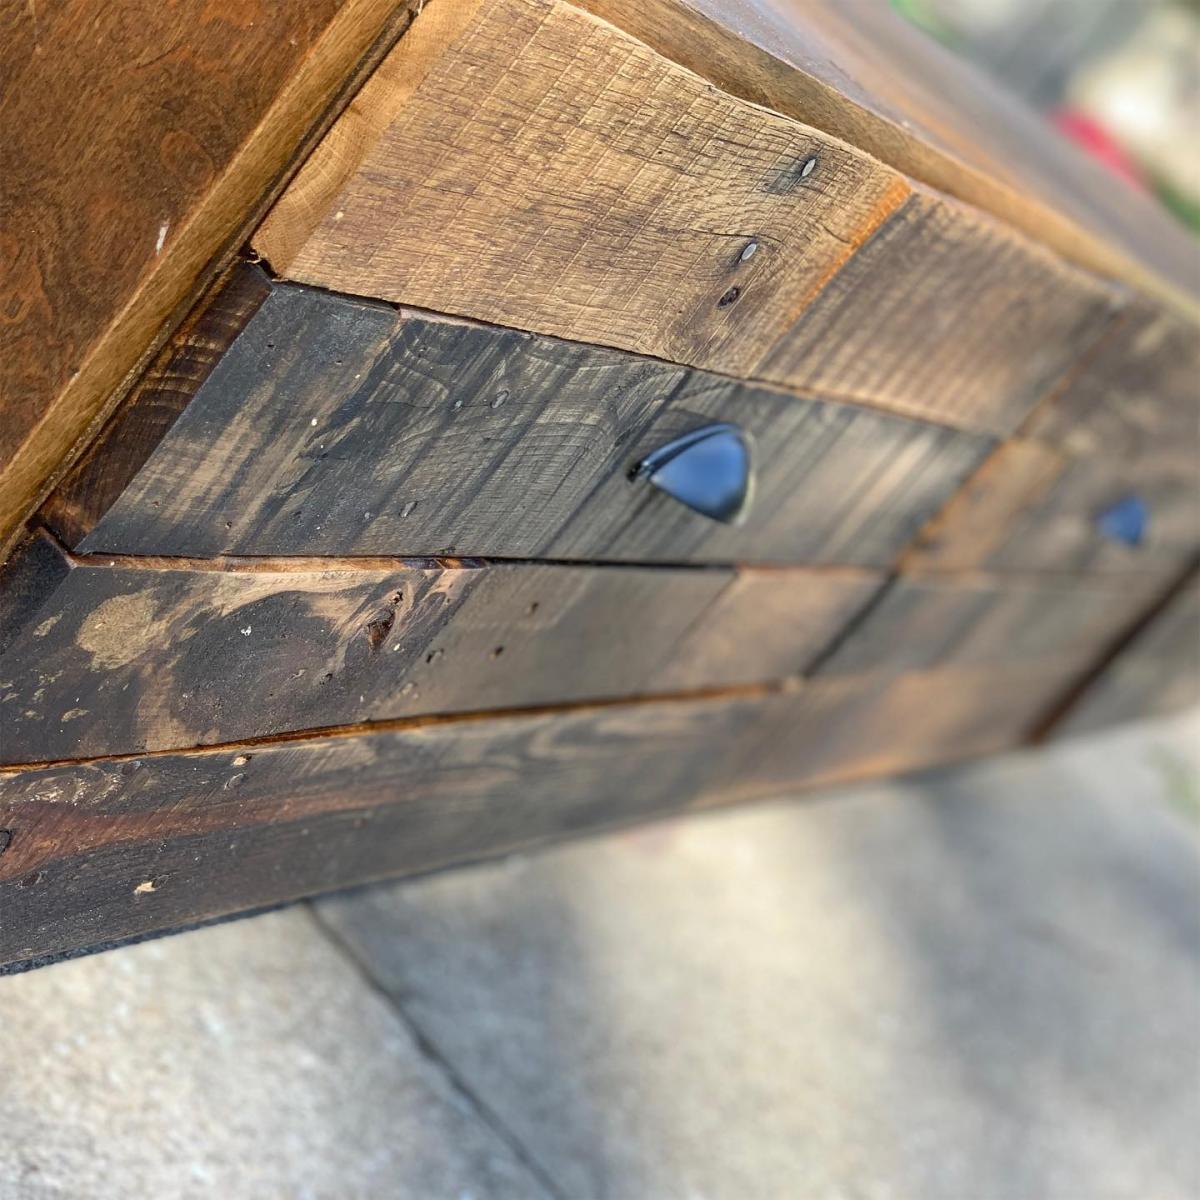
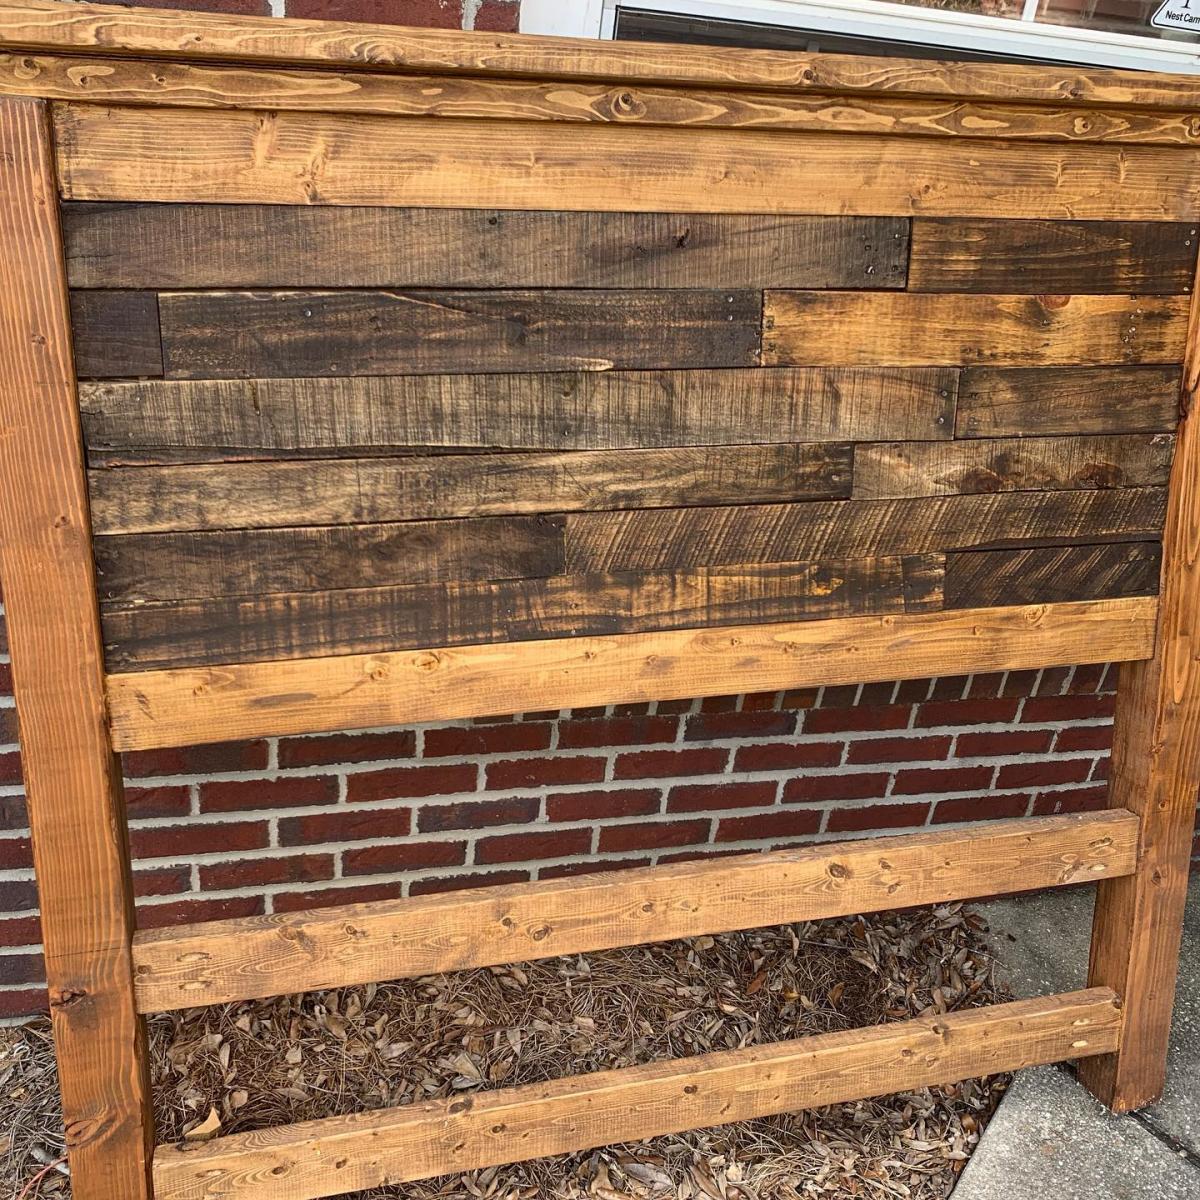
The piece's drawer fronts were then veneered with pallet wood to lay flush with the drawer faces, and hardware installed on top of that. The headboard and footboard were both then stained using a Varathane, Minwax (water-based), and General Finishes to create the various tones in the pallet veneer to create a complimentary uniform look to the drawer faces. 

The other variation in this bed was that I used Threaded inserts and hex bolts so that the head and footboard could be removed multiple times for transport without damaging screw holes. 

Estimated Cost
$500
Estimated Time Investment
Weekend Project (10-20 Hours)
Finish Used
Early American (Minwax)
Early American (Varathane)
Ash Grey (General Finishes)
Dark Walnut (Minwax)
Wipe on Poly (Minwax Satin)

Mix and match stains in order to achieve the depth of color or based on pallet wood imperfections. I noticed that not all pallets are alike. Results WILL vary. I found it easiest to break down several different pallets and cut and reshape based on a random selection of boards, rather than breaking down and using one pallet at a time.
Recommended Skill Level
Advanced

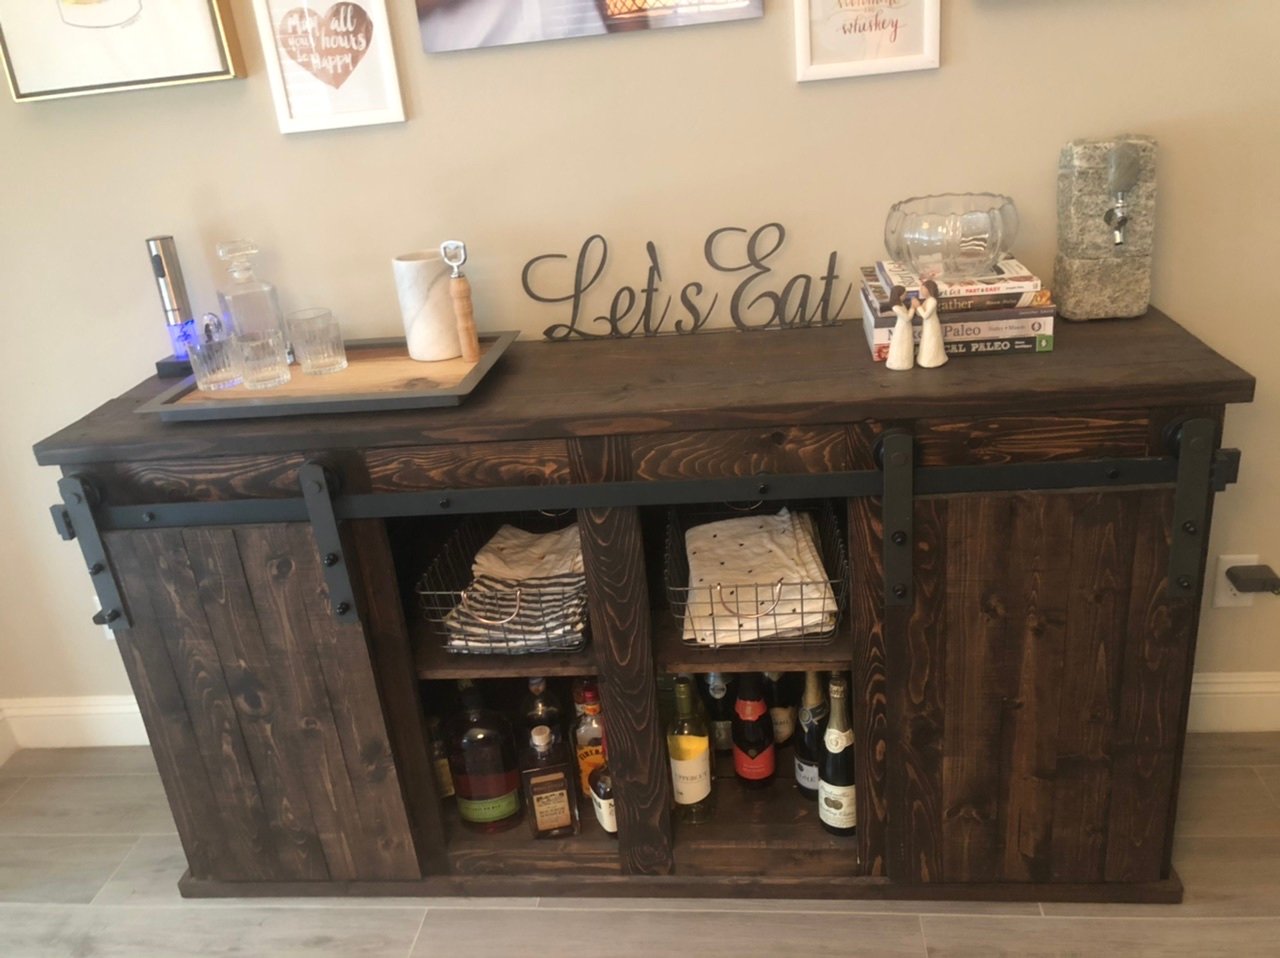
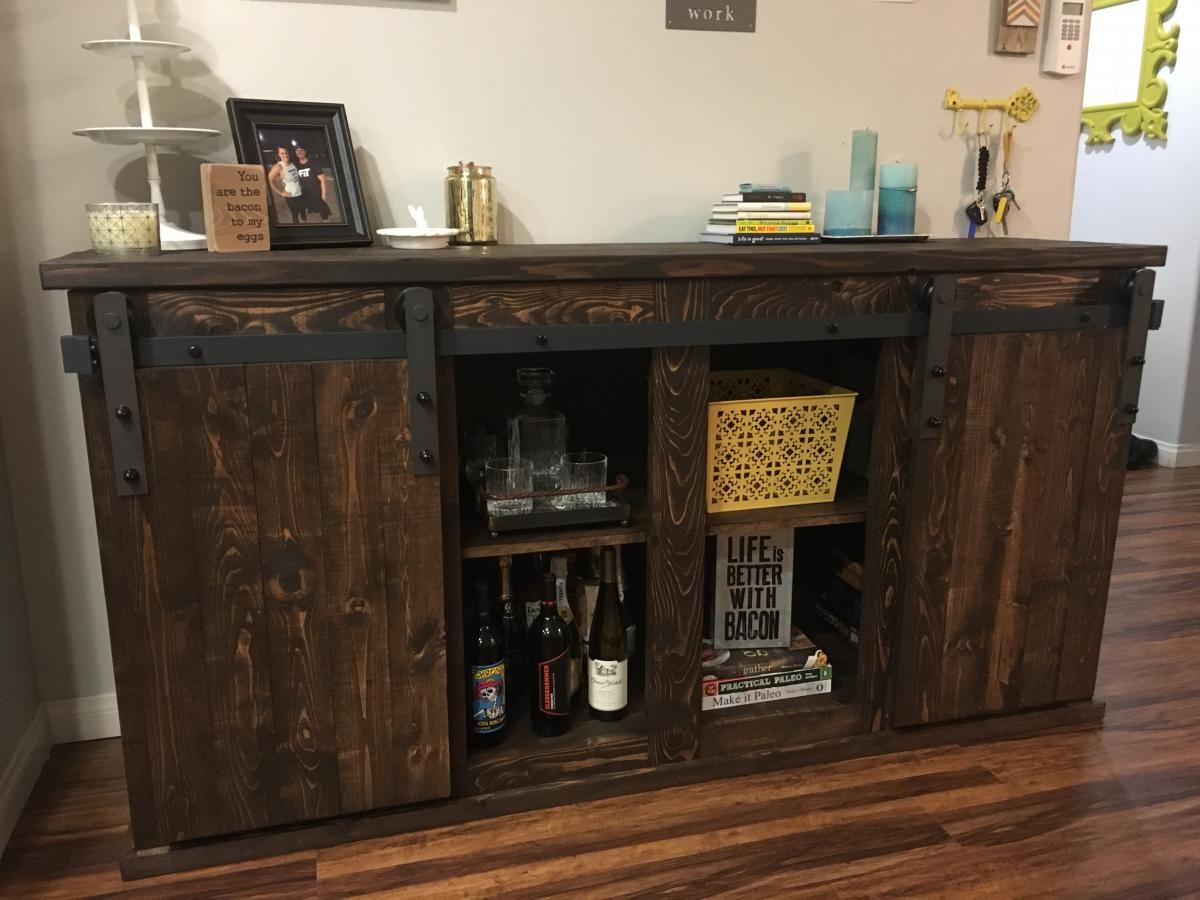
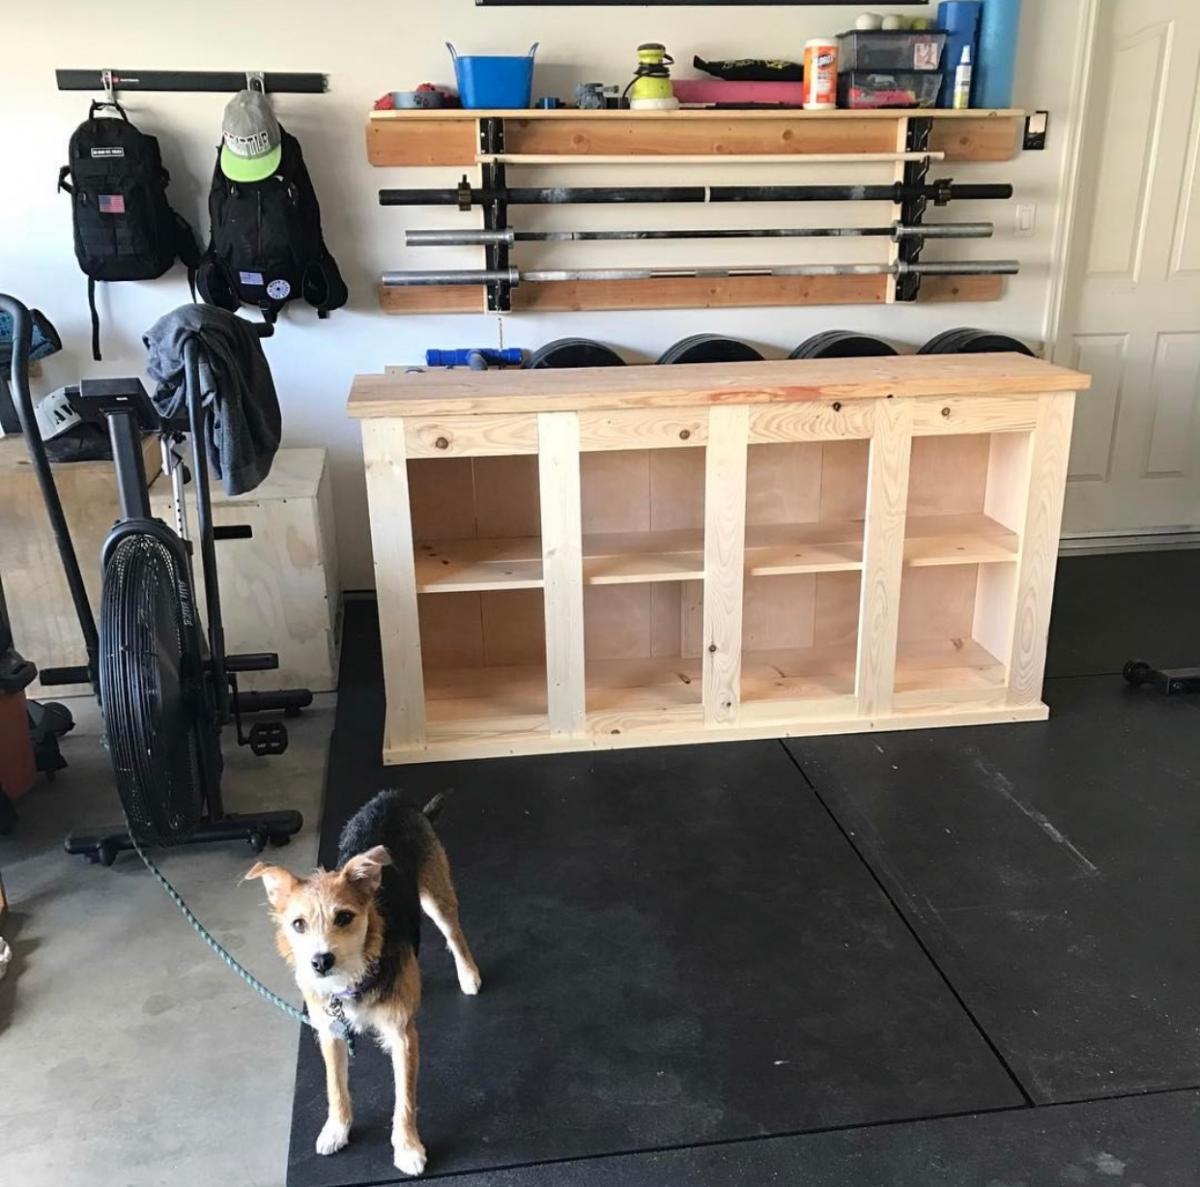
Bar buffet

Submitted by Anonymous (not verified) on Sun, 10/06/2019 - 12:32

We needed a unique bar for our home, and loved the sliding bar doors on this one! It fits our house, and we get so many compliments!

Built from Plan(s)
Estimated Cost
400
Estimated Time Investment
Day Project (6-9 Hours)
Finish Used
Sanded everything, applied Kona stain, finished with a poly top!
Recommended Skill Level
Starter Project

Comments

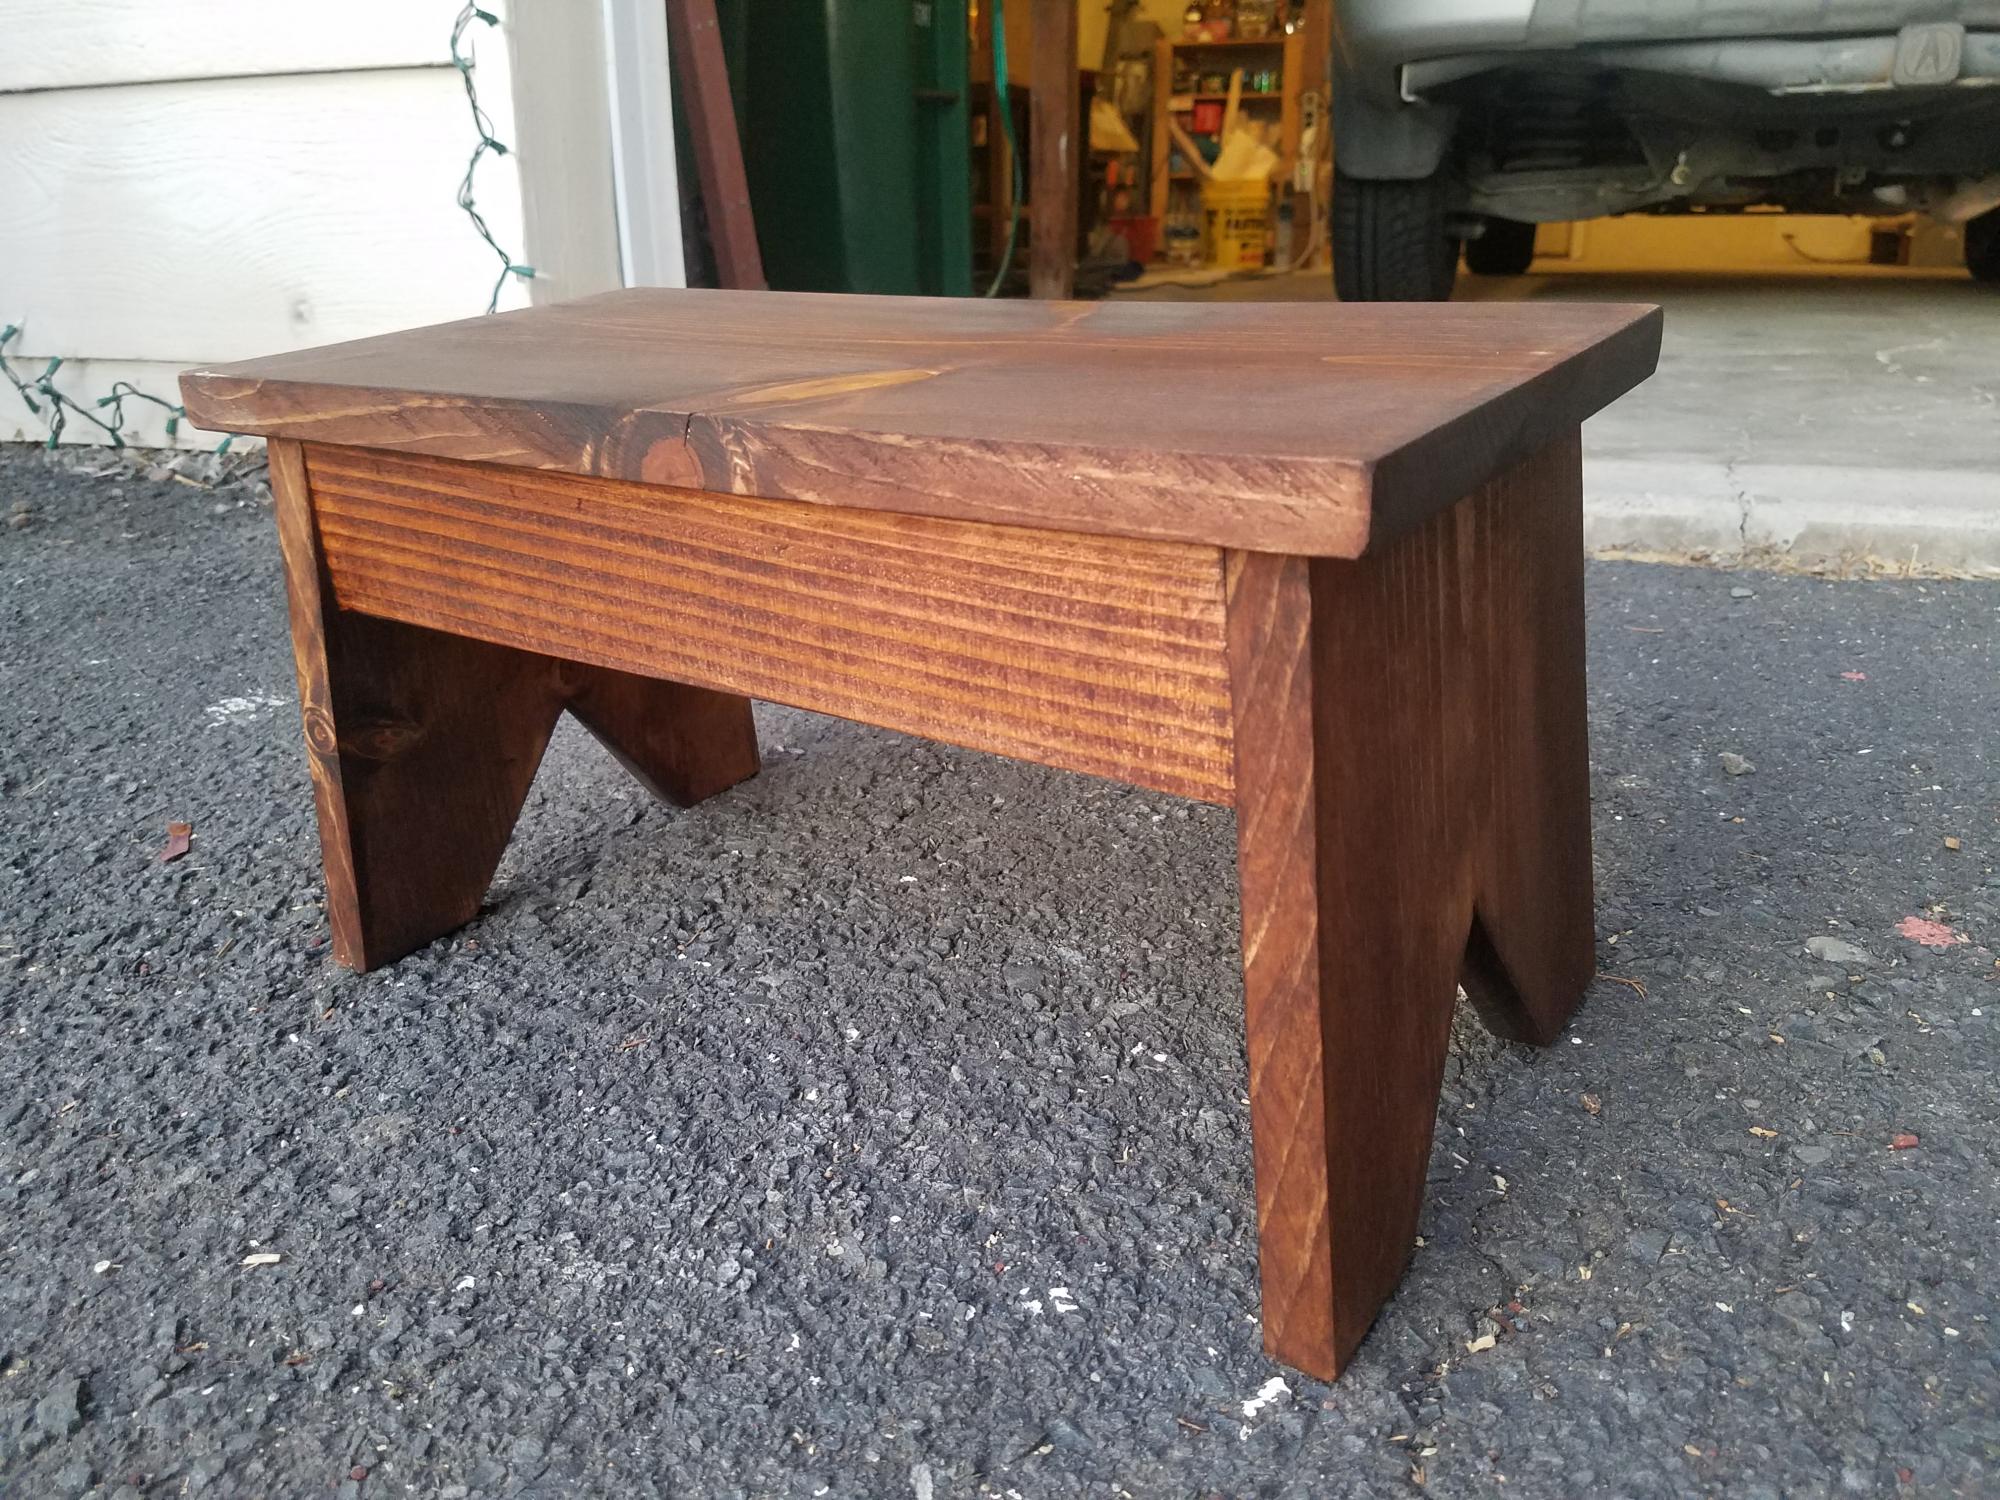
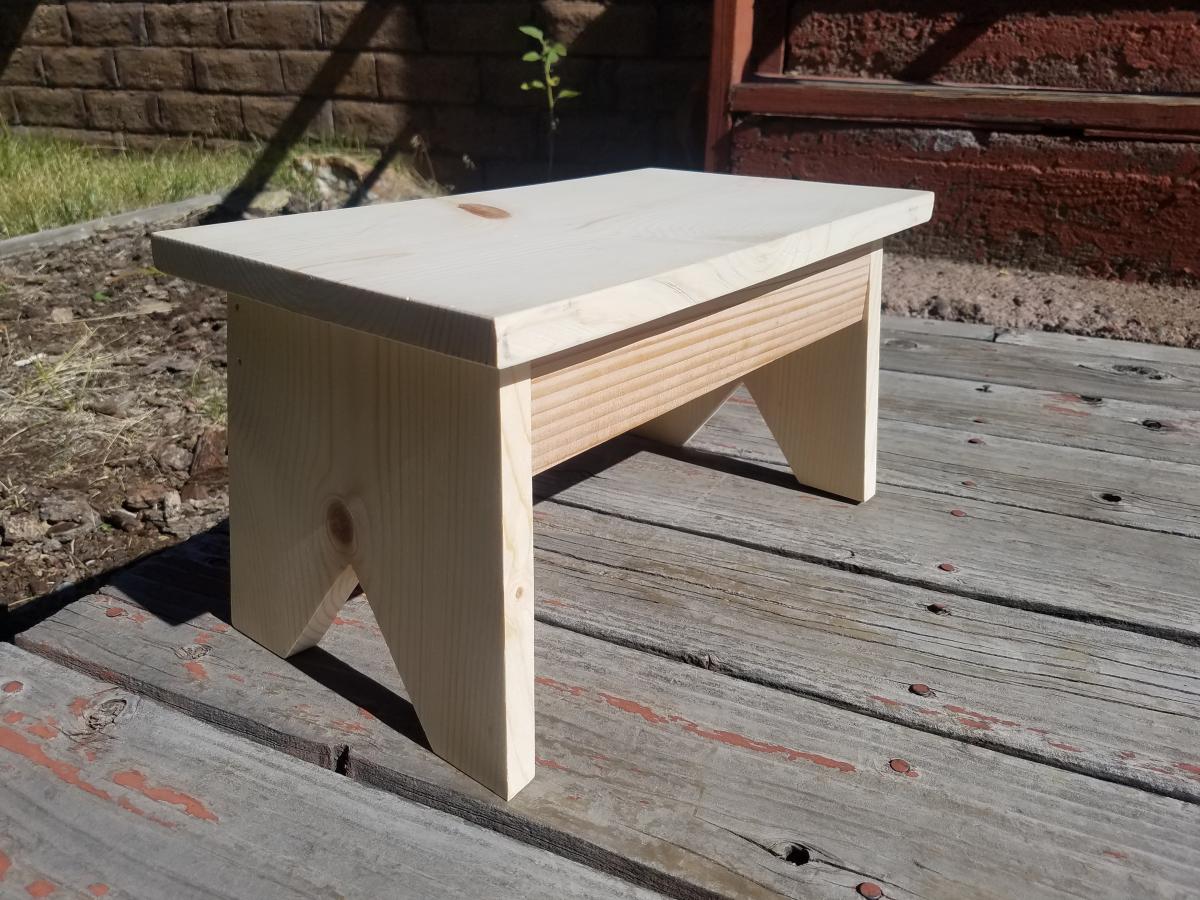
Simple Step Stool

Submitted by bblanchard on Mon, 10/07/2019 - 16:06

This step stool is my first project made from Ana White plans. It is perfect for my almost 2 year old daughter and it's become her new favorite toy! She likes to turn it upside down and ride in it like a boat :)

I love how simple and sturdy it is. It easily holds my weight (180 lbs), and I look forward to many years of useful fun from this great project. This was also my first project that incorporated beveled and angled cuts, but once I got started, it wasn't as intimidating as I initially thought. 

I had some leftover pieces of 1x10 and 1x3 pine boards from building a sidecar crib, so this was a perfect was to use the scraps. I used a table saw for cutting the 1x10s. My miter saw isn't large enough to accommodate 10 inch wide boards, but it was perfect for the 1x3s.

After assembling the stool the first time, I took it back apart and ripped the top down to 8 inches wide. I thought the stool had a tendency to tip with the full width of the 1x10. 

Can't wait to build more of these! For the next one, I'd like to try cutting half circles out of the bottom of the legs with the jigsaw instead of straight cuts and trying some decorative  cutout handles on the sides as well. 

Thanks, Ana!

Estimated Cost
10.00
Estimated Time Investment
An Hour or Two (0-2 Hours)
Finish Used
Honey stain by Minwax
Covered with one coat of triple thick polyurethane by Minwax
Recommended Skill Level
Beginner

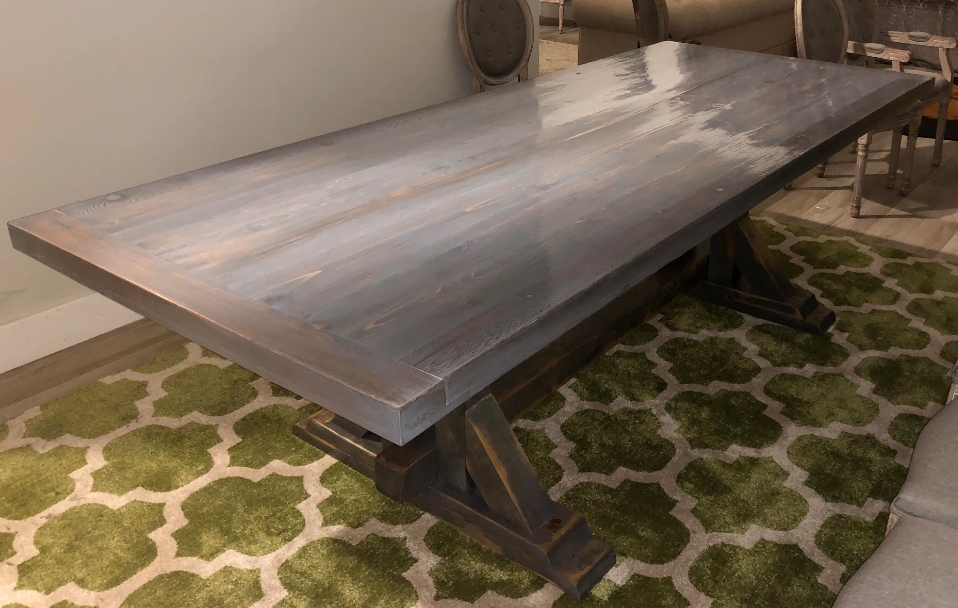
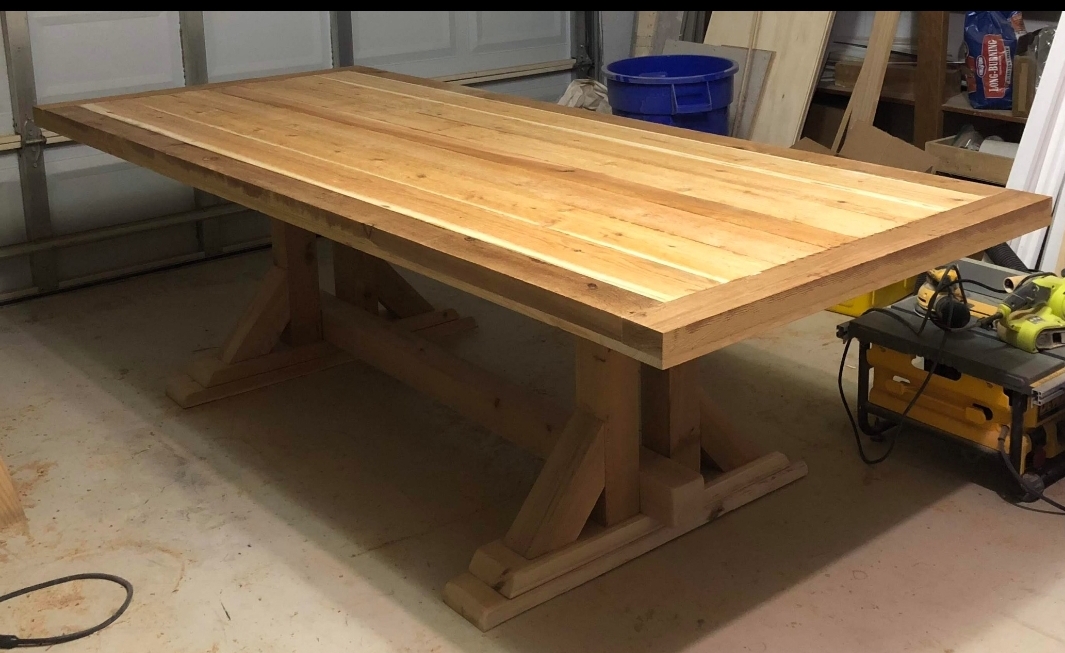
All Cedar Farm House Dining Room Table

Submitted by Anonymous (not verified) on Wed, 10/02/2019 - 05:34

100% Cedar construction. Cost around $350 all inclusive. Took me close to 20 hours of work in my garage. The wife loves it. And we brag about it all the time. So I figured this contest is perfect 👌😊.

Estimated Cost
350
Estimated Time Investment
Week Long Project (20 Hours or More)
Finish Used
Stain and water based polyurethane. 800 grit sand paper.
Recommended Skill Level
Beginner

Comments

jreyes79

Wed, 06/10/2020 - 11:16

Is there any plans available for this design? I would love to build one of these tables.

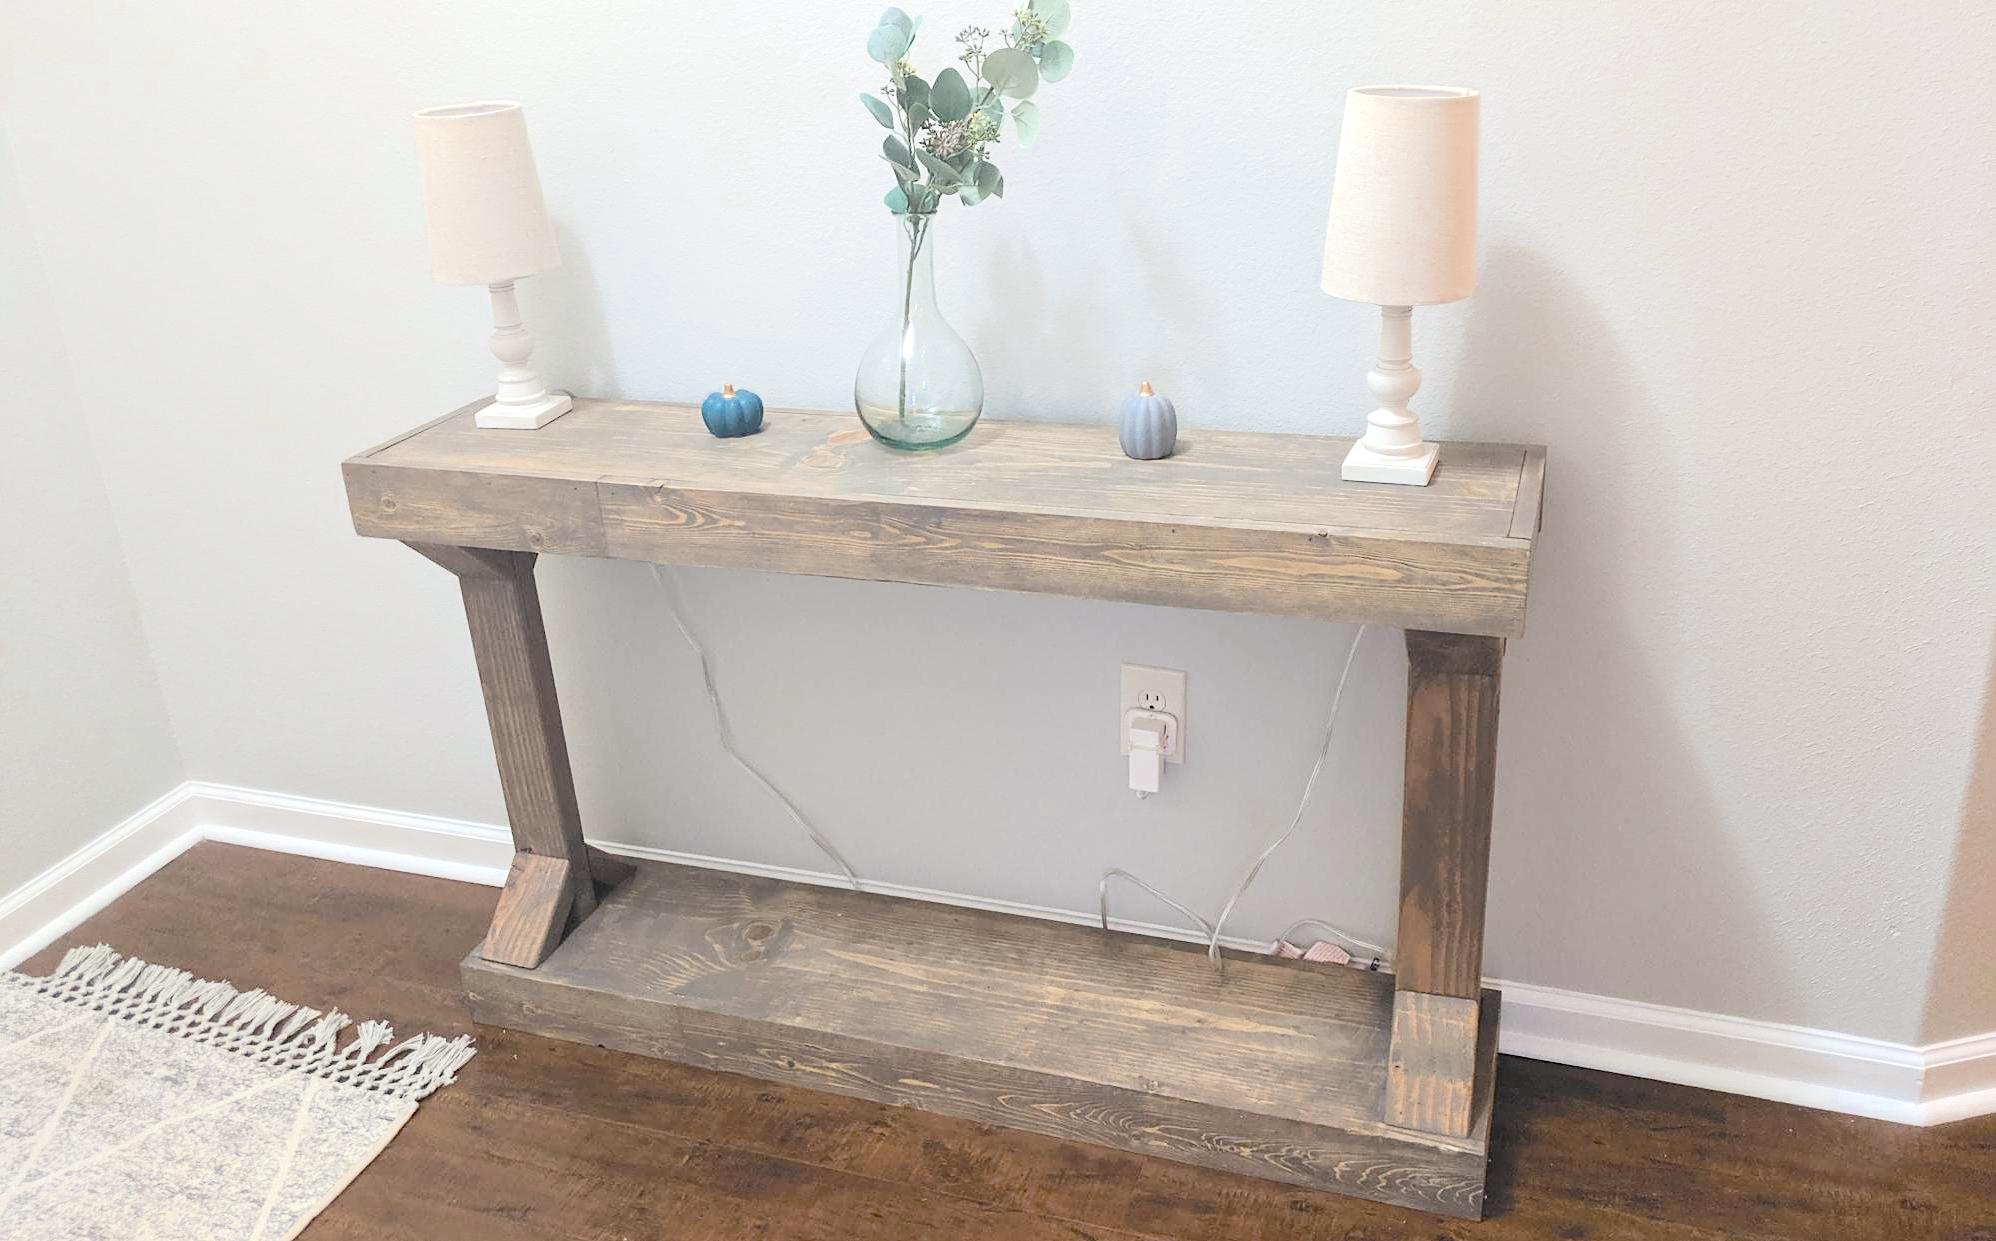
Modern Console Table

Submitted by Anonymous (not verified) on Thu, 10/31/2019 - 13:11

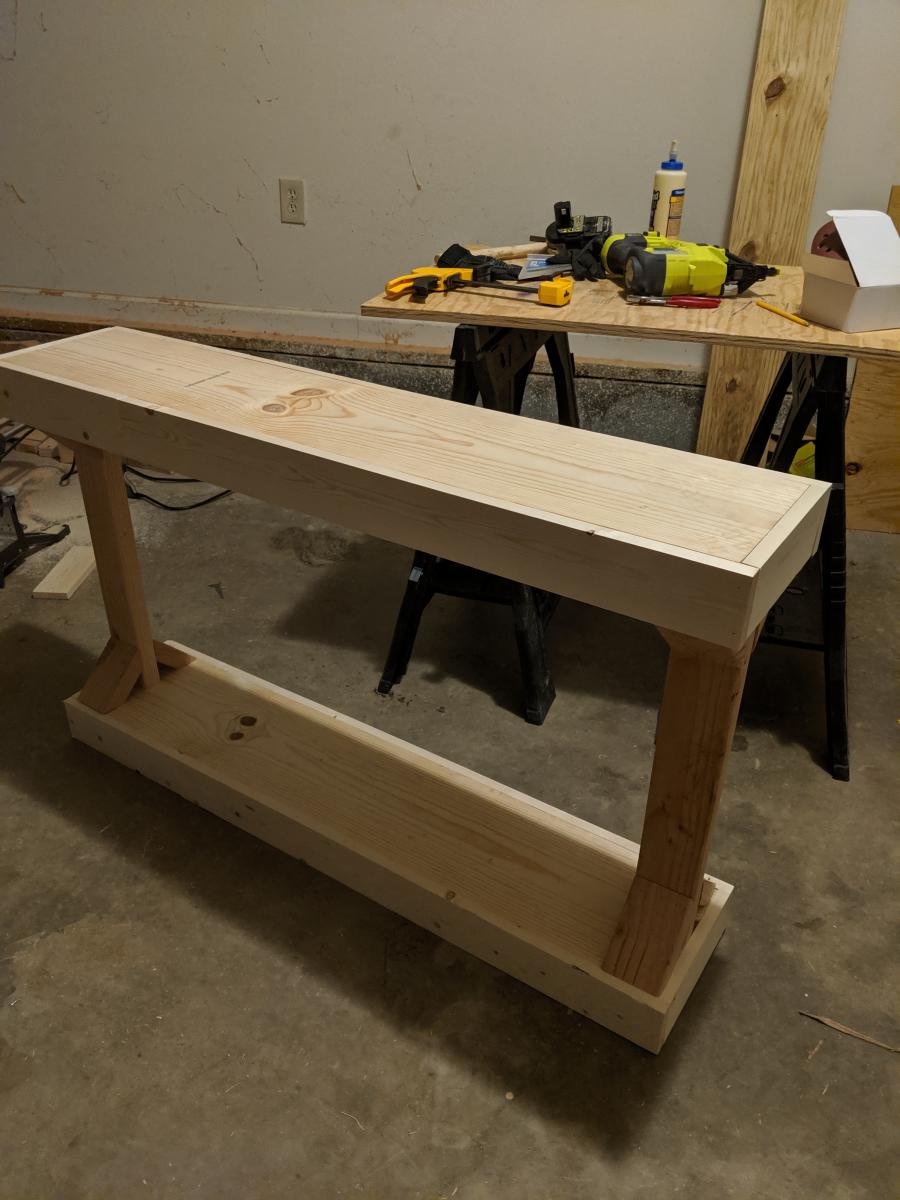
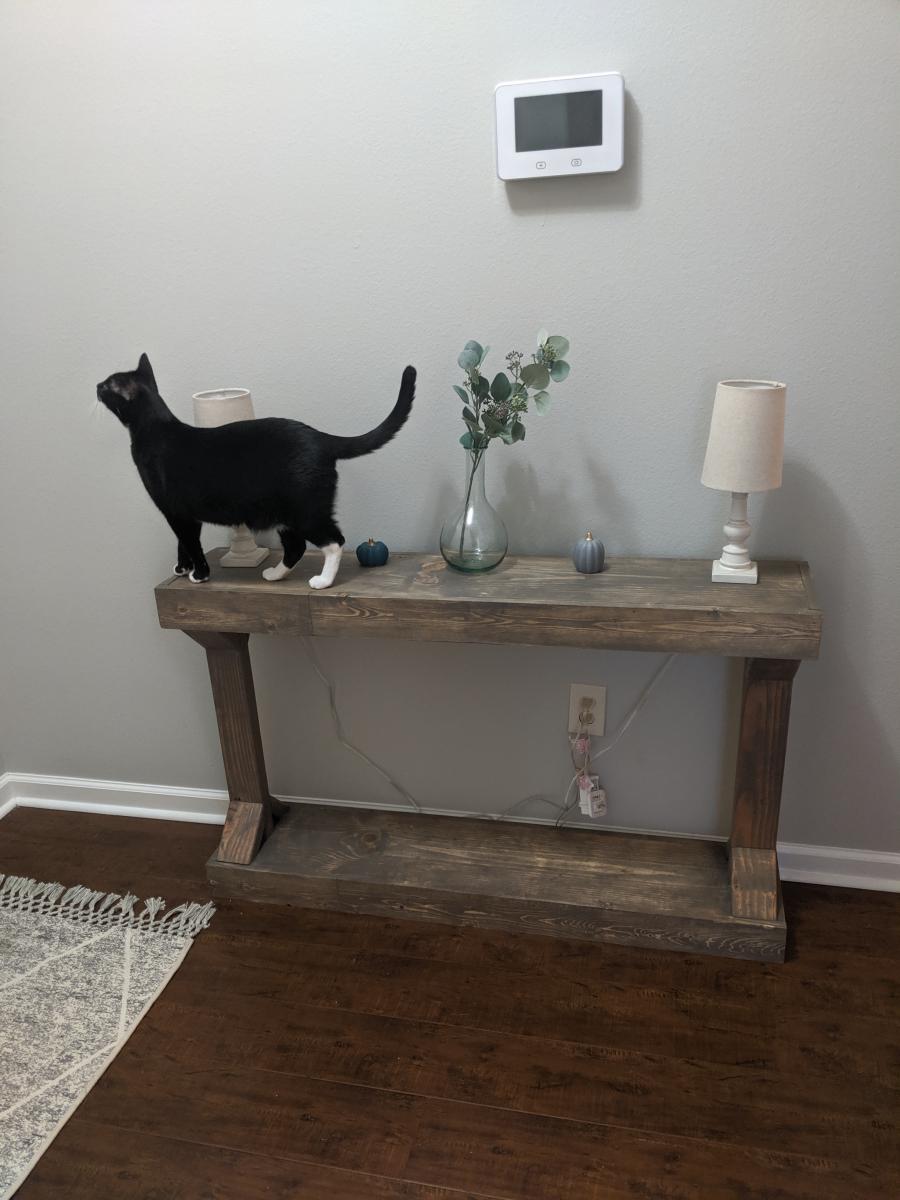
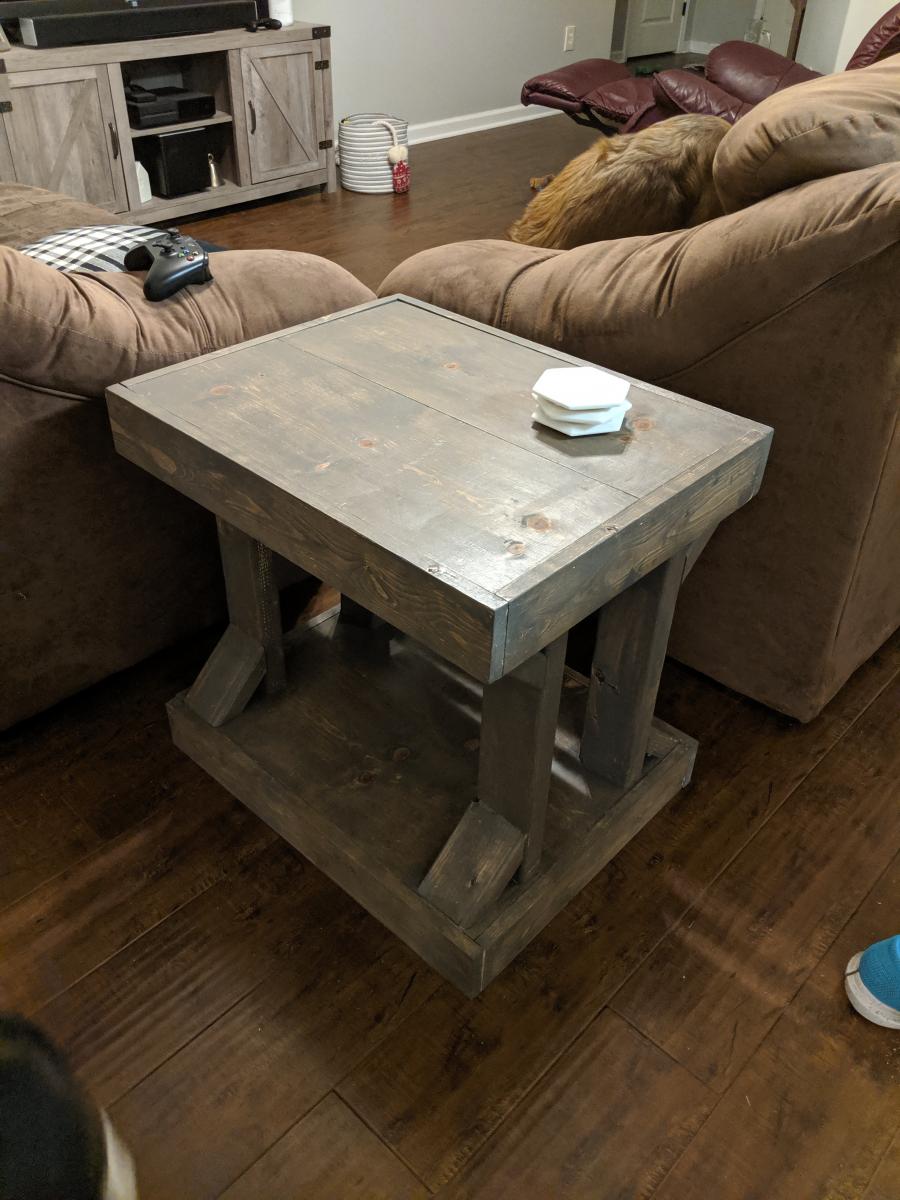
Made my table 4 feet on accident (forgot to cut the 1x10 boards down to 36" before attaching everything) but I kinda like the extra length. I also ended up making the matching side table.

Estimated Cost
$40
Estimated Time Investment
Afternoon Project (3-6 Hours)
Finish Used
Briarsmoke
Recommended Skill Level
Beginner

Comments

Mrs.Green

Fri, 04/10/2020 - 21:07

If I wanted to make this taller like 3×6ft what size wood would do I need? I want to make this stand for my daughters urn area. She passed away last month and I'm trying to make this perfect. The sooner the better.. Thanks! Love all your work..

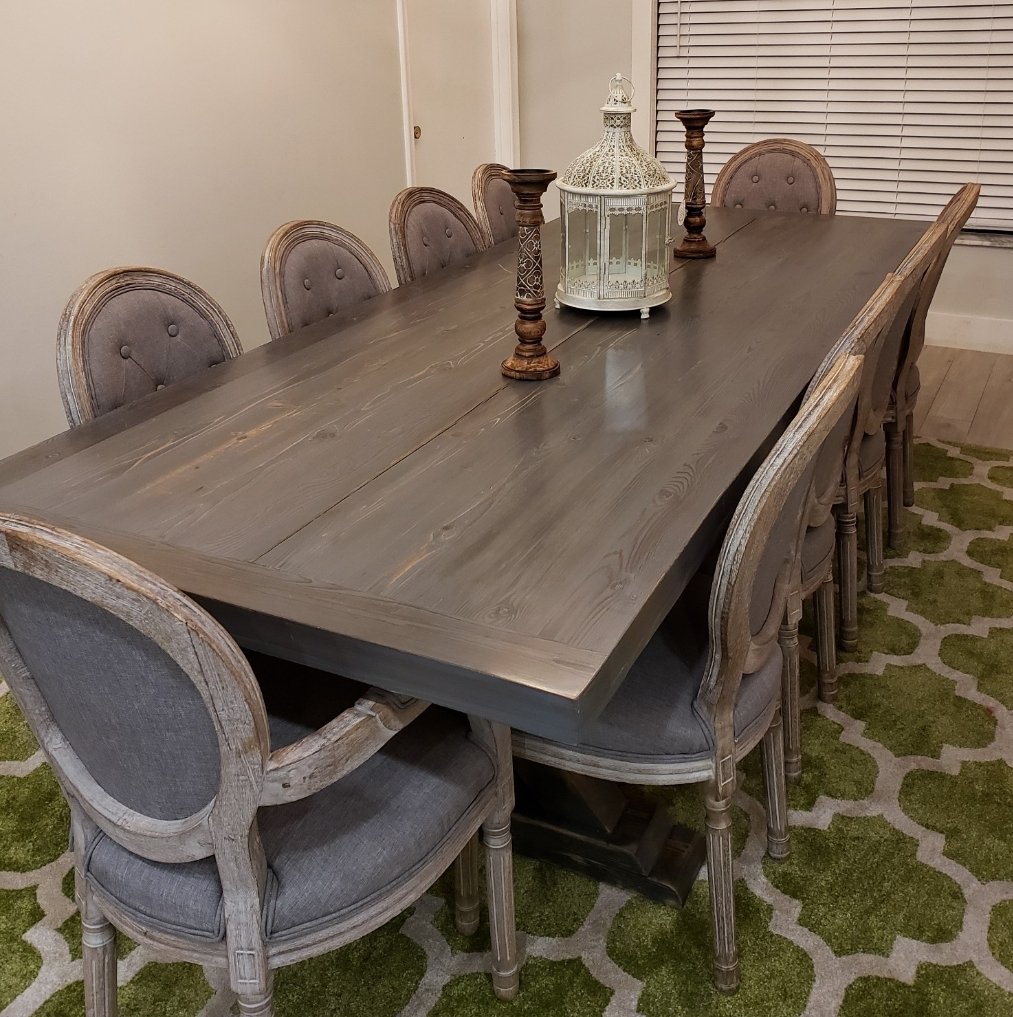
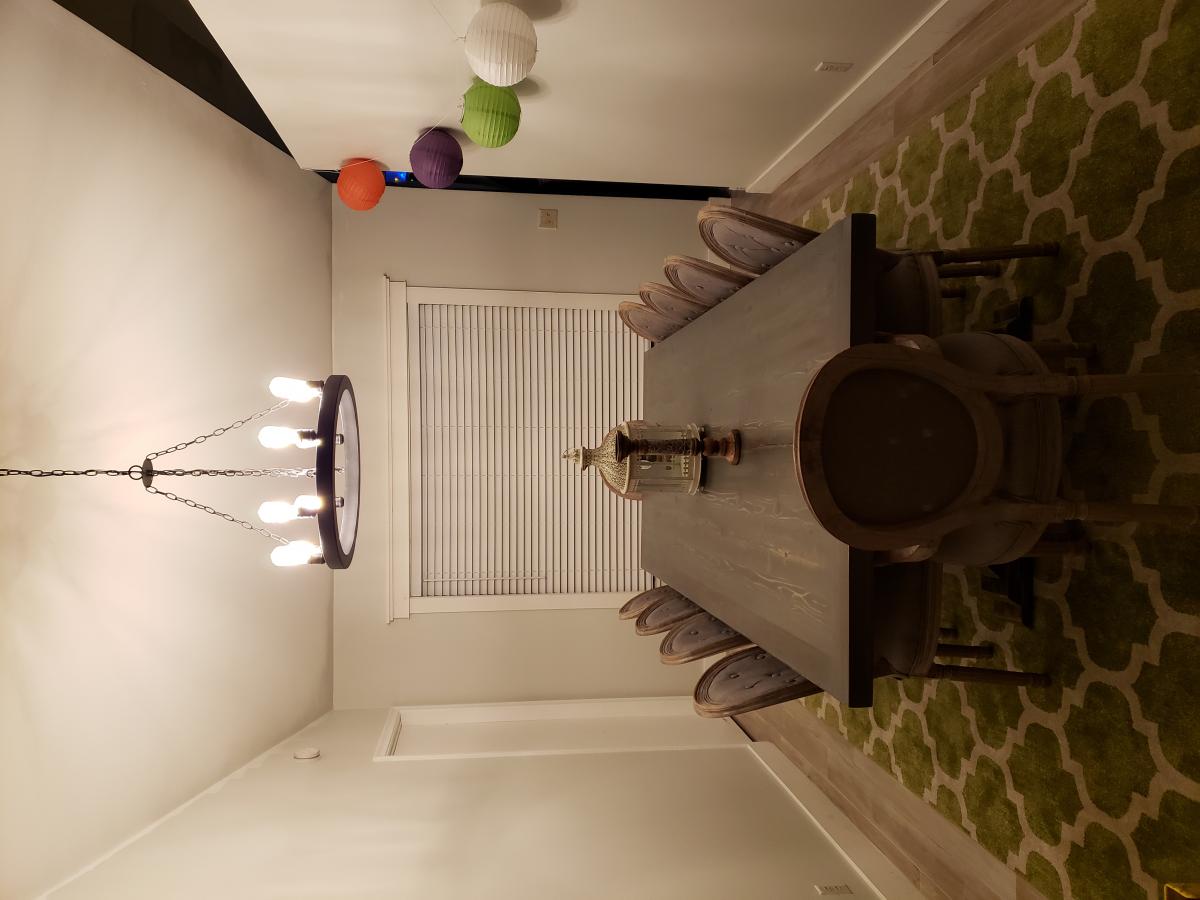
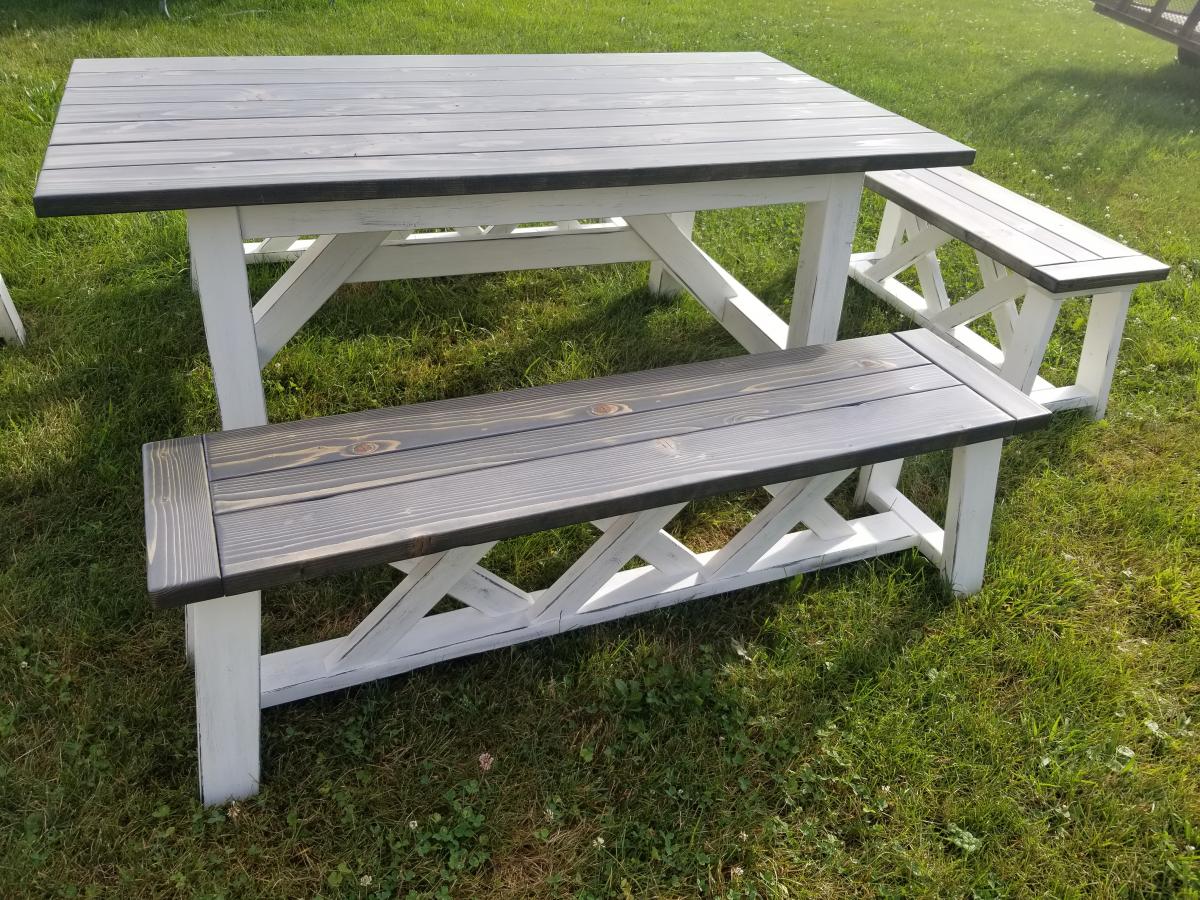
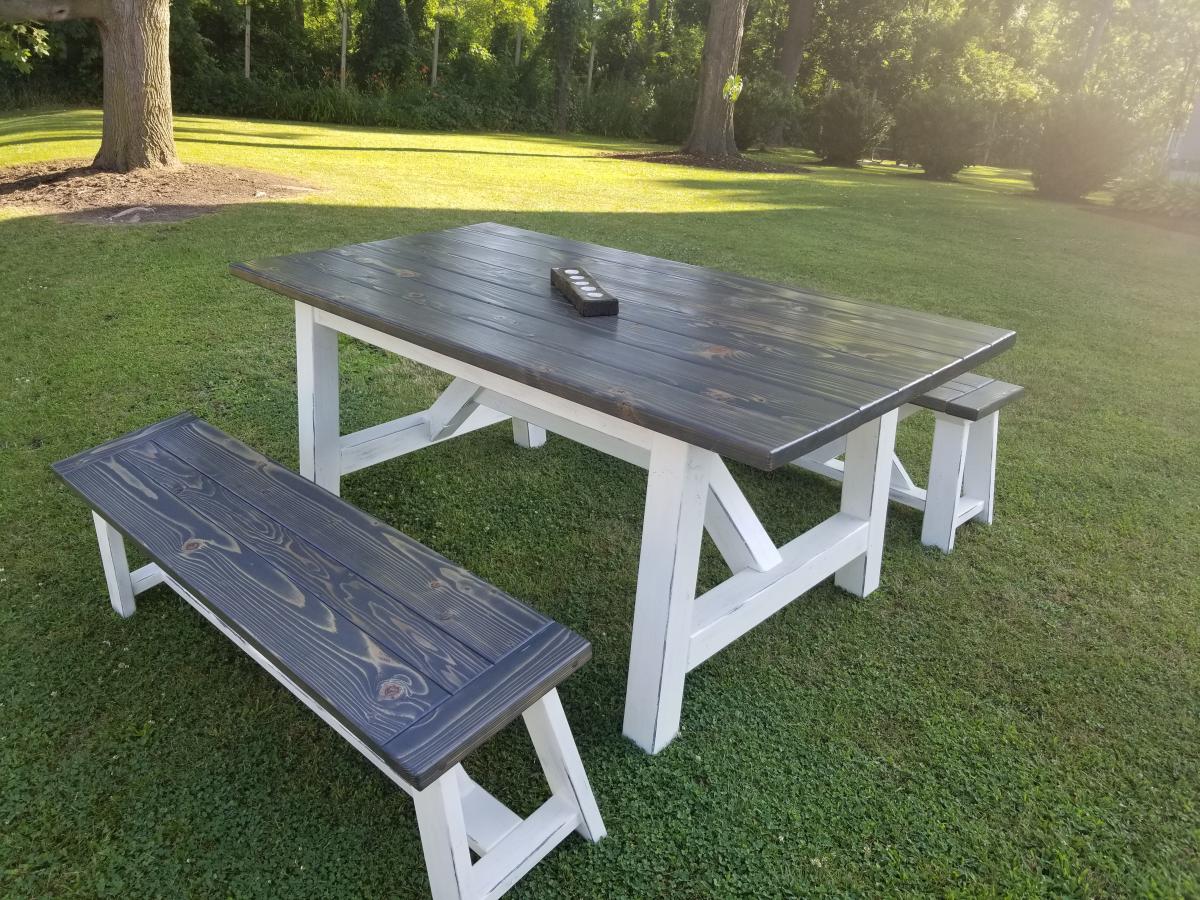
Farmhouse dining room table set

Submitted by Jenvin06 on Wed, 10/02/2019 - 12:01

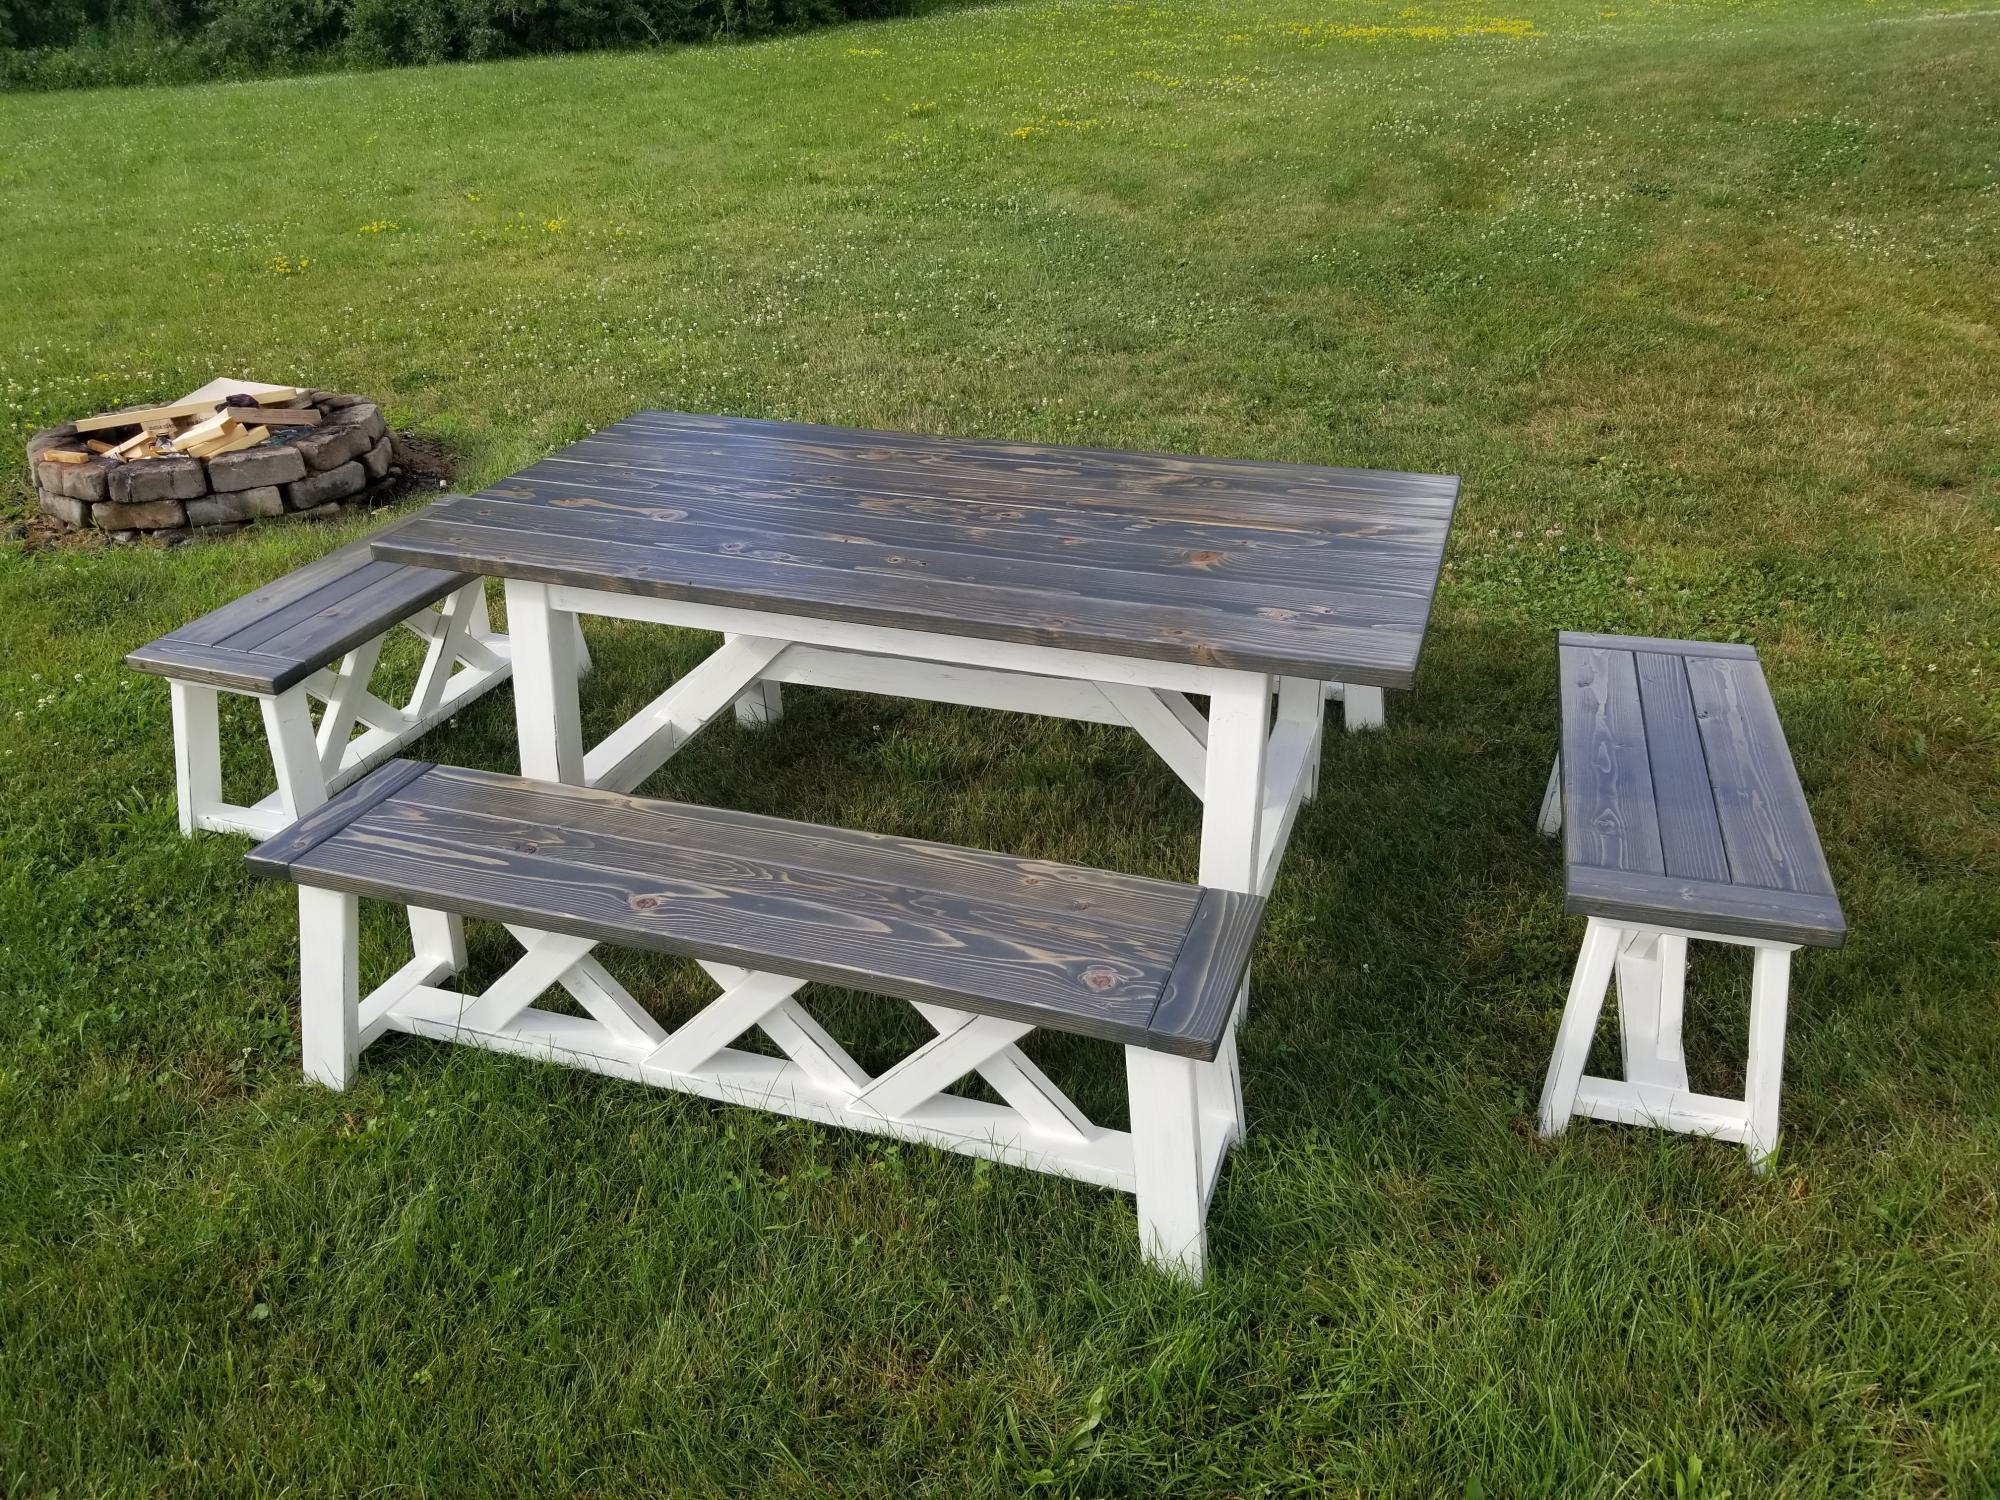
My spin on the 4x4 truss beam table. Fun and rewarding project. I received many compliments on this build.

Built from Plan(s)
Estimated Cost
175.00
Estimated Time Investment
Week Long Project (20 Hours or More)
Finish Used
Latex paint, carbon grey stain and wipe on poly.
Recommended Skill Level
Advanced

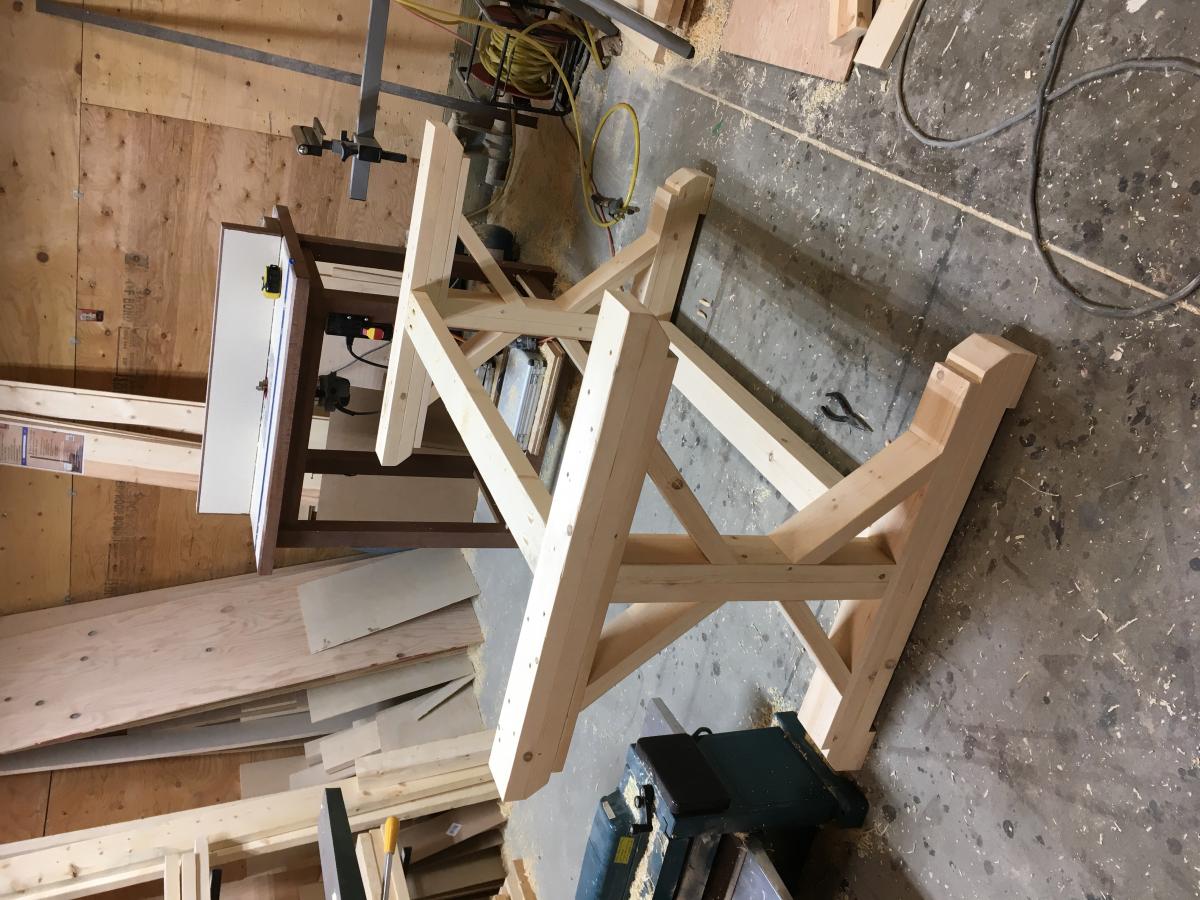
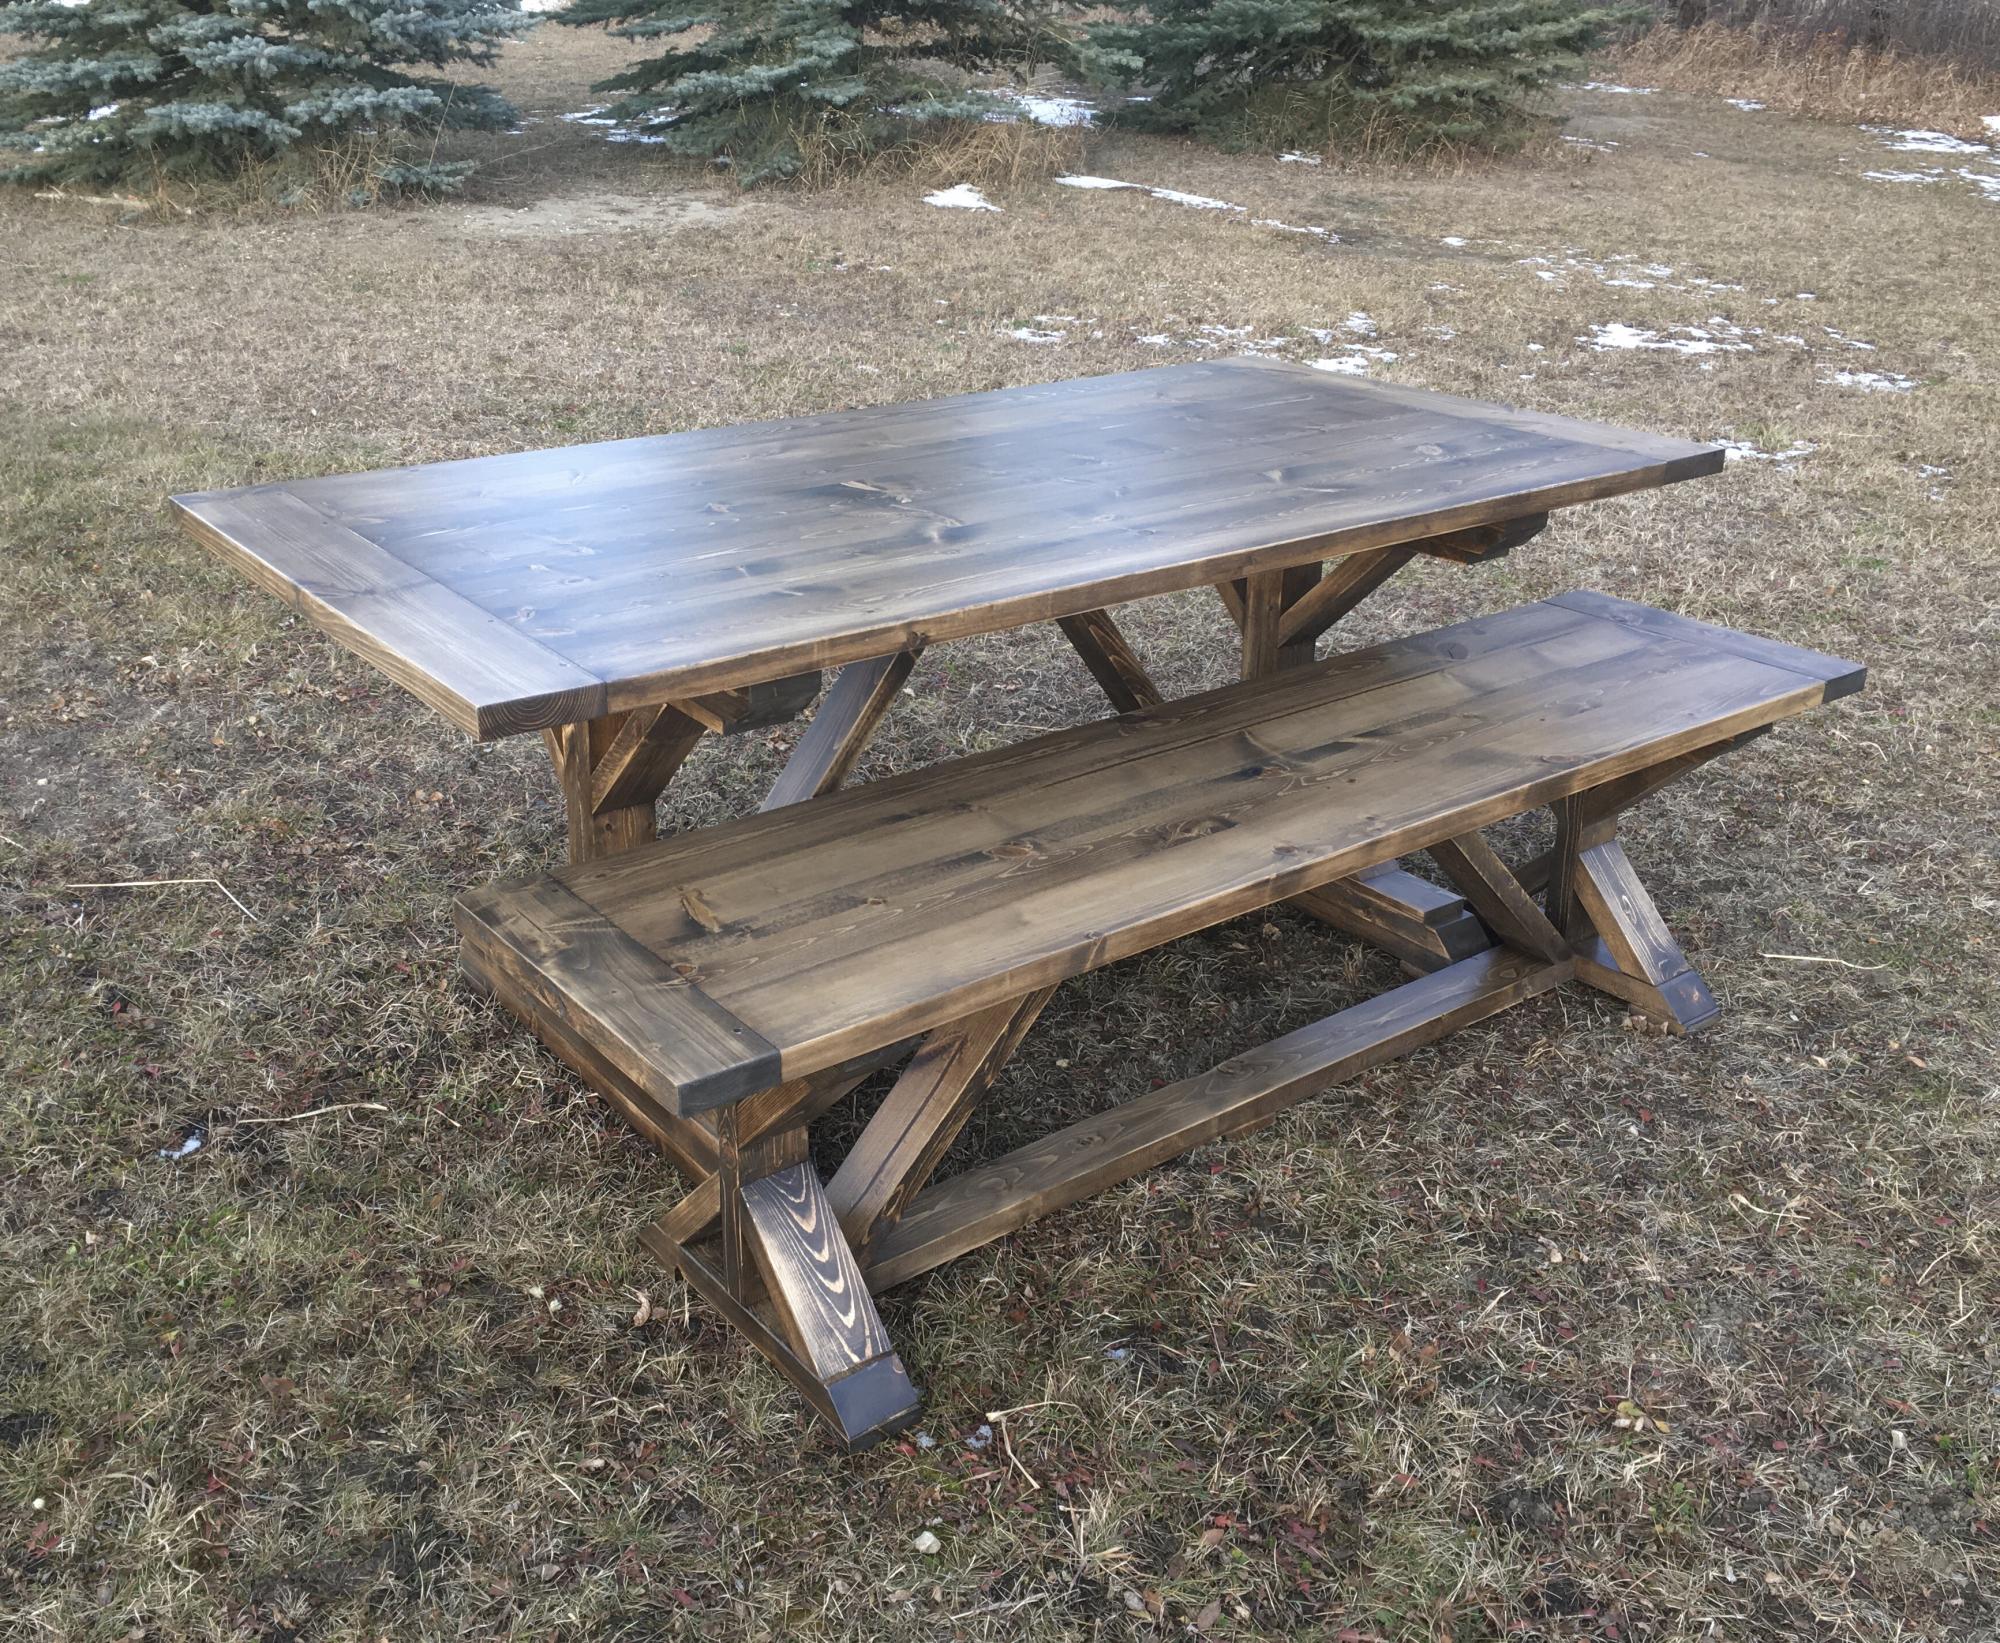
Fancy X farmhouse table and bench

Submitted by Anonymous (not verified) on Wed, 10/30/2019 - 21:34

These plans were a lot of fun, easy to follow and I love all the layers!! I changed the direction of the bracing under the table and used a thicker beam along the floor. For the bench I decided to use only two legs so I did them in a thicker look to match the table.

Estimated Cost
$170 lumber/stain/clear
Estimated Time Investment
Week Long Project (20 Hours or More)
Finish Used
2:1 ratio minwax dark walnut and weathered oak. I let it dry then sanded in areas and added a coat of weathered oak.
Recommended Skill Level
Intermediate

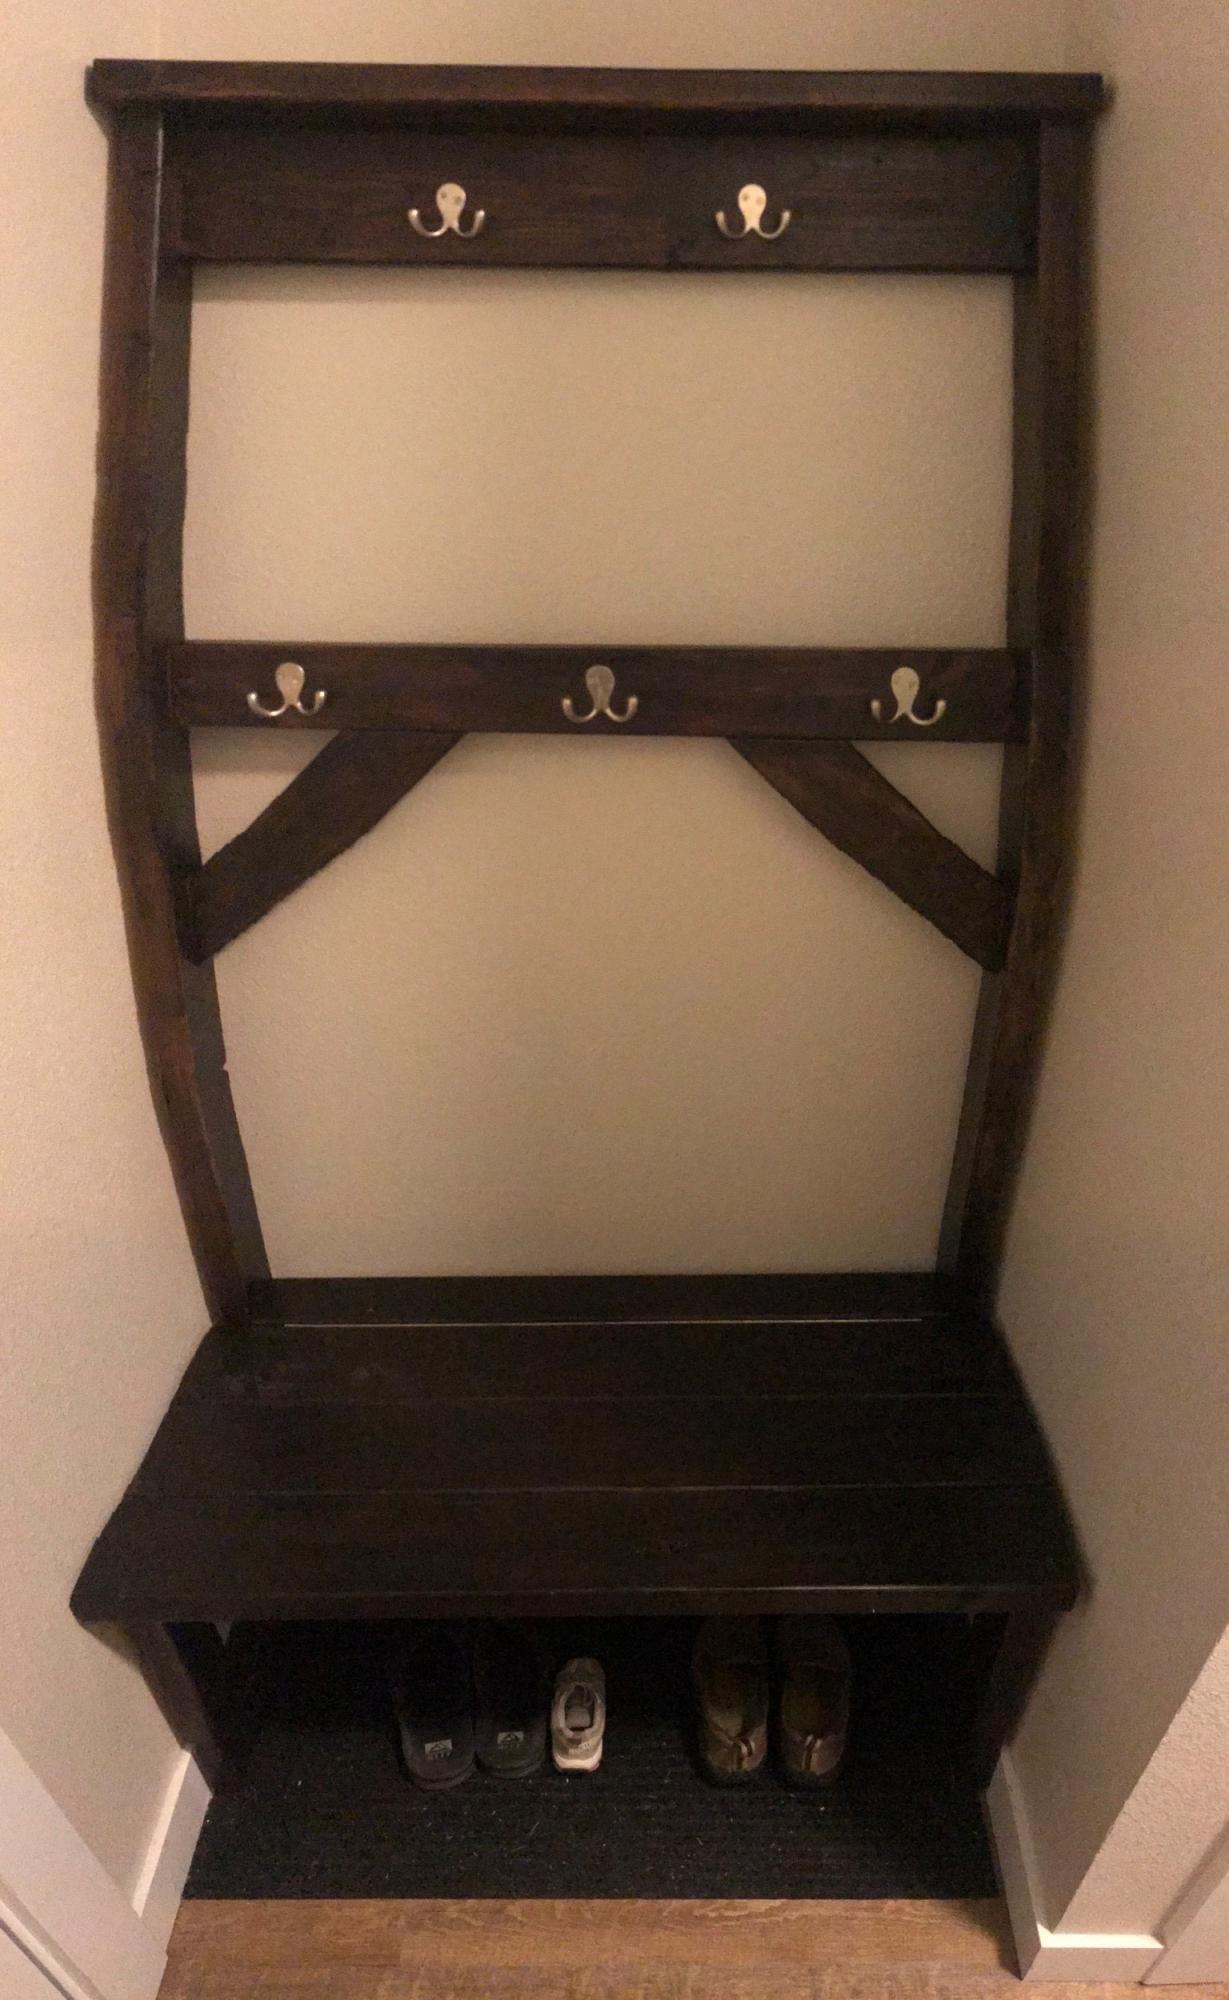
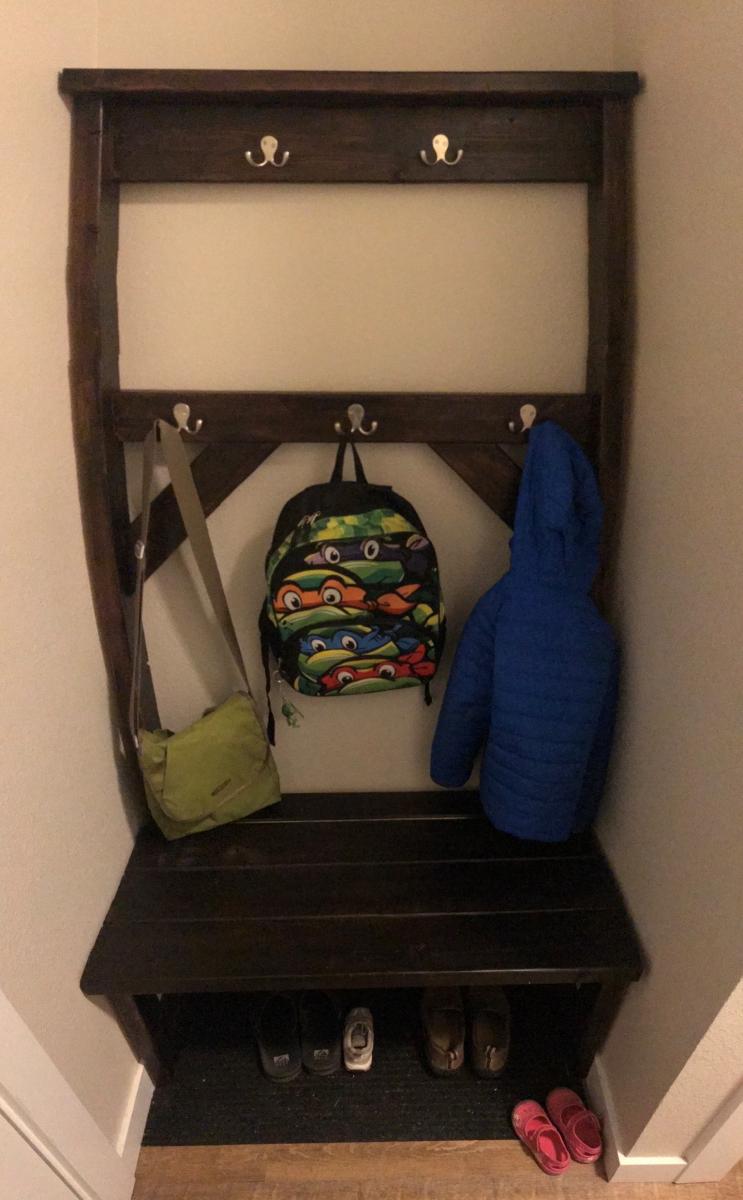
Entry Nook Tree and Bench

Modified version of the $40 Hall Tree

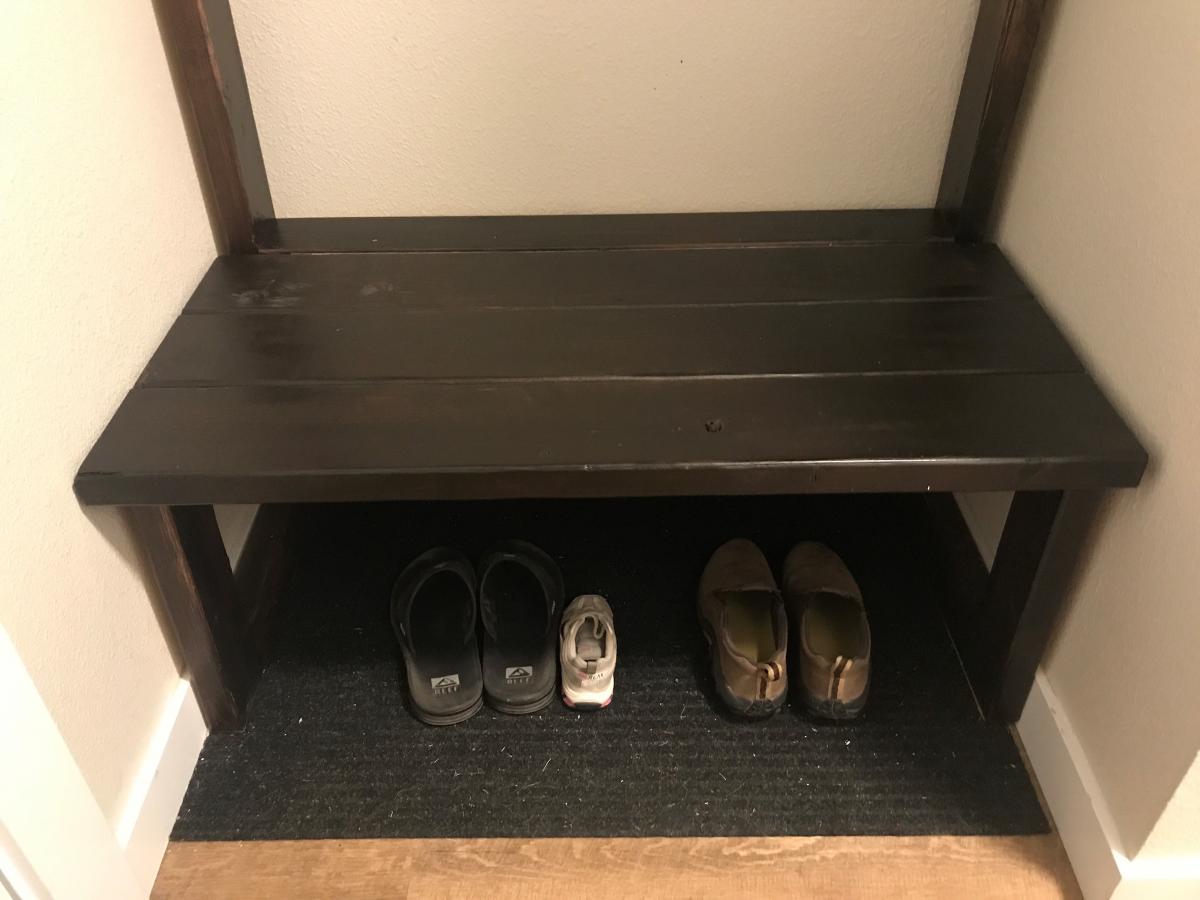
Had to reduce the width to 36" to fit into this specific nook that is just inside the door from our garage. We've used it as a kick off place for our shoes. Having nothing else there was a waste of wall space that could be additionally utilized. We have a closet just up the hallway for most of our coats, but with winter coming and struggling with our oldest finding his coat and backpack every morning to leave for school, we wanted to designate a spot for him to use.

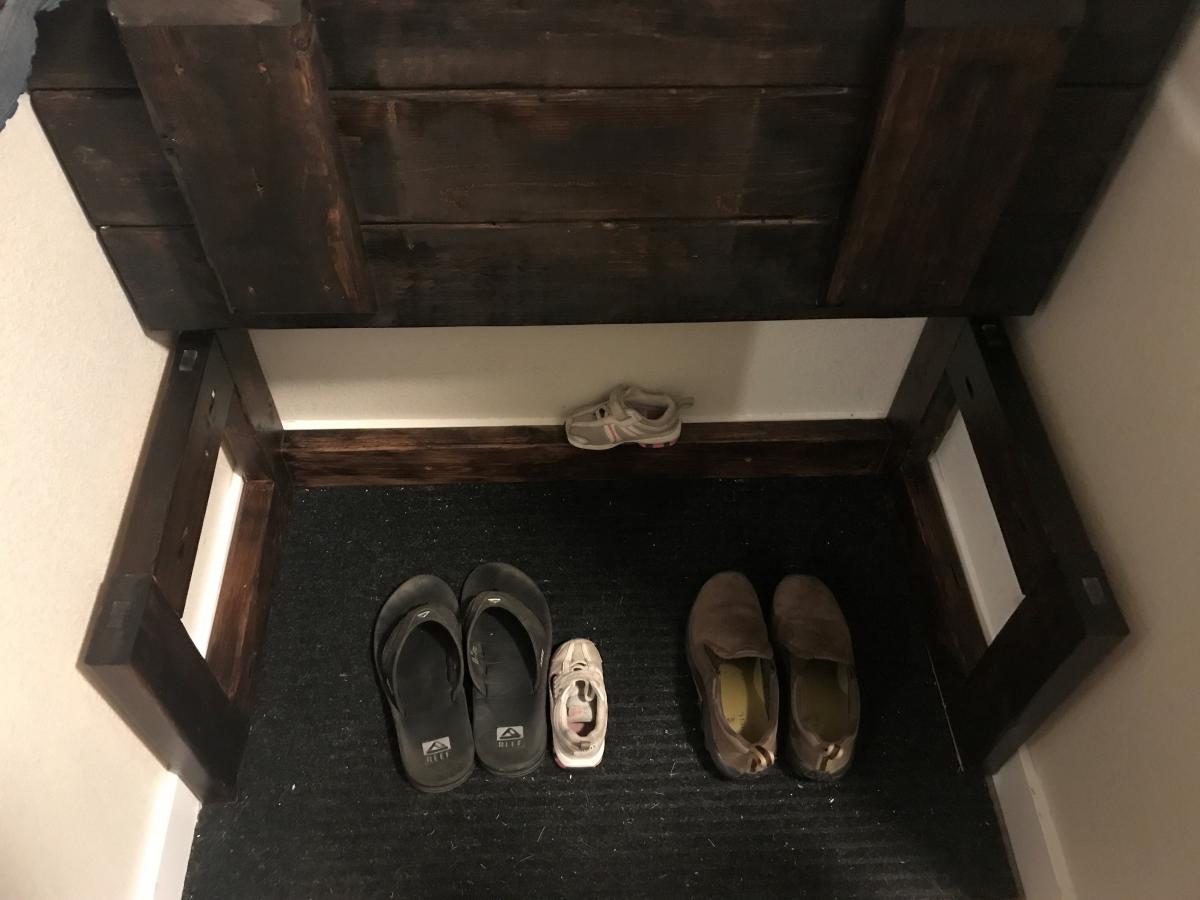
With that said, the space still had to be functional for all of us, and having to crawl under and find the lil girl's 'lost' tiny shoe/s way in the back under the bench was going to be a no-go for my knees. To remedy that, I decided to modify the bench to lift up to find those lost items (see pics). This required removing the front cross beam and creating squared off supports on each side instead of just 'legs'.

Before hooks, stain, and the 30" piano hinge, this project came in just under $25.

Total completed project was closer to $65 for all materials.

{Apologies if the full length shots look a little wonky/bowed. Getting a full shot was tough with my back against the wall, literally. :) Had to use the pano mode.}

Built from Plan(s)
Estimated Cost
$65
Estimated Time Investment
Day Project (6-9 Hours)
Finish Used
Varathane
1 qt. 'Espresso' Satin Oil-Based Interior Stain and Polyurethane (project consumed about half the quart)

I gave the bench top and front edge a "pretty good" sanding knowing we'd be sitting on it and such, so we didn't want it catching/snagging clothing, but I didn't go too crazy. Otherwise, left the rest pretty much as the lumber came from the store, just a light scuff to pick up the stain better.
Recommended Skill Level
Intermediate

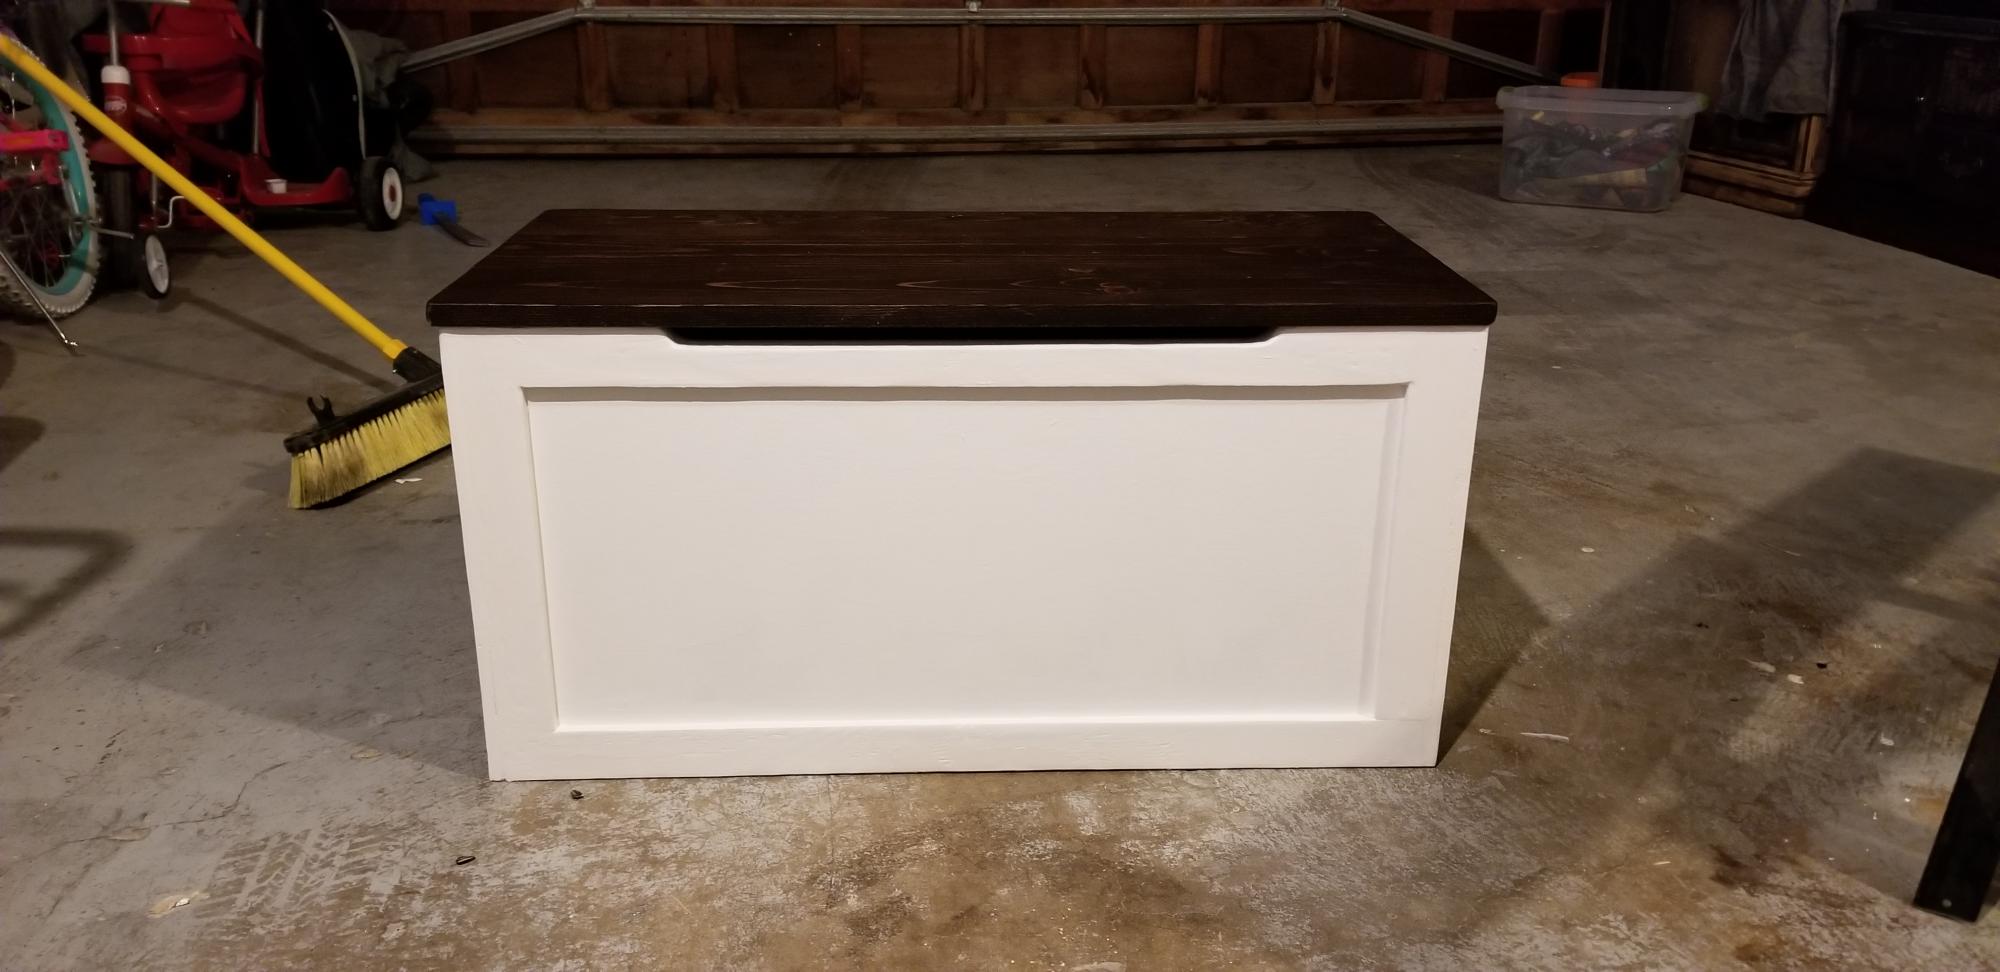
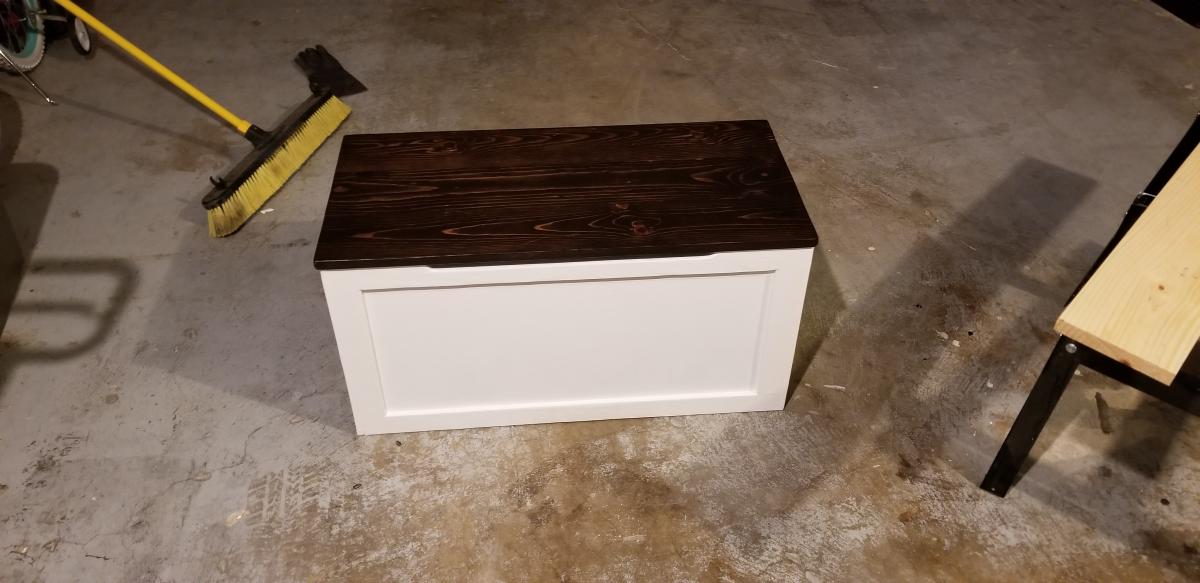
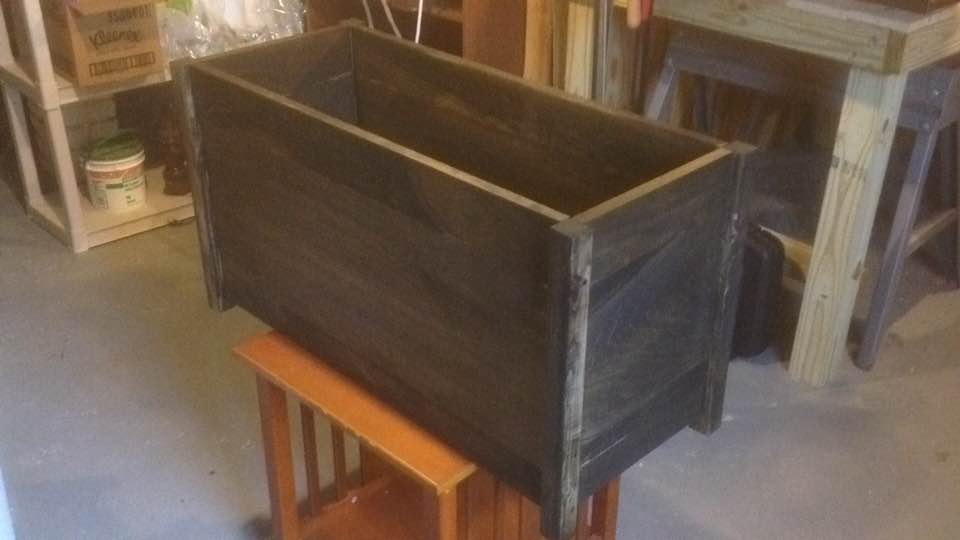
A Toy Chest for my Daughter!

Submitted by Anonymous (not verified) on Mon, 10/28/2019 - 13:02

I used these plans to build a toy chest for my daughter: https://www.ana-white.com/woodworking-projects/simple-modern-toy-box-lid

I skipped the lid and a few of the extra details, but I think it turned out alright! It was probably my second project ever, and my first at this size. Being so new to woodwork, I was unsure of a lot of my cuts, or even if I could find the proper pieces of wood at the store, but your plans helped me through a lot of it!

Built from Plan(s)
Estimated Cost
$200
Estimated Time Investment
Day Project (6-9 Hours)
Finish Used
Basic ebony stain
Recommended Skill Level
Starter Project

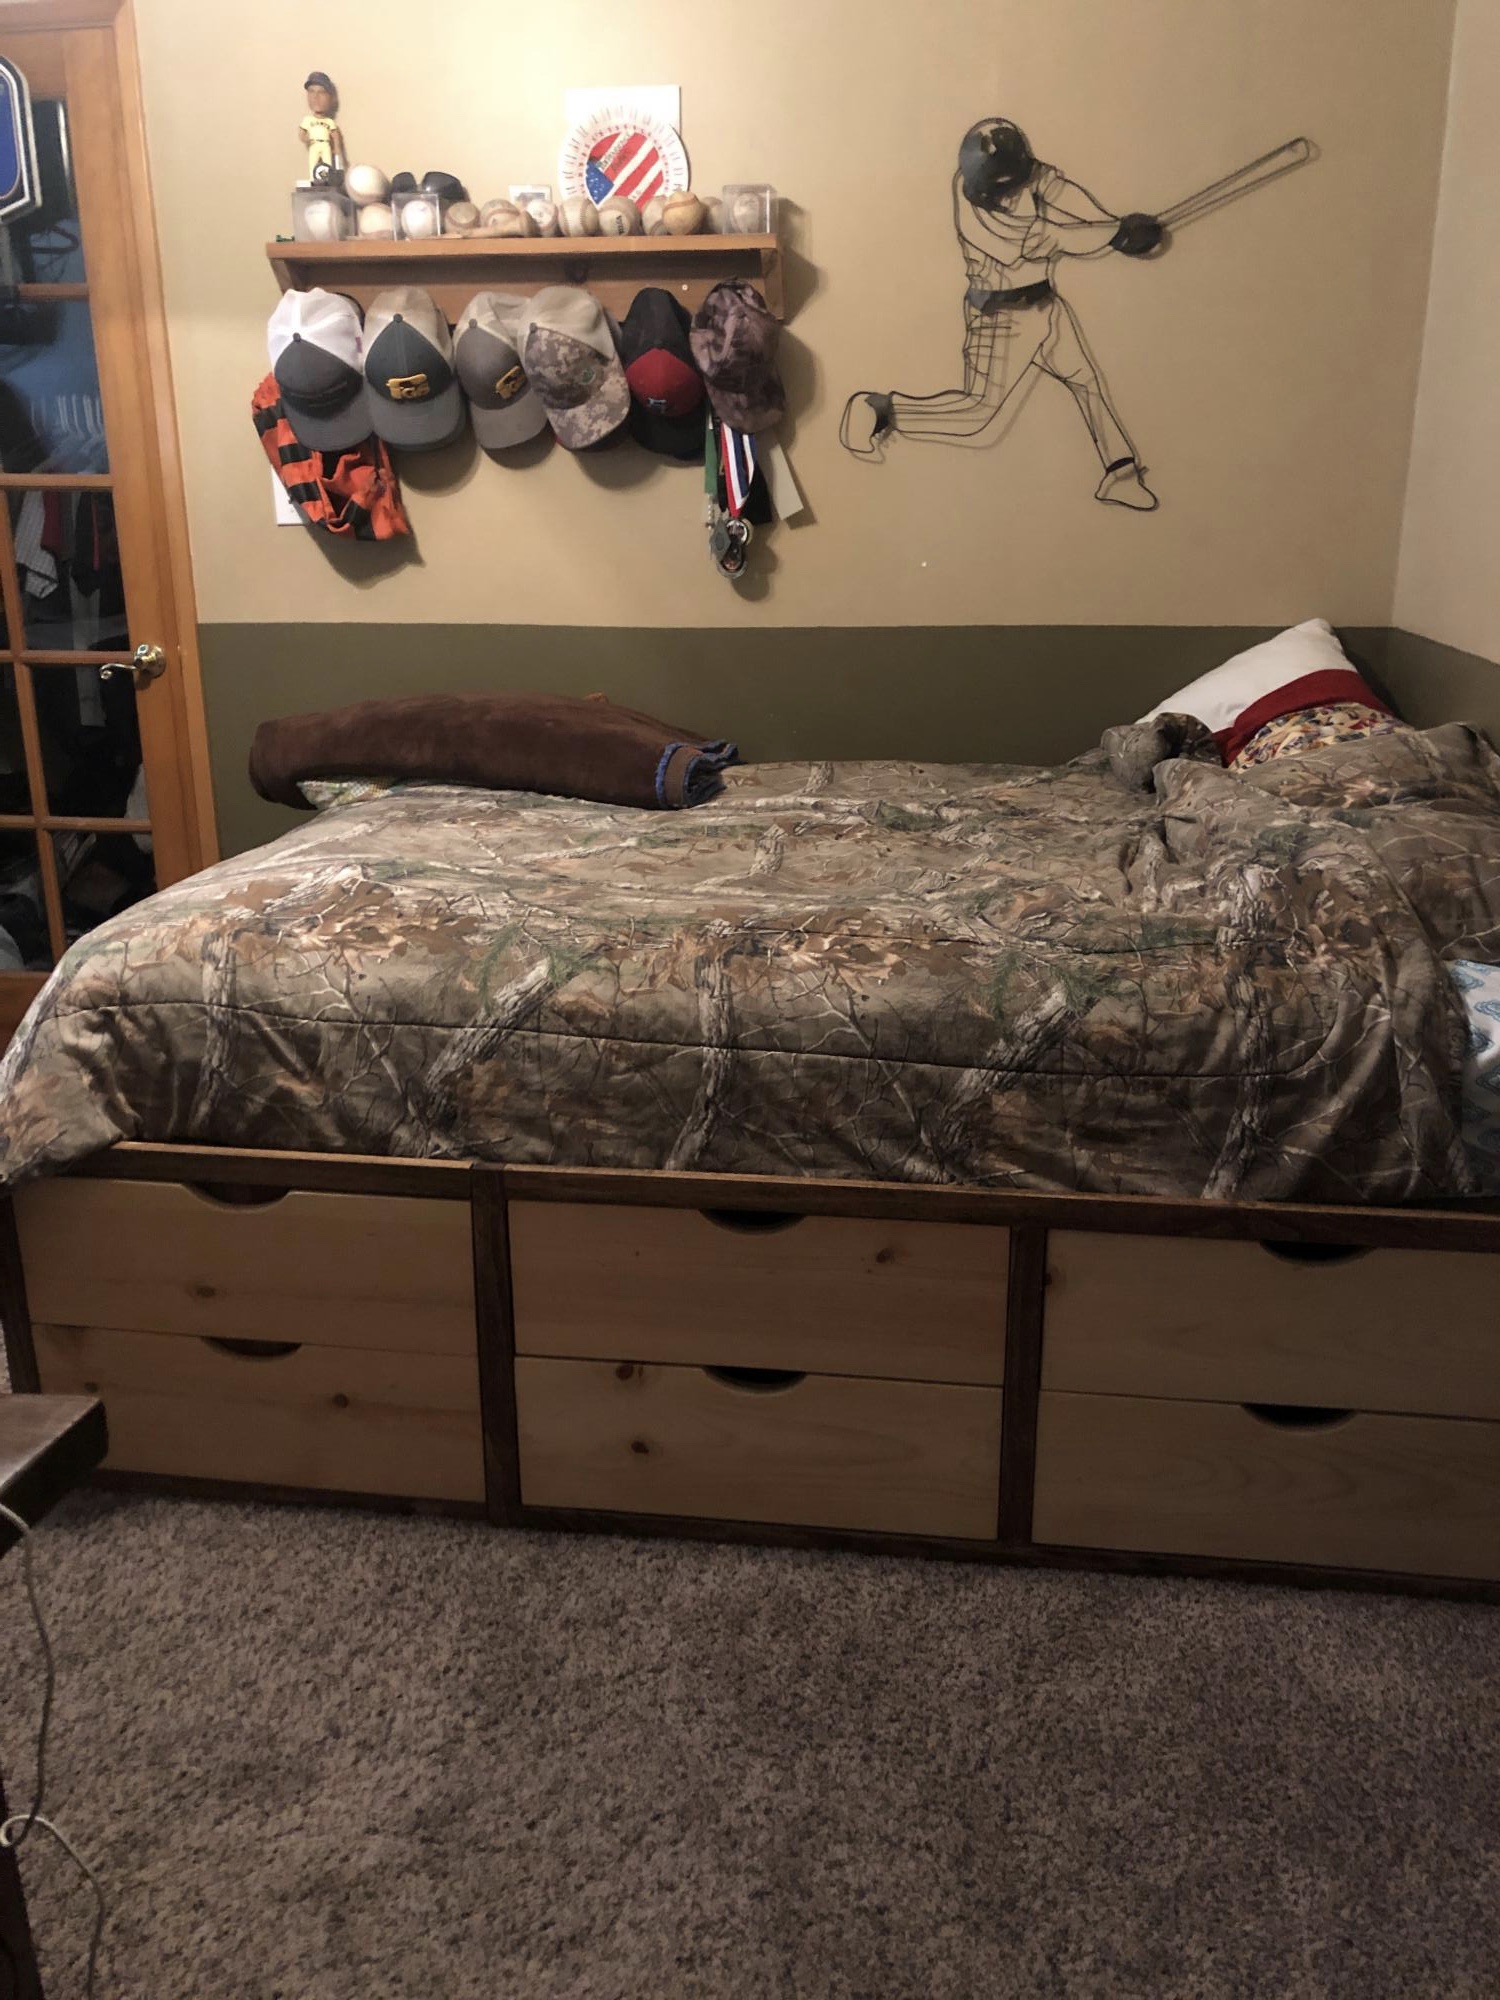
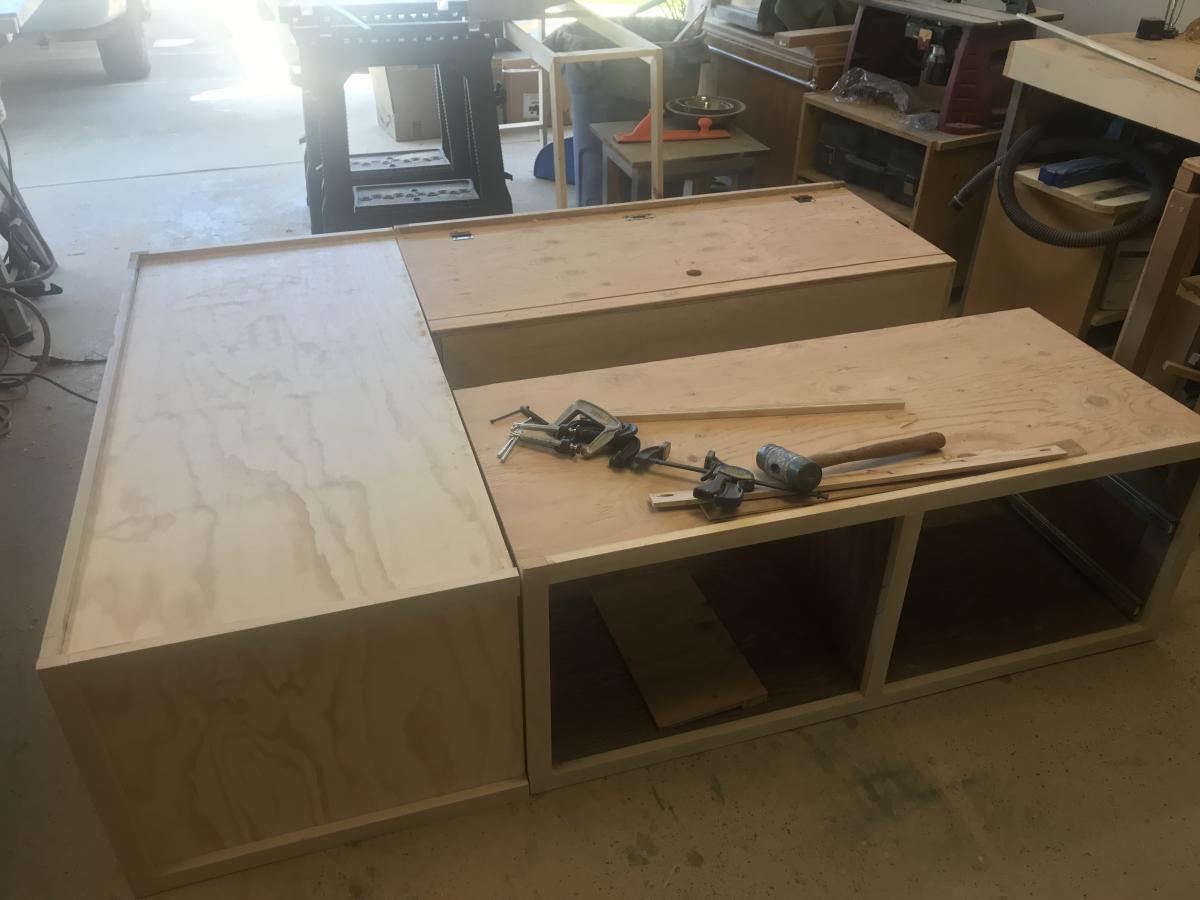
Full size Storage bed for Grandson

Submitted by Anonymous (not verified) on Tue, 10/01/2019 - 20:17

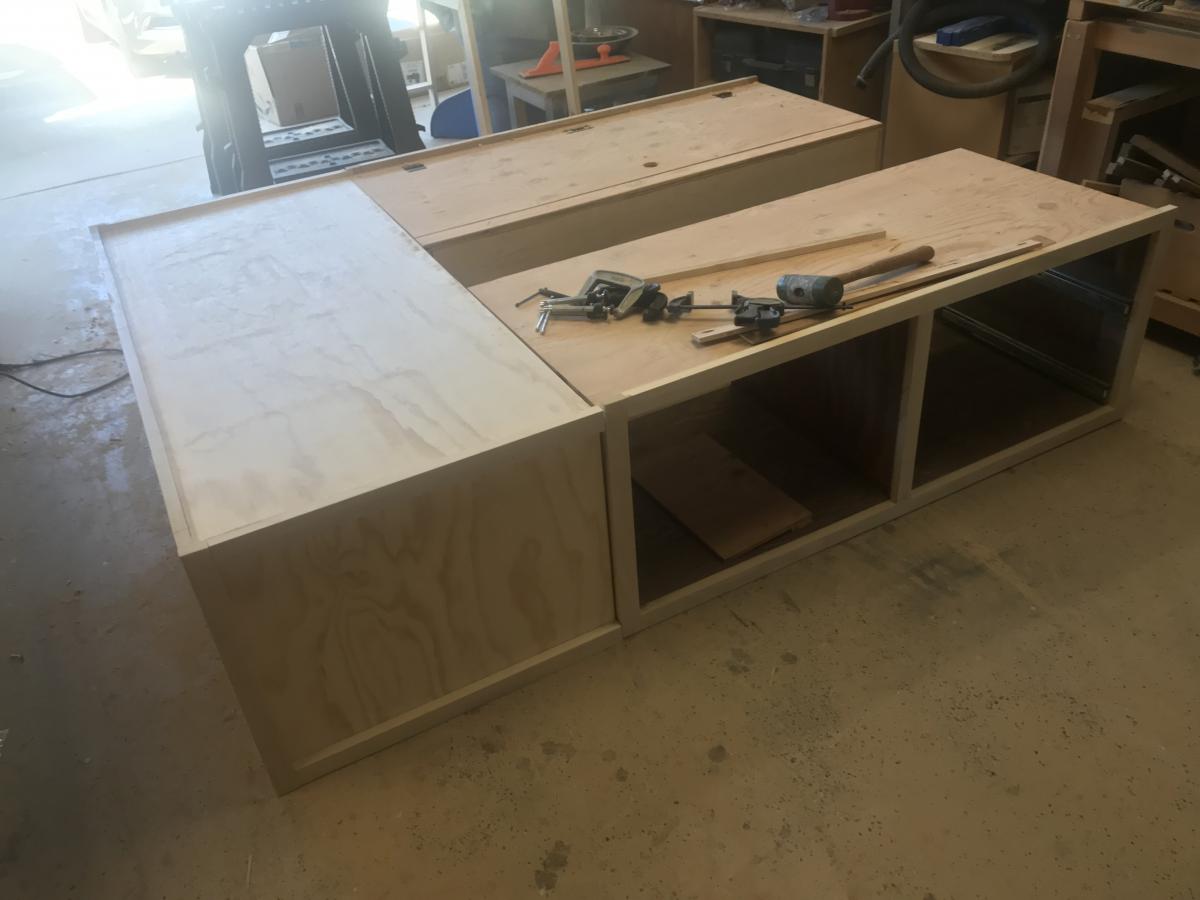
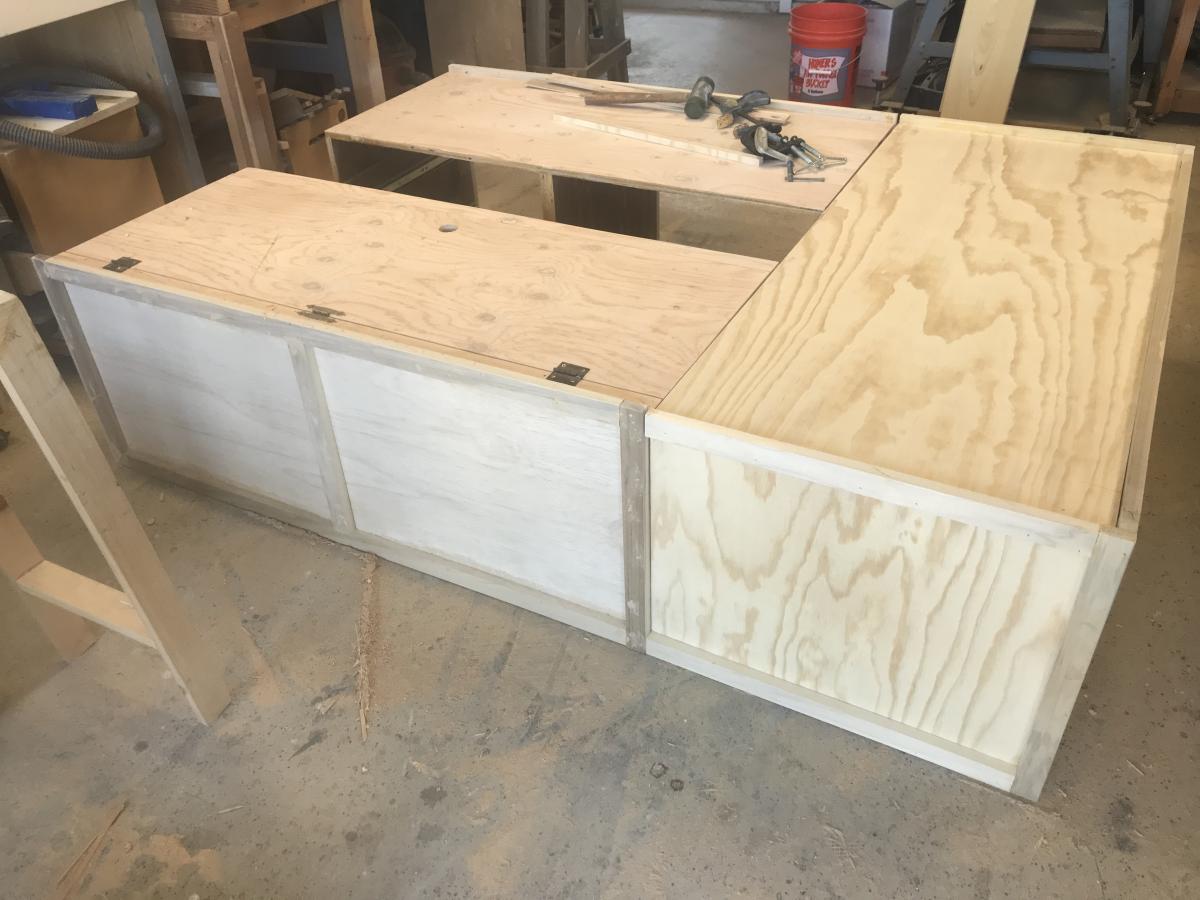
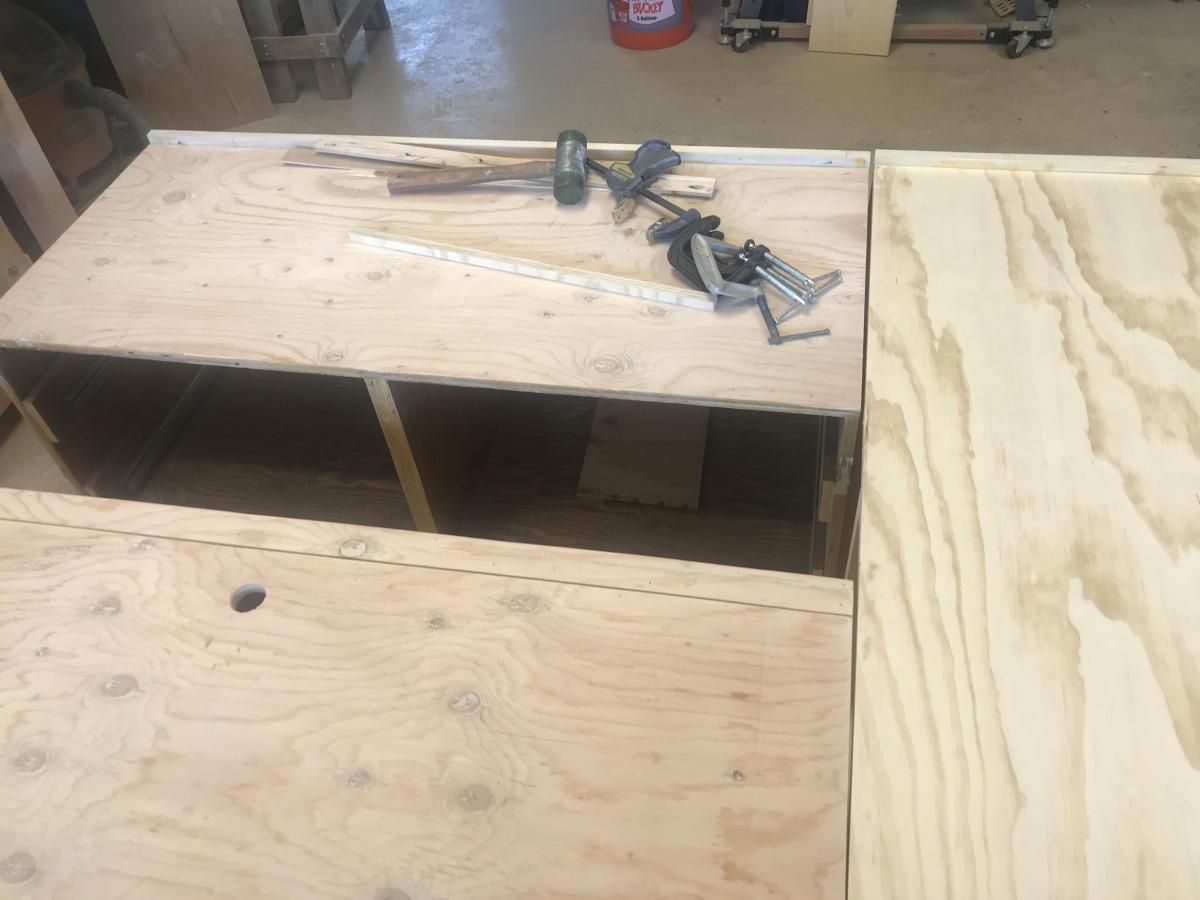
My grandson needed a bigger bed. His mom needed more storage. So, with a few tweaks, this storage bed was just what they needed. One side will always be against the wall so on that piece I added a hinged too so that seasonal items could be stored there-like gilly suits for hunting season. There’s also room between the two side pieces for more storage. They didn’t want it too tall, But still needed multiple drawers. There are four 8” drawers on the side, with two false fronts on the side of the end piece. The end piece had two large deep drawers that will be perfect for bulky items-lots of sweat shirts. So far so good-they both love it.

Built from Plan(s)
Estimated Cost
$150
Estimated Time Investment
Week Long Project (20 Hours or More)
Finish Used
Minwax Early American stain. Polyurethane
Recommended Skill Level
Intermediate

Comments

Corner cabinet

Submitted by Anonymous (not verified) on Thu, 10/03/2019 - 06:13

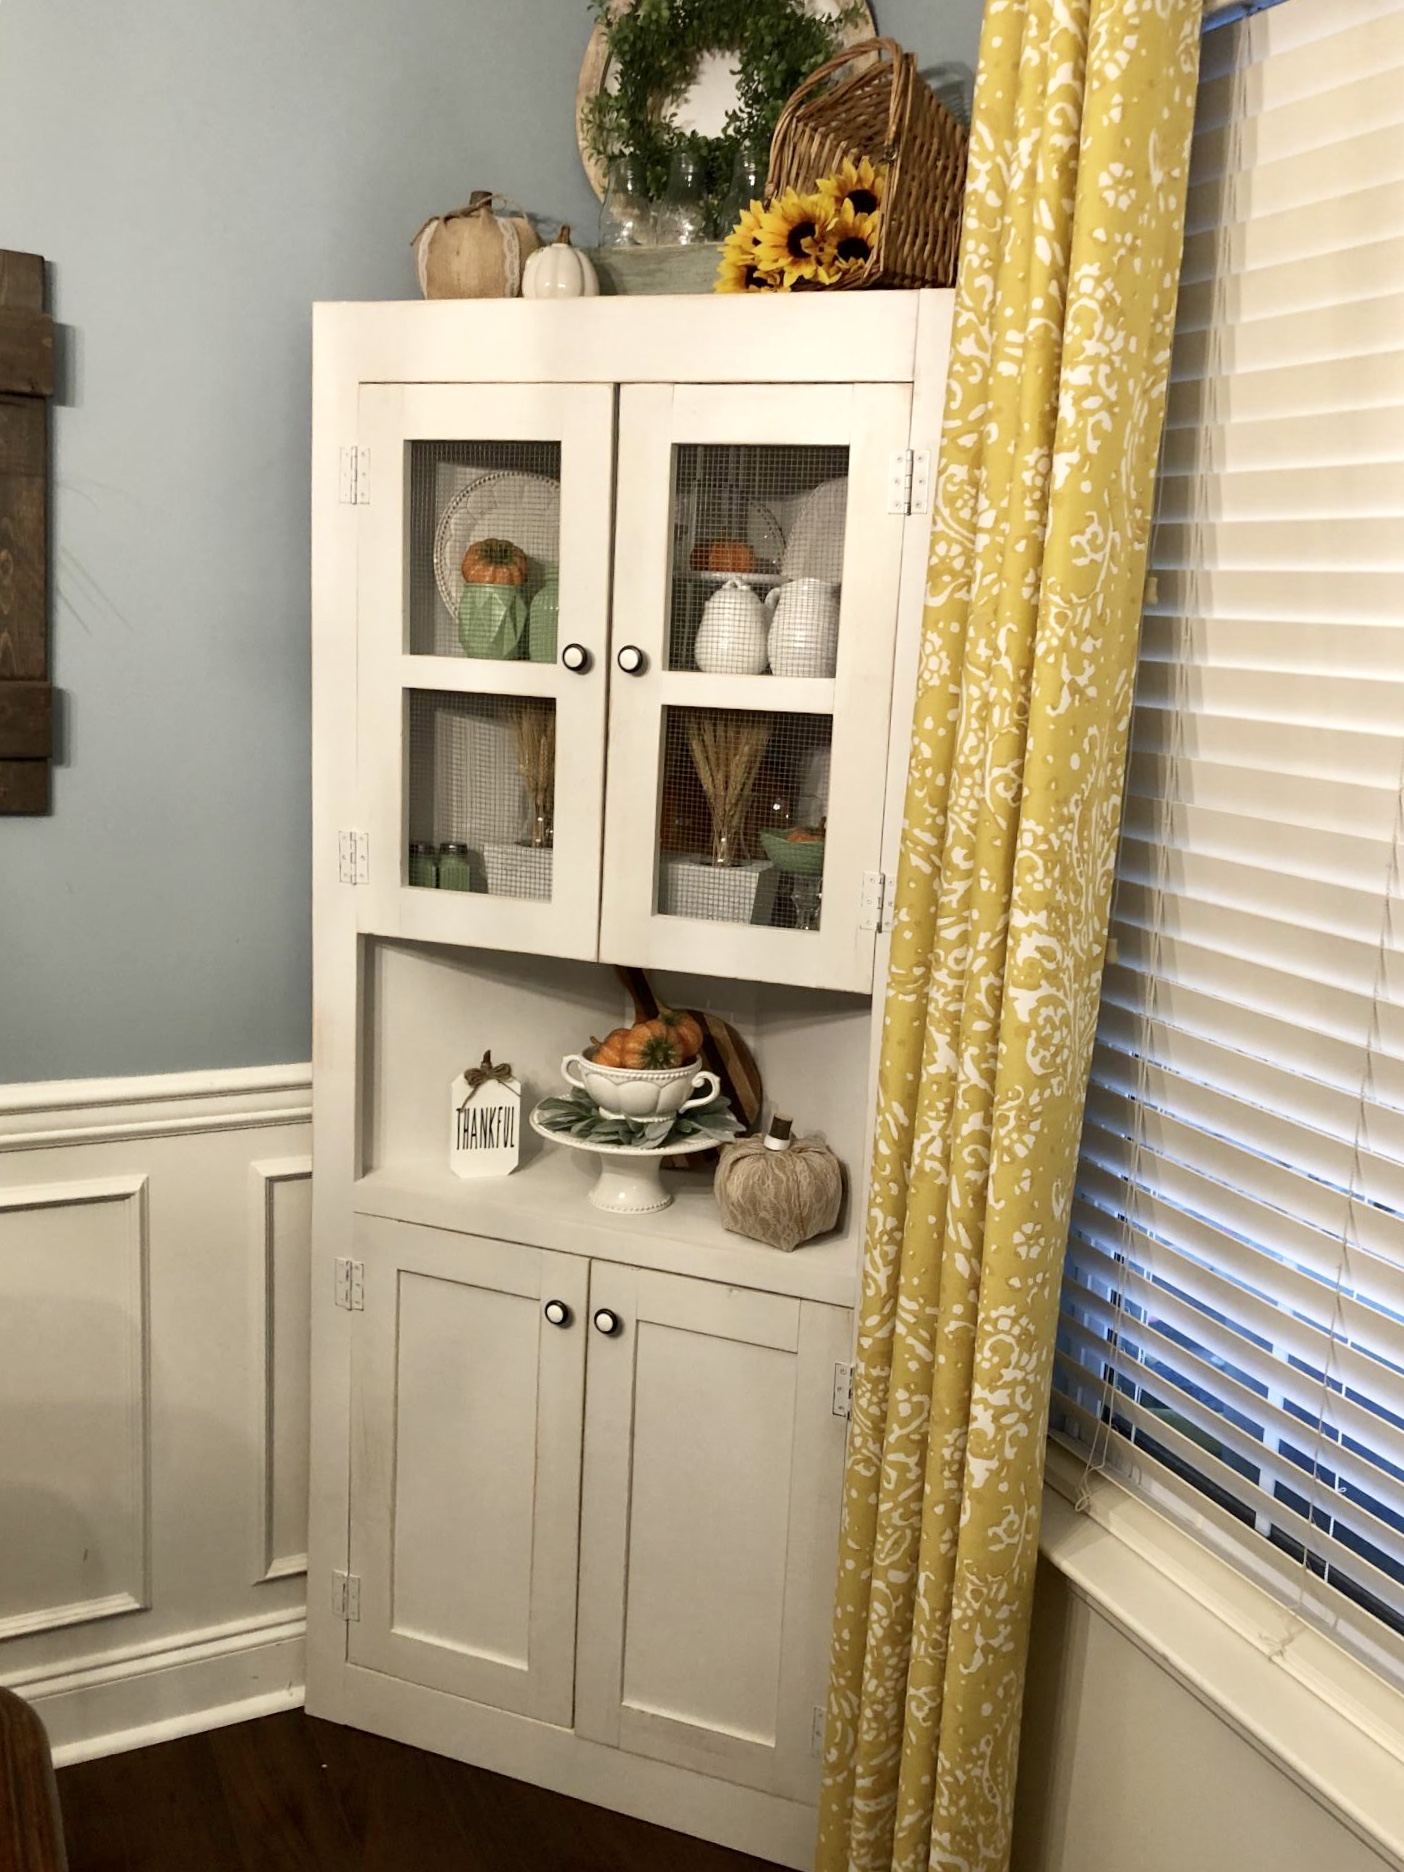
Wanted a corner cabinet for awhile and found Ana’s plans!! So easy and love my cabinet❤️

Built from Plan(s)

Lattice Fence Extension- with video!

Submitted by brittanyj on Fri, 10/11/2019 - 14:34

Lattice Fence Build Video
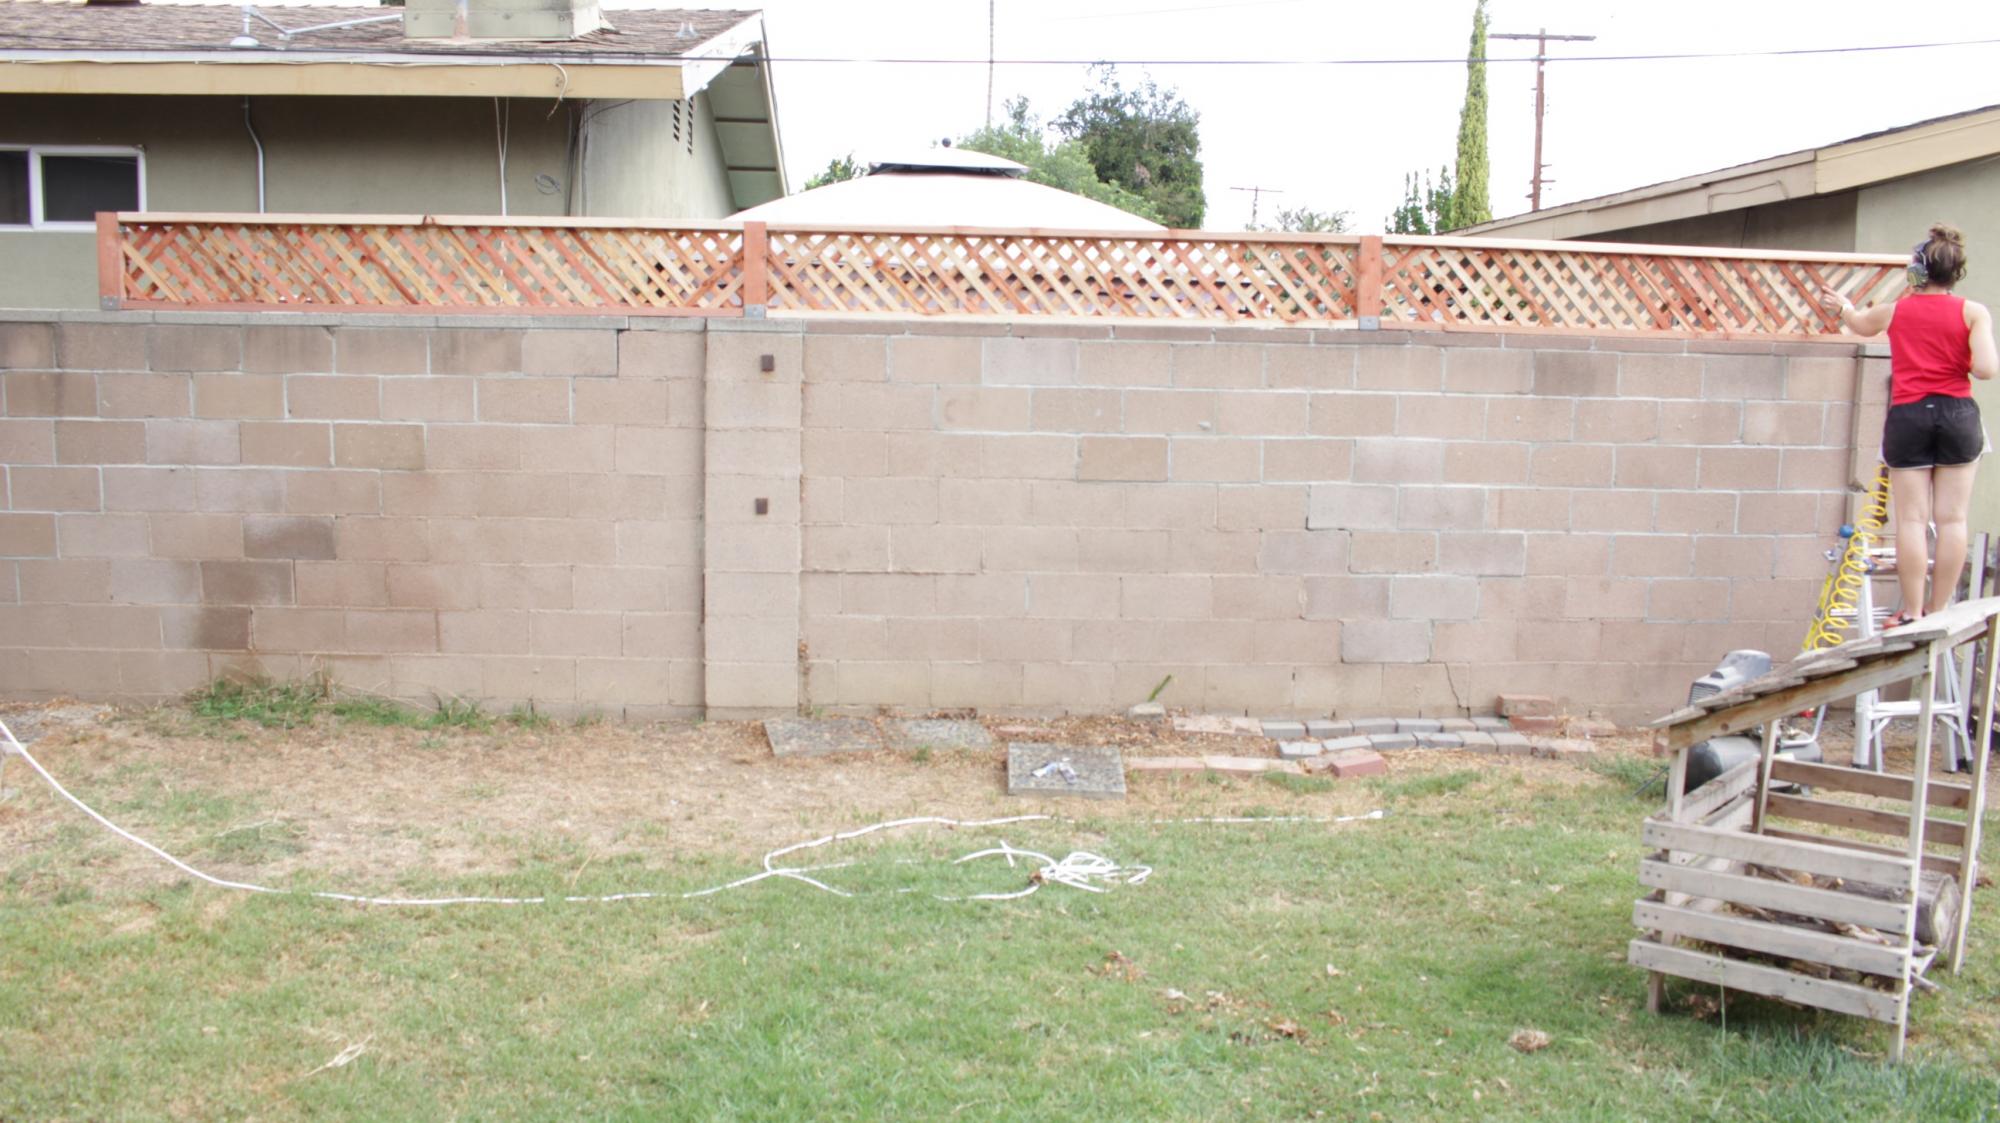
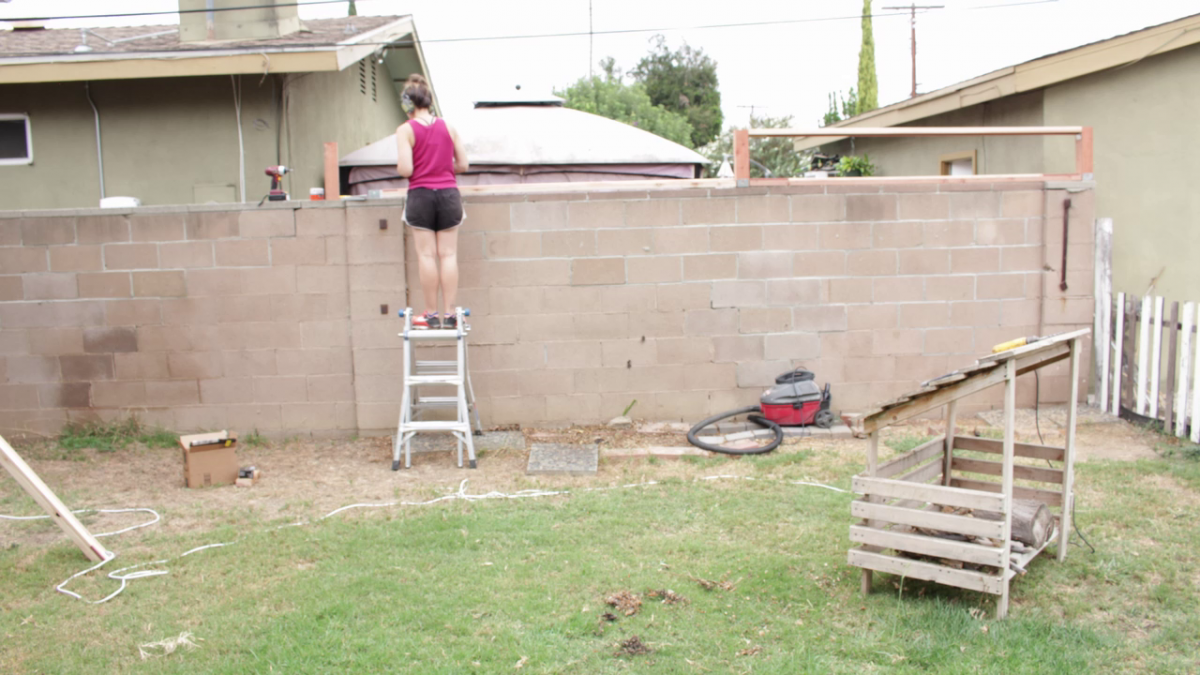
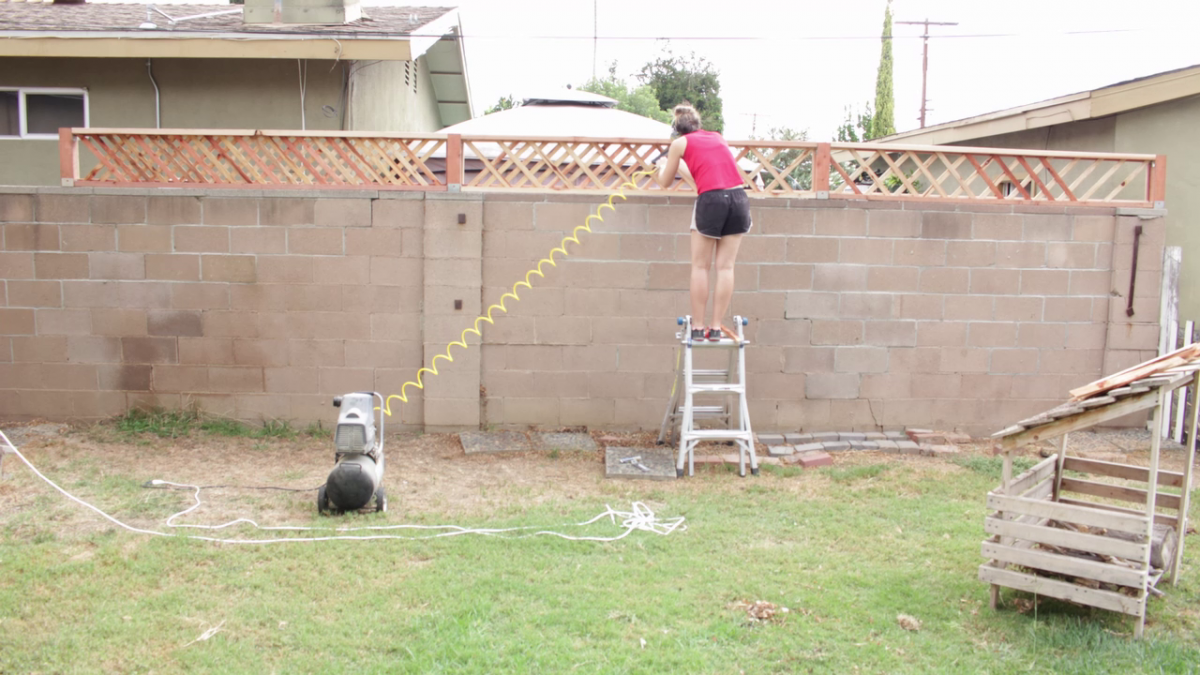
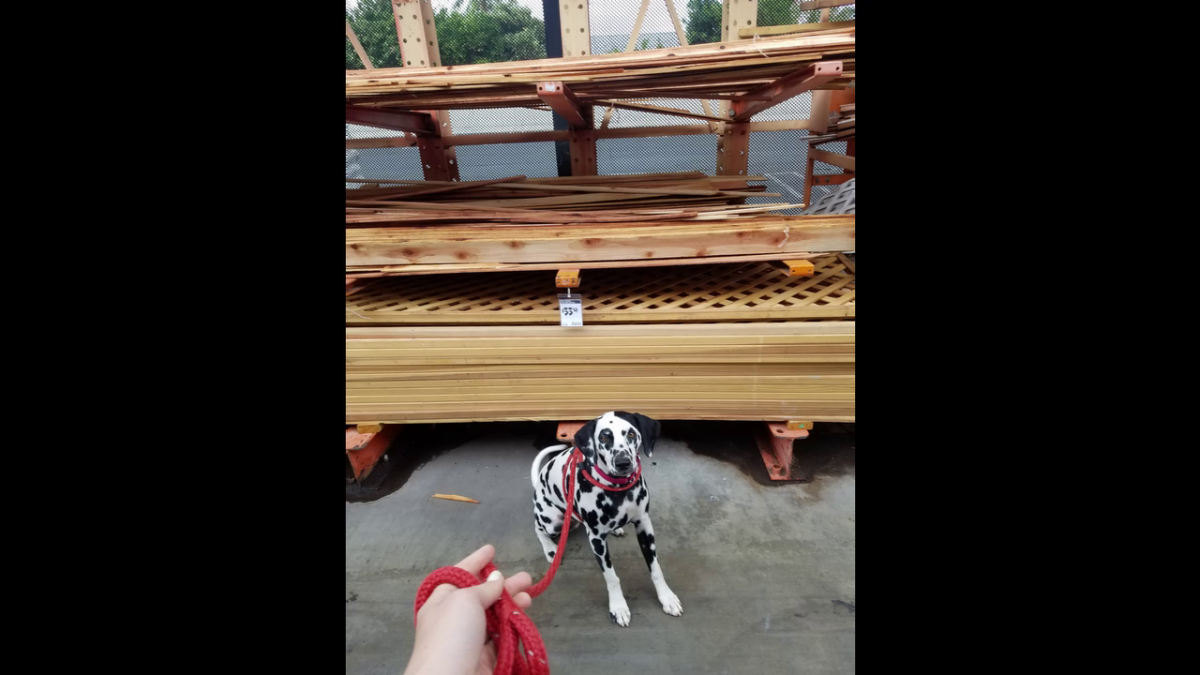
I built a lattice fence above a masonry wall dividing us from our neighbors after they cut down a bush that had formerly blocked the view. I time lapsed the whole thing, and thought you might find it of interest (or humor)

It took me 3 days instead of the 1 that I expected- am I the only one who greatly overestimates their speed at home projects? : )

Anyways, really happy with how it turned out. That’s the thing I love about woodworking. It always looks janky to begin and doesn’t show much promise, and then suddenly, it’s a work of art. Tis a thing of beauty.

There are a good amount of tips and tricks in the video of how to overcome difficulties in the build.

View on YouTube

Built from Plan(s)
Estimated Cost
$265
Estimated Time Investment
Weekend Project (10-20 Hours)
Finish Used
No finish- redwood is lovely on its own!
Recommended Skill Level
Intermediate

Christmas Doll House for 3

Submitted by Anonymous (not verified) on Tue, 10/01/2019 - 20:08

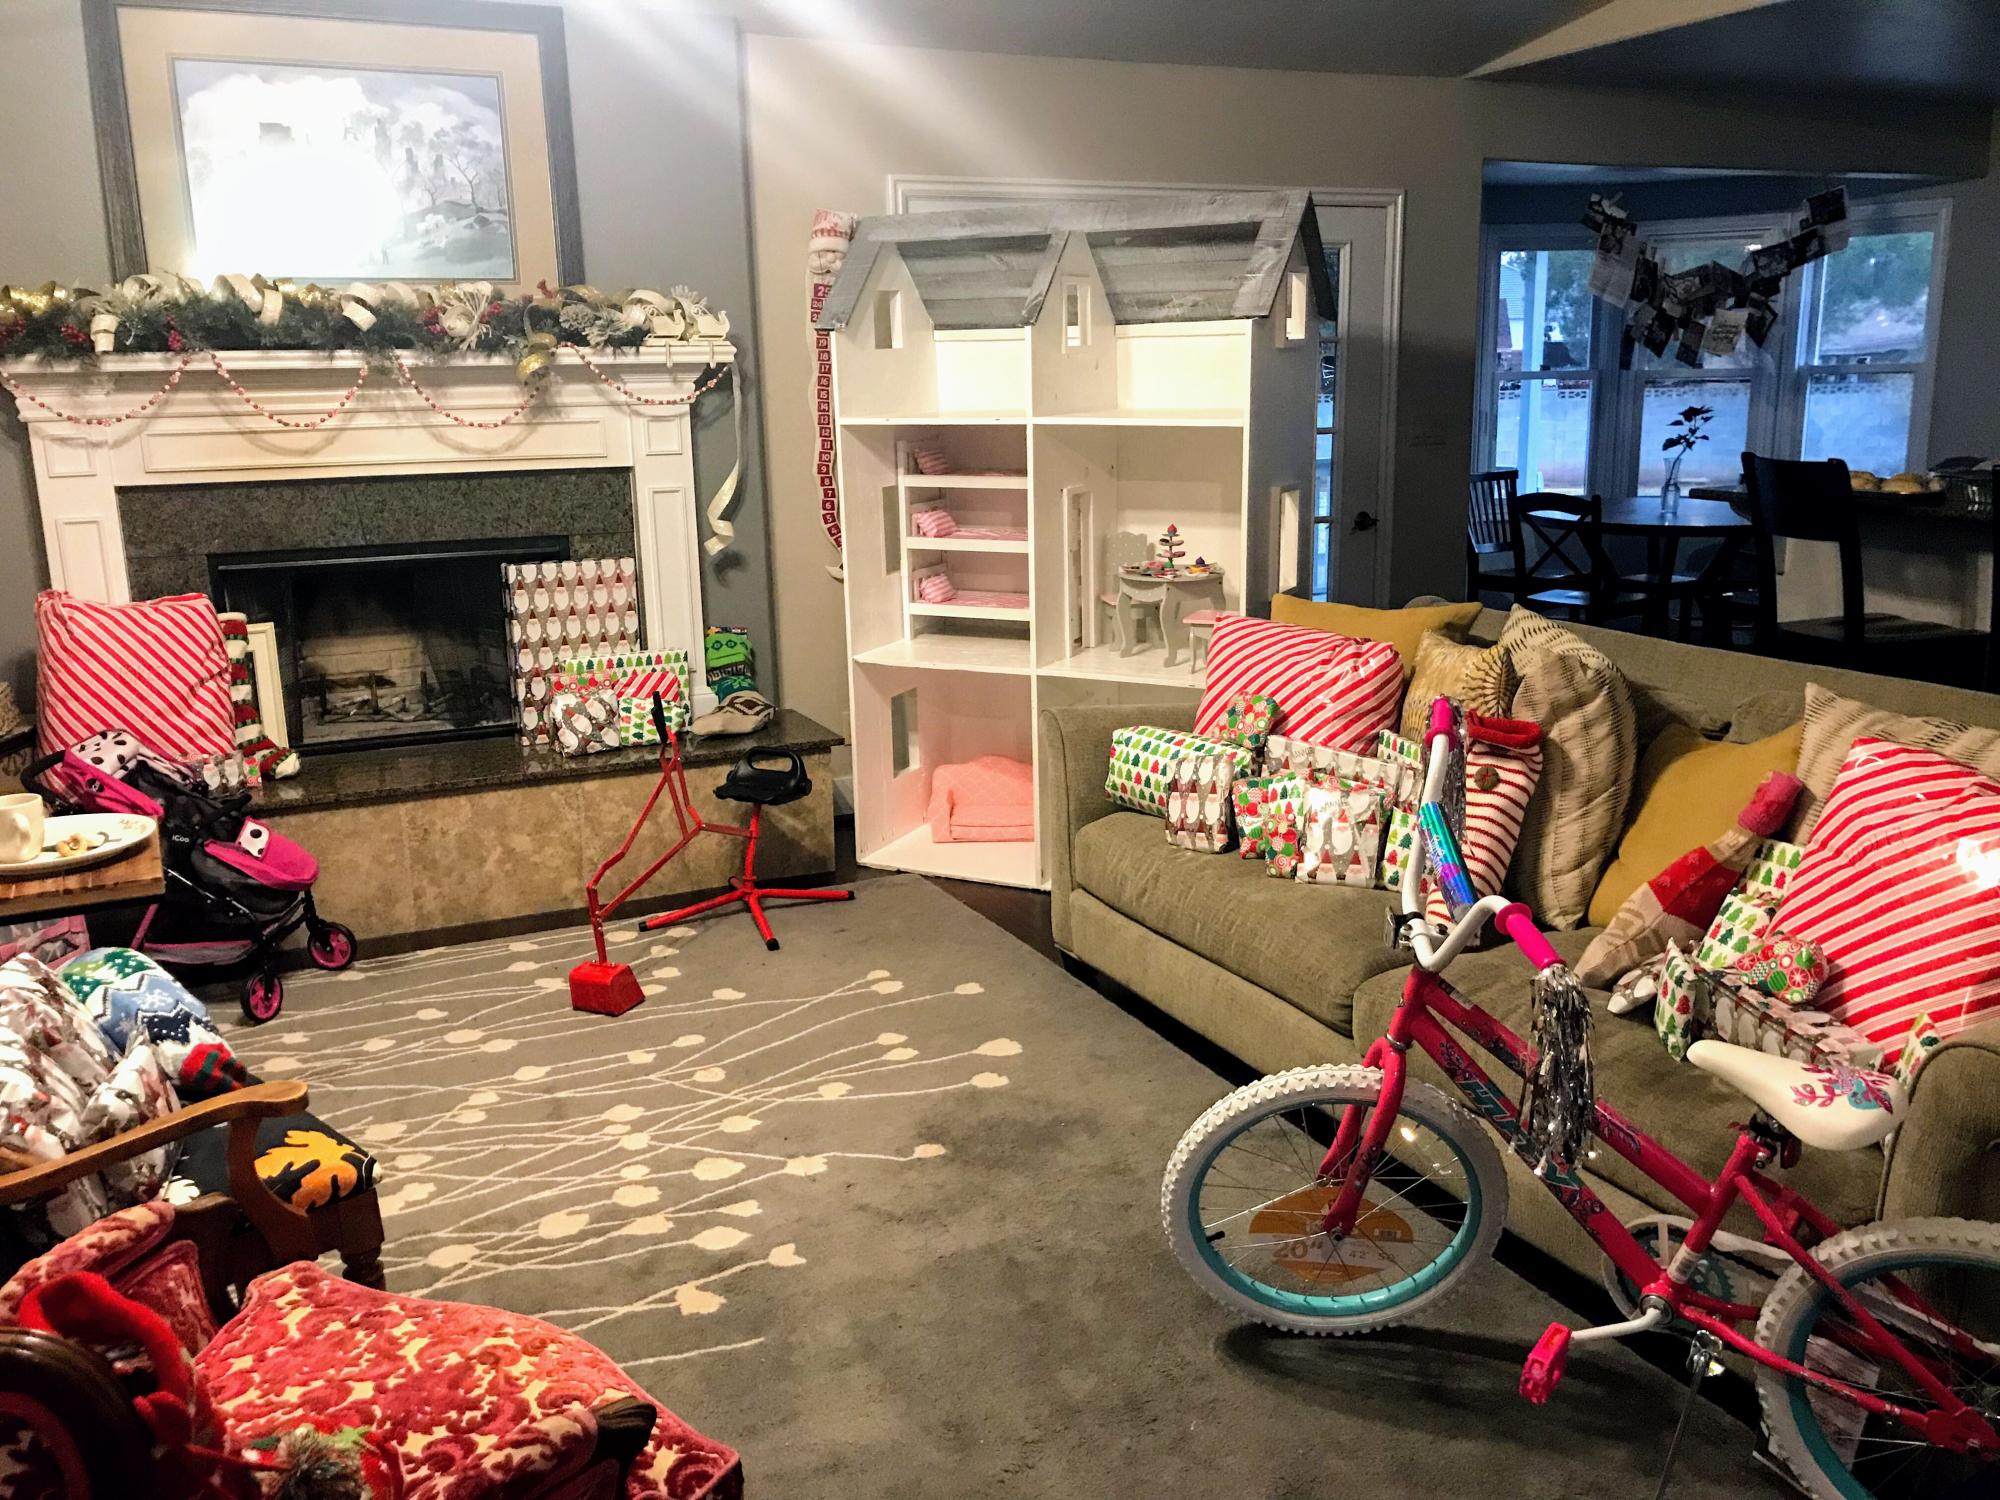
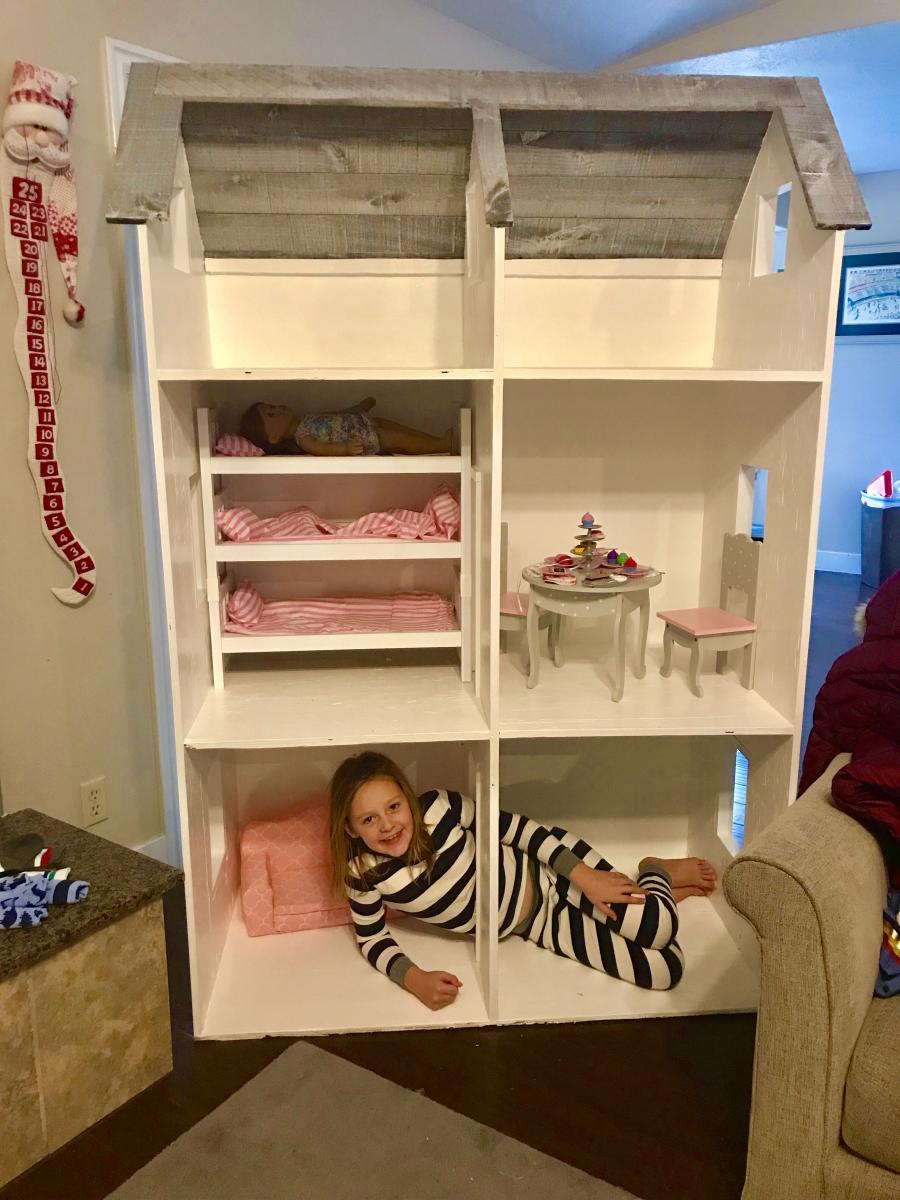
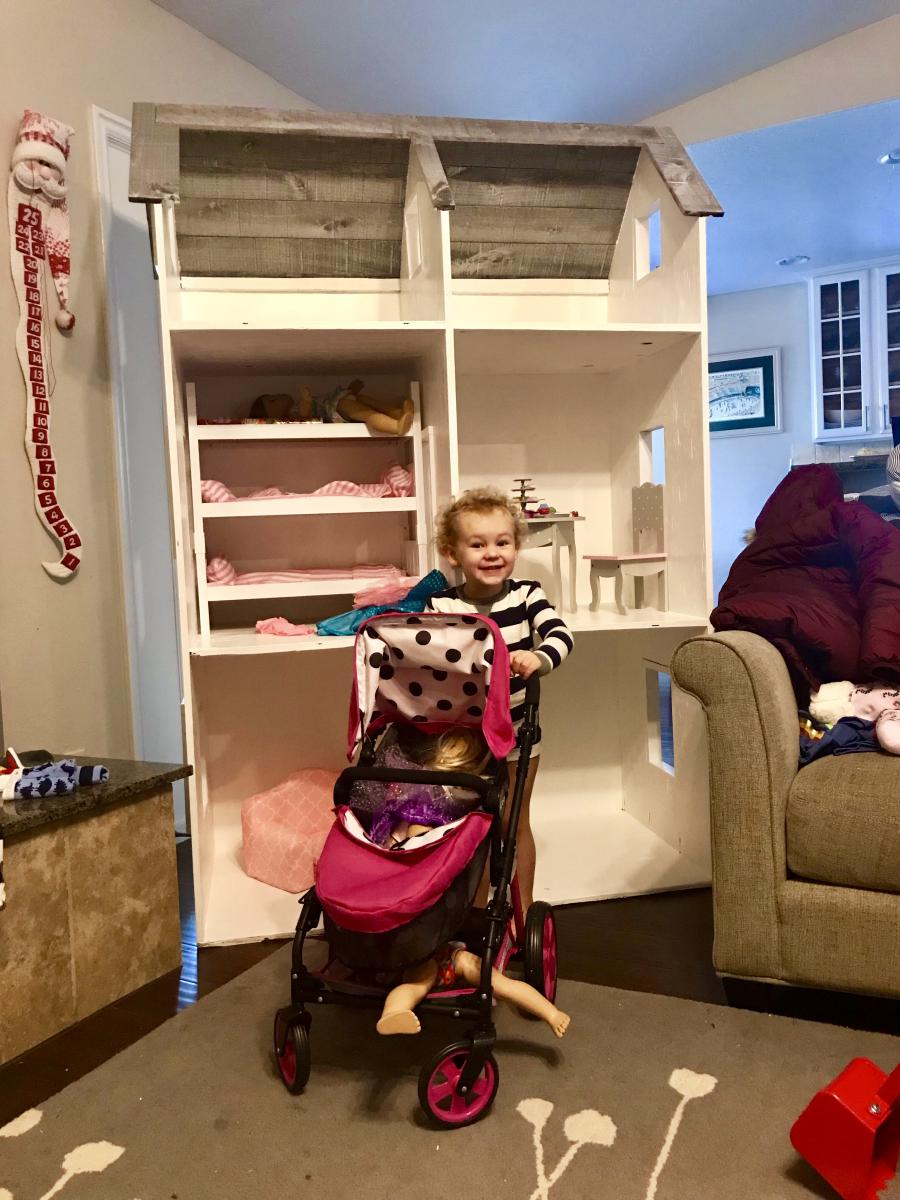
Ana, you saved us! Thanks to you, Santa’s Elf “Ralph,” whipped this up literally the day before Christmas. We have three little girls and wanted to make Christmas magical again after having survived some significant personal tragedy. Christmas has been rather difficult after loss and grief but your doll house was the perfect remedy. Not only do our girls still play with it daily over 9 months later (this has never actually happened with any other toy), but we are thrilled to use it to store all of their dolly clothes and accessories. No mess in our house and it’s super cute! People ask us all the time where we bought it. We tell them it came from Ralph the elf and his bestie Ana White.❤️

Estimated Cost
$80
Estimated Time Investment
Day Project (6-9 Hours)
Finish Used
Paint
Recommended Skill Level
Beginner

Comments