Free plans to build a beam bench from ana-white.com
Hi everyone!
I'm so excited today to share with you brand new plans!
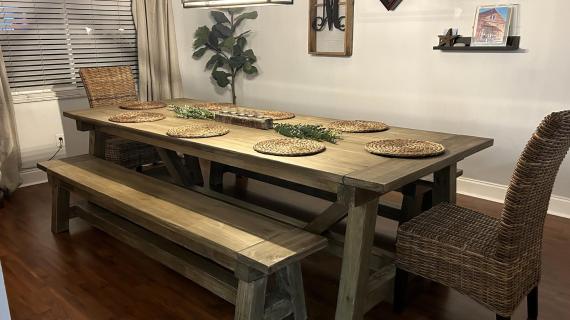
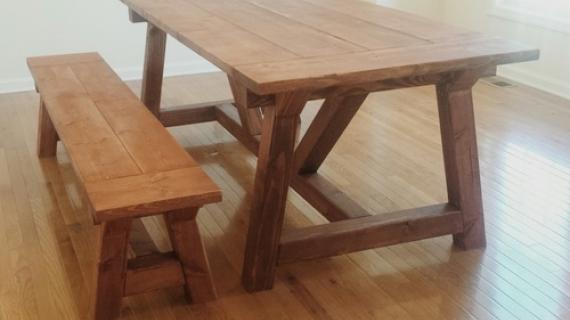
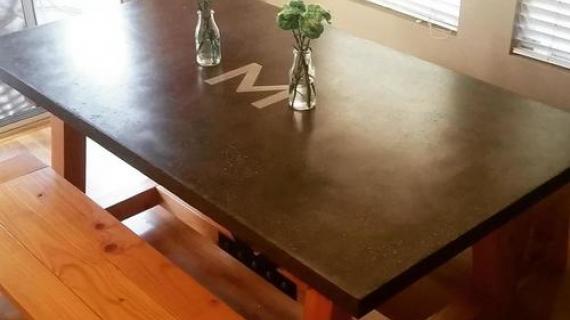
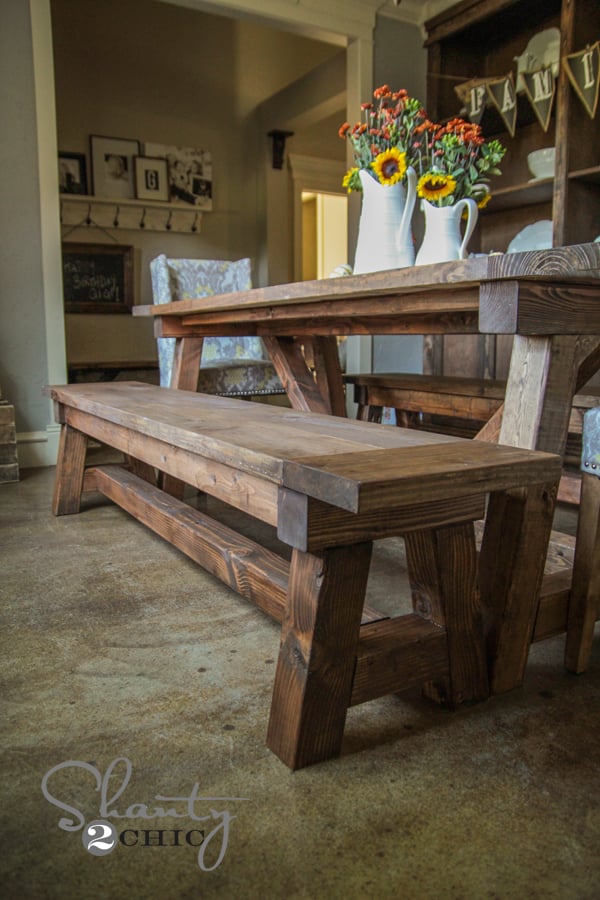
Remember a little while back when I teamed up with Shanty2Chic to get you plans for this truss table?

And we promised you bench plans were coming soon?
Well, we are very happy to come through on that promise to you today!!!

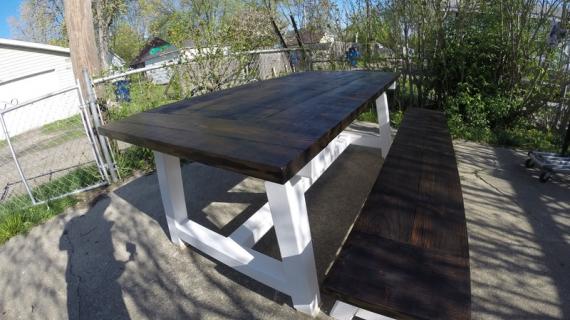
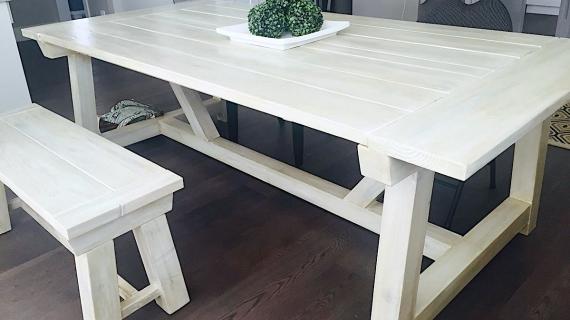
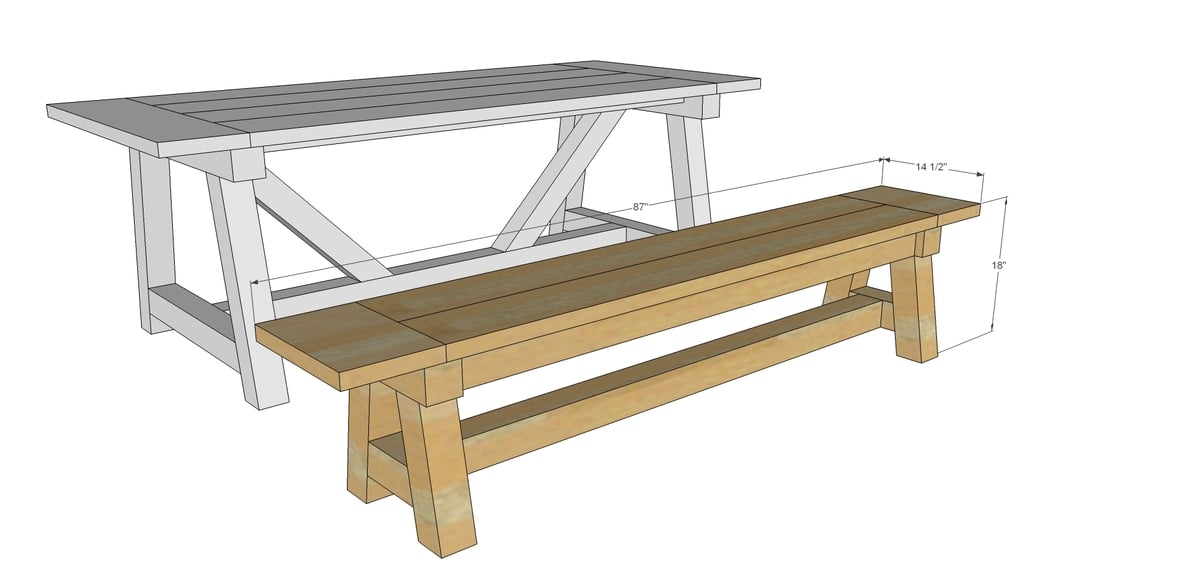
Whitney from Shanty2Chic and I teamed up again so you too can build matching benches for your table!
Here's from Whitney:
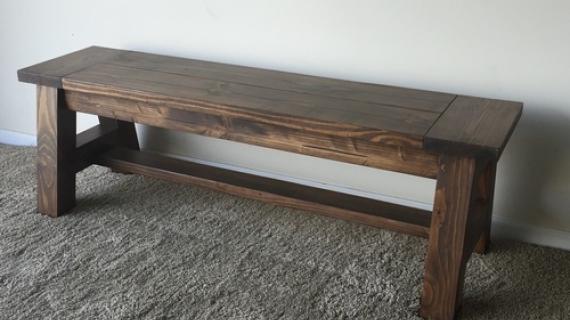
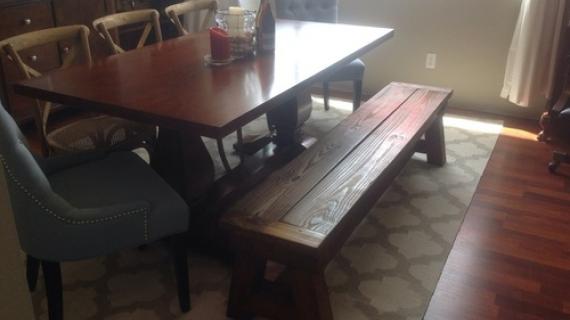
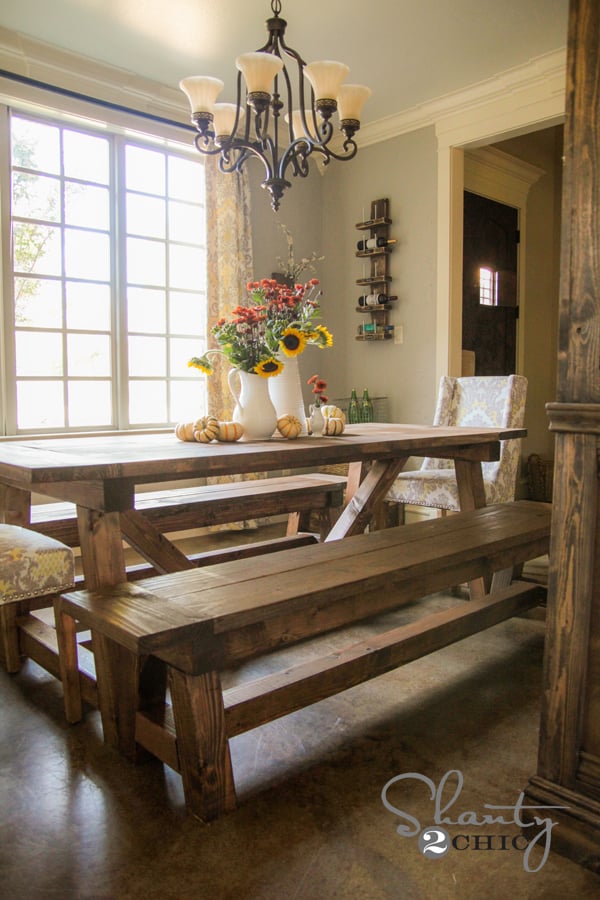
I am LOVING my new benches! I love the simplicity of them and how the design compliments the table so well. The 4x4's give it a really solid look and my whole family can eat at this table at the same time. The best part… Under $80 in wood for both. Can't beat that!
For more building details and finishing instruction, please stop over and check out Whitney's post over at Shanty2Chic - see you back here for plans following!
XO Ana
Preparation
2 - 4x4 @ 8 feet long
2 - 2x4 @ 6 feet long (or a 12 footer)
2 - 2x8 @ 6 feet long (or a 12 footer)
1 - 2x10 @ 3 feet long (for the breadboard ends - you can also use 2x8 scraps here instead of buying a 2x10)
2 1/2" pocket hole screws
2 - 4x4 @ 13 1/2"
4 - 4x4 @ 13 1/4" (long point to long point, both ends cut at 10 degrees off square, parallel)
2 - 4x4 @ 8" (long point to long point, both ends cut at 10 degrees off square NOT parallel)
1 - 4x4 @ 65"
2 - 2x4 @ 65"
2 - 2x8 @ 68 1/2"
2 - 2x10 @ 14 1/2"


Please read through the entire plan and all comments before beginning this project. It is also advisable to review the Getting Started Section. Take all necessary precautions to build safely and smartly. Work on a clean level surface, free of imperfections or debris. Always use straight boards. Check for square after each step. Always predrill holes before attaching with screws. Use glue with finish nails for a stronger hold. Wipe excess glue off bare wood for stained projects, as dried glue will not take stain. Be safe, have fun, and ask for help if you need it. Good luck!
Instructions
Step 1
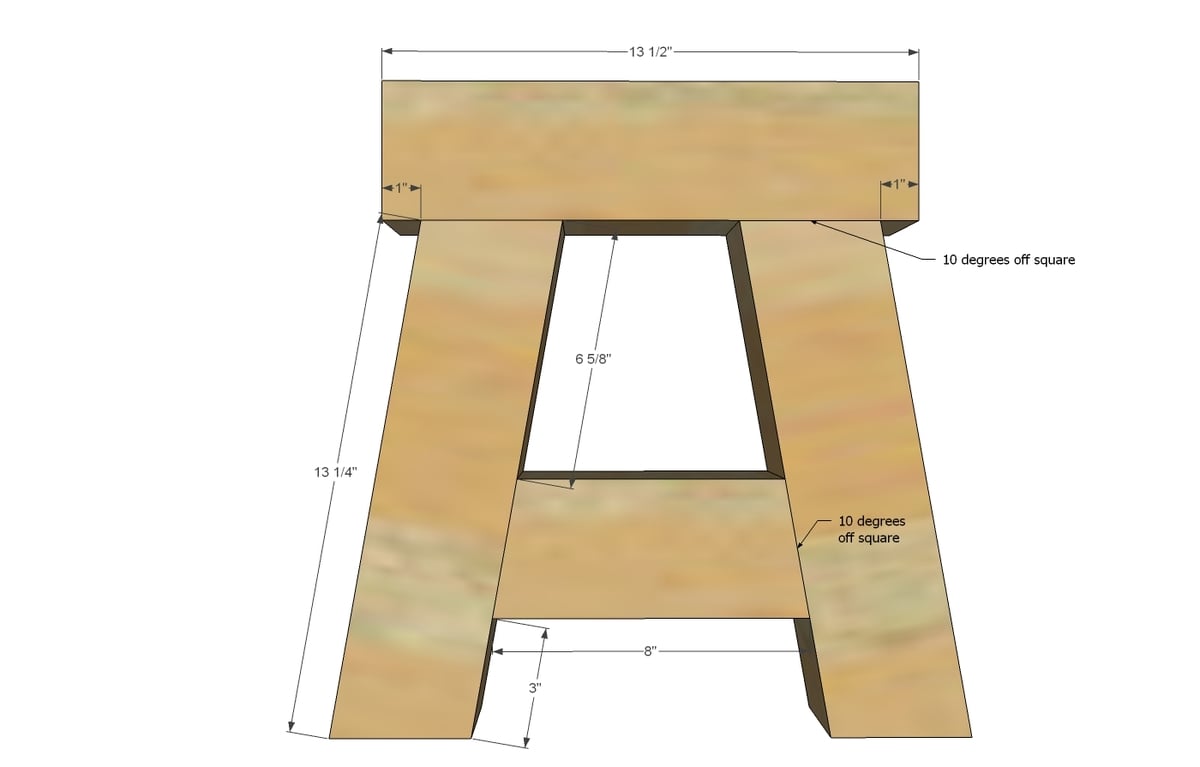
Build two of the leg ends as shown above. There's a ton of different ways to join 4x4s - I really like how Whitney used a Kreg Jig to hide the joints underneath - check that out here.
Step 2
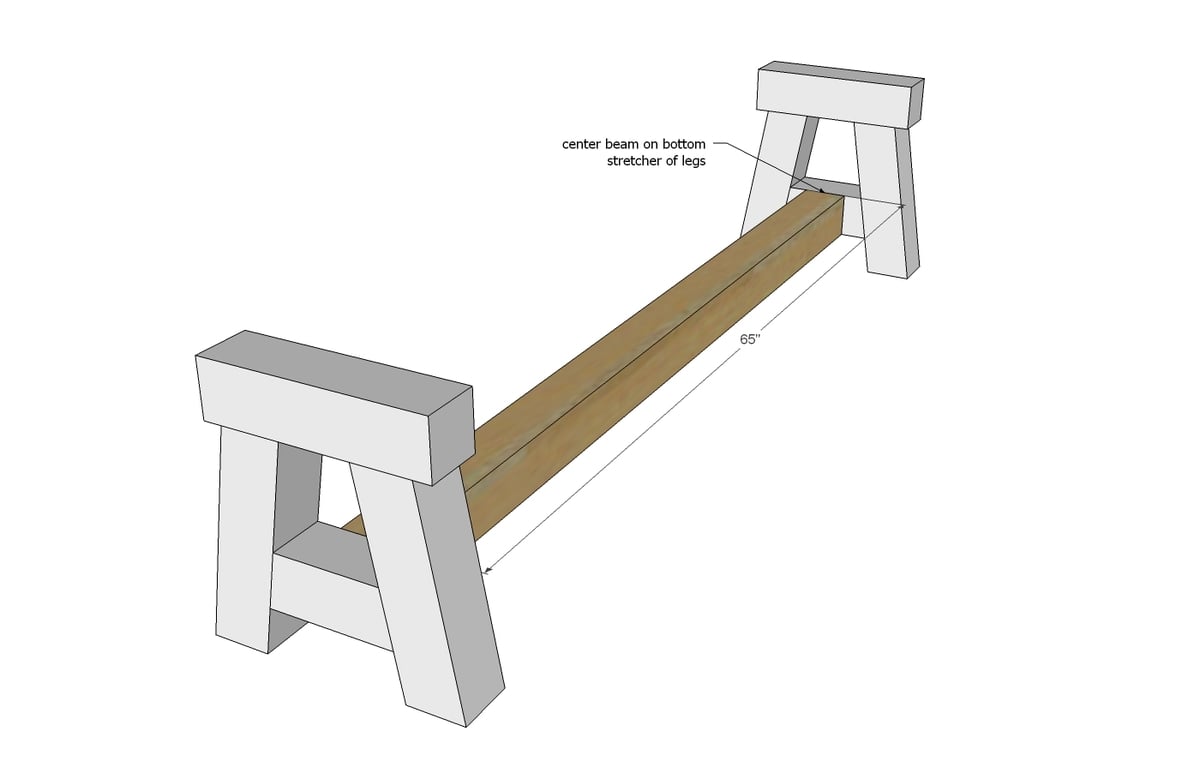
Then attach the bottom stretcher to the two legs ...
Step 3
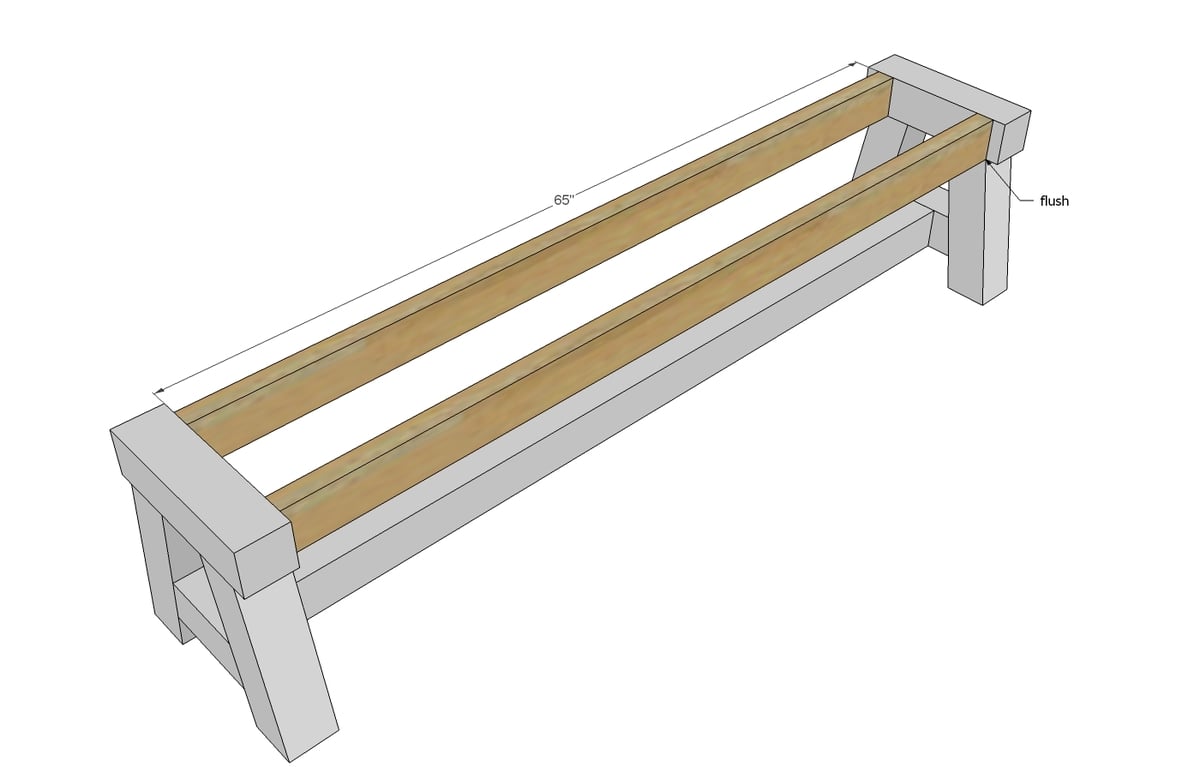
Next, add the two side aprons - these will give structure to the seat and look like 4x4s from the outside.
TIP: Drill 1 1/2" pocket holes facing upward on the inside of the aprons before attaching for attaching the bench top in the next step.
Step 4
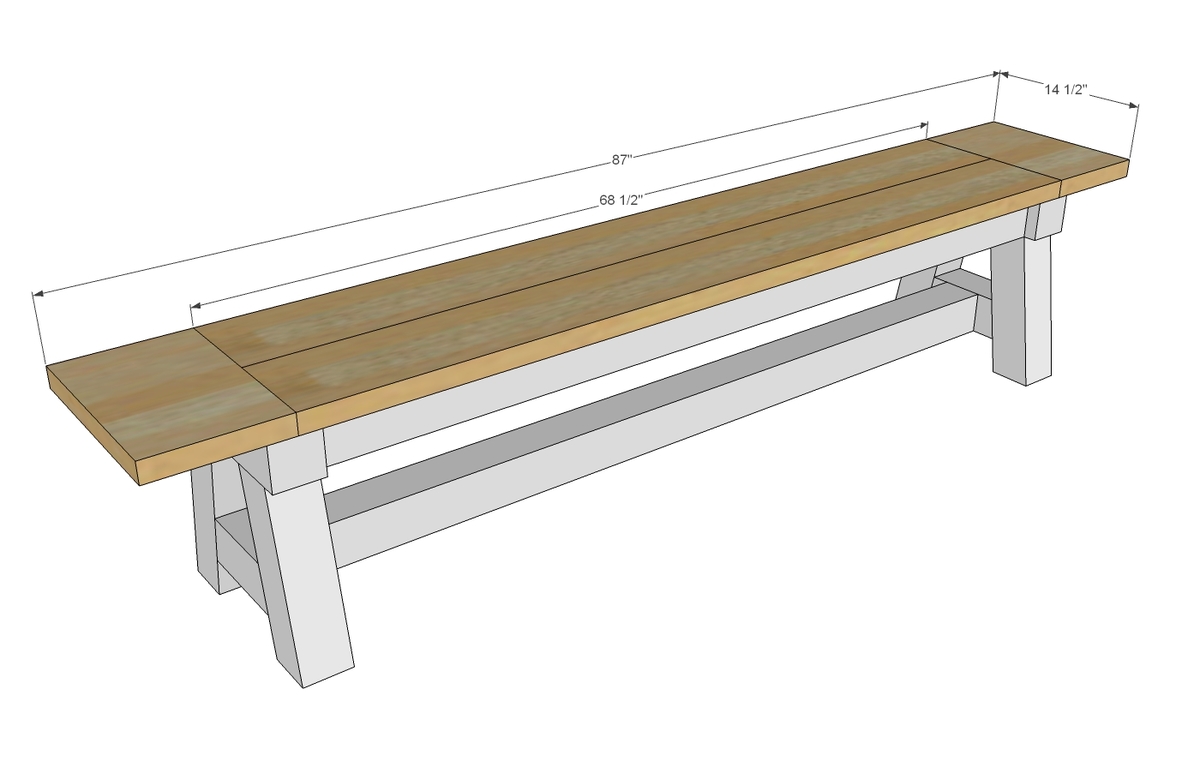
Finally, build your bench top first (I recommend building with 1 1/2" pocket holes and 2 1/2" pocket hole screws first) and then attach to the bench.
It is always recommended to apply a test coat on a hidden area or scrap piece to ensure color evenness and adhesion. Use primer or wood conditioner as needed.