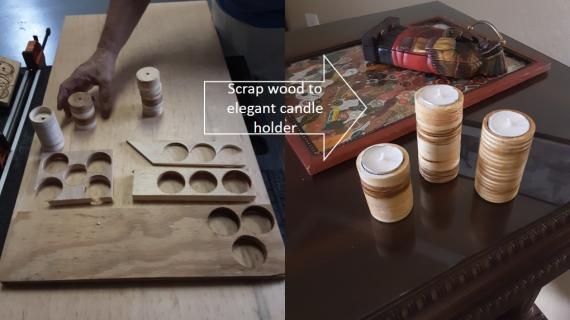
I was reluctant to call this tutorial “Candle Holders from the Scrap Pile”, but that’s exactly where they came from! They were made entirely using scraps I had left over from other projects. Chances are, if you have built a few projects, that you’ll have everything you need in your scrap pile to build some of these candle holders too.
Preparation
1×2 (approximately 36″) or 2×2 (approximately 18″) 1×6 (approximately 28″) Bed moulding, chair rail moulding, base cap moulding, half round moulding or any moulding of your choice


Please read through the entire plan and all comments before beginning this project. It is also advisable to review the Getting Started Section. Take all necessary precautions to build safely and smartly. Work on a clean level surface, free of imperfections or debris. Always use straight boards. Check for square after each step. Always predrill holes before attaching with screws. Use glue with finish nails for a stronger hold. Wipe excess glue off bare wood for stained projects, as dried glue will not take stain. Be safe, have fun, and ask for help if you need it. Good luck!
Instructions
Step 1
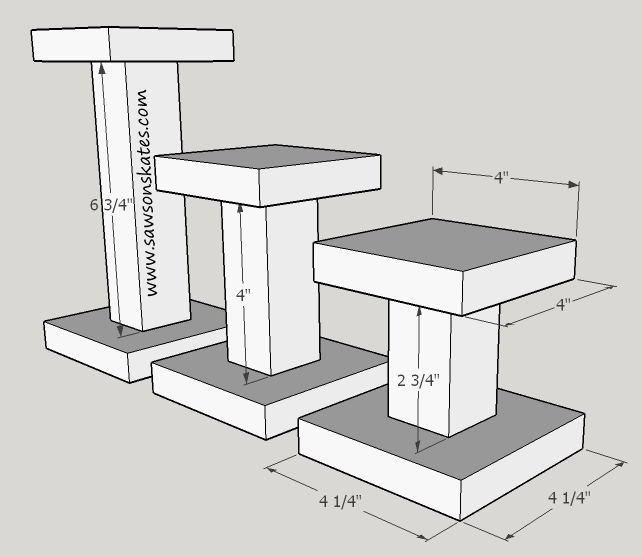
Glue 1×2’s together, or cut 2×2’s and cut to length: Large 6-3/4″, medium 4″, small 2-3/4″
Step 2
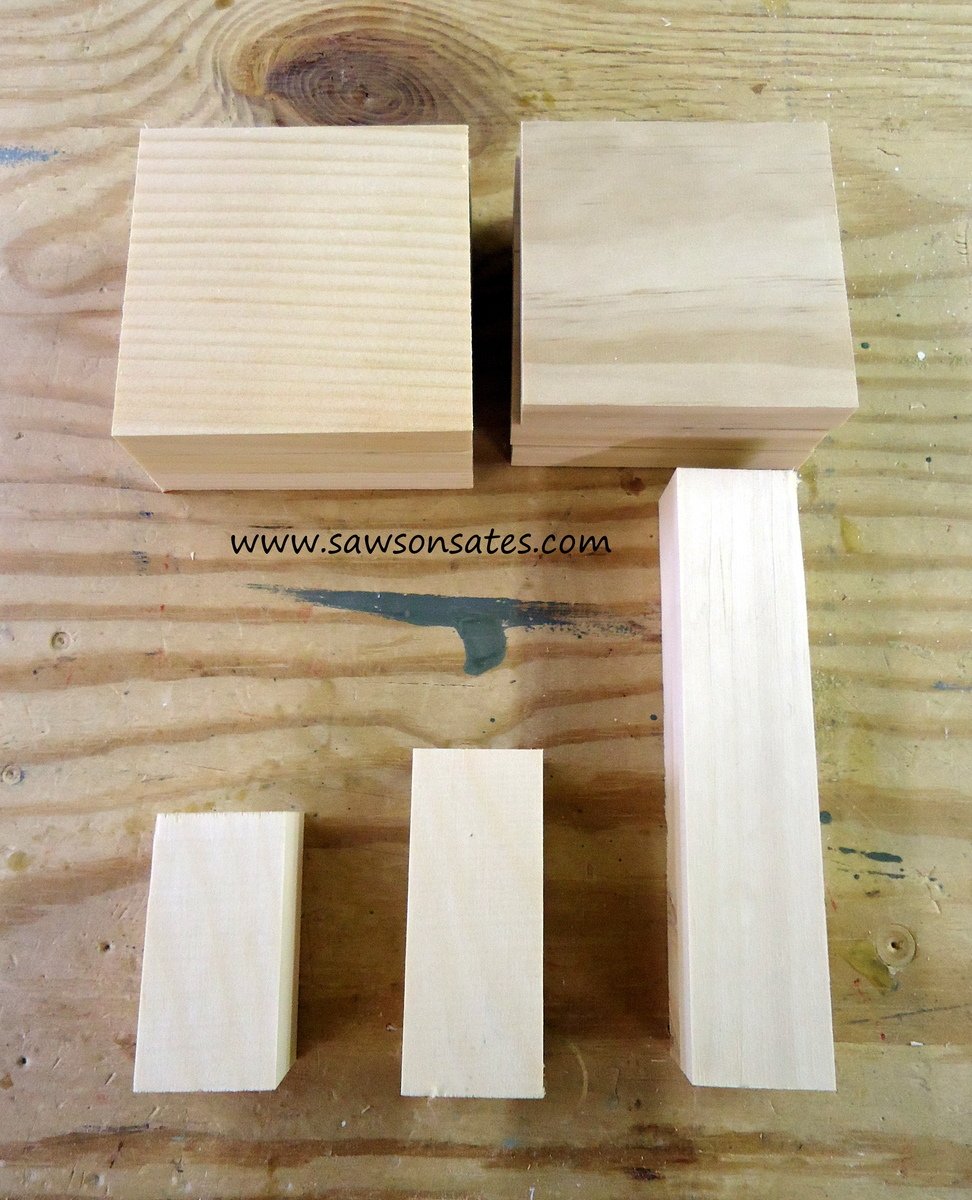
Rip bottom pieces to width 4-1/4″ and cut to length 4-1/4″. Rip top pieces to width 4″ and cut to length 4″
Step 3
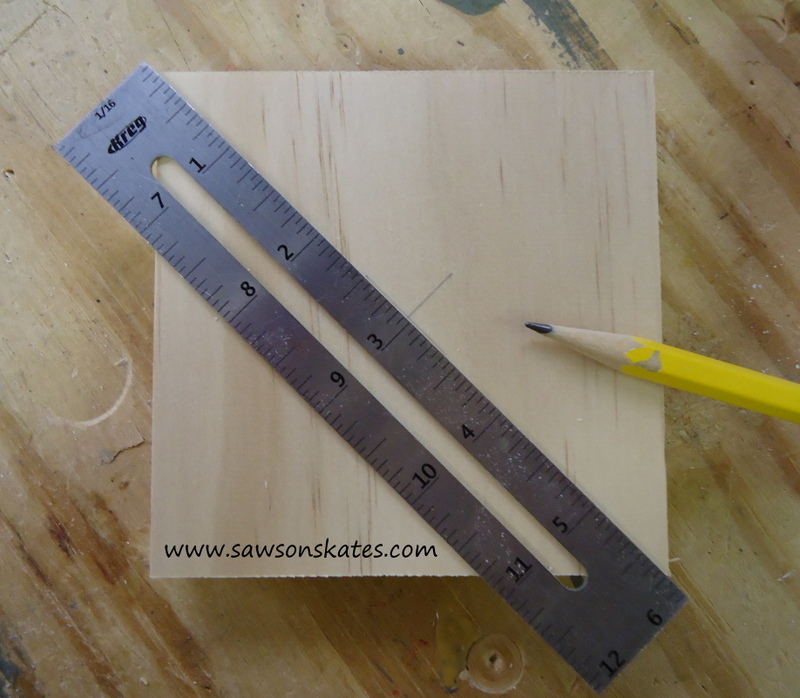
Mark center of top piece, bottom piece and pedestal. Using a countersink drill bit, drill hole a hole in the top and bottom pieces.
Step 4
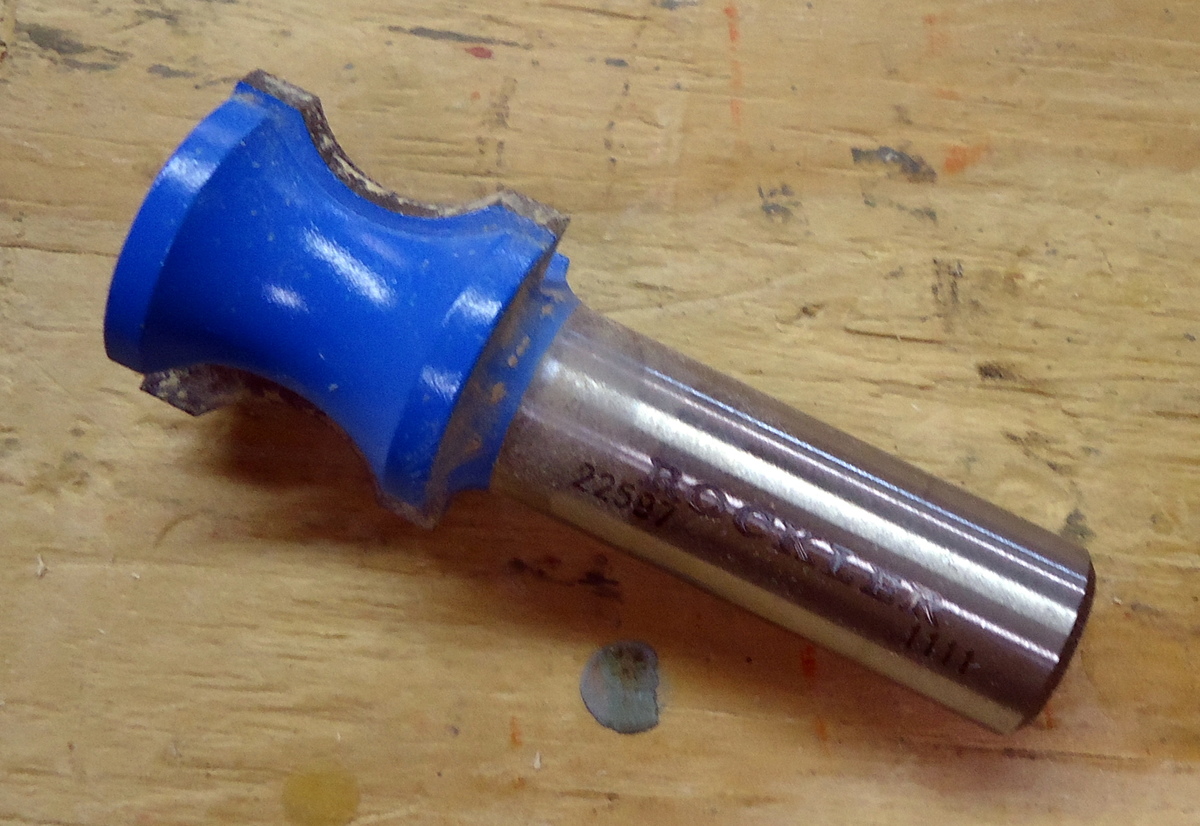
OPTIONAL: If you have a router, consider adding a decorative edge to the top and bottom pieces. I used this bit from Rockler to accent the edge (you can see the detail in the pics in Step 5). No router? No problem! Alternatively, you could add some cove moulding or a roundover moulding once the candle holders are assembled.
Step 5

Step 6

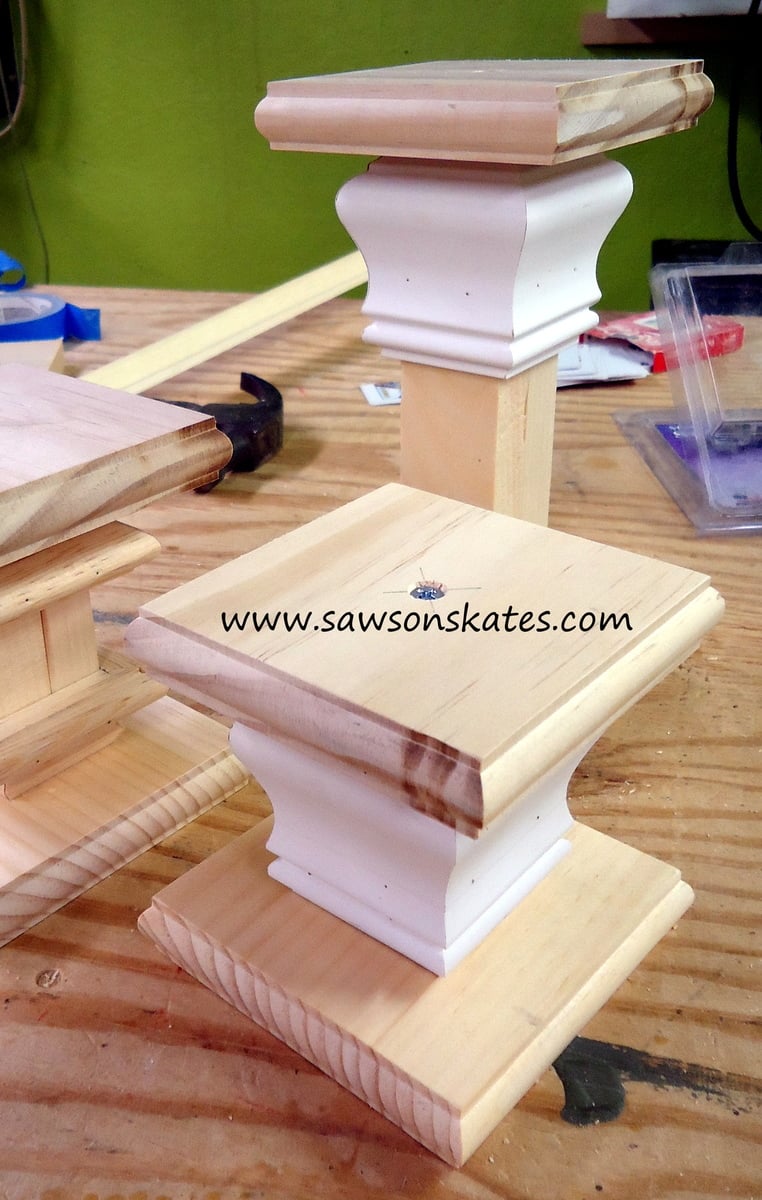
Add moulding using glue and finish nails. The mitre cuts do not need to be perfect. You can caulk or use wood filler for any gaps, plus it adds a little character when they’re not quite perfect. The moulding in the pic is chair rail. The curves of the chair rail moulding really add to the sculpted look of the candle holders.
Step 7
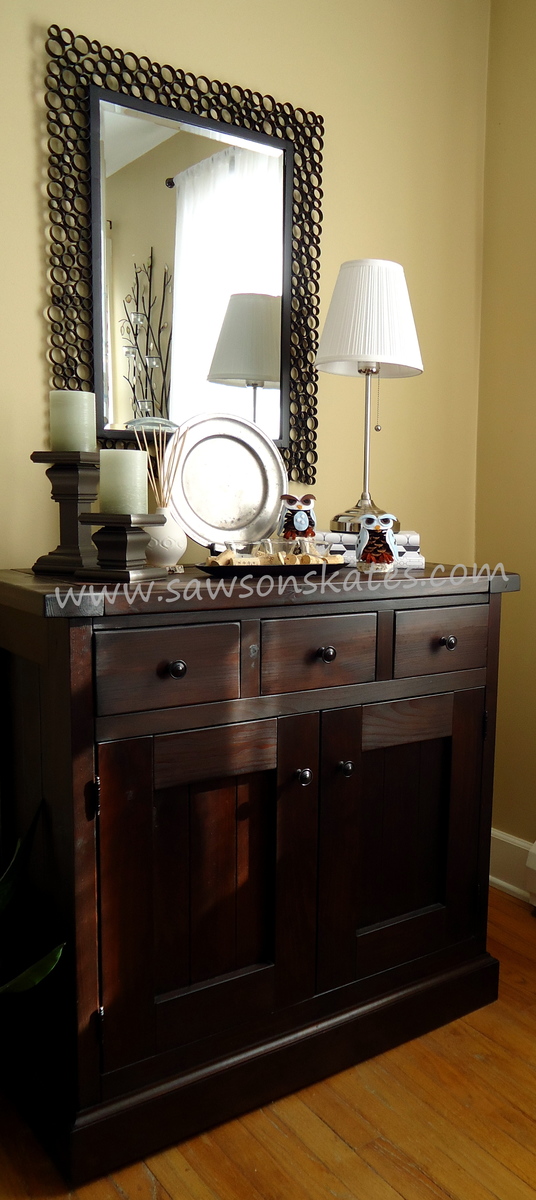
Fill nail holes, prime, paint, add candles and display.
It is always recommended to apply a test coat on a hidden area or scrap piece to ensure color evenness and adhesion. Use primer or wood conditioner as needed.