
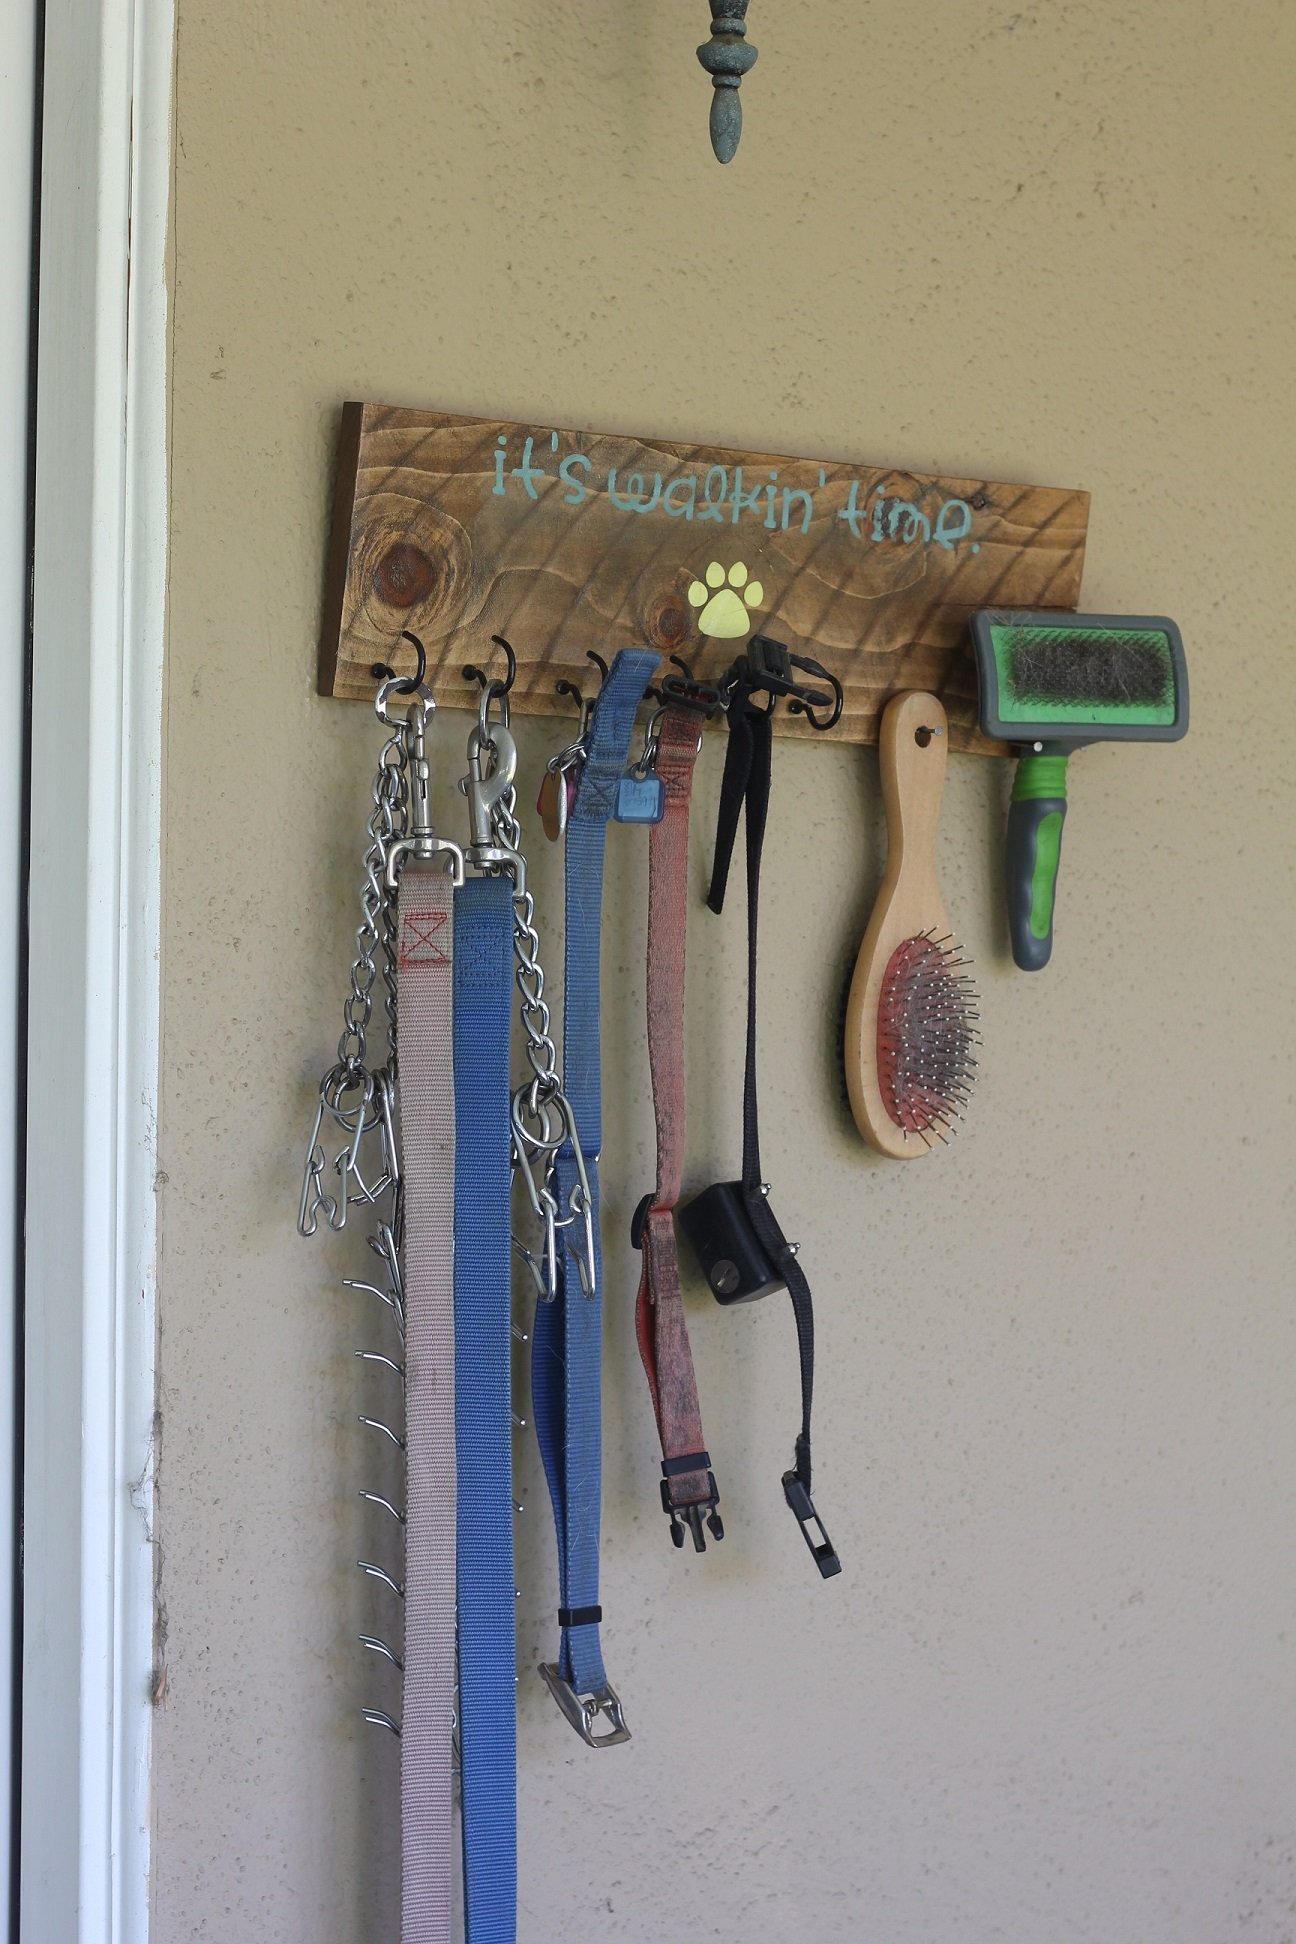

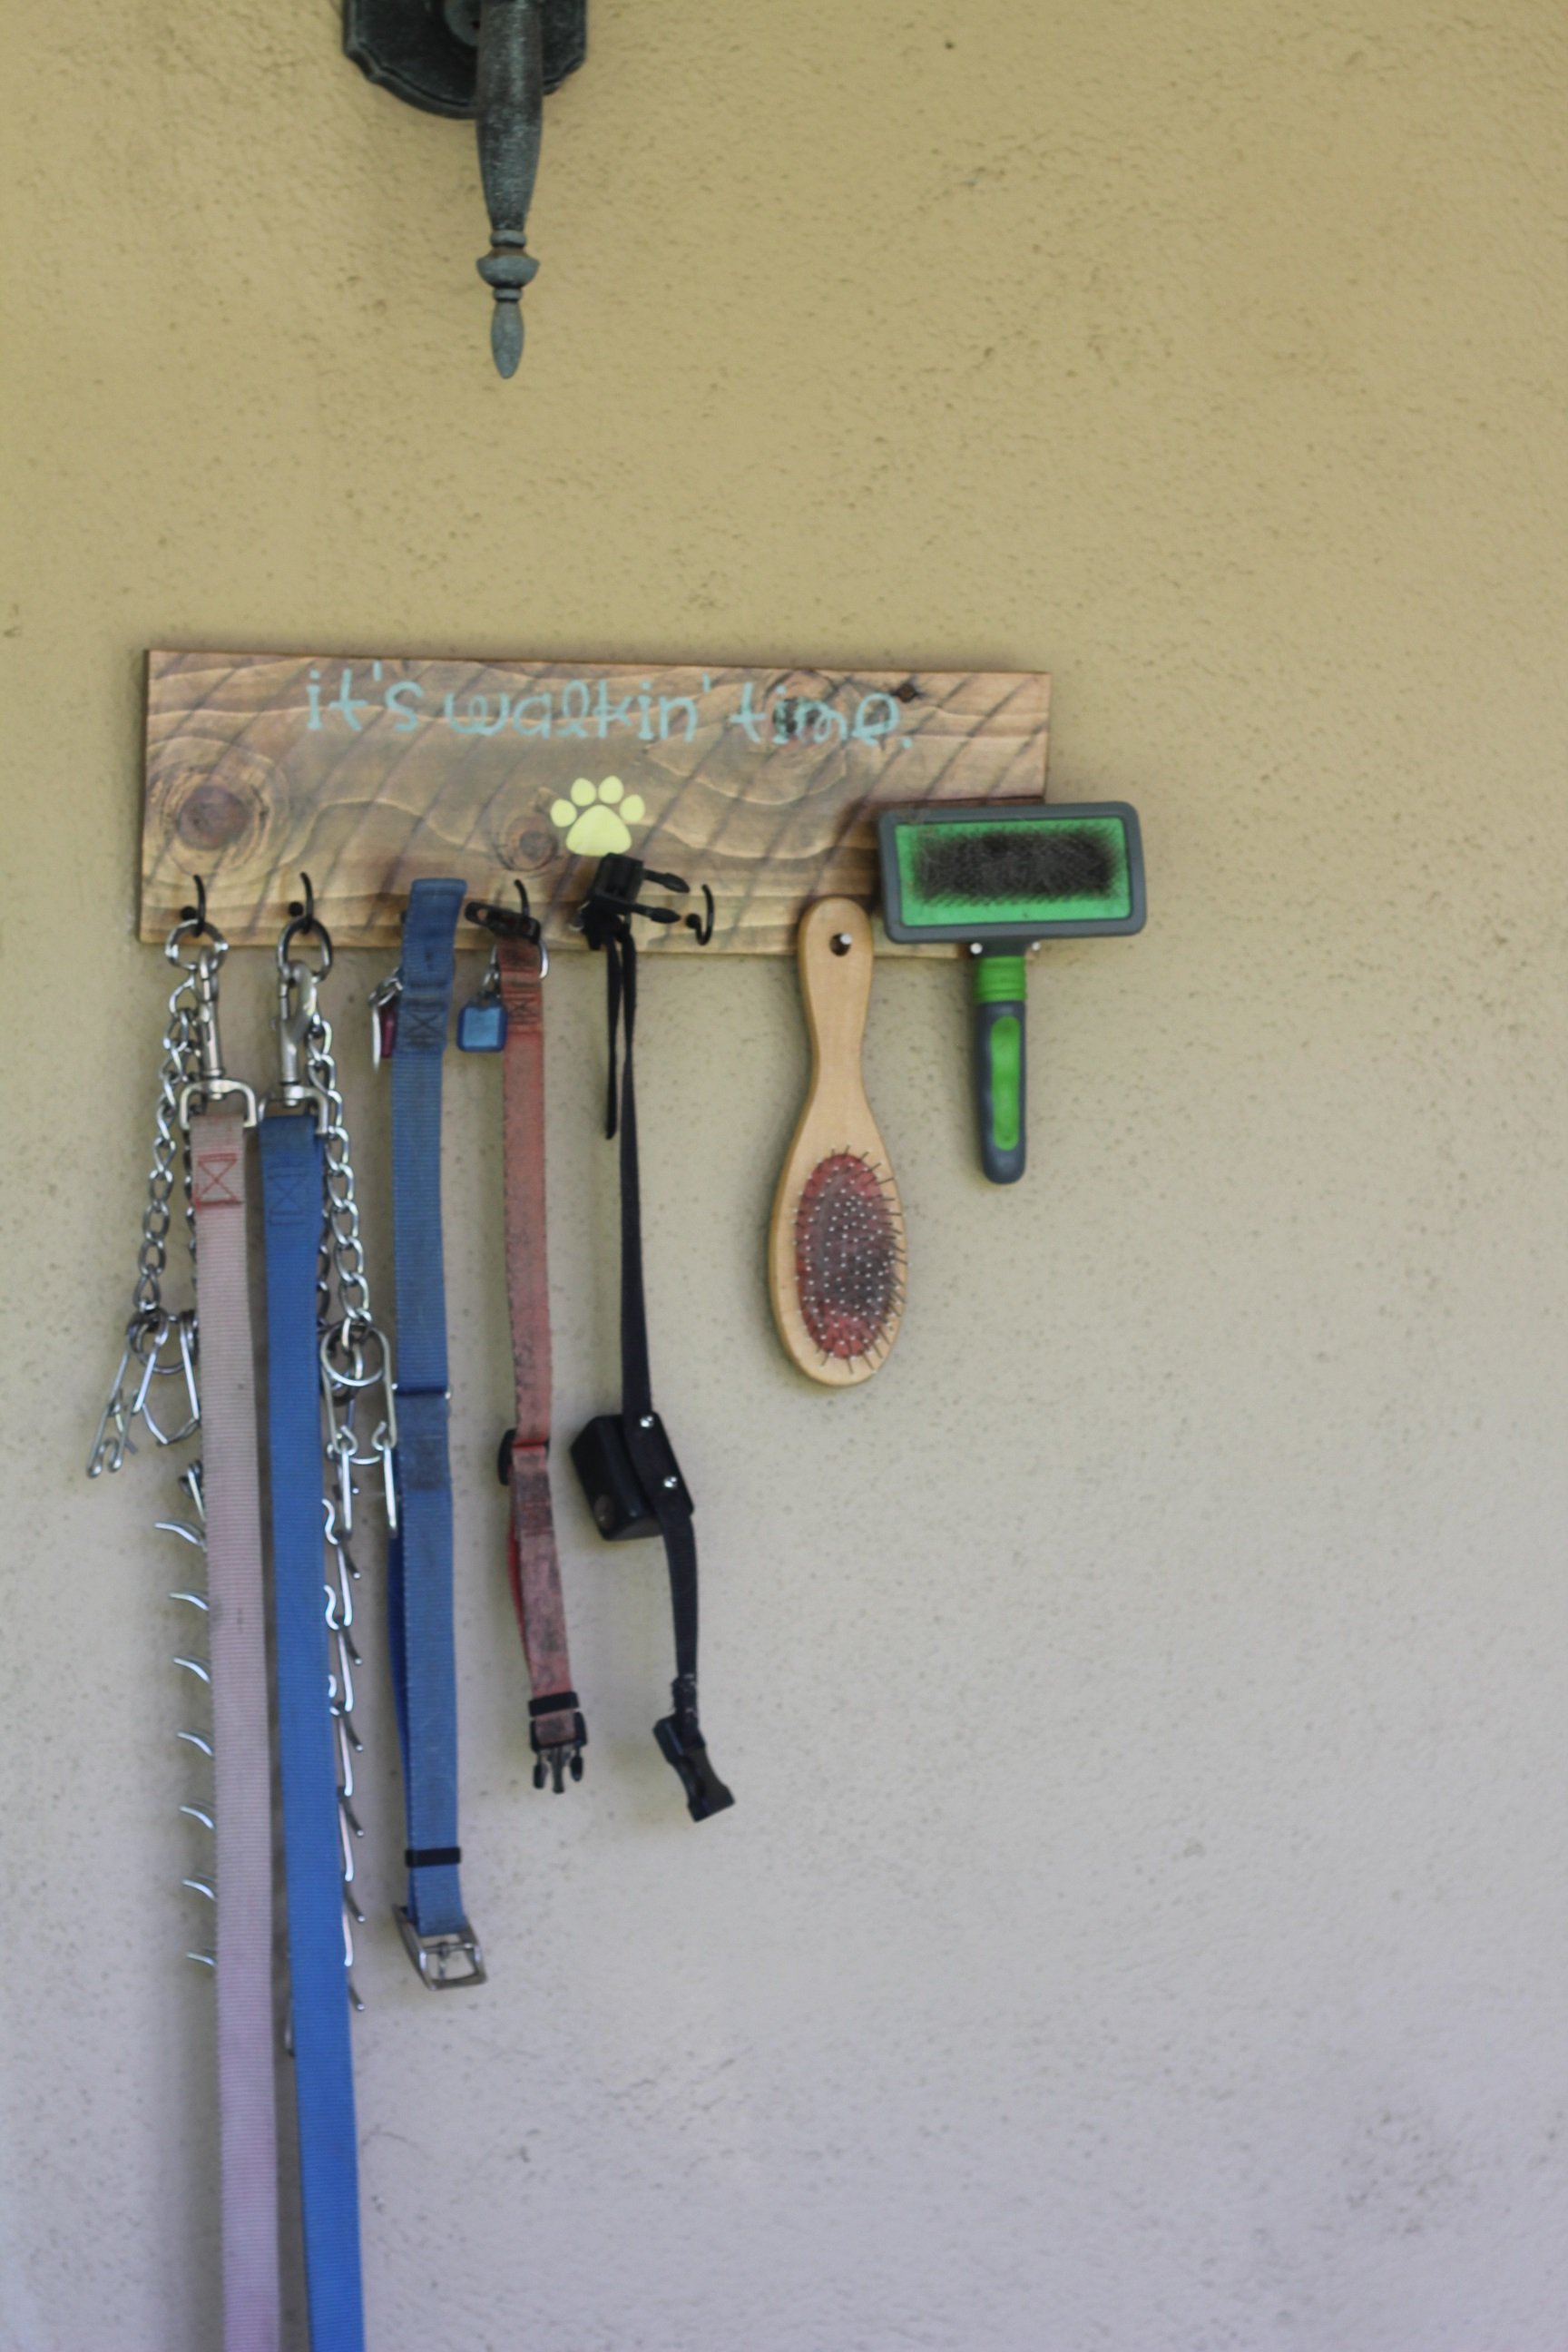
A handy, less than $5 solution to all your dogs leashes and collars!

Preparation
1 cedar fence picket stain paint stencil or freehand hooks picture hanger
(1) 6' cedar fence picket 16"
Cut your cedar fence picket to 16" long.


Please read through the entire plan and all comments before beginning this project. It is also advisable to review the Getting Started Section. Take all necessary precautions to build safely and smartly. Work on a clean level surface, free of imperfections or debris. Always use straight boards. Check for square after each step. Always predrill holes before attaching with screws. Use glue with finish nails for a stronger hold. Wipe excess glue off bare wood for stained projects, as dried glue will not take stain. Be safe, have fun, and ask for help if you need it. Good luck!
Instructions
Step 1
Decide how large you want your wall hanger to be. This depends on how many leashes and collars, and the wording you want. Mine seemed to fit all of the above and my wall at around 16". Cut your fence picket to 16" (or your chosen length).
Step 2
Sand that rough surface until it's smooth to the touch. It doesn't have to be perfect, but you don't want the stain to get caught on the rough fibers of an unsanded picket. Wipe the dust off.
Step 3
Wipe on stain. I used Varathane Kona. I left the back unstained, but did cover the sides, top and bottom. Wipe off any excess.
Step 4
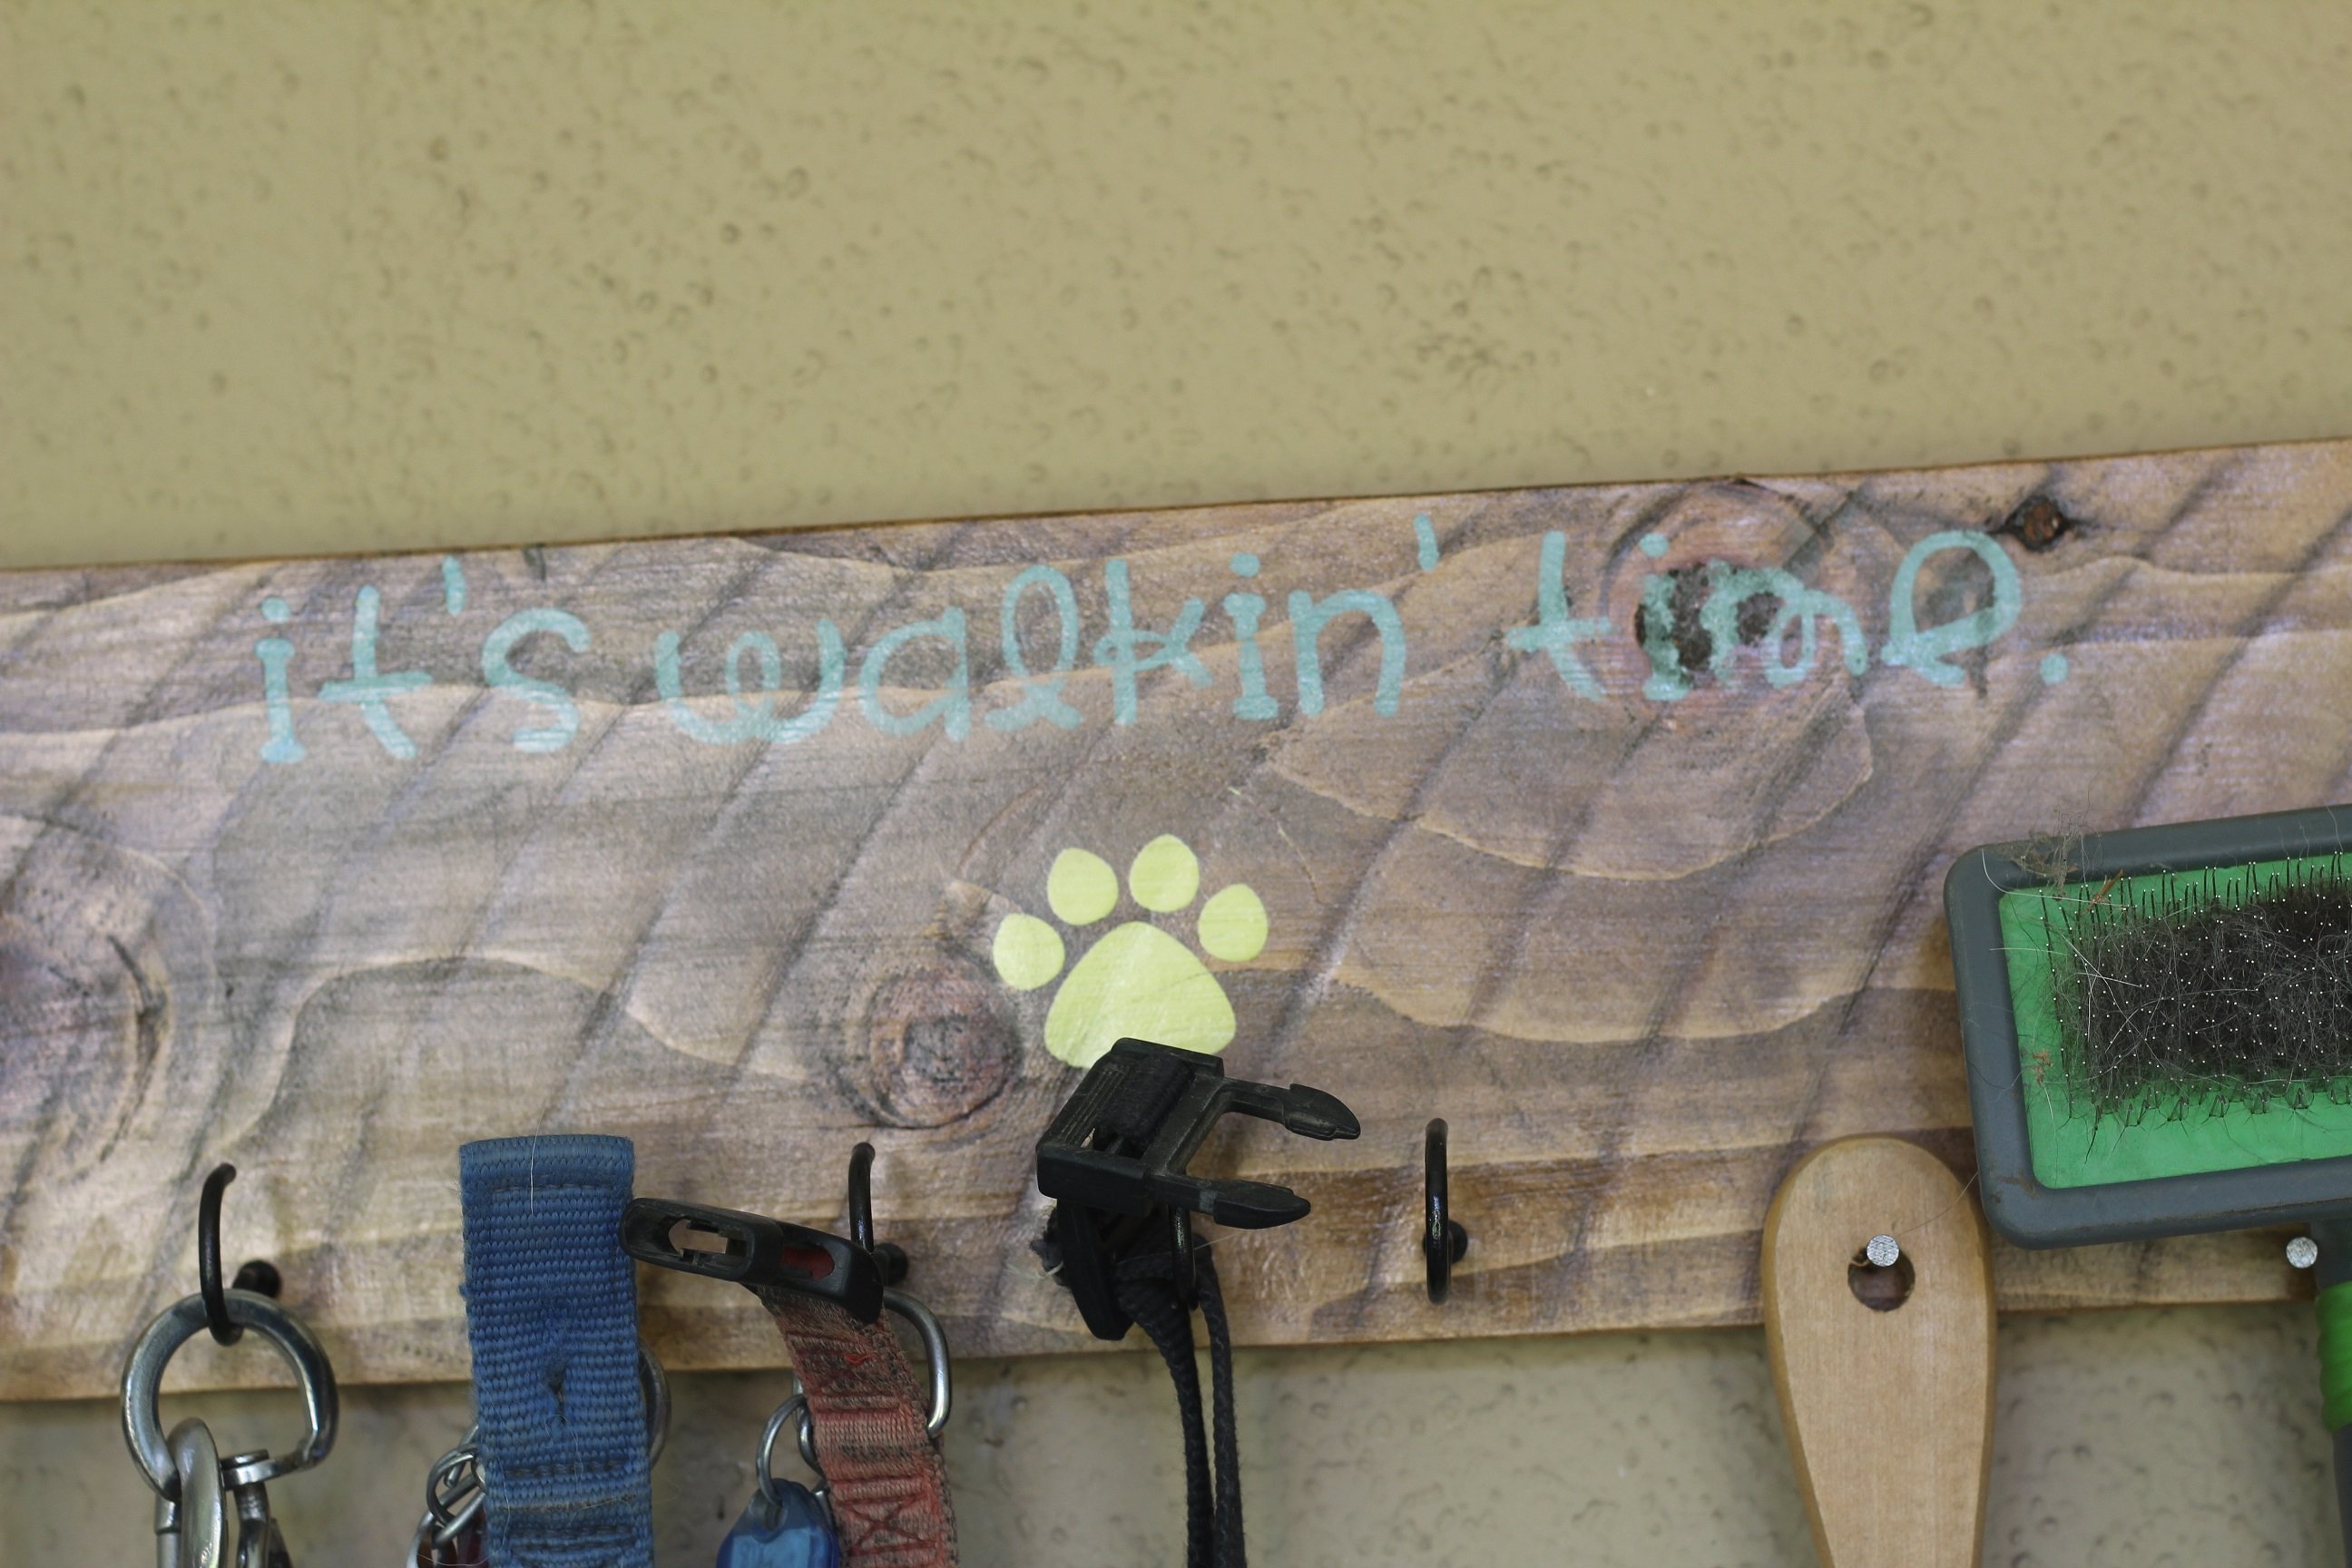
This part is up to you. I have a cricut, so I designed my lettering and entered the paw print image, and cut it out to make a stencil. If you have great handwriting, go for freehand. Otherwise you might try Jaime's trick (http://thatsmyletter.blogspot.com/2015/02/c-is-for-caddy-gift.html) for good lettering. I browsed pinterest for inspiration but didn't find any phrase that I liked. So I came up with "it's walkin' time". It's ok, you can use it : )
Step 5

I predrilled holes where I would place my hooks. Determine how many you need by what you intend to hang. We clearly have a lot of crap so I decided on 6 hooks, with the intent of nails at the end for brushes. I used these 1.5" cup hooks from home depot, in brass, because it was cheaper. http://www.homedepot.com/p/Everbilt-3-lb-1-1-2-in-Brass-Plated-Cup-Hook… I spray painted them in ORB, after poking them into cardboard to keep them upright. On the back of the picket, nail in these picture hangers- I did one on each end to support the weight of multiple leashes. http://www.homedepot.com/p/OOK-20-lb-Steel-Sawtooth-Ring-Hangers-3-Pack… Screw the hooks after they're dried into the predrilled holes. Hammer nails if you want them.
Step 6

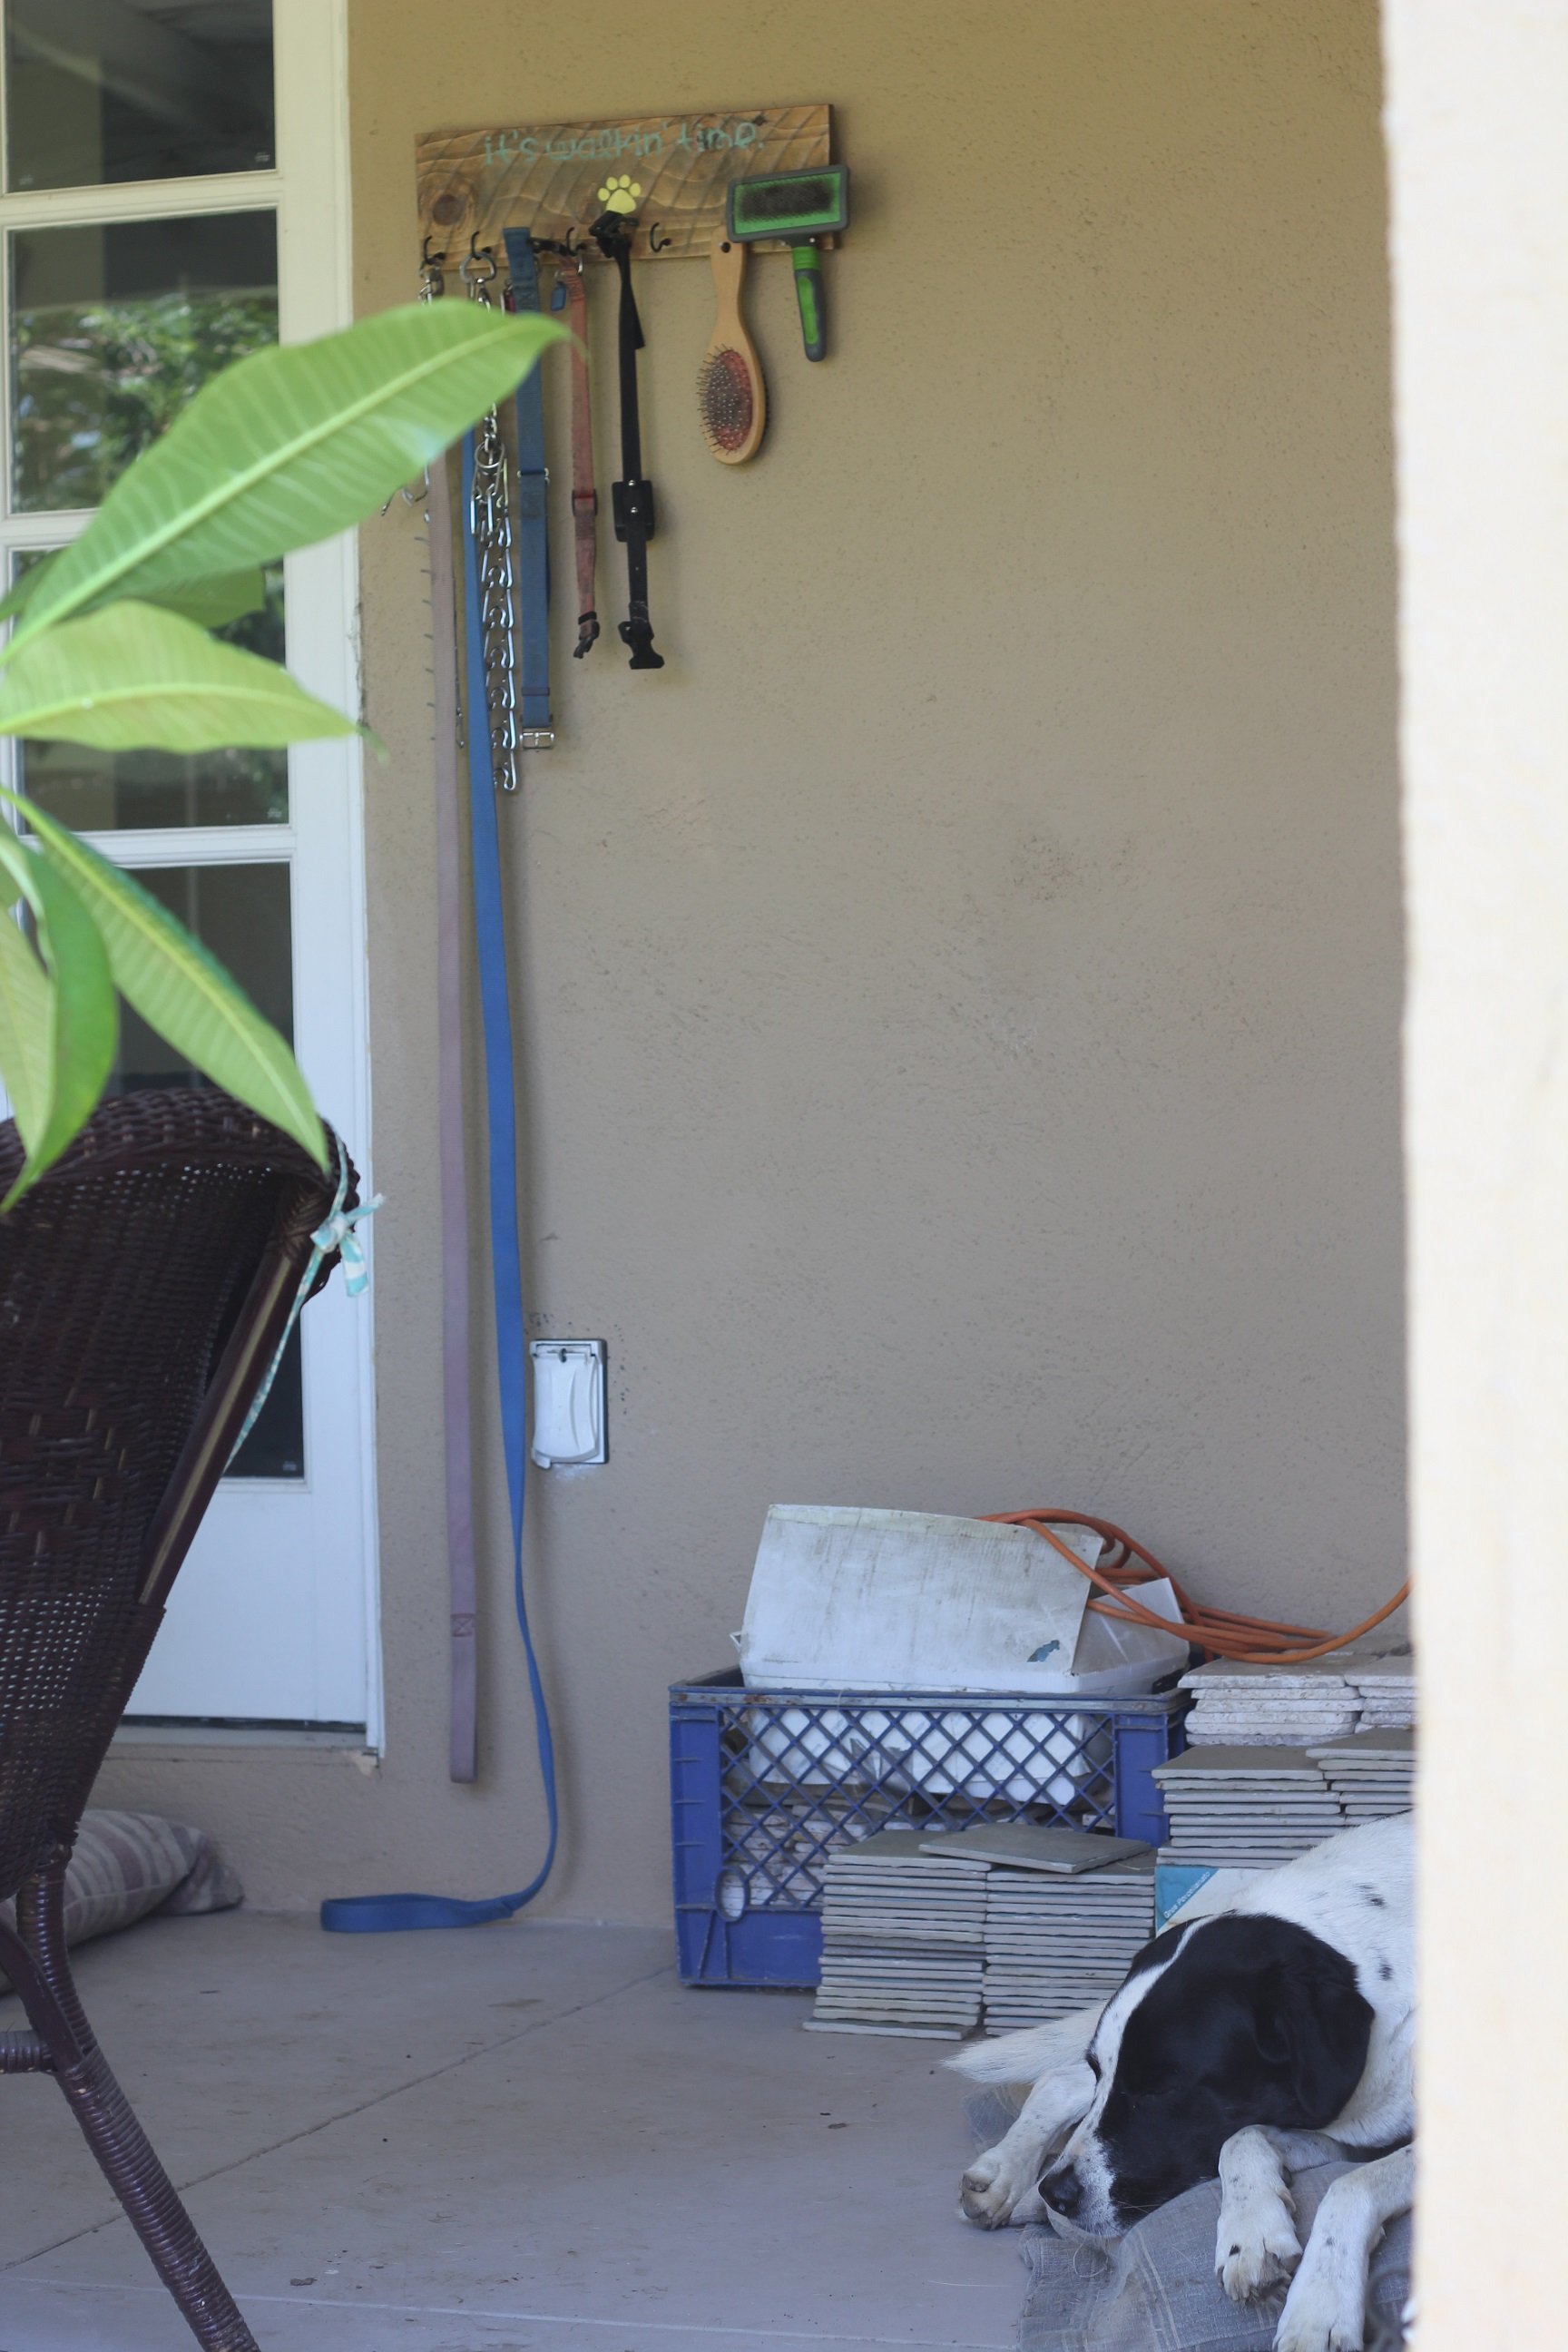
I went ahead and hung mine because I get far too excited to see what it will look like. Determine the width between your hangers, mark it on the wall, checking for level between the two, and hammer 2 nails in. Hang your beautiful work of art.
Step 7

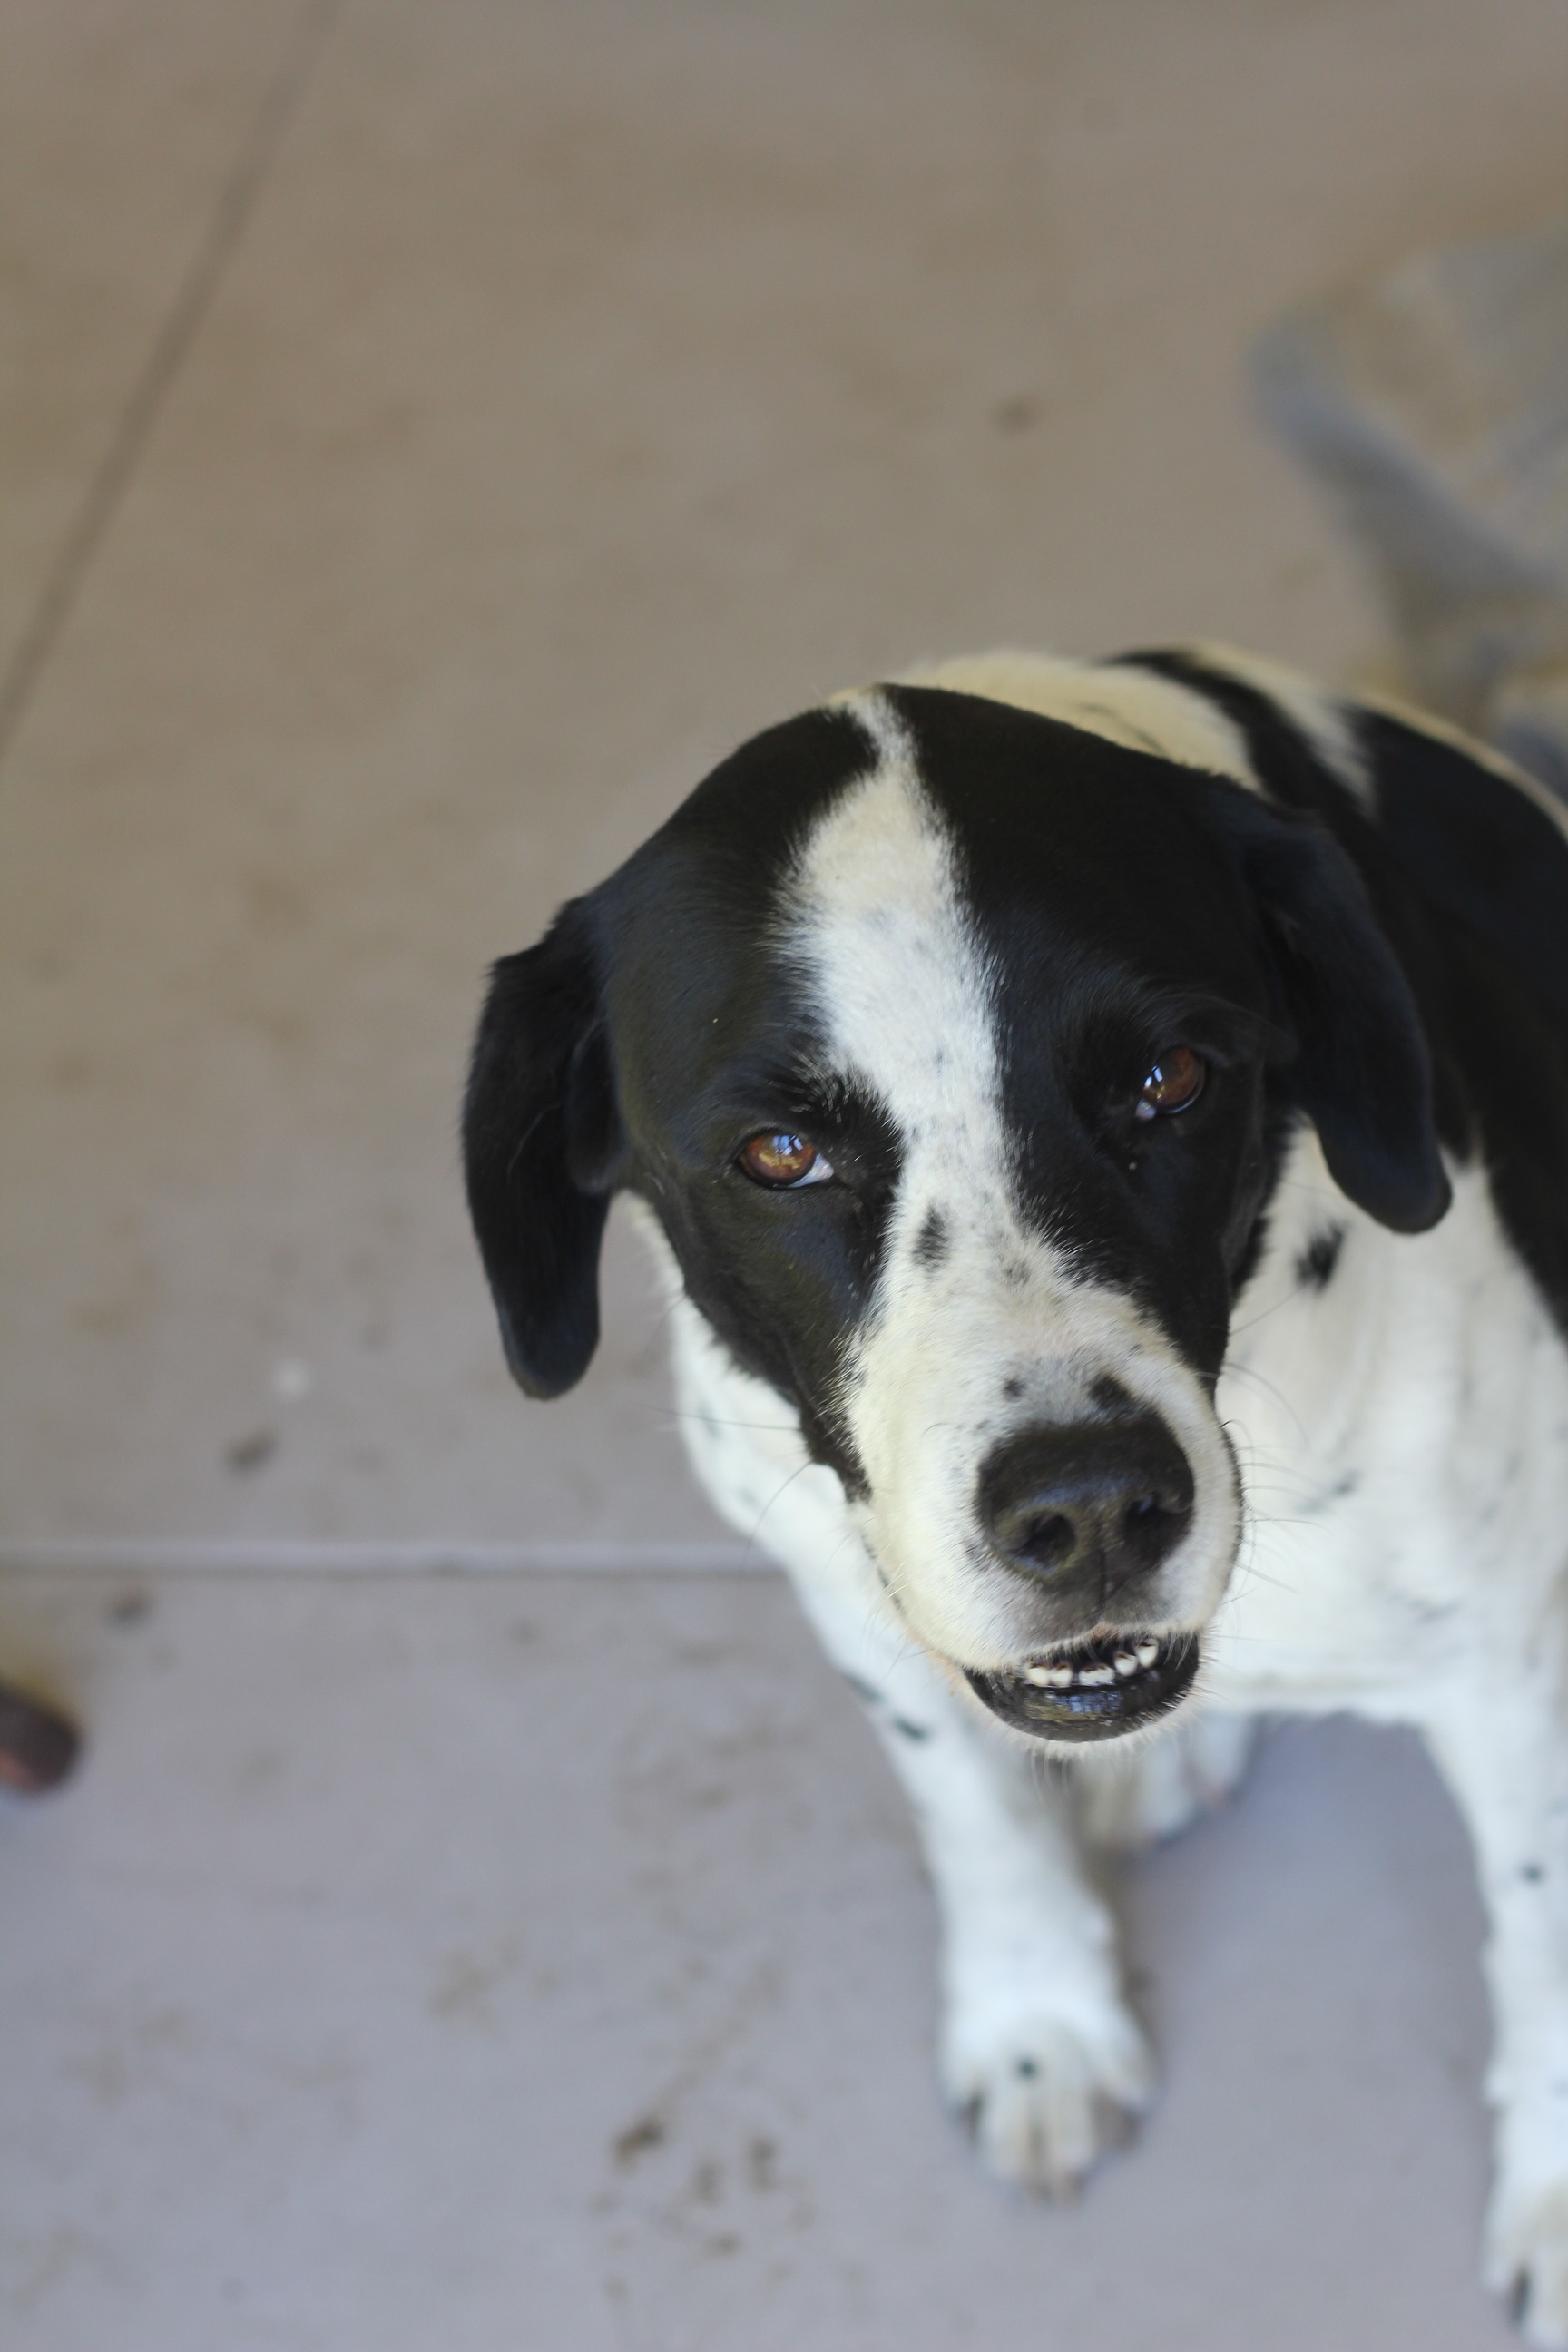
Take a shameless adorable dog pic.
Step 8

Your final step is to paint the whole shebang with some Helmsman spar urethane so it can withstand the elements. You could do a poly, but this will be more waterproof. I did 3 coats, as recommended, with no sanding in between.
It is always recommended to apply a test coat on a hidden area or scrap piece to ensure color evenness and adhesion. Use primer or wood conditioner as needed.
