


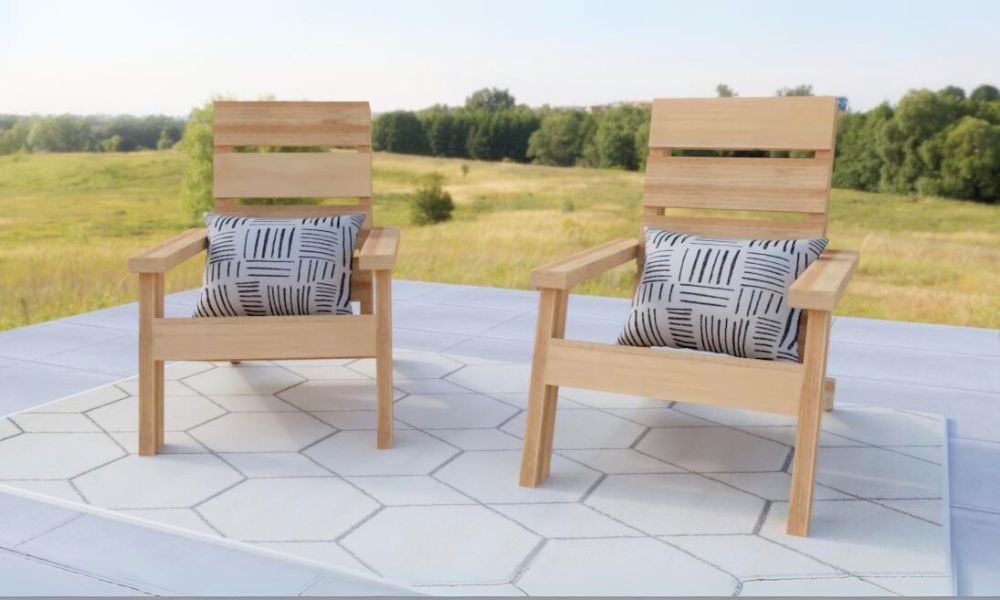
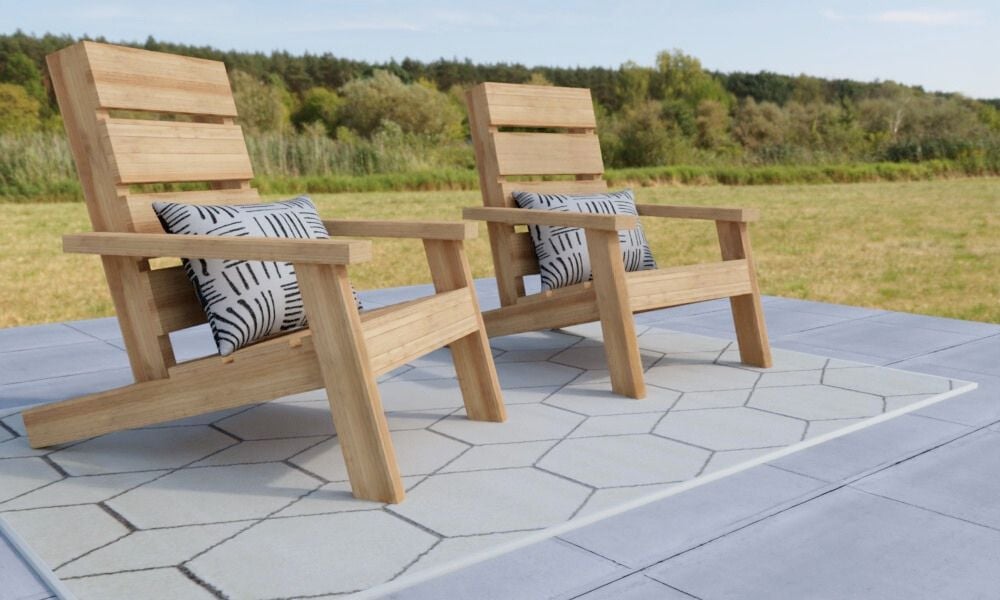
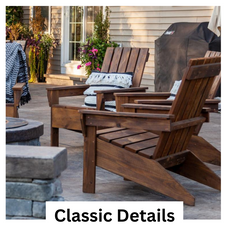
Easy to build, comfortable, strong, sturdy, inexpensive and durable, we call this Adirondack chair our "Ultimate" because it delivers on all the levels! Even a beginner woodworker can build these amazing outdoor chairs.
This plan is easy to customize, to suit different sized cushions, or for size preferences.
Build today with our free, step by step project plans with free PDF (click here to start download of one page PDF Plan), video tutorial and shopping and cut lists from Ana-White.com
Why Build this Adirondack Chair?
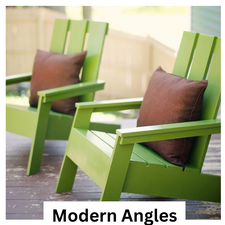
This chair is a combination of my original modern Adirondack chair circa 2010 and our current favorite Adirondack Chair where we went to a 2x4 frame and 1x6 design for durability and building ease back in 2019. These updates create a new chair that has the best of all designs:
- Simpler to build, no pocket holes and beginner friendly methods
- Minimal angle cuts
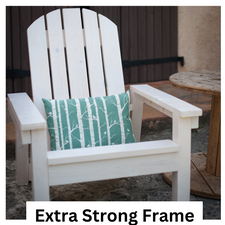
- Durable design, similar to how a picnic table is built
- Very comfortable, even without a cushion
- Compact footprint
- Easy to move around
- But still heavy enough to not blow away in the wind
Build Video - Watch Me Build this Chair
More Free Adirondack Chair Plans from Ana White
Pin For Later!

Preparation
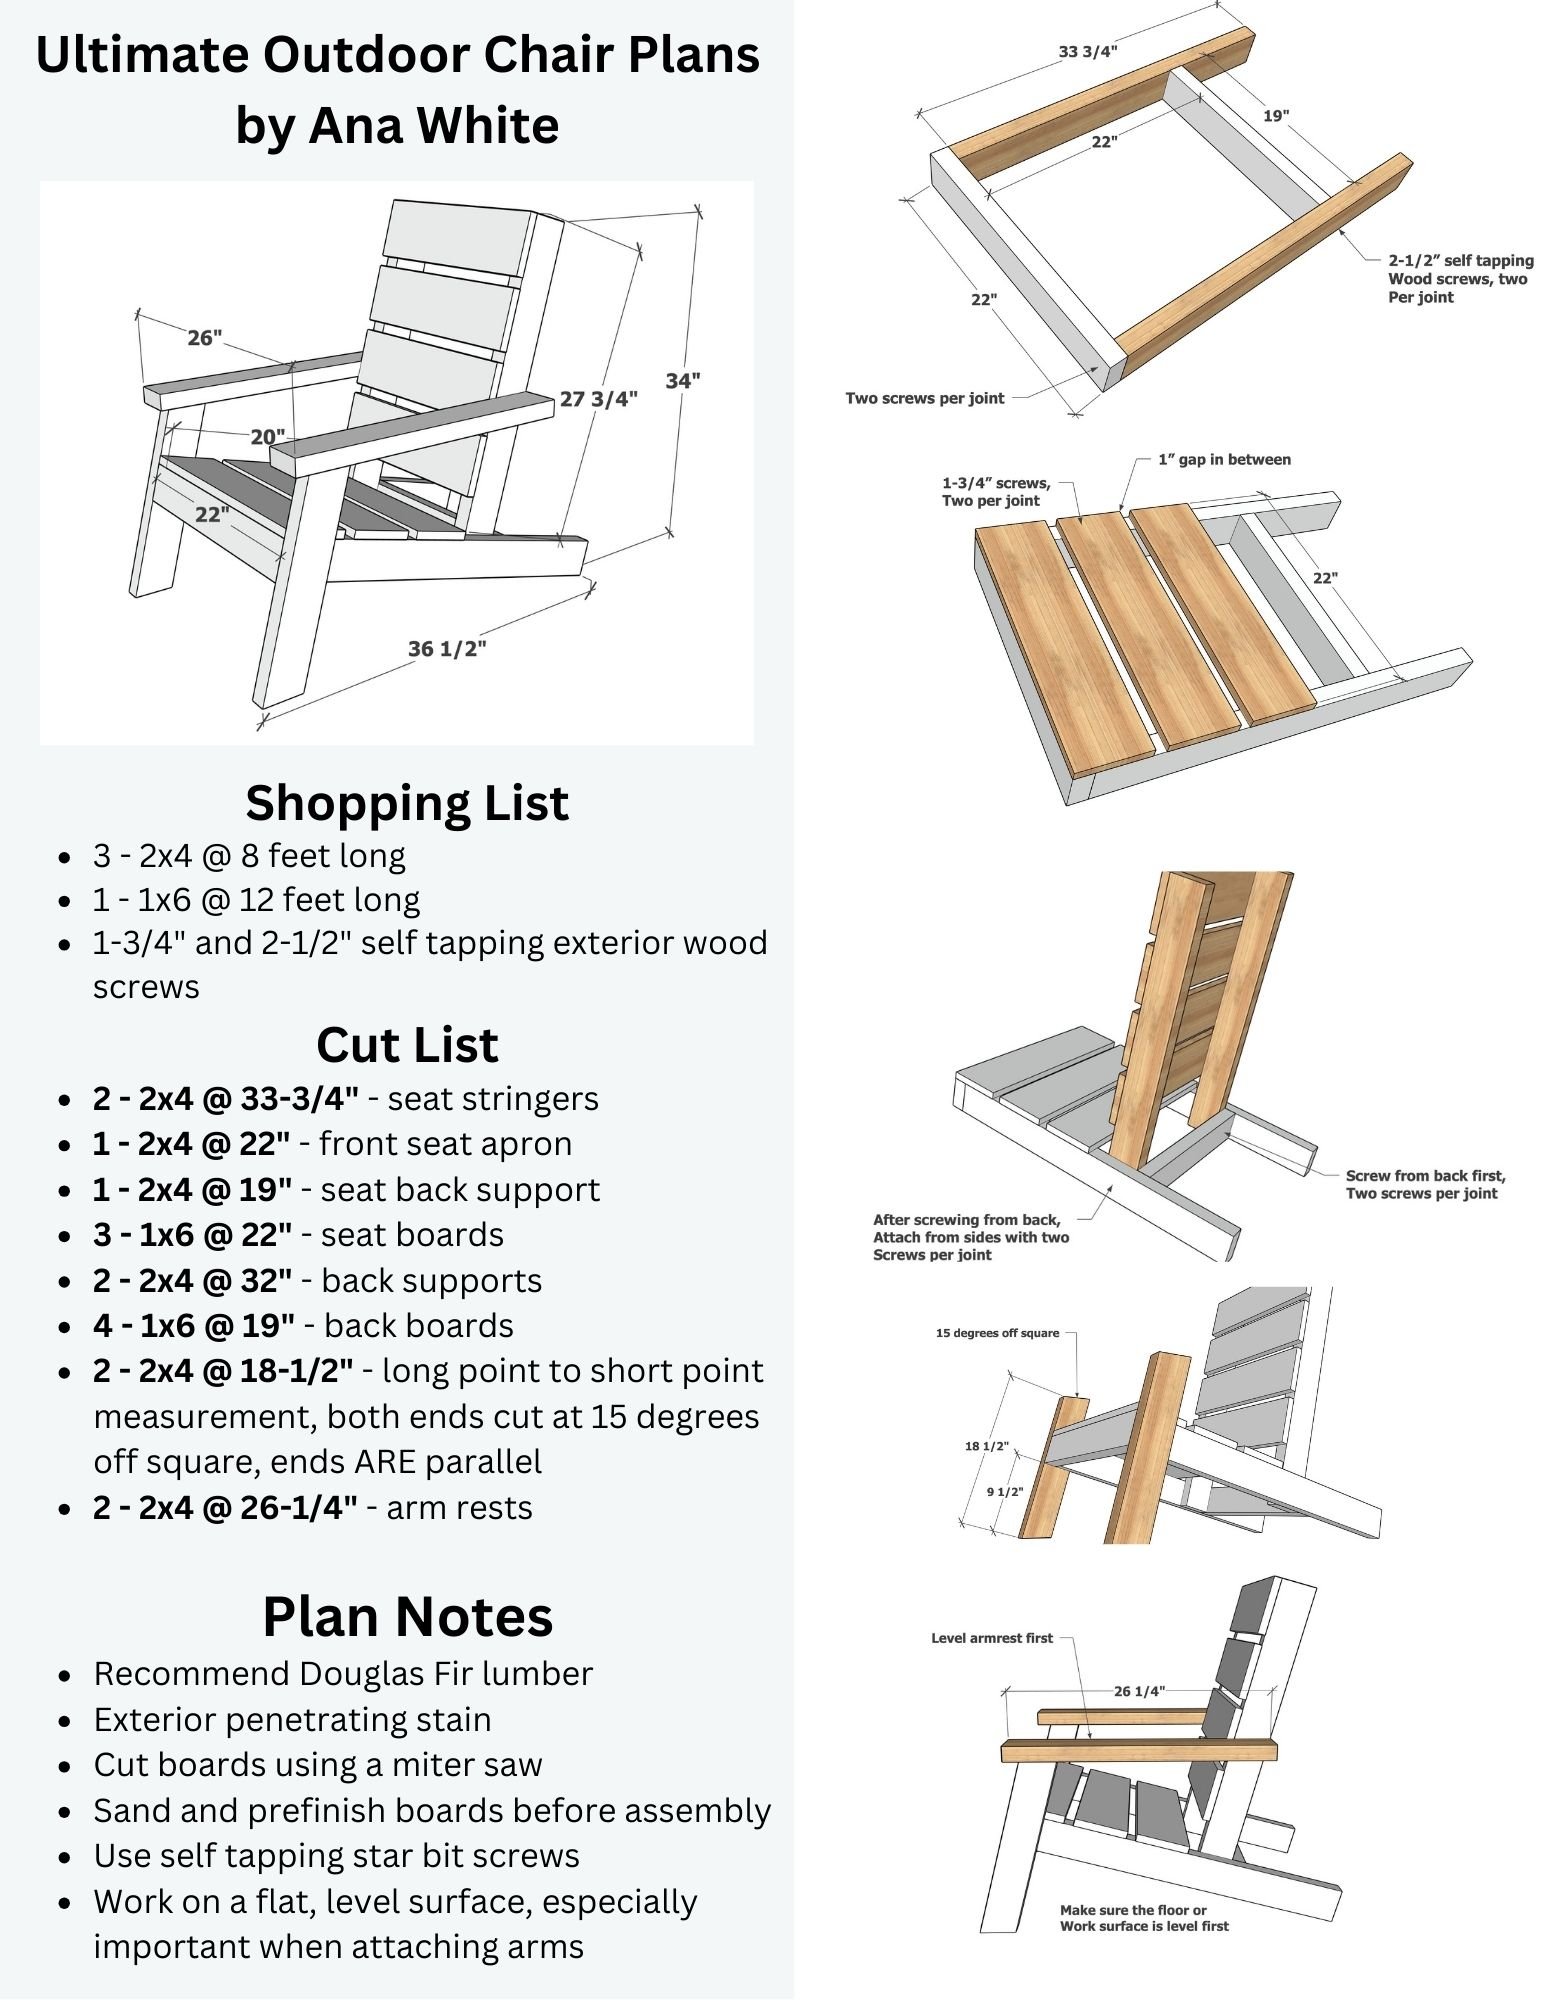
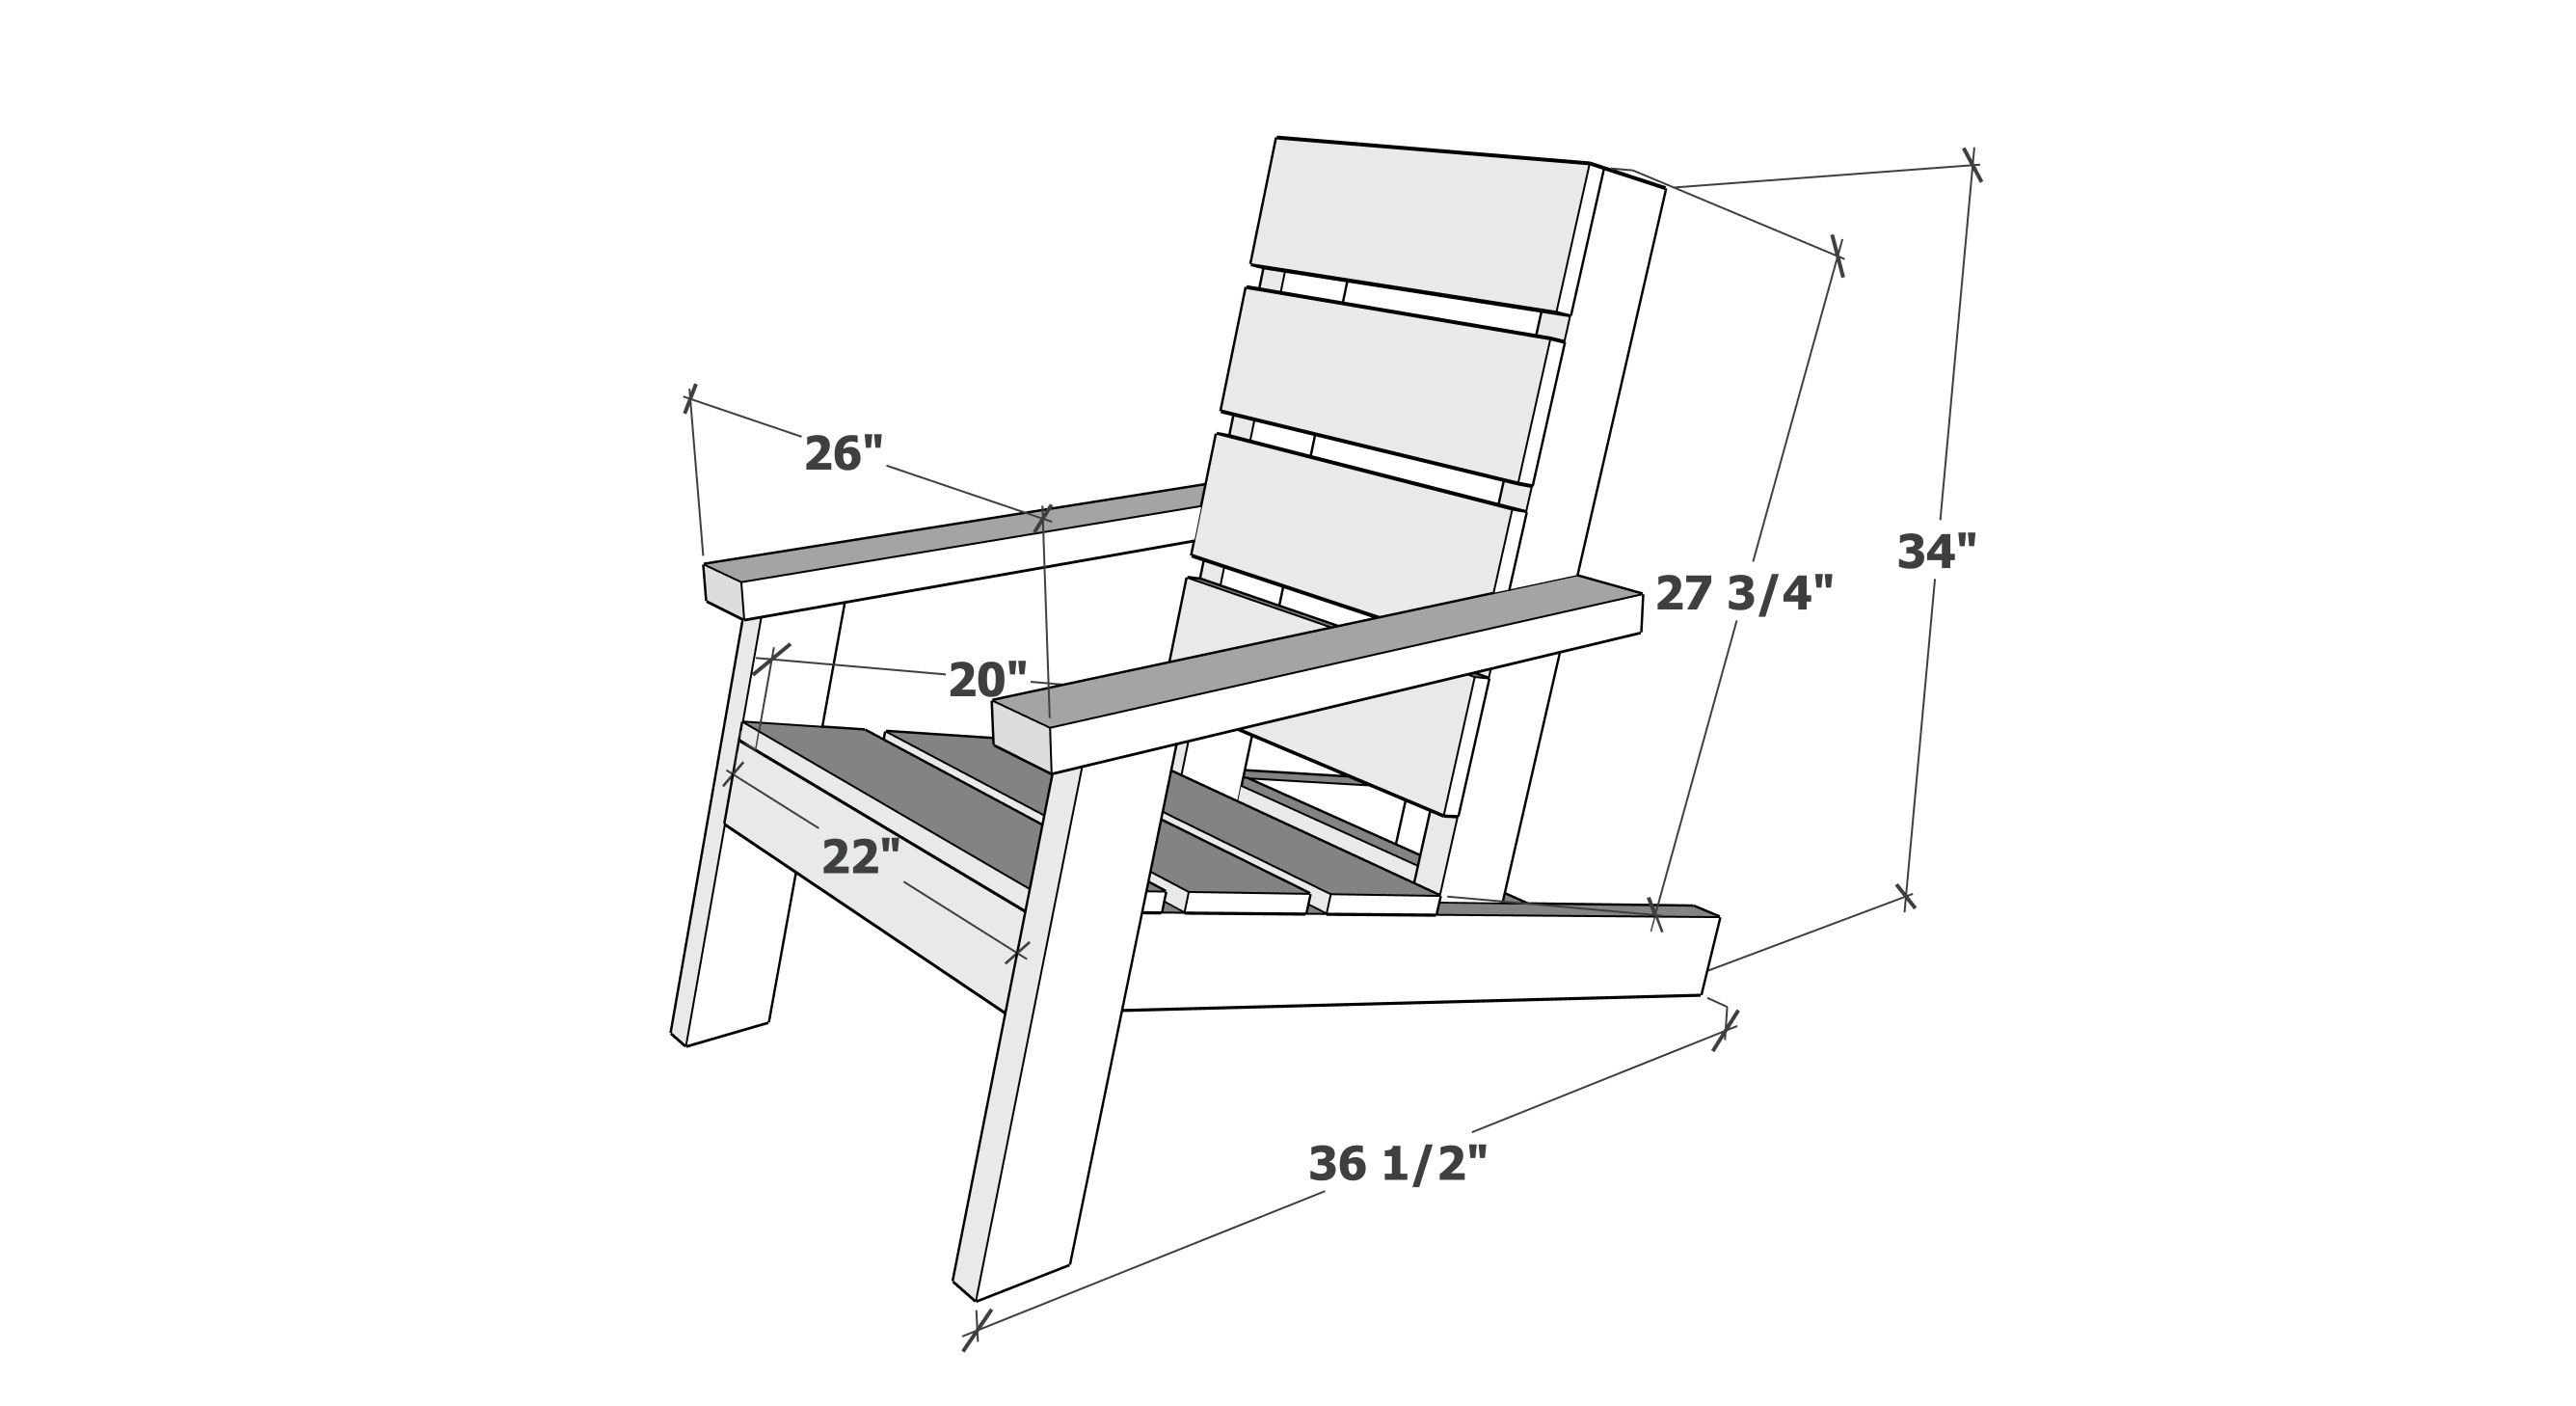
- 3 - 2x4 @ 8 feet long
- 1 - 1x6 @ 12 feet long *
- 1-3/4" and 2-1/2" self tapping exterior wood screws
- 2 - 2x4 @ 33-3/4" - seat stringers
- 1 - 2x4 @ 22" - front seat apron
- 1 - 2x4 @ 19" - seat back support
- 3 - 1x6 @ 22" - seat boards
- 2 - 2x4 @ 32" - back supports
- 4 - 1x6 @ 19" - back boards
- 2 - 2x4 @ 18-1/2" - long point to short point measurement, both ends cut at 15 degrees off square, ends ARE parallel
- 2 - 2x4 @ 26-1/4" - arm rests


Instructions
Step 1

Build the seat frame with 2x4s and 2-1/2" self tapping wood screws.
Use exterior wood glue for added durability.
Step 2

Attach the seat support boards to the frame with 1-3/4" self tapping wood screws. Use exterior wood glue for added durability.
Step 3

Attach the back 1x6 boards to the seat back framing 2x4s with 1-3/4" self tapping wood screws. Use exterior wood glue for added durability.
Step 4

Insert the seat back into the seat frame, attach from the back seat framing board as shown in the diagram with 2-1/2" screws.
Position the angle of the seat at 90 degrees and attach from the sides with multiple 2-1/2" screws.
Step 5

Mark the legs as shown, the marking will be perpendicular to the the edge of the 2x4 leg (not parallel to the 15 degree angle cut)
Attach to the seat stringer from the inside with multiple 2-1/2" screws at different angles for added durability.
Step 6

Place the chair on a level surface.
Set the arm rest on the leg and place a level on top of the arm rest.
Mark level on the 2x4 seat back and then attach the arms to the seat back.
Then attach the arms to the tops of the legs.
Sand off excess until smooth.
Remove all sanding residue.
Make sure you stain the bottoms of the legs to prevent moisture damage at the feet.
Maintenance - Every spring, clean and tighten any screws. Add a coat of exterior penetrating stain if needed (about every 5 years).

