

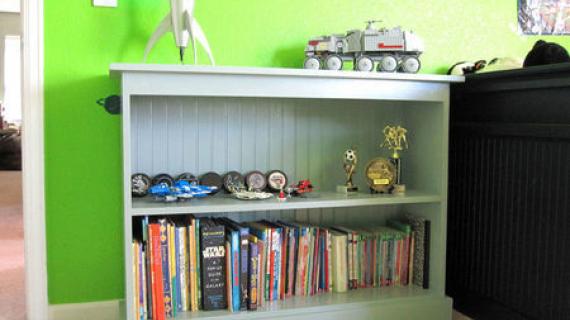
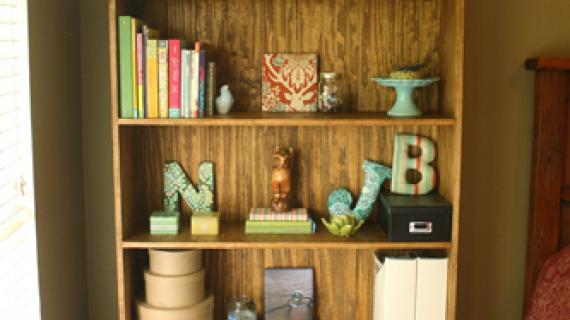
Build a bookcase out of 1x12 boards - this is a free woodworking plans with cut list, shopping list and diagrams from Ana-White.com
Preparation
- 3 - 1x12 @ 10 feet long
- 1 - 1x3 @ 10 feet long
- 1/4″ Beadboard, cut at 41 1/2″ wide x 32 1/2″ high
- 1 - 1x2 @ 12 feet long
- 1 - 1x4 @ 6 feet long
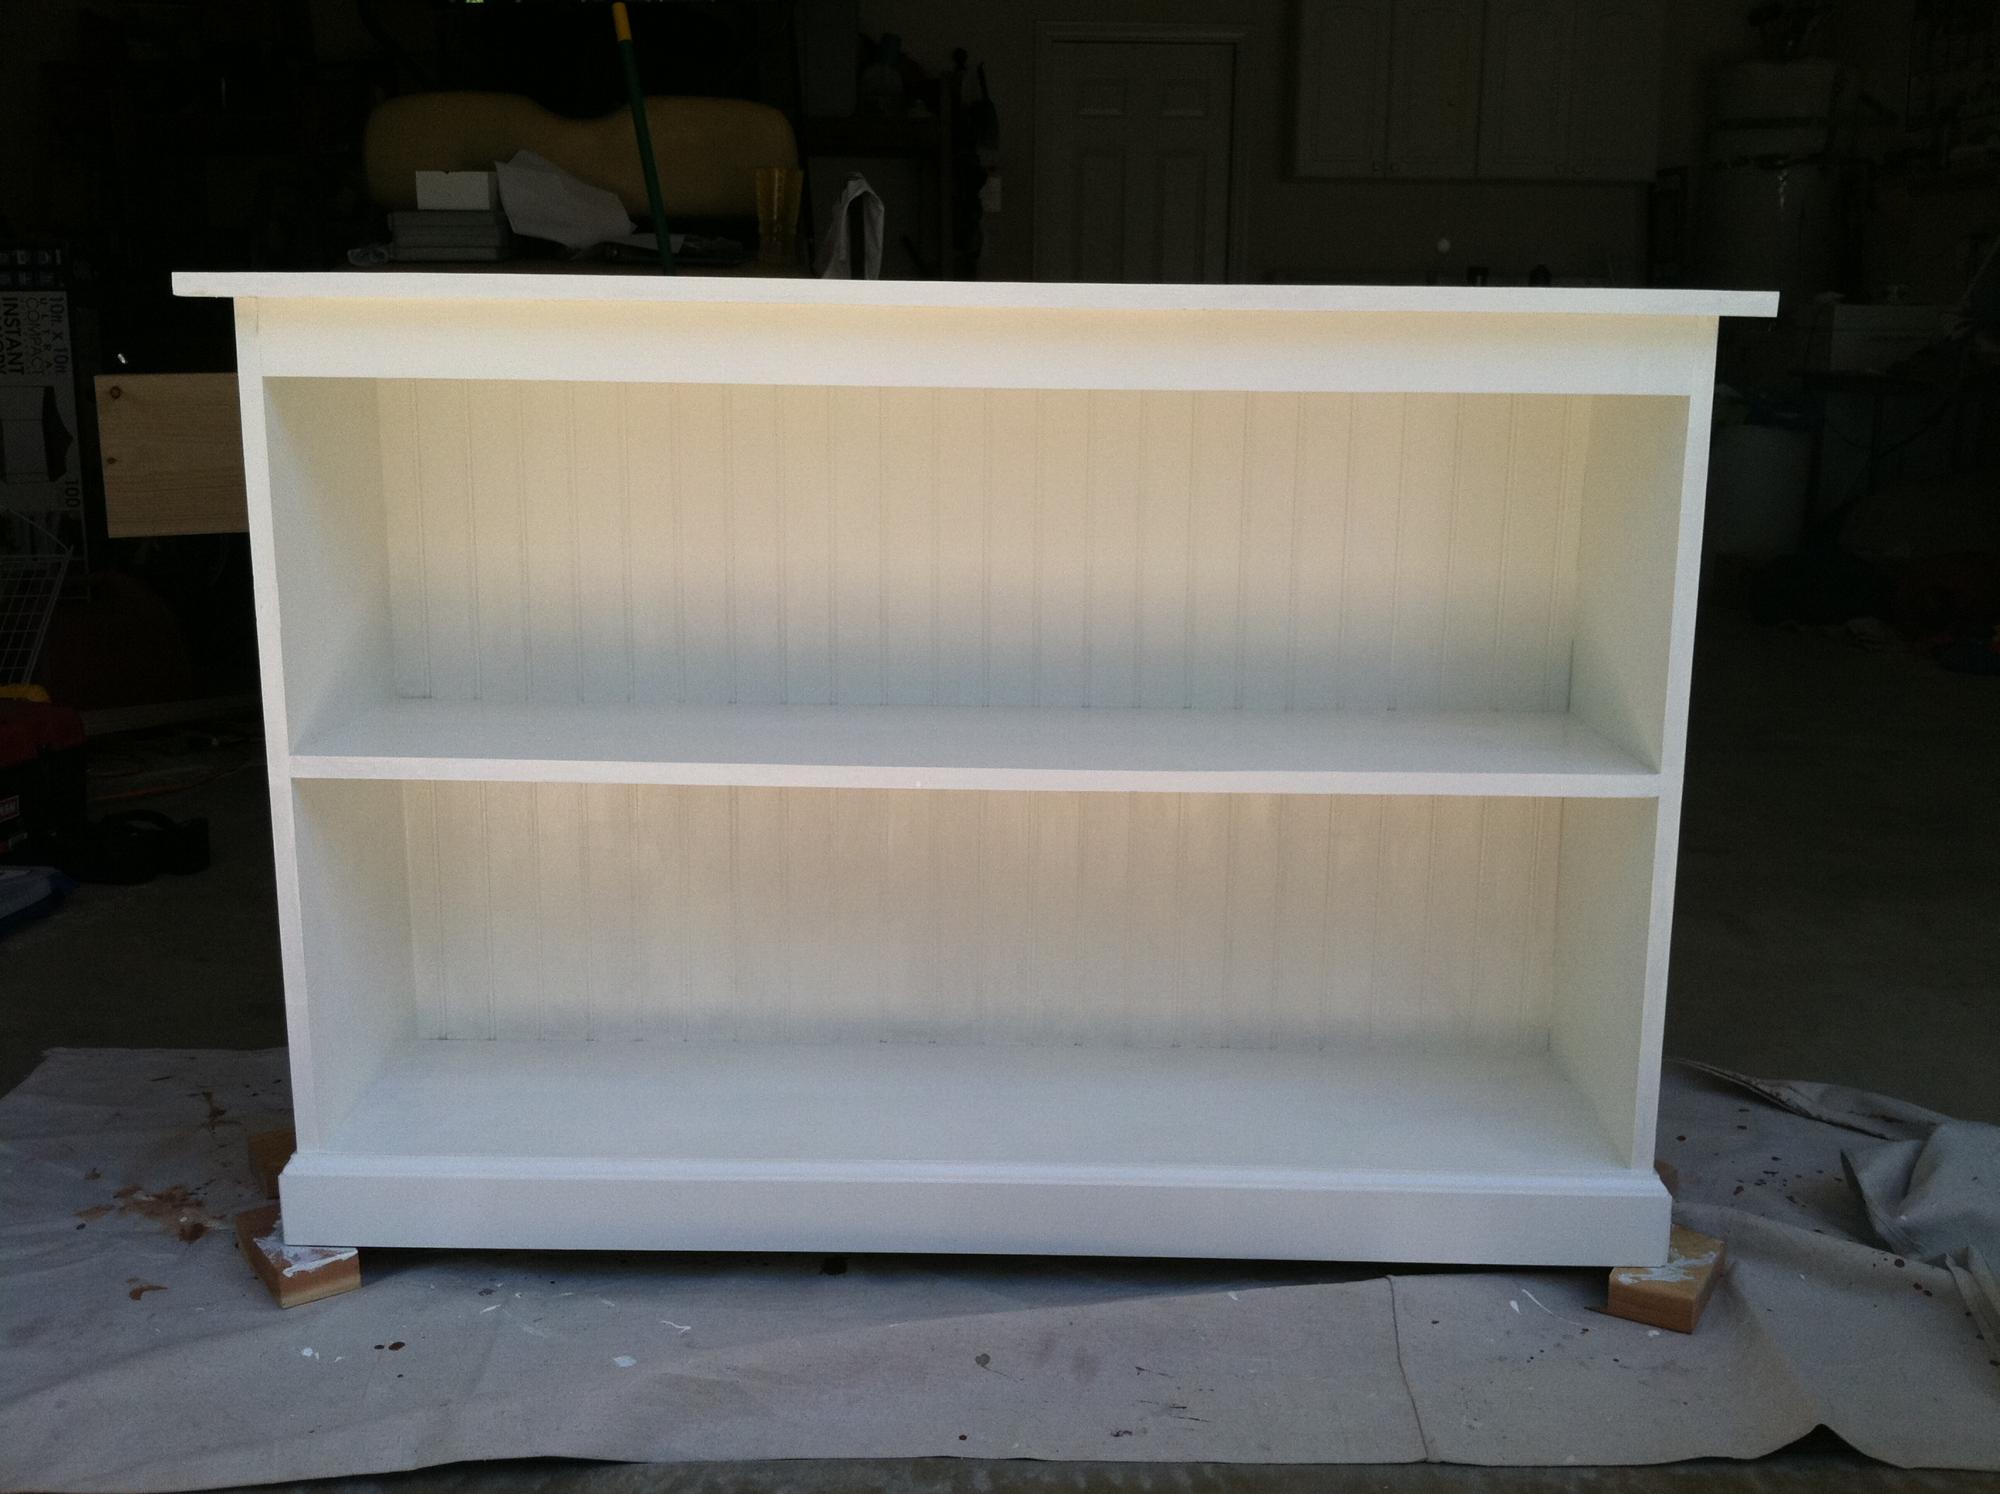
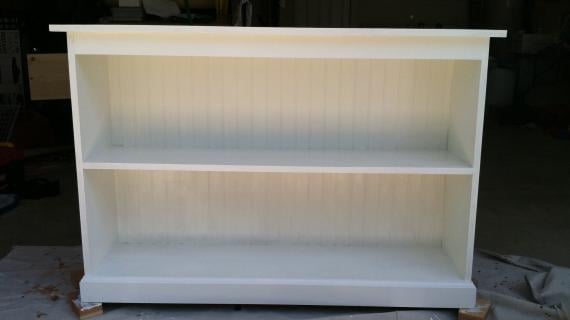
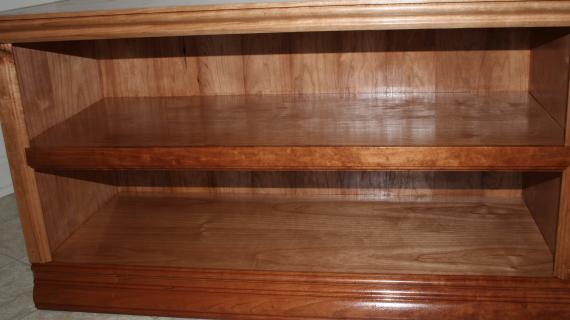
- A) 2 – 1×12 @ 32 1/2″ (Sides)
- B) 2 – 1×12 @ 40″ (Shelves)
- C) 1 – 1×3 @ 40″ (Front top trim)
- D) 1/4″ Beadboard, cut at 41 1/2″ wide x 32 1/2″ high
- E) 1- 1×2 @ 40″ (Footer Support)
- F) 2 – 1×4 @ 11 1/2″ on the shortest points, mitered (Side Footers – Router out the top edge with an ogee bit or purchase 4″ base mouldings)
- G) 1 – 1×4 @ 41 1/2″ at the shortest points, mitered (Front Footer – Router out the top edge with an ogee bit or purchase 4″ base mouldings)
- H) 1 – 1×2 @ 44 1/2″ (Back Tabletop)
- I) 1 – 1×12 @ 44 1/2″ (Front Tabletop)
Cut all your boards as directed in the cut list, except boards F and G.


Use 2″ nails to fasten all joints and glue unless otherwise noted. Make sure to fasten all joints to all neighboring boards to reinforce your joints. It is always better to nail from two different directions than just one.
Instructions
Step 1

Fastens the shelves, B, to the sides, A, as shown above.
Step 2

Add the Front Top Trim piece, C, as shown above. Keep outside edges flush.
Step 3

Add the beadboard, D, to the back as shown above.
Step 4

Add the footer support as shown above. Keep front edge flush.
Step 5

Add the back tabletop piece, H.
Step 6
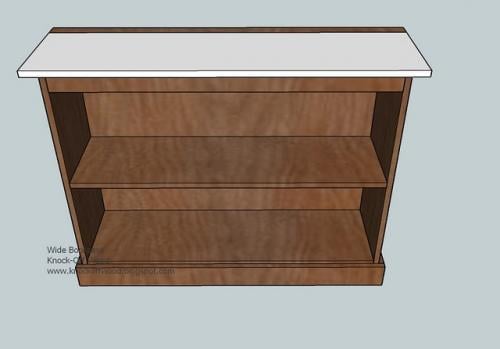
Then the front tabletop, I, and you are done with the framing.

Comments
Laurie (not verified)
Sun, 01/17/2010 - 21:10
What type of wood do you use
What type of wood do you use to make this bookcase? I saw that you use a lot of pine; but I have heard it is soft. I have a LOT of books, so don't want bendy boards. Thank you for your response.
Ana White (not verified)
Sun, 01/17/2010 - 21:21
Hi Laurie, there is actually
Hi Laurie, there is actually a post in the HOW-TO section that discusses the different types of wood. Pottery Barn actually uses lots of pine these days. Pine has more strength than MDF for shelving.
However, pine will dent and scratch easily.
You can use hardwood plywood for the sides, top and shelves, and then frame the edges out in matching hardwood. This is how PB Kids built this bookcase.
Hope this helps!
Ana
Casey (not verified)
Sat, 02/13/2010 - 17:10
Hi Ana! I love your plans!
Hi Ana! I love your plans! I'm confused as to why we need two tabletop pieces (I and H) instead of just one? I want to make sure I do this right! Thanks!
Ana White (not verified)
Sat, 02/13/2010 - 17:14
Casey, it's because the
Casey, it's because the widest width board in solid wood is a 1x12, but you need a wider width for the top.
jbsquared (not verified)
Thu, 09/23/2010 - 11:26
Hi Ana! I'm just wondering
Hi Ana! I'm just wondering if you have any suggestions for modifying your plans? For example - I want to make these bookcases to go on either side of my fireplace, but I want them wider than in your plan. (I want the total width to be about 52, instead of 44 1/2 inches.) Can I just lengthen the width of each board cut by a certain number of inches? Or will that throw everything off? And what if I want to make the whole thing a little bit deeper - say, 15 inches instead of 13 1/4?
I absolutely LOVE your plans, but sometimes I need to adjust things a little so they will fit in my spaces! Any suggestions would be appreciated. Thanks!!
The Joys of A … (not verified)
Sun, 01/09/2011 - 20:50
[...] plans are from Ana
[...] plans are from Ana White — one of my favorite blogging ladies — and can be found at: http://ana-white.com/2009/12/plans-just-like-thomas-wide-bookcase.html. I just added another shelf to make it taller and suit our needs. They are basically a [...]
Shasta (not verified)
Tue, 03/27/2012 - 17:44
I just want to add about the
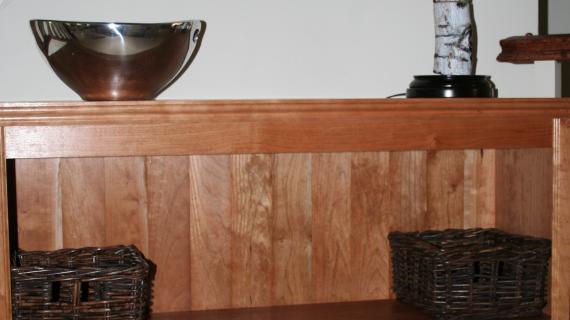
I just want to add about the comments about different woods. We have a hardwood lumber shop here and I only get my wood from there. Pine does scratch easily, I don't prefer to use pine just because we will be moving several more times before we end up in a home. I just don't want to wait to build stuff I need. :) I built this bookcase out of cherry plywood. It didn't cost as much as solid cherry and since it is cherry it won't scratch or dent as easily as pine. There are tons of options out there. Good luck!
Shasta
Kleinzeit
Wed, 02/22/2017 - 11:24
First Build
Hi Ana,
Love your site. About to attempt my first build - the Tommy bookcase.
I'm a bit confused about the call for 1 - 1x2 @ 12 feet, as the only 1x2 pieces I see in the cut list are 1 x 40" and 1 x 44 1/2", and it seems like an 8 foot length would be sufficient for that. Am I missing something?
Thanks, Graeme