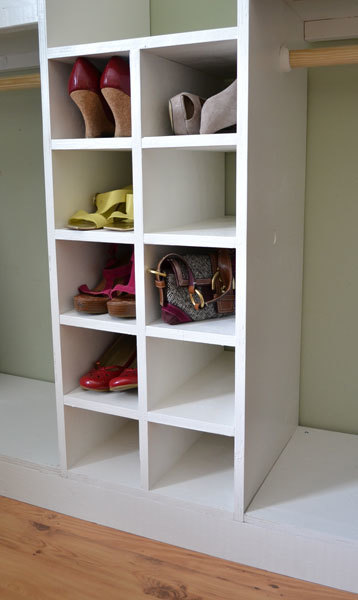
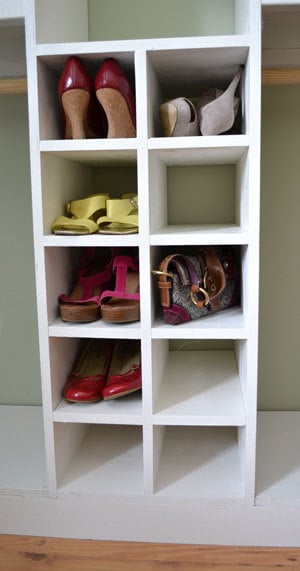
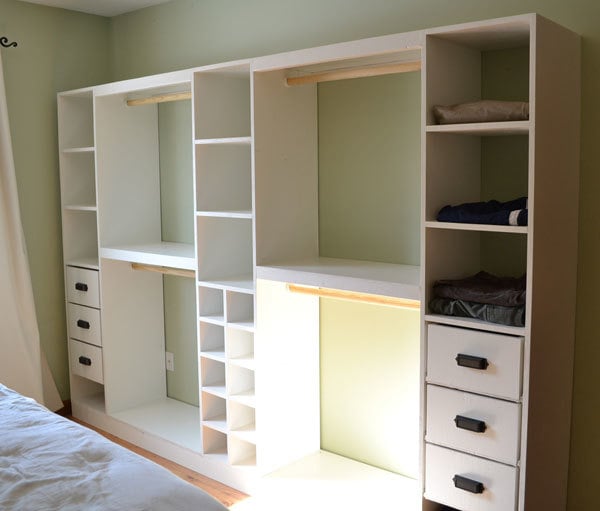
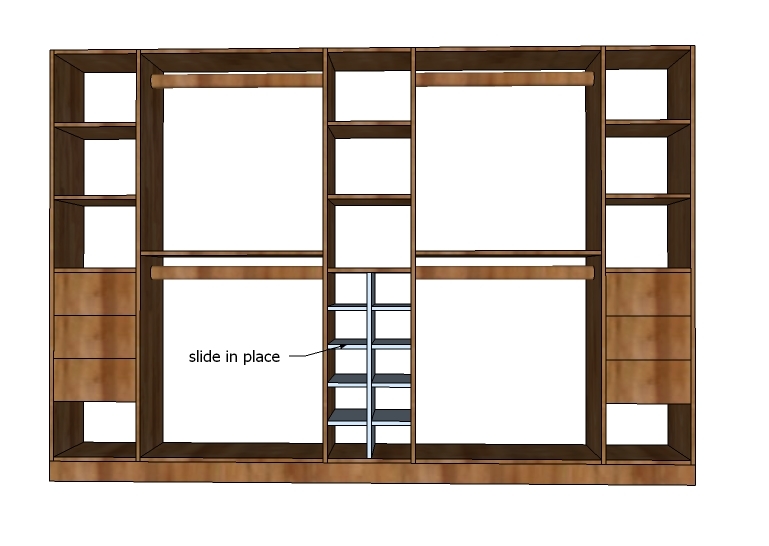
A slide in cubby divider for the Master Closet System. Fits shoes, handbags, and other small accessories. Uses scraps leftover from the Master Closet System - so you can build this for free!
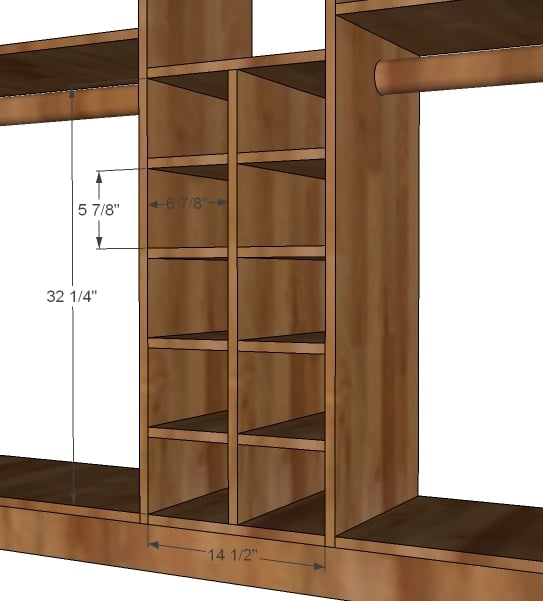
Preparation
8 - 1x16 @ 6 7/8"
Please read through the entire plan and all comments before beginning this project. It is also advisable to review the Getting Started Section. Take all necessary precautions to build safely and smartly. Work on a clean level surface, free of imperfections or debris. Always use straight boards. Check for square after each step. Always predrill holes before attaching with screws. Use glue with finish nails for a stronger hold. Wipe excess glue off bare wood for stained projects, as dried glue will not take stain. Be safe, have fun, and ask for help if you need it. Good luck!
Instructions
Step 1
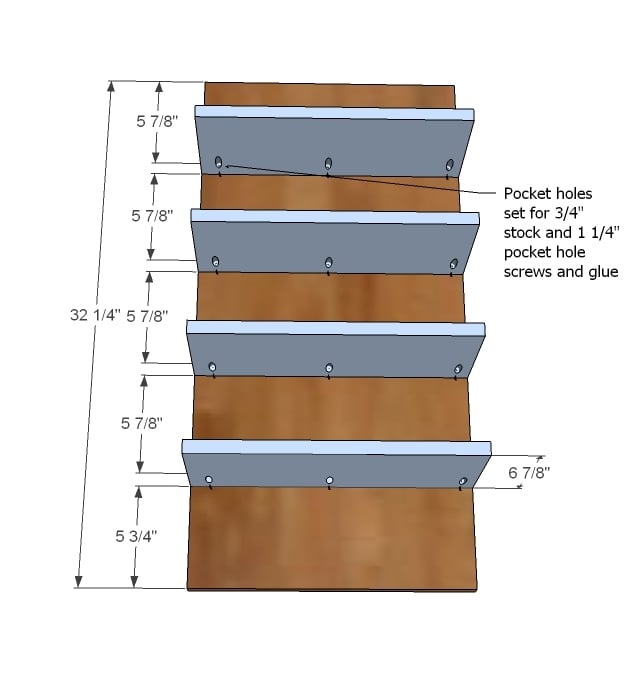
Start by marking the center board on both sides with the square as shown above. Then use the Kreg Jig™ to drill pocket holes along one edge of all of the shelf boards as shown above. Set your Kreg Jig™ for 3/4" stock. Use glue and 1 1/4" pocket hole screws to attach the shelves to the center divider.
I highly recommend using the Kreg Jig™ for this application because the cubby unit will not be permanently attached to the closet itself (so you can remove it) and using the Kreg Jig™ will ensure sturdy, square joints.
It is always recommended to apply a test coat on a hidden area or scrap piece to ensure color evenness and adhesion. Use primer or wood conditioner as needed.





Comments
whitney_smith
Thu, 04/21/2011 - 11:40
Question for everyone!!!
I really love and need this closet system but am looking for advice on just how to set it up. Our closets have sliding doors, should I take those off and go with a curtain? Plus, on either side of the door we have an additional 2 feet of space. What can I build to put in there and still have easy access and be able to hang?
Guest (not verified)
Sun, 04/24/2011 - 17:38
I would replace the sliding
I would replace the sliding doors with bi-folding doors. I personally think it looks neat. I tend to think that curtains on anything other than windows looks a bit messy.
Keri Lee
Mon, 04/25/2011 - 21:42
RE: guest
I agree with the other commenter in regards to the bi fold doors, but I disagree that curtains always look sloppy. I think as long as you mount them nicely and keep them clean and ironed, they look great.
Maybe you could install additional shelving to that extra space on the sides. I haven't thought this all the way through, but maybe you could install the shelves so they run from the front to the back. It would look like you turned two bookcases toward each other. I'm not sure how you would incorporate the rest of the closet system, however. If it were my closet, I would probably just extend the hanging rod to the sides and use that space to store my out of season clothing.
In reply to Question for everyone!!! by whitney_smith
ACraftyCauldron
Tue, 04/26/2011 - 07:47
Same Issue
I have the same issue in each of my closets. I think it's all going to come down to the numbers and decising in which areas sacrifices can be made to make gains in others. I like the shelving idea and am trying to figure out how to possible tie that in with the master system. I'm sure it can be done, just takes time and patience - two things on which I always run short! LOL
Earle R (not verified)
Mon, 01/16/2012 - 11:20
Cothes closet bar height levels
Sir or madam,
I am building a walk in closet in our basement and need your help.
Please recommend the correct level measurements needed for hanging two bars in a clothes closet for mens shirts.
The area measurements are 54" (W) x 15" (D) x 69 1/4" (H) allowing 3/4" from the concrete floor for underpad and carpet.
woodworkingfou…
Mon, 03/30/2015 - 17:21
Wood material
It states your cost under is 20 bucks, what type of wood did you use?
If I use a kreg jig, I avoid mdf.
Thanks
Ian