


Build closet drawers with this free, simple, step by step tutorial.


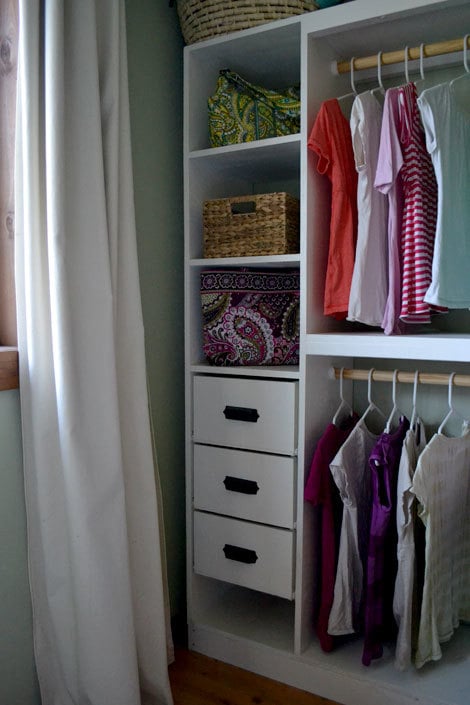
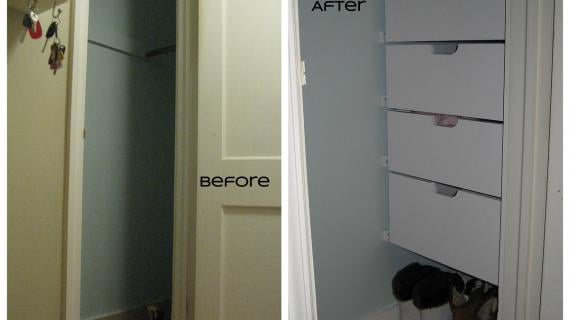
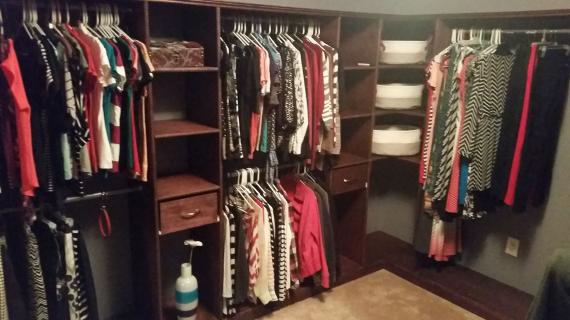
The Closet

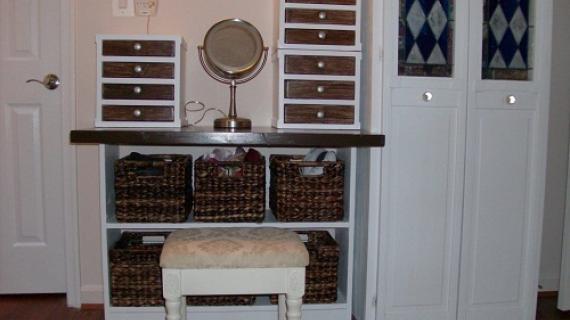
Shoe Cubbies
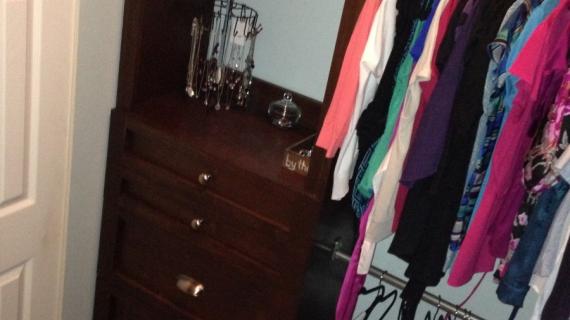
Closet Drawers

Preparation
1x8 boards for drawer sides (you can use any width board)
1/4" plywood for drawer bottoms
Cheapo White Euro Drawer slides in matching width
Drawer Knob or Handle
Cut to fit your drawers


Please read through the entire plan and all comments before beginning this project. It is also advisable to review the Getting Started Section. Take all necessary precautions to build safely and smartly. Work on a clean level surface, free of imperfections or debris. Always use straight boards. Check for square after each step. Always predrill holes before attaching with screws. Use glue with finish nails for a stronger hold. Wipe excess glue off bare wood for stained projects, as dried glue will not take stain. Be safe, have fun, and ask for help if you need it. Good luck!
Instructions
Step 1

For me the greatest opportunity to not get drawers right is #1 - not having your cabinet built square and #2 - not building to fit. Drawers are very precise, and I always recommend building to suit your project. Board widths can be off just a tiny bit, and that messes everything up.
So start by measuring the inside width of your closet.
Step 2

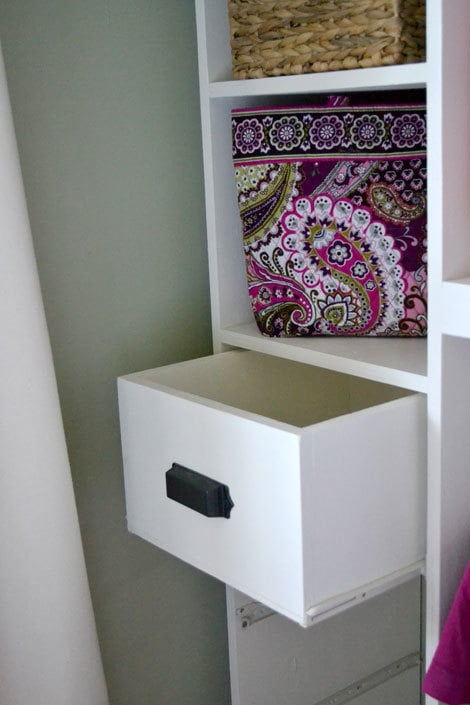
Now build your drawers to fit. My drawers don't even have a full face. I just built boxes and the slides and 1/2" gaps are visible on all four sides. It's a closet.
Step 3

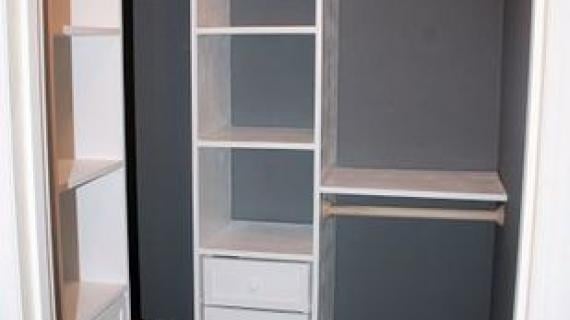
Now this is where things can get a little confusing - installing the cabinet members.
First, figure where you want the bottom of your drawer to sit. For standard drawers, you'd want to add 1/8 to the top for clearance, and then the overall height of your drawer to the bottom of your drawer box. For my drawers, I added 1/2" because I wanted the 1/2" gap on the sides to match up with a 1/2" gap on the top.
Draw a line with a square so you know it's square to your cabinet. Do this on both sides. Then install the cabinet members so the long straight area is on the line you drew.
Do one cabinet member/drawer at a time, working your way from the top down.
Step 4

Easy step - attach drawer members to the drawer box. I love these slides so much because they cup the bottom corner of your drawer boxes, keeping the drawer bottom attached. Then you don't have to do fancy woodworking to put bottoms on drawers.
Step 5
Step 6

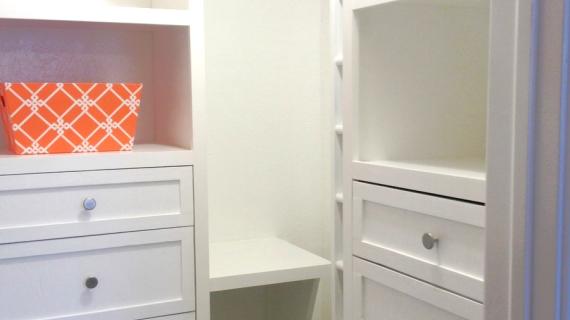
I ended up with a little space at the bottom. It's a perfect spot for a few more pairs of shoes!
It is always recommended to apply a test coat on a hidden area or scrap piece to ensure color evenness and adhesion. Use primer or wood conditioner as needed.

Comments
mmuldoon
Fri, 09/09/2011 - 11:35
What type of wood used
Hey Ann,
I'm going to be doing all our closets this fall and winter, I was just wondering what kind of wood you used for your closet system. Also do you use the same wood in pretty much all your projects.
Thanks,
Matthew
ps. Love the site, has helped me to get into woodworking, and I'm loving it.
In reply to What type of wood used by mmuldoon
Ana White
Fri, 09/09/2011 - 12:35
Hi Mathew, thank you! Isn't
Hi Mathew, thank you! Isn't woodworking just magical?
This closet system is built with cabinet grade plywood, thus the $200 price tag. I really wanted something that would last and last, and not fall apart after a few years.
If you were to make of the quality of closets you buy, you could get away with Particle Board, and spend under $100 - but I would never recommend particle board for drawers. My drawers are actually made from the leftover cabinet grade plywood ripped into 1x8 widths, but pine 1x8s would do the trick too.
You could probably get away with 1/2" plywood as well - but this will affect the cuts of your drawer so do some additional figuring.
Best of luck, thanks for reading!
Ana
Jackie (not verified)
Fri, 09/09/2011 - 11:50
Drawer pulls
Hi Ana- This is looking great!
I'm going to tackling a set of the apothecary cabinets this winter and I've been on the hunt for just the right hardware. I'm really liking the styling of these- where are they from?
Thanks for everything!
In reply to Drawer pulls by Jackie (not verified)
Ana White
Fri, 09/09/2011 - 12:37
Hi Jackie, thank you for
Hi Jackie, thank you for reading and liking my closet! It doesn't always have coordinated colors in it :) if you know what I mean heheh . . .
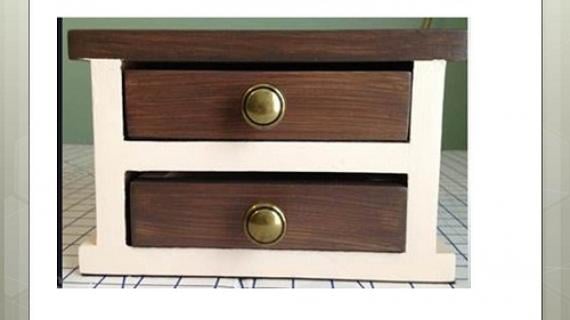
Anyway, the pulls are from the Martha Stewart Living Collection available at Home Depot. I LOVE them - they made a blah drawer look beautiful!
Best luck on your apothecary cabinet!
Anneke McConnell (not verified)
Fri, 09/09/2011 - 16:07
I need to add drawers to our
I need to add drawers to our closet! Thank you!!! Btw...those are my favorite pulls when putting them on furniture. Affordable and super stylish!
Amy Bouchard (not verified)
Sat, 09/10/2011 - 02:29
pdf
Anna,
Love the closet system. I cannot get the PDF page for the drawers to work, but the others do.
Just thought I'd let you know.
Keep up the great ideas!
CL2 (not verified)
Mon, 09/12/2011 - 09:01
This is exactly what I've
This is exactly what I've been waiting for. A way to make a lot of cheap storage drawers. (I want to build a large cabinet with 10-15 shallow drawers for storing craft supplies.)Where did you get the drawer slides and, may I ask, how much did they cost? With that many drawers, I need to cheapest drawers slides possible. TIA
Indy69
Sun, 11/20/2016 - 16:32
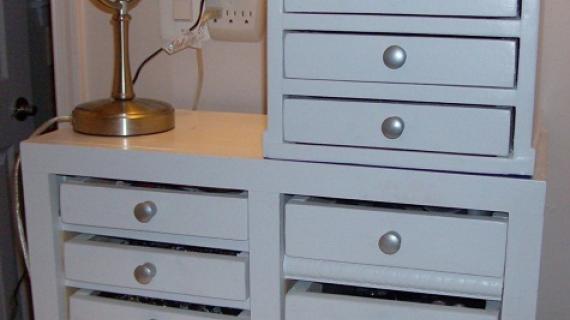
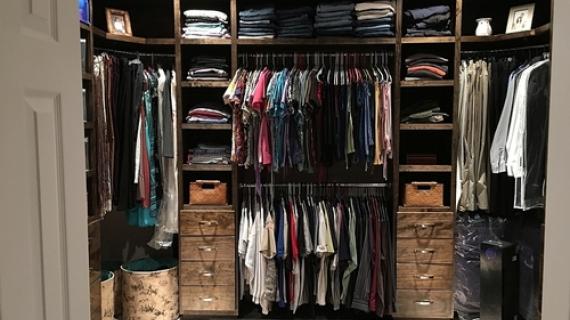
See my pics and read my
See my pics and read my statement on how I built my closet. It explains where I got my drawer slides. I installed 16 soft-close easy glide drawer slides on Amazon for $120. This included the rear attaching brackets that you slide on the back end of the slides and make installing them so much easier.
Hope this helps.
BookladyDavina (not verified)
Wed, 03/28/2012 - 16:59
pfd link down
just wanted to let you know the PDF link for this project is broke. we're currently working on completely redoing our master bed/bath and the closets. snatching a bunch of your plans and coming up with a few of our own