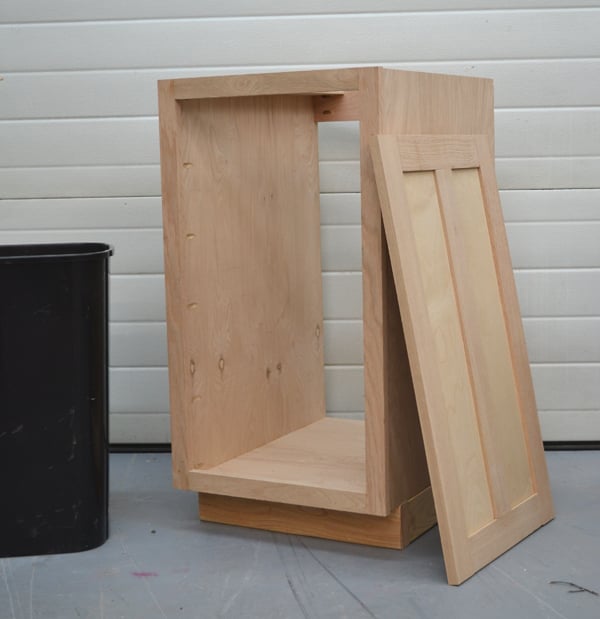


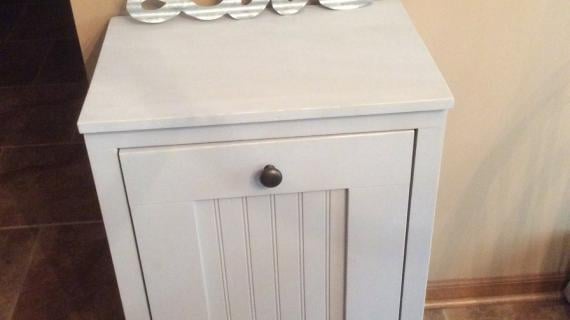
How to build kitchen cabinets! This plan is for an 18" wide full overlay face frame pull out trash bin. It can also be used as a cupboard with door for storage - just add shelves. Free easy step by step plans.


We've had this one built for a bit now, but are waiting on some nice slides before installing the trash component. I don't know - 10, 20, 100? - how many times the trash drawer is accessed in our home on a daily basis, so we wanted to make sure the trash was as convenient as possible for the Moms.

Preparation
One sheet 3/4" hardwood plywood cut into strips 22 3/4" wide by 8 feet long (you will only need half a sheet, but to get the cuts, you will need to buy a whole sheet - save the scrap down the center for supports - these will be referred to as 1x24 boards throughout plan)
1 - 1x2 @ 8 feet long
1 - 2x4 @ 8 feet long or stud length
1 - 1x4 @ 8 feet long
drawer slides
1/2" plywood if required by drawer slides
1/4" sheet of 1/4" plywood for back
You will also need to make or buy a door
And of course - you will need a trash can that fits.
Box
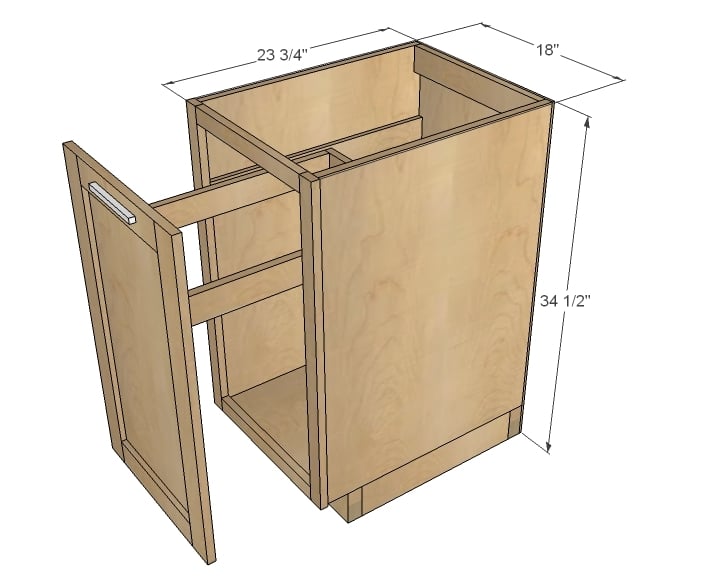
2 - 1x24 @ 31" (Sides)
1 - 1x24 @ 16" (Bottom)
1 - 1x4 or scrap plywood @ 16" (Back Support)
2 - 1x4 or scrap plywood @ 22" (Countertop supports)
1- 1/4" plywood @ 17 1/2" x 34 1/2" (Back)
Face Frame
2 - 1x2 @ 15"
2 - 1x2 @ 31"
Base
4 - 2x4 @ 17 1/2"
Drawer Assembly
2 - 1/2" plywood @ 22 3/4" x 3" (spacer if your drawer slides are side mount and require)
2 - 1x4 @ 14"
2 - 1x4 @ 21 1/4"
Door
Overall 30 1/4" x 17 1/2"
NOTE: 1x24 board is simply 3/4" plywood ripped into strips 22 3/4" wide by 8 feet long.


Please read through the entire plan and all comments before beginning this project. It is also advisable to review the Getting Started Section. Take all necessary precautions to build safely and smartly. Work on a clean level surface, free of imperfections or debris. Always use straight boards. Check for square after each step. Always predrill holes before attaching with screws. Use glue with finish nails for a stronger hold. Wipe excess glue off bare wood for stained projects, as dried glue will not take stain. Be safe, have fun, and ask for help if you need it. Good luck!
Instructions
Step 1

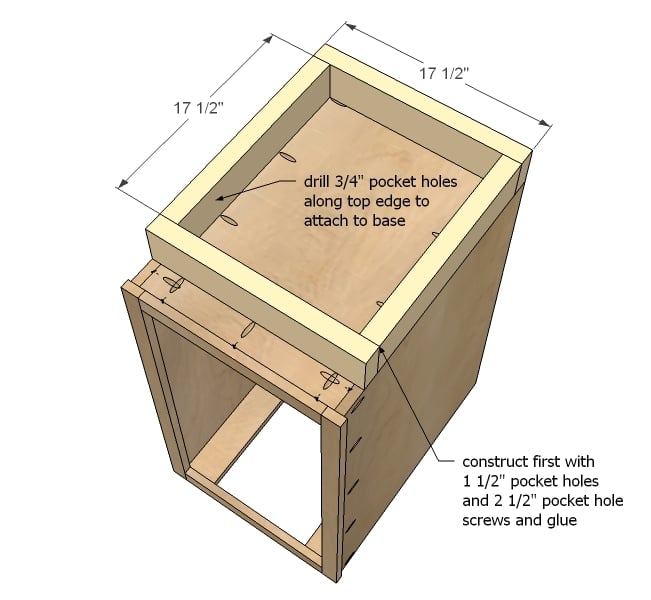
Make sure you go through and drill all pocket holes before assembling. It's much easier to drill pocket holes on boards than on trash bins!
Attach bottom to sides with glue and 1 1/4" pocket hole screws.
Step 2

Now the back support. We used the scraps from cutting the plywood for supports but you can use 1x4s or 1x3s.
Step 3

Build the face frame on a flat, smooth table with clamps. Make sure it's square, joining joints with 3/4" pocket holes and 1 1/4" pocket hole screws and glue. Mark sides at 1/4" for side overhang and attach to face of cabinet through predrilled pocket holes.
Step 4

These guys are for attaching the countertop plywood. Also attach to sides (not shown in diagram) for further lateral support.
Step 5
Step 6

Now most steps from here on out are dependent on how your drawer slides work. For standard side mount slides, you will most likely need to add a spacer to bring the slides flush with the inside of the face frame. 1/2" plywood does the trick nicely. You will want to mount at the height of your trash can - see next step.
Step 7

For the trash pullout, this is also dependant on the type of trash can you use. We've got this plan set up to fit two, side by side. You can easily add more compartments or even place the trash pullout on the bottom - with a bottom of course - to just act as a pull out platform for your trash can. Note: if you do this, I recommend adding cross supports for extra strength.
Step 8

Attach trash pullout assembly to door, with door flush to bottom and a 1/4" gap on each side. Use screws.
Step 9

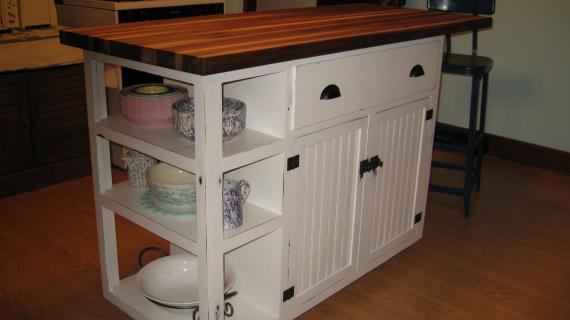
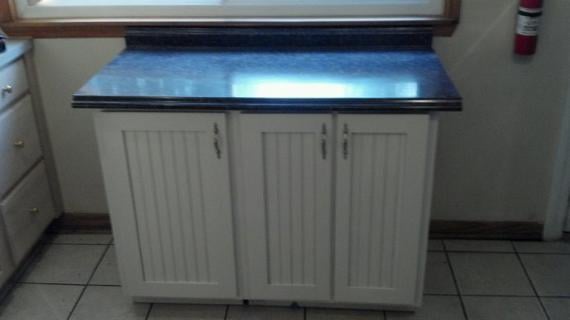
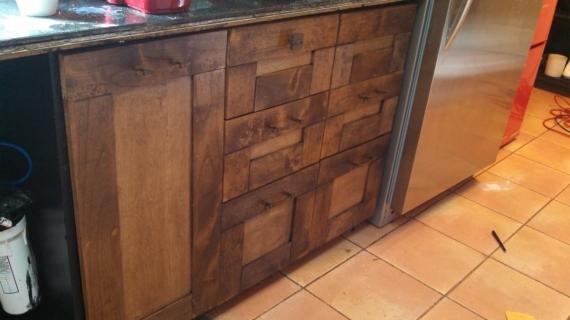
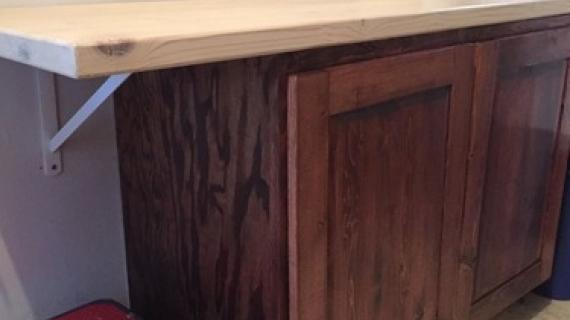
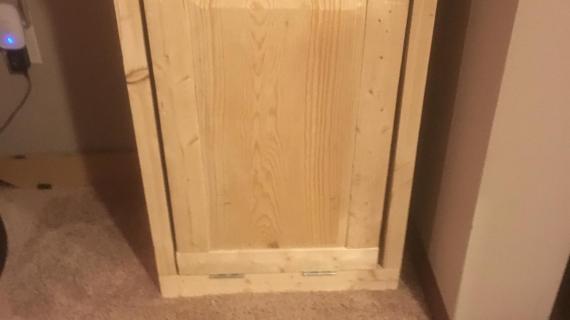
A view of the door. You can order doors, use wood slabs, make doors, and I will be posting tutes for the doors we made.
Step 10

Finally, add the back. I like to add backs after installing drawer slides just because it's easier to reach in and work on things without a back. use glue and 1 1/4" finish nails.
It is always recommended to apply a test coat on a hidden area or scrap piece to ensure color evenness and adhesion. Use primer or wood conditioner as needed.

Comments
DR (not verified)
Wed, 01/25/2012 - 00:58
Great Job!
These cabinet plans have been awesome. Thank you so much.
I think the cut list may need some attention for the box sides and bottom. They look to be a bit wide right now (24"?)
Take care.
Guest (not verified)
Wed, 01/25/2012 - 04:37
Love it
Keep them coming! My husband and I have only tackled small building projects but plan on building our kitchen. Prices at the big box store were$ 10,000. With three kids that is a big fat No!! My question to is will you be making a pantry cabinet plan as well. I need a place to store extra food!! Thanks so much for the free plans, enjoy your trip!
Guest (not verified)
Wed, 01/25/2012 - 11:03
Have a GREAT VACATION, White
Have a GREAT VACATION, White family! Love your little pink sunkissed cheeks in your pics!! The world will wait till you finish enjoying yourselves (I know I will!).. You deserve every second of your vacation. Have fun and Enjoy!!
Cindy from Indiana (not verified)
Wed, 01/25/2012 - 11:44
Enjoy that vacation!
You guys enjoy that vacation! You deserve it!
Keep these kitchen cabinet plans coming, ok? I never thought I'd be saying (typing?) this, but I do believe I am going to build an entire new kitchen for my house! Woot!
Of course, that will have to come after about eleventy-bazillion other Ana-inspired projects, but it IS coming!
Looking forward to the door tuts, too. The style you are doing right now (shown in the pics) is perfect for me as I plan to do a cottage style kitchen.
Have fun and come back to us when you guys are all recharged!
Cindy
pecma01
Thu, 01/26/2012 - 18:41
Perfect timing!
This plan is timed perfectly for my next project at home! We are planning a small kitchen peninsula where we want a couple of base cabinets to hide the trash and recycling bins. Our issue is that we can't go with the standard cabinet depth due to the location of where the peninsula will be going... so either I have to order a custom cabinet, buy a stock cabinet, and cut a strip out of the middle... OR BUILD MY OWN!! I like the third option so much cheaper.... I mean better. Of course I will need to modify the plans for my needs, but that is what is so great about your plans... so simple and easy!!
Reys (not verified)
Sun, 01/29/2012 - 20:42
Nice work! It's so simple and
Nice work! It's so simple and easy to build. This kind of project don't need expensive materials and can be create without any power tools. So, the beginners should try :)
annalea
Mon, 02/06/2012 - 15:09
Such pretty doors . . . please stop teasing . . . lol
So, all you need to post now is plans for a 30" wide drawer base, three drawers high, with the top drawer split into two, and tutorials to build the doors. Door building is all that my husband has been hesitant about . . . . please, pretty please, door tutorials soon?
Thanks for all you do!
Matthew (not verified)
Thu, 02/16/2012 - 11:26
Impatiently waiting for the door plans/tutorial
Hi Ana,
My wife and I are in the midst of refacing our kitchen cabinets and I've been trying to decide whether to use Barker Door (or another company like them) or build doors from (hopefully) your plans. I've been trying to wait patiently, but it's been 3 weeks since this post and I haven't seen any other mention on the door plans. Are they still coming?
Linda W (not verified)
Sat, 02/18/2012 - 12:11
I'm thinking two of these for
I'm thinking two of these for my laundry room would be great, lights and darks. Hmm, now to convince hubby.
spiceylg
Thu, 12/06/2012 - 07:47
Question
Ana, I have a double sink bathroom vanity in the master bath. In between the lower cabinetry is a space for a chair. I don't use it as I have a separate make-up vanity in the master bedroom. I would like to build a cabinet inbetween the two lowers and put in two big drawers. How would I modify this cabinet besides the obvious sizes dimensions and adding a shelf?
Jesse Klickman (not verified)
Sat, 12/29/2012 - 19:29
Where can I find the cabinet
Where can I find the cabinet door tutorial that you mentioned in this post?
kongk
Tue, 05/21/2013 - 06:24
I learn some new stuff from
I learn some new stuff from it too, thanks for sharing your information.
Good Relationship With A1 Direct Casket
GraceR
Thu, 03/19/2015 - 17:24
Frameless cabinets
Ana, I've just discovered you and your awesome! I'm wondering if you have any advice for building frameless cabinets? Thanks, Grace
In reply to Frameless cabinets by GraceR
Ana White
Fri, 03/20/2015 - 10:30
Hi Grace,
Hi Grace,
We don't have a plan for that at this time, however I found this nice
tutorial
http://tombuildsstuff.blogspot.com/2013/06/how-to-build-frameless-wall-…
Hope this helps!
Chomer22
Thu, 01/30/2020 - 17:43
Cabi Doors
I haven’t seen any plans or tutorials for doors and draw front and I need some for a18” And 24” and 36” cabinet my sink base will be the 36” one