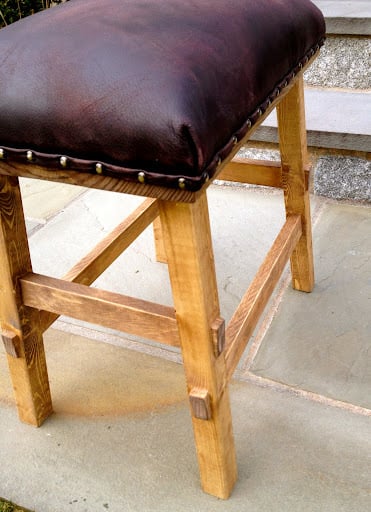


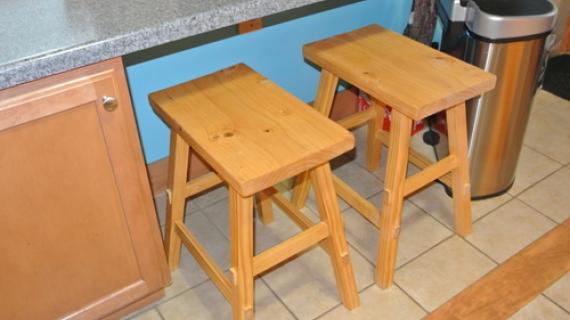
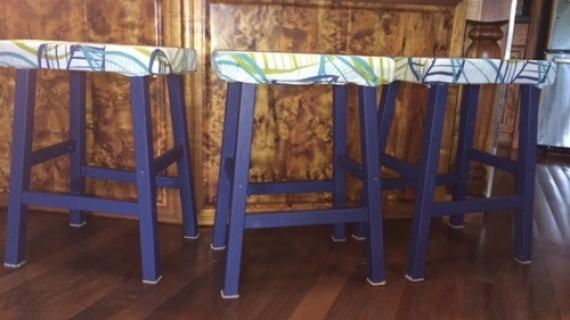
How to build leather nailhead upholstered stools inspired by Pottery Barn Caden Nailhead Barstools. Free easy plans include tutorial for nailhead upholstery.

Preparation
1 - 2x2 @ 8 feet long
1 - 1x2 @ 8 feet long
1 - 2x12 @ 18 1/2" long
Use either 2 1/2" and 1 1/4" pocket hole screws OR 3" trim screws countersunk
1 - 2x12 @ 18 1/2"
4 - 2x2 @ 22 3/8" (long point to short point, ends cut parallel at a 5 degree double bevel)
2 - 1x2 @ 9 3/8" (long point to long point, ends NOT parallel, ends cut at 5 degrees off square)
2 - 1x2 @ 14" (long point to long point, ends NOT parallel, ends cut at 5 degrees off square)
8 - 1x2 @ 1/2" - one end cut at 5 degrees off square


Please read through the entire plan and all comments before beginning this project. It is also advisable to review the Getting Started Section. Take all necessary precautions to build safely and smartly. Work on a clean level surface, free of imperfections or debris. Always use straight boards. Check for square after each step. Always predrill holes before attaching with screws. Use glue with finish nails for a stronger hold. Wipe excess glue off bare wood for stained projects, as dried glue will not take stain. Be safe, have fun, and ask for help if you need it. Good luck!
Instructions
Step 1

Set your compound miter saw to a 5 degree bevel and 5 degree angle to create the 5 degree double bevel. Cut the end of the 2x2 off, as close as possible to the end. Measure down the outside edge 22 3/8" and mark and cut, without rotating the board. Repeat, simply moving the board down and cutting, without rotating the board, until you have all four legs cut.
Then position legs so they all point inward as shown in diagram. Mark inside corner. This will save much confusion later on.
Step 2

You can either use 3/4" pocket holes and 1 1/4" pocket hole screws or 3" countersunk screws. Position side rungs and attach in place with glue and screws.
Step 3

Next assemble the stool base by adding the remaining side stretchers.
Step 4

Add the top by either screwing through top (will be covered by upholstery) or using 1 1/2" pocket holes and 2 1/2" pocket hole screws and wood glue.
Step 5

Step 6


It is always recommended to apply a test coat on a hidden area or scrap piece to ensure color evenness and adhesion. Use primer or wood conditioner as needed.
Comments
Robert (not verified)
Tue, 02/14/2012 - 22:28
This is a nice design! I
This is a nice design! I really love designs on your blog.
Nicole S. (not verified)
Sat, 10/06/2012 - 07:36
Caden stool
Oh my goodness!! This is awesome!! I have been looking at the Caden square ottoman and thought it may be fun to try a DIY. I can't believe I found such awesome instructions!! Any way you could help with adjusting the measurements/instructions for a 42" square, 18" high ottoman? :) I love your website! Thanks!
Annetta Boyd (not verified)
Wed, 10/17/2012 - 21:42
a little intimidating!!!
I really need a stool for my workshop (recently vacated by my husband and I am just getting started!). But I am really afraid to tackle something with so many slanted cuts...I mean I can make slanted cuts all day long...just not on purpose :) I really love this stool but I think I will get a few simpler projects done first!