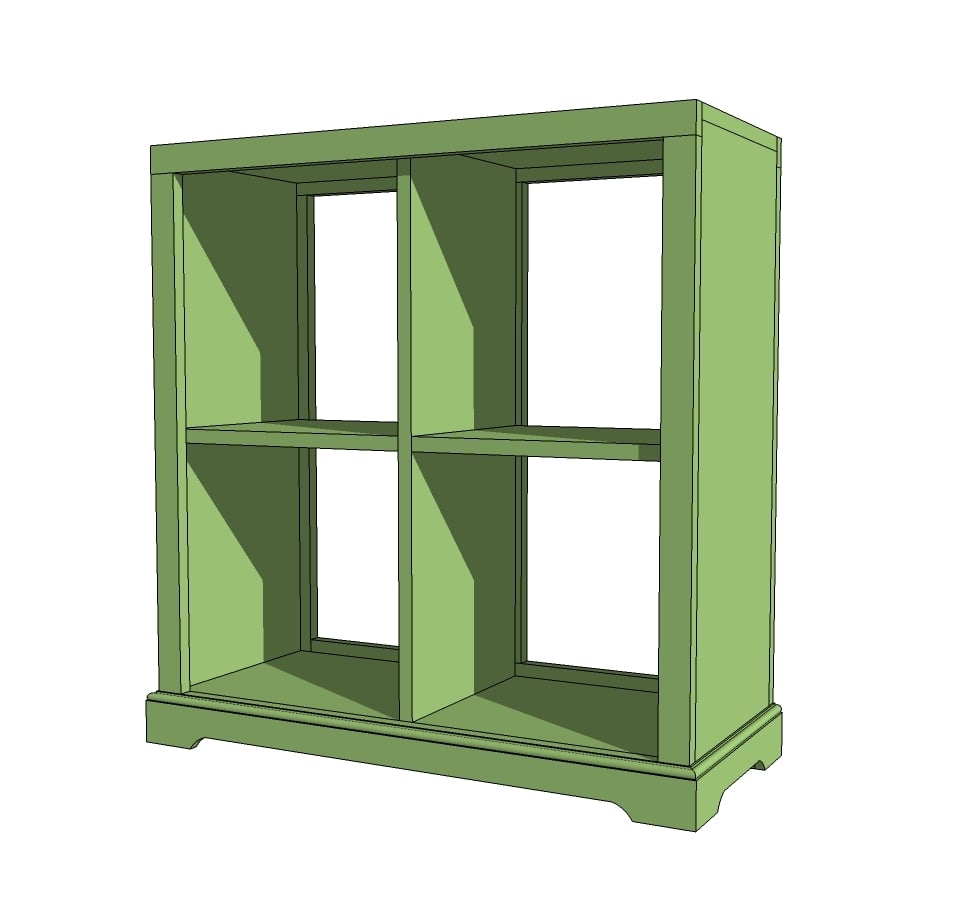


How to build a cubby bookshelf. Free easy plans with diagrams, cut list, shopping list and project video.

Preparation
2 - 1x12 @ 8 feet long
3 - 1x2 @ 8 feet long
Optional 2 1/4" base moulding (5 feet)
Optional shelf pins for adjustable shelves
Use either 1 1/4" pocket holes (with Kreg Jig) or 2" countersunk screws (with countersink bit)
Jigsaw is for decorative cuts
Mitersaw is for mitered corners on decorative base moulding
2 - 1x12 @ 31 1/4" (sides)
1 - 1x12 @ 28 1/2" (center divider)
1 - 1x12 @ 30 1/4" (top)
1 - 1x12 @ 28 3/4" (bottom shelf)
2 - 1x12 @ 14" (shelves)
FACE FRAMES
2 - 1x2 @ 30 1/4" (top)
4 - 1x2 @ 30 1/2" (sides)
2 - 1x2 @ 27 1/4" (bottom)
1 - 1x2 @ 27" (back, center - optional)
Mark your boards because it will be very easy to mix up boards on this one!


Please read through the entire plan and all comments before beginning this project. It is also advisable to review the Getting Started Section. Take all necessary precautions to build safely and smartly. Work on a clean level surface, free of imperfections or debris. Always use straight boards. Check for square after each step. Always predrill holes before attaching with screws. Use glue with finish nails for a stronger hold. Wipe excess glue off bare wood for stained projects, as dried glue will not take stain. Be safe, have fun, and ask for help if you need it. Good luck!
Instructions
Step 1

Start by building your box. You can either use 3/4" pocket holes and 1 1/4" pocket hole screws or 2" countersunk screws and glue.
Step 2

Shelves can be added fixed or added with shelf pins as done in the video. The side notch outs are optional, and you can actually do this later on as well.
Step 3

Add back face frame.
Step 4

And then the front face frame. If your shelves are adjustable, do not nail to shelves.
Step 5

It is always recommended to apply a test coat on a hidden area or scrap piece to ensure color evenness and adhesion. Use primer or wood conditioner as needed.
Comments
Guest (not verified)
Mon, 03/19/2012 - 05:38
cubby
I would be interested in seeing a 6 cubby as well as doors. I am looking to make something to replace an ugly hutch and was hoping for something about 35" high, 17" wide and 9' long (but can make multiple ones). This or the 6 cubby might work if it had doors.
Dr Watson
Mon, 03/19/2012 - 08:04
6 cubby version
Thank-you. My partner loves cubby shelves, and keeps wanting to buy the retail, paticle-board versions. With your plans, I can convince her that doing it ourselves will provide higher quality and value. I was excited to see the 9 cubby version, but I knew I'd have to modify a build of it to be smaller. I'd certainly have interest in seeing a 6 cubby version of these plans as well.
Sammi (not verified)
Mon, 03/19/2012 - 16:17
Definitely interested in a 6 cubby version.
Thank goodness! I was this close to making a trip to buy a similar one but made of that modular particle board stuff. Hopefully I can convince my hubby to assist in the build.
Ana White
Mon, 03/19/2012 - 17:21
Thanks for speaking up! Will
Thanks for speaking up! Will post the 6 Cubby Bookshelf plan as well!
Mary B Robinson (not verified)
Tue, 03/20/2012 - 17:22
Hooray - I also want a 6
Hooray - I also want a 6 cubby shelf - it will be perfect for what I need!
Thanks!
imadok
Mon, 03/19/2012 - 19:28
8-cubby shelf?
I love love love all the cubby plans! I would love to see plans for an 8-cubby shelf, especially one that could be upright or on its side depending on changing needs. I know you already have a 6-cubby shelf plan somewhere on the site. Would this new one be very different? It seems like each cubby hole is a little bigger in this batch of plans than in the older batch, right?
Adam (not verified)
Sun, 03/25/2012 - 21:58
Baskets?
So, a 1x12 is 11.25" wide, and I'm only finding baskets around 13.75" deep. Is there someplace you can find baskets that aren't as deep, or do they stick out from the front of the shelf by a couple inches? Does it look funny? This is just what I'm getting drawing it in Sketchup. Also, I'm drawing a 12 basket unit (4 wide by 3 tall) to go under a bar height counter that we don't use as a bar.
In reply to Baskets? by Adam (not verified)
leejae76
Thu, 06/28/2012 - 18:47
Baskets
Pottery Barn Kids has some cute baskets in three colors - "Sabrina" is the name. They are 12x12 at the top, and I believe 9.5" at the base. They are pricey, but well made, and you can get cute liners...
Guest (not verified)
Tue, 03/27/2012 - 17:31
Great Video. Thank you.
Great Video. Thank you.
Marrie C (not verified)
Sun, 05/27/2012 - 17:39
Love the cubby storage
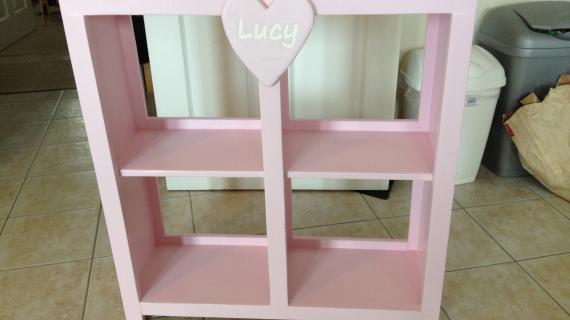
Hi love this design of the cubby storage. I had my own go at it, made it smaller for shoes, I am very pleased the way it came out, not perfect, but functions for what I need it for. The next one will be more like the one you made, with bigger cubbies. Love your site!!!
pilot1910
Sat, 11/17/2012 - 16:21
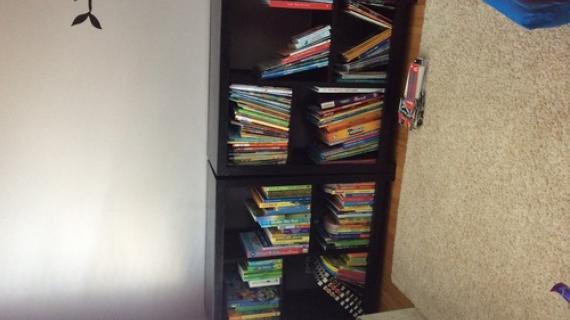
I used 4 inch boards
I had a tight space in the girls room. This plan worked out well with 4 inch boards for a shallow cubbie shelf. It holds small books and CDs.
pilot1910
Sat, 11/17/2012 - 16:22
I used 4 inch boards
I had a tight space in the girls room. This plan worked out well with 4 inch boards for a shallow cubbie shelf. It holds small books and CDs.
Terry223
Fri, 02/05/2016 - 21:15
Would like a cubbie that I can put laundry baskets in
I'm interested in doing a cubby like this. One to fit laundry baskets in.
In reply to Would like a cubbie that I can put laundry baskets in by Terry223
Ana White
Sat, 02/06/2016 - 13:00
This is what we have http:/
This is what we have http://www.ana-white.com/2010/11/laundry-basket-dresser