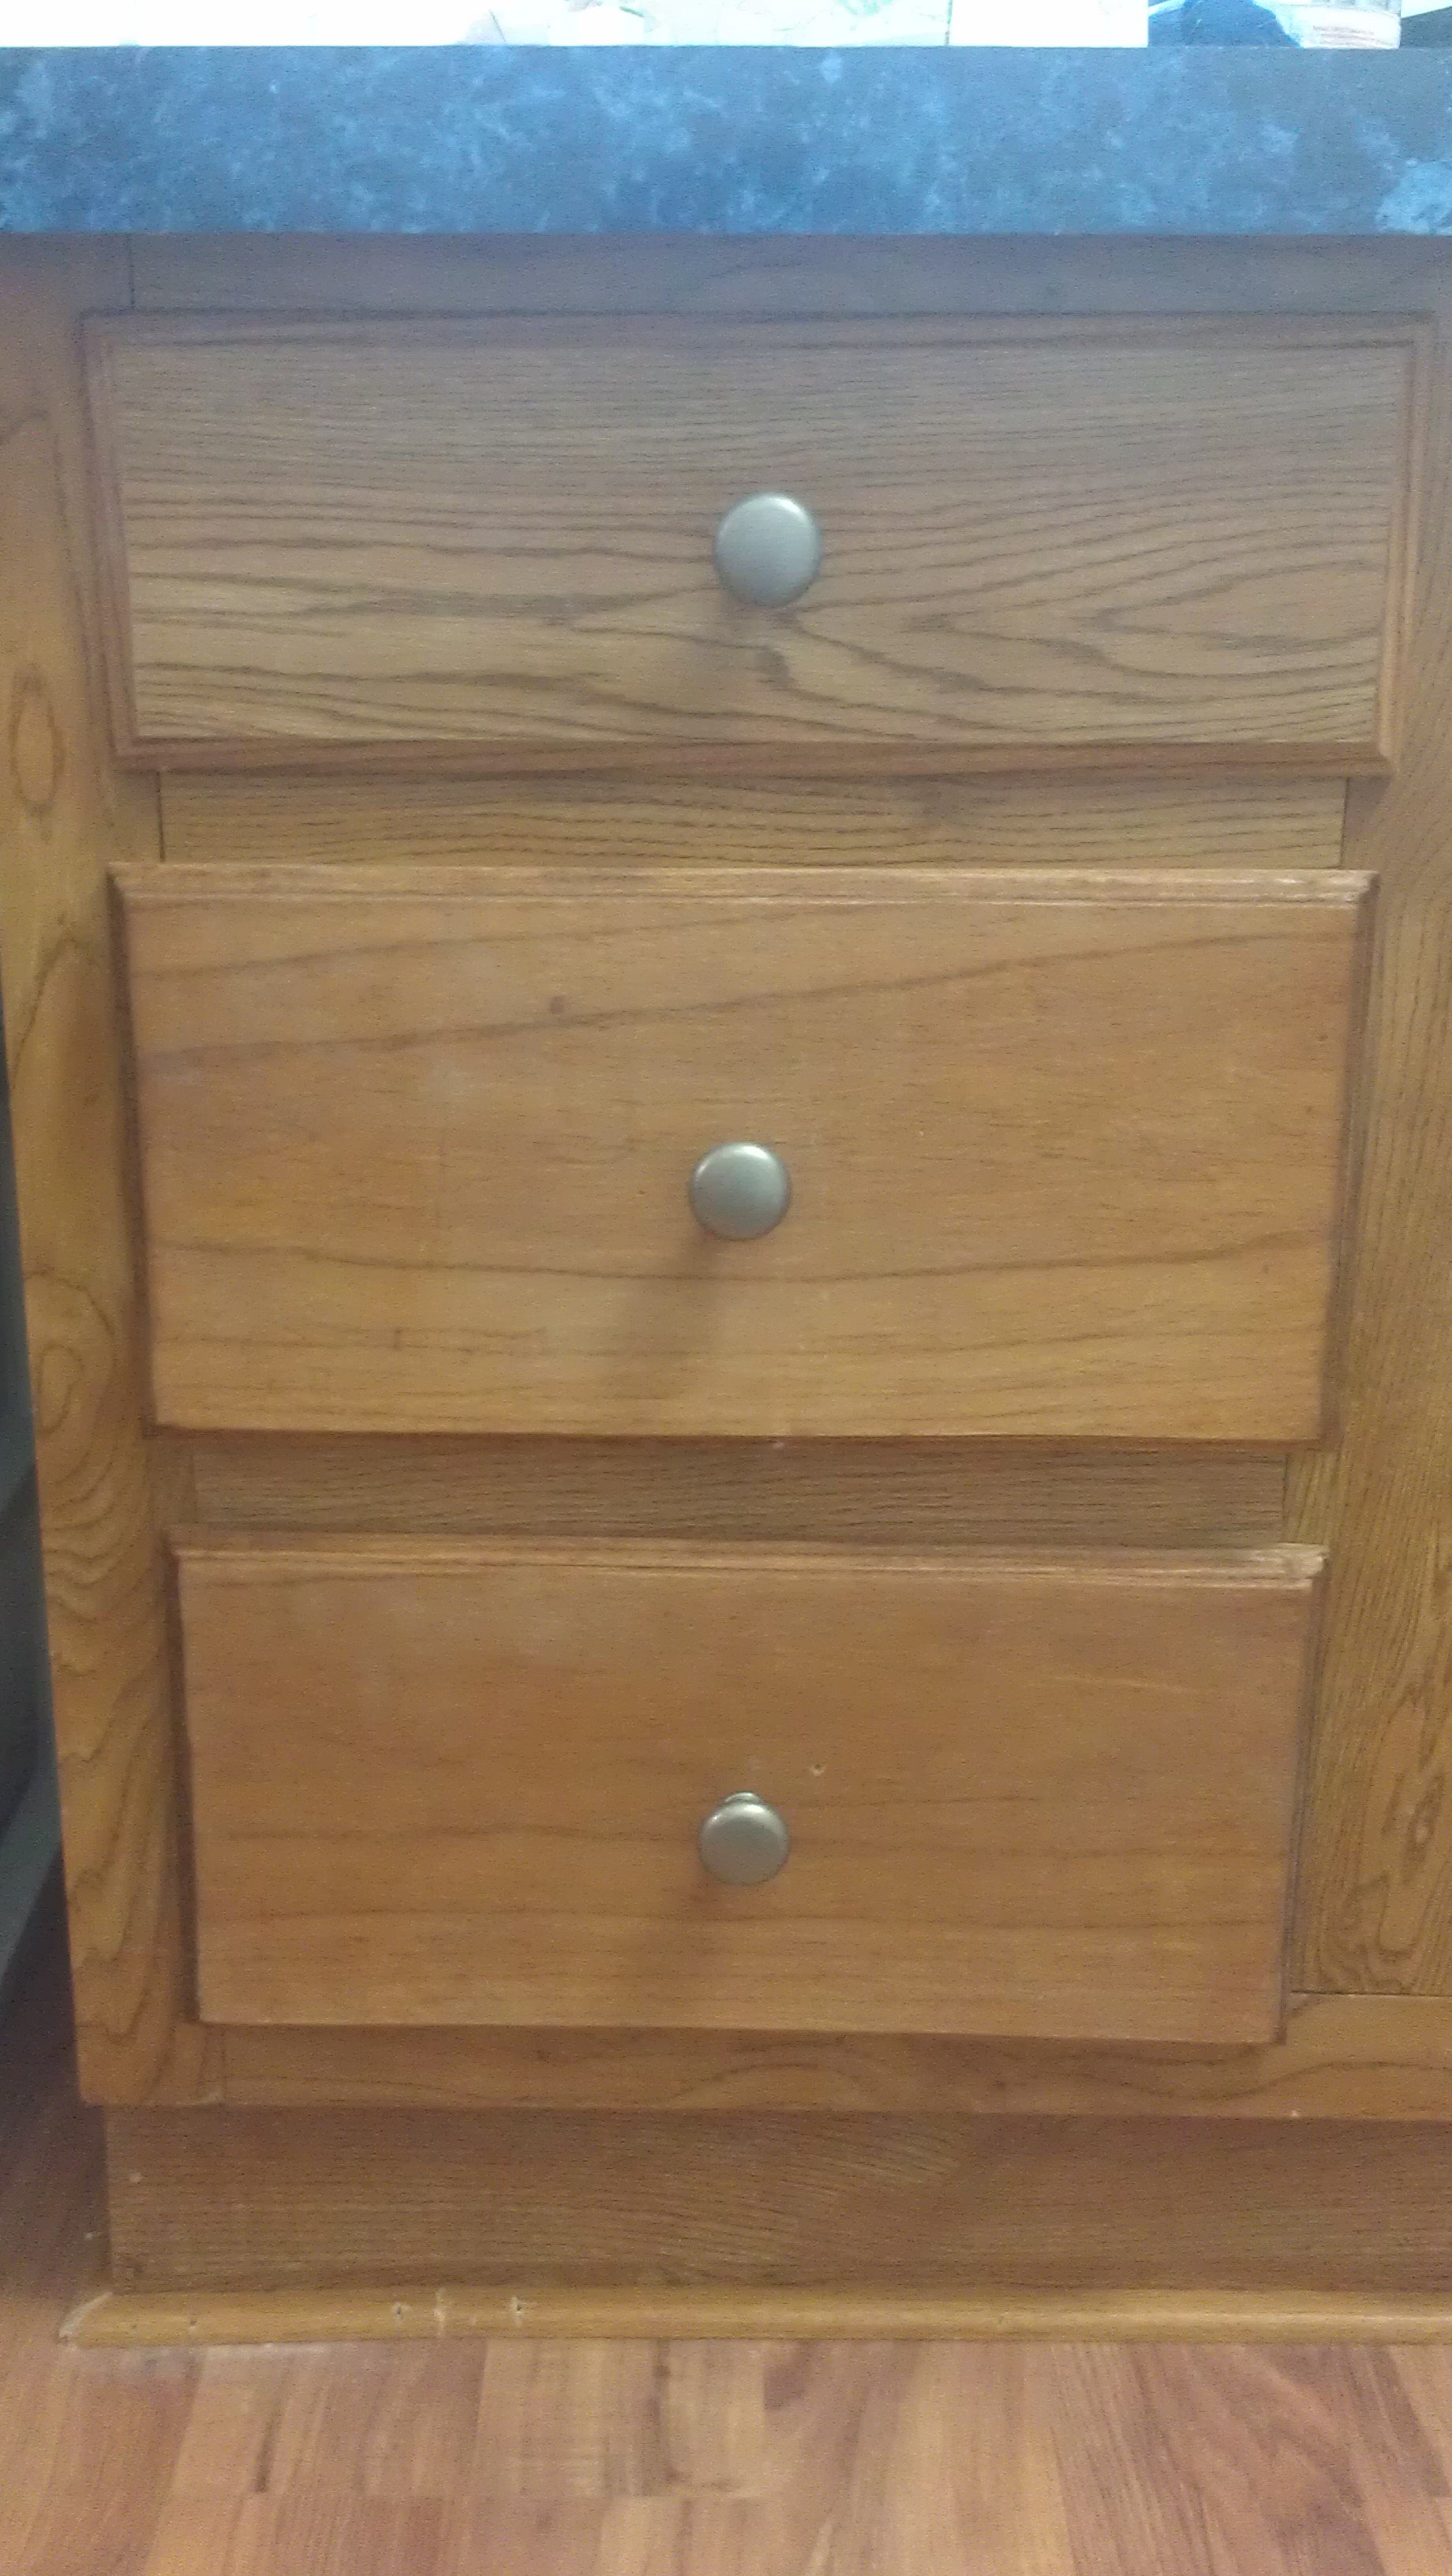
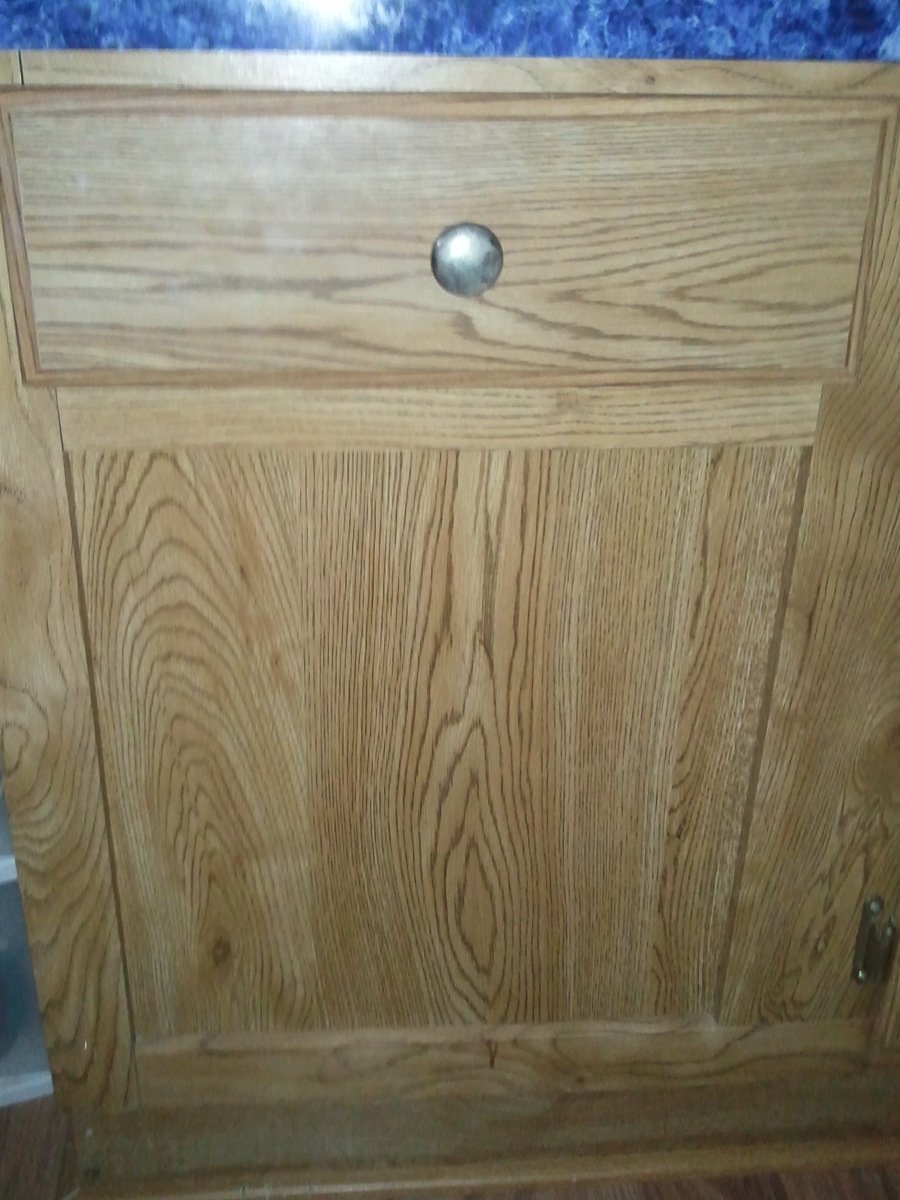
I bought my home a few years ago. The only thing about my bathroom I didn't like was the lack of storage. The cabinet only had one drawer with a panel below covering a large empty wasted space. I was told by 2 cabinet makers that I would need to replace my bathroom cabinets, but when I saw Ana's success, I thought "I can do this".
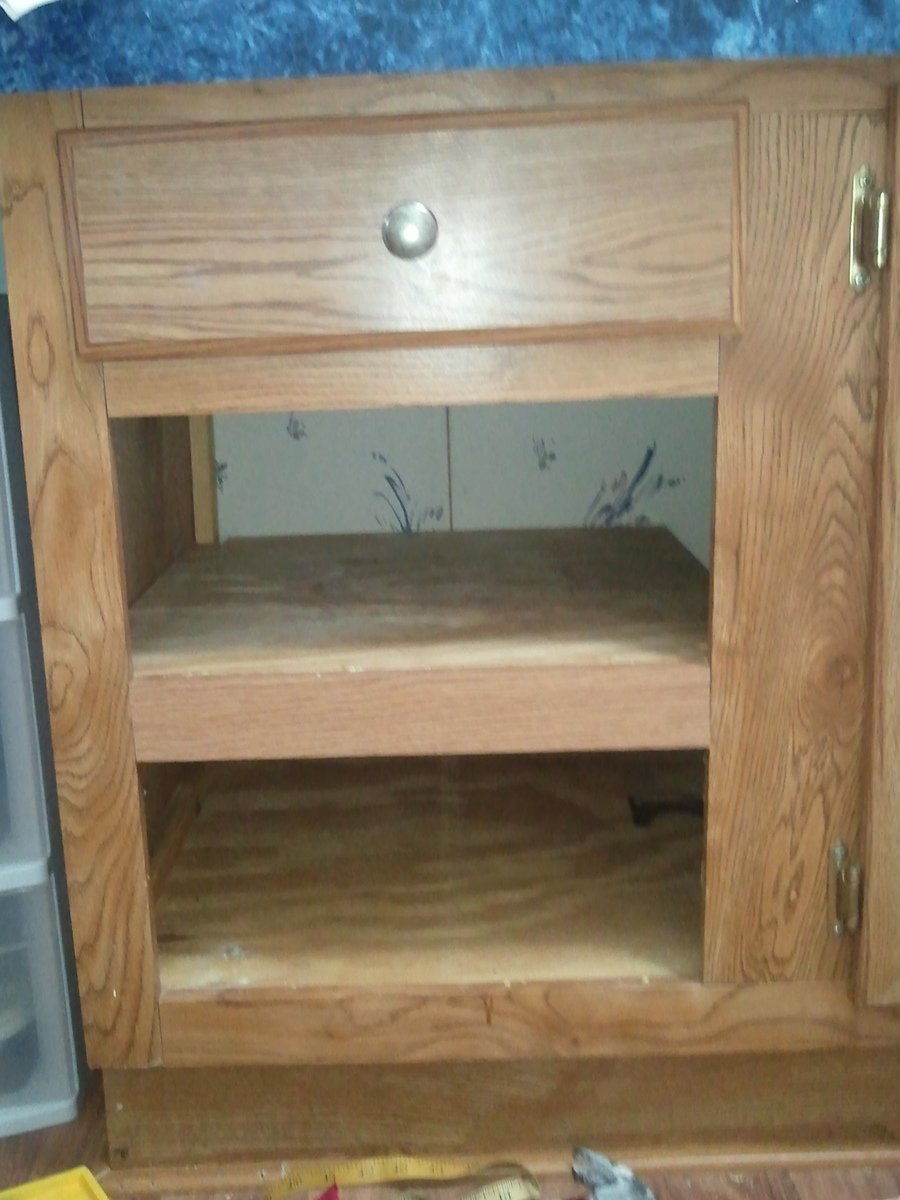
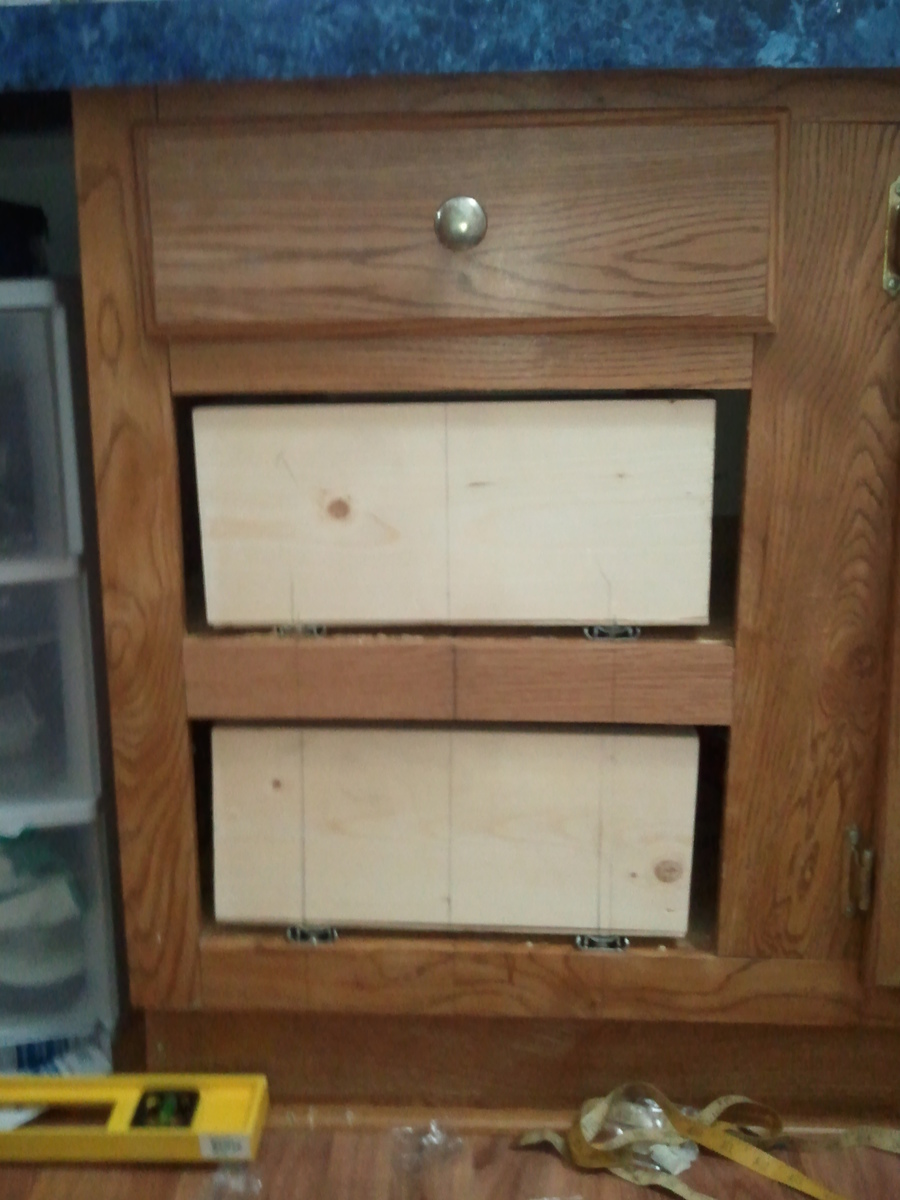
My woodworking experience is pretty limited, so things took a little longer than I would have preferred. The first weekend was spent popping the panel and building the shelf out of plywood & luan for the drawer bottom (thank you Home Depot cull section). The second weekend was spent making the drawers using a pocket jig and installing them into the cabinet. You WILL need a 90 degree clamp to assemble drawers, trust me. Third weekend was spent making the drawer fronts and staining them. I had never used a router so I practiced on every piece of scrap I could lay hands on. Since the cabinets were older and not made of solid wood, I had to play with the stains to ge the formula right; remember the scrap wood? It's baaack. The fourth weekend was spent pulling everything together.
When I show my family what I did, they look at me in disbelief. I know they're just drawers, but this is proof that I can make real changes to my home that has long lasting benefits. The bathroom still has a long way to go, but I know now that I don't have to hire someone to do it all.
Comments
Robinwood
Wed, 03/14/2012 - 19:02
Bravo
We will never know what we are capable of unless we try - bravo for you; good job.
houquilter
Thu, 03/15/2012 - 10:59
Thanks
This project was such a boost. I still happy dance when I see it sometimes.
bhoppy
Wed, 03/14/2012 - 19:14
Great job!!
Love the routed edges! It gives it a very polished finishing touch!
We must have had the same bathroom builder because I have that same single drawer with empty space underneath.
houquilter
Thu, 03/15/2012 - 10:50
Routed edges
Thanks! I had never used a router before so I must have gone through every piece of scrap wood I could find. I even cut down the scrap wood so I could get a new straight edge.
spiceylg
Thu, 03/15/2012 - 07:57
Love it!
Don't you just love it when you prove the "experts" wrong? Good for you and great job!
houquilter
Thu, 03/15/2012 - 10:57
Love it
I took pictures and showed them to the men I bought the lumber from when I finally finished, to show them how the project turned out. It may have freaked them out a little to have a crazy woman run up with her cell phone, but they were happy for me.
When I showed one of the people who recommended the cabinet makers (the one's who told me what I wanted was impossible) what I had done, they just rolled their eyes at me. Pssh, experts. Deep down, he was impressed. Really deep down;)
Bunnie1978
Thu, 03/15/2012 - 09:51
Good job..
Just a question. Did you consider/try to use the wood from the panel you removed for the drawer fronts instead of using something new and having to try and finish it?
houquilter
Thu, 03/15/2012 - 10:48
Panel from the cabinet
I thought about that, but it was basically luan with a "wood like" veneer attached to it, so it was about 1/4" thick, and the original drawer front was made from 1" stock.