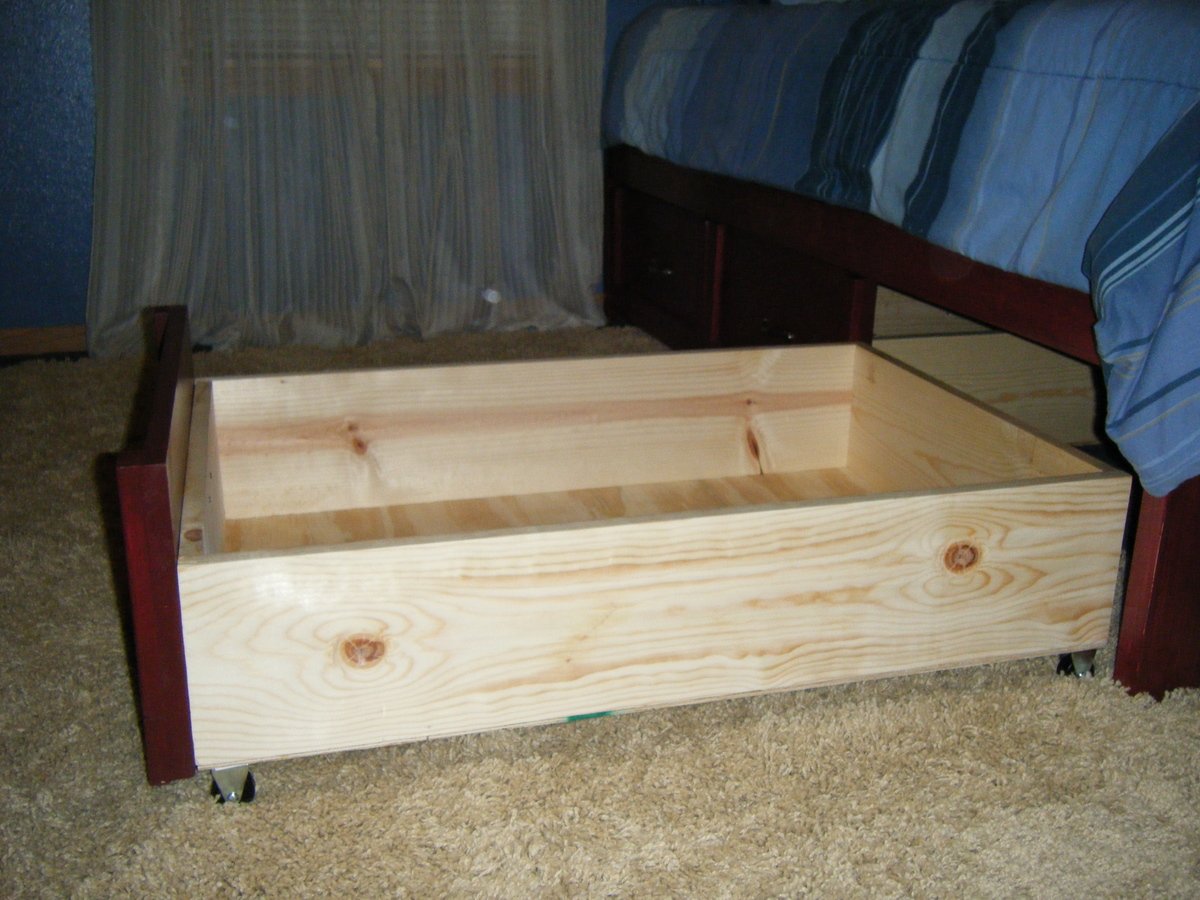
This was my first ever project! I had never even operated a circular saw before this--so if I can do it, so can you!
I made this for my son for his 13th birthday. Because he was getting older, I thought it was time for him to have some nice things in his bedroom. I felt that what he had before was "junky." I couldn't find anything that I liked on craigslist that was also in my budget, so I did a Google search on how to build your own bed, and I ended up here on Ana-White.com!
I had a lot of fun making this project. It's definitely a confidence booster. There is A LOT of storage in this bed as well. Those drawers hold so much, that I was able to eliminate my son's dresser, and still have room left over.
Now for some technical details. For the caster wheels I used 1 3/4" wheels, but if you can't find those, 2" wheels would also work.
For the drawer bottoms, I used glue and brad nails. I found an inexpensive hand-powered staple gun that works with staples or brad nails. I wanted it to hold well, so I spaced the nails a couple of inches apart.
For the drawer pulls, I bought six 1 3/4" screws and drilled all the way through both the drawer face and the board behind it. On Ana's post, she mentioned that you could put the handles on the drawer faces before attaching them so that you would only have to drill through one board, but I wanted to have the option of changing the pulls in the future.
That's it! I am really happy with the way this bed turned out, and my son was very excited that he had such a cool bed that his mom built for him herself. To go along with this bed, I also built a Large Cubby Bookshelf With Adjustable Shelves Happy building!
