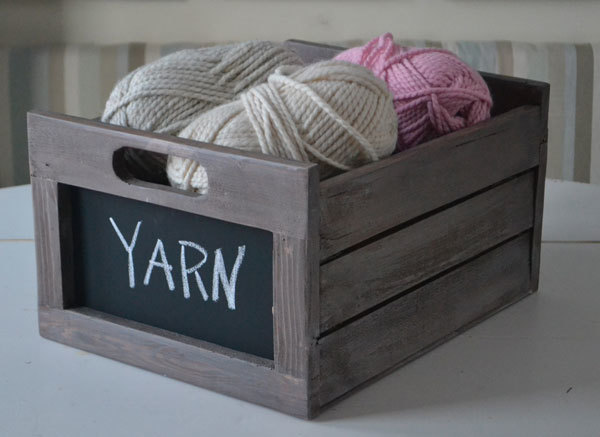


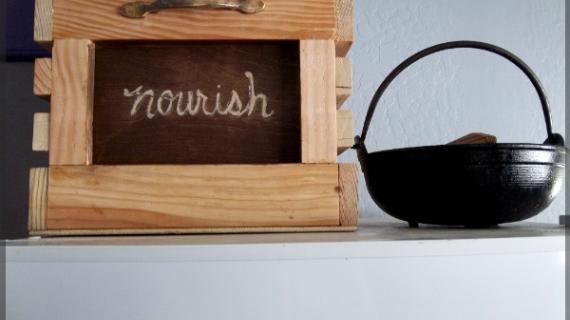
Free plans to build a chalkboard produce crate from ana-white.com

Today is crate day!

Hooray!
Thanks for requesting the plans. This was such a fun easy project to make. And did I say cheap? Try under $5 cheap!
I try to do plans here and there to help you use up scrap wood pieces. Those of you who have a few projects under your belt - uh toolbelt - probably have a pile of short board scraps needing a home. This is a perfect project for using up 1x3s and 1x2s and scrap 1/4" plywood. No scraps? Each crate just needs two 1x3s and about 2 feet of 1x2s and some 1/4" plywood.

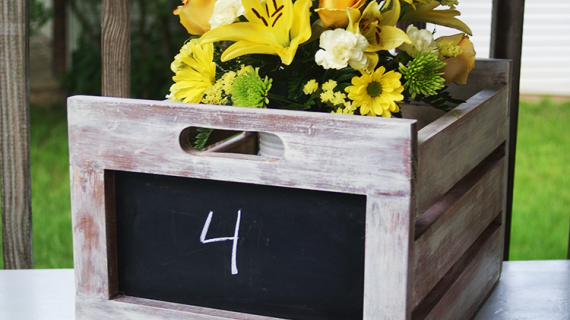
Have a wedding this summer? These would make cute inexpensive DIY wedding centerpiece that double as table numbers! I'd go a little smaller in size as this crate is actually pretty good sized though!
And yes, of course, you can take this basic design and modify to any size you want! You are the boss of your project - why not make it your own!
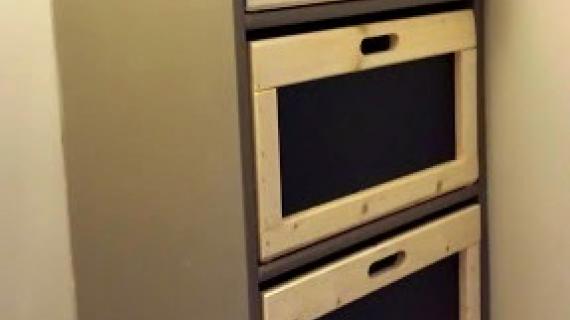
PS - Loving this crate so much, I'm thinking about making a chalkboard produce crate dresser.
PSS - Love the finish? I'll be posting that tutorial as well!

Preparation
2 - 1x3 @ 8 feet long
1 - 1x2 @ 2 feet long
1/4" plywood scraps for bottom and chalkboards
1 1/4" pocket hole screws
finish nails or more 1 1/4" pocket holes for attaching sides
wood glue
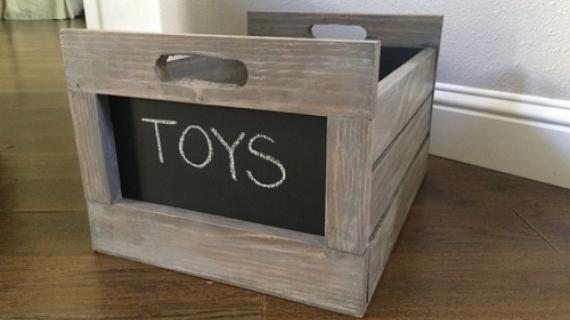
chalkboard paint
4 - 1x3 @ 13"
4 - 1x2 @ 5"
6 - 1x3 @ 15 3/4"
1 - 1/4" plywood @ 17 1/4" x 13"
2 - 1/4" plywood 11 1/2" x 7 1/4" (paint with chalkboard paint)
3/4" drill bit


Please read through the entire plan and all comments before beginning this project. It is also advisable to review the Getting Started Section. Take all necessary precautions to build safely and smartly. Work on a clean level surface, free of imperfections or debris. Always use straight boards. Check for square after each step. Always predrill holes before attaching with screws. Use glue with finish nails for a stronger hold. Wipe excess glue off bare wood for stained projects, as dried glue will not take stain. Be safe, have fun, and ask for help if you need it. Good luck!
Instructions
Step 1

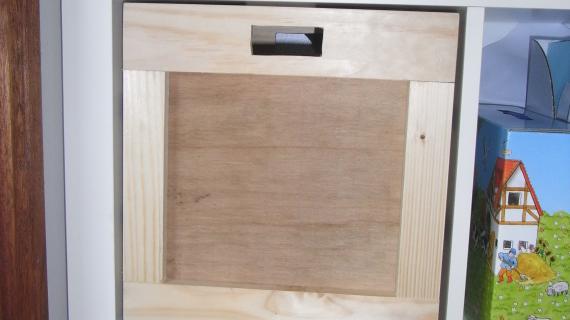
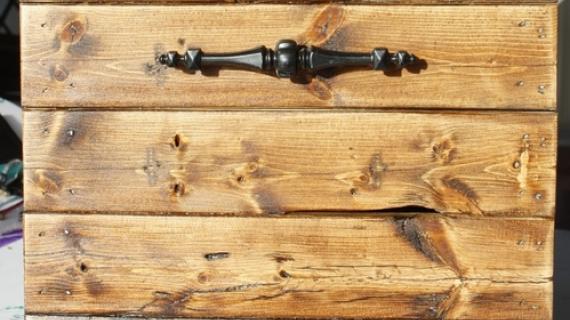
Start by making your two ends. Drill handles out with drill bits and then connect the two holes with a jigsaw to cut out handles. I built the ends with 3/4" pocket holes and 1 1/4" pocket hole screws - just a single screw per each end of the 1x2s and glue. Lay flat to dry.
Step 2

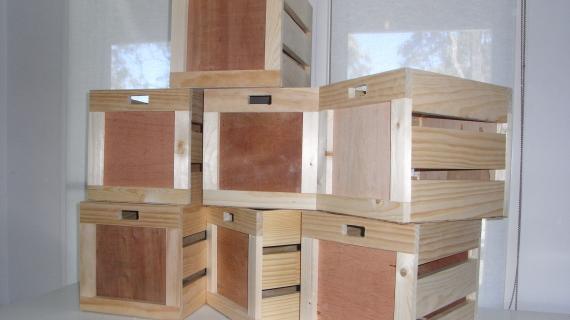
Then for the sides you can attach with nails or pocket holes from the insides. I used 1x3s for the sides because they are so cheap, but you could also use 1x8s or any other board width.
Step 3

Then I just attached the 1/4" plywood to the bottom with finish nails and glue.
Step 4

Then glue the chalkboard pieces into ends to secure in place.
It is always recommended to apply a test coat on a hidden area or scrap piece to ensure color evenness and adhesion. Use primer or wood conditioner as needed.
Comments
AlyssaWalters6
Thu, 01/17/2013 - 10:30
YAY! Can't wait to make
YAY! Can't wait to make these! Thanks for another great plan!
Pam the Goatherd
Thu, 01/17/2013 - 21:38
Been trying to come up with
Been trying to come up with some sort of hanging file folder box to put in the end shelves of the Mod Modular Bookcase for my husband to use as an inbox and outbox. These would be perfect when sized to hold the hanging file folders. And I've got plenty of scraps...
Arif Mardiyanto (not verified)
Fri, 01/18/2013 - 03:06
gogreen concept
i like to make simple thing, for decorating my home.. after read your article i remember that i can make by re-used thing
Peter (not verified)
Fri, 01/18/2013 - 07:10
Boxes
What is it about a well made wood box that is so D@%% satisfying?
Guerrina
Fri, 01/18/2013 - 08:42
Just a Sucker for Crates!
No matter the size, I love wooden crates, sea chests, etc. Have just the place to put a few of these! Thank you!
Toni (not verified)
Fri, 01/18/2013 - 08:44
Yes please. I looked at this
Yes please. I looked at this and thought dresser too.
dmcarwin
Fri, 01/18/2013 - 09:28
I love these cute crates! So
I love these cute crates! So fun, I just can't get over wooden boxes and crates I want to build all kinds! Thanks for another awesome plan!
Wendy M. (not verified)
Fri, 01/18/2013 - 10:20
Just the thing!
These are just the thing I've been looking for to organize my sewing room! Guess I know what I'll be doing this weekend!
Just one question - what color is the stain on the crate shown here? Its a really lovely finish!
Piperskitz (not verified)
Tue, 01/22/2013 - 03:27
Love this project
The idea of having these as a table centerpiece is very rustic, but something charming about that!
mamahowell
Mon, 03/18/2013 - 08:14
Dresser for this!?!?!?
Hi Ana, I'd LOVE LOVE LOVE to see a dresser for this! I'd actually like to build these for my new daughter coming in a few short weeks!
Please and thank you! :)
Debbie
Tsu Dho Nimh
Mon, 03/18/2013 - 10:21
Dresser?
Many of the "cubby" storage plans could be made with partitions to fit these crates.
Or you could make the crates to fit the cubbies.
Gujjar
Thu, 05/16/2013 - 08:31
I thought it was going to be
I thought it was going to be some boring old post, but it really compensated for my time. I will post a link to this page on my blog. I am sure my visitors will locate that extremely useful
marketing topics
Stephanie Ingram
Sun, 05/19/2013 - 23:51
Speak honestly from of my
Speak honestly from of my heart I think you are one good author on the internet, as far as I know the way you write down your post is very natural, nice to read it and glad to see your talent.
Stability Ball with Pump
josephsholland
Thu, 05/30/2013 - 09:45
I am very much satisfied by
I am very much satisfied by the great technology is visible in this blog http://goo.gl/jr2Sv and the nice services in this blog http://goo.gl/M69WO. Thanks a lot for using the nice approach and http://goo.gl/9P1gm the way of presentation is really very great.
mybartmart
Fri, 08/16/2013 - 10:47
Love these!
I notice the plans calls for 1 x 3 for the top and bottom of the front and back of the box, but the picture shows 1 x 2. I see some people have used either or. I am sad about the amount of spam comments on this great post.
madcrazyred31@…
Sun, 01/18/2015 - 09:41
Can't wait...
Can't wait to make a bunch of these from my leftover pallet wood!
charid
Tue, 01/27/2015 - 21:18
2nd project
My wood was not flat as in the pic. I don't have a planer either but didn't think it was bad enough to cause complete and total construction failure. The crates came out decent enough, can't say the same about the finish. Mostly hideous. I just ordered a sander online to redo that. Waiting for the tutorial on the finish, it is no doubt the difference between a decent crate and a great crate. Where do I find that tutorial?
Ana White Admin
Wed, 01/28/2015 - 11:20
Stain Tutorial
http://ana-white.com/2013/01/whitewash-stained-finish