Maybe we are getting lazier, but I'd like to think we're getting smarter ...
Today, we are going to finish out the window and door trim in the Momplex.

For the windows, we've already extended the window jambs inward, to cover up the extra thick super energy efficient walls of the Momplex.
And then we started the trim of the windows by adding casing to the sides.

Now what to do about the trim that goes on top and bottom of the side casing? How are we going to frame the tops and bottoms of the windows?
And the top of all the doorways and closet openings?
We choose not to just picture frame the doors and windows on tops and bottoms with casing (45-ing the side casing and adding more casing on top) because it can be very difficult to get 45's exactly right - especially if your window is off square the tiniest bit.
And we love a little bit of fanciness for window trim.
Source: This Old House
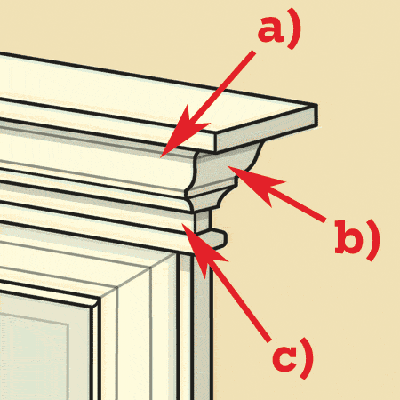
But we wanted a simplier method than adding three different pieces of moulding on top of each and every door and window frame, all with mitered returns.
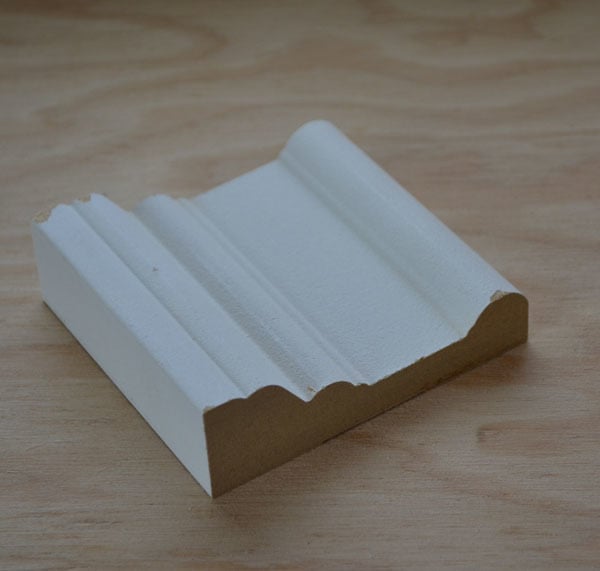
So we bought moulding that has the crown and crosshead strip already on it!
Now we just have one piece of moulding to install on top of the windows and doorways!

We'll also be trimming the bottoms of the windows out the same way.
First step, take a measurement and determine how far the mouling should extend beyond the casing.
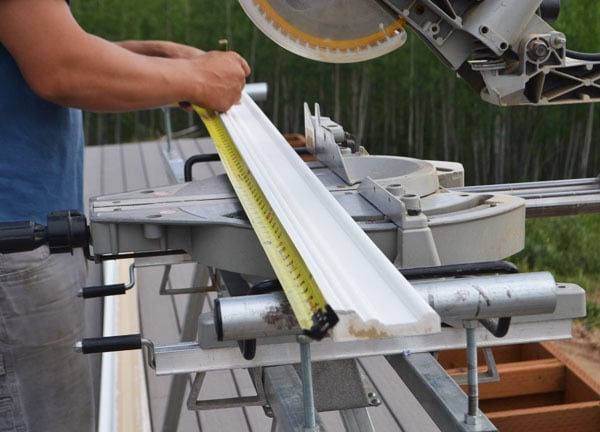
Then we mark the moulding
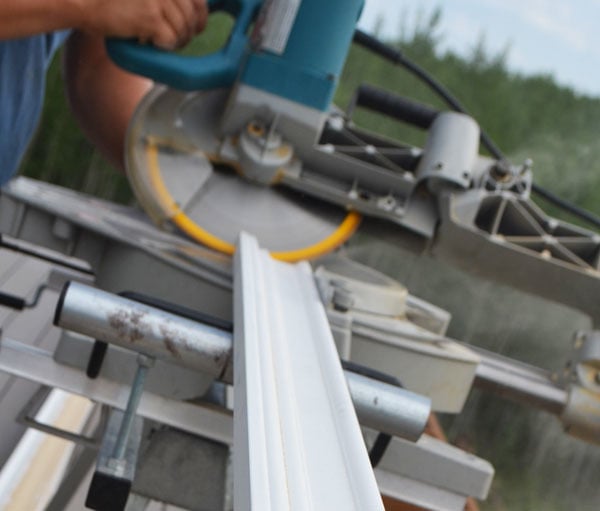
And cut the end at a 45 degree bevel.
The other side is also cut at a 45 degree bevel.
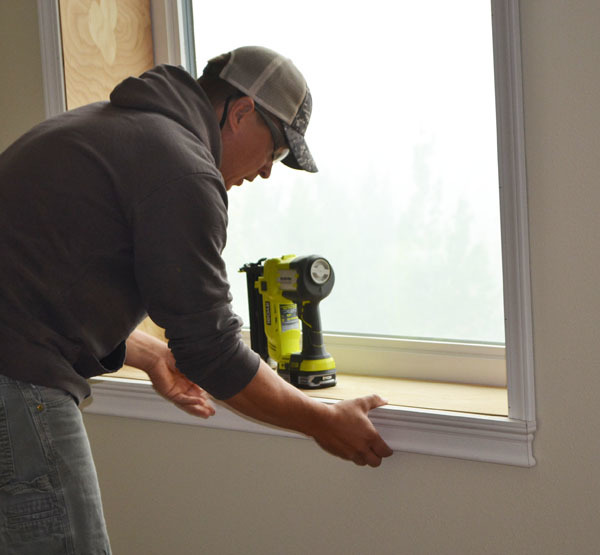
It will fit under the casing and bottom window jamb extension like this. But we need to finish off those ends with mitered returns.
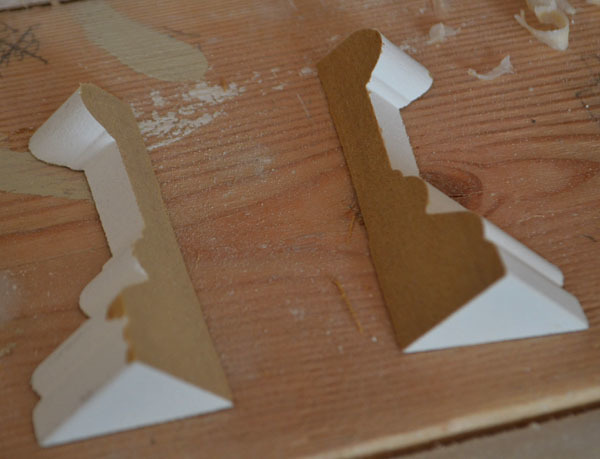
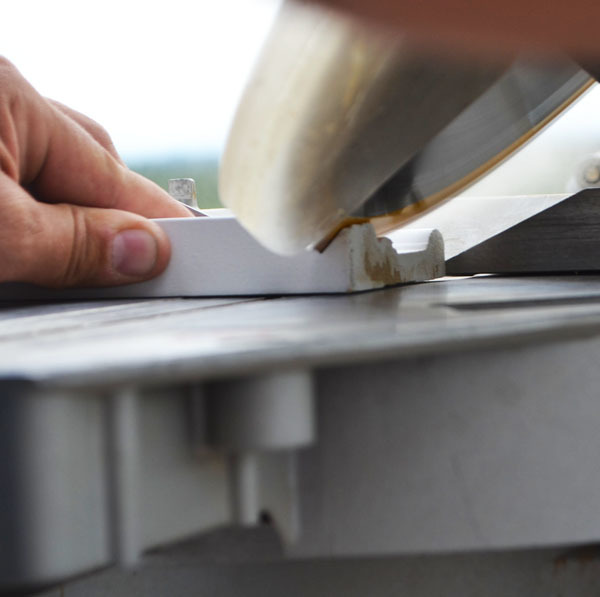
So we cut miterered returns from the moulding - these look complicated but they are really just super short pieces of moulding with one end cut at a 45 degree bevel.
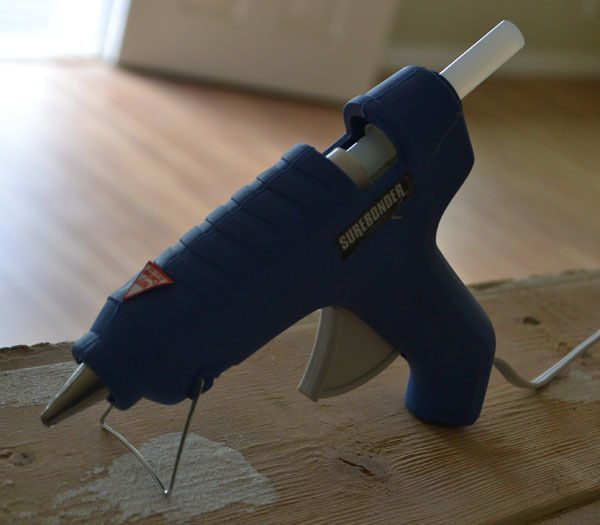
And plugged our hot glue gun in.
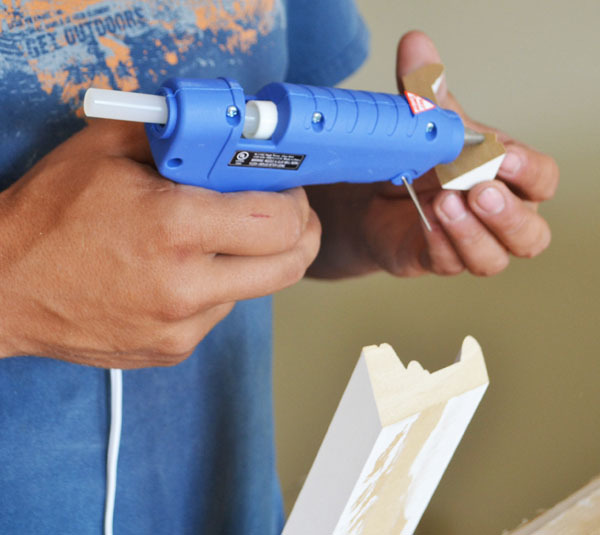
Hot glue is applied to the mitered returns
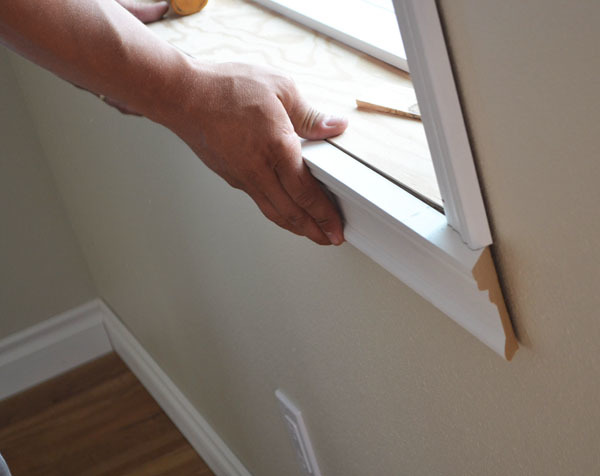
And the mitered returns are placed on ends of the main moulding strip. This finishes out the ends of the headers and aprons in one step!
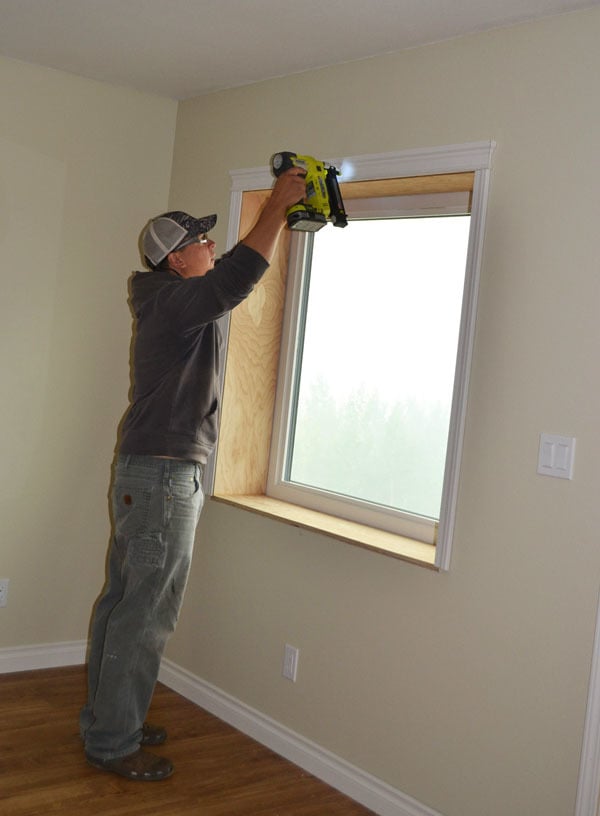
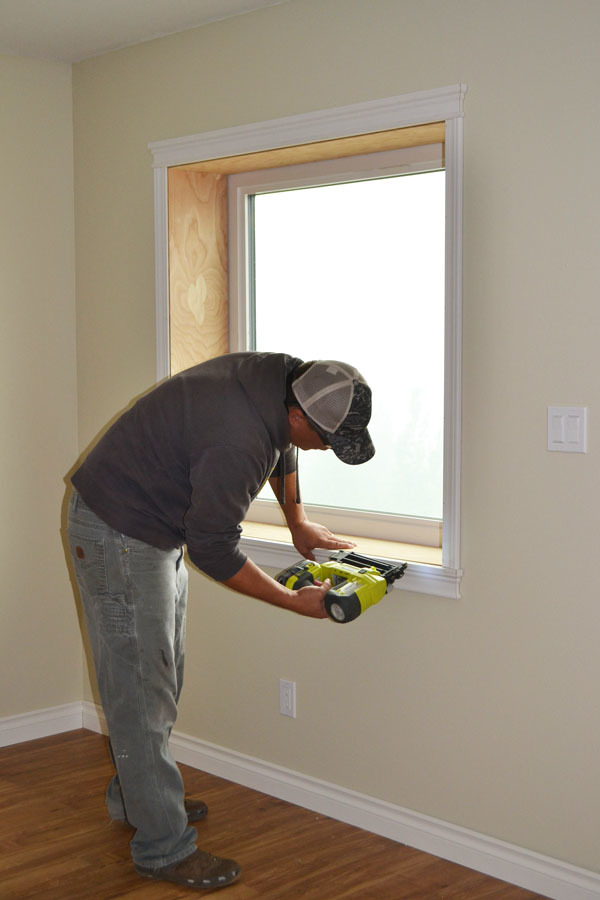
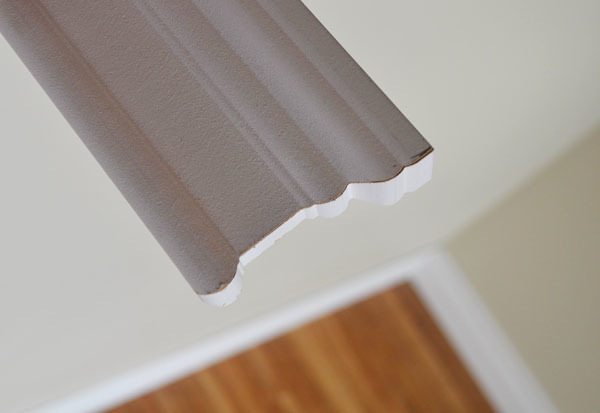
Once the headers are done, we simply nail them to the tops of the windows (and doors).
We loved the look of the headers so much, we decided to just do the same thing for the aprons too.
<img src="http://ana-white.com/sites/default/files/3154832439_1376509578.jpg?1376…; width="470px">
You may wish to do your window aprons different if your windows don't have much of a sill on the bottom, but for us and our 12" thick walls - there's no need to do more than make the bottoms look pretty.
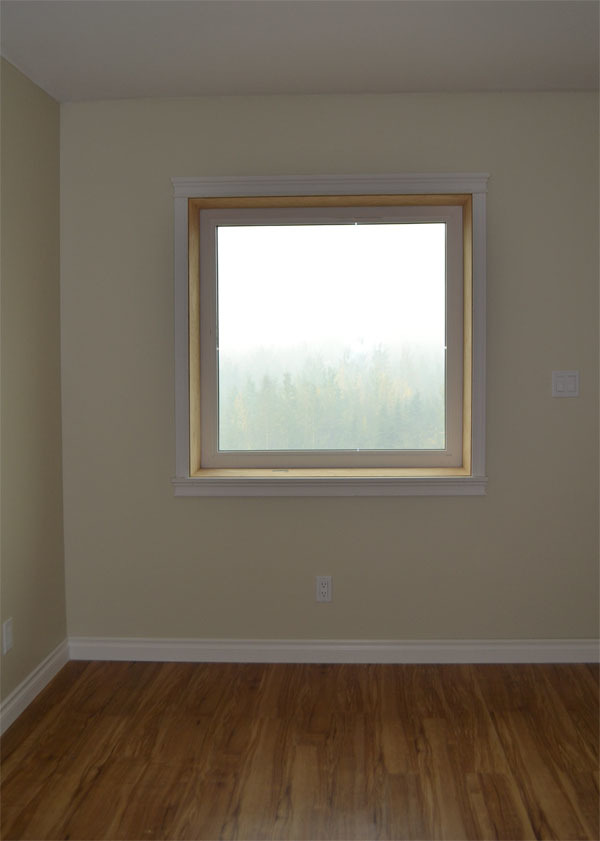
Of course we'll be painting the window jamb extensions the same color as the trim, but the construction part is done! At least for this window .... on this side of the Momplex ... on this floor ....
How do you do your window trim? We'd love to hear about different ways you can trim windows out!
Comments
lscrandall
Wed, 08/14/2013 - 13:02
Pure Awesome
jaimecostiglio
Wed, 08/14/2013 - 13:33
so smart as usual
cathryn
Wed, 08/14/2013 - 17:22
Great time saver!
spiceylg
Thu, 08/15/2013 - 10:21
Trim
birdsandsoap
Thu, 08/15/2013 - 14:13
I wanted to ask if the window