Once upon a time, we bought some 2x12 boards.
And we dug a giant hole, and laid those 2x12 boards in the ground.

Those boards made up the forms for the foundation of the Momplex.
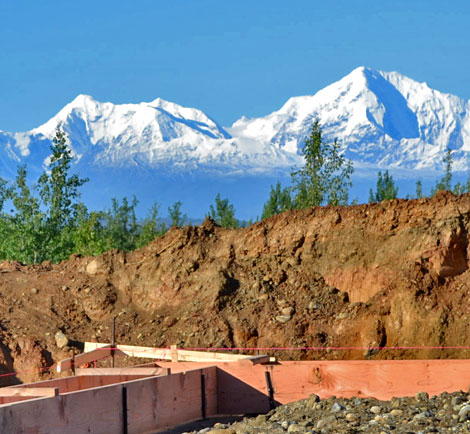
And we poured concrete inside those boards.
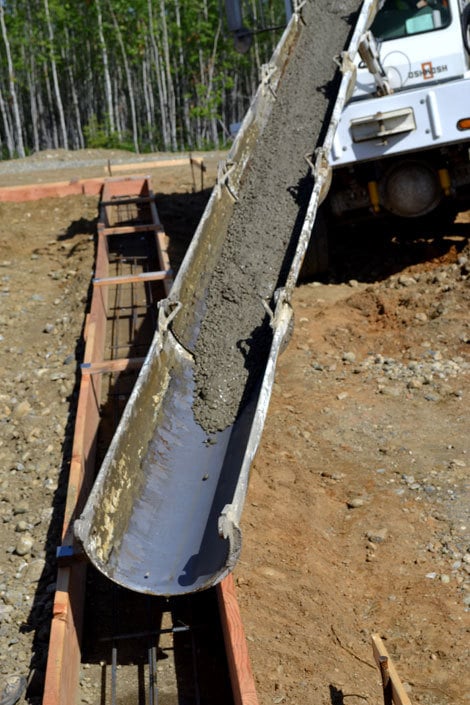
And let it set up.

Those same 2x12 boards were removed from the footer forms after the concrete dried.

We used a few of them to help support the garage headers when we poured the concrete walls.

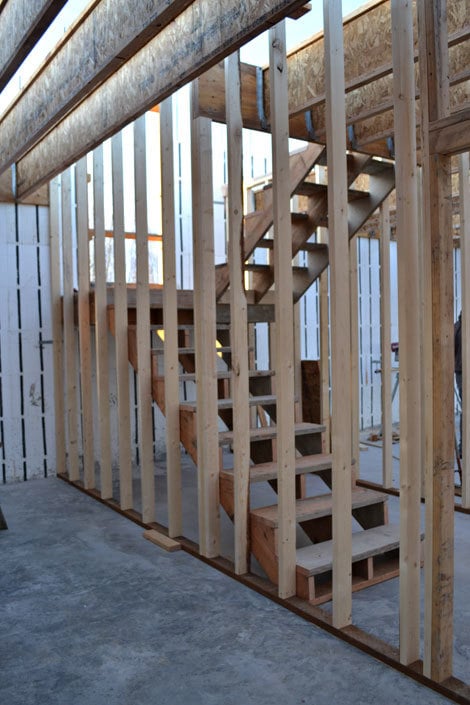
And then we used them as scaffolding planking when we started working on the upstairs exterior walls.
Once we were done with the exterior walls, we saved those same 2x12 boards.

And used a bunch of them to build the split level entry landings.

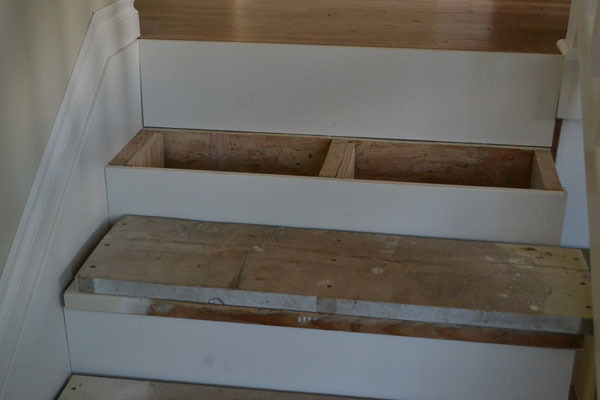
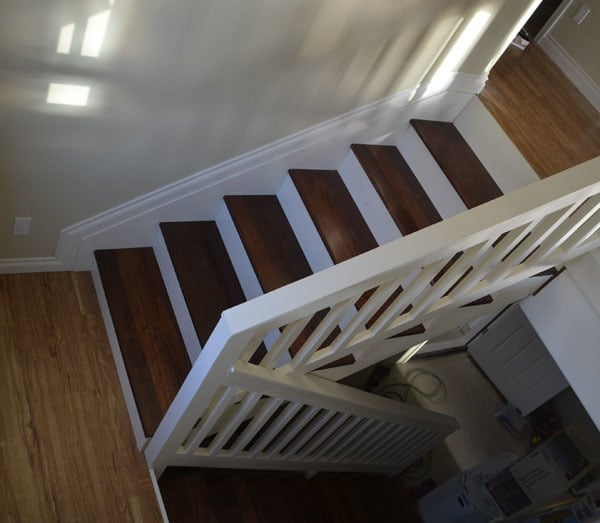
And a bunch more of those 2x12 form boards - the very first of the materials bought for the Momplex - got used up for the stairs. The stair stringers are permanent,
But the treads are someday to be replaced by finished treads.
That someday is today.
Maybe these stairs have taken so long because I've grown fond of those form boards. It is a little sad,
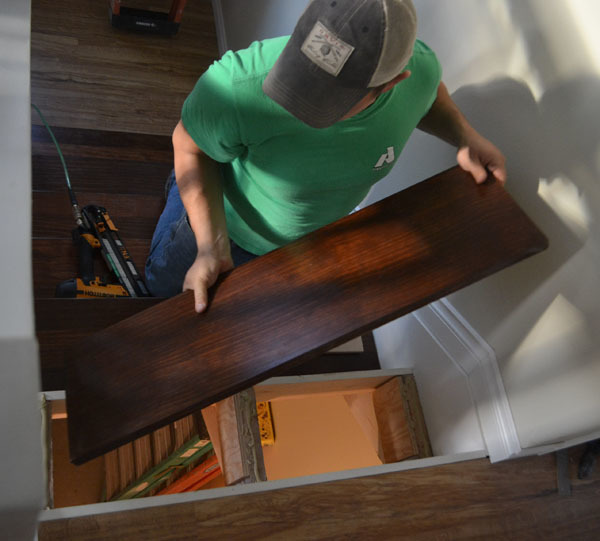
Pulling those construction treads up,

And measuring for the new treads,
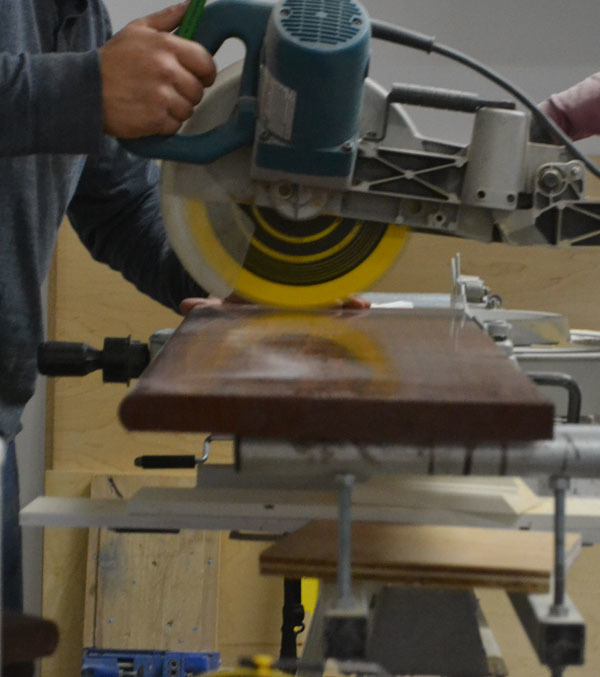
Then cutting the <a href="http://ana-white.com/2013/10/step-step-finishing-steps" target="_blank">prefiished treads, </a>
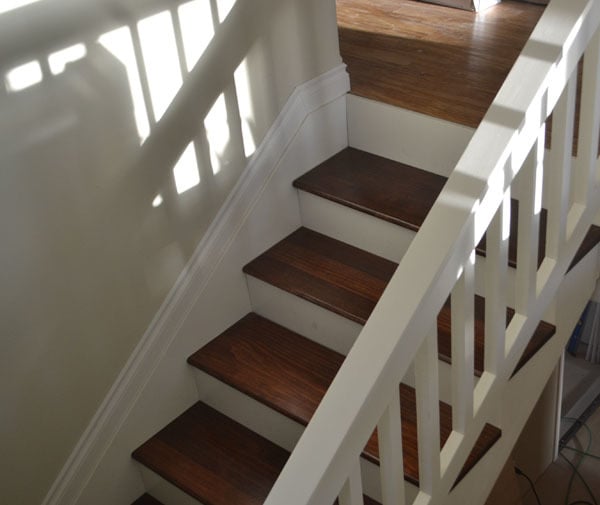
And placing the new, finished treads in place. We placed the cut end on the inside where you can't see it.
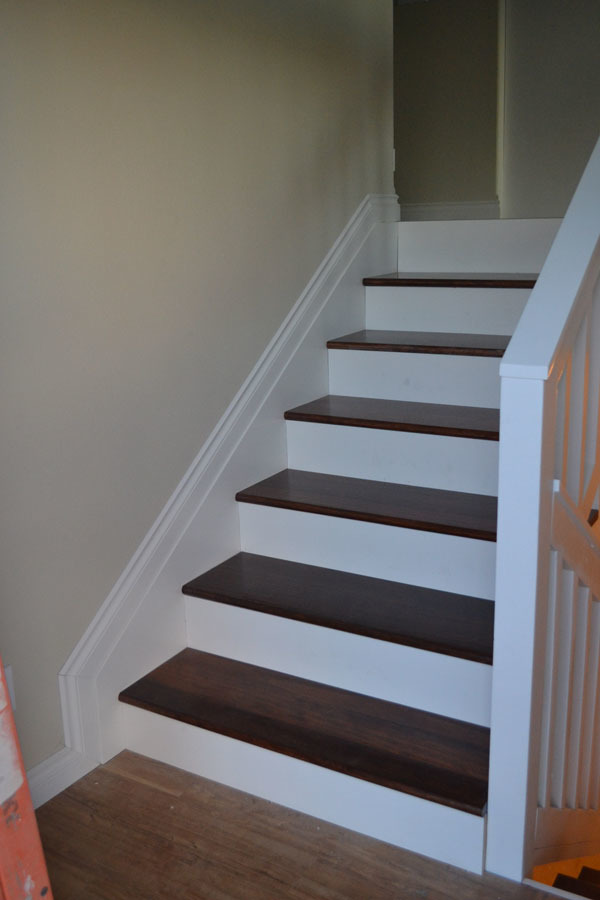
But even I will admit those new treads look simply beautiful.
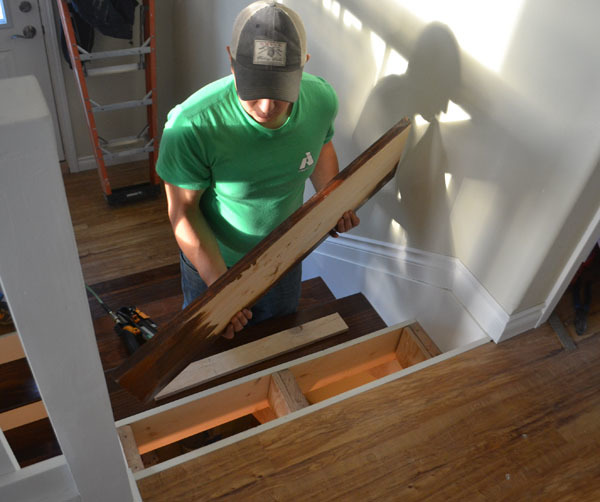
To attach the treads to the stringers, one they were all cut and fit, we started at the top, and pulled the first tread.

Then applied glue to the stringer tops,
And replaced the tread on the stringer,
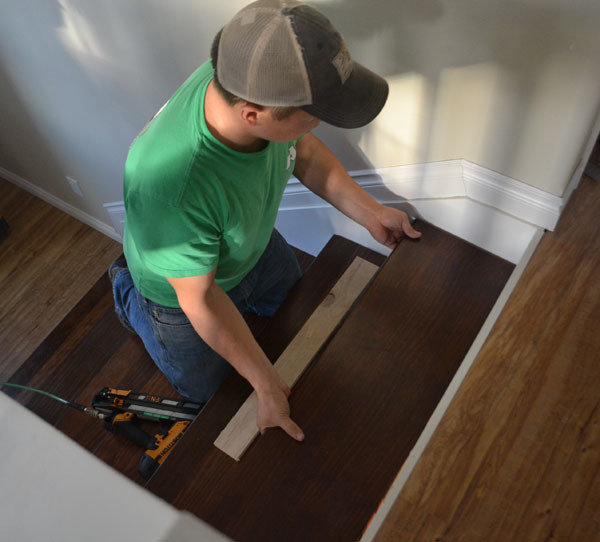
So it's flush on the inside and to the riser.
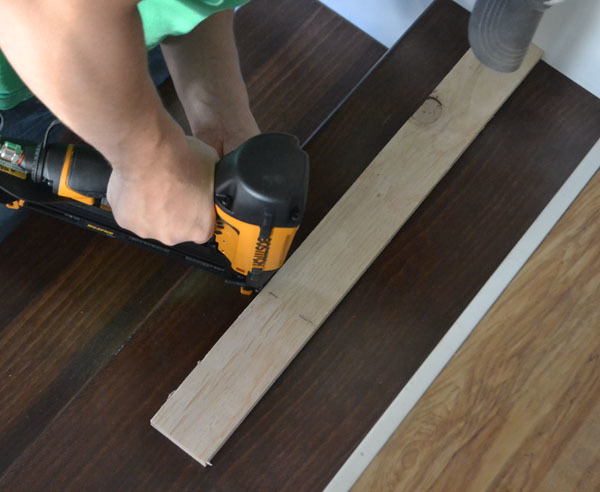
The Ram is always full of tricks. He used a scrap board to mark the location of the stringer, to act as a guide for nailing the stairs down.
A few nails in each stringer, in each tread, and it's a done deal,
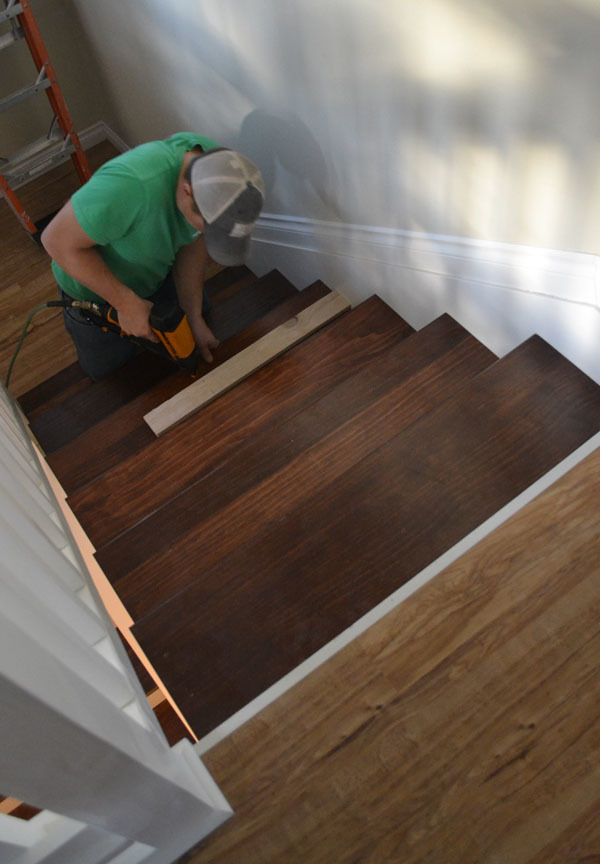
No ore form boards for treads.
The stairs themselves are pretty much done.

And I will admit, the new treads are a huge improvement.
We still have a little work to do before the stairs and landings are Mom ready - like adding a handrail, finishing the downstairs concrete floor, and of course, cleaning up, but it's definitely a "step" in the right direction!

What do you think?
Comments
Pam the Goatherd
Thu, 10/24/2013 - 14:01
Soooooo pretty!
mom of 4
Fri, 10/25/2013 - 07:55
Beautiful
purejuice
Fri, 10/25/2013 - 08:59
i love process stories, ana,
purejuice
Sat, 10/26/2013 - 09:38
i love process stories, ana,
jennhoff
Fri, 10/25/2013 - 09:58
Um, WOW. Those are stairs out
deirdre
Fri, 10/25/2013 - 11:27
nifty!
UlrikeDG
Fri, 10/25/2013 - 15:32
The stairs look lovely. It
LiveLifeActive
Mon, 10/28/2013 - 08:03
Stairs
playschooldiy
Tue, 10/29/2013 - 08:41
Really lovely Ana & Jabob.
kittywings
Wed, 07/08/2015 - 13:43
Skirting boards
We're in the middle of redoing our stairs and I'm curious as to what you used for your skirting boards (the angled ones that go up next to the stairs, not a different name for regular moulding).
I don't think I've seen the MDF stuff at big box stores that would be wide enough.