


Workbench style desk plans - free from Ana-White.com


Hi everyone and Happy Friday!!!
You know that feeling of anticipation and excitement, after you finish a project, and you finally get to show it off?
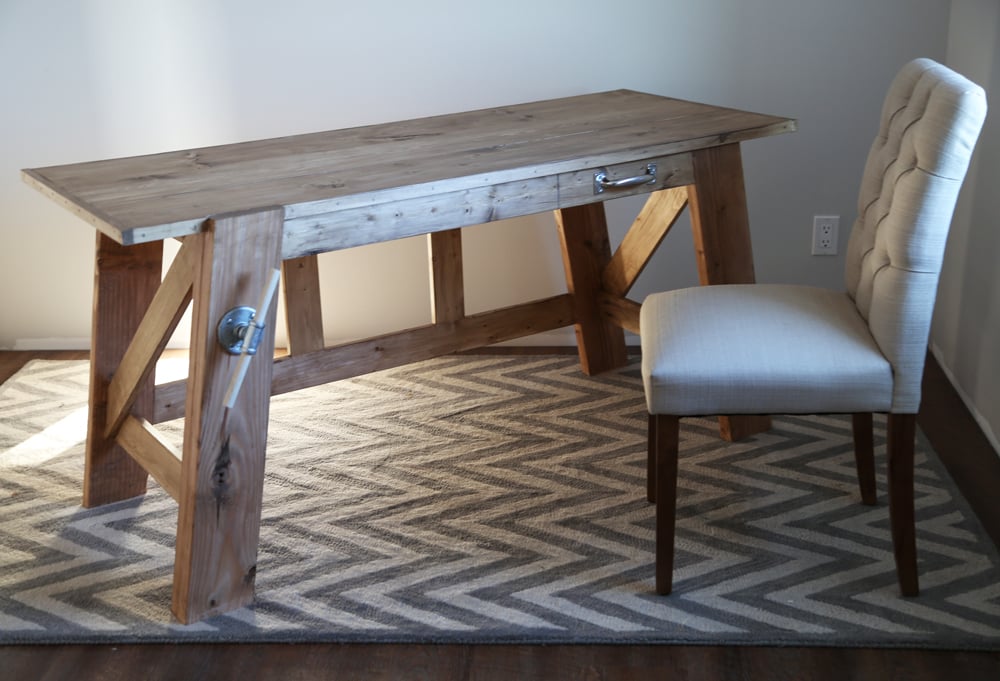
Yep, that's me, right now! In between working on a Momplex, raising a newborn and a first grader, blogging, and something else I can't quite divulge just yet, I made a new desk!!!
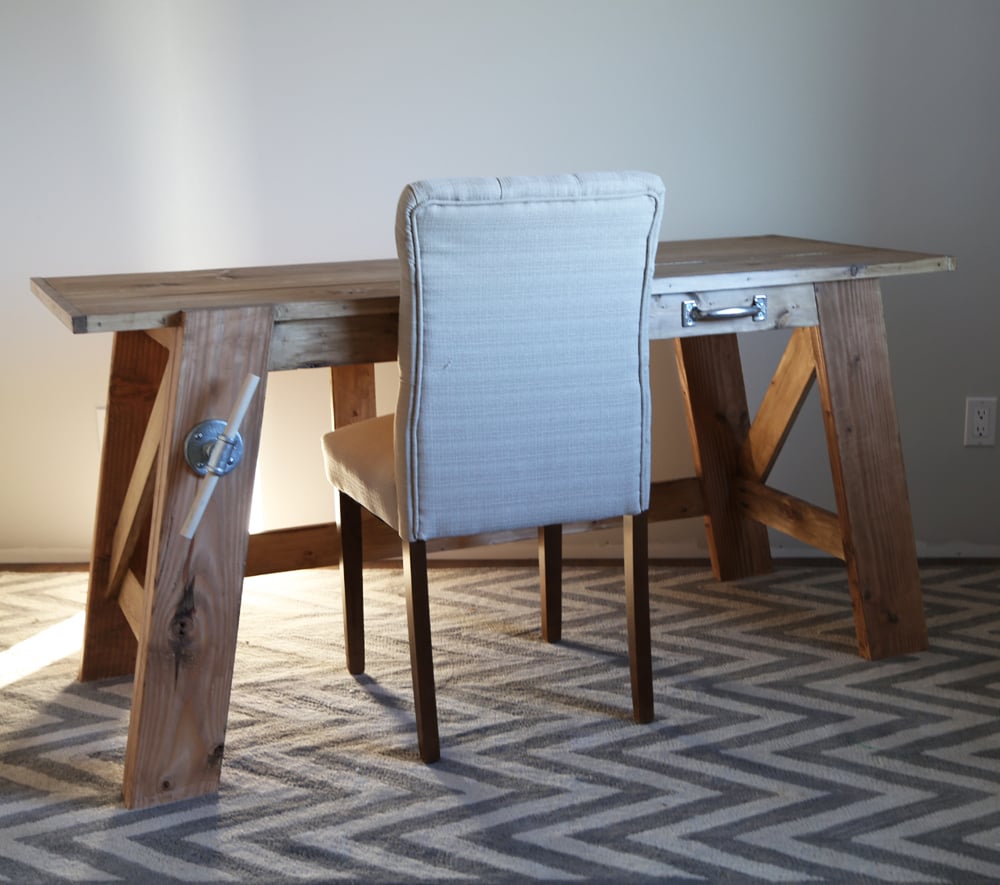
It's got that workbench feel, perfect for anyone out there who'd rather any day be in the shop or garage working, than at their desk.
Special thanks of course to 2x6 lumber and 1x whitewood boards.
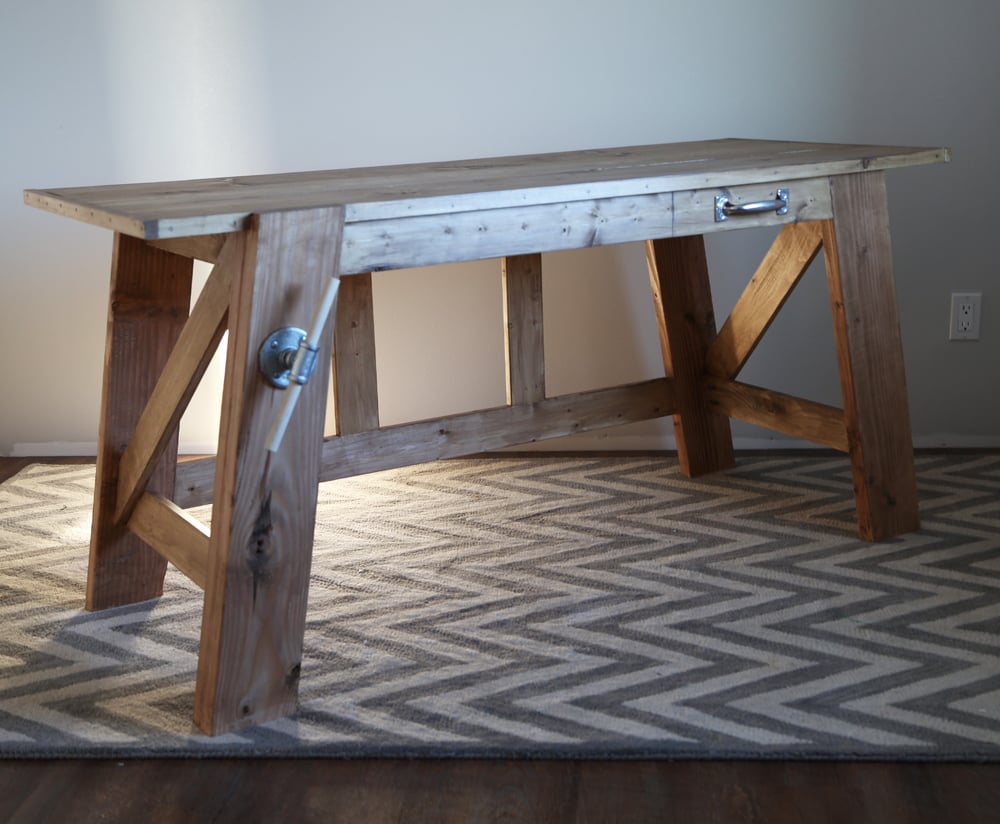
This desk is of course inspired by the Pottery Barn Hendrix Desk and workbenches everywhere. I spent about $50 on lumber, and then another $15 on the hardware.
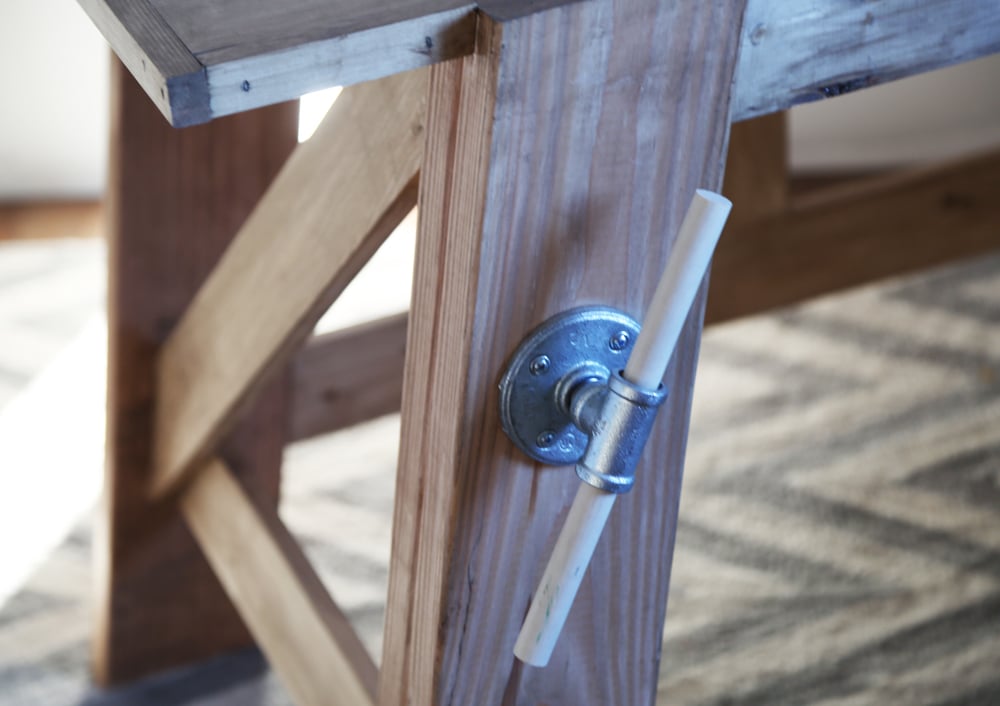
Instead of a vise, I used pipe parts and a wooden dowel to give the desk even more workbench character. I used 1/2" fittings - there's a floor plate, double threaded nipple and a T with two 1/2" dowels threaded into the T.
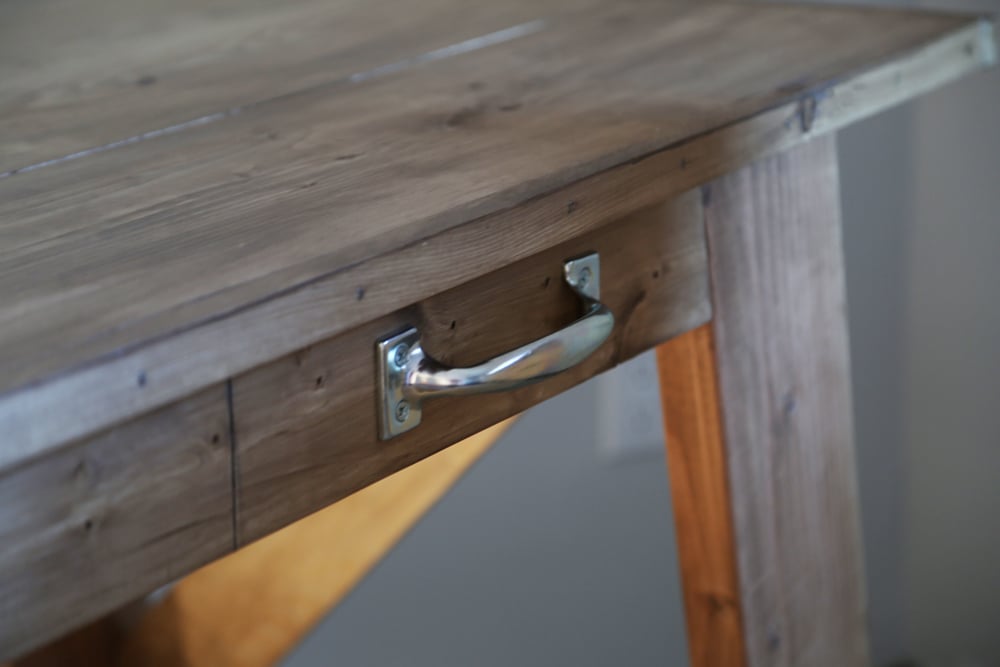
I went back and forth on adding the drawer, and since the drawer would have ended up about 1-1/2" deep, I scrapped it (but you could still put one in easily). I'm more of a pens and pencils in an old coffee can kinda gal.

To add extra detail to the construction, I used my Ryobi AirStrike stapler - seriously, that tool is awesome!
I will never forget the first time I used the AirStrike nailer (same tool, just shoots a finish nail instead of a staple). Instant love. No more noisy air compressors or dragging a hose around the house.
The stapler shares the same battery as my Ryobi AirStrike nailer and drills and sander, so no need to invest in tons of batteries or chargers.
So head on over to download these free plans here!
Instructions
Step 1
Please visit Ryobi Nation for this project plan.
It is always recommended to apply a test coat on a hidden area or scrap piece to ensure color evenness and adhesion. Use primer or wood conditioner as needed.
Comments
carongirls
Fri, 03/07/2014 - 16:56
Love it
I am going to try to make this. Congrats on the ryobi deal but I like your old way of doing plans. I have to flip back and forth between pages to understand the plans.
tricia.flores
Sun, 03/09/2014 - 15:35
So pretty!
Looks so pretty. I love the color! What finish did you use?
rfpeterlin
Mon, 03/10/2014 - 12:29
Project Panel
The plans call out a Project Panel, but do not specify a thickness. Can you "share" what your recommended thickness would be; and would you recommend supports between the front and back aprons?
I am considering morphing this into a sewing table.
meliss greenwood
Tue, 04/22/2014 - 21:47
Page not found
Hey I've been trying to look at the plans for the regular Henry Desk and it says the page has been moved :( I would really like to make the smaller version if you could help me out?
jtfmom123
Thu, 05/29/2014 - 07:55
Ryobi plans not found
Hey Ana,
I was looking to start this project today but the Ryobi webpage where the plans are, no longer exists. Are you able to post the plans on your site? Thanks so much!
mrjonwilson
Tue, 06/17/2014 - 07:58
Links to plans not working.
I love this desk! I would really love to have these plans, but the links are not working.
Can you help? :)
In reply to Links to plans not working. by mrjonwilson
wishingbee
Fri, 06/20/2014 - 07:14
Link to Plans
Hello! Found building plans here. http://ana-white.com/2014/04/plans/large-henry-desk
Happy building!
adamderkey
Mon, 07/07/2014 - 07:34
Original Plans on Ryobi
Here's a link to the original plans for the shorter version of this desk. https://www.ryobitools.com/nation/projects/2157
peddie1994
Wed, 01/28/2015 - 18:17
PDF
I cant download the PDF file?
marianne brouwer
Tue, 12/01/2015 - 12:04
nails fot the nailer
Hello,
can you tell me what kind of nails you use for your AirStrike nailer? and where do you buy them
I live in theNetherlands so I have to buy the nailer and the nails online anuyway
greetings from Amsterdam.
Marianne
marianne brouwer
Tue, 12/01/2015 - 12:04
nails fot the nailer
Hello,
can you tell me what kind of nails you use for your AirStrike nailer? and where do you buy them
I live in theNetherlands so I have to buy the nailer and the nails online anuyway
greetings from Amsterdam.
Marianne
Tsu Dho Nimh
Wed, 12/02/2015 - 08:22
Read the nail box for brands
The nails are generic as long as they are glued together (called glue strip) and the gauge and length specified for that nail gun. (that's usually on the box)
The nail box usually gives which brands it works with, and you can probably find nails in your local hardware store.