

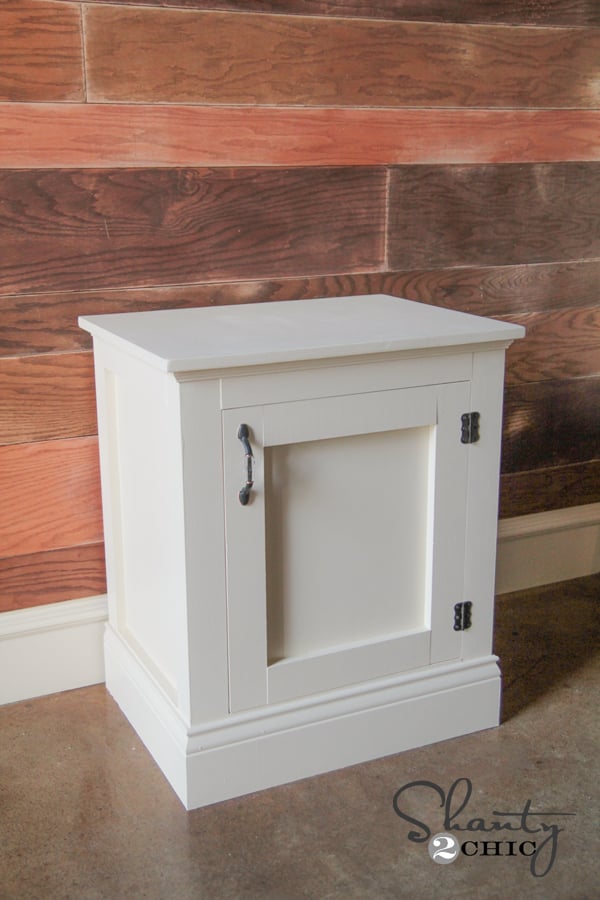
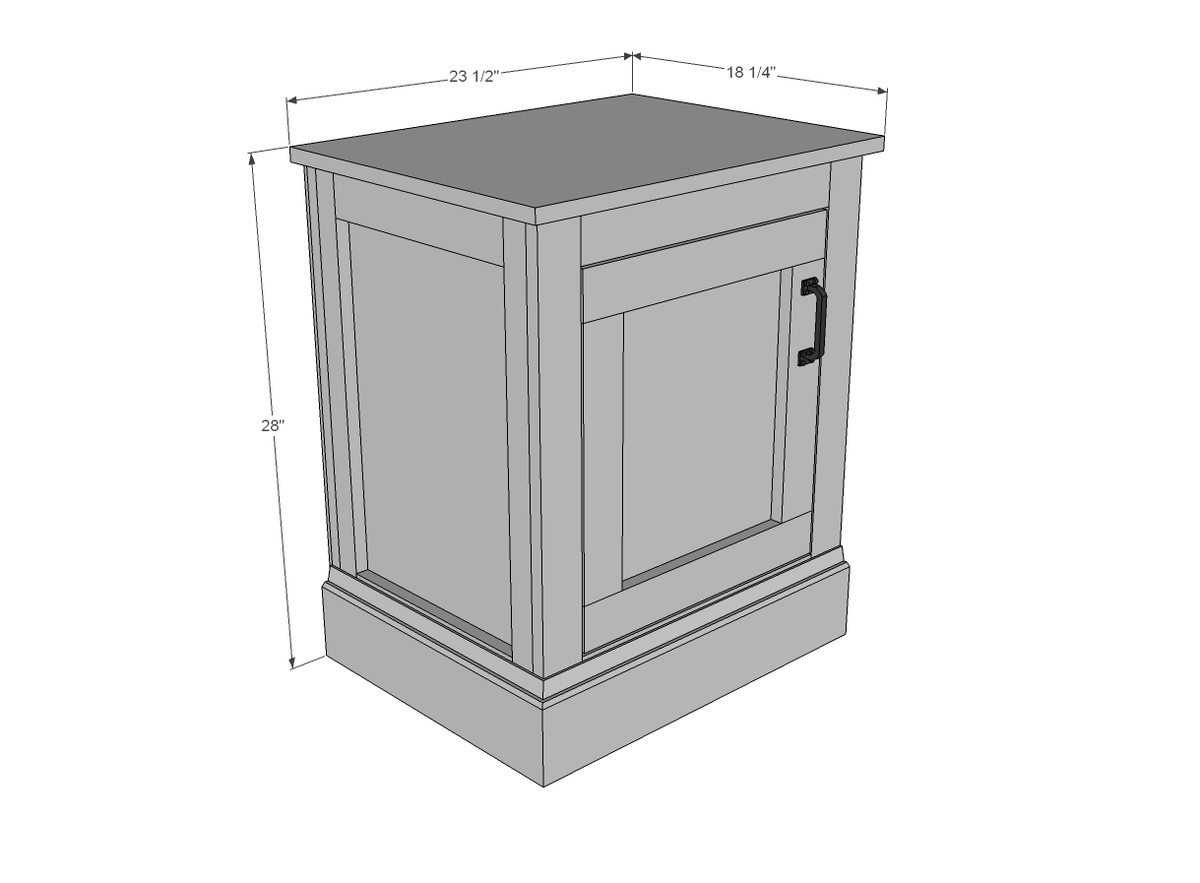
Free plans to build cabinet nightstand or bedside table from Ana-White.com - we love this beautiful nightstand that adds storage!


Some of my favorite projects to build are bedside tables or nightstands. I like how small and inexpensive they are, and it's just the right sized project to bite off in between busy kids schedules and while newborns nap.
Why We Built This Nightstand
My friend Whitney, mother of five, from Shanty2Chic, knows all about this. Whitney is updating her daughter's room and wanted to make new nightstands for her. We both loved the Kentwood nightstands that Whitney made for her son's room, but wanted to create a version for her daughter -
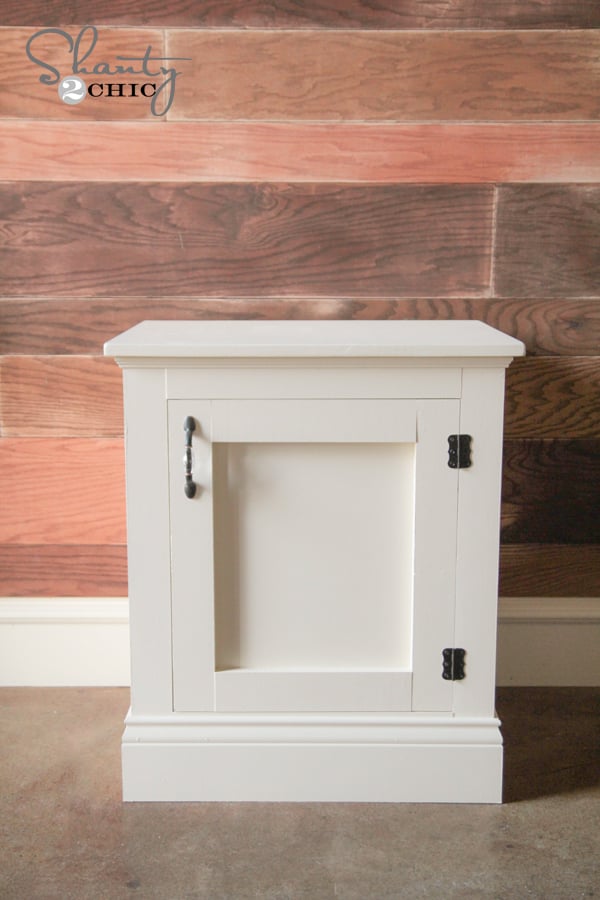
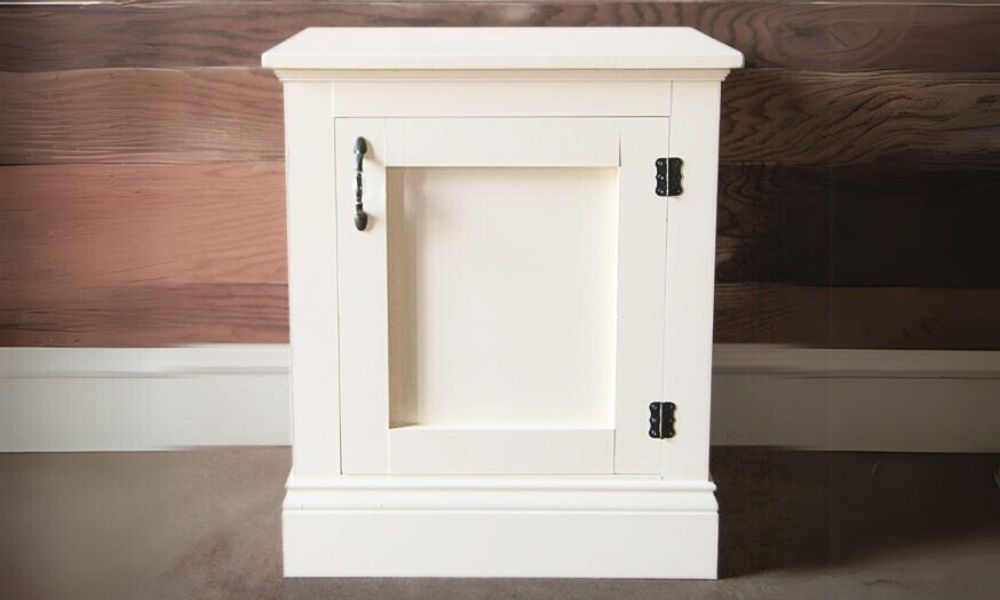
I love how the moulding adds a little bit of fancy to this simple nightstand.
Here's from Whitney:
I am LOVING these new nightstands I made for my daughter. My favorite part has to be the HIDDEN storage. These are an easy build and a perfect Kreg Jig project for beginners! I give lots of tips on placing those pocket holes in my post. These cost me around $60 a piece to build… Can't beat that! Thanks so much for working with me on this Ana!
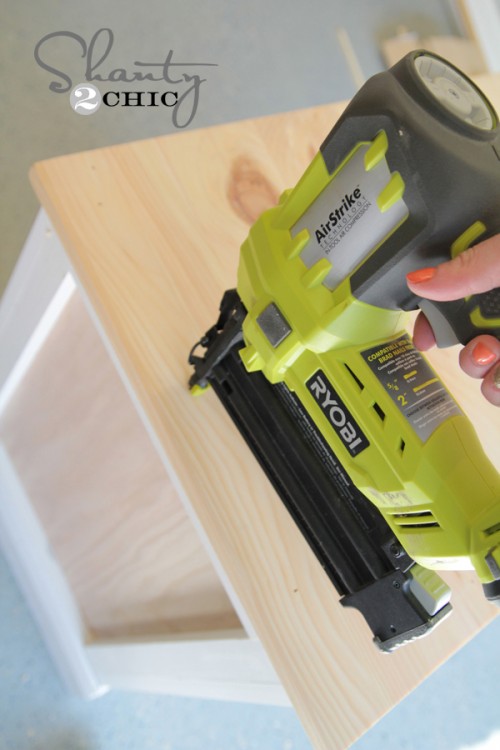
More Photos of Build Process
Want to see step by step building photos? Go check out Whitney's building post for more photos and details, and we'll see you back here for the plans!
Preparation
- 1 - 1x2 @ 10 feet long
- 2 - 1x3 @ 10 feet long
- 1/4 sheet of 3/4" plwood (24"x48")
- 1/2 sheet of 1/4" plywood (48" x 48")
- Door not figured in shopping list
- Hinges (suggest full inset wrap hinges or surface mount hinges)
- 6 feet of 5-1/4" base moulding
- cove moulding to dress up top and panels if desired
SIDE FRAMES
- 4 - 1x2 @ 27-1/4"
- 4 - 1x3 @ 12-3/4"
FRONT/BACK FRAMES
- 4 - 1x3 @ 27-1/4"
- 4 - 1x3 @ 17"
BOTTOM
- 1 - 3/4" plywood @ 20-1/2" x 15-3/4"
SIDE PANELS
- 2 - 1/4" plywood @ 15-3/4" x 22-3/4"
TOP
- 1 - 3/4" plywood @ 24" x 18 1/2" (may wish to add edge banding around top)
- BACK
- 1 - 1/4" plywood @ 22" x 25-1/4"
BASE MOULDING
- CUT TO FIT
DOOR - 16 - 3/4" x 19"


Please read through the entire plan and all comments before beginning this project. It is also advisable to review the Getting Started Section. Take all necessary precautions to build safely and smartly. Work on a clean level surface, free of imperfections or debris. Always use straight boards. Check for square after each step. Always predrill holes before attaching with screws. Use glue with finish nails for a stronger hold. Wipe excess glue off bare wood for stained projects, as dried glue will not take stain. Be safe, have fun, and ask for help if you need it. Good luck!
Instructions
Step 1

Build the two side frames.
Step 2

Build the front and back frames.
NOTE: Drill 3/4" pocket holes facing upward for attaching the top in later steps on the inside of all the sides before assembling the box.
Attach side frames to front and back frames.
Step 3
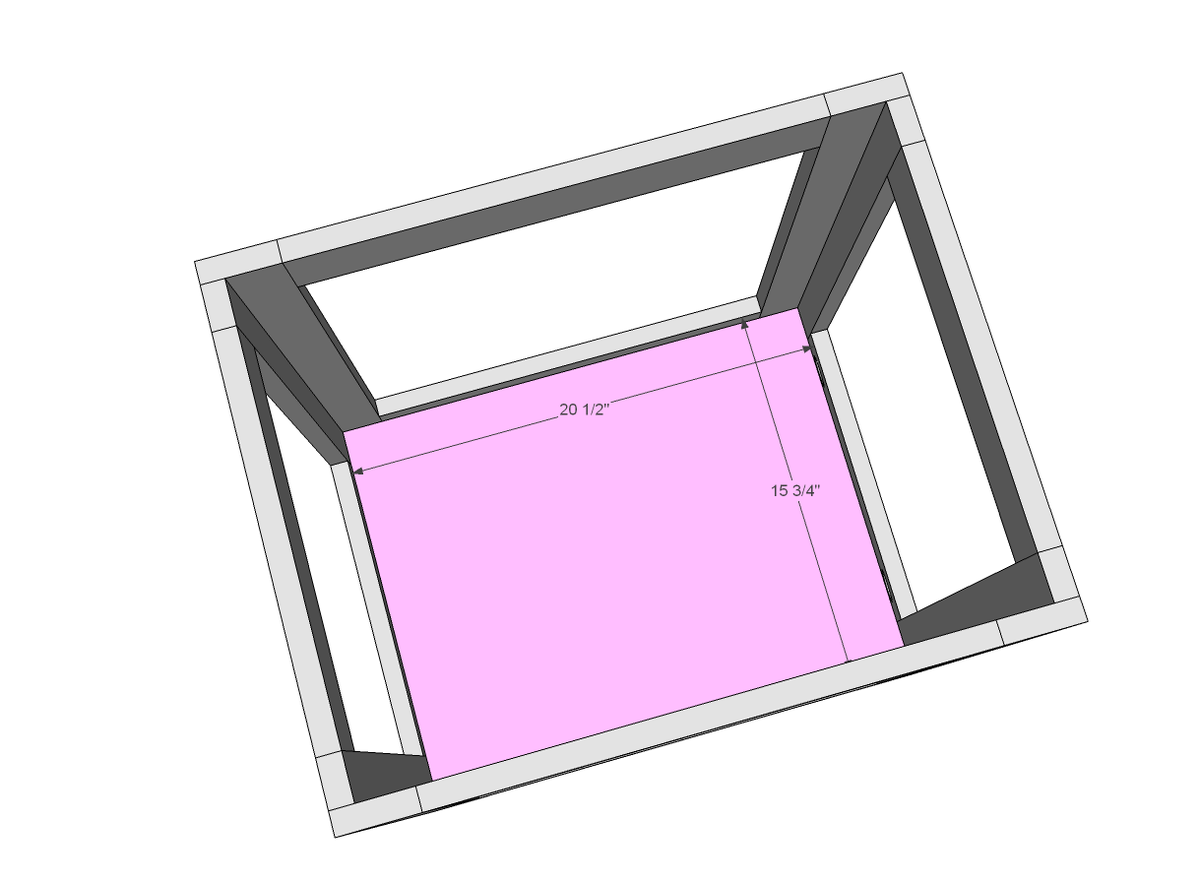
Add bottom to the frames, using 3/4" pocket holes around all the sides of the bottom shelf.
Step 4

Attach plywood panels to inside of the sides with finish nails and glue. Short nails (like 3/4") would work great here.
Step 5
Step 6

Attach back with glue and finish nails.
Step 7

Attach with glue and finish nails base moulding, mitering corners.
Step 8

Door should be built with 1/8" gap around all sides. Measure and confirm your opening size, and then build the door 1/4" less than the opening. Use inset hinges or surface mount hinges to install doors.
I also love how Whitney built her doors - you can get more details on how she did that here.
It is always recommended to apply a test coat on a hidden area or scrap piece to ensure color evenness and adhesion. Use primer or wood conditioner as needed.
